Hello everyone! Welcome back to my dear blog. This time I’m gonna show you how I made my Bayonetta 2 outfit. Today I’m writting about the sewing stuff: the catsuit, the boot covers and the gloves.
 |
| Picture by Hotaru Bloody. Edited by me. |
First of all, I wanna start with the catsuit as it’s the most difficult part. To make its patterns, I wrapped my mannequin with tape and I drew on its pieces. As you may already know, you only need to draw half of it as it’s symmetric.
I cut the pieces out and I transferred them on the fabrics.
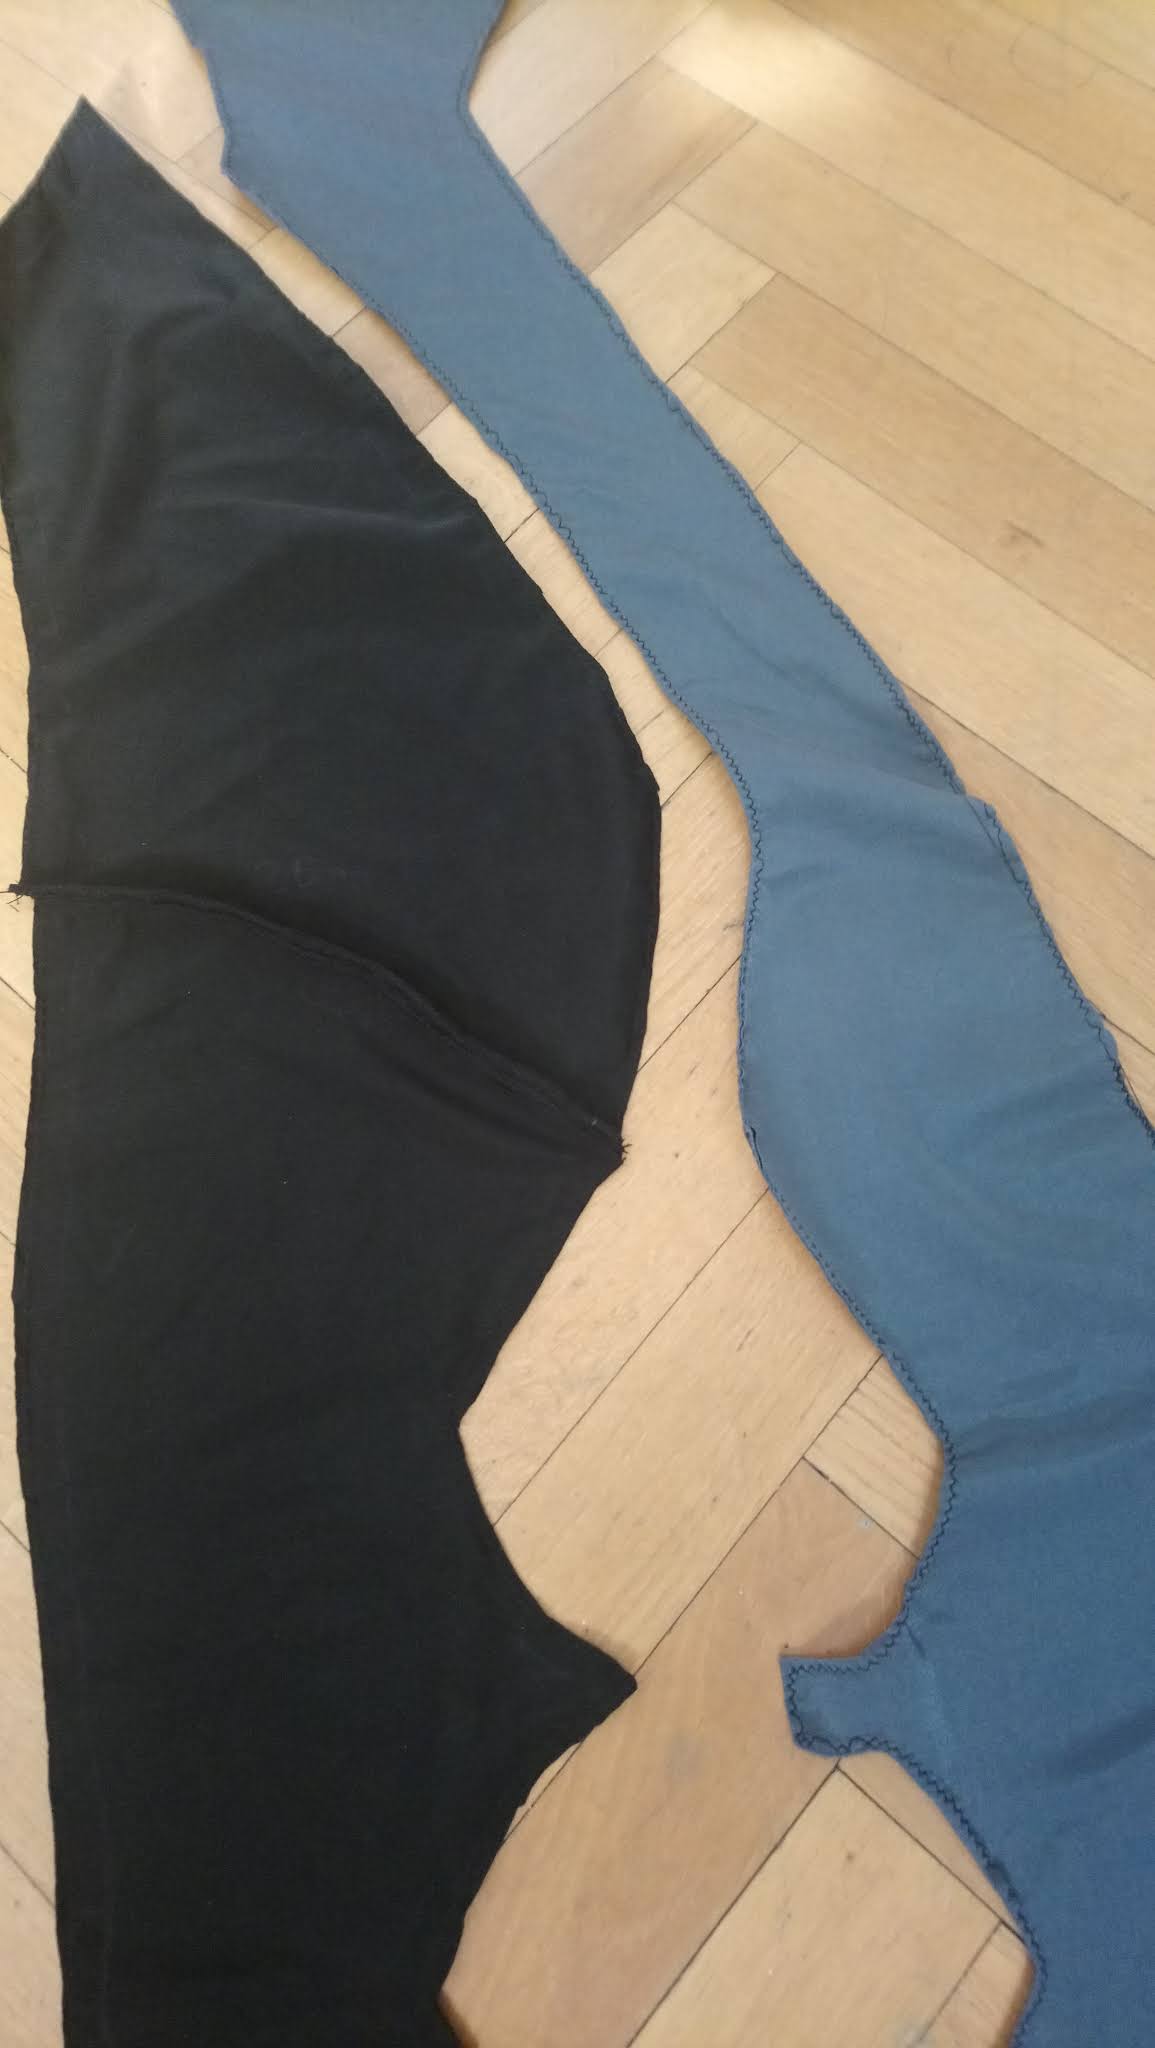
When I drew the diamond shapes on the legs, I added a thin strip on their sides for me to eventually join them.
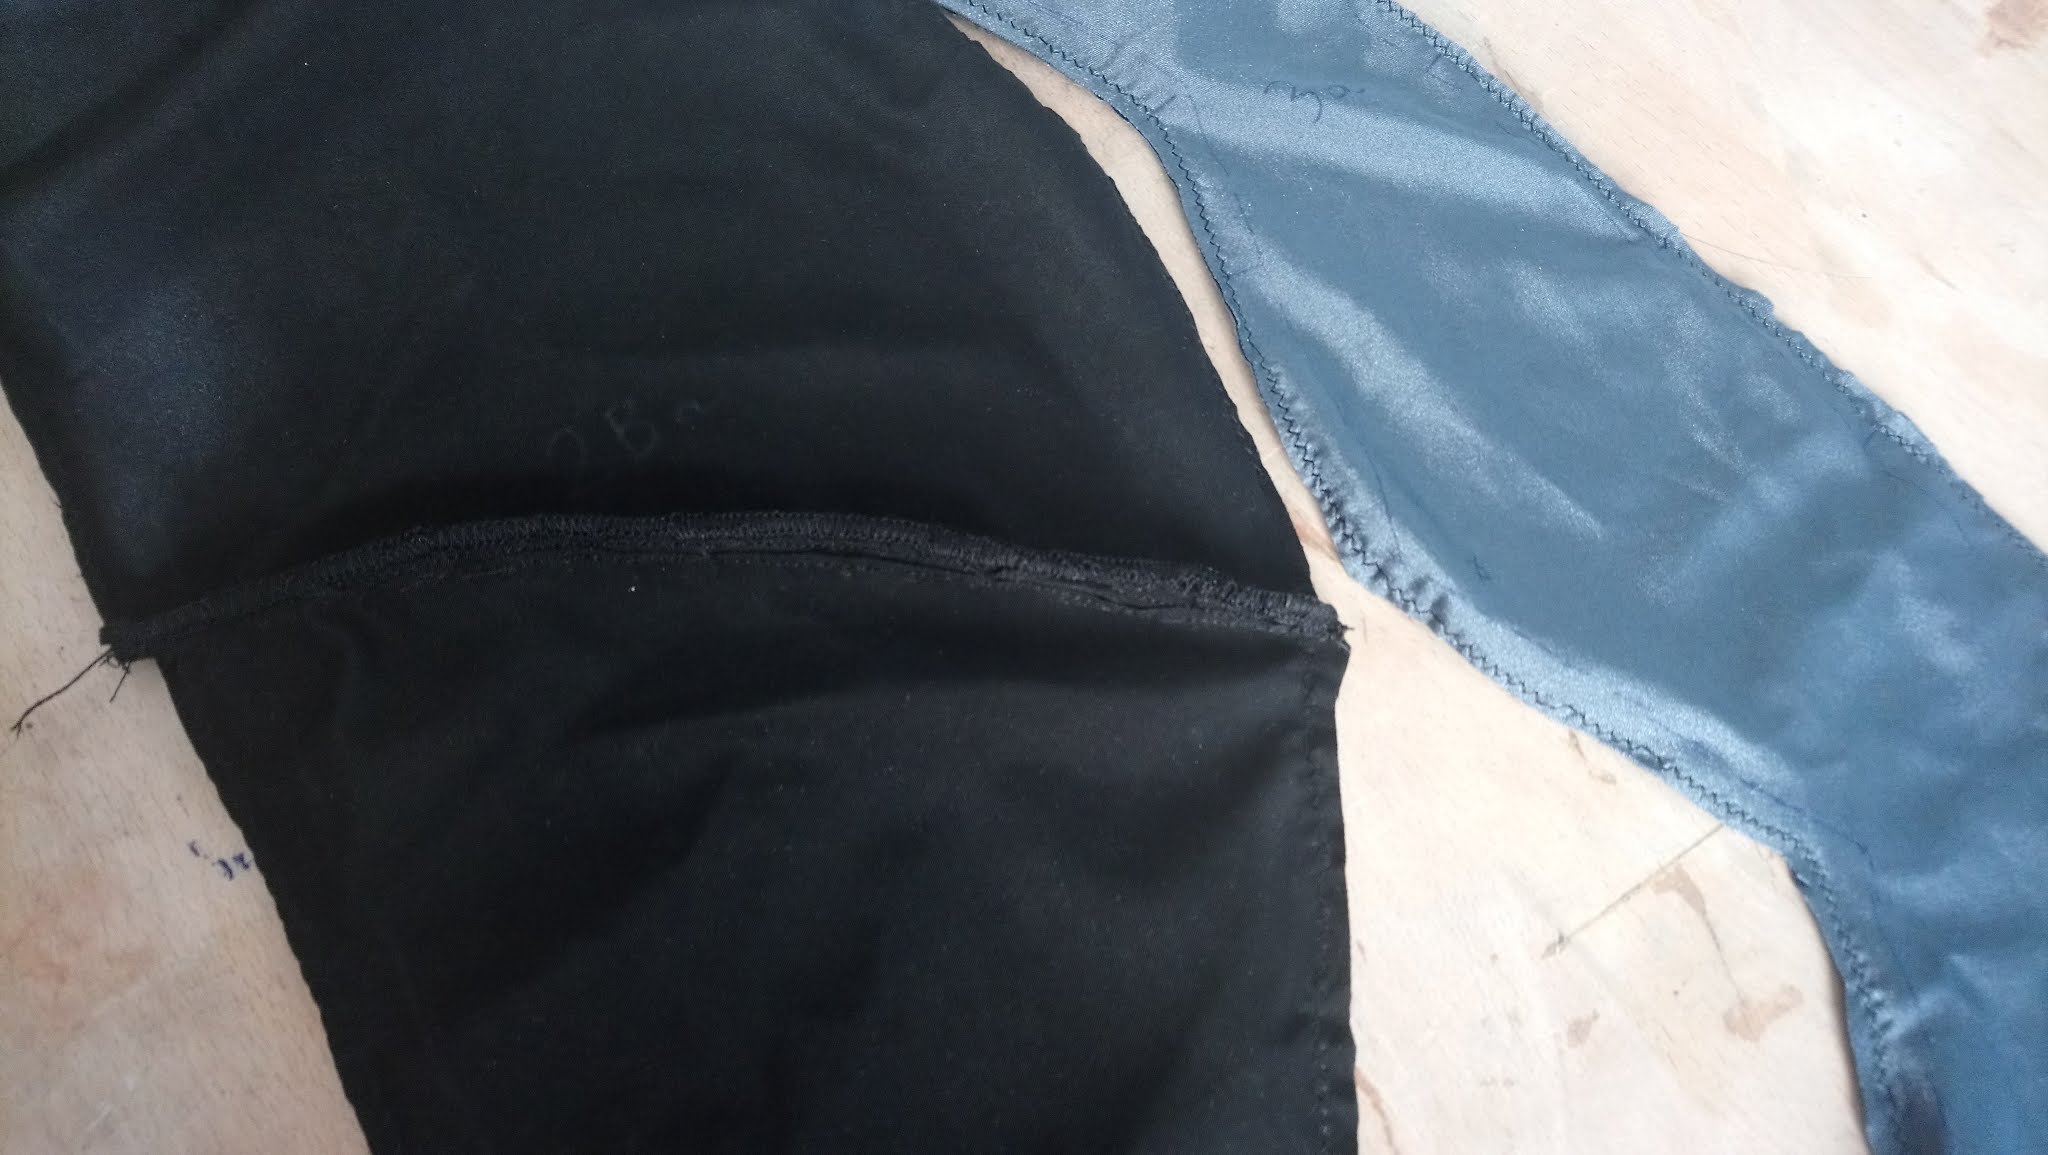
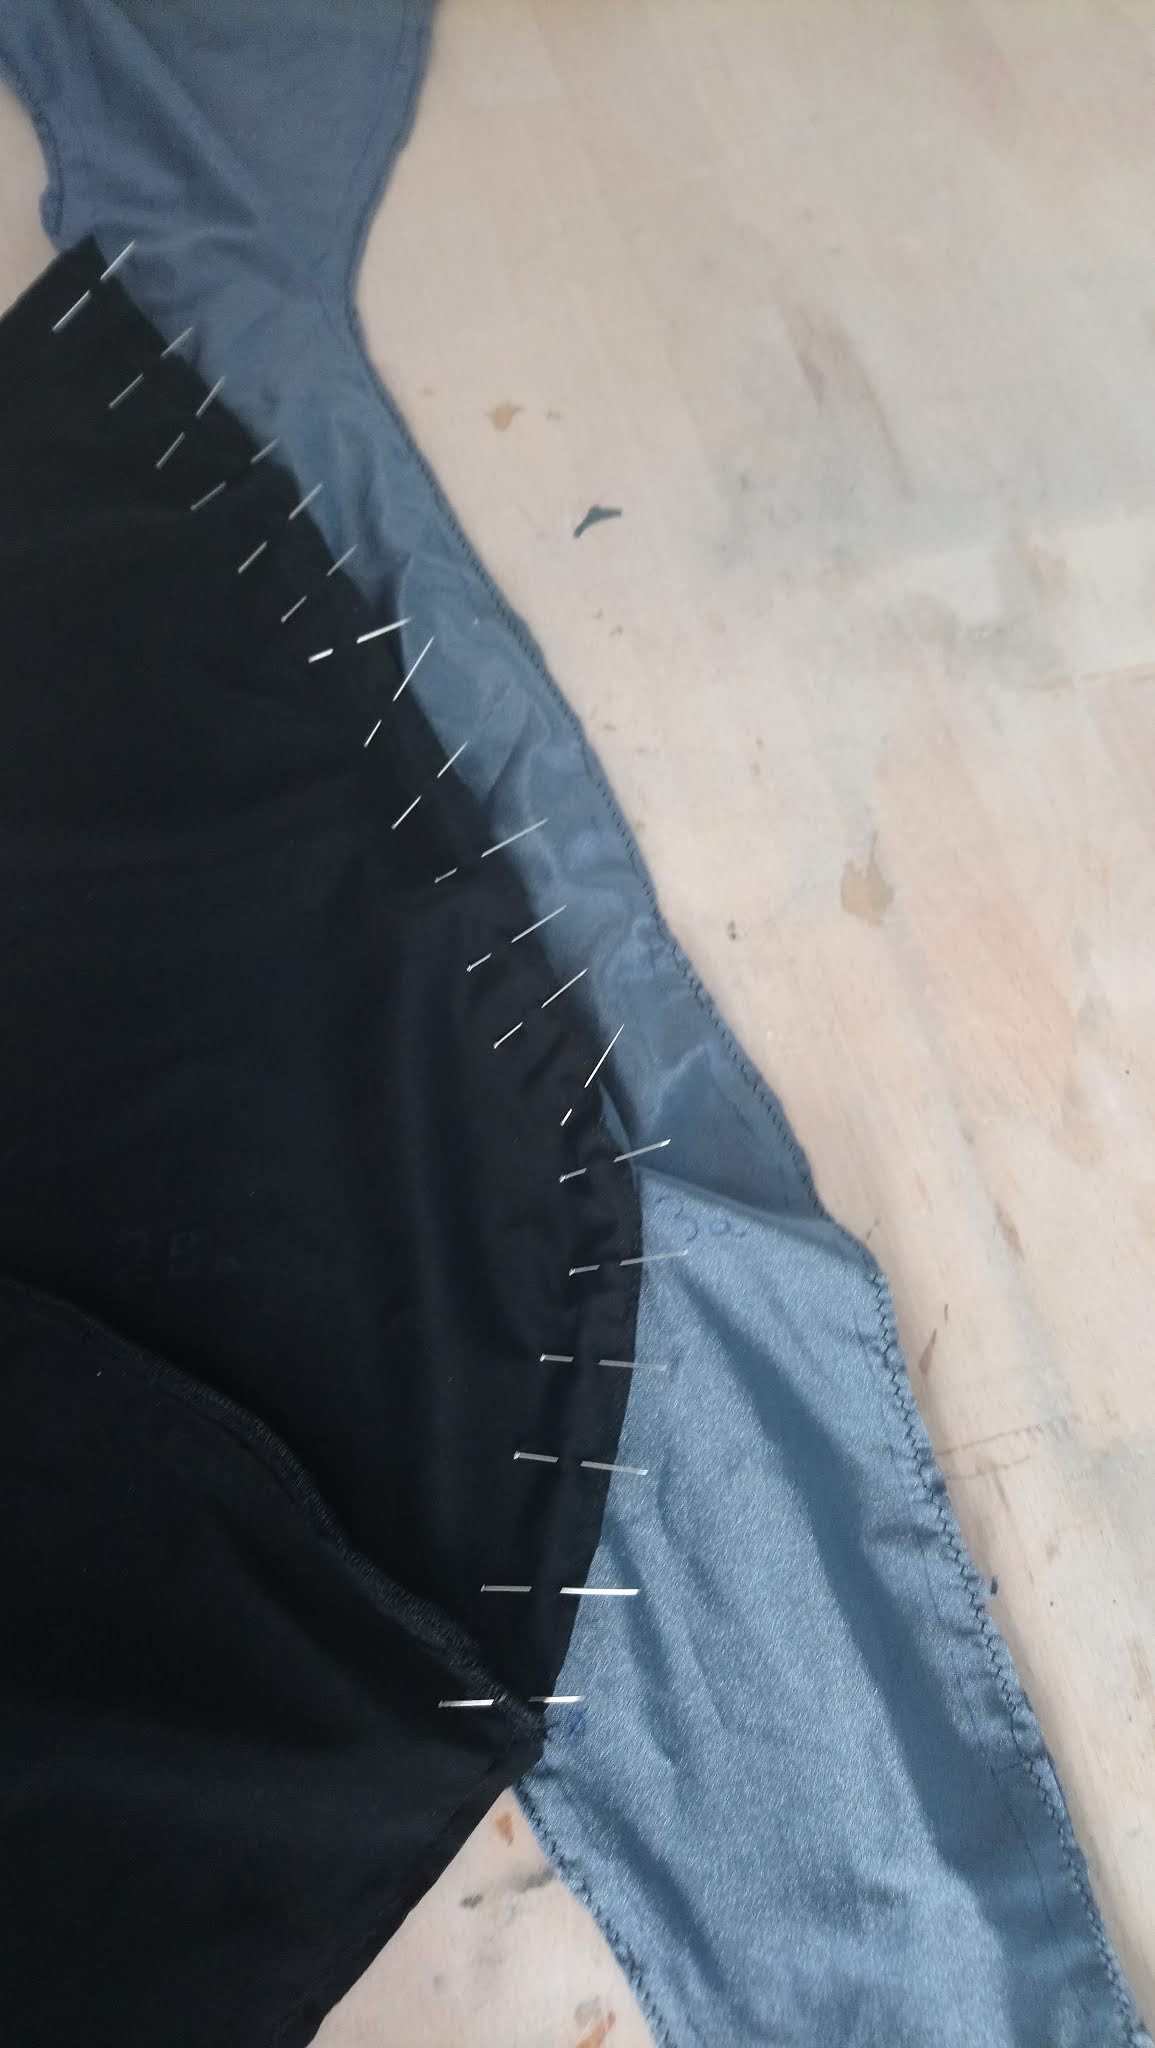
I used two layers of spandex in all this garment to avoid transparencies, to give some consistency and to keep my fluffy flesh in place. Once I had each two layered piece I started puting everything together.
After assembling it, I tried it on and it was too big for me. Mainly on the waist, Not so much on the legs. So I had to readjust it. It’s crap because , depending on how squeezable each part of the body is, the garment is gonna fit better or worse For istance, the waist is more squishable than the legs (and you can see it by how corsets work), but the legs are not so easy to flatten. A leg won’t fit in a small garment if it’s not the right size.
Luckily for me, this garment let me , so I on the waist and 2,5cm on the legs contours.
When I wrapped the mannequin I didn’t have in account that, no matter how tight I did it, spandex is a very stretchy material(and I’ve already said it in other tutorials, that when patterning lycra you have to substract 20% of each contour measurement, but I got lost) so it looked loose. I should have patterned it like I did with my Maya costume back then, using a lycra mock up to draw the pieces on it instead of using tape, that’s not stretchy at all. As I didn’t take that into account, please, you do so if you want to make this costume using spandex. It’s ok to use the wrapping technique if you’re patterning for faux leather because this fabric is not so stretchy.
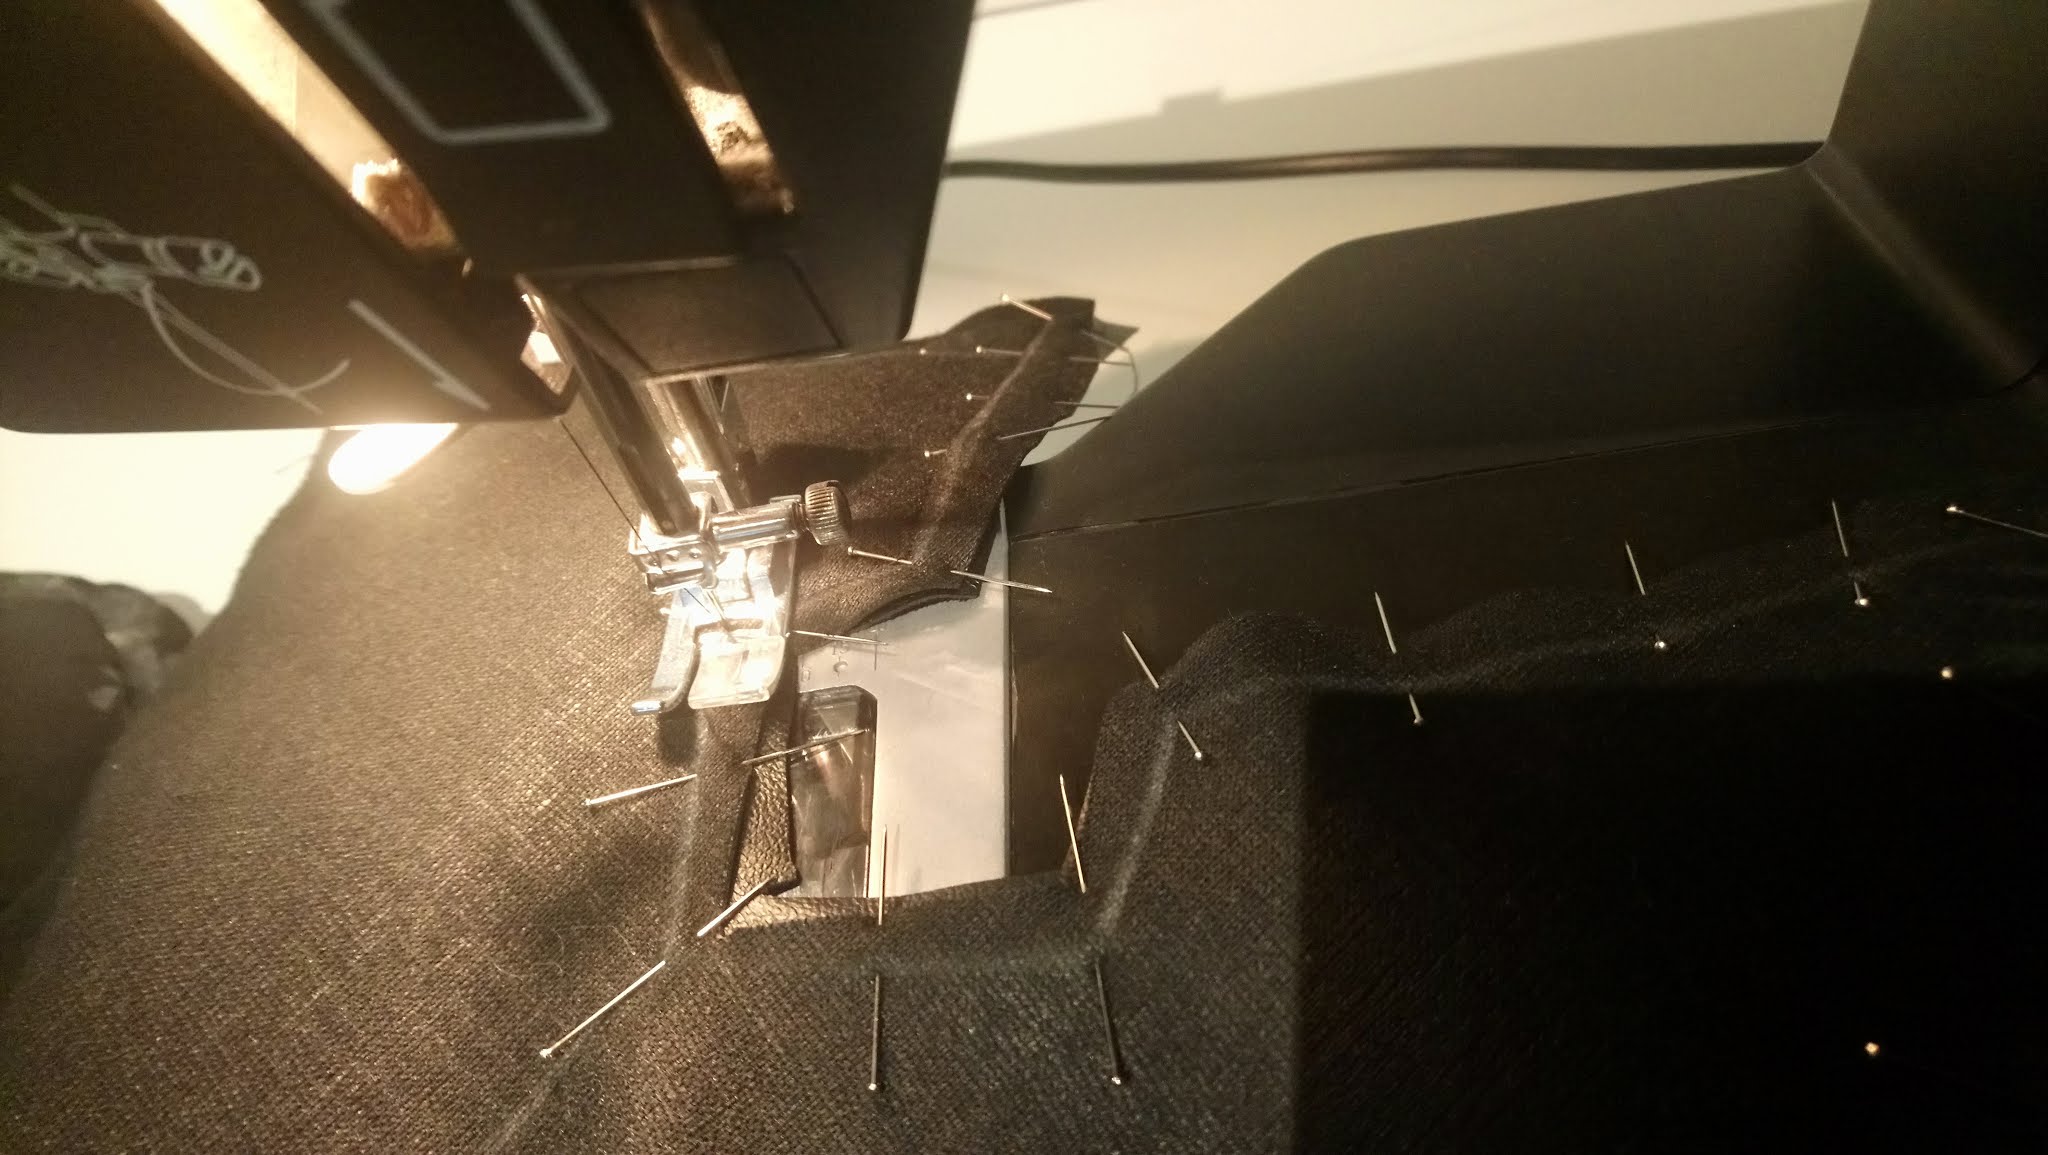
As I put pieces together, I overlocked and did some reinforcement/ornamental seams it had.
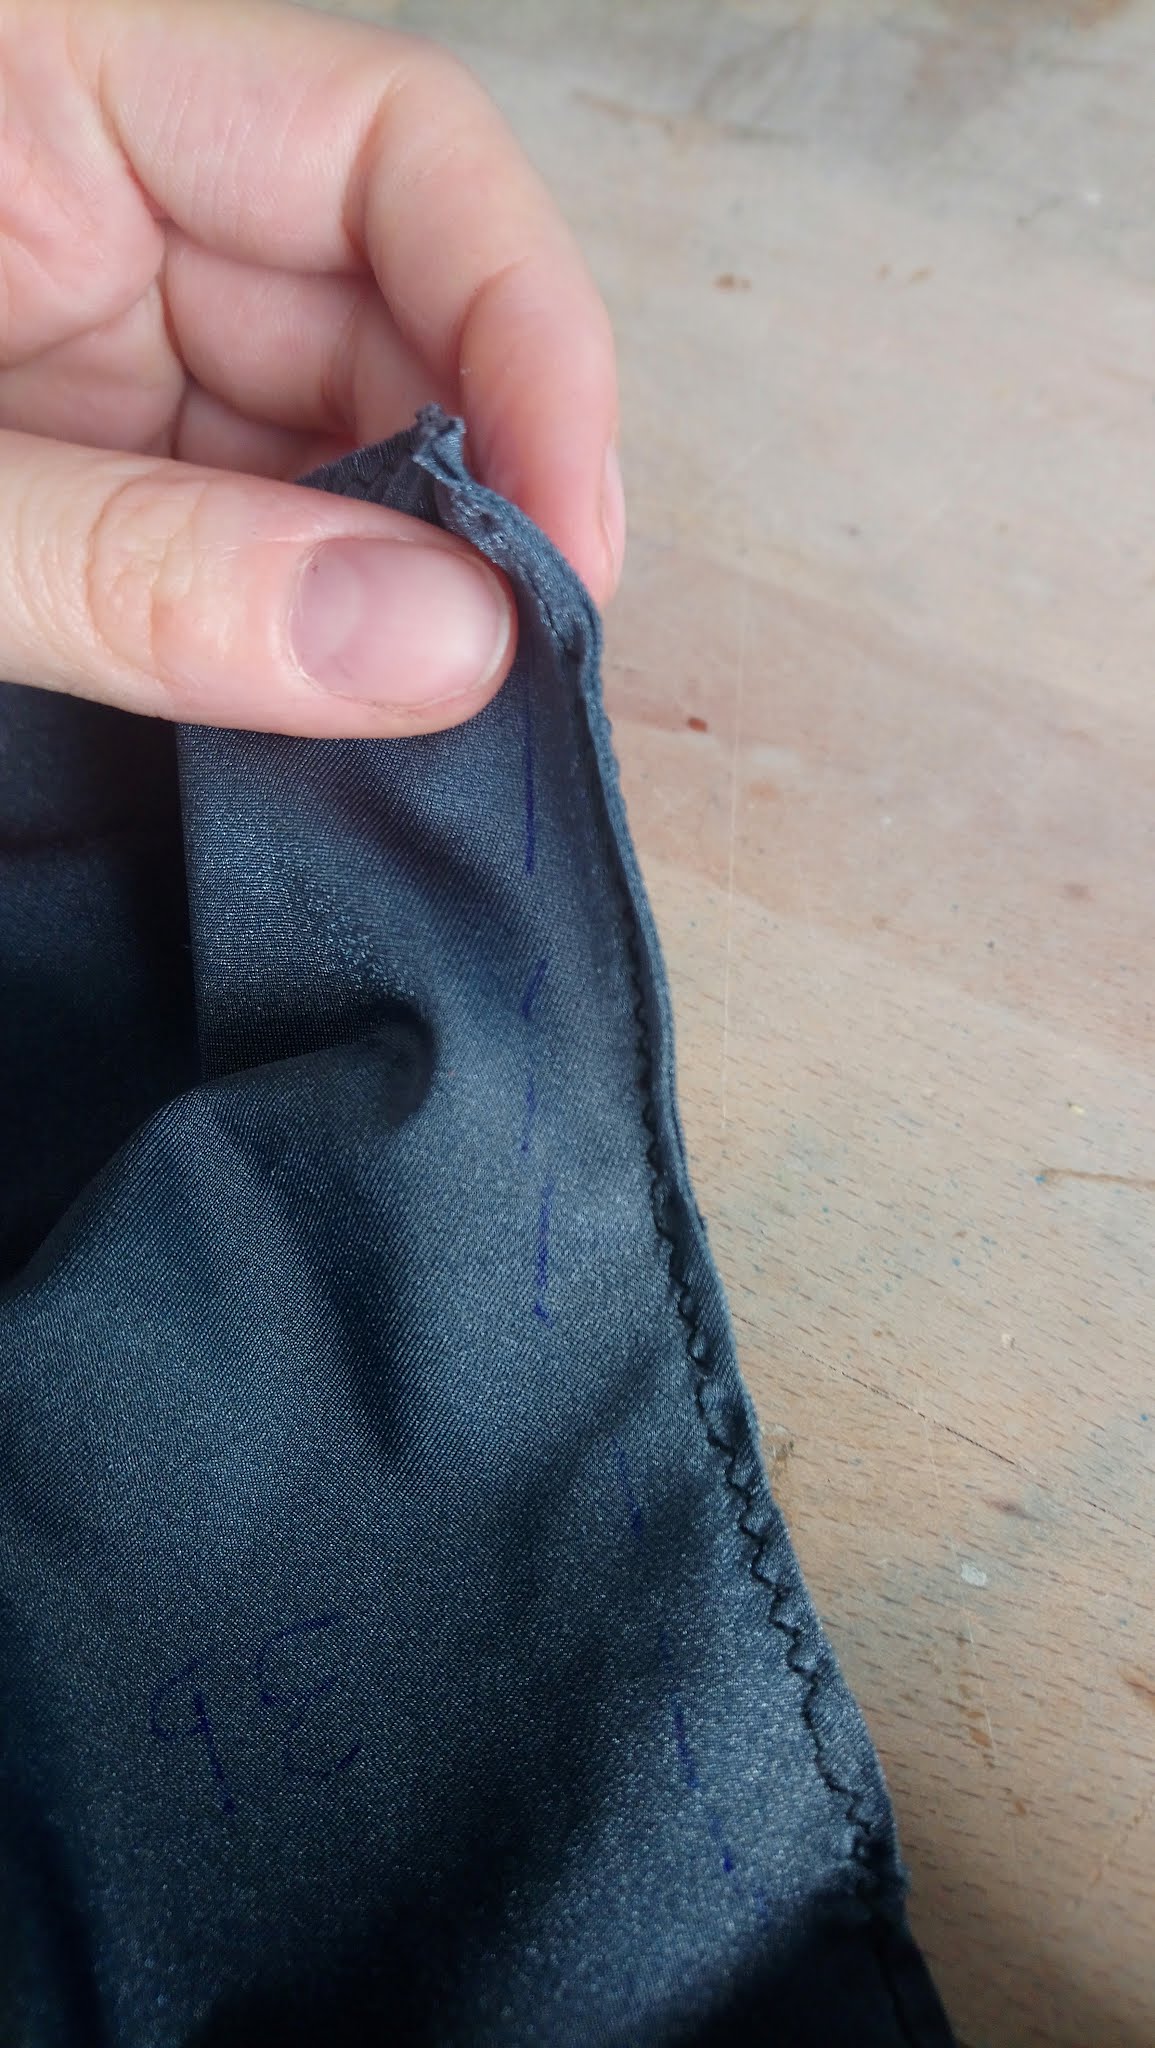
As I used very stretchy fabrics, I added a reinforcement seam and overlocked every union just in case the main seams exploded with my powerful buttocks. This wayI have an extra seam to hold them in place at least till I get home and I can fix it.
The usual way to sew stretchy clothes is using the overlock machine for everything just in one go with four threads at a time: One for the main seam (left needle), reinforcement seam (right needle) and the other two for the overlocked finish while the blade cuts the edge. But I don’t trust that machine. Well, I don’t trust me using it, so I do the main and reinforcement seams with the regular machine (one pass each), then I cut the edge manually and I finish it by overlocking with 3 threads without the blade. This way at least I make sure I’m not cutting the garment accidentally, that’s my main fear (and it wouldn’t be the first time).
To finish the diamond holes on the legs, I took a piece of fabric and I sewed it all along the edges, then I turned it inside out and I finished it with the zig-zag seam with the sewing machine, that is the best for finishing stretchy fabrics.
I think this is my best work with an elastic garment ever. I turned the little straps inside out and I added the super tiny buckles they have.
I joined the shoulders (I also had to stretch them up to adjust them) and I opened and finished the diamond shaped hole in the back. Making these kind of holes on elastic garments is quite tricky as they have to be patterned a little smaller than their final size. I shaped it on my mannequin while stretching it up to the collar and I closed and finished it the same way as the legs. This way I made sure it looked the way I liked. I finished it just like the leg shapes.
Once more, if you’re using pleather or other kind of non so stretchy fabric for this garment, there’s no need to complicate things, it will look good with regular shaped patterns.
Last, I finished the leg and collar hems and the catsuit was done!! Done with the catsuit!
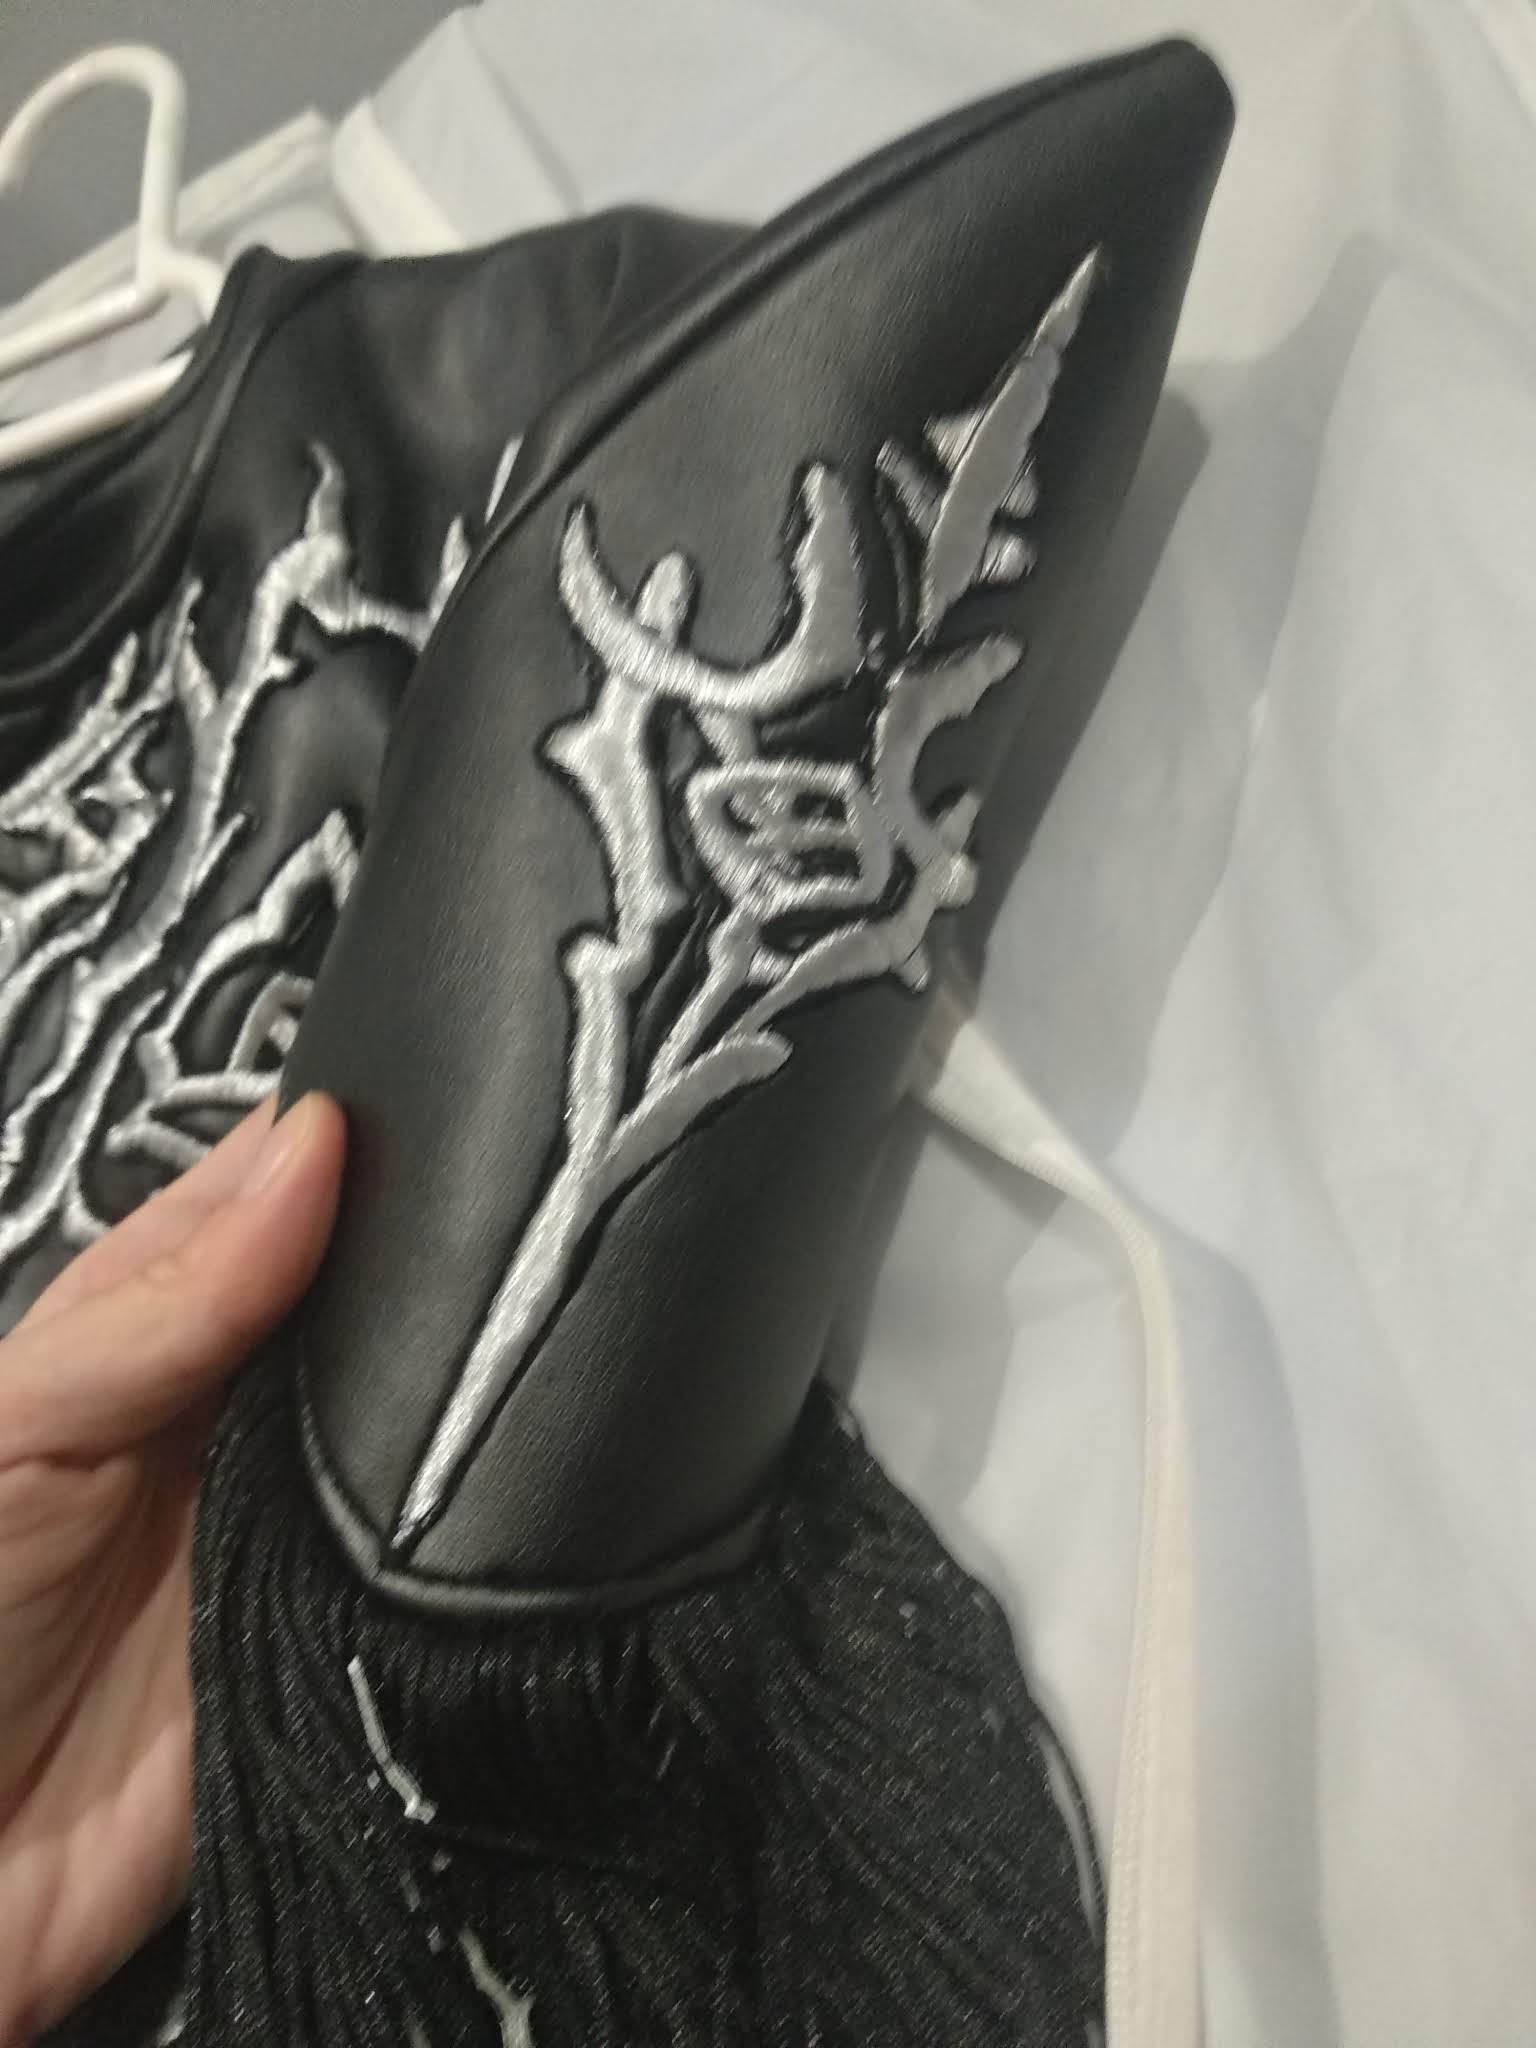
I thought about hand embroidering all the ornaments Bayonetta has. In fact, I started hand embroidering them but about 6 hours after I realized it was going to be so time consuming (I calculated 200 hours or so) I decided to commission them. So I vectorized all of them and I sent them to Fanny for her to proffesionally machine embroider them.
We decided to make them as appliqués to be later hand sewn with the invisible stitch on the catsuit. I don’t know how would I done it without Fanny’s help!! (I’ve most certainly be dead right now). (Well, I’d die suffering big time).
The next thing I did was making the shawl? I don’t know how to call the 80’s shoulderpads garment. Well, I drew the patterns on the mannequin too and I added the extra side pieces. As it’s a loose garment, I used pleather both for the visible side and for its lining. This way it looked even and pretty.
I put all the pieces on the table and I marked the fringed edges. Then I made the lining and I attached the fringes to the seam. After that, I did the visible part and I joined it to the lining making sure the fringes stood outside. Once I joined both parts together, I turned them inside out through a hole I left in the collar. I closed it, then I did the reinforcement edge seam and I was done. To finish it, I added hoocks on the back to be able to fasten it.
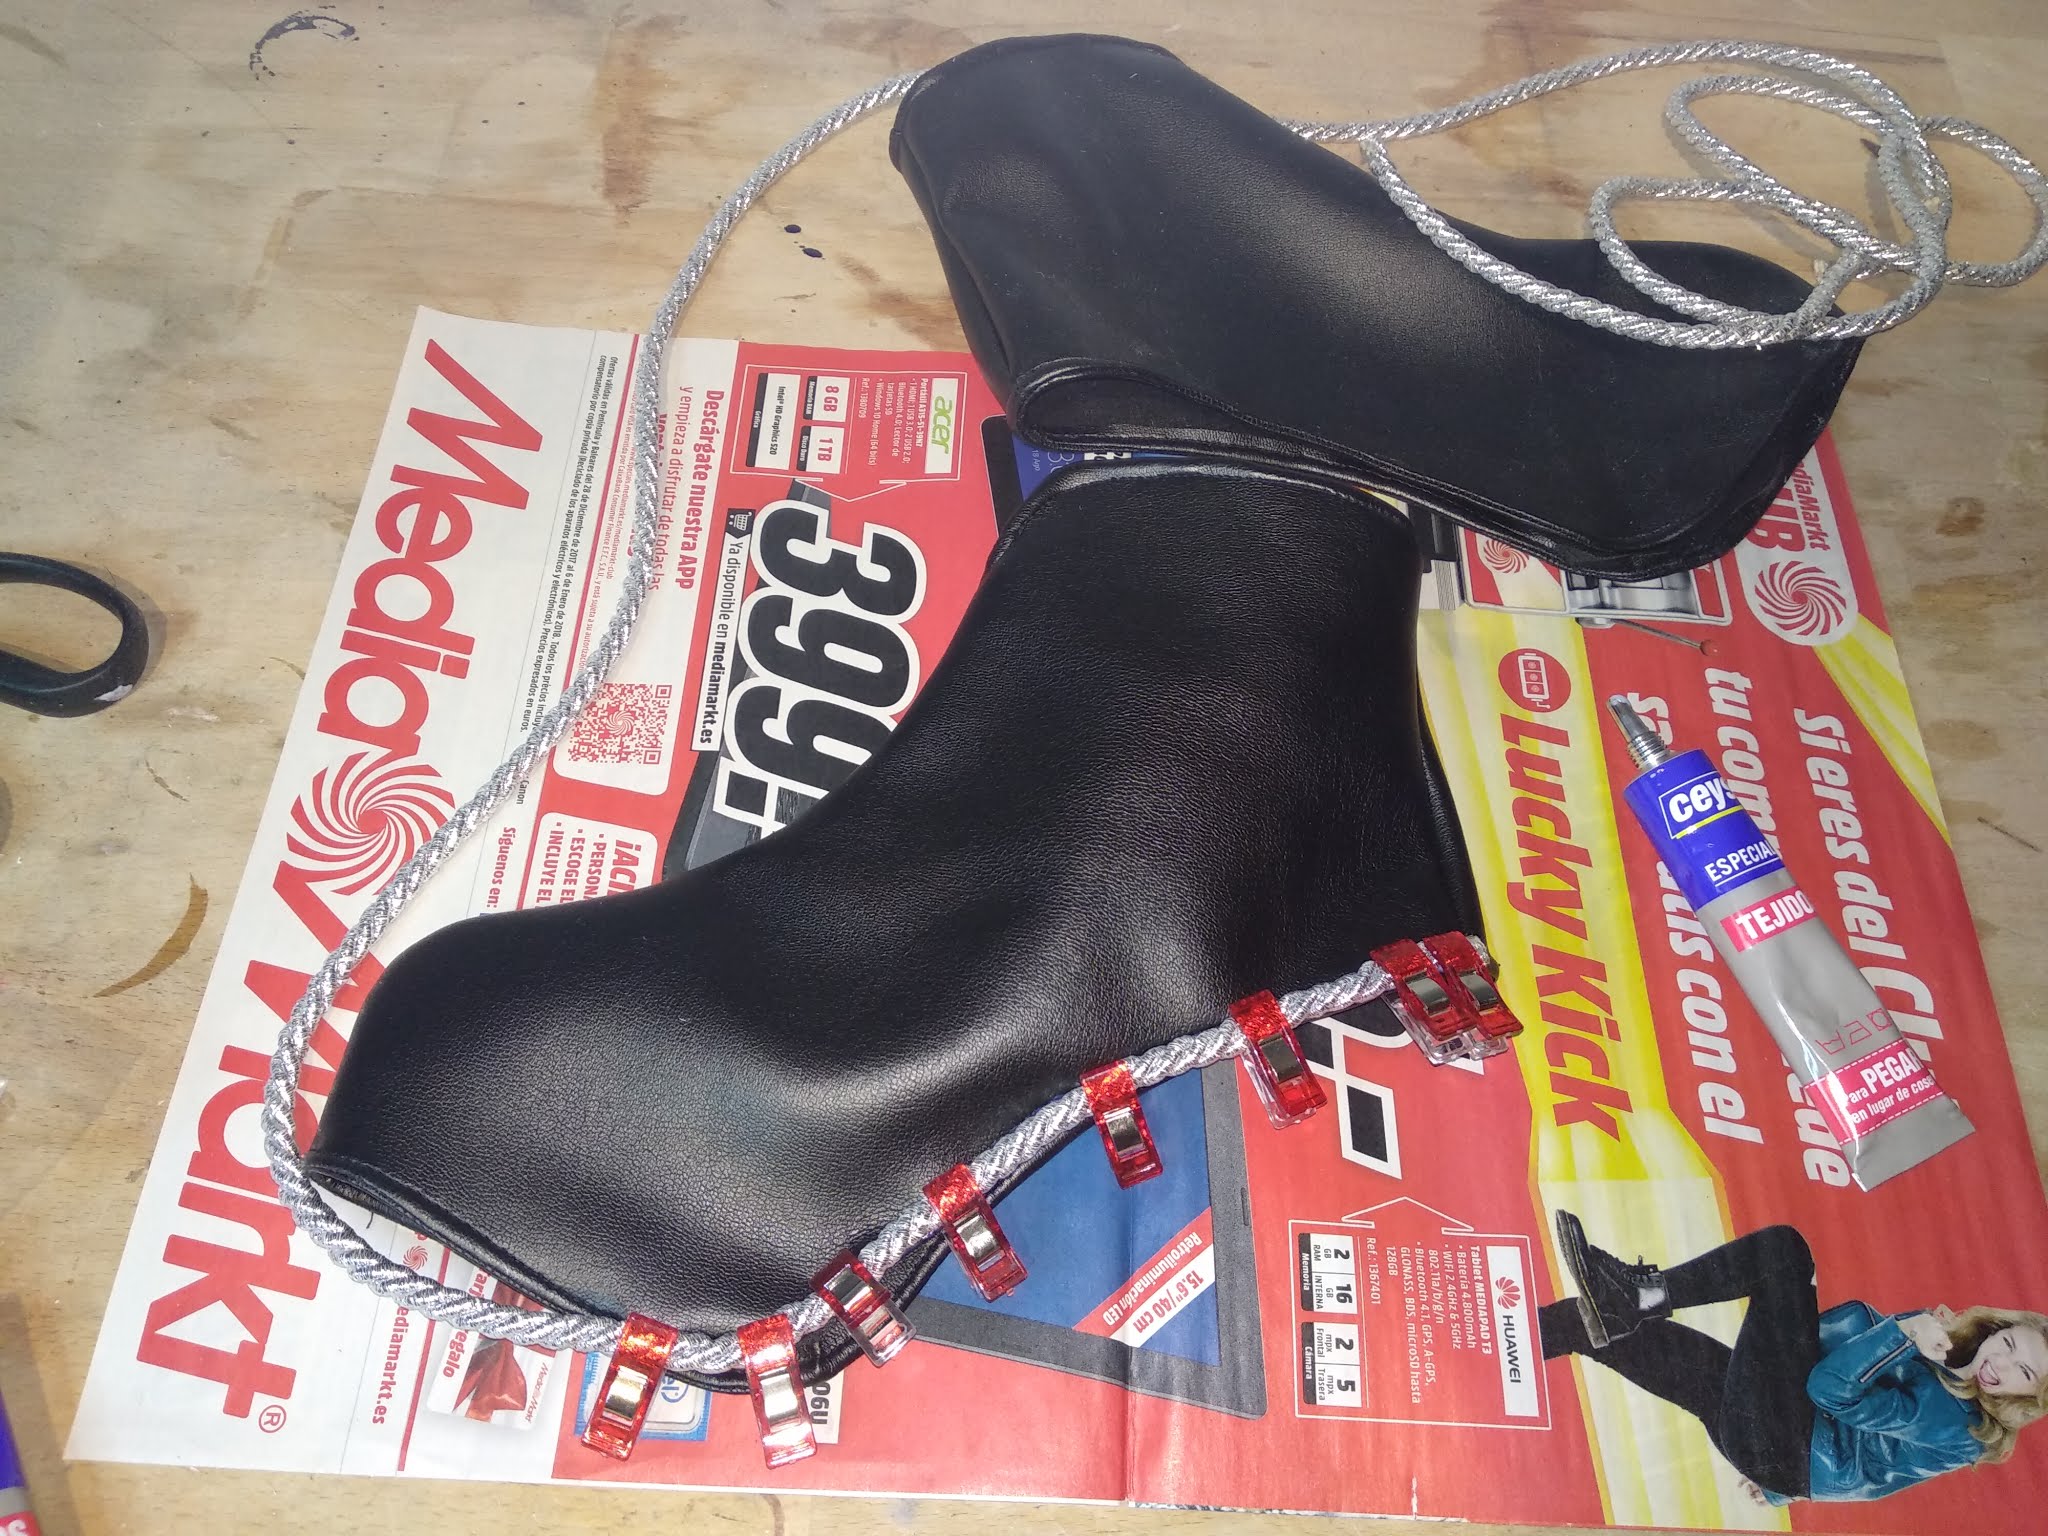
I also made the bootcovers by wrapping a couple of boots I purchased, I drew their shape and I made the patterns.
I used the same pleather fabric than with the sholderpads. I sewed the pieces together, I finished the edges and I glued them to the boots. Then I added the ornaments and crazy stuff.
The last clothing thing I made was the gloves I’m especially proud of them and, well, this costume is a kind of overhaul/redemption of my Bayonetta 1 costume (I made it 8 years ago). I’ll do a write up comparing them for you to see how I’ve improved my skills. But, well, the gloves are special to me as for the Bayonetta 1 ones I bought a pair and painted the palms and for this ones I made them from scratch the right way.
To make them, I drew my hand and arm silhouette on a paper. This is not the right way to pattern gloves if you’re making them with non stretchy clothes, but for spandex ones works wonders.
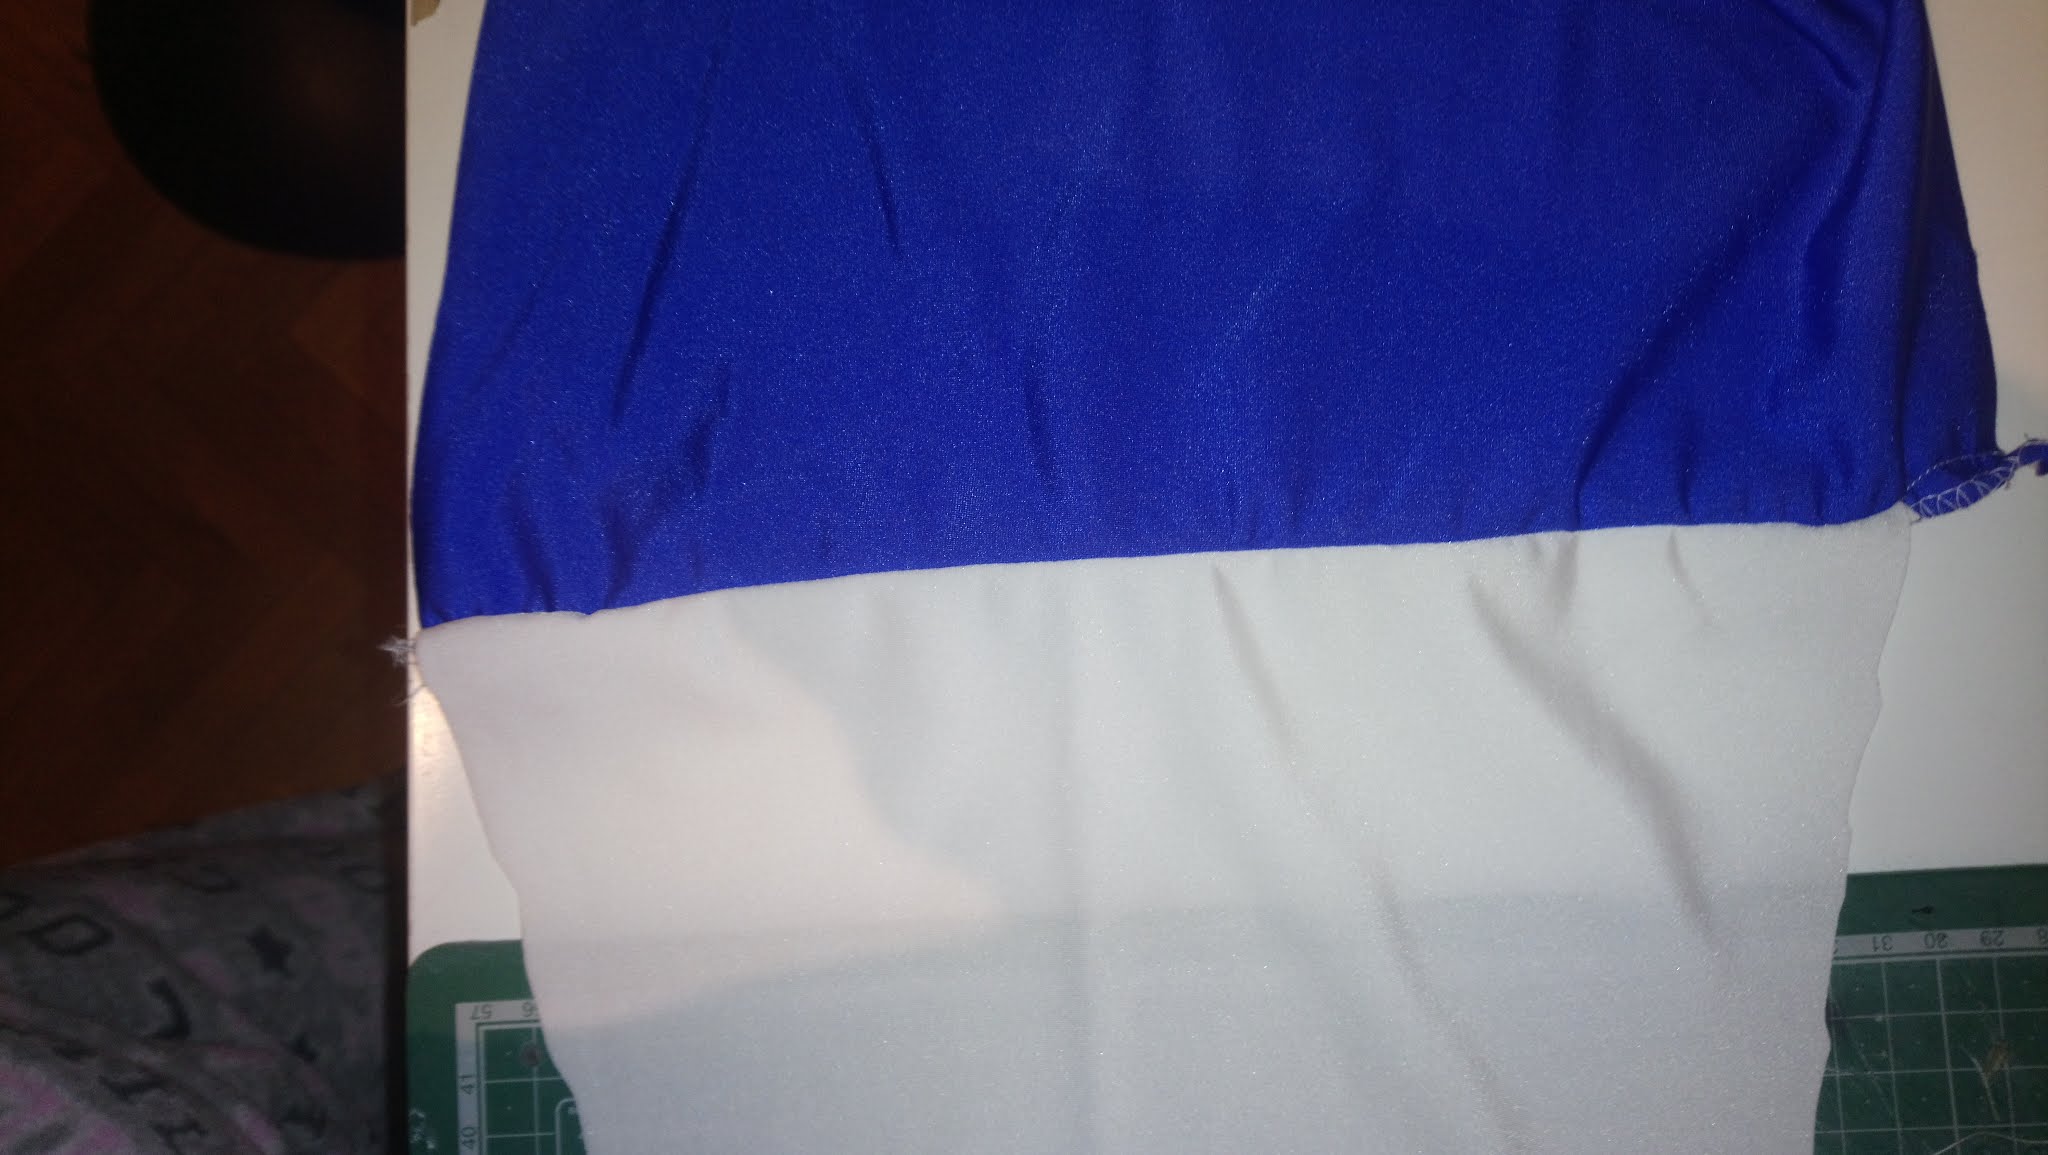
Then I took a piece of blue spandex and I joined it to a white one.
I marked the silhouette on the back fabric, that is all white, I confronted it with the palm part with the blue affix matching my hand shape and I sewed everything together.
I didn’t overlock the fingers as the seam there is so tiny there’s no room for it. I just did the main and a reinforcement seam pretty close. Simplemente los dejé con la costura de refuerzo y recorté cerca de la misma para dejarlos bien acabados.
I did the hem by holding it with pins and sewing it with the zig-zag seam for it to keep it elastic.
And this is how I made the garments! I’ll tell you how I made the props in the next post
Hope you founf this useful. As always, feel free to comment down below or on my social media.
Thanks for reading!


