It’s been over a year since we cosplayed Tali and, during this time, a lot has happened. One thing, the most important for this process, has been that Erik made the vacuumforming table, an essential element to make Tali’s mask properly and not the supreme and abominable shit that I had before.
 |
| If you can’t see the difference, I have a shotgun! |
Let’s go in parts. The first thing we had to do is take a mold of my head with the ancient technique of wrapping it with kitchen plastic wrap first and then with adhesive tape. Keep in mind that to do this it is important to let whoever you are wrapping breathe, so make little holes for the nostrils and such. We don’t want dead cosplayers. Not because of us.
We filled the head with polyurethane foam and let it dry for a day. Later we saw that it is best to fill it with newspaper as tightly as possible because the foam in the center does not dry well and remains sticky. In addition, once filled with paper, it is ready to use, there is no need to wait for anything to dry.

On this head, I patiently modeled the mask shape with white clay.
At first it is a horror because it is very difficult for the clay to stick to the head, but once it is covered with a layer, you start working faster. It took me about 6 hours to model it.

I put a piece of foam as a nose to have a reference and not make the mold too close to the face. As I covered the head with clay, I inserted a pin into the nose area to see how many mm of separation there would be.

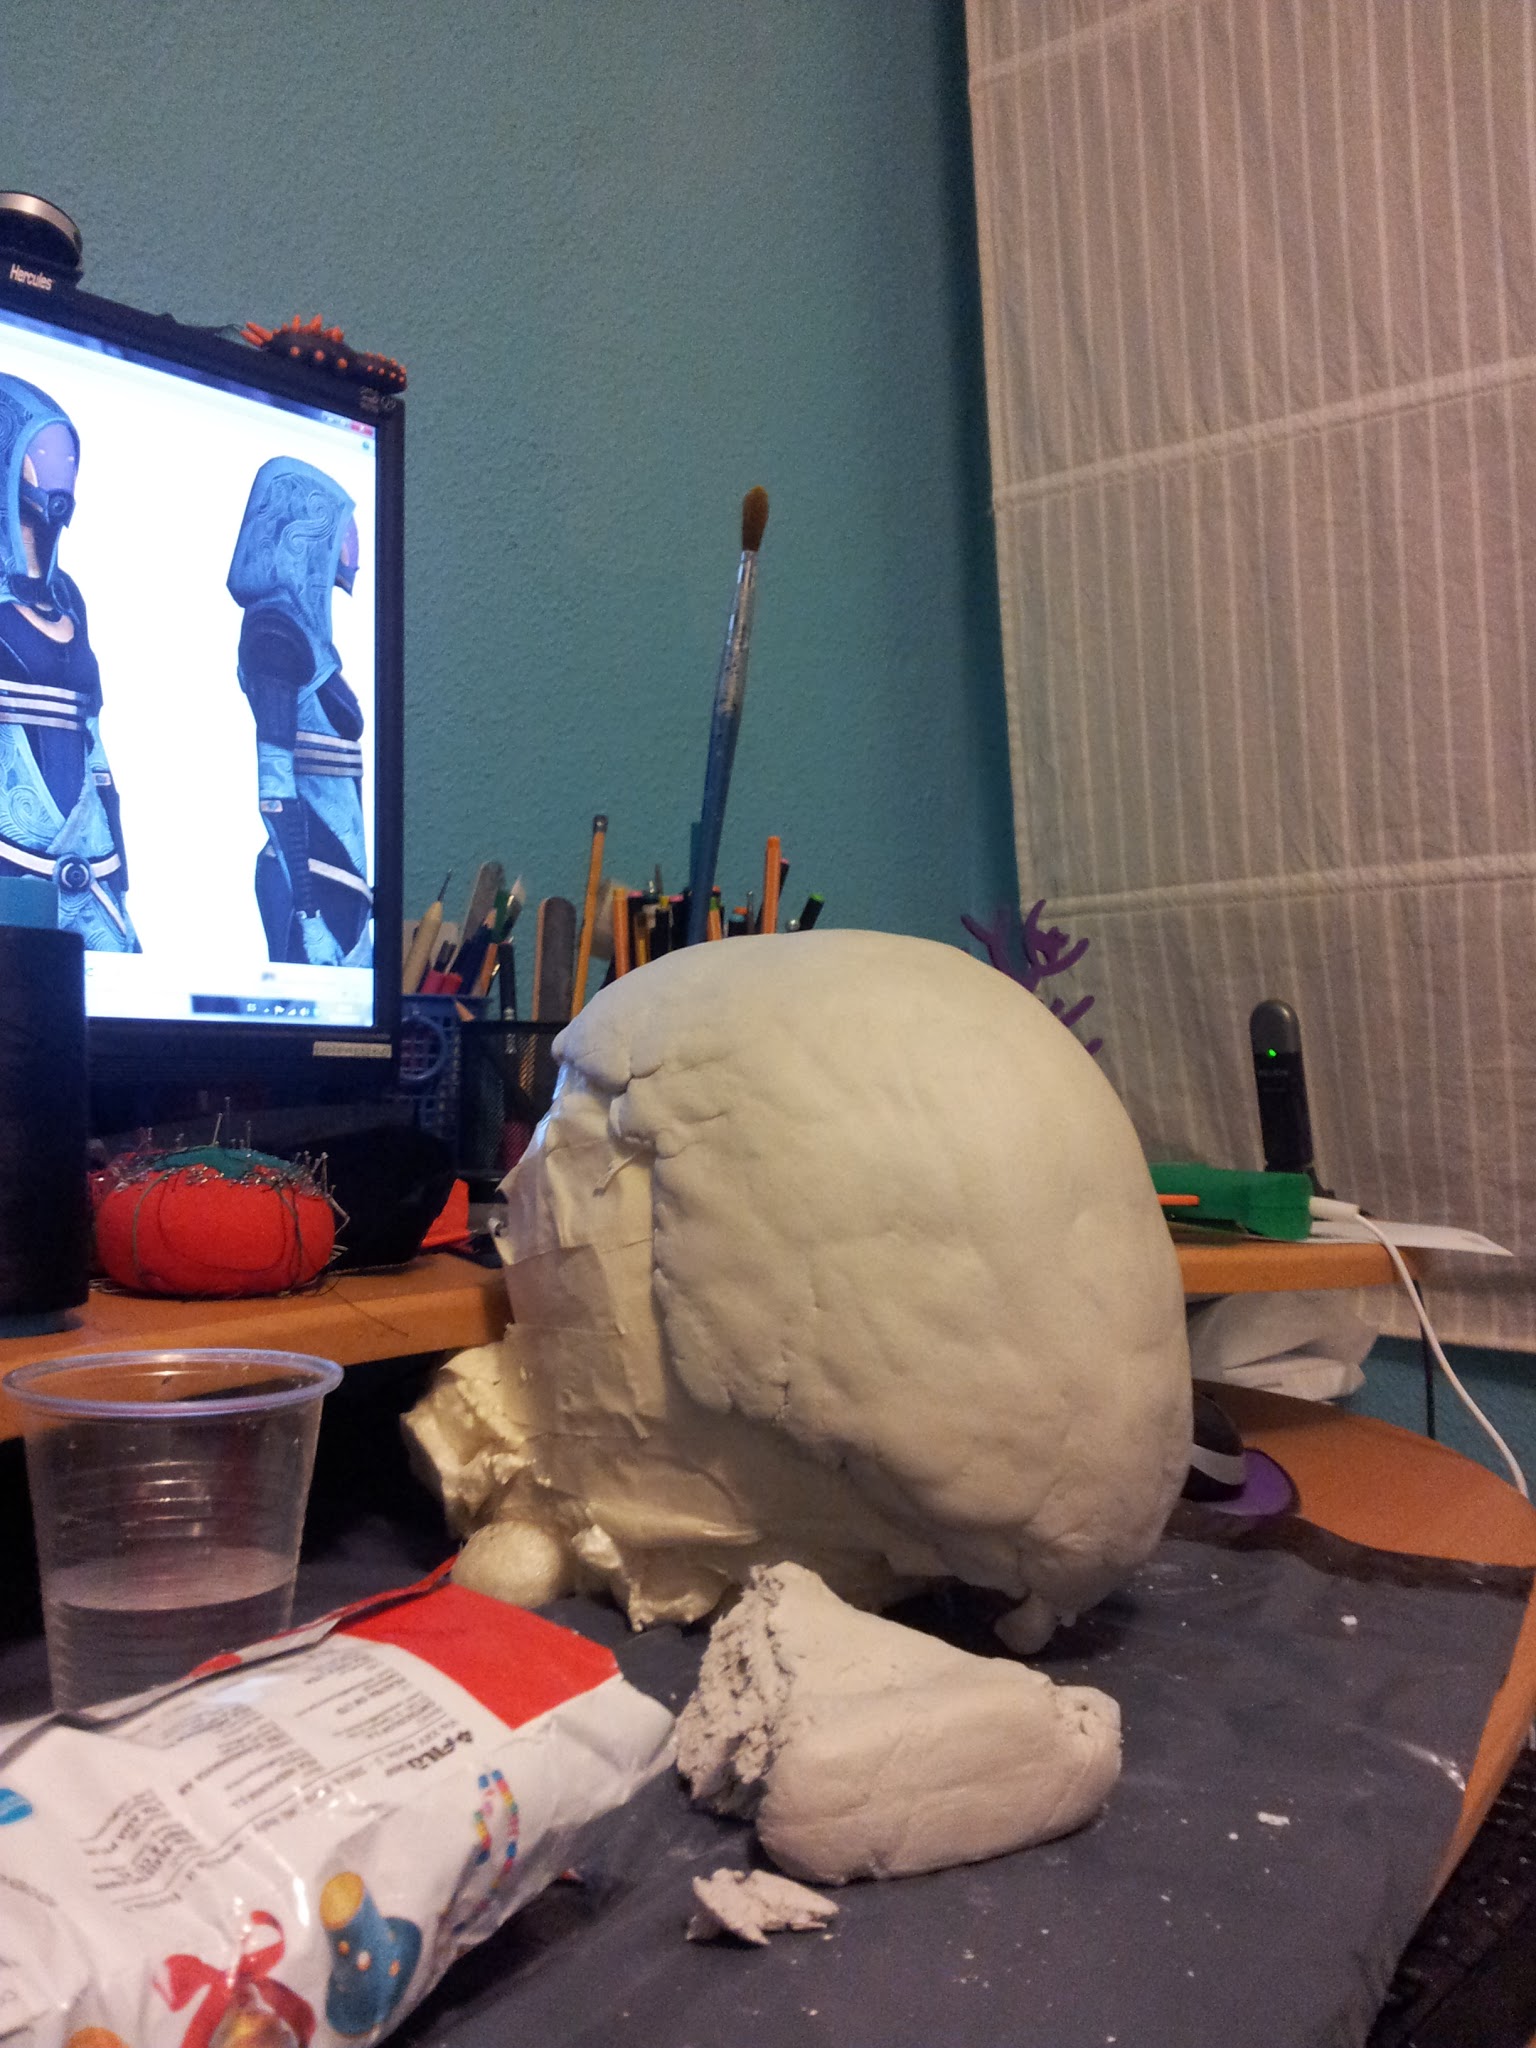
The reference images on my computer screen are magnificent renders taken here. Trroodon80 has references to practically all the characters, weapons and ships on his DeviatArt page. Very useful!.

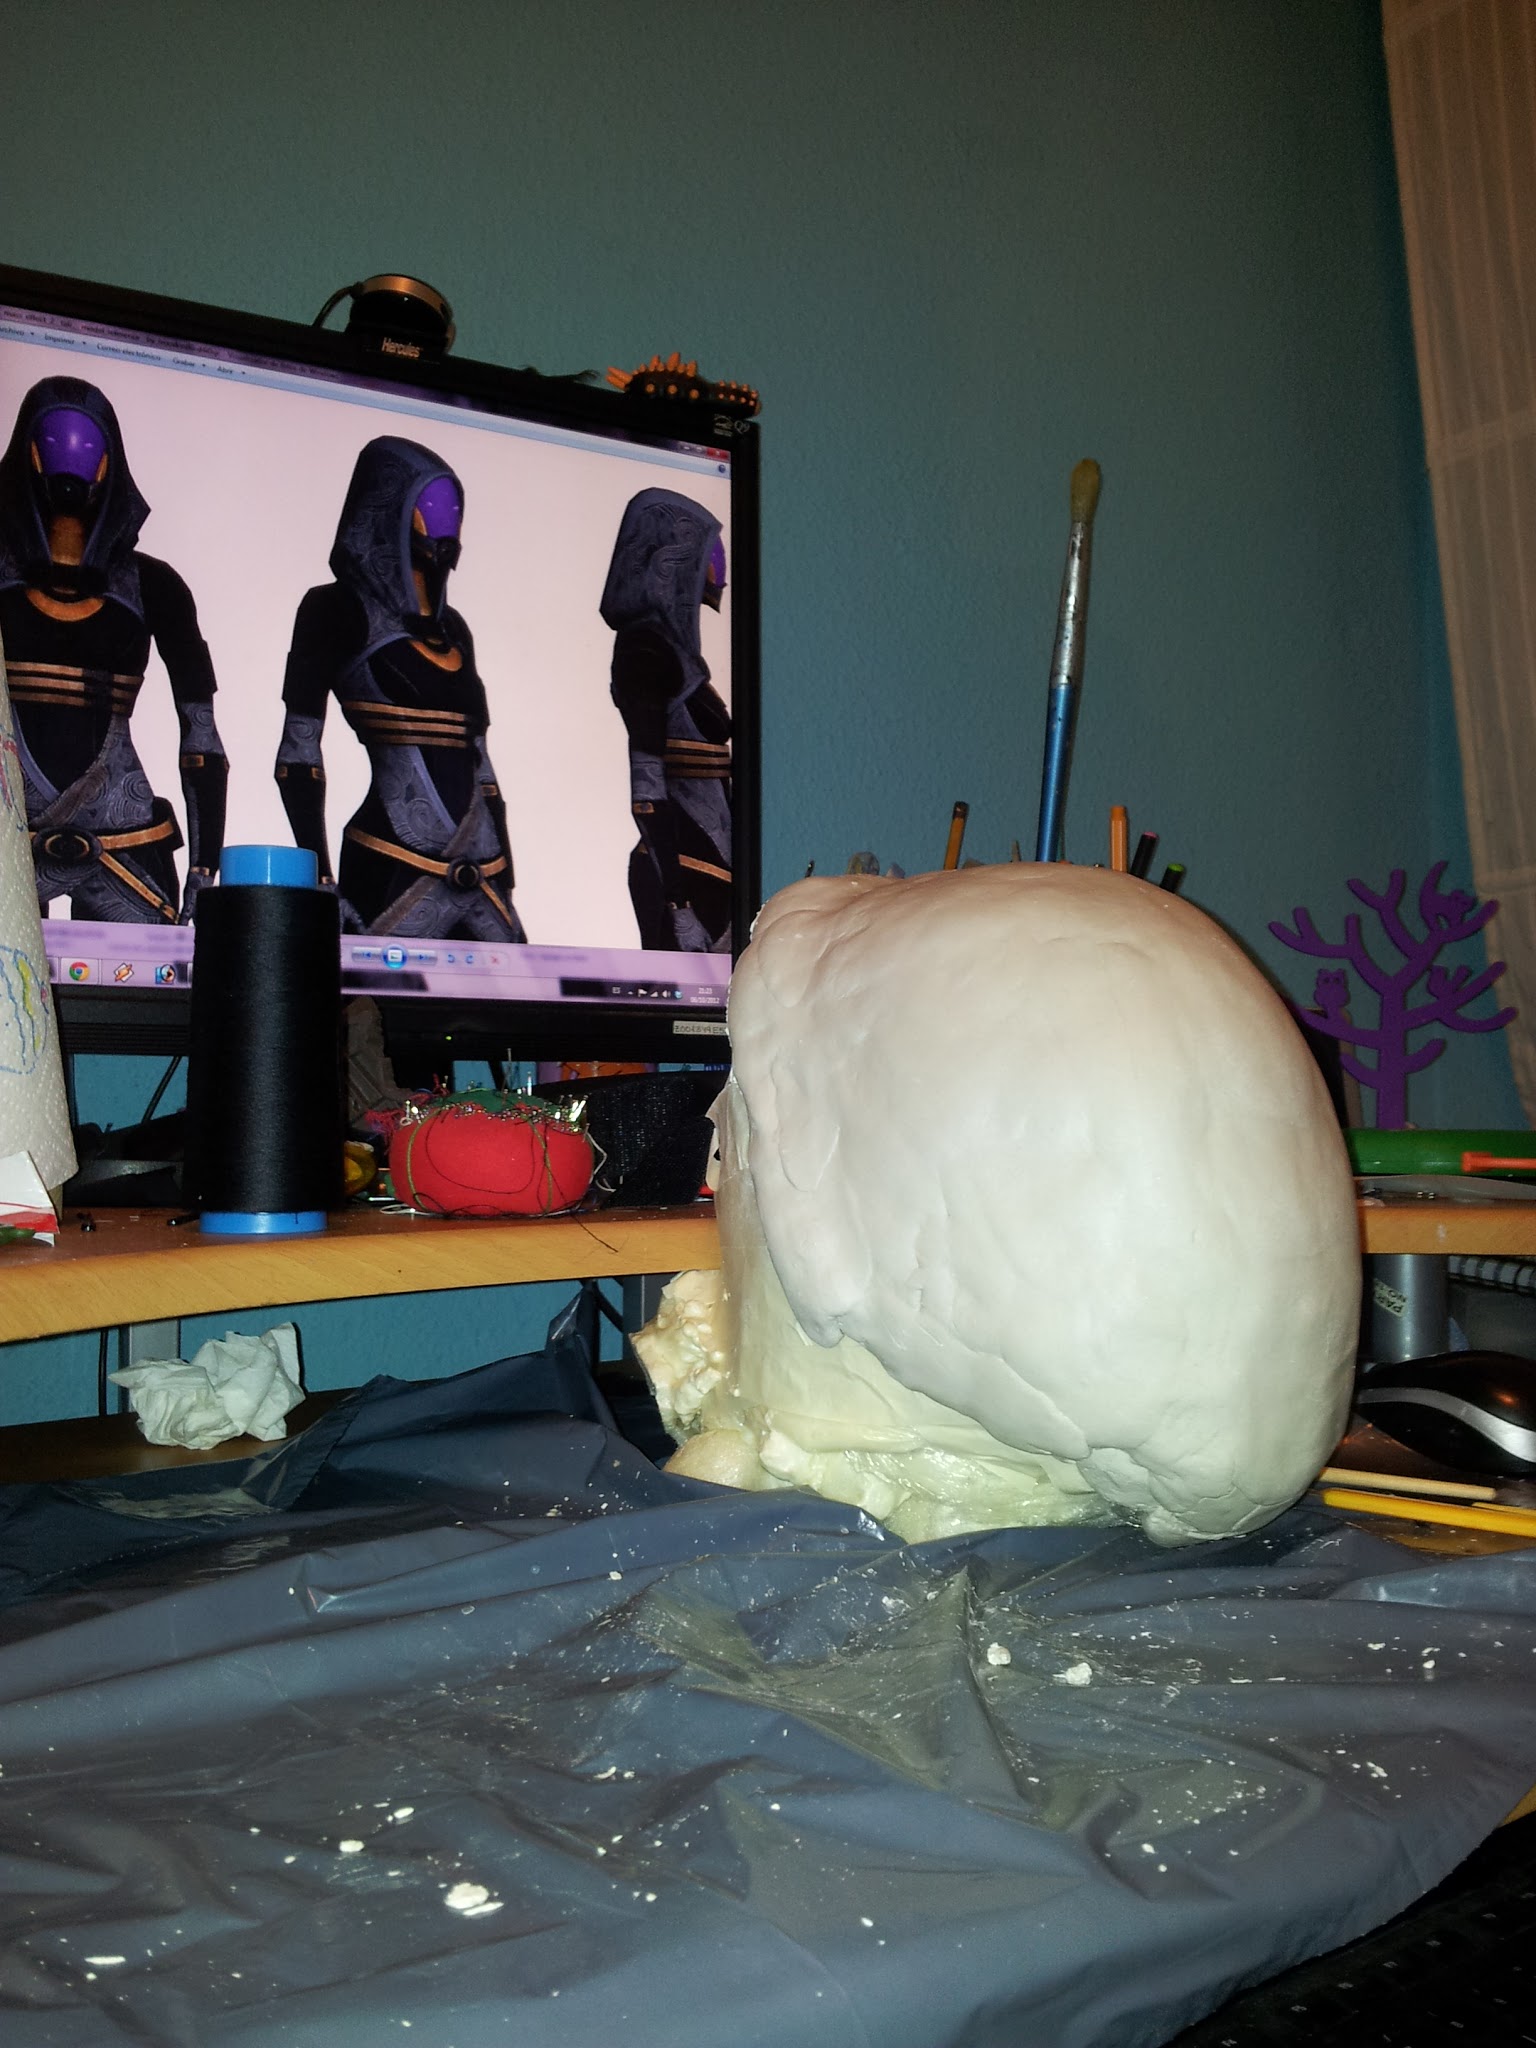
With the shape of the mask made, I let the clay dry for a couple of days and then I put Liteplast filler on top to sand it later and make it as smooth as possible.
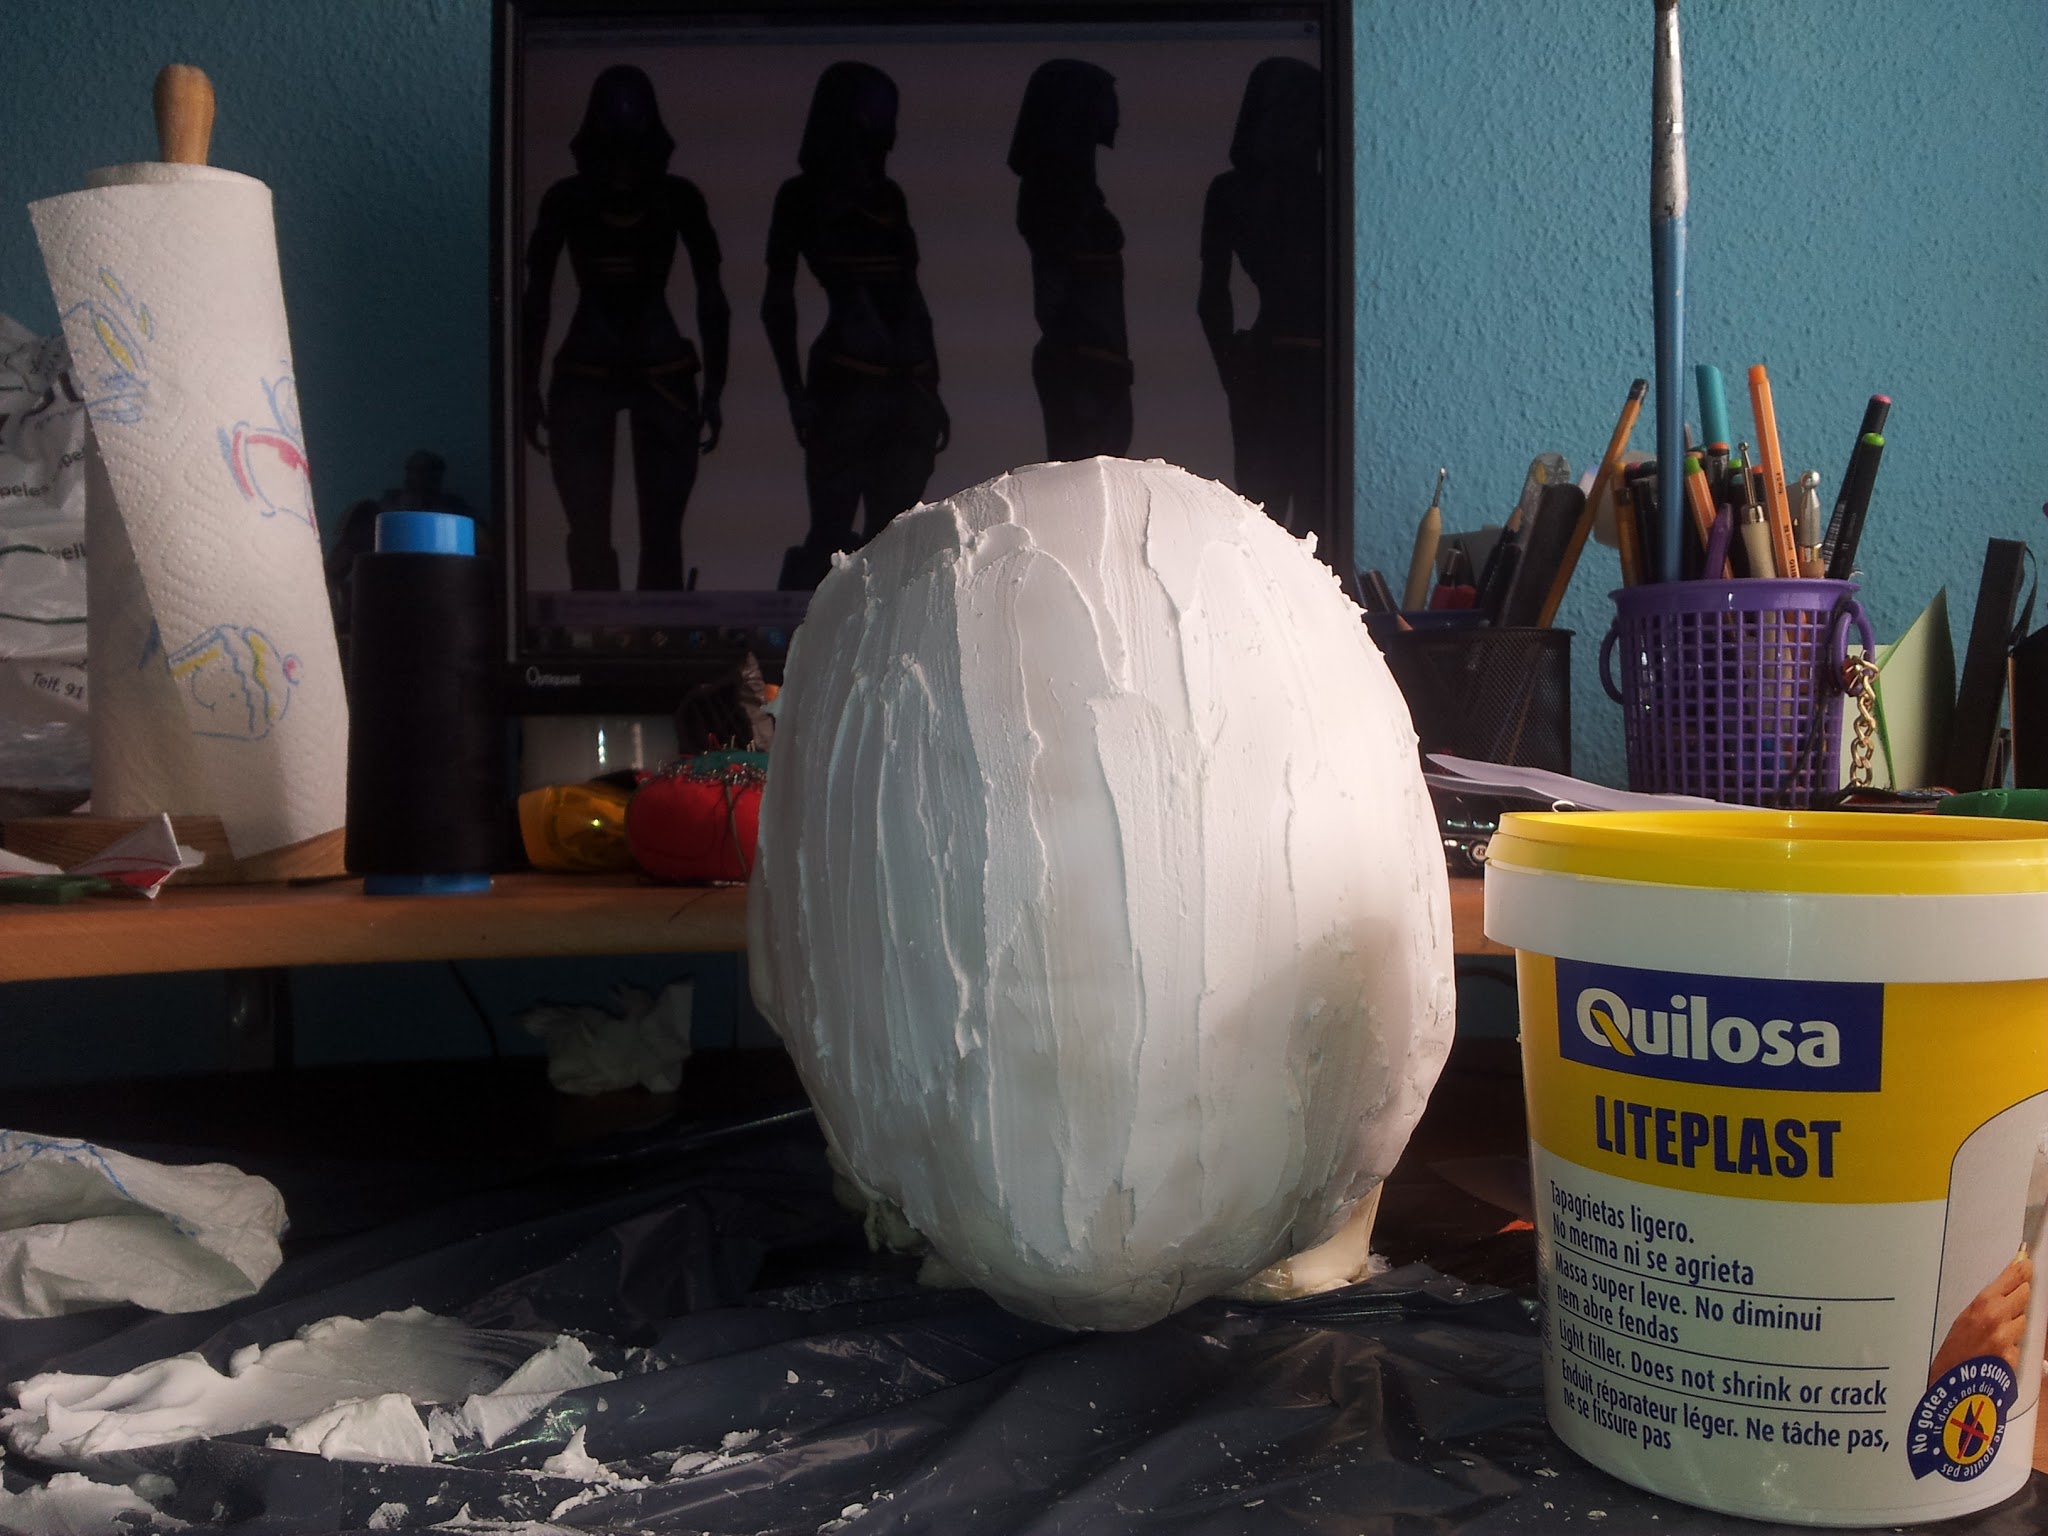
When it was dry, I started to sand it and, to my surprise, the Liteplast began to peel.

So what I did was remove all the Liteplast by peeling it like a medlar and tried sanding directly on the clay. Thank goodness it worked! I started sanding with coarse sandpaper to finish with wet sandpaper.
I only perfectly sanded the part of the mask that I knew was going to be visible. That’s why I didn’t mind leaving awkward reliefs on the sides and top.

And here comes the video. We recorded it because I think the best way to explain this is to see how vacuumforming is done directly. I haven’t put it in fast motion so you can see how the plastic is softening and how long it takes to do it.
We use 0.5mm PETG plastic.
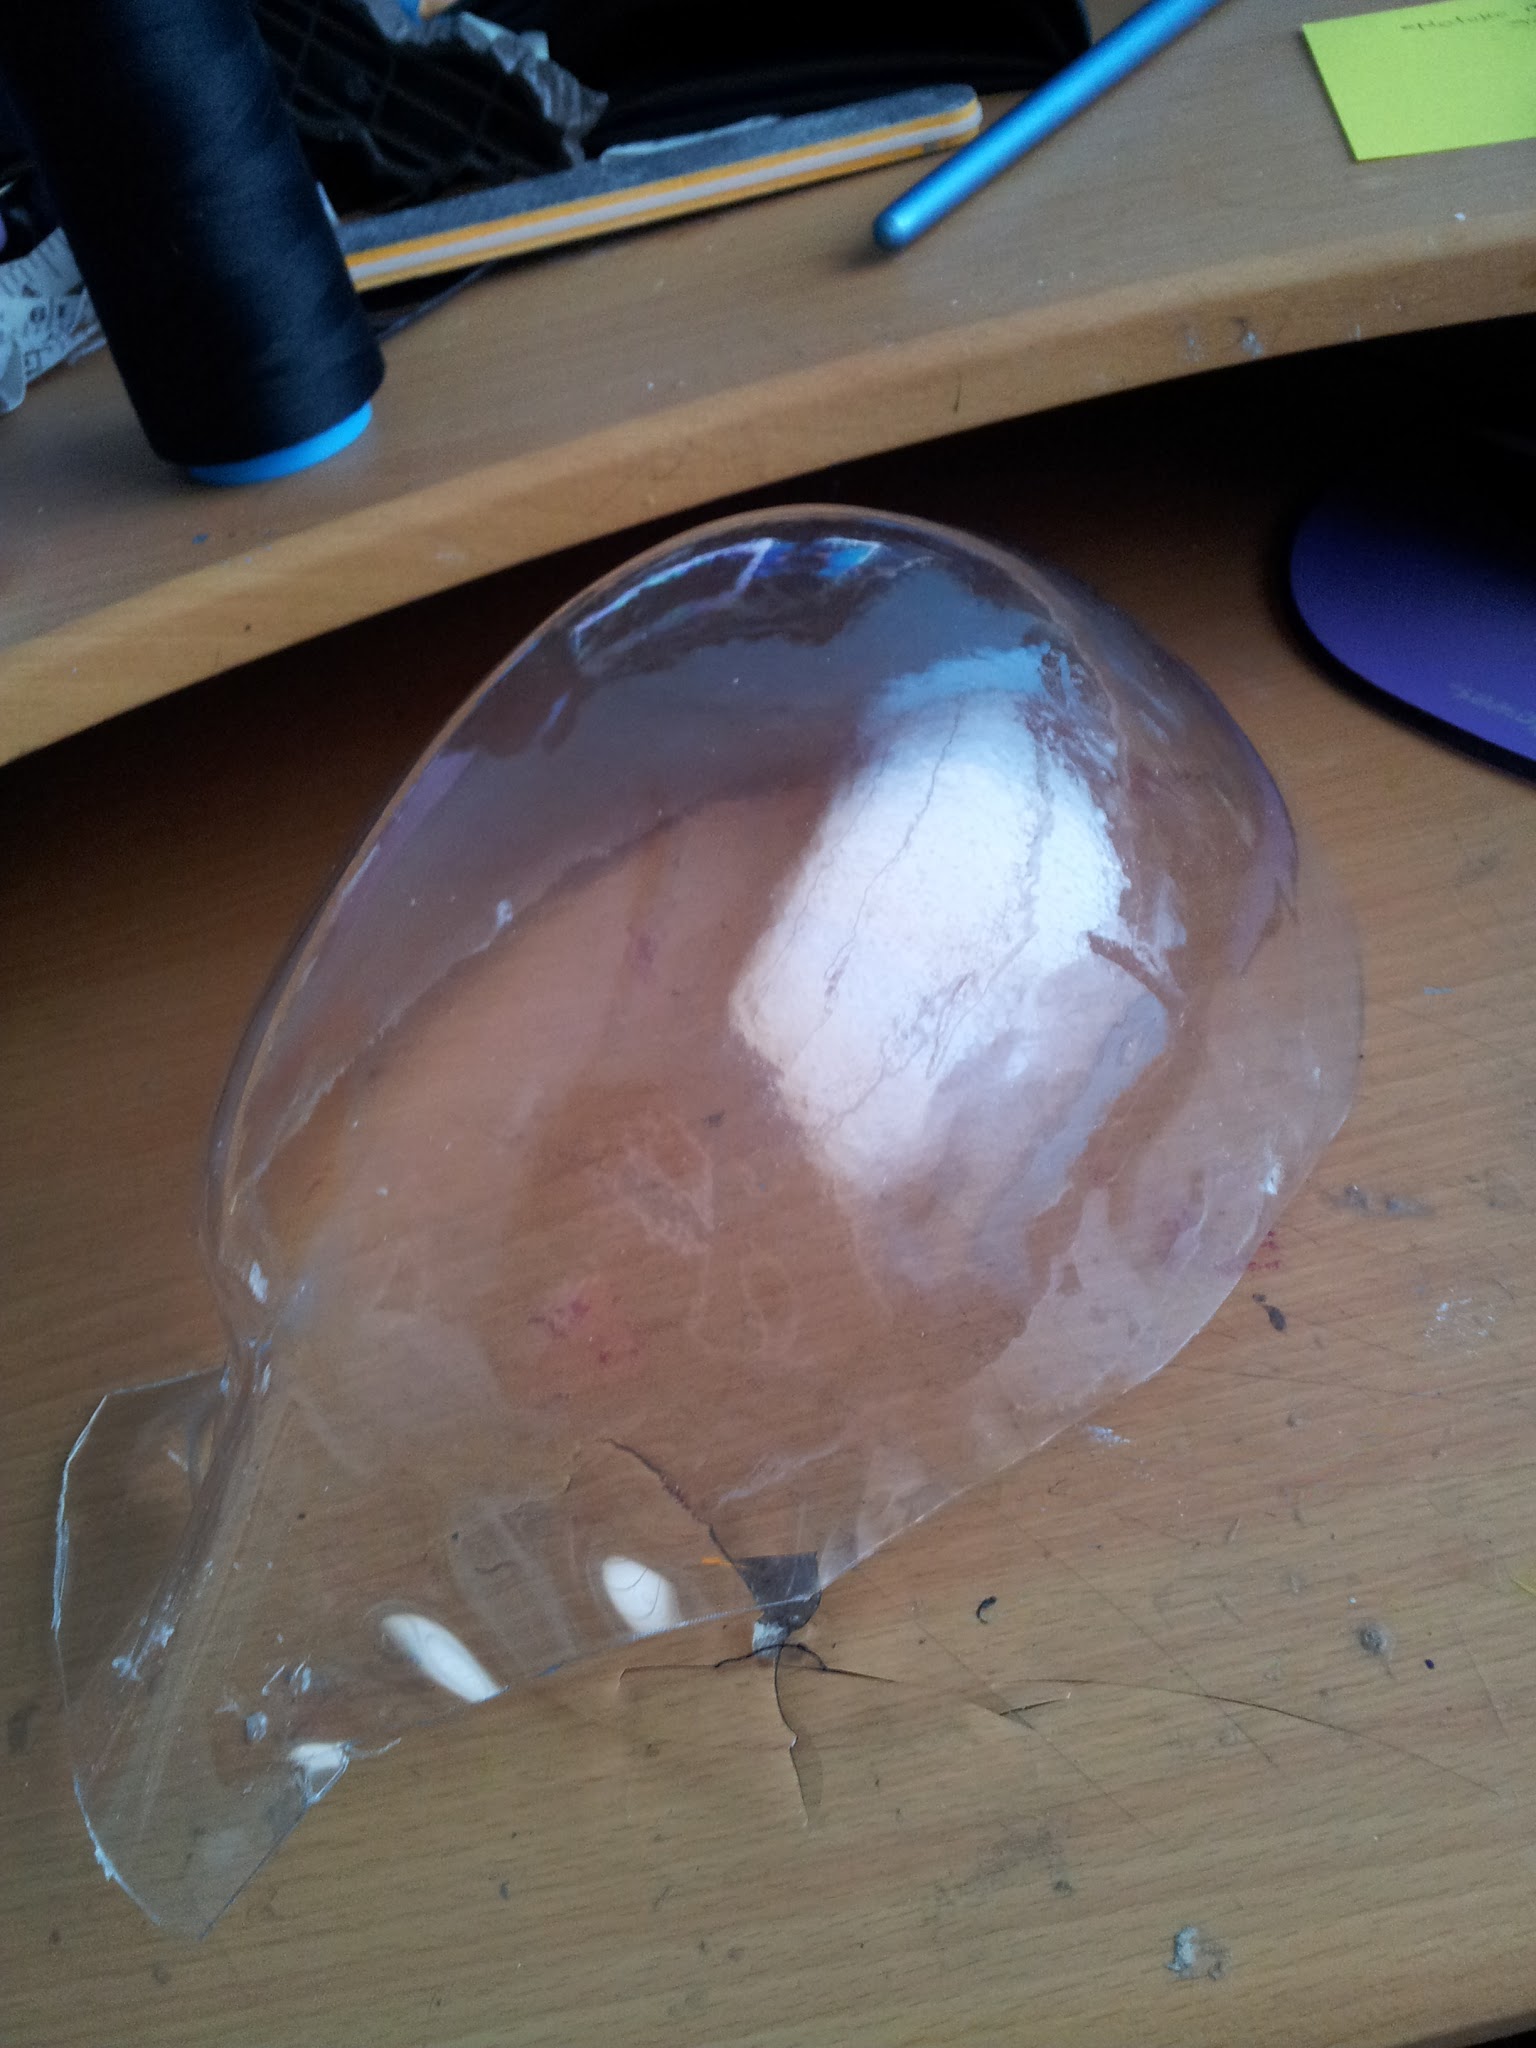 |
| ¡¡Ta-daaaaa!! |
After this my color odyssey began. Those of you who follow me on Twitter, what am I going to tell you? I spent a few days suffering because I had the idea of dyeing the plastic with clothing dyes. I had recently done a test with Iberia dyes which had turned out very well. Well, it turns out that now they have changed the formula of the dyes and they are no longer suitable for plastic.
Quick and fast, I ordered Rit Dye on Ebay, the dyes they use in the US to tint visors and, once again, the experiment turned out fatal. The water in the pot had to be so hot that the plastic deformed a lot. I made several attempts and nothing worked.
 |
| Los intentos. |
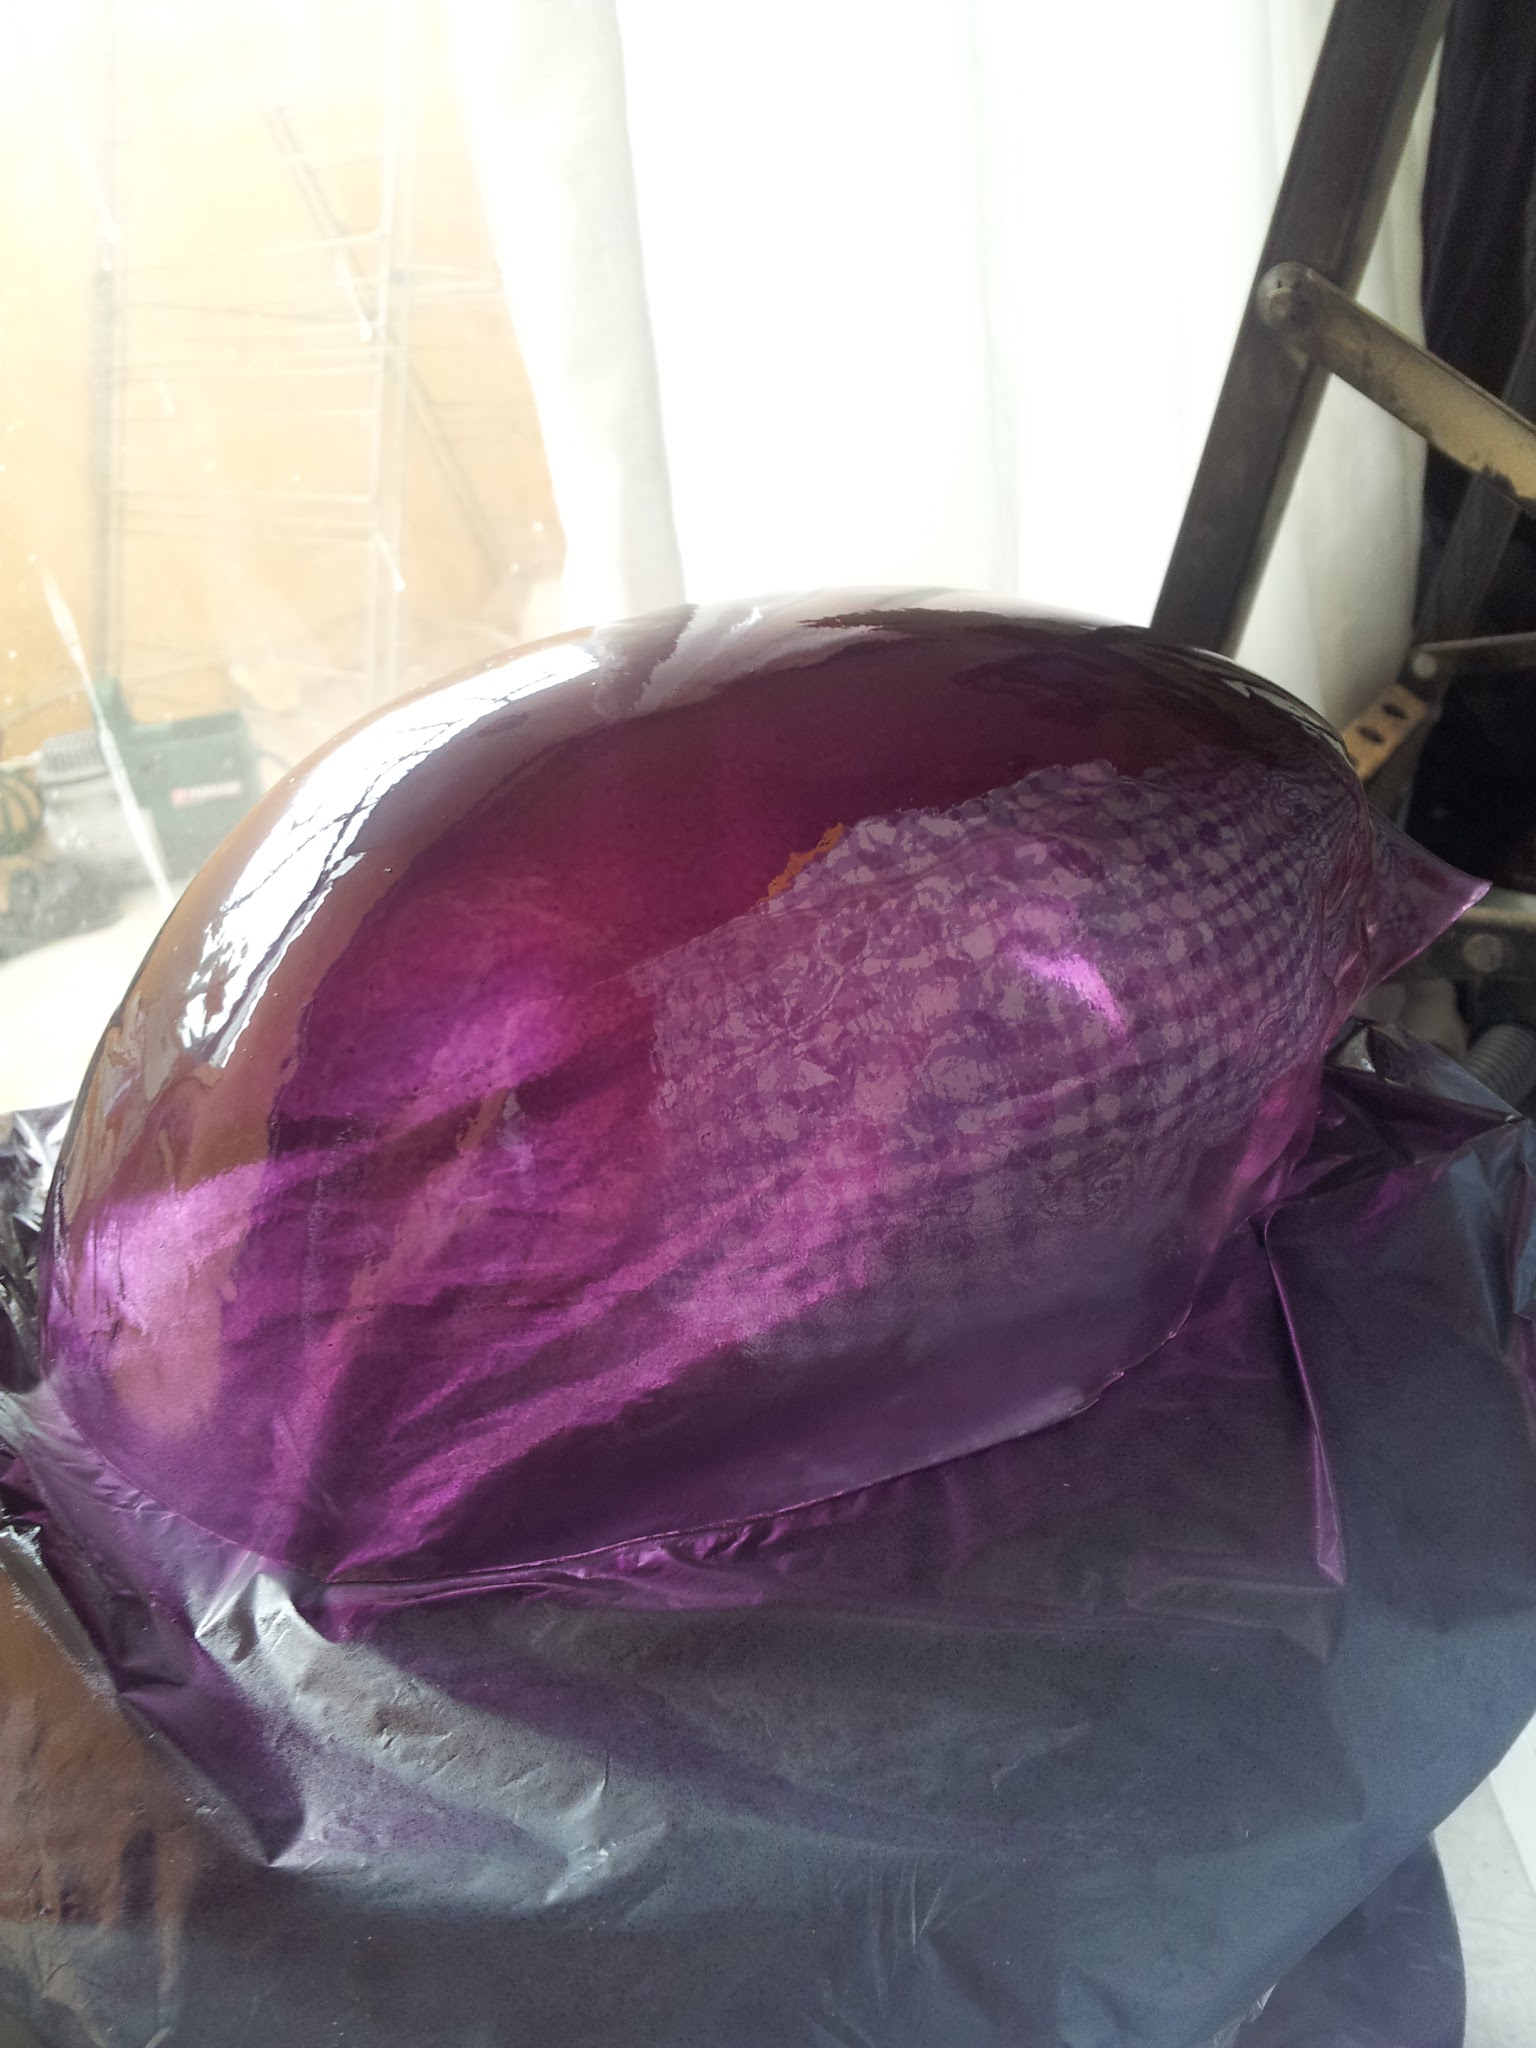
In the end, in a desperate attempt, we tried mixing 3/4 bulb lacquer with 1/4 turpentine and applying it with an airbrush . And so we finally managed to tint the viewfinder (which is what you see in the video-spoiler).
 |
| We mixed purple and a little bit of pink paint. |

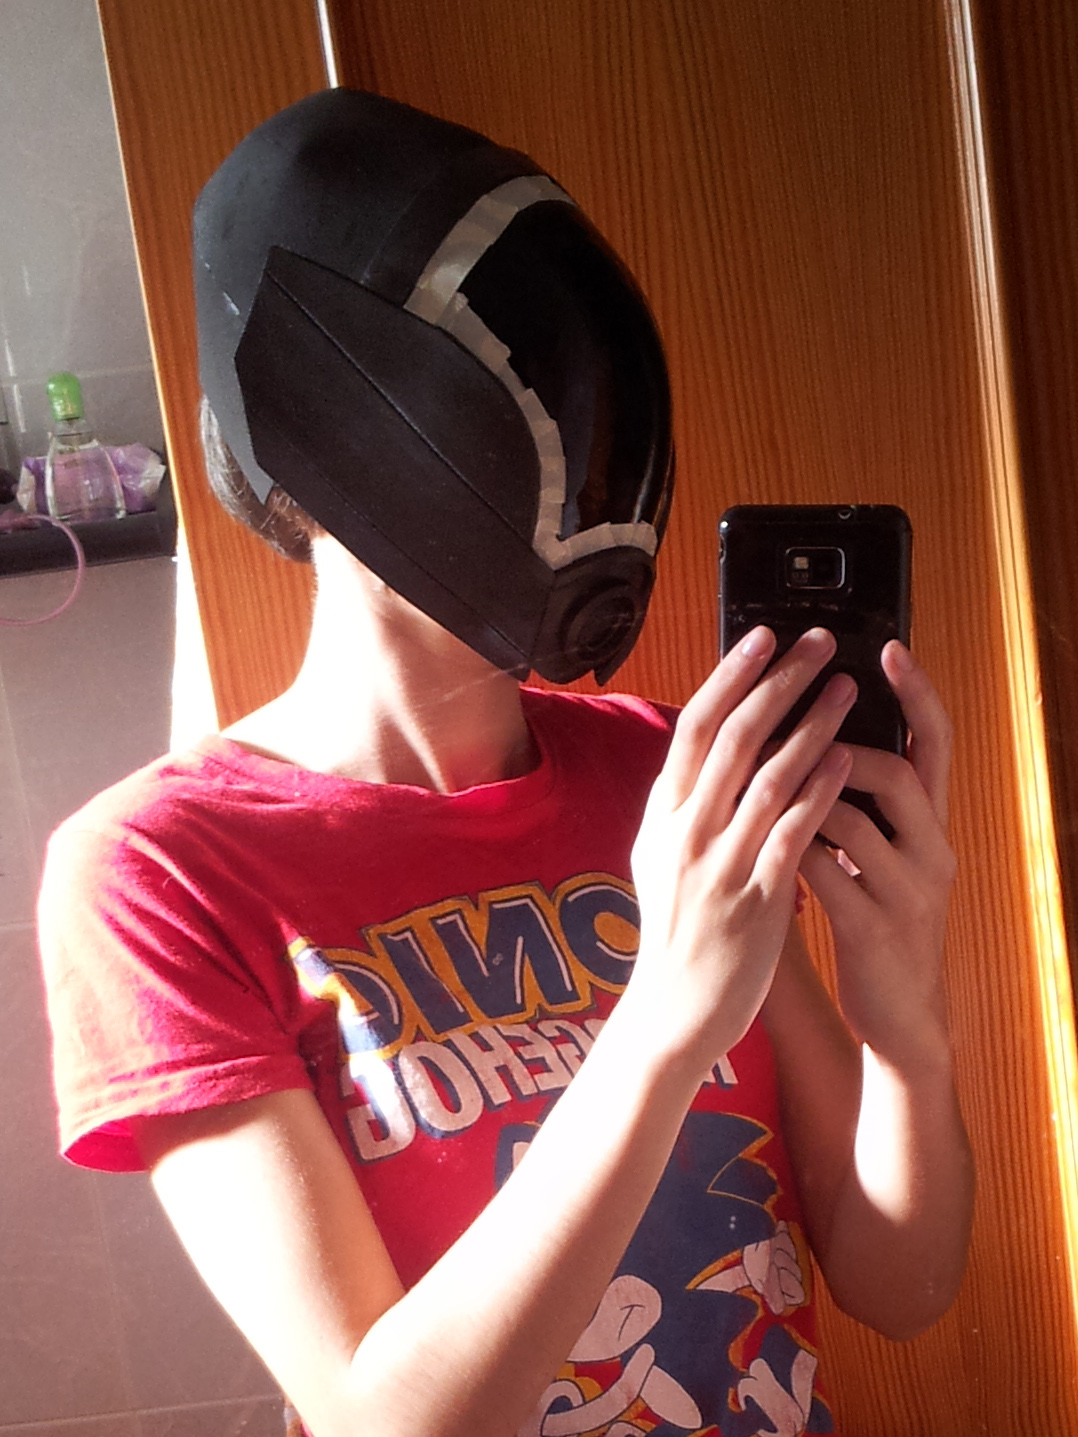
After this I was able to start removing the structure of the mask, which I did in a couple of afternoons with its errors and reconstructions included.
We took out another head of mine to make the patterns for the mask on top.
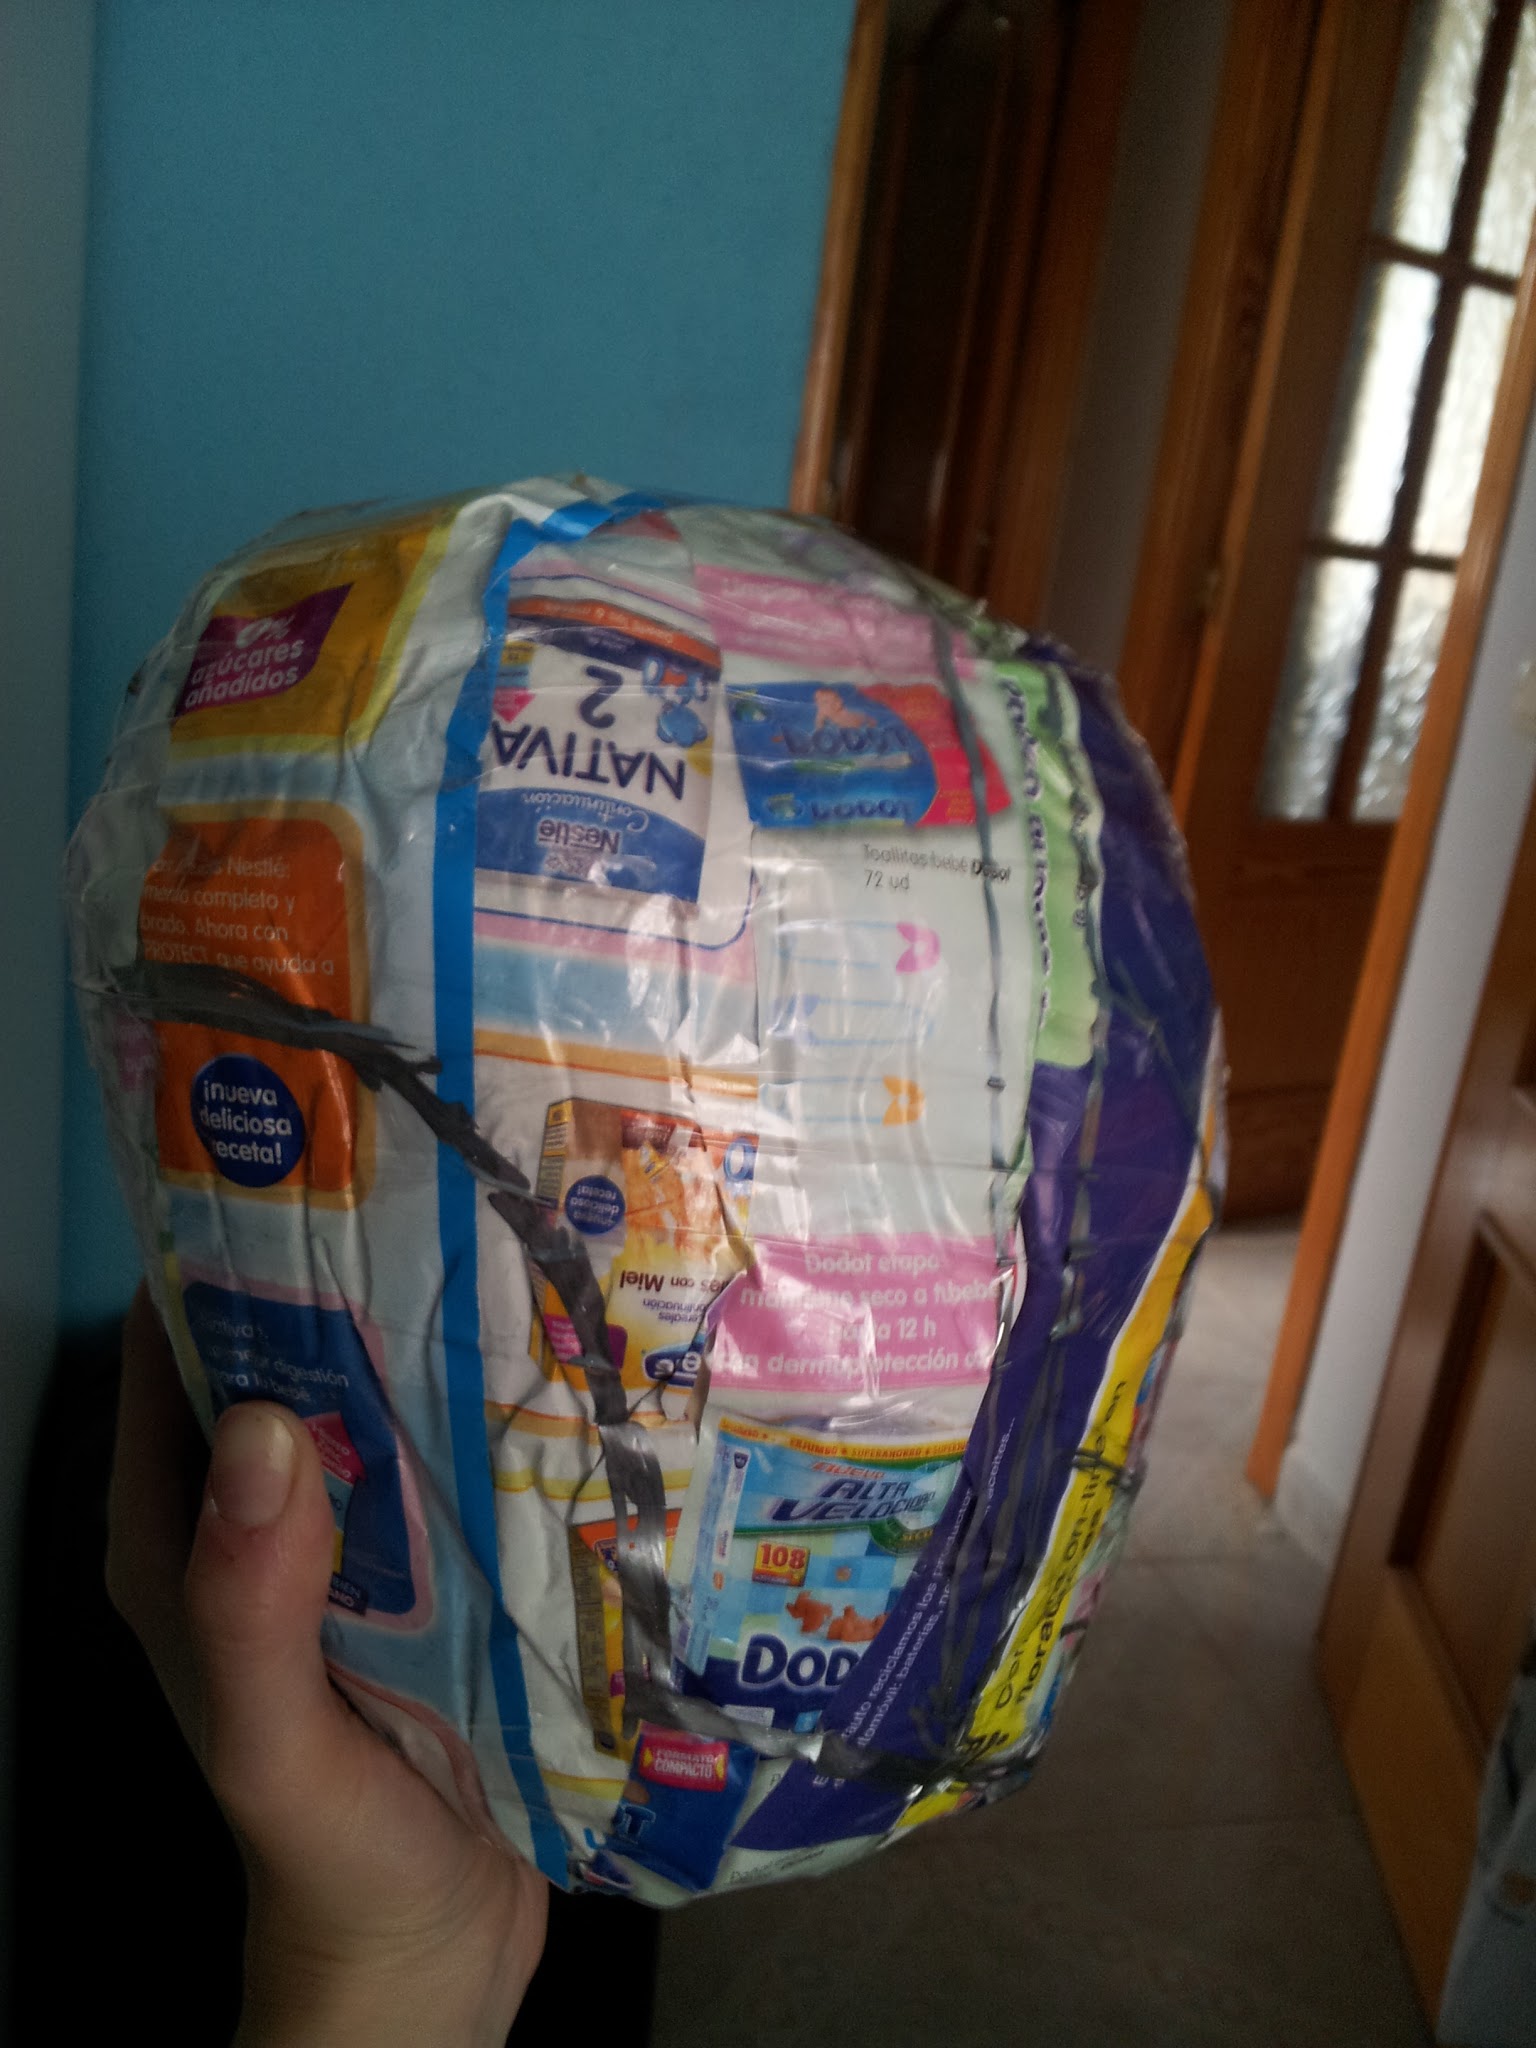


I cut the pattern that came out into different pieces so that I could draw them flat on the EVA foam and so that they would be shaped like a helmet when joined together. Yes, this is how people make their foam helmets.

I drew the patterns and I assembled the foam parts using hot glue. (*I lately learned that CA glue and contact cement are the ultimate choices for this task. Much better than the hot glue).


 |
| Oh, yeah |
 |
| Very well. |
 |
| Looking good. |
 |
| Beautiful. |
 |
| Dazzling. |
 |
| ¡Craaap!! It looks awful! |
Well yes, that first attempt at the mask structure was too big for me and made me stubborn. It was all made of 5mm thick EVA rubber and it gave me a lot of unwanted volume. So I threw it away and made a new one.
It was quite difficult for me to get the exact shape of the front part and it is much smaller than it may seem at first glance.
I made the part that you see in front and I tried it on until I managed to put it in the place and angle that seemed right to me. I made it with 5mm thick EVA foam.


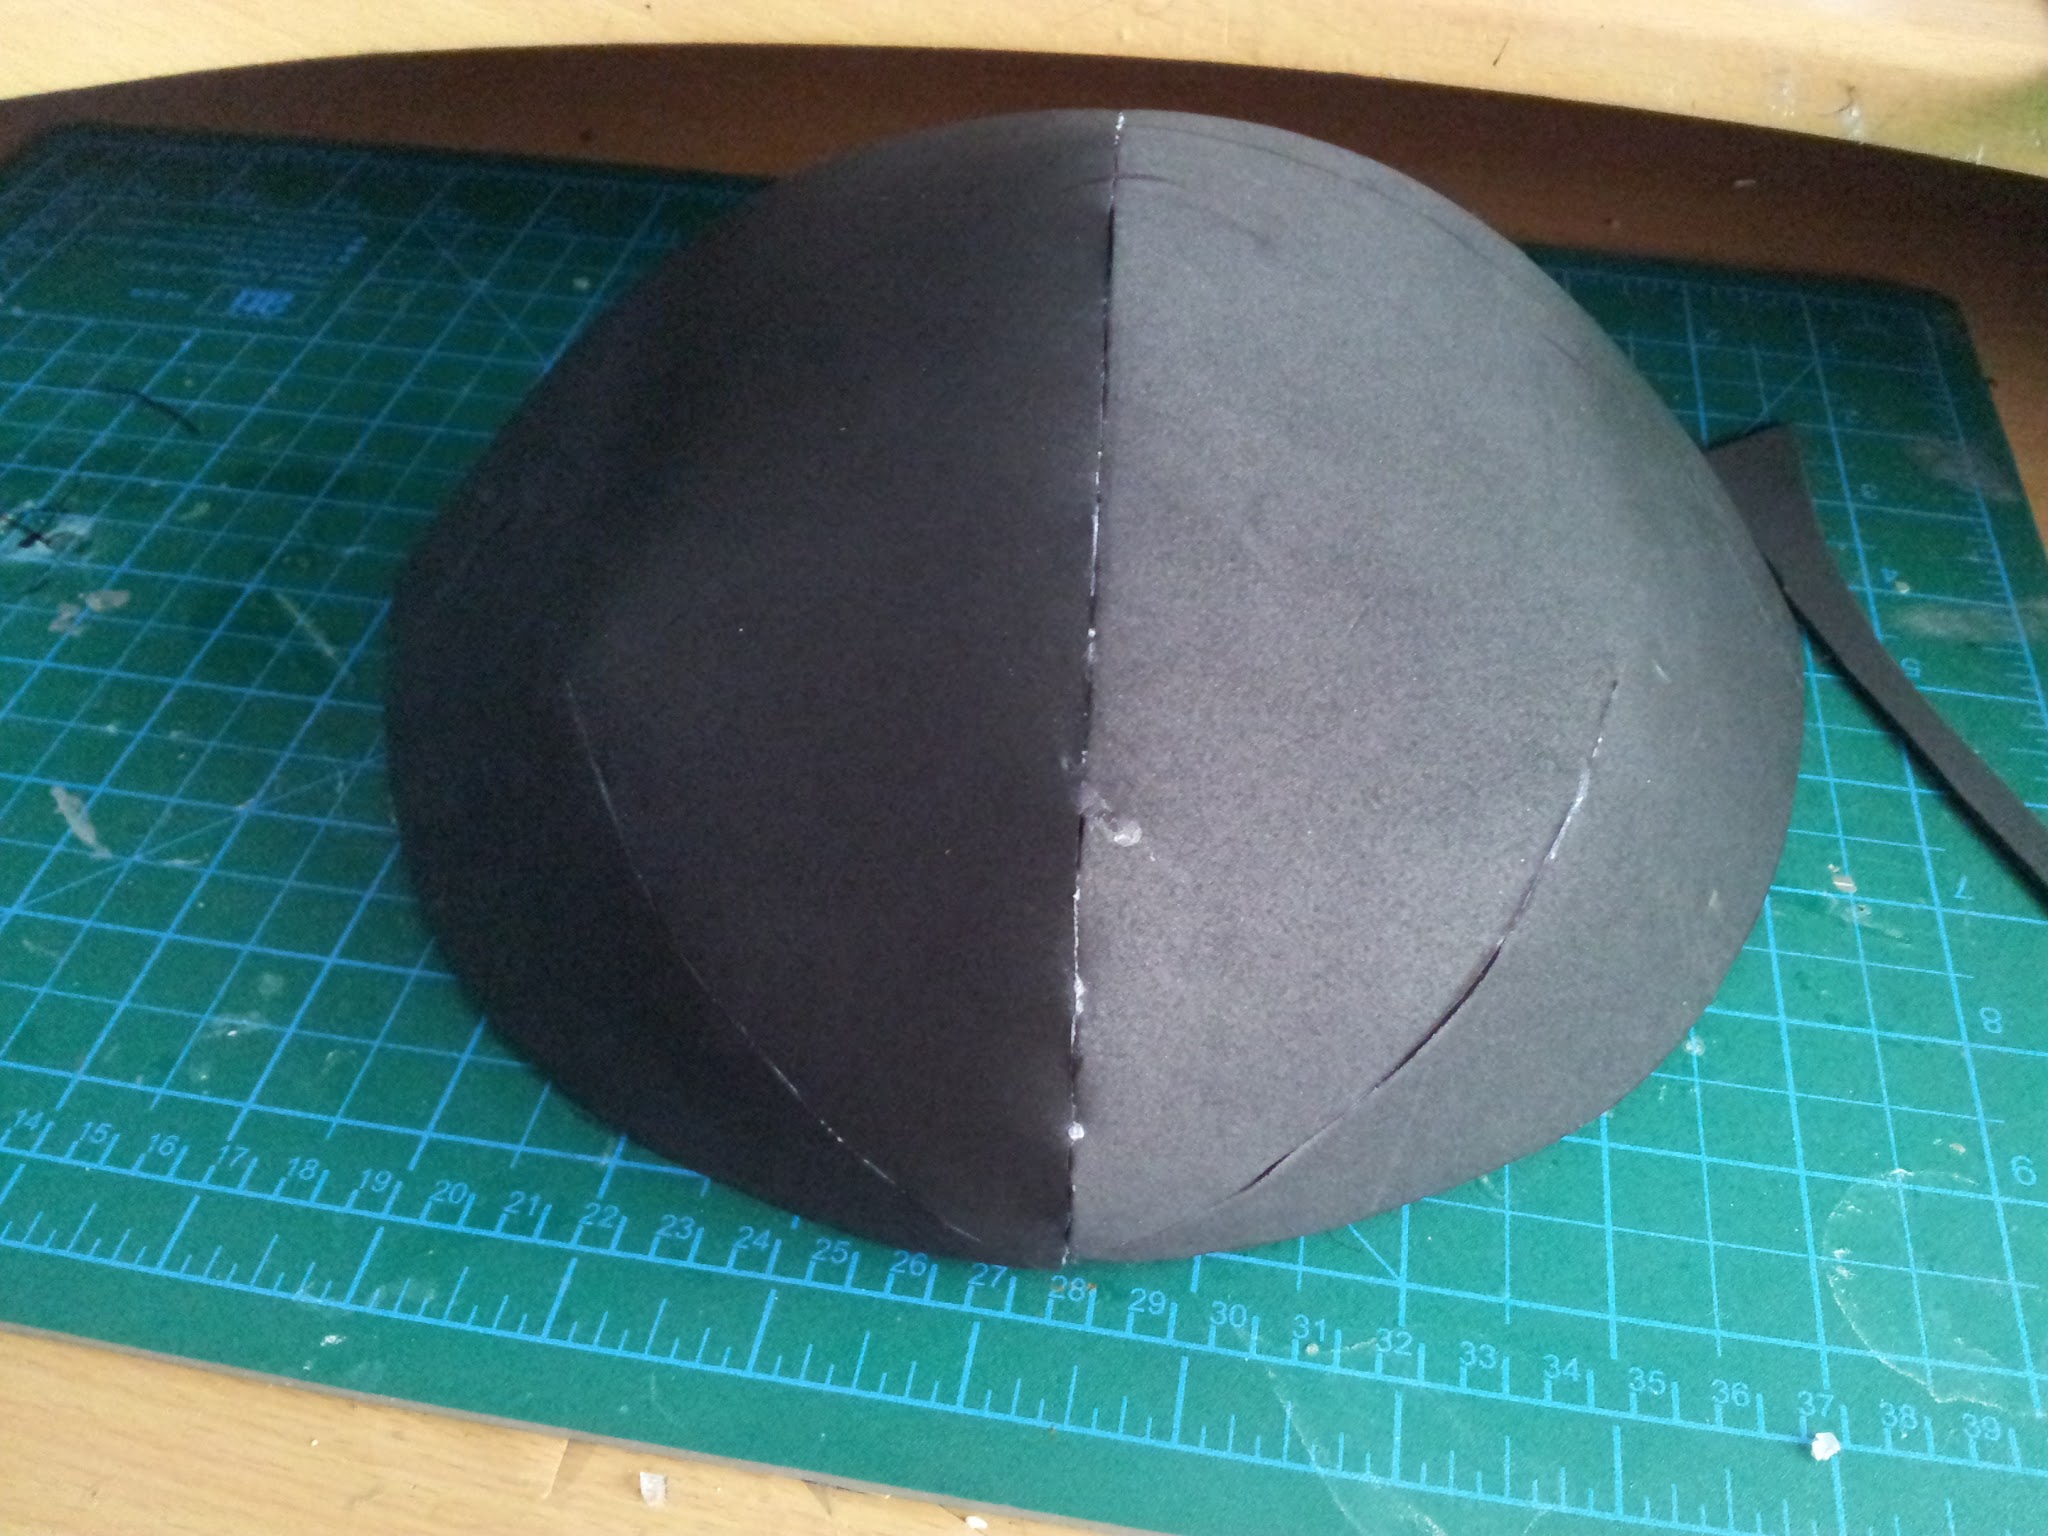
I made a very simple helmet with 2mm EVA foam, again taking the pattern from my head.
 |
| Patrón extendido de media cabeza. |
I made two half-head patterns out of foam, one for the right side and one for the left (I’m sorry if this looks like Sesame Street, but I prefer to skip the explanations rather than assuming it’s understood). I joined them with cyanoacrylate glue on the edges trying to make the joints as little noticeable as possible (without much success).
 |
I added a few more pieces to make it hold better on my head.

I tried it on to see how it looked.
 |
| Yayyyyyyyy!! |
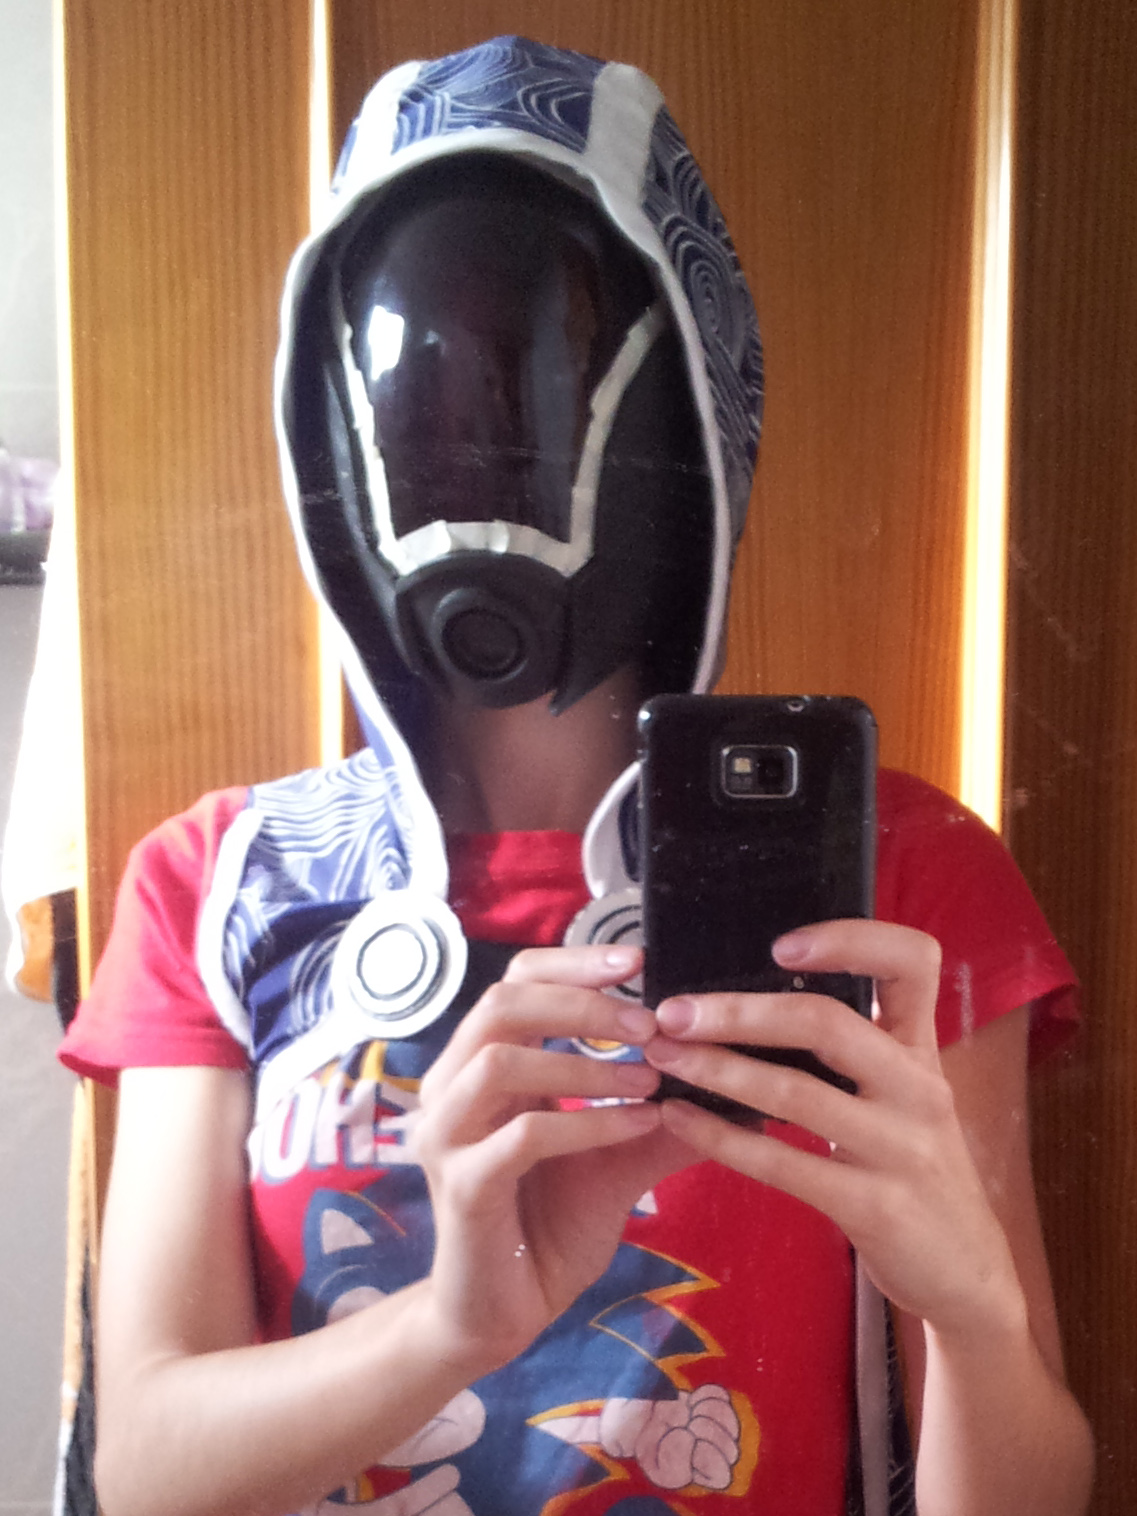
I put masking tape around the edges of the visor so it wouldn’t get damaged when priming and painting it. I primed the EVA foam with vinyl latex.
And I finally joined everything with CA glue.

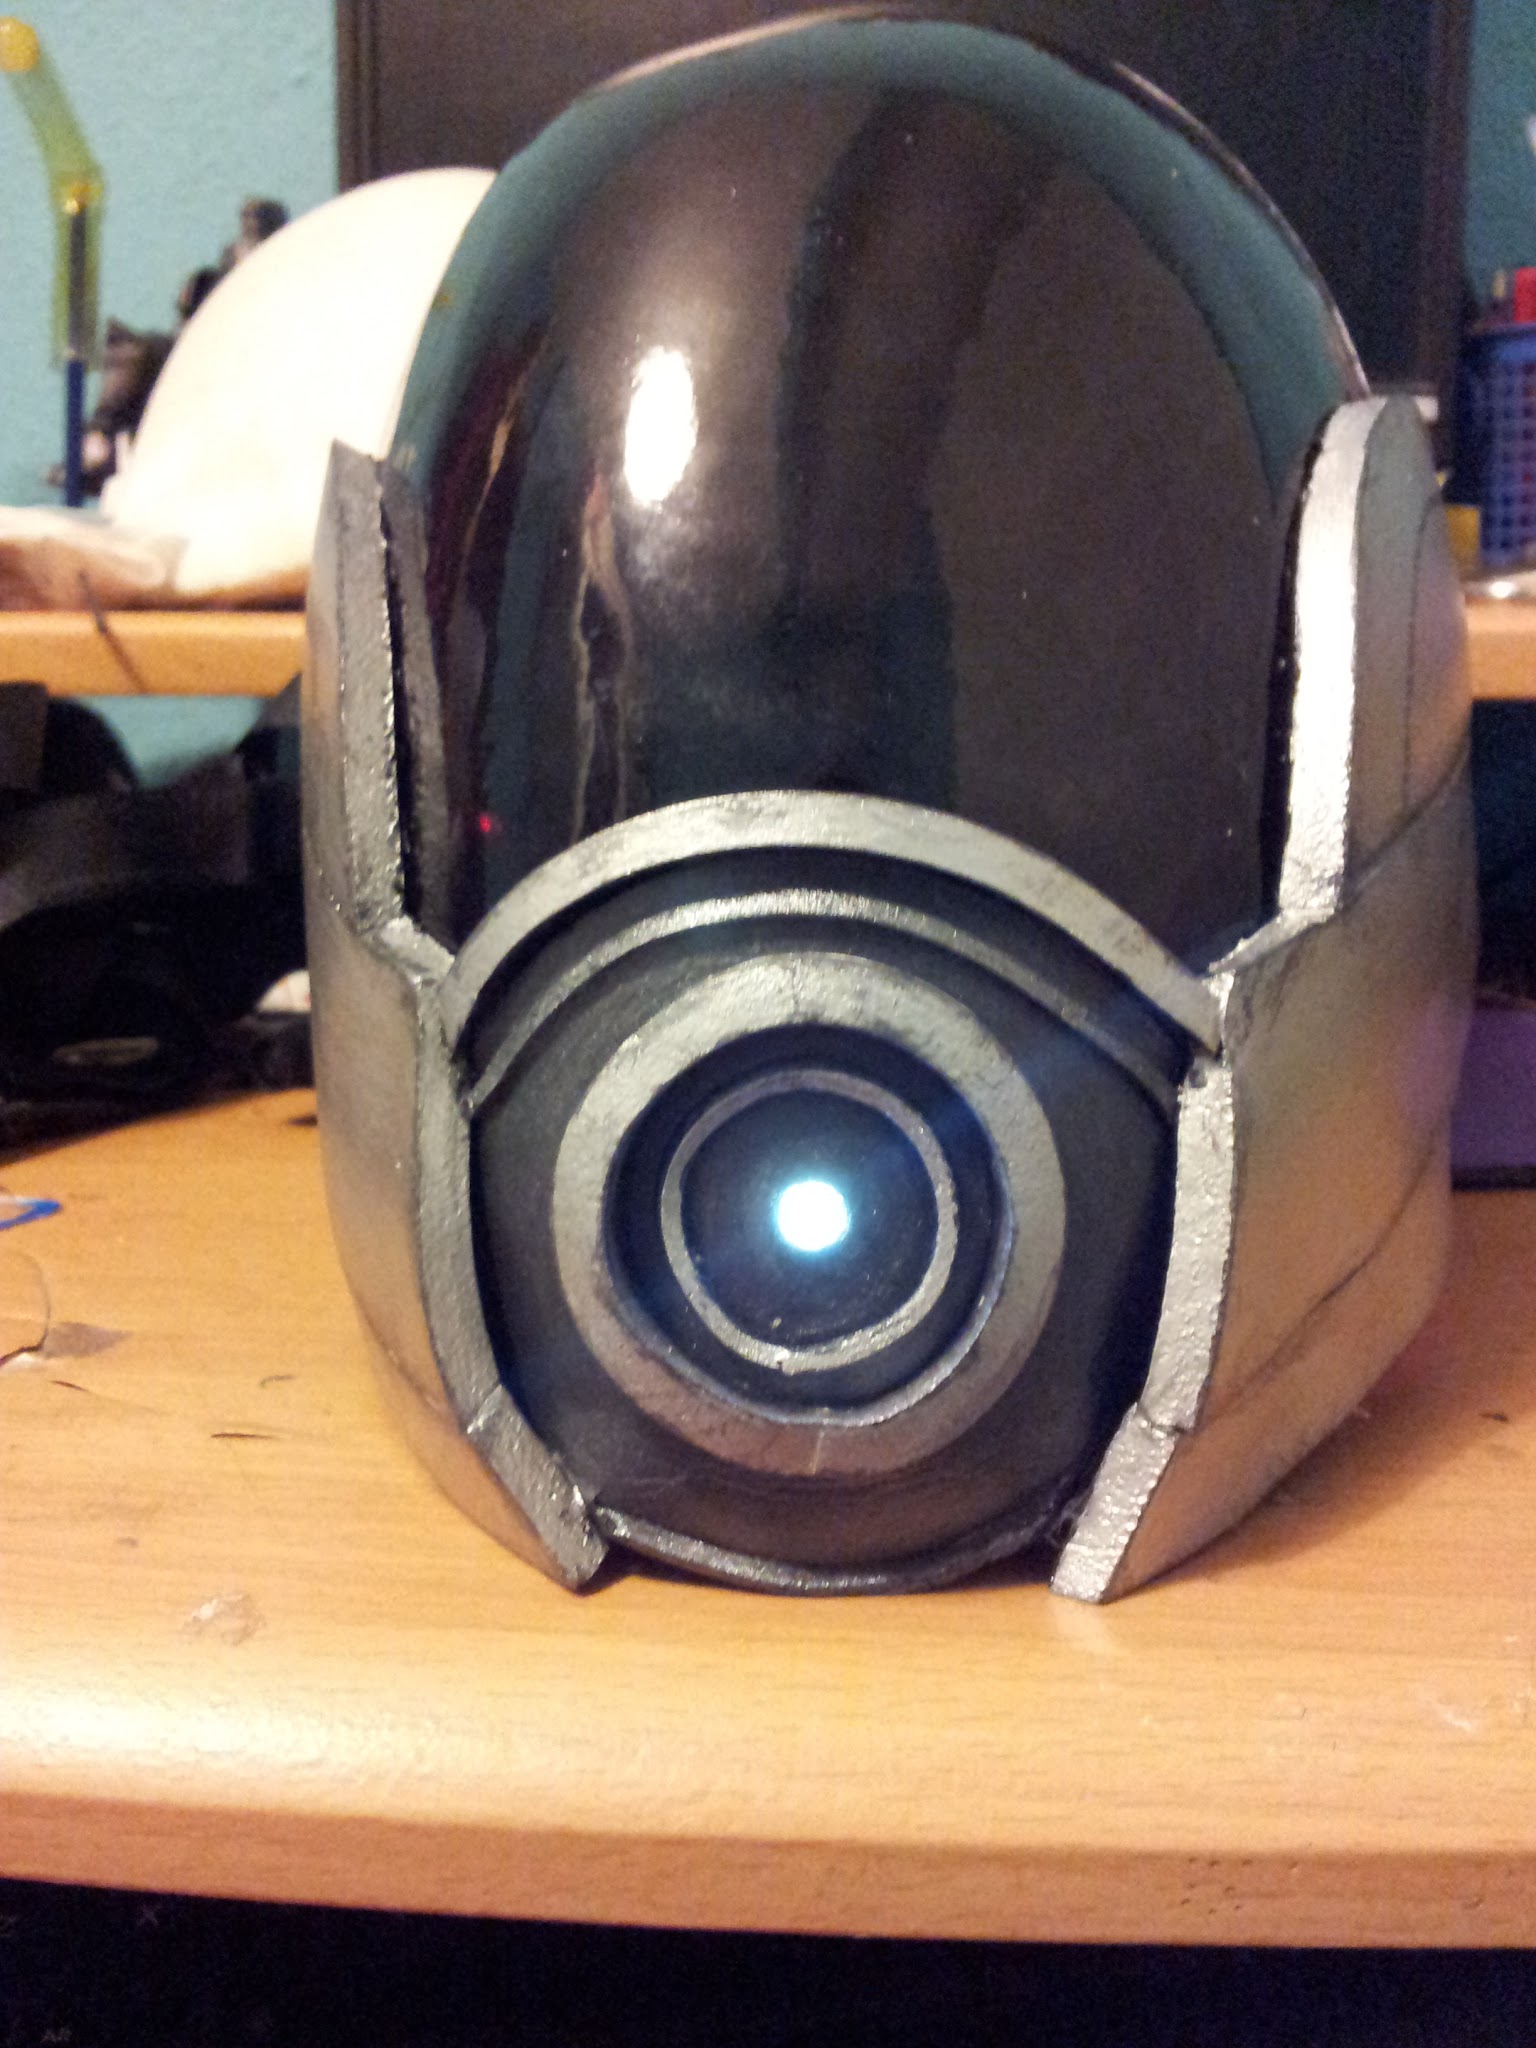
I painted it, tried it on, put some details here and there.


We added the LED with the vumeter, which is an electronic circuit that causes an LED to be activated by voice . It’s a kit we bought at Diotronic . It comes with all the necessary components and a guide to solder everything.

Erik was in charge of assembling it and changing one of the red LEDs it came with for a white one with a cable so that it reached the mouth area.
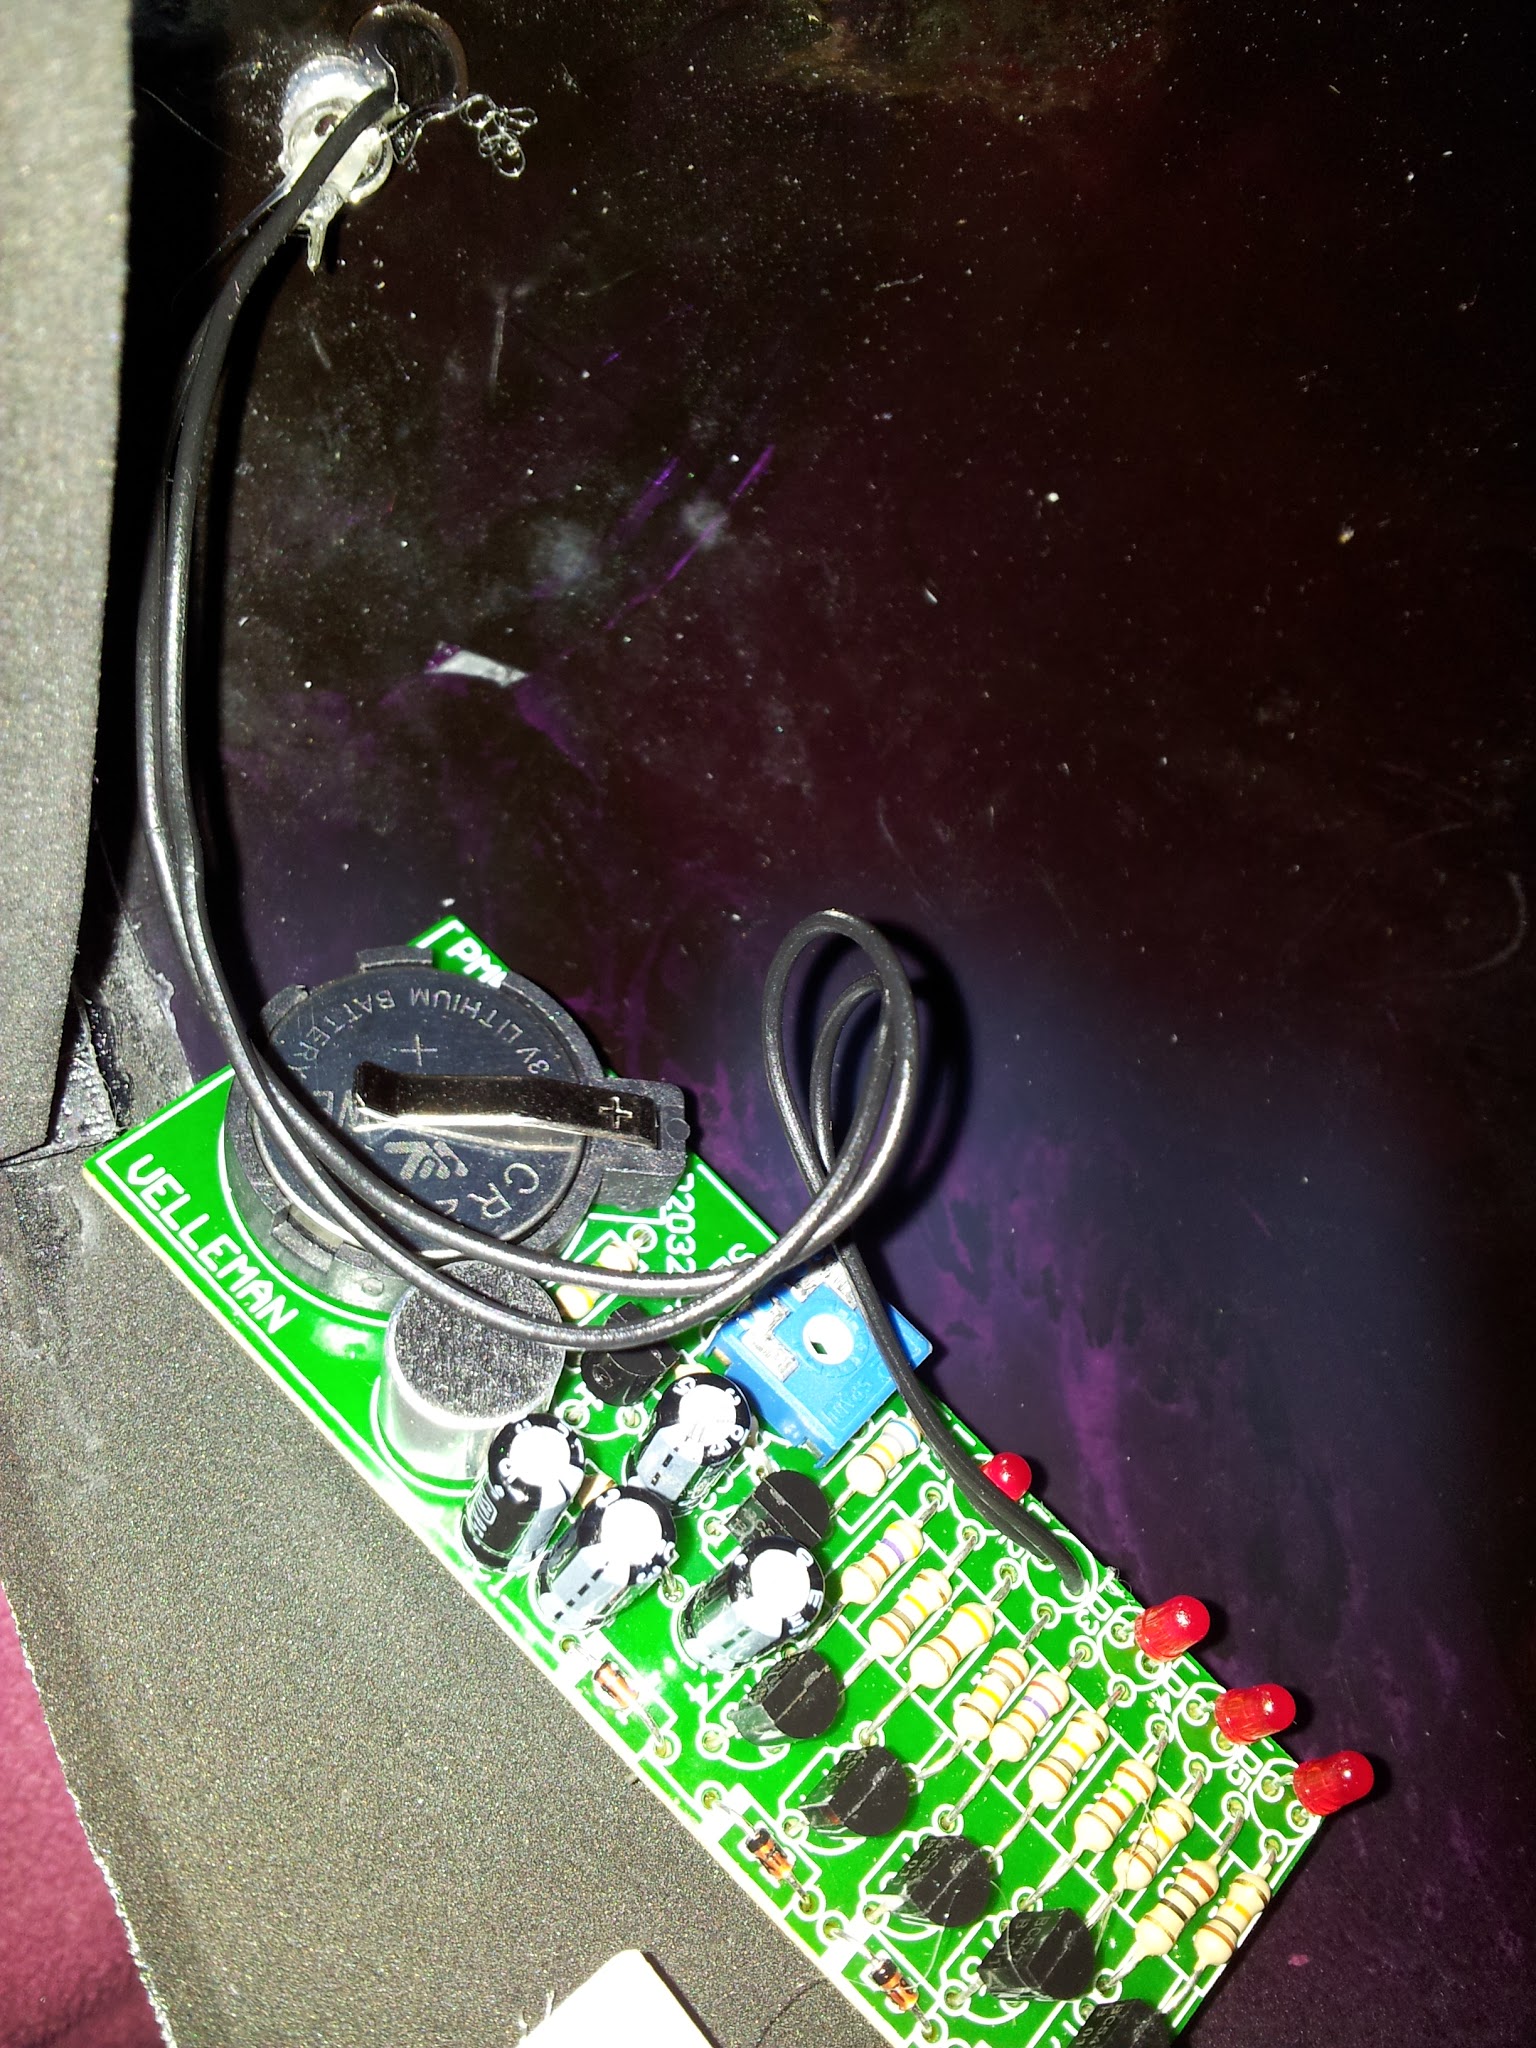
Then it’s curious because it didn’t work at the convention. There was so much background noise that he became overloaded. I’m really sorry because it’s really cool and only works in quiet places.
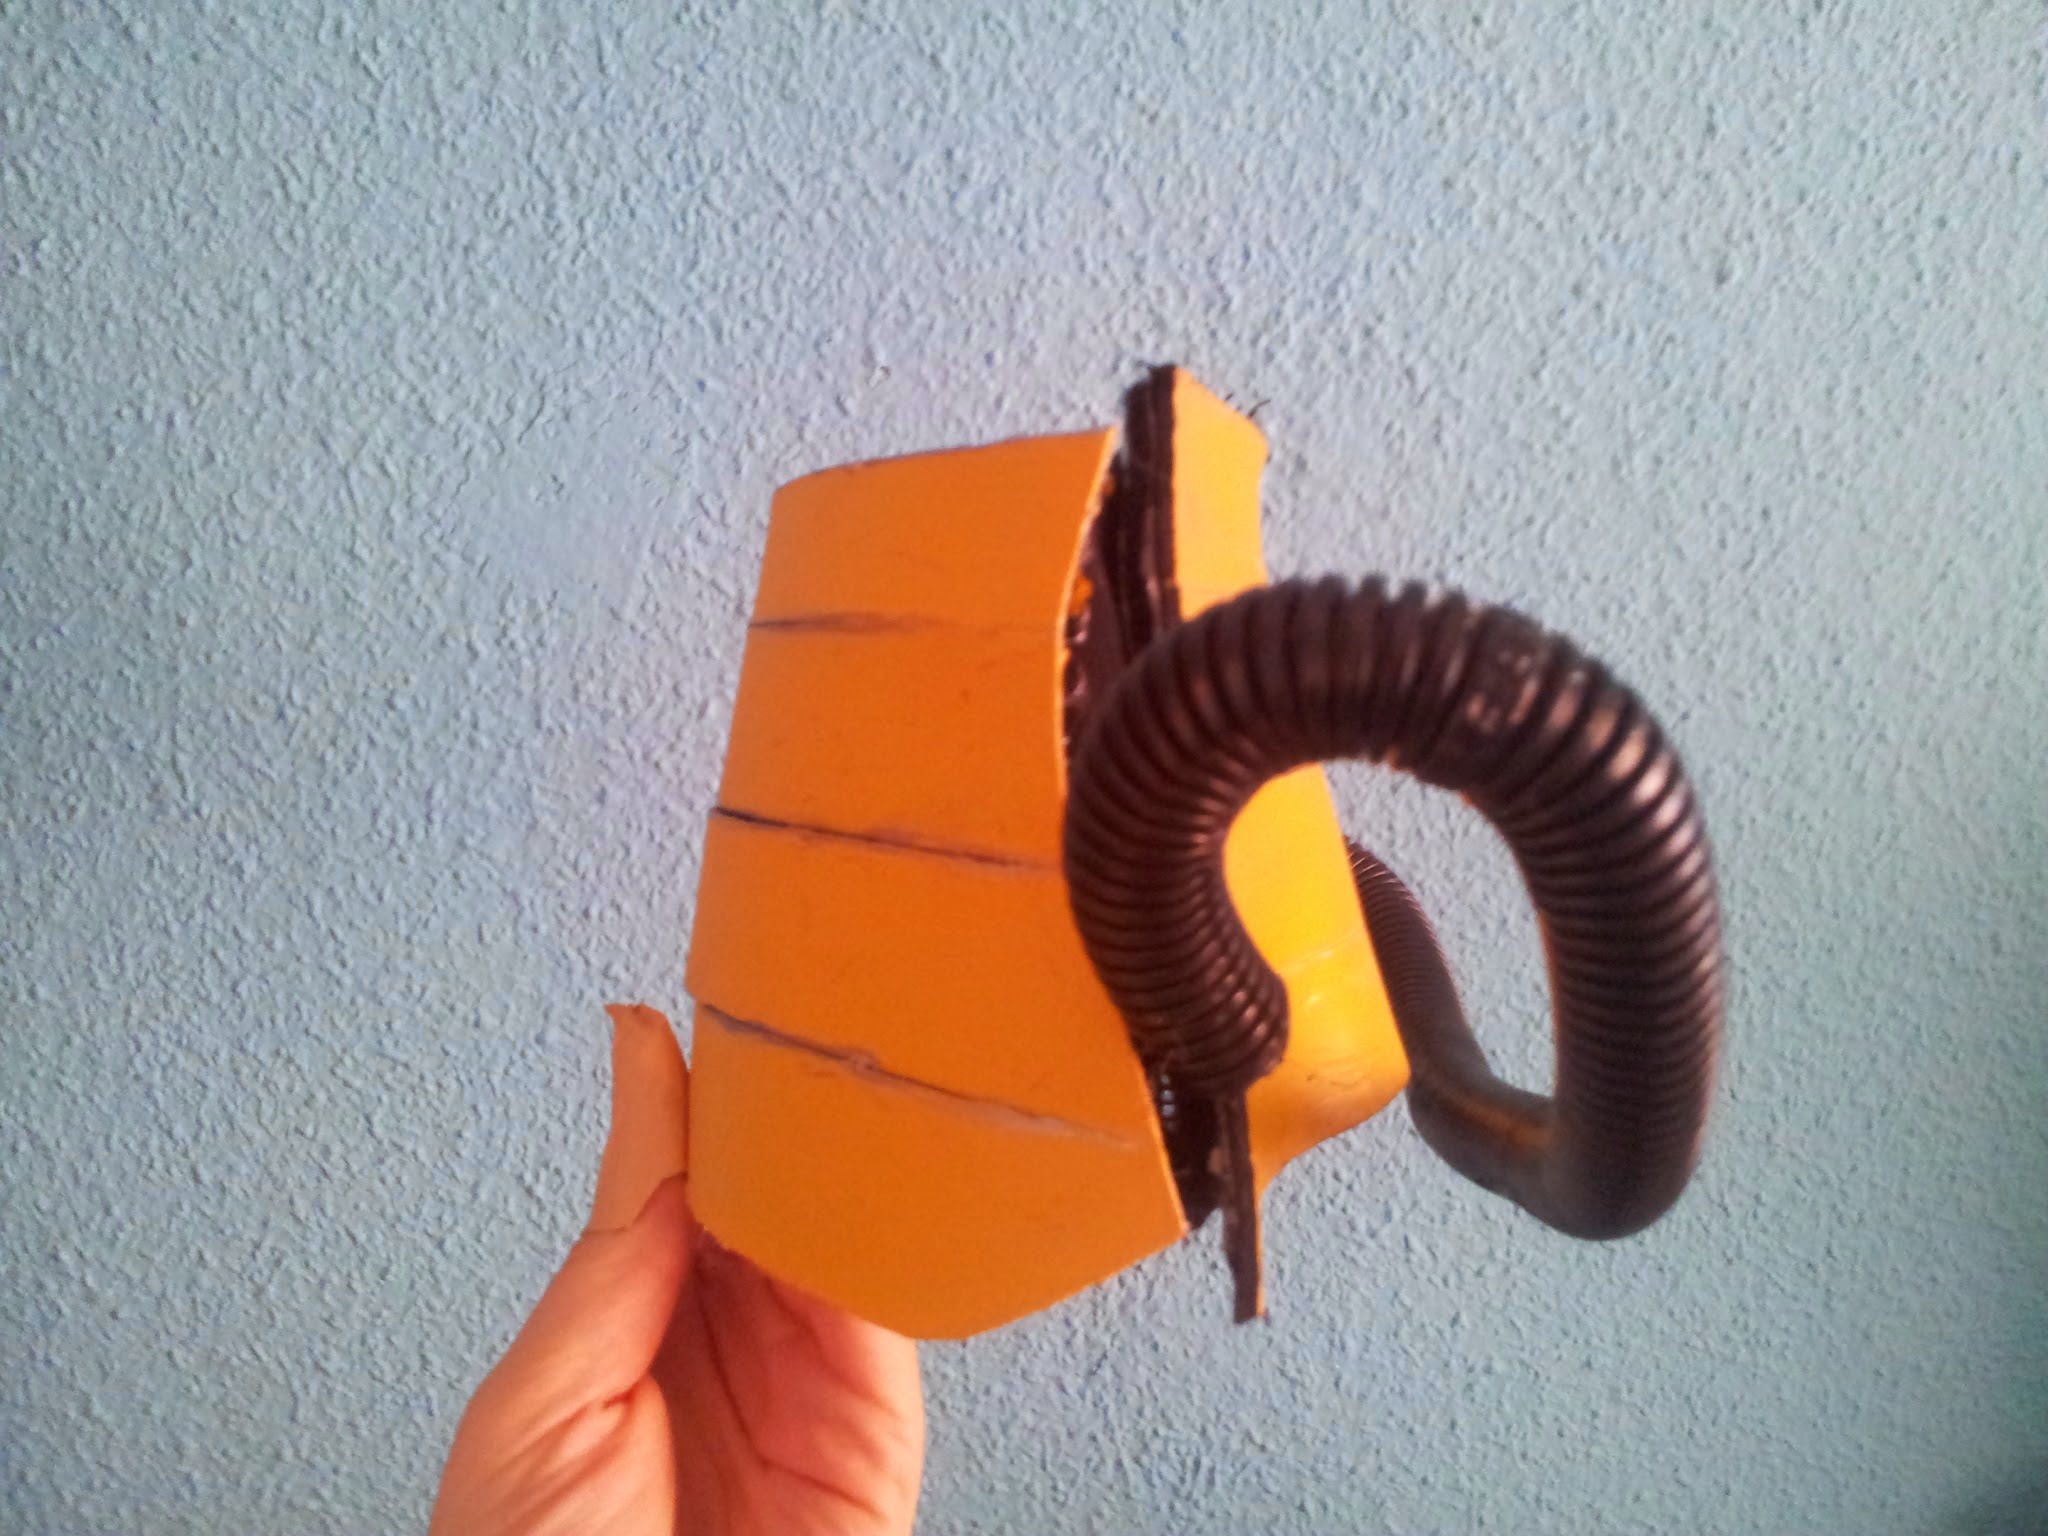
As a final touch, to make it look better, I made a repair on the yellow collar, I added some tubes with wires inside to give it that protruding shape on the sides of the hood. I think it’s my favorite part of cosplay.


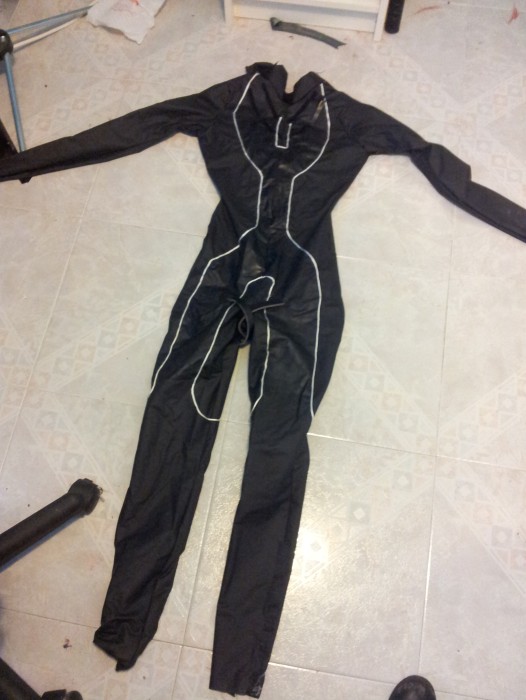
With this I think the mask is already explained. Soon I will tell you how I destroyed and remade the jumpsuit, the legs and some accessories.
I must thank Erik infinitely for his patience during this process. We had a hard time finishing it on time and it’s one of the hardest props we’ve done so far.
To finish, as a little gift for having reached the end of the post, I leave you the photo that AOJ sent me this morning, taken near the Manga Fair this weekend.