
Hello everyone!
Today I’m gonna explain to you how I made my Rey Resistance costume, that apperas at the end of The Force Awakens and at the beginning of The Last Jedi. By now it’s my favourite outfit of hers and I was eager to have some time to make it. I’ve taken advantage of the The Last Jedi hype to make it in a rush and wear it to the movie.

Before starting this tutorial I want to clarify something really stupid: This costume took me 4 days to make and there are some things I don’t like. The first one is that, as I was in a rush, I didn’t notice the finish of the clothes and I made a kind of cleaner one than the original. So I worked more than I had to.
And I could had made the padding on the pants much better. On the other hand, I’m pretty proud of the vest.

I copied the patterns from this tutorial by WanderingWindward I found at The Rebel Legion forum and I prepared all the padding pieces to fill the shoulderpads, the armlets and the kneepads.


Ok, let’s go! First of all I made the vest. I use a grey herringbone tweed (wool) plus the grey lining.

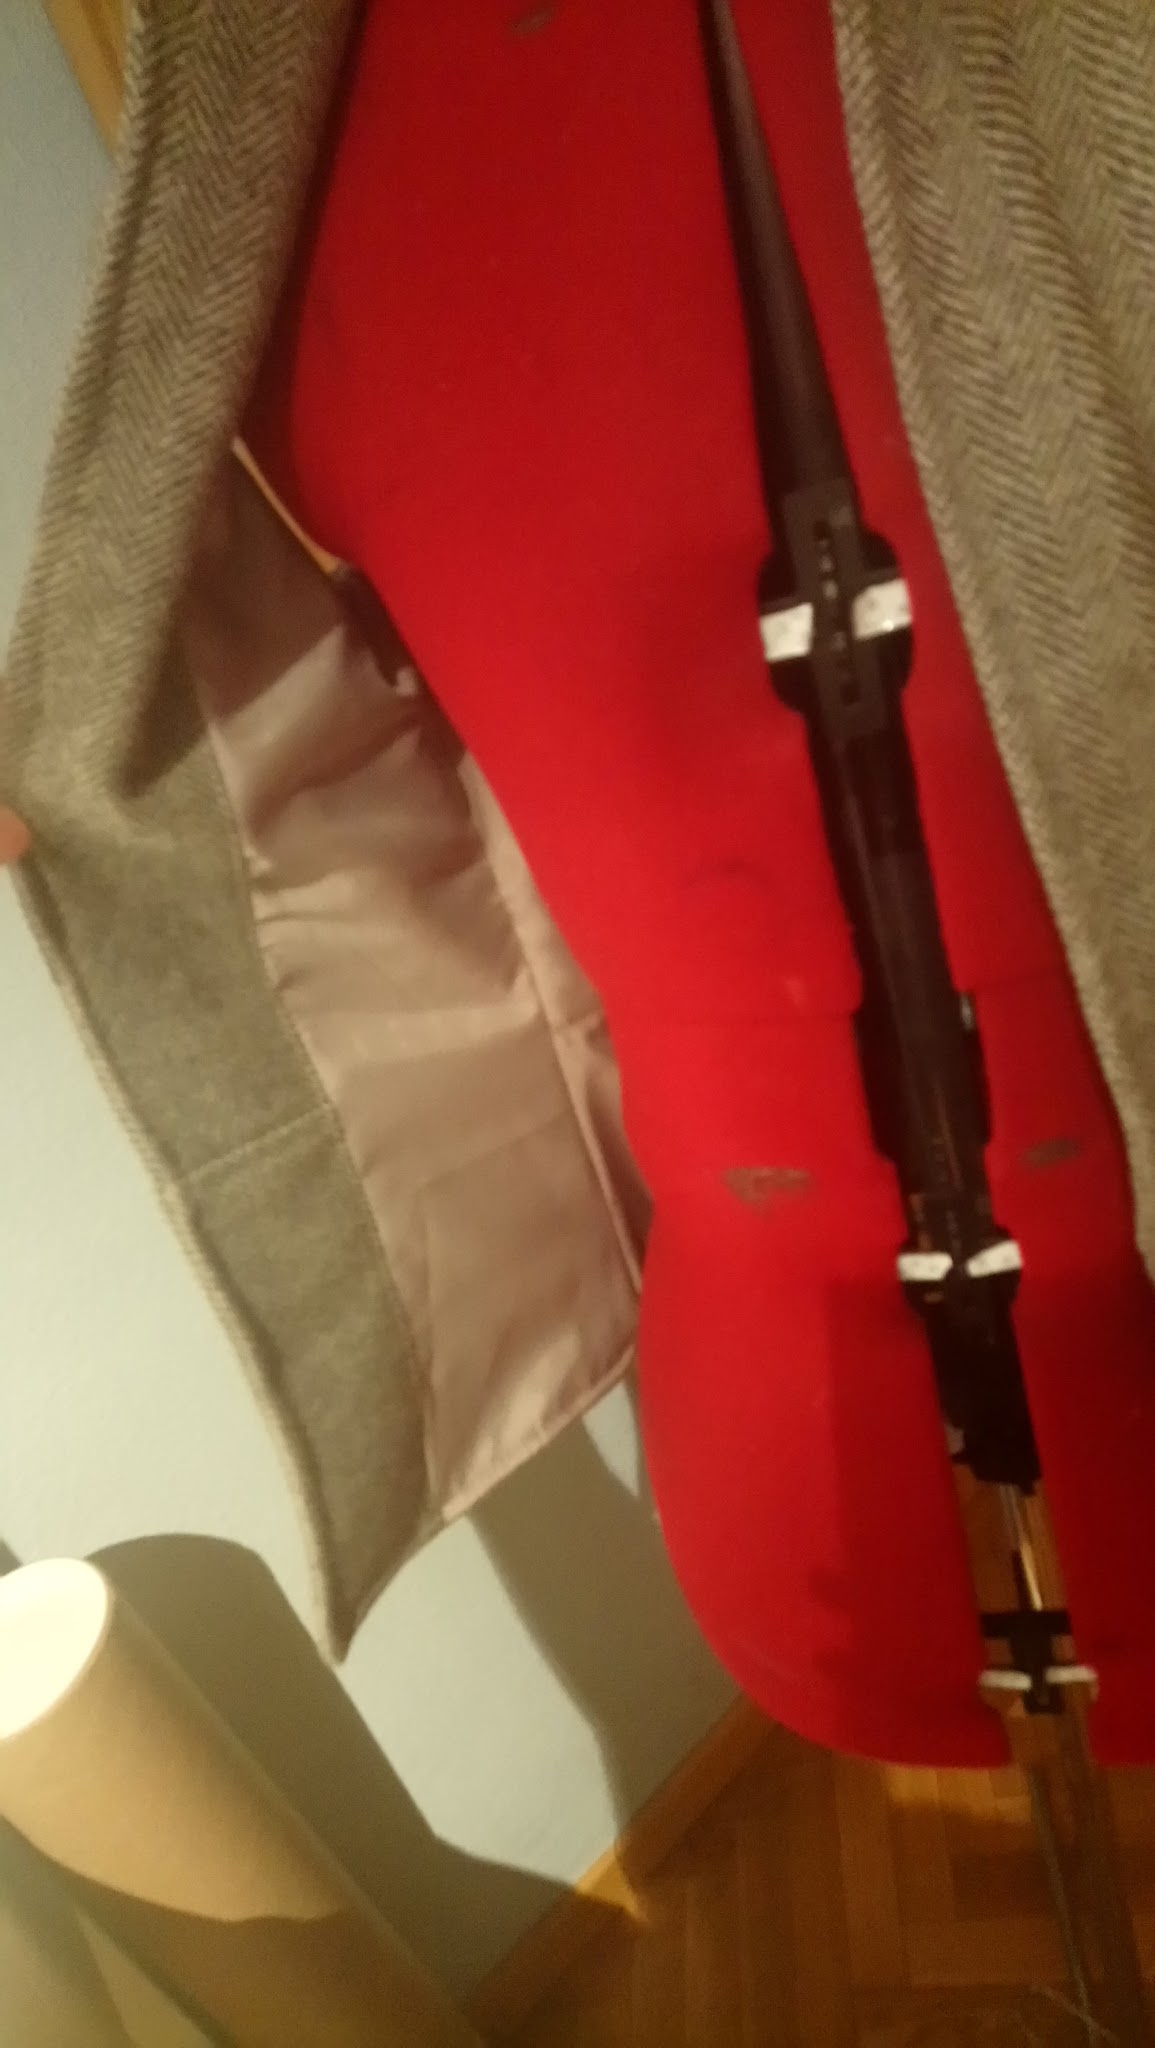
I started by making the lining. As you may already know, the lining is the same garment with collar, sleeves and flaps facings. Facings are parts of the lining that are maybe slightly visible from the outside, so they’re mae with the same fabric of the outside garment to make it look good.
I didn’t put them for the picture, but I also made shoulderpad facing.


Then I made the visible part of the vest with all its pieces.

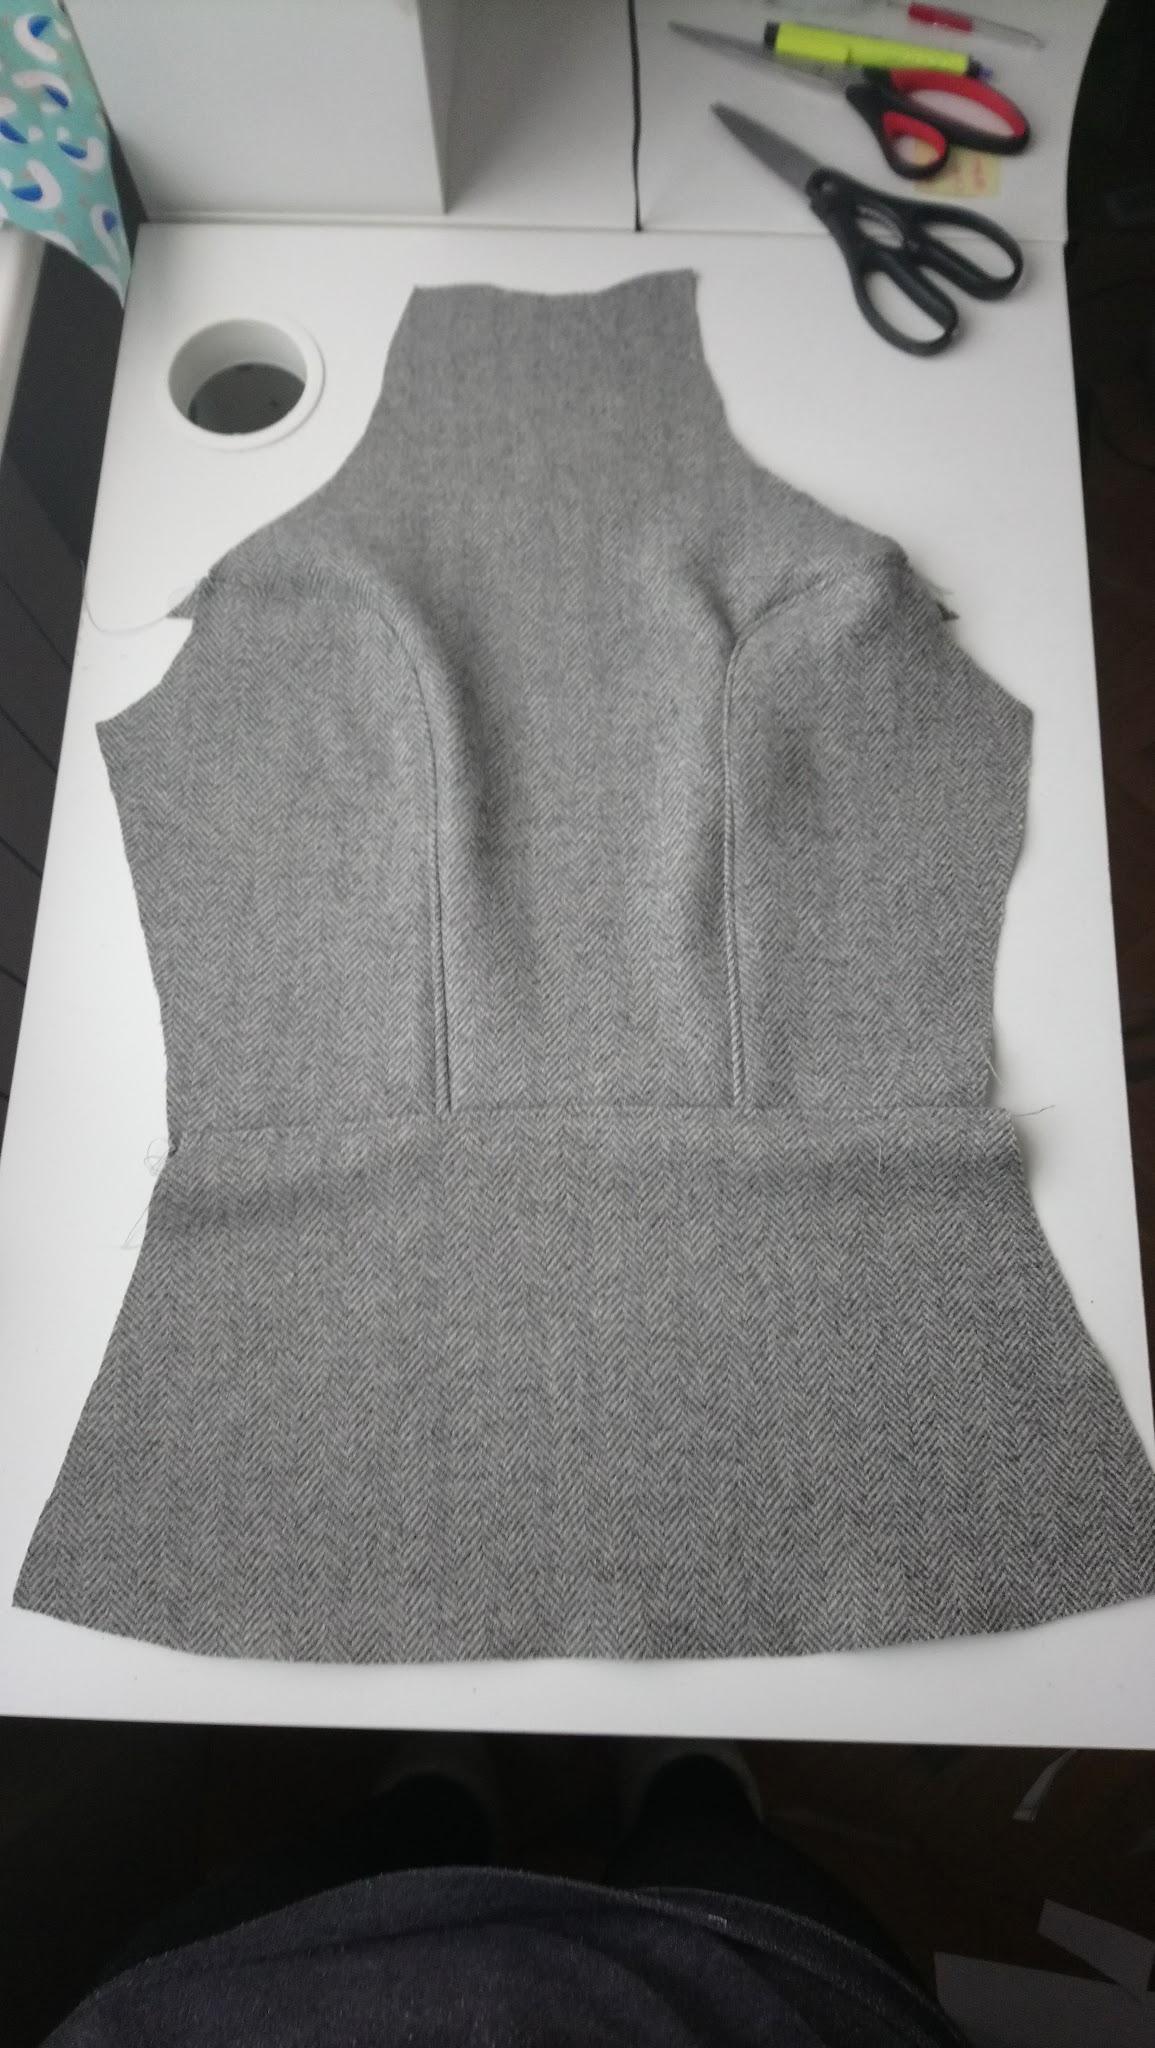


After that I joined the lining and the vest together. To do so, I confronted both parts and sewed their edges together leaving a hole in the collar to be able to turn it inside out.
Important thing: Don’t sew the sleeve/pauldron edges together this time. Do it after turning the garment inside out. If you sew them before, they’ll come out closed.
Sew them after that and join them together by doing a hem in both parts and put them together with an invisible seam or do it the way I did: passing them trough the machine like there’s no tomorrow.
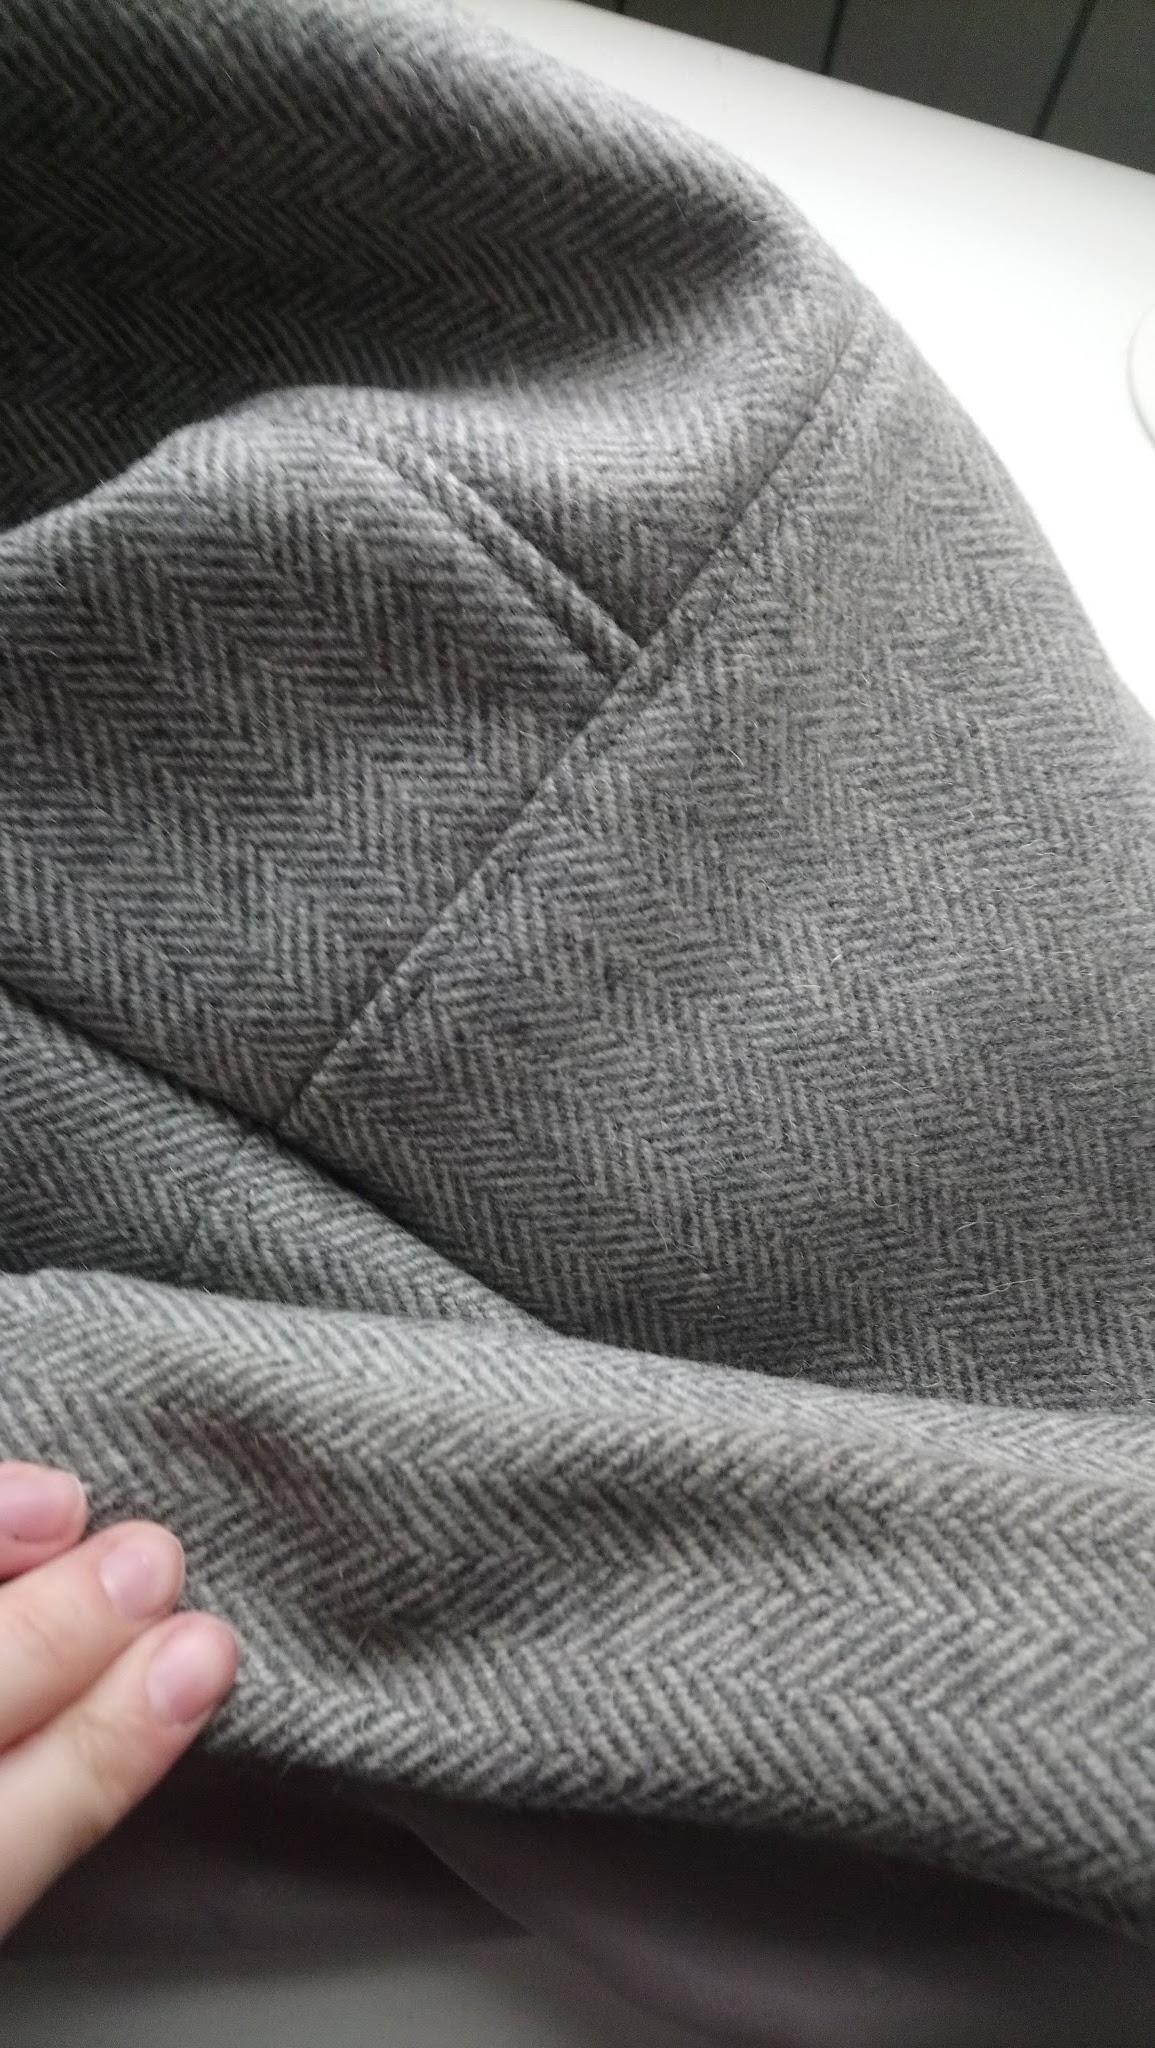


With the collar still open, I inserted the soulder padding and I sewed the ornamental seams on it. Once I did that, I closed the collar the same way I did with the sleeves, by making separate hems and sewing them badly.


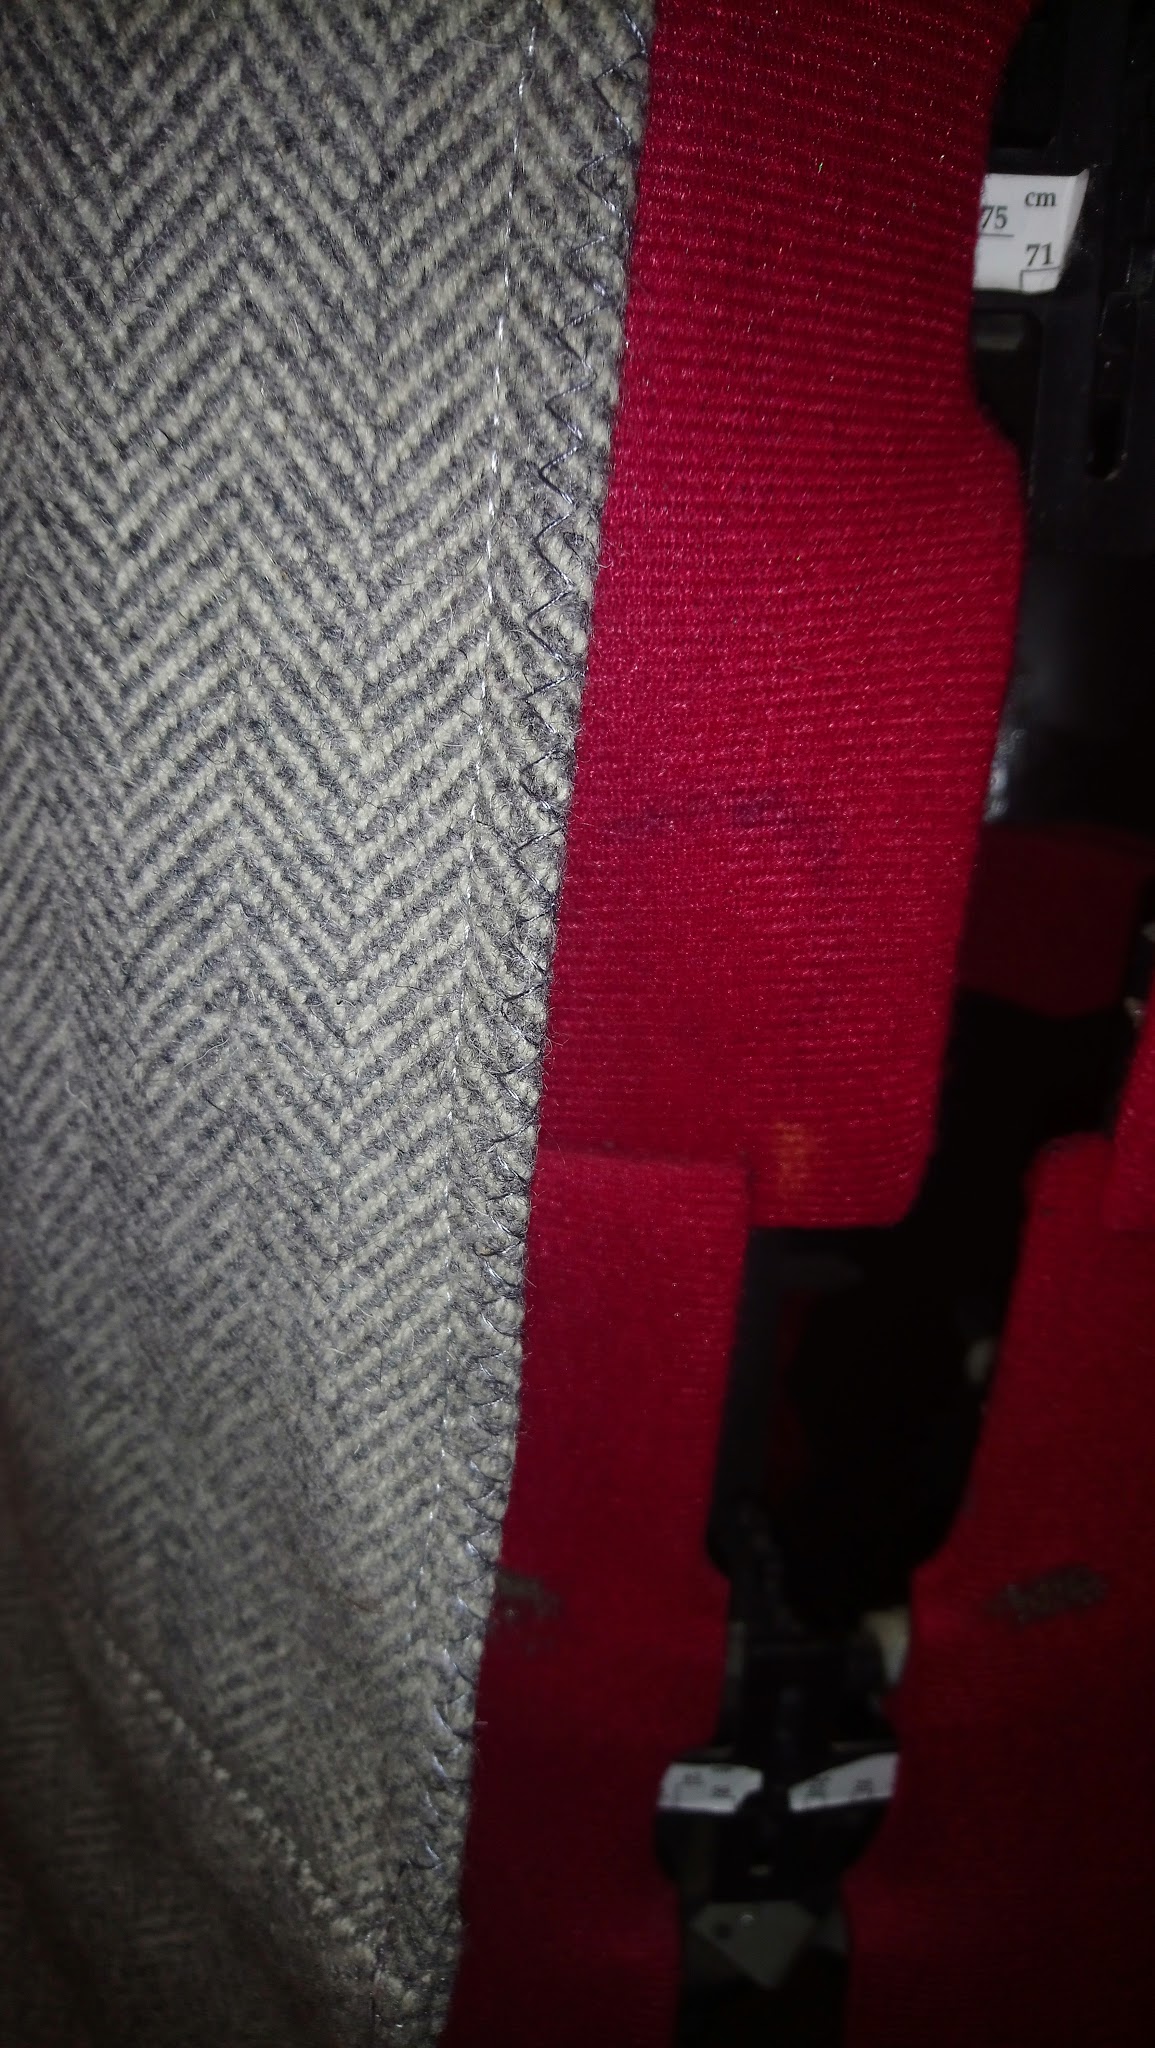
Last, I did that kind of ornamental overcasting on the edges using the zig-zag seam of my machine. I think it would have looked better if I hand made it with a thicker thread, but I didn’t have time for that. As I said before, my finishes are more elegant than the original ones (and that’s not good).


To make the top, I used a natural organic cotton fabric with a wonderful texture and slightly stretchy. I drew the pattens on the fabric to get it ready to be sewn.
Once again (I know I’m super boring, yes) I made super clean finishes that are not there in the original model.


First of all, I joined the back pieces together and, before joining the front ones, I overlocked them and did a hem. I actually don’t know how to overlock properly, so I don’t know if I’m doing it right. I base myself in what I see on t-shirts and stuff I buy and the little knowledge I have on this machine. If you guys wanna correct me, I’ll gladly take your advice.


Then I did the lateral seams, overlocked them, and I finished it by topping off the sleeves.


To finish the top, I added the collar. At first I made it too short, then I put a wider one.


The pants are pretty simple to do, they only have those infernal kneepads that, by the way, I don’t quite like how I made them. But, you know what? I’ working to accept my own crap, so I left it the way they came out. My psicotheraphyst will be proud.


First I joined the lateral seams of each leg and I did a reinforcement seam. After that, I made the kneepads (I took the patterns from here). To make them, I joined together two base shapes, I turned them inside out, I put the padding inside and I sewed the edges to secure them.
With the base done, I put it in place on the front legs and I sewed them together with a very close to the edge seam. After that, I drew the padding marks on the back and sewed them.
Once the kneepads were in place and padded, I closed the rest of the pants and I put an elastic tape on the waist.


I did the sleeves, which are fewly worn in this movie, with the same fabric of the vest and I padded it just as the knees. The only special thing I did was opening those ornamental holes they have.


For the arm bandages, I bought some elastic ones in the pharmacy and I painted them using my airbrush. I would like to dye them, but I was runing out of time and I have some more control of the color I use with the airbrush. I used almost 4 meters for each arm.

I already had the wristband, the belt and the boots from my
Jakku costume (thank you Star Wars, for using old parts for your outfits) so the last thing I did was printing the gun (the 3D files are here) and the foam holster.


And that’s the tutorial! As always, feel free to leave a coment here or on my social media.
Thanks for reading!!


