
Hi! In this entry I’m going to explain how I coated, painted and wrapped my Shepard foam armor.
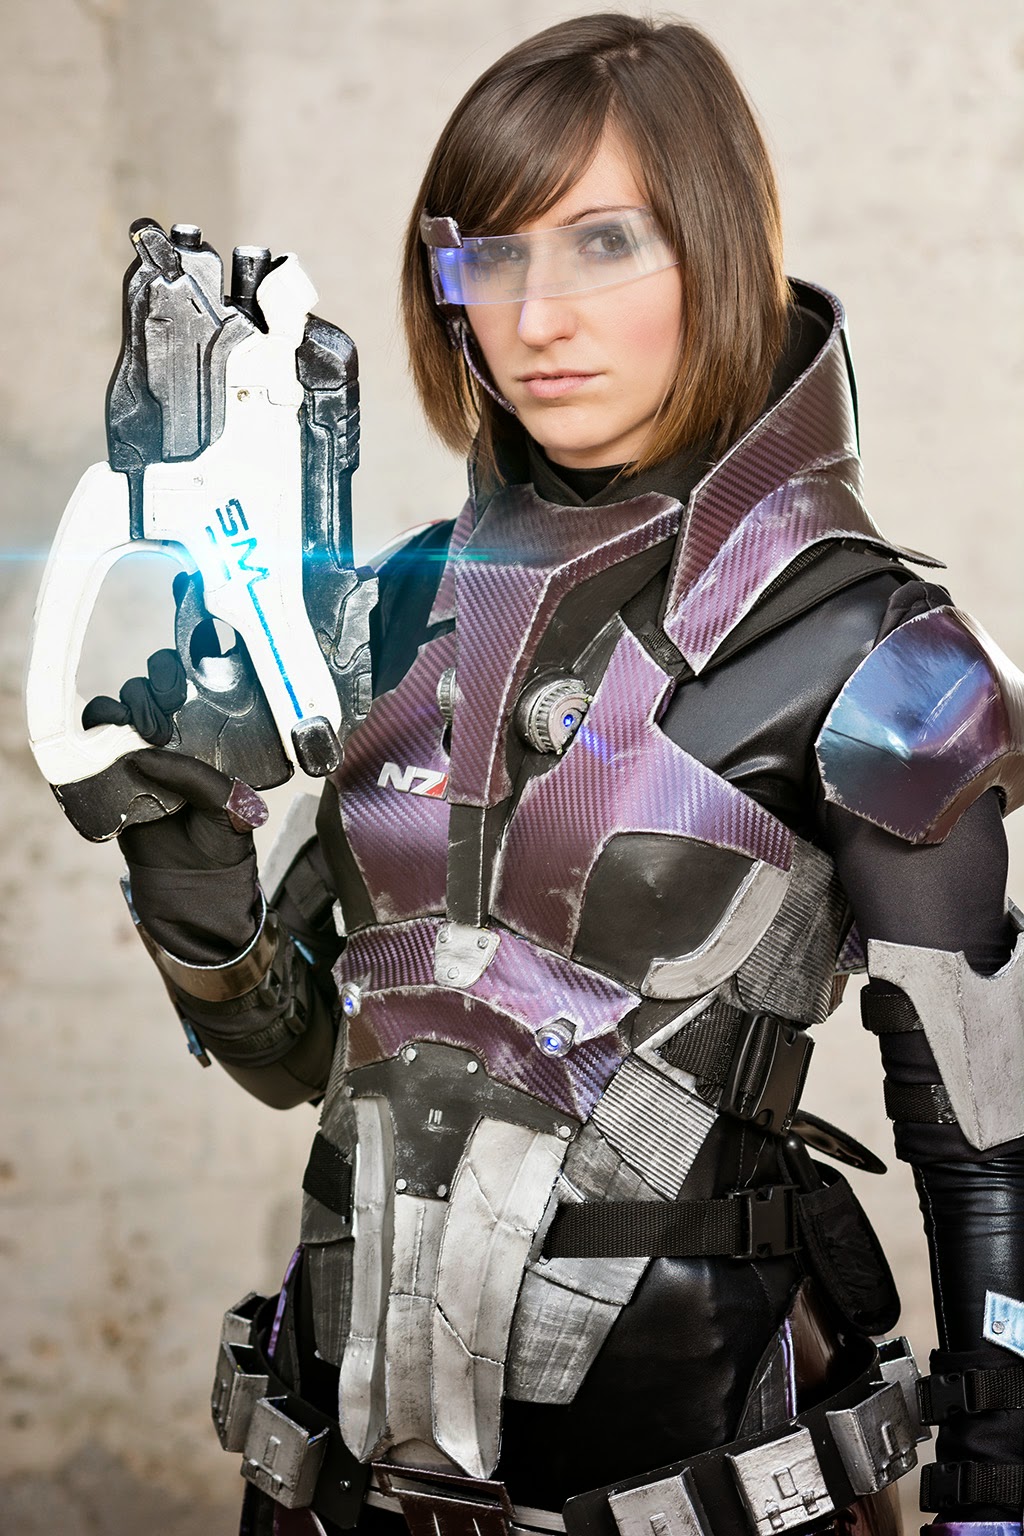 |
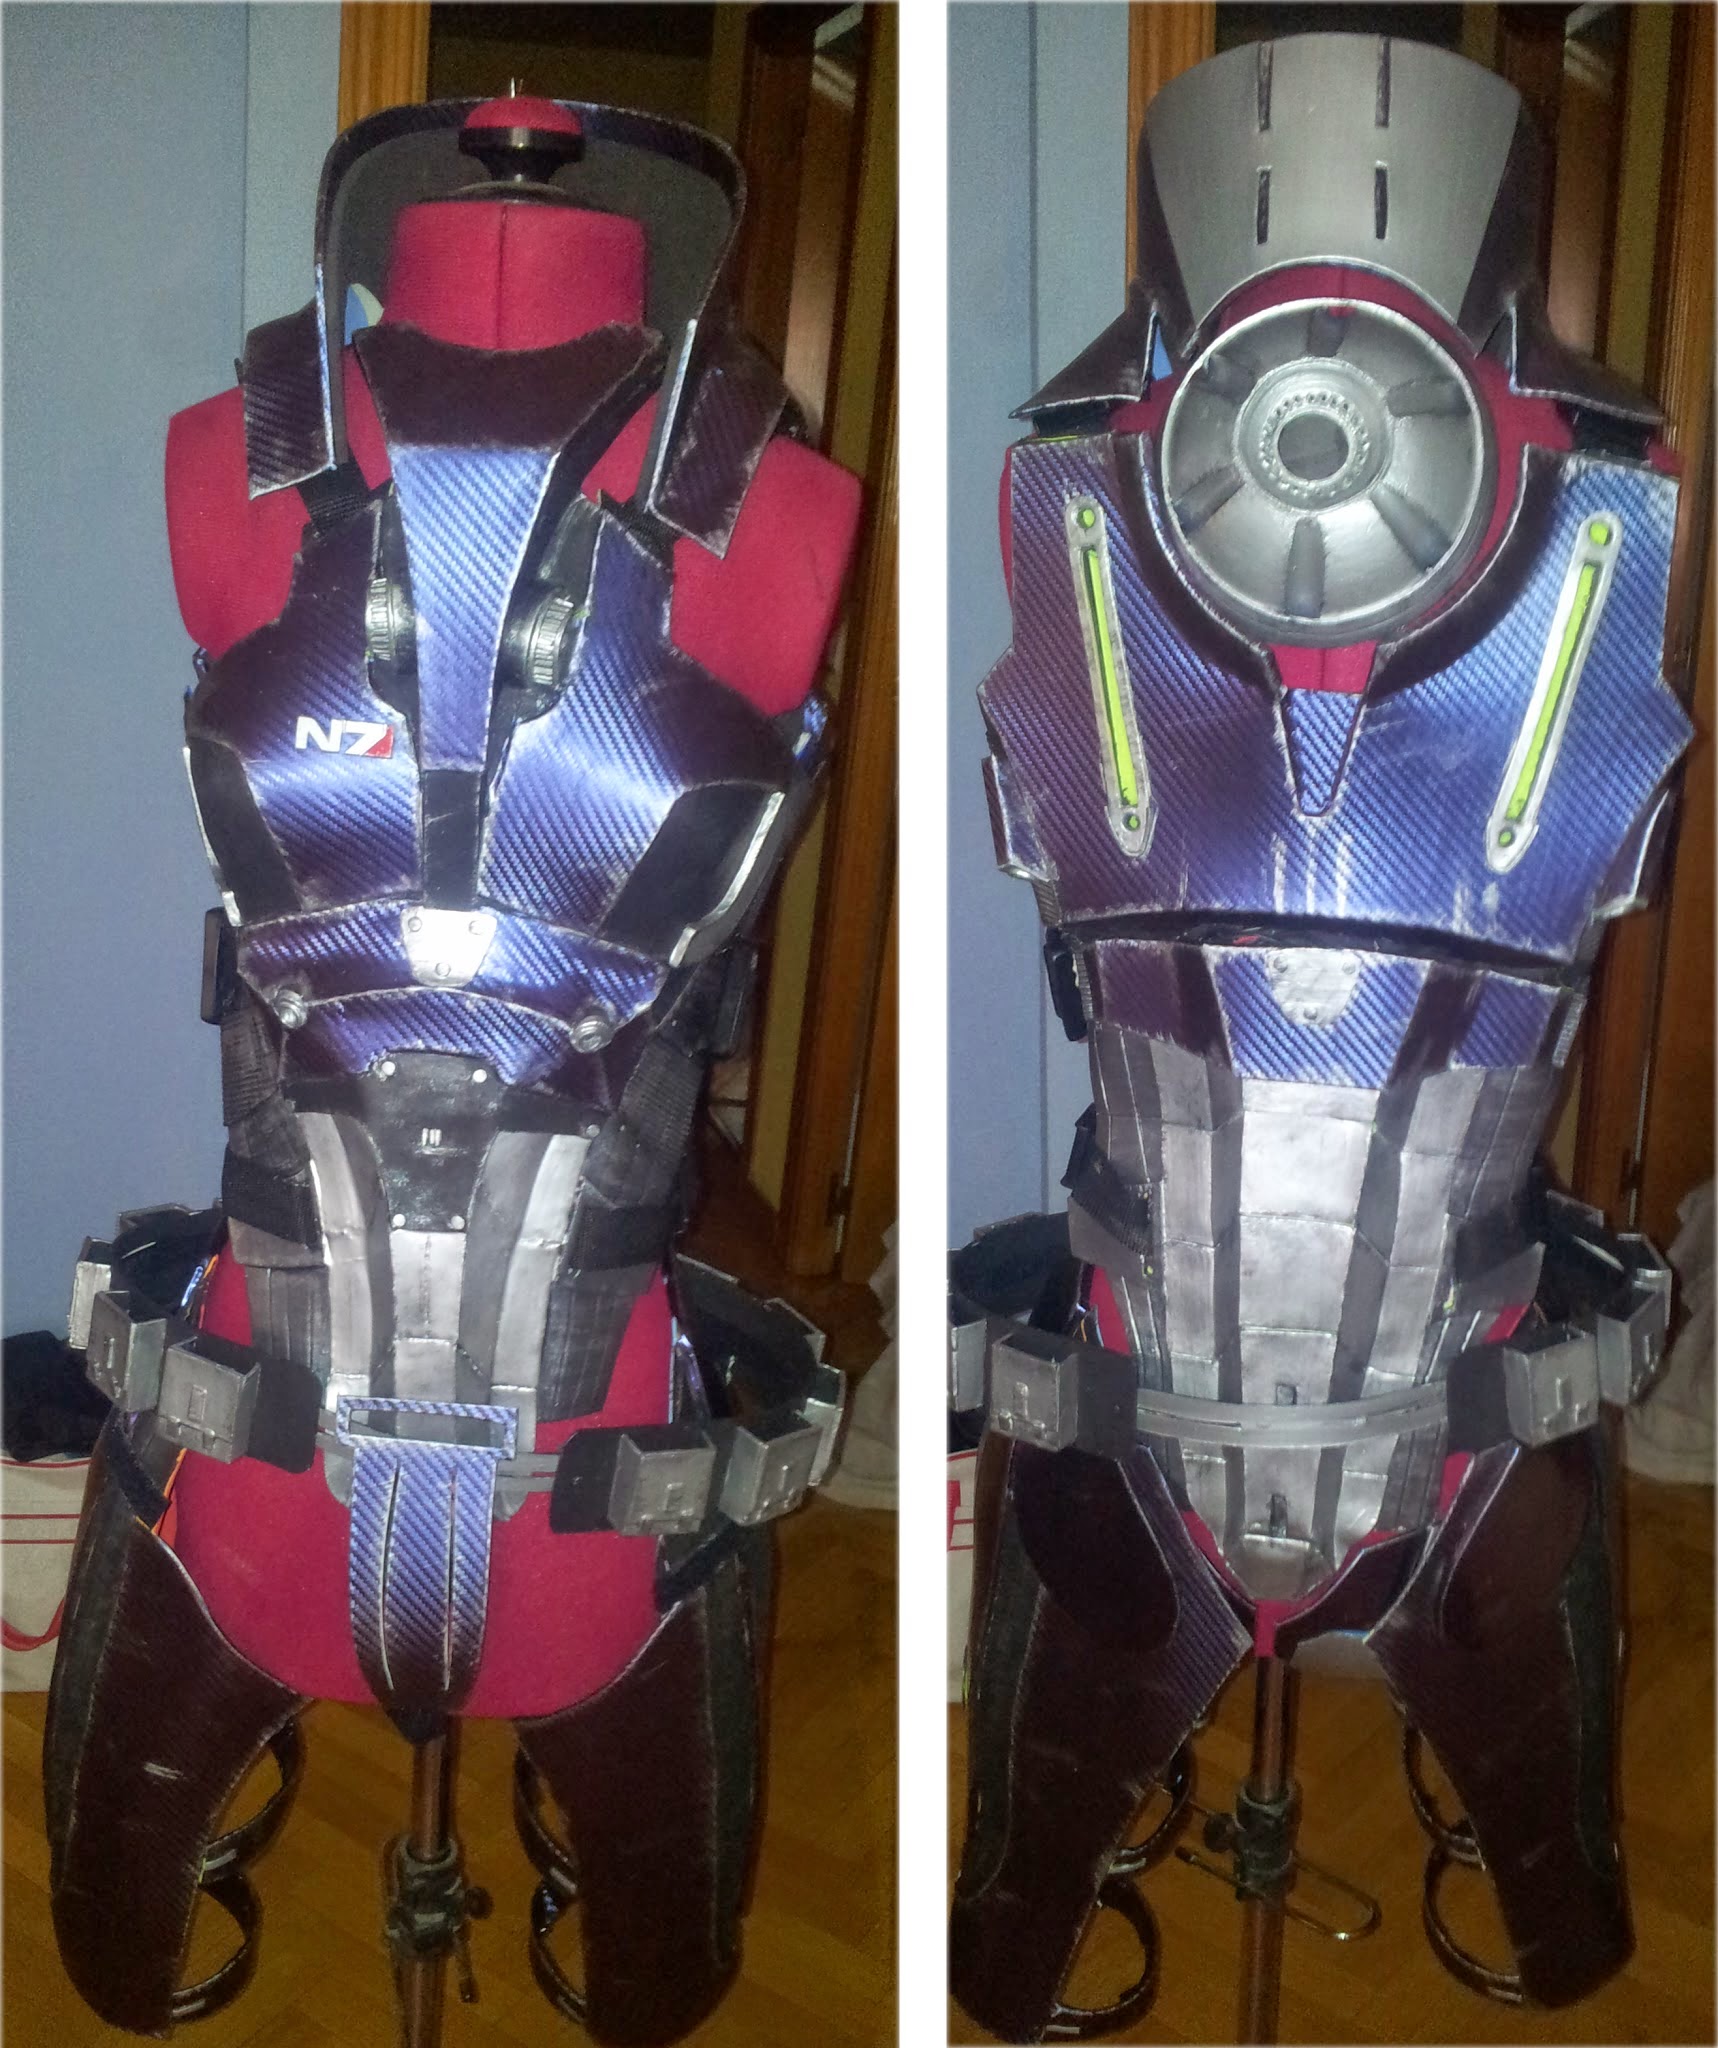
| Picture by Jesús Clares. |
Before I start this tutorial I want to make clear my technique is not the best one out there. There are a thousand ways to make this and this is just one of them. Right now I don’t have space nor good ventilated spots at home, so I rather use non toxic and dirty products. Instead of that I try to use the cleaner and odorless products I know.
Let’s go!
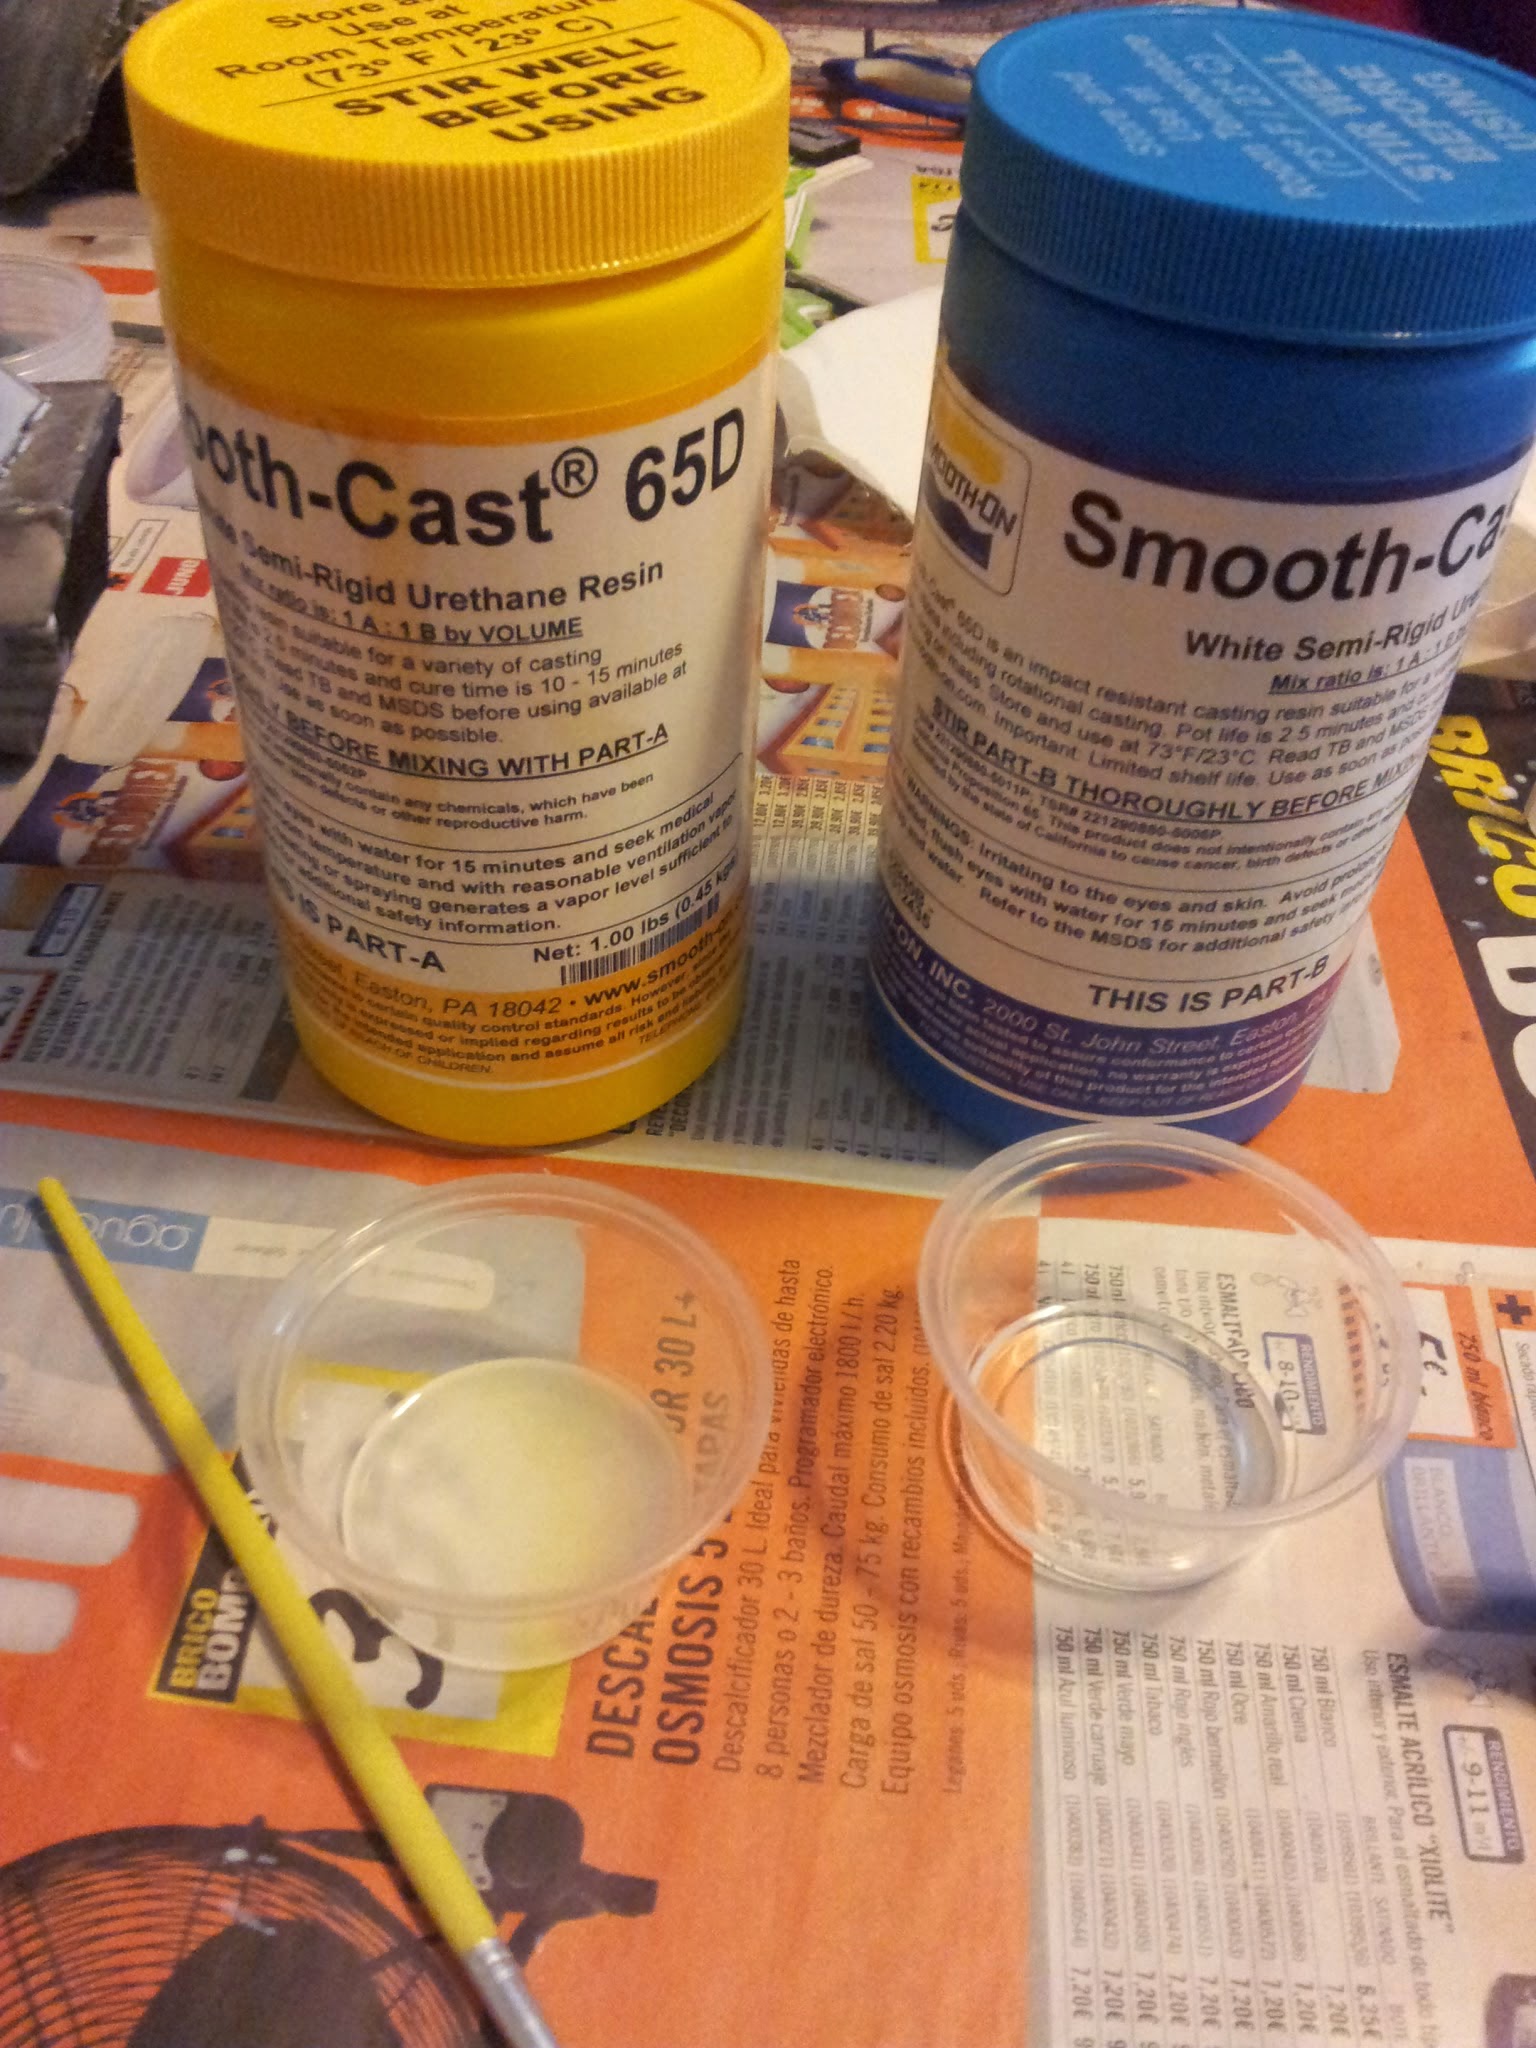
First of all, I primed it applying 3 layers of wood glue and one (or two in some places) layer of Smooth Cast 65-D (polyurethane resin). This product comes packed in two parts that have to be mixed together in the same proportion. It’s really exciting because once they’re mixed together, you have 2 minutes until the mixture gets harden!! So it’s important to apply it very fast. Also, this resin gets stuck and dries around the brushes, so it’s recommendable to buy a lot of them as well as disposable material (gloves, plastic cups, wood sticks…) for this task.
This product gives the foam hardness and makes it more resistant, as well as it creates a nice surface to paint on.
I made a big mistake during this process: I didn’t sand between layers. I should have sanded it from the very fist coat, but I hate sanding so much!! Eventually the bill came due and I had to sand it in some parts that looked really bad with a lot of bush textures and stuff.
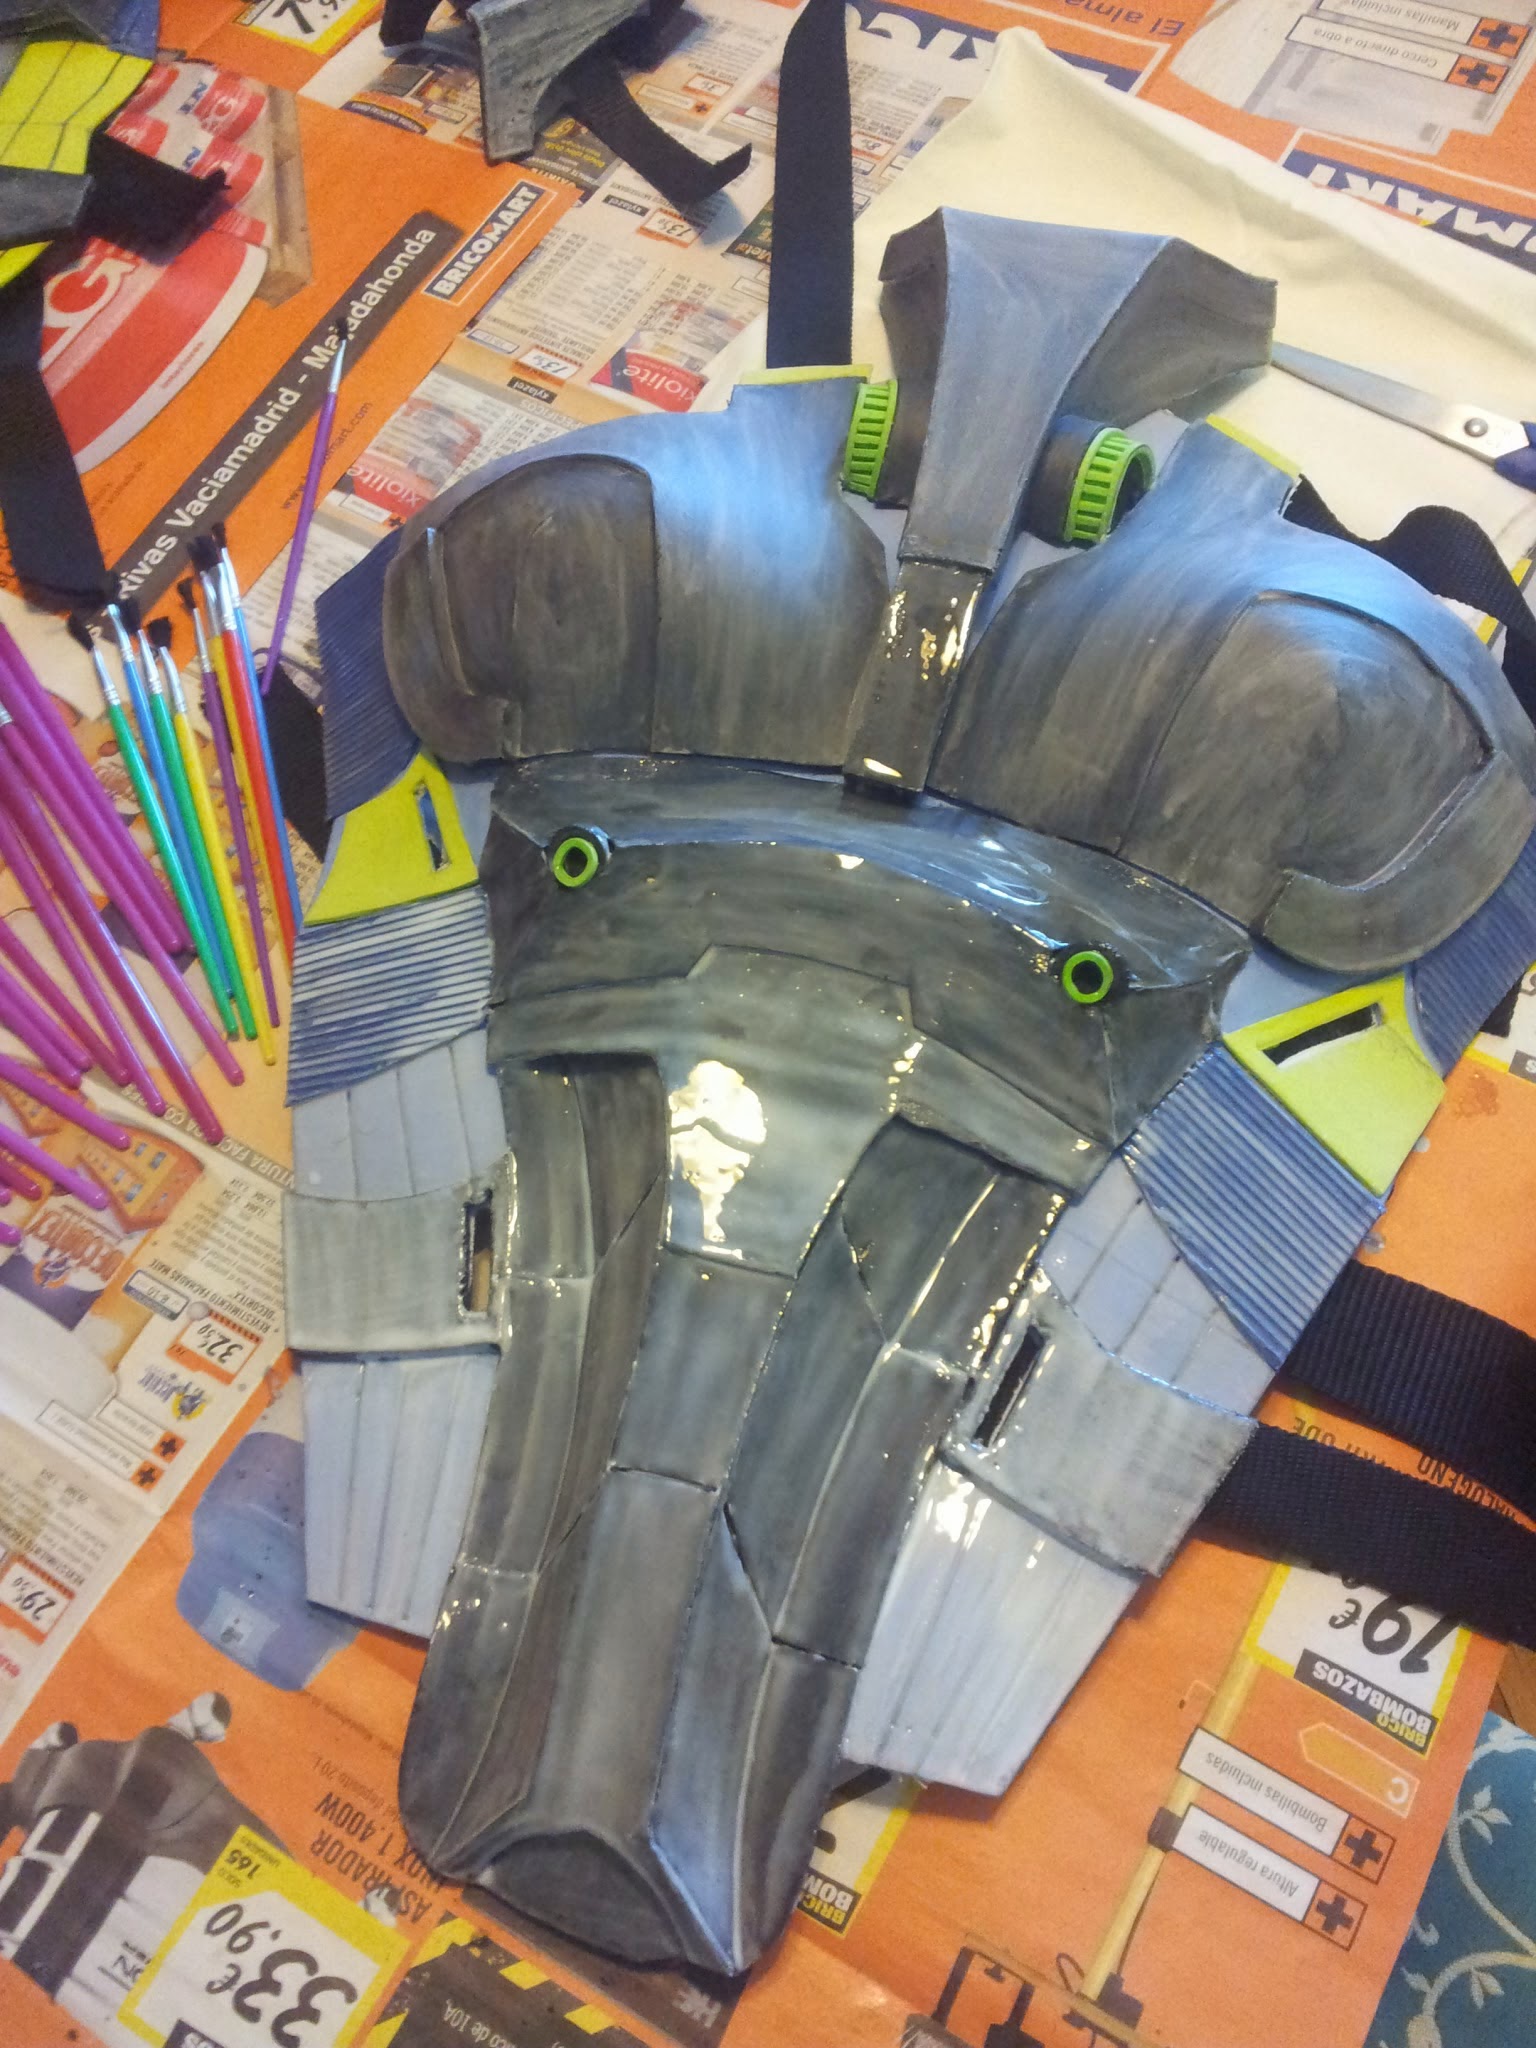 |
| Lo mate es cola y lo brillante es resina. |
Luckily for me, this resin is easy to sand though it’s still the most boring task ever! It took me three days to prime and sand this armor. And I must express my very special thanks to Winters, who came to help me with this procedure. I could have easily been priming and sanding for a whole week if he didn’t come to lend me a hand.
Independently of the shoddy work I did, I highly recommend you to sand it after each priming layer to get a nice and smooth finish. I’ll make it the right way next time. I promise.
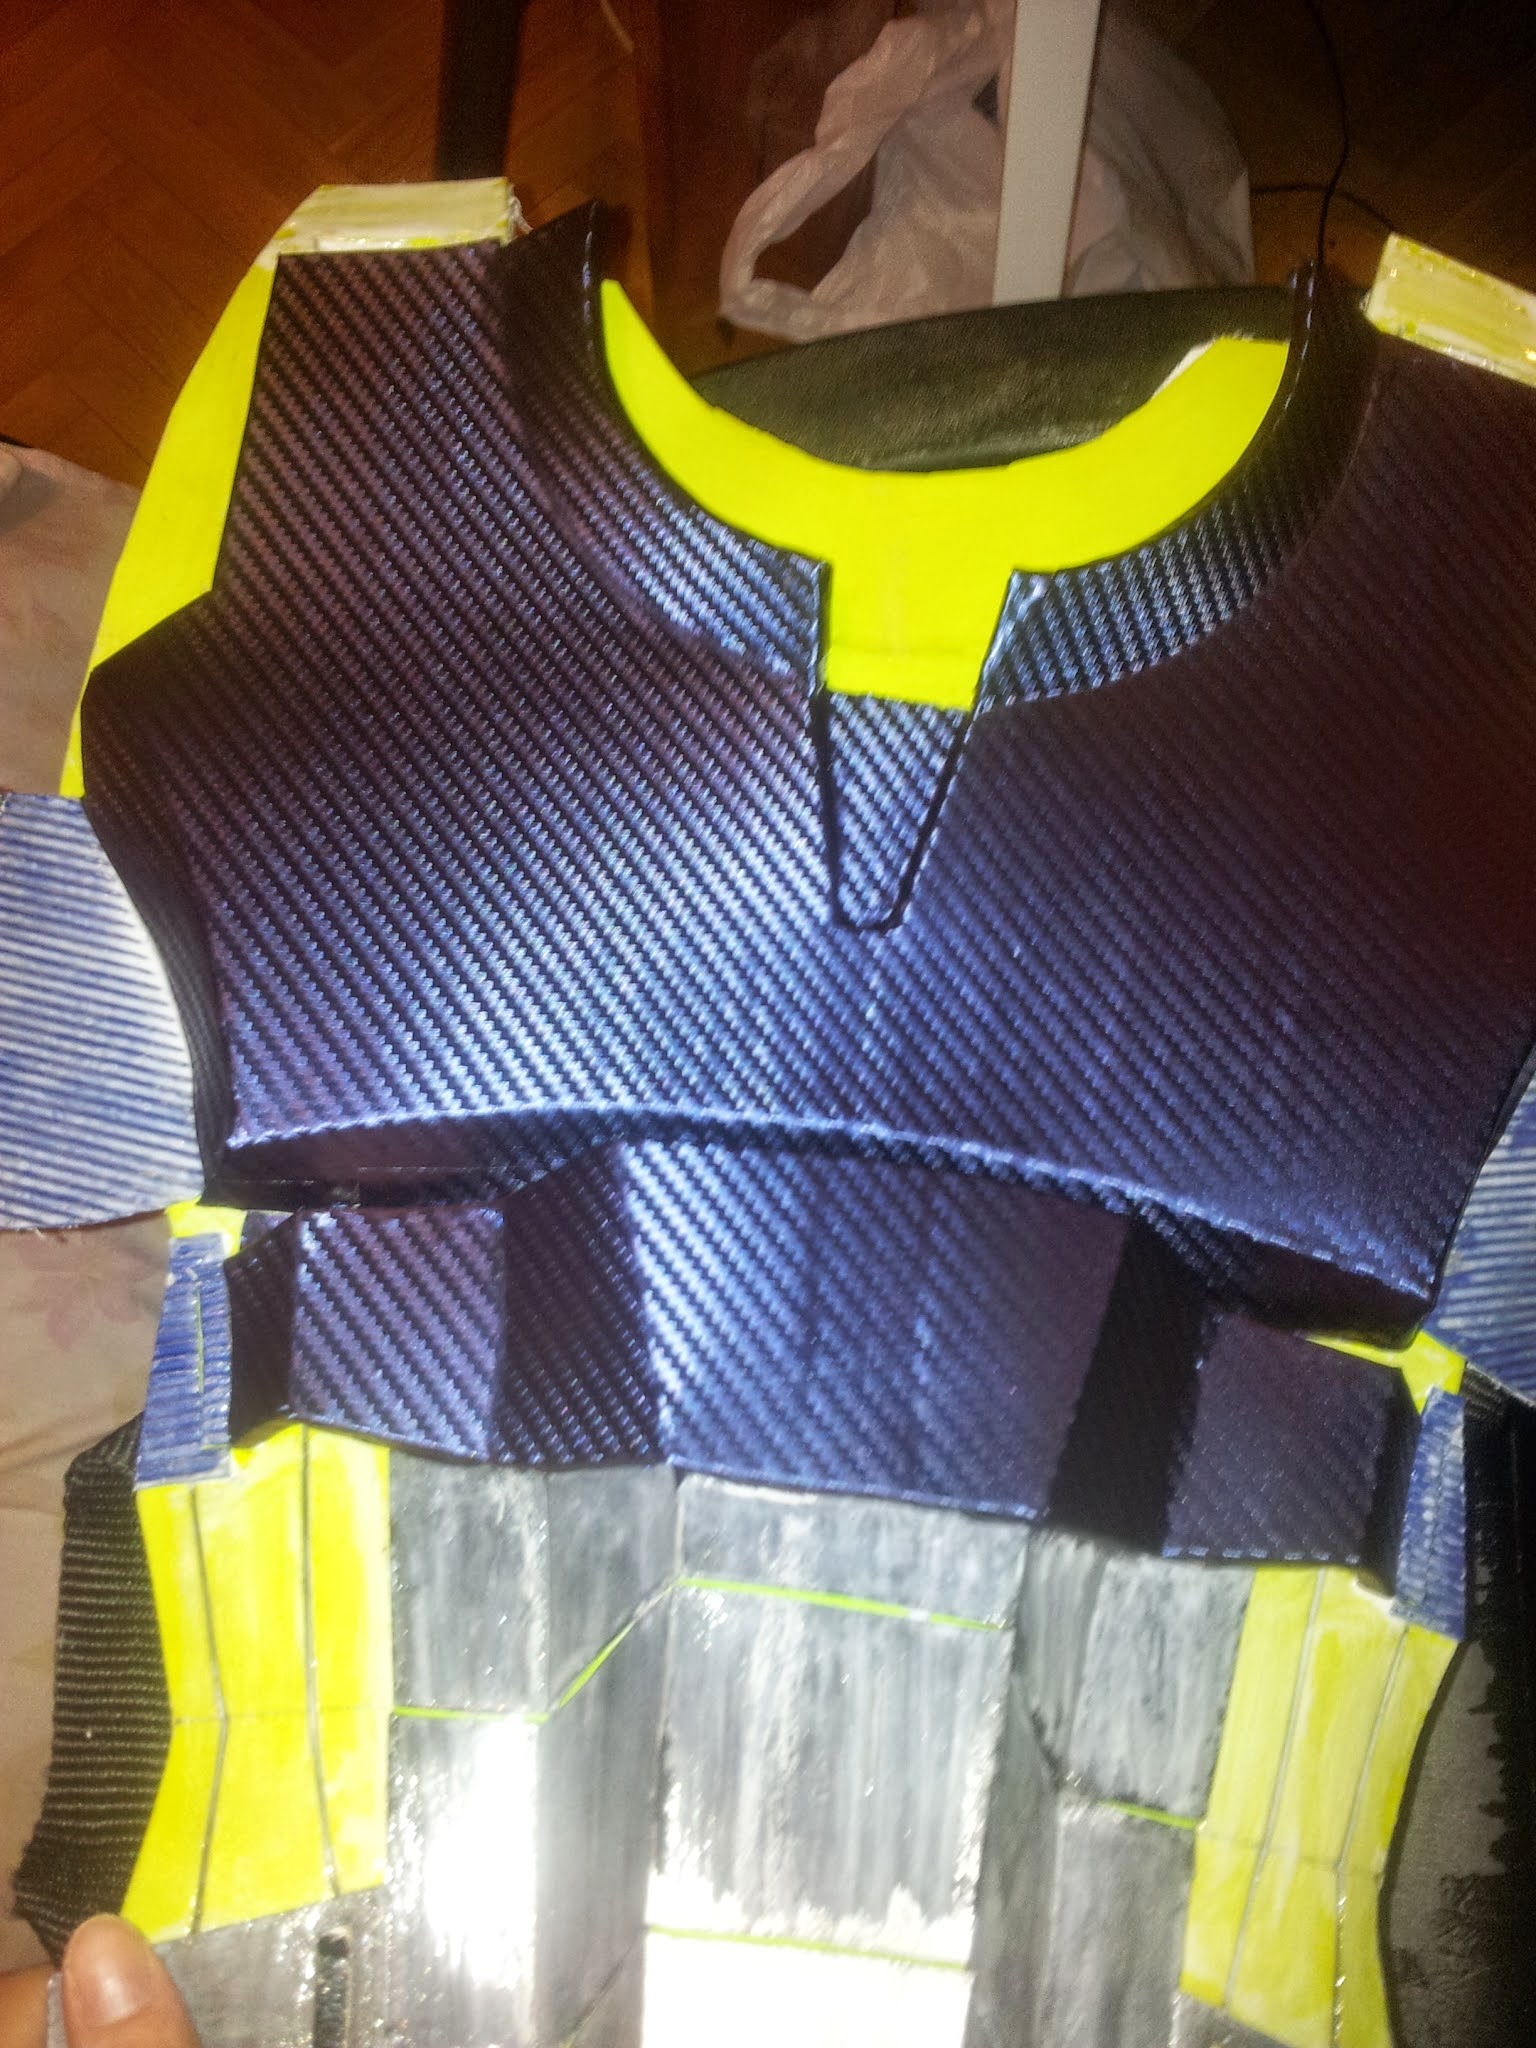
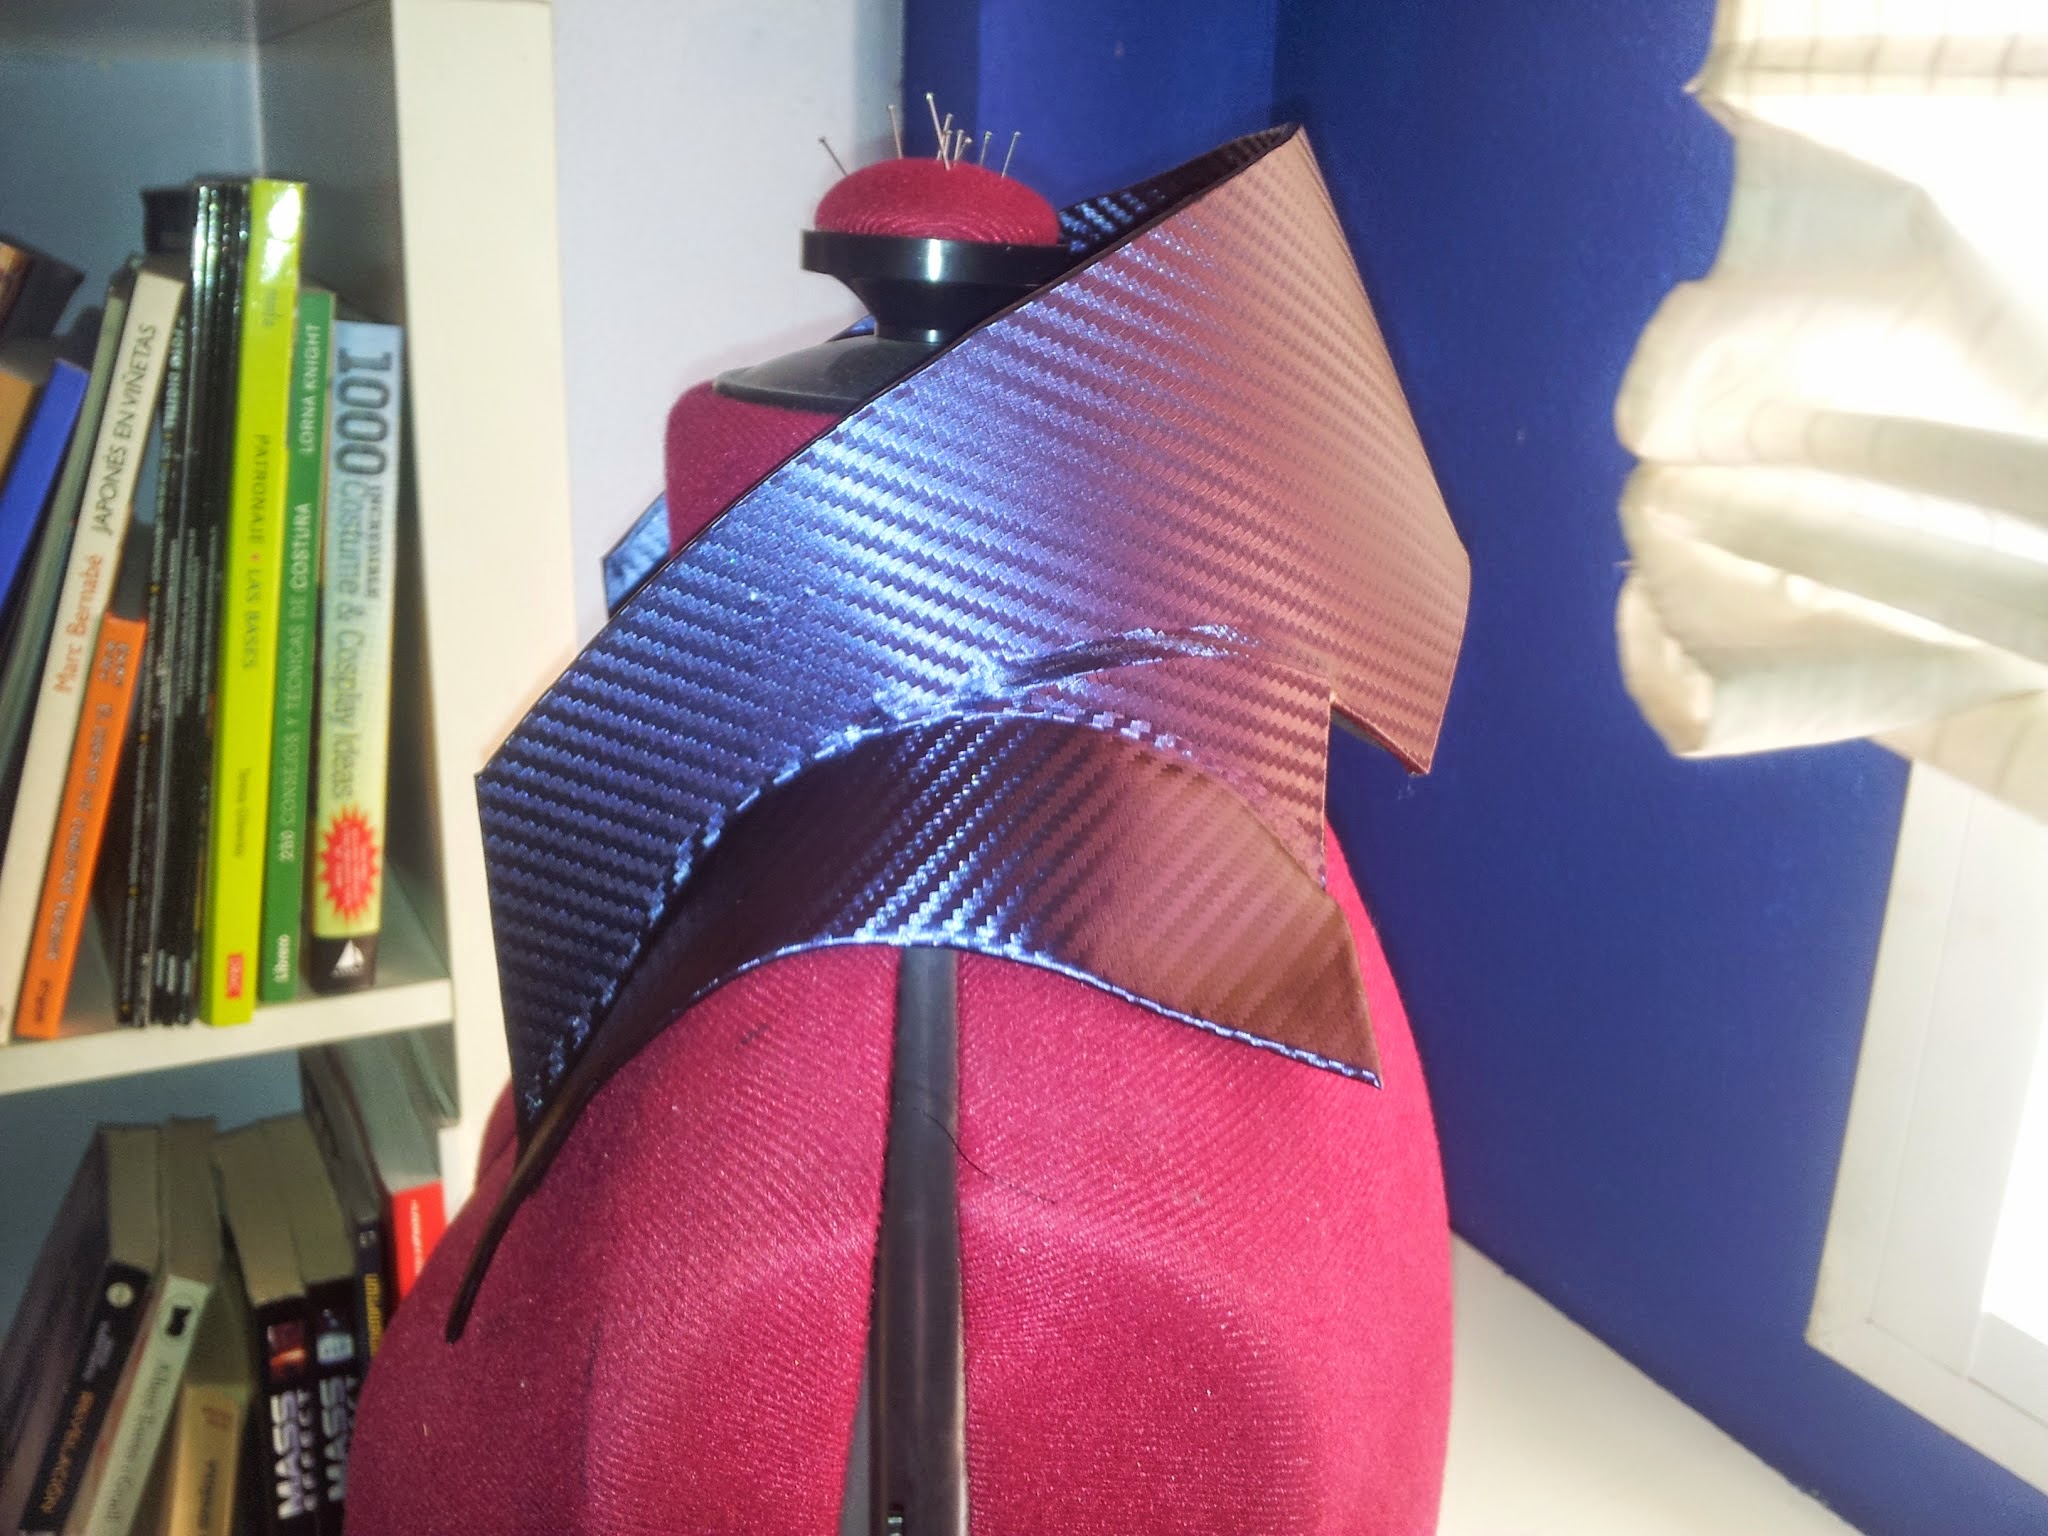
After that it was time to make it look beautiful with beautiful materials: I covered some armor parts using iridescent carbon fiber textured vinyl wrap. Wow!
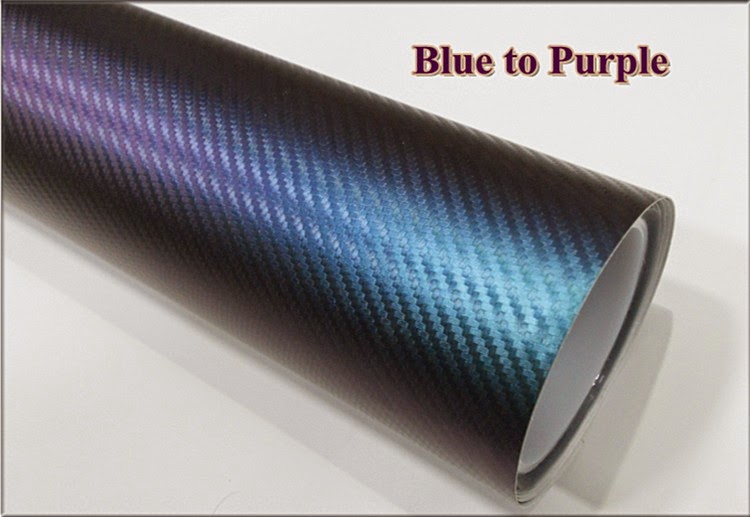
Ahhhhhh!! I’ve become really fond of this shit. I can’t remember when was the first time I heard about it. I only know it’s a very common material in the car customization industry. I’ve seen around 300 videos in youtube of people wrapping their cars in fancy vinyls just like christmas gifts.
I found the one I used in Carcar Style, an Ebay store where you can find this product in a wide range of colors and nice effects, like the one I chose. I used the even looking in some pieces and the textured one for other parts. Both of them have this iridescent “chameleon” purple to blue effect.
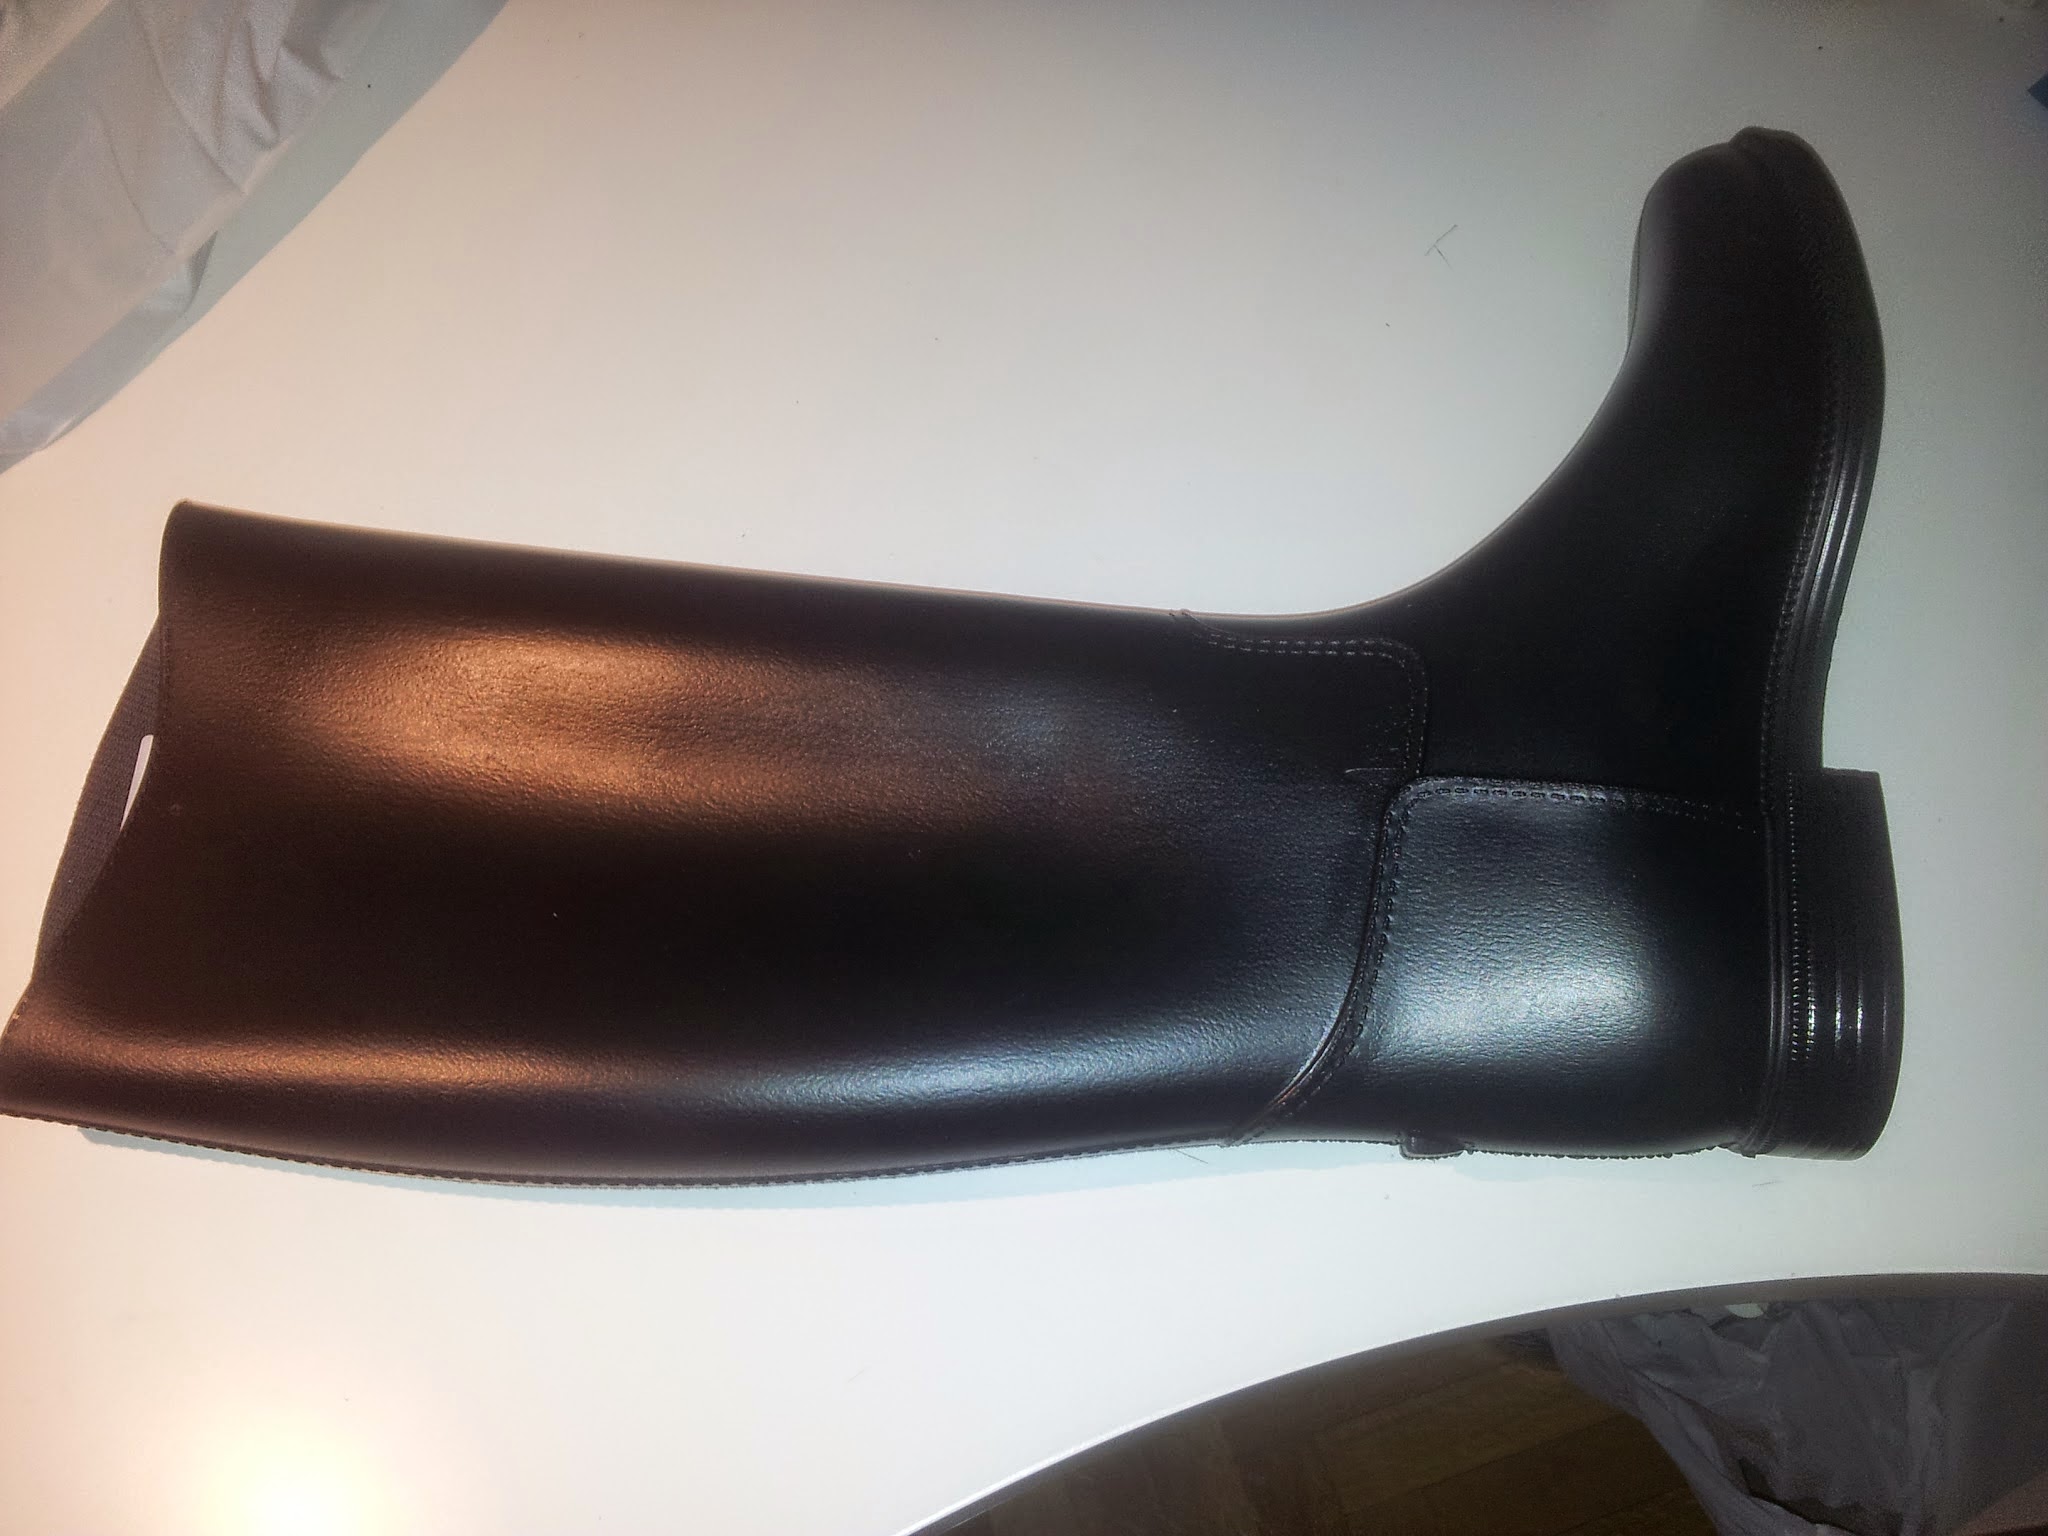
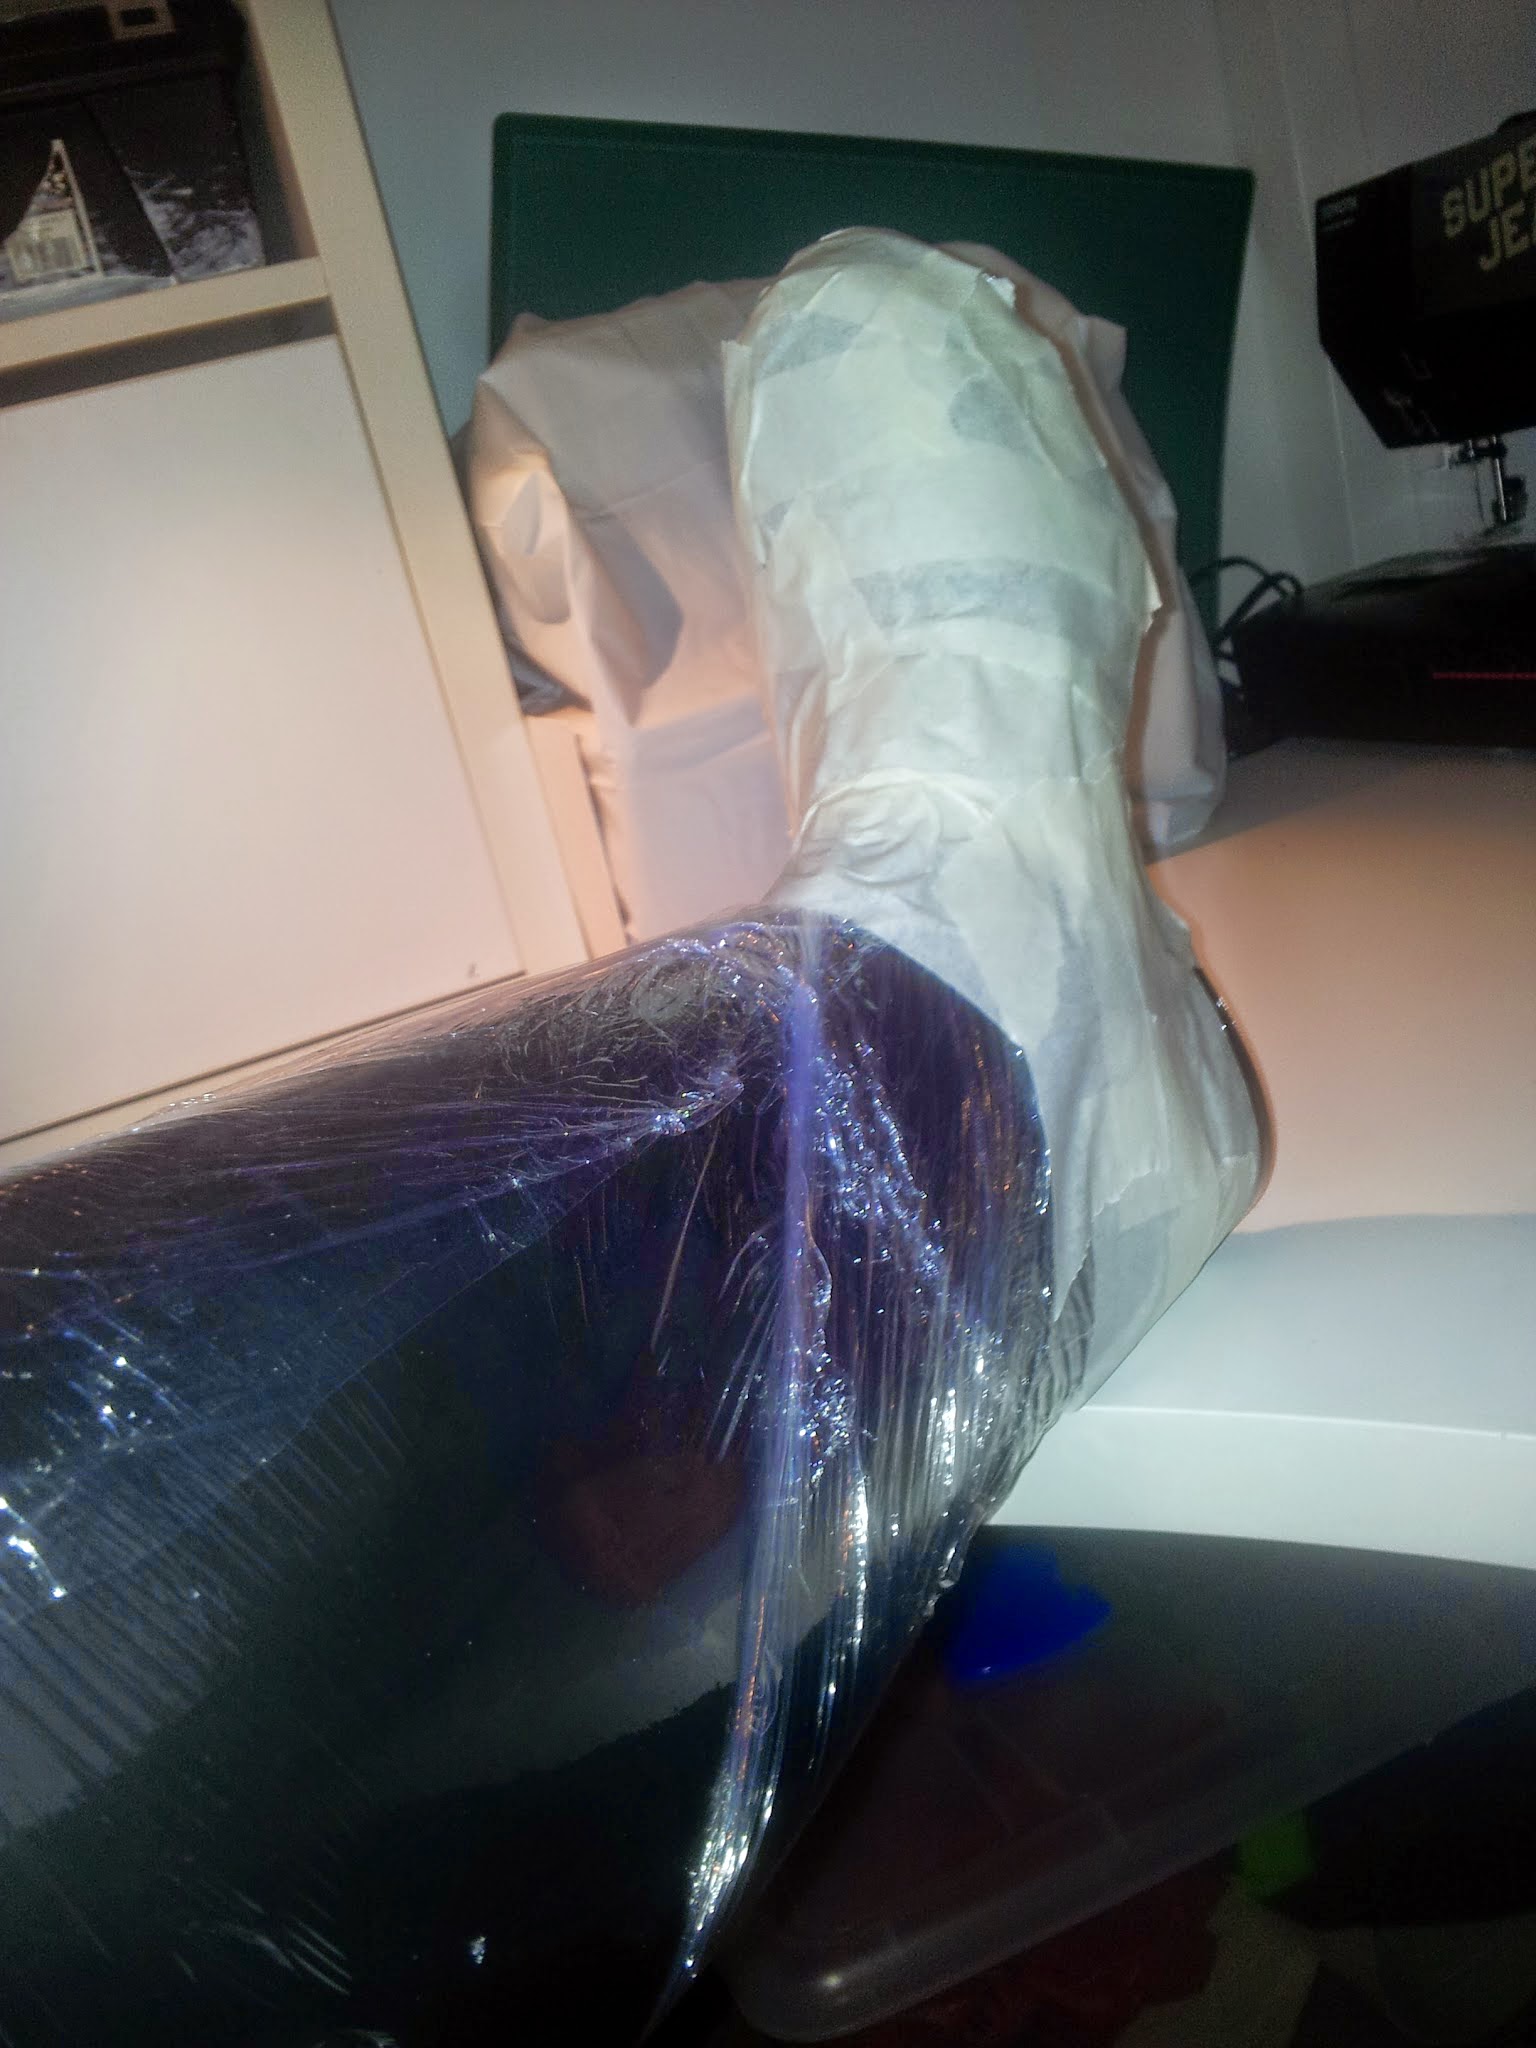
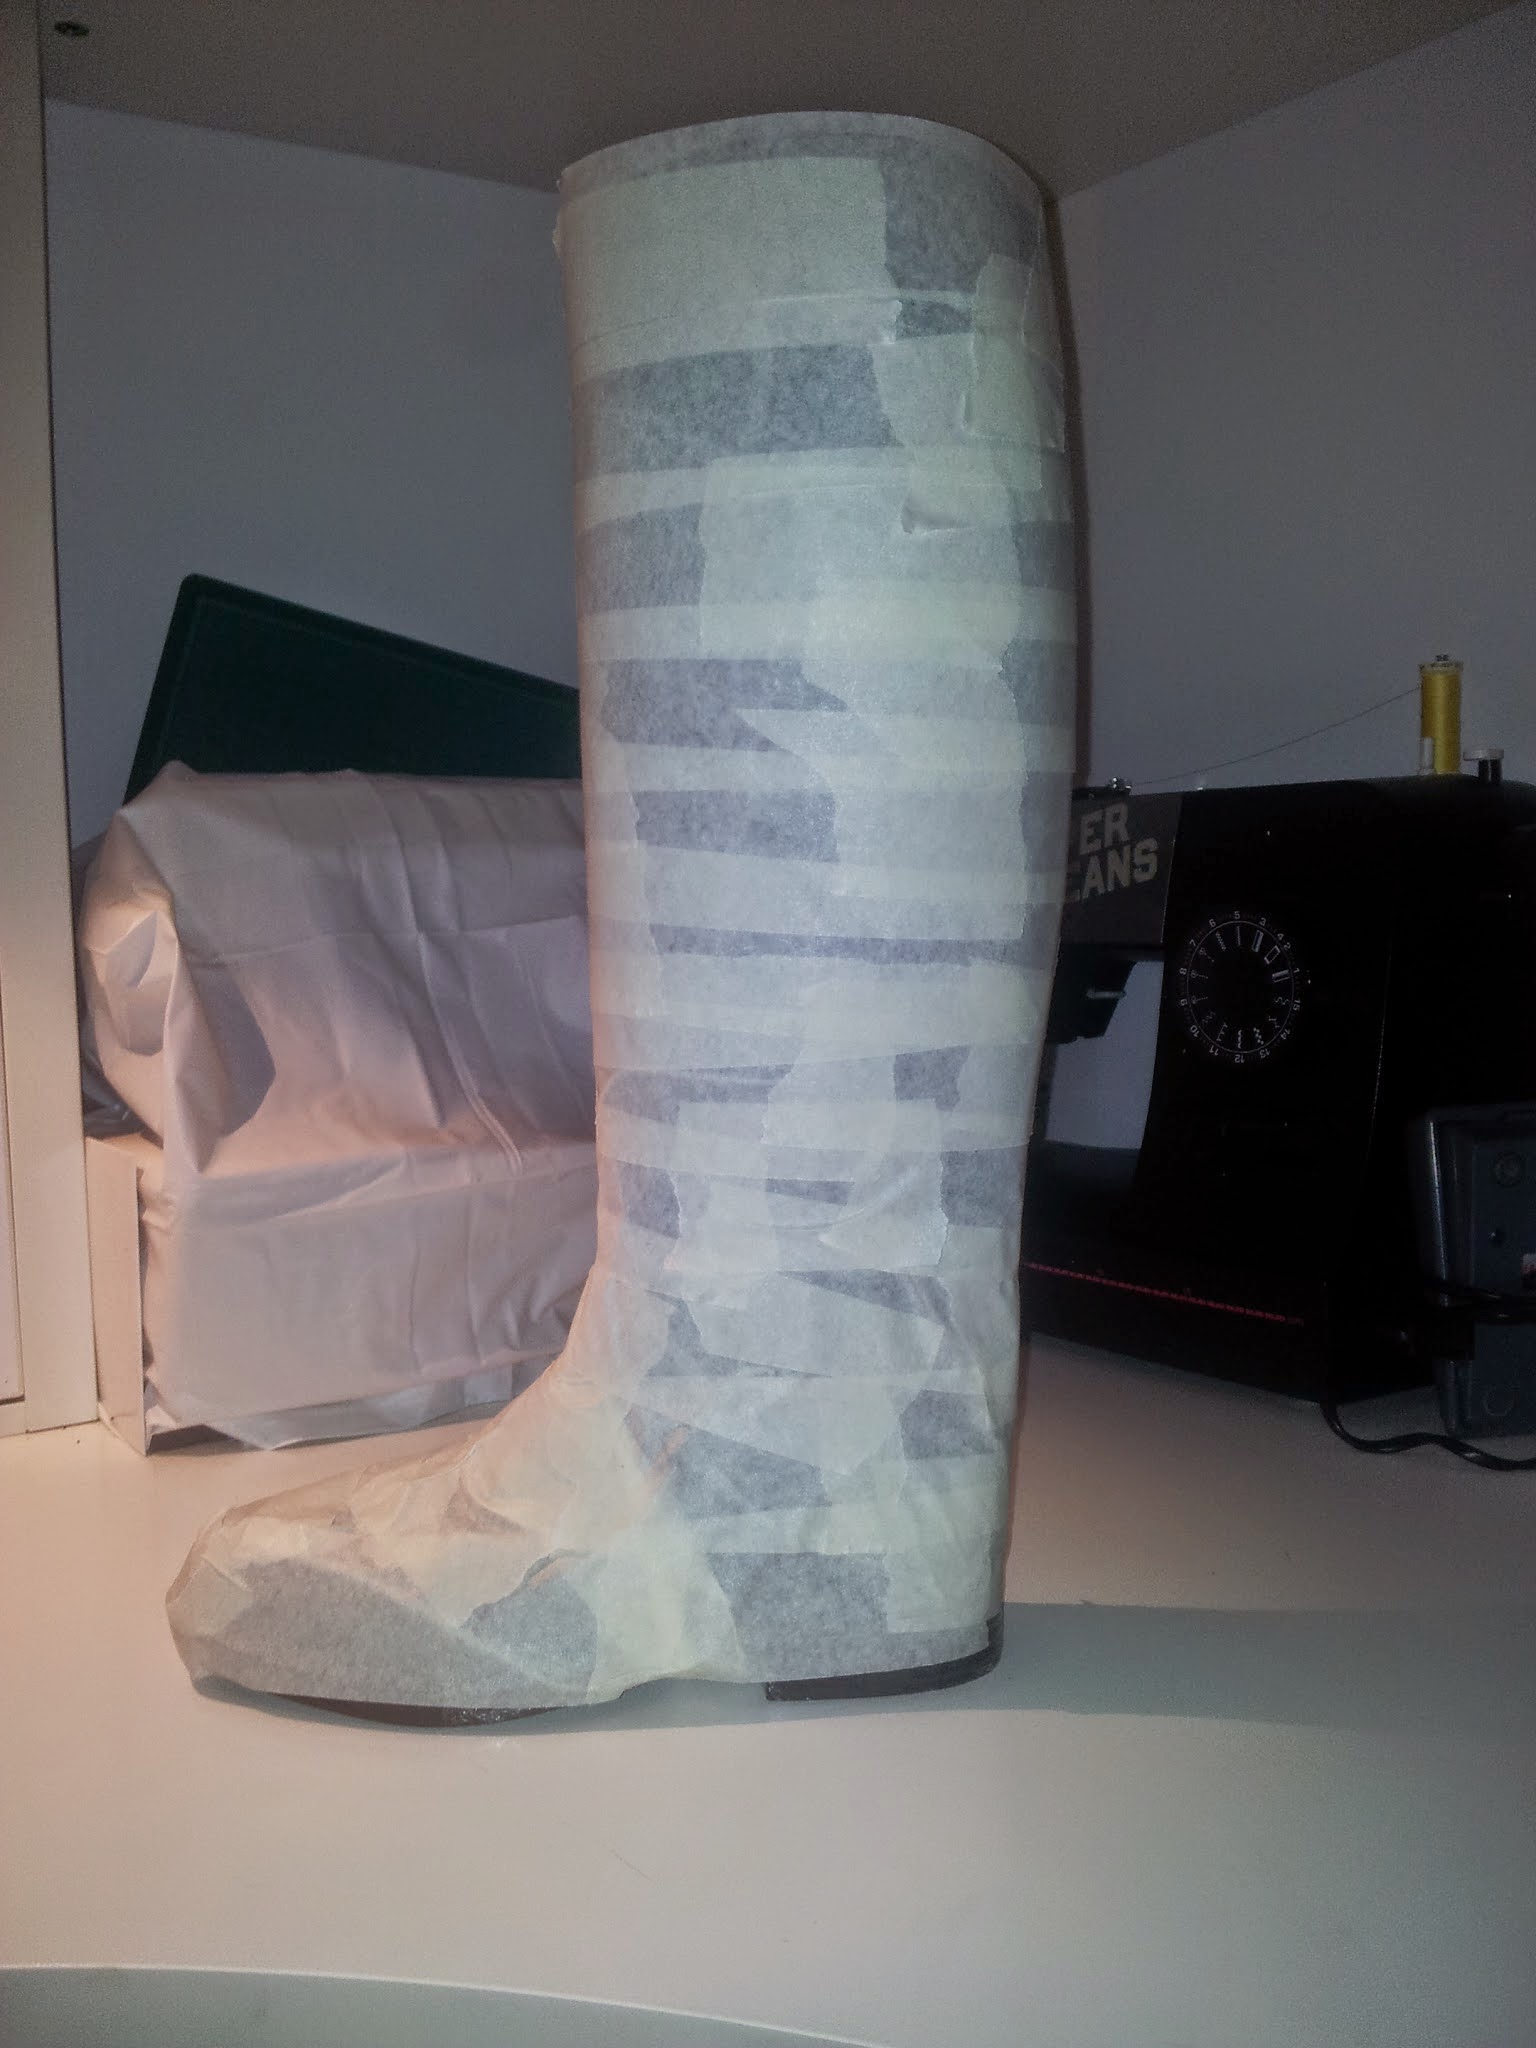
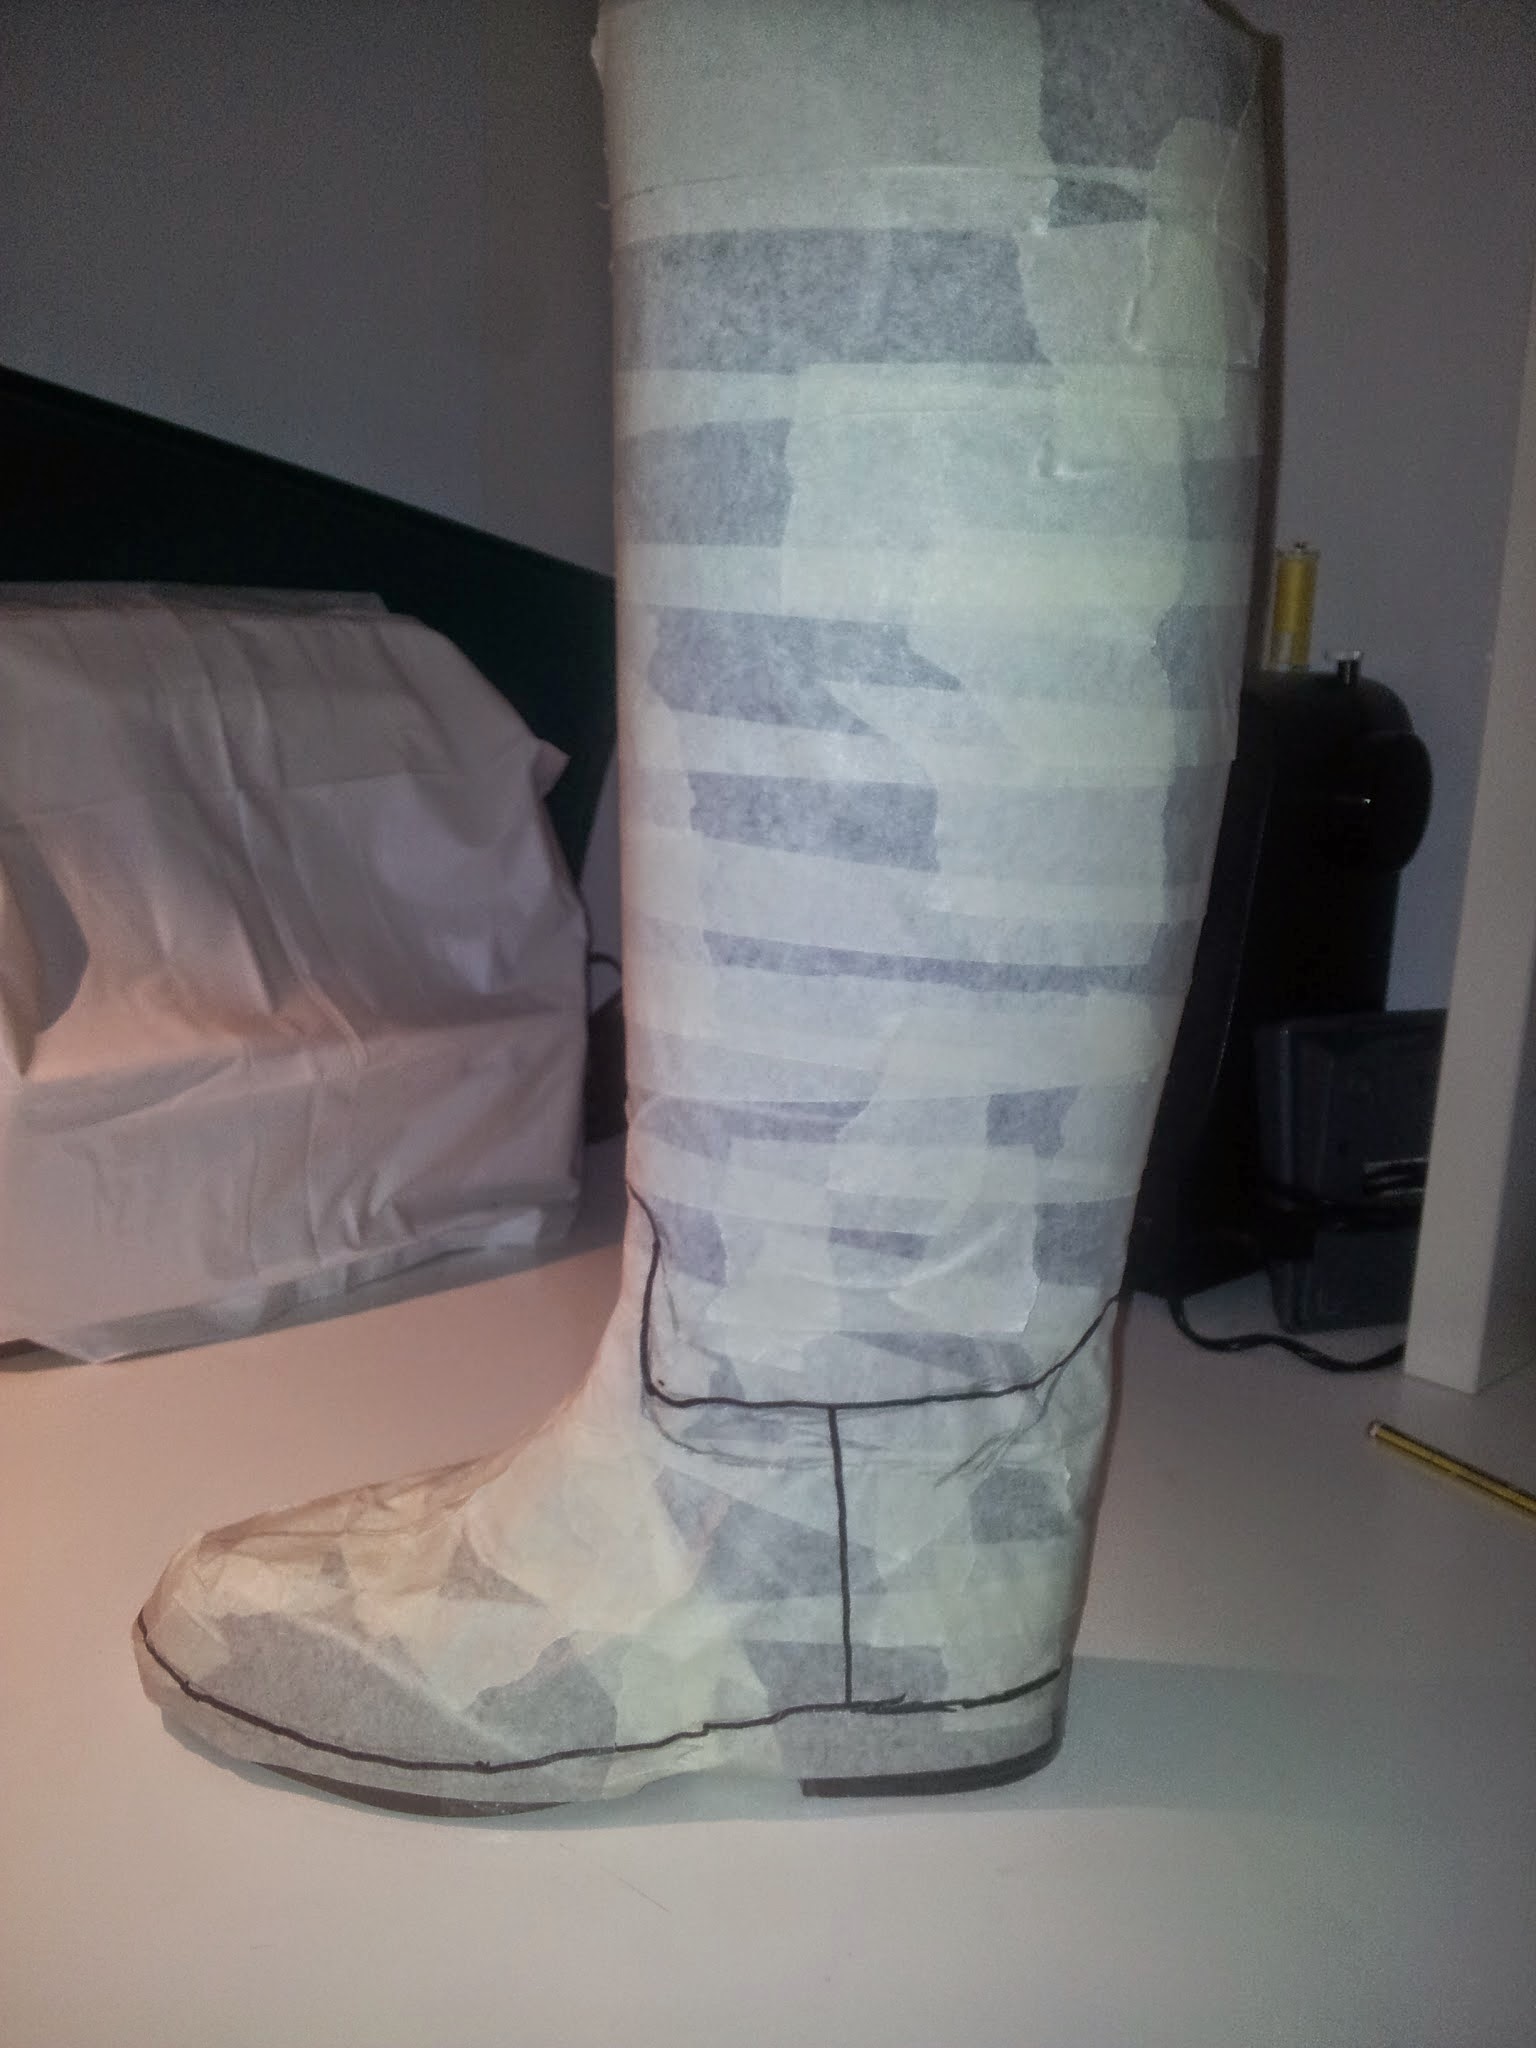
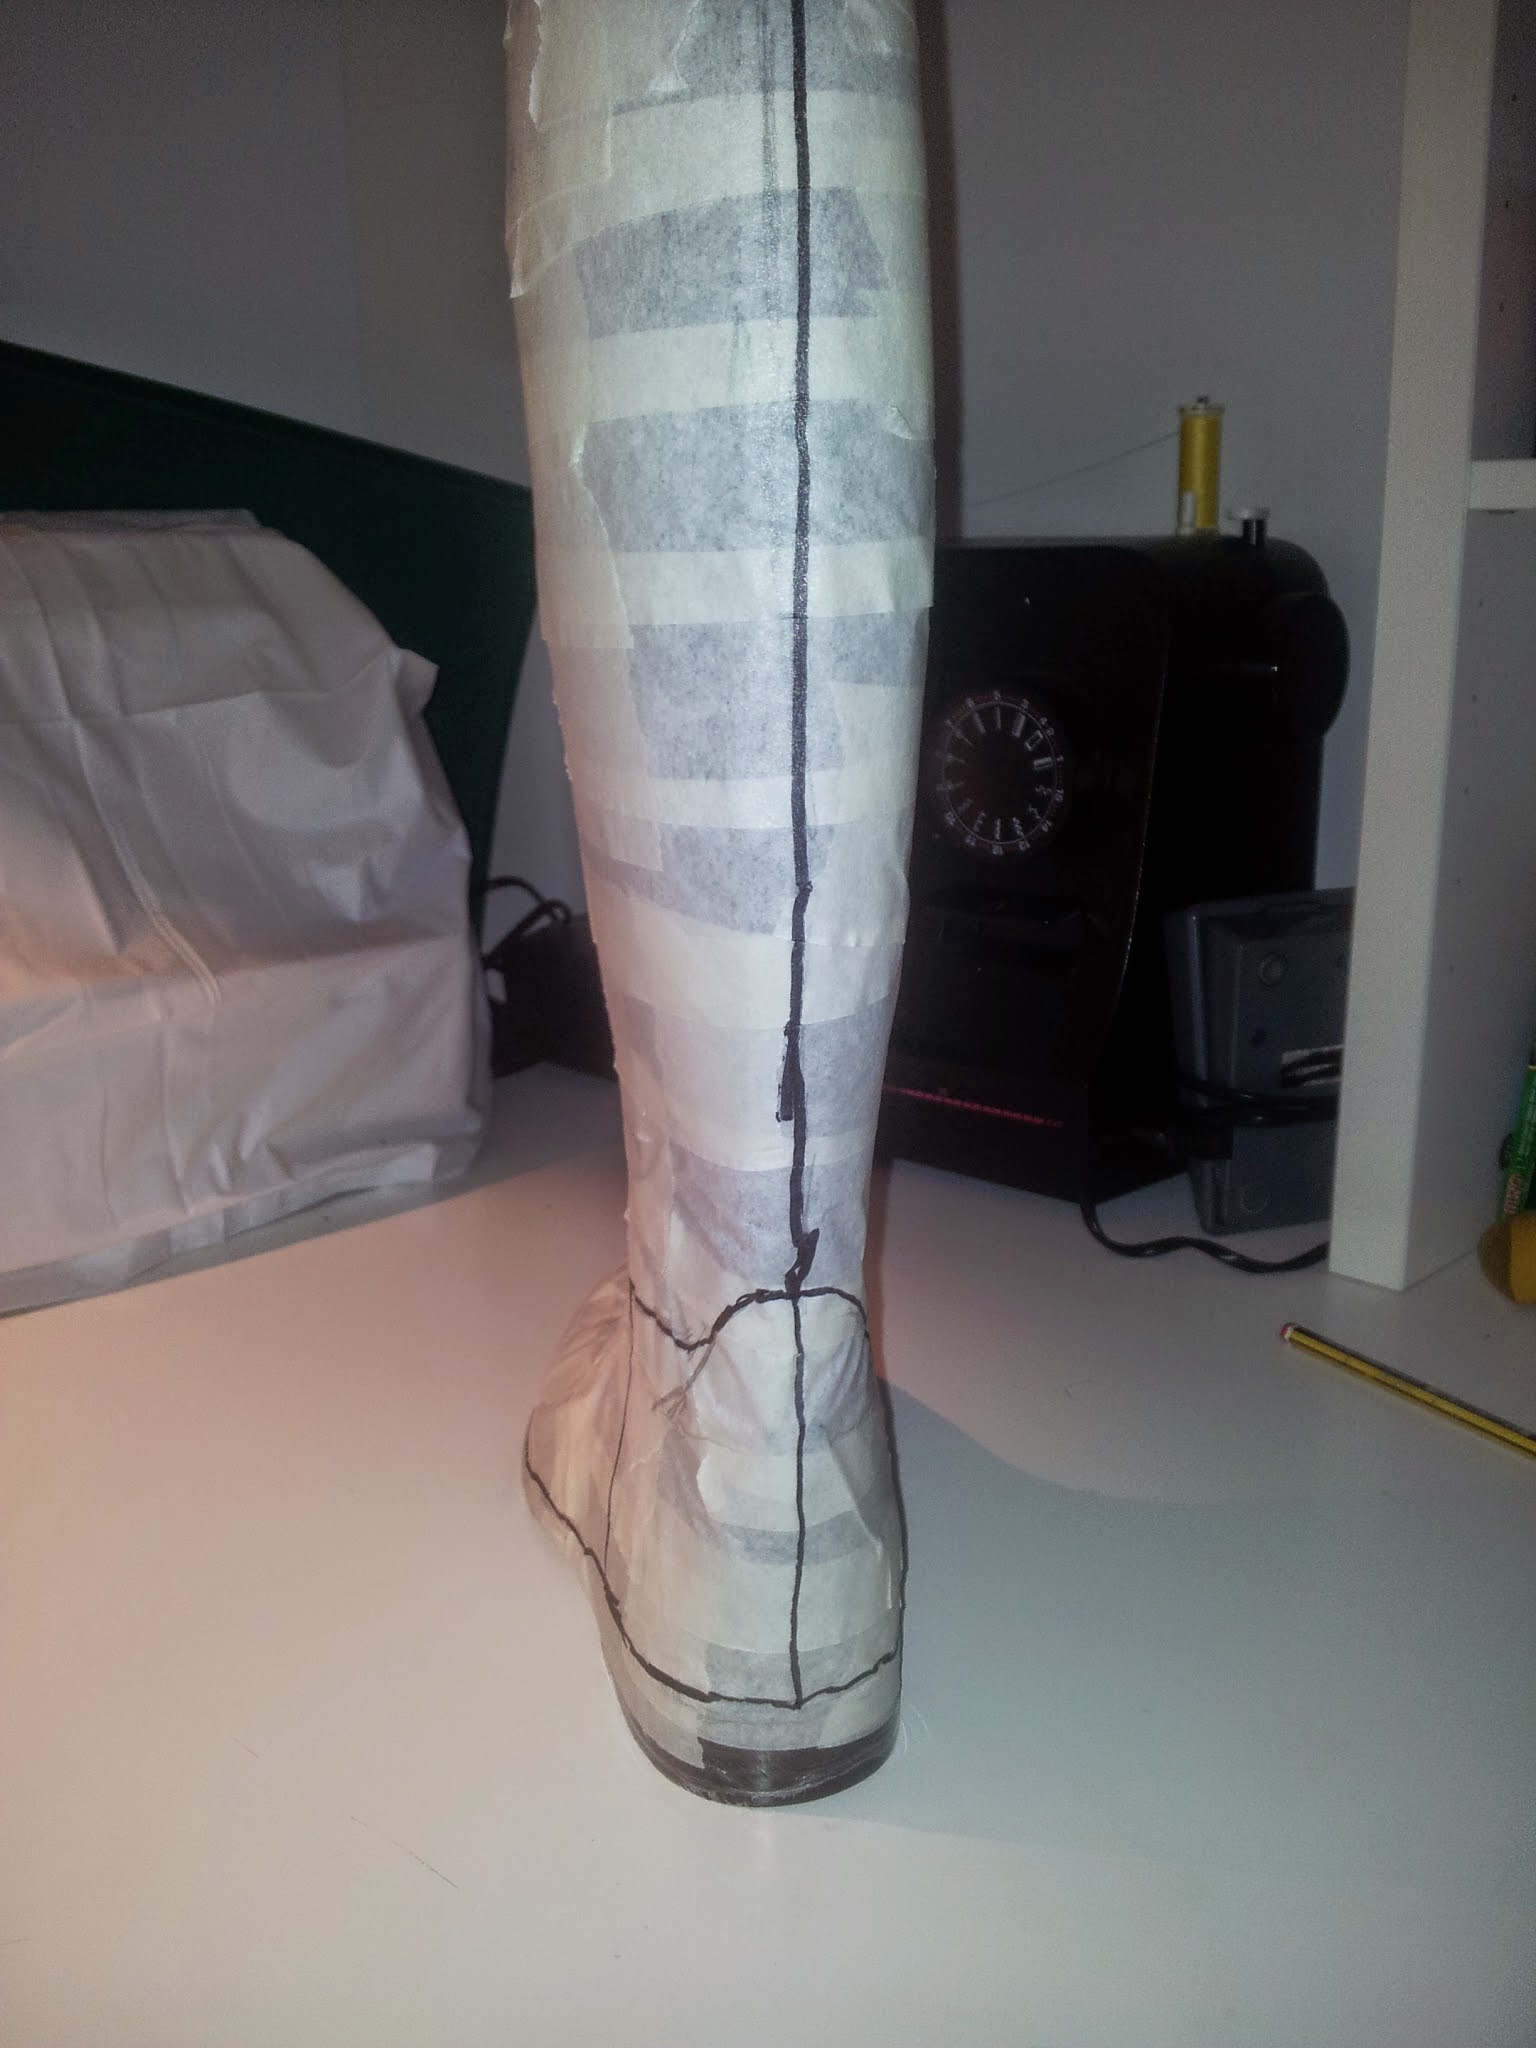
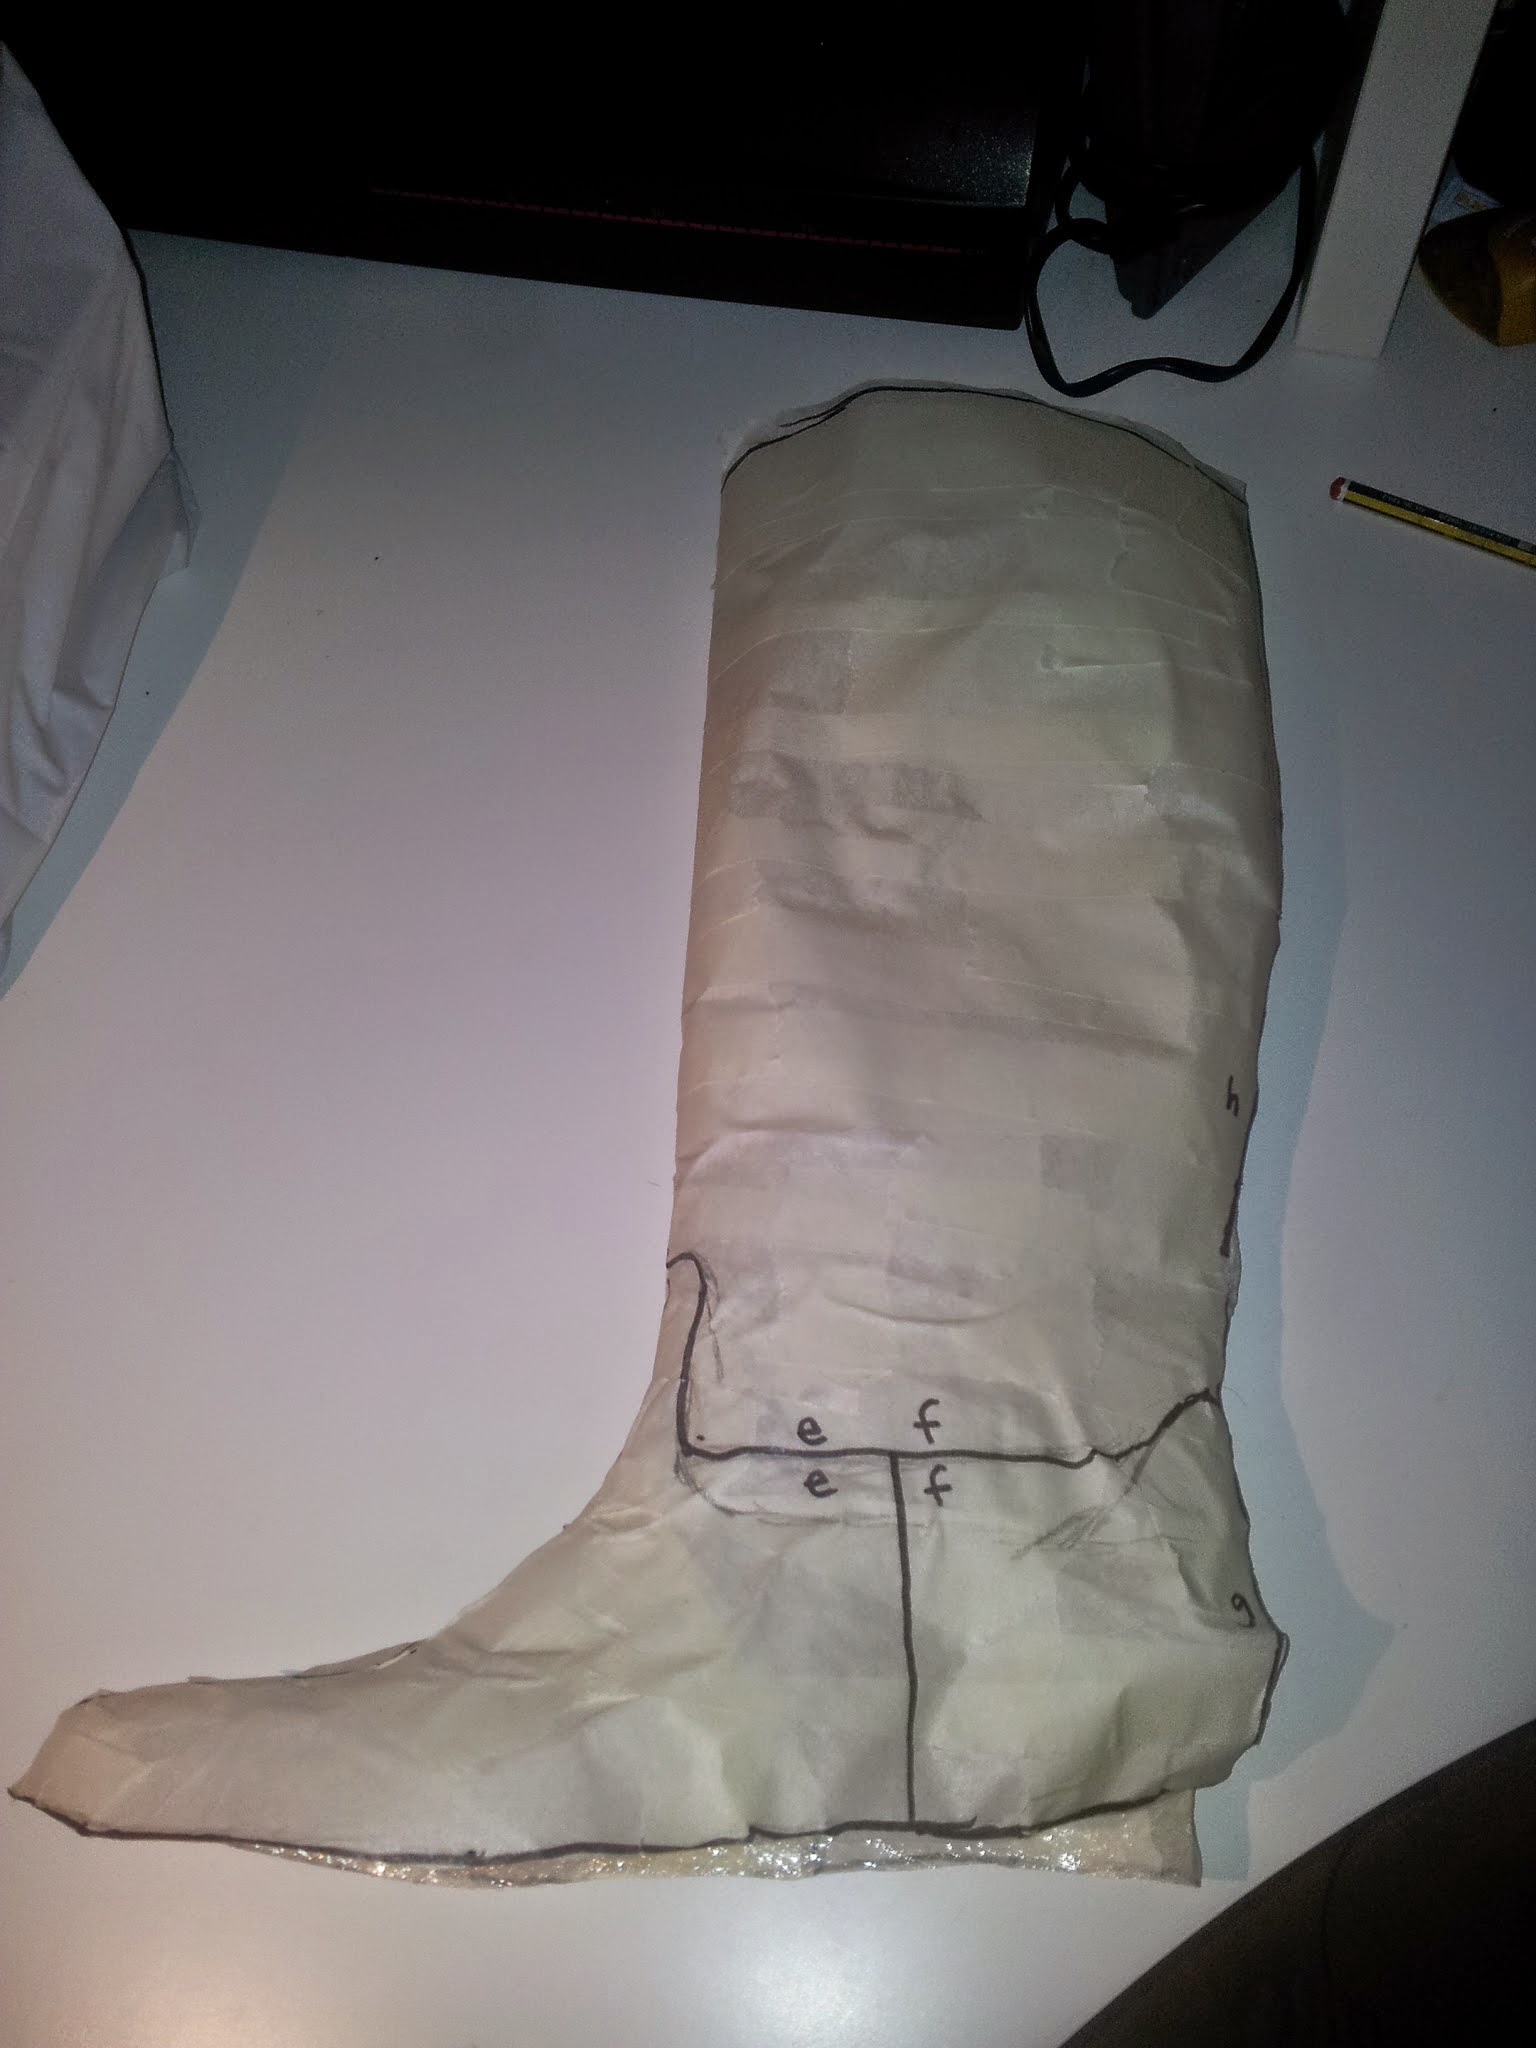
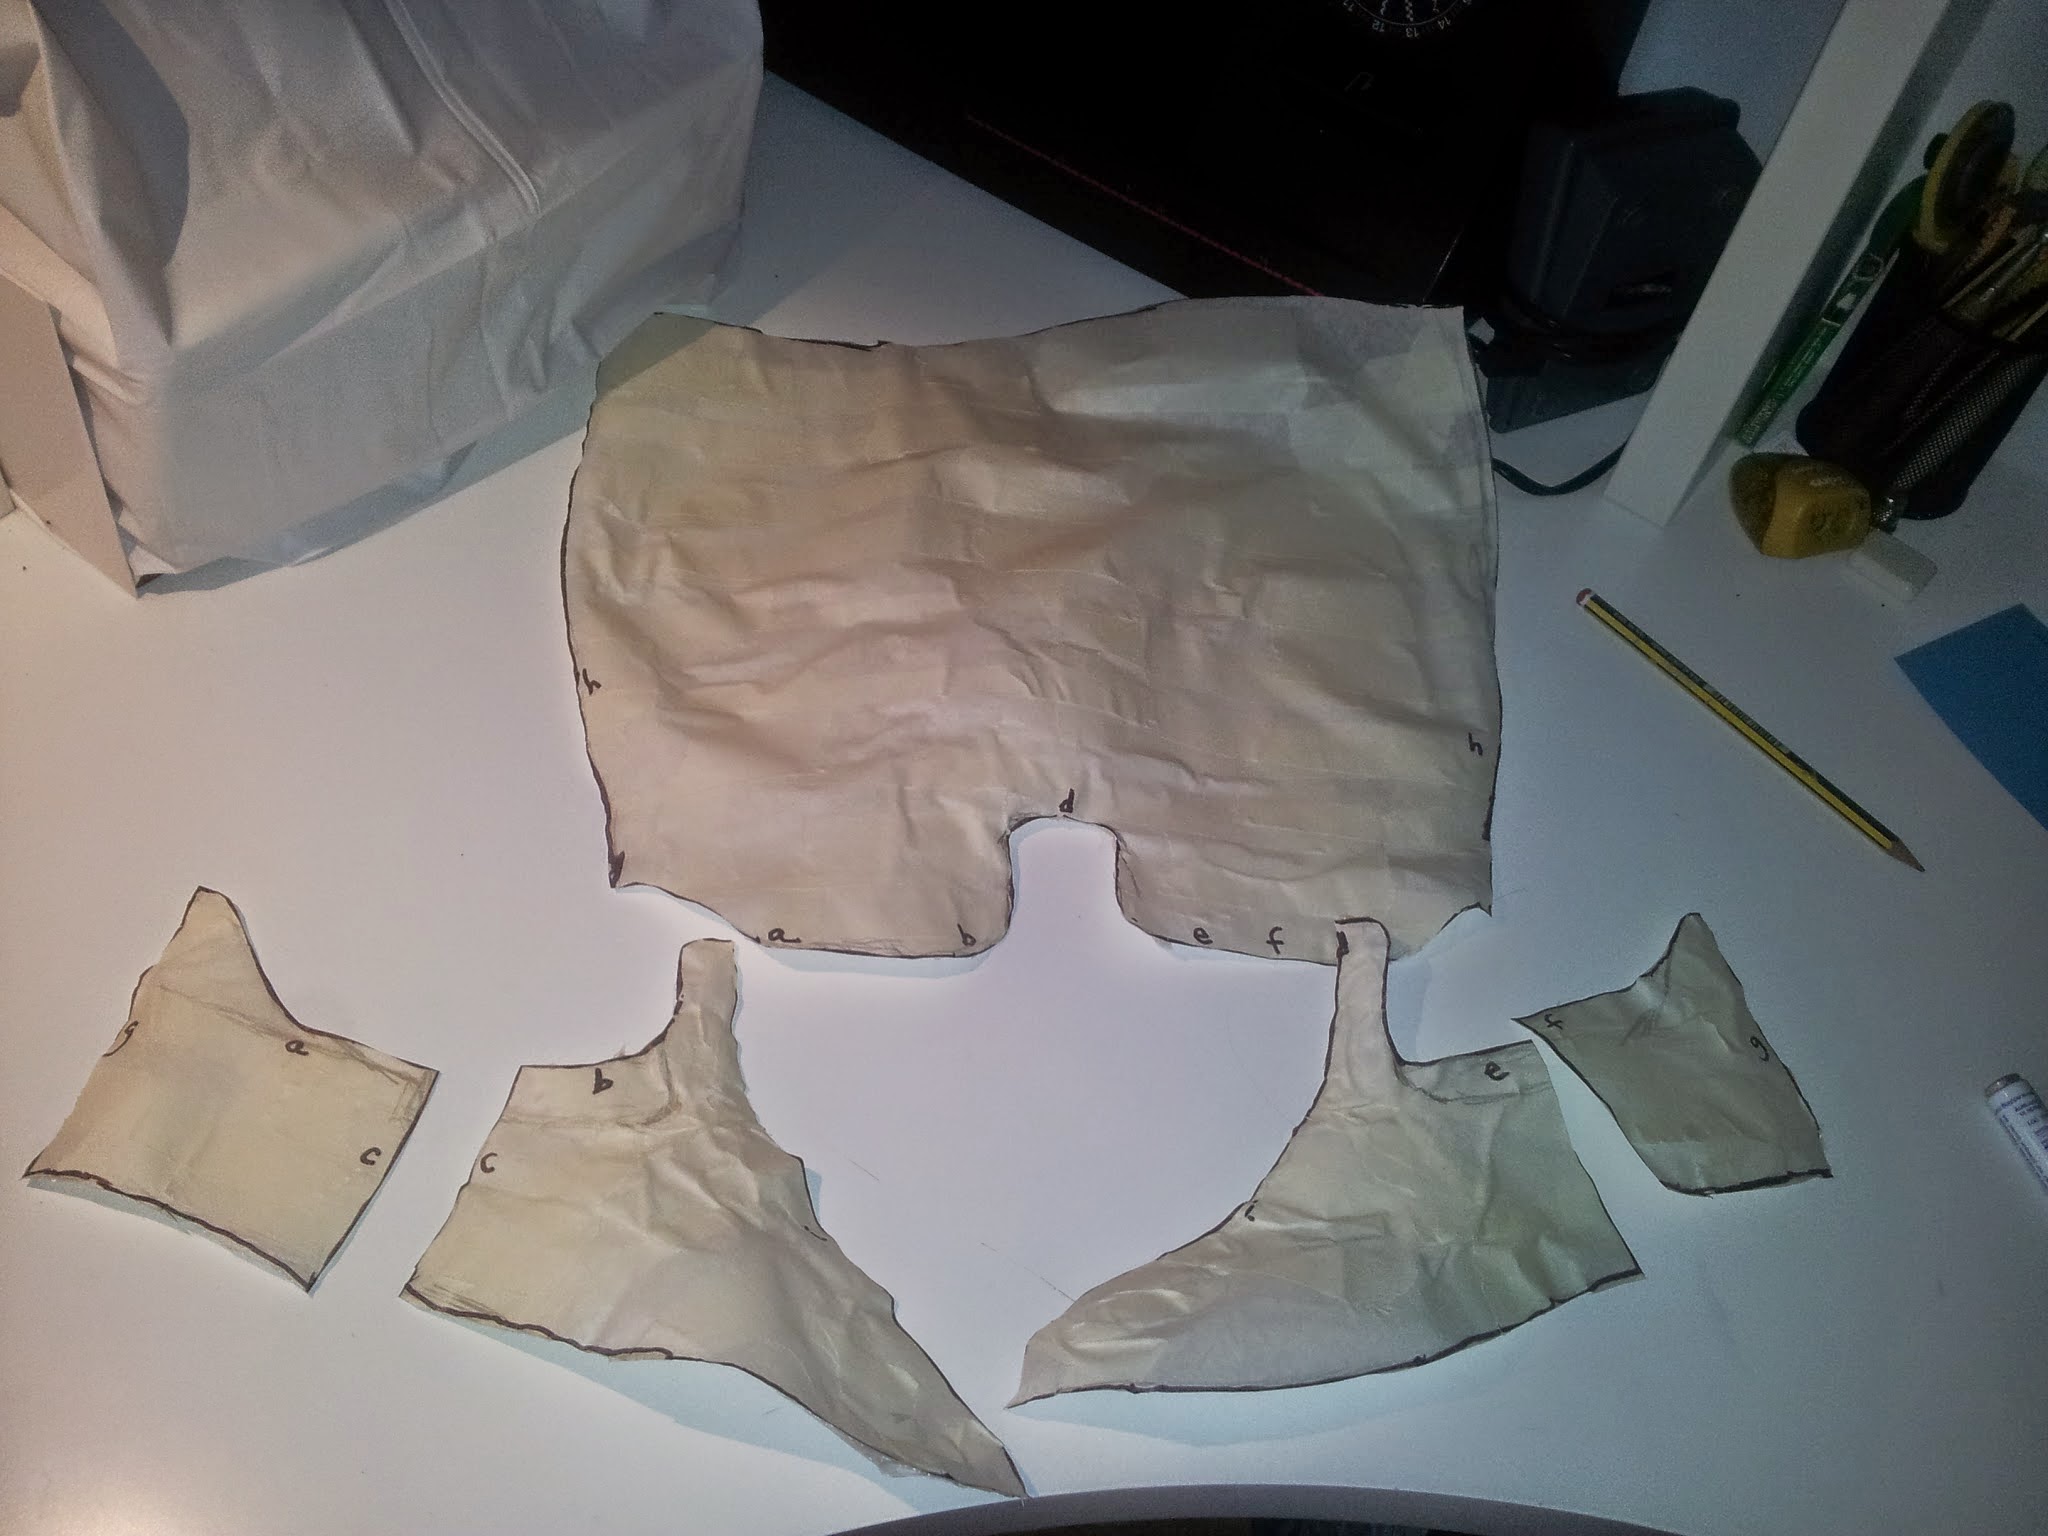
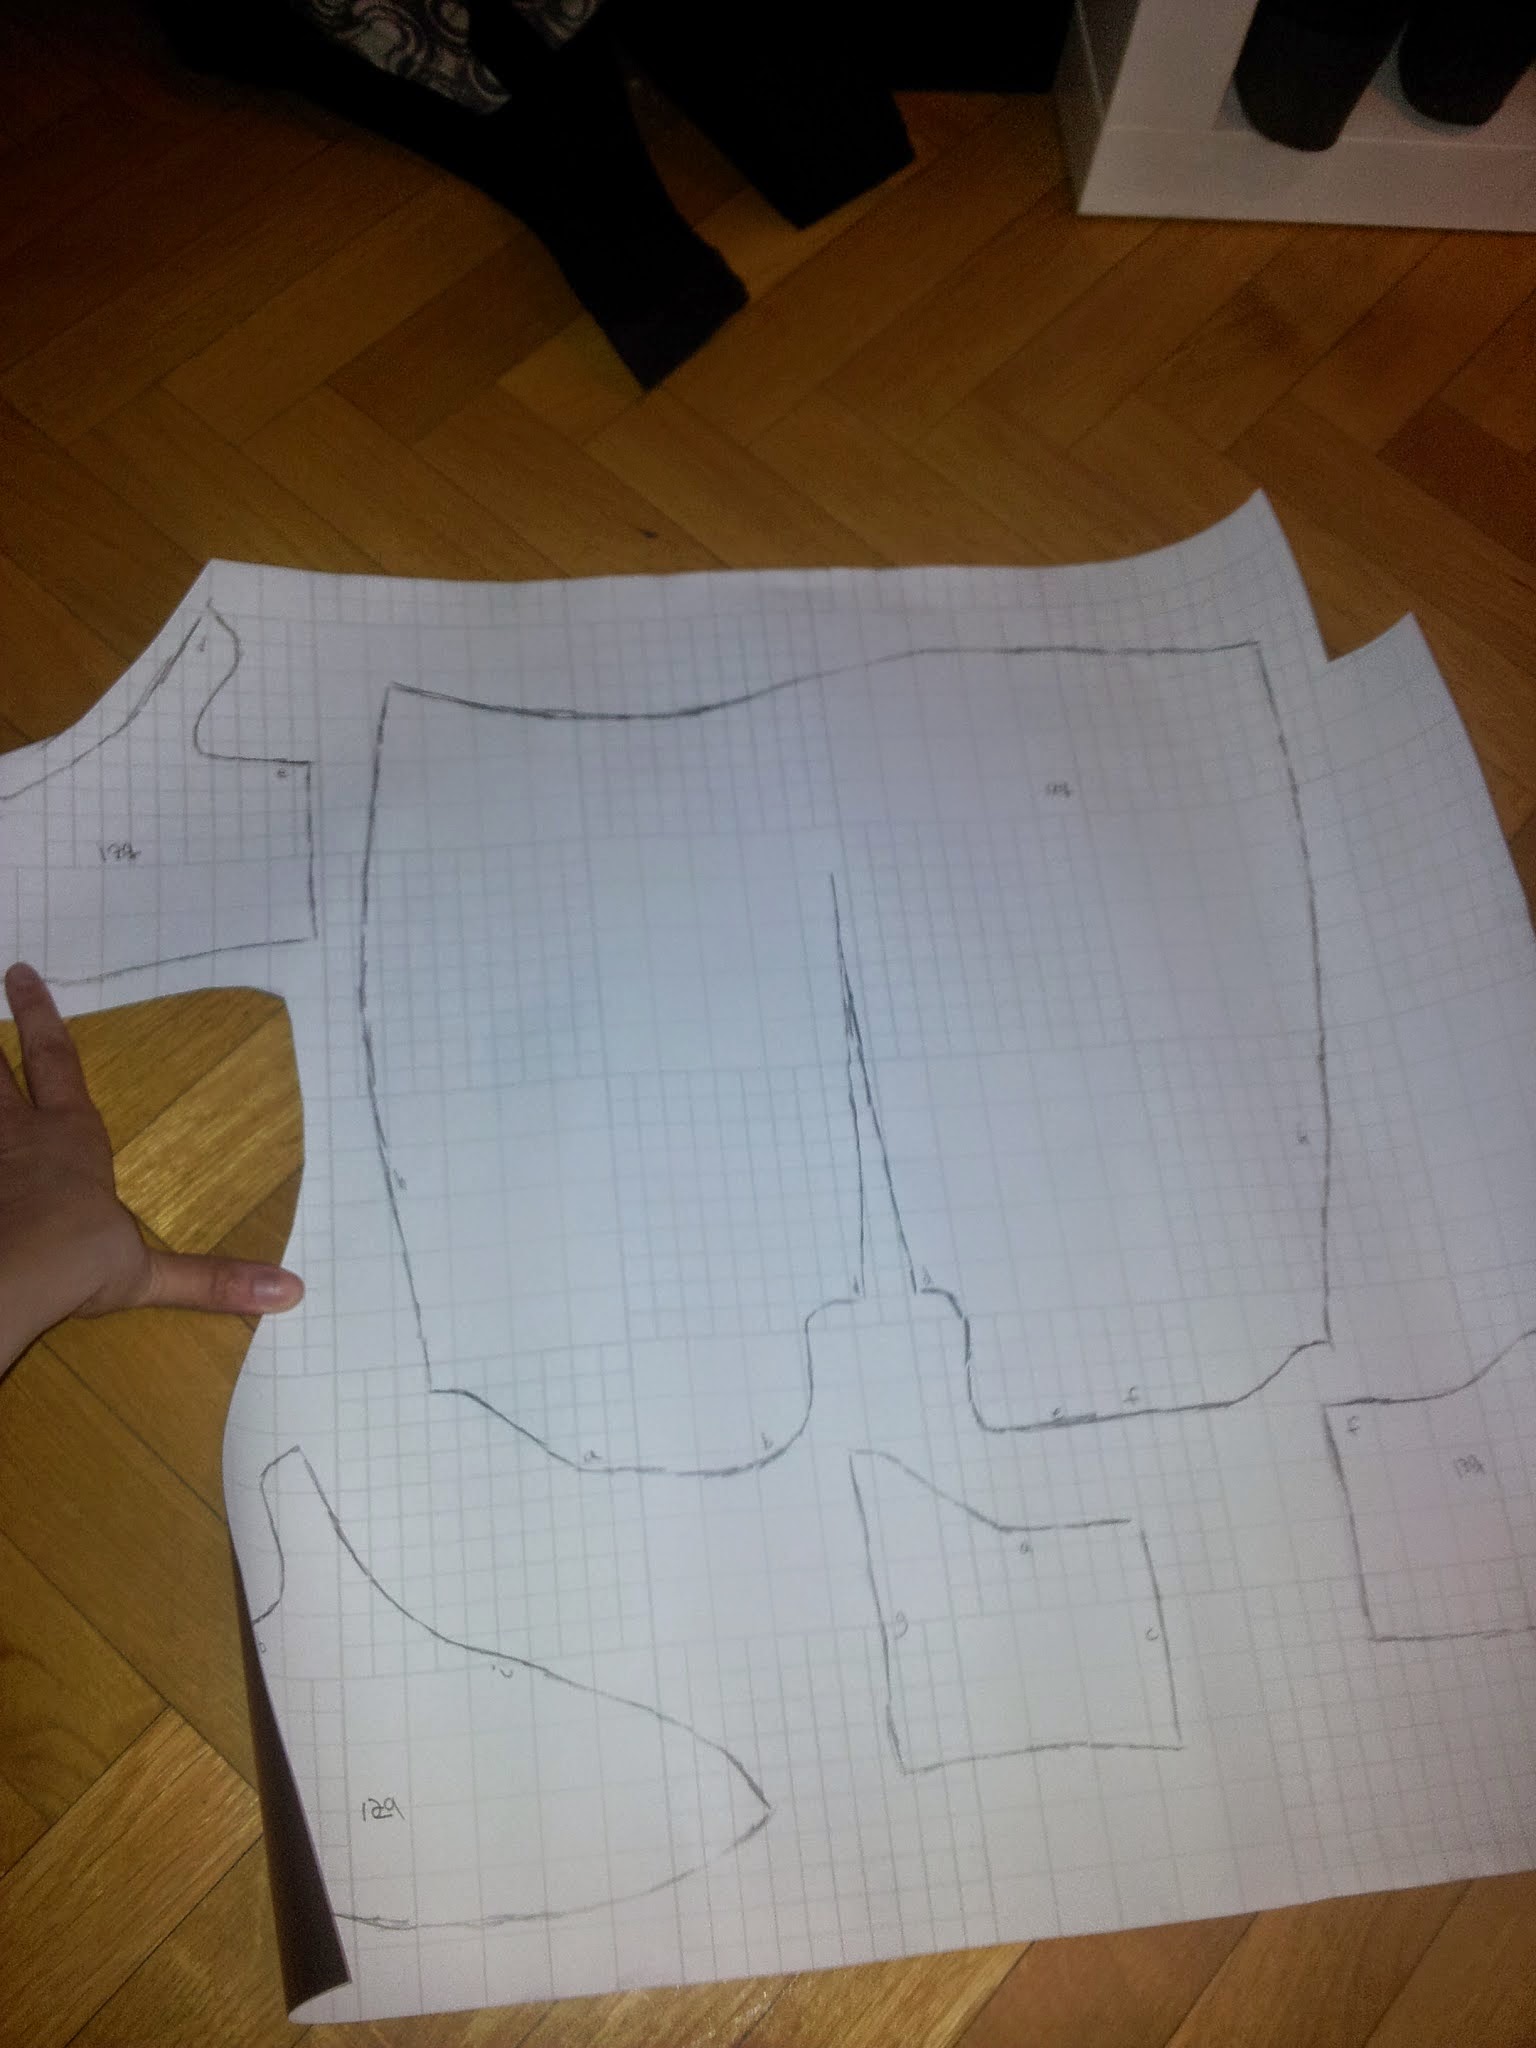
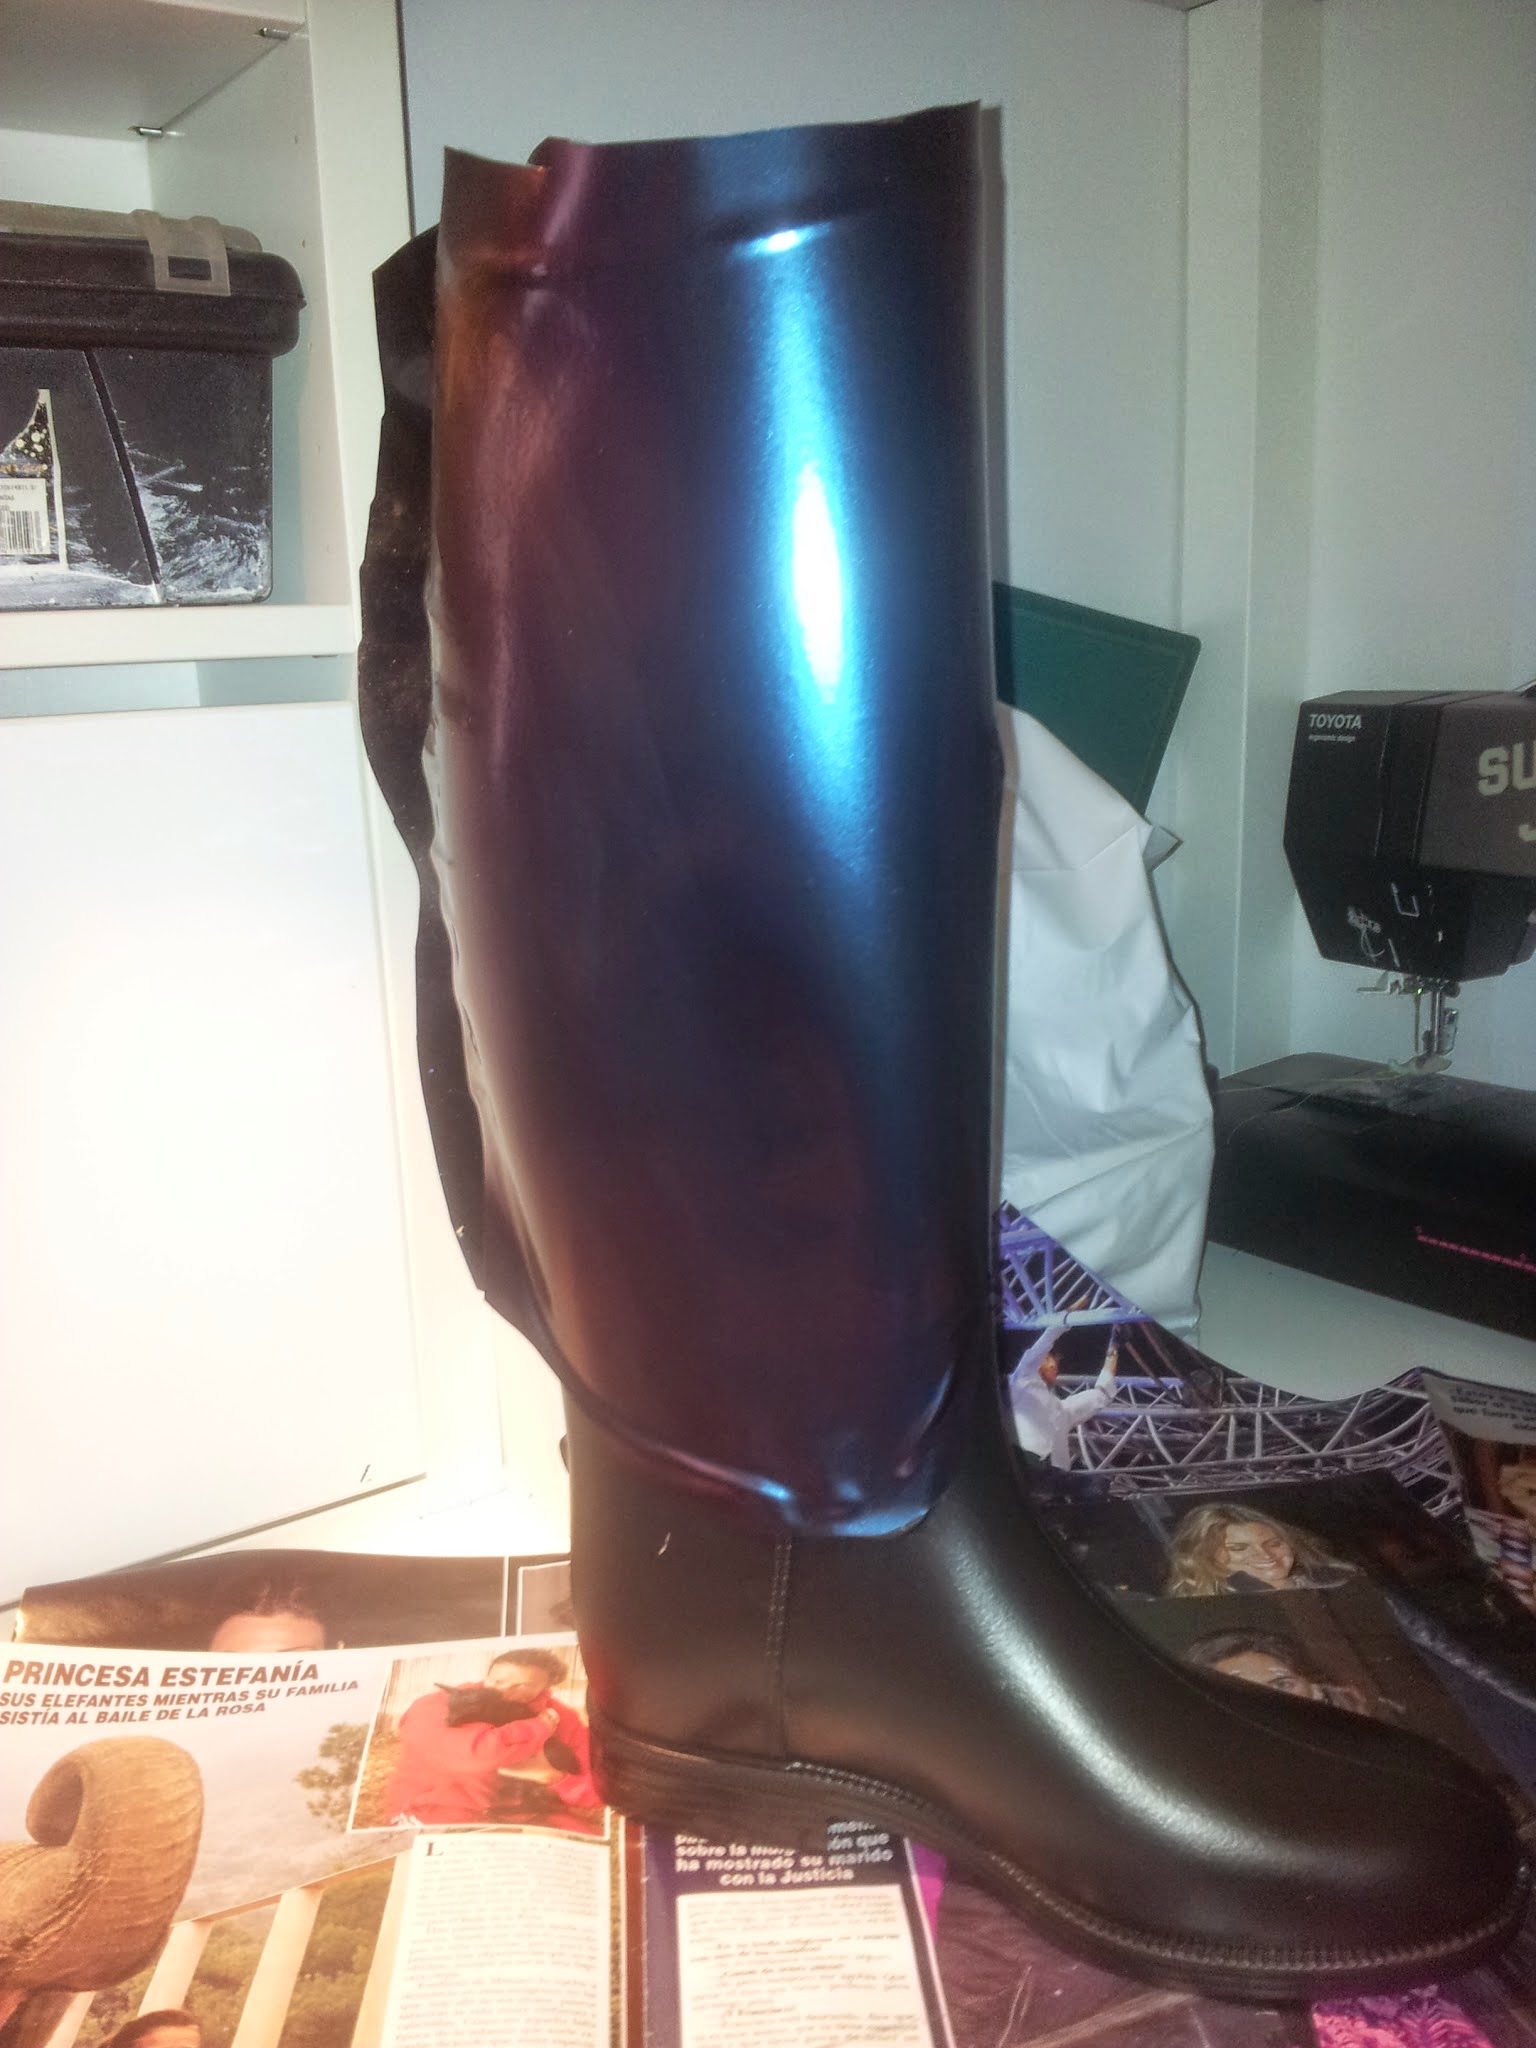
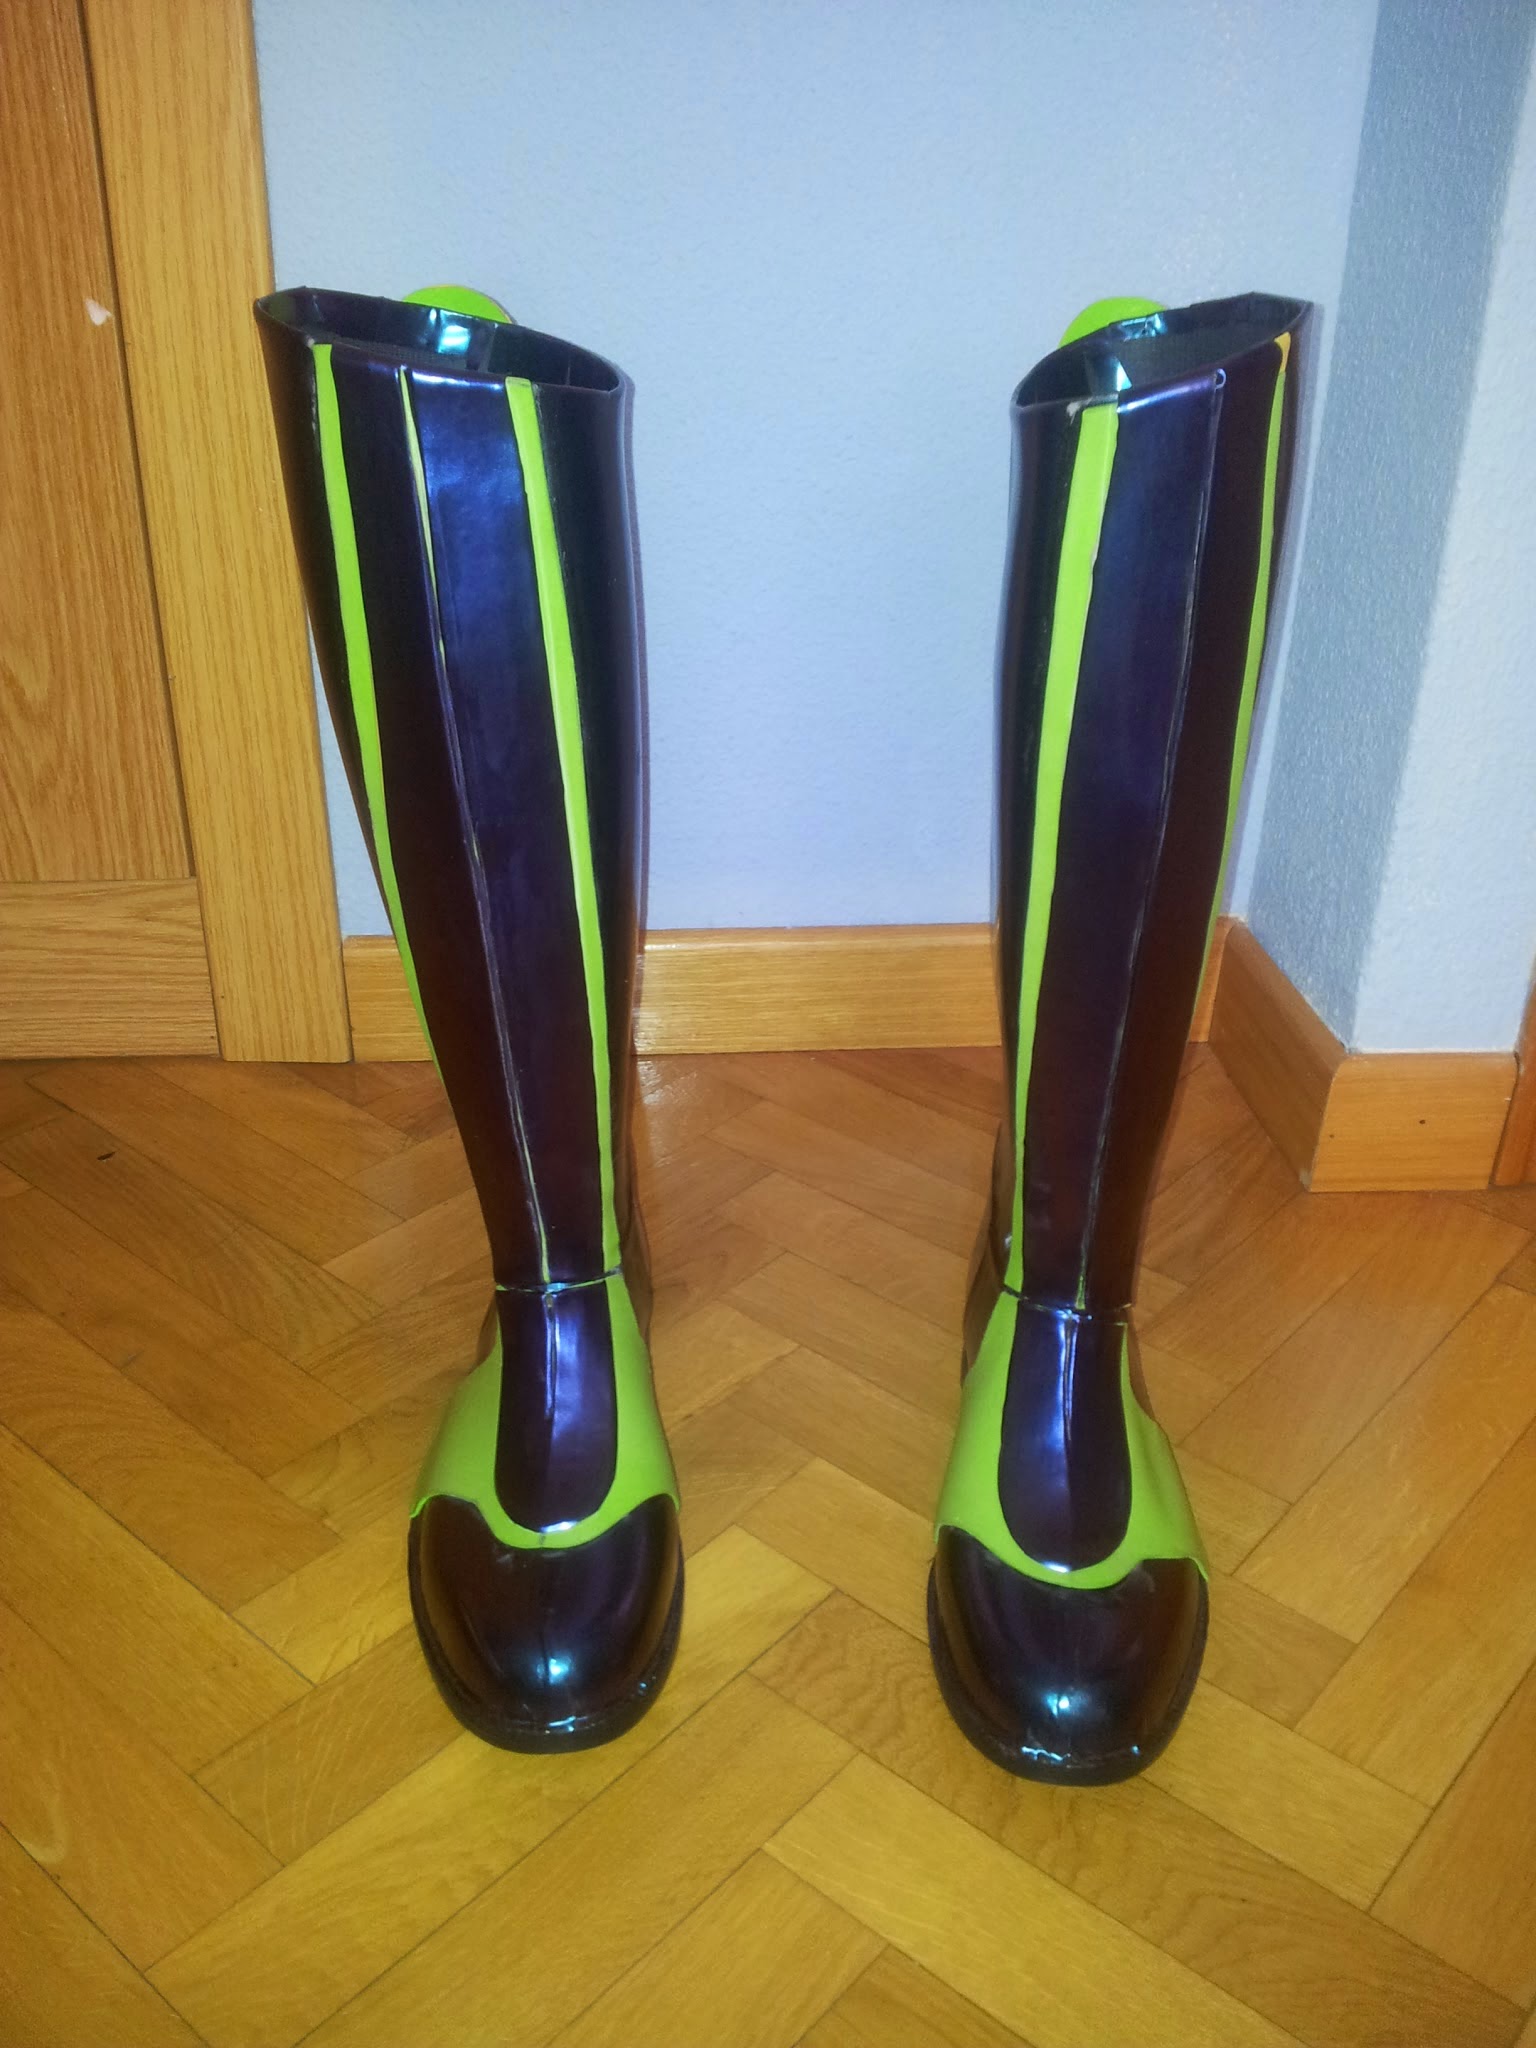
I started by wrapping my boots. I made the patterns by wrapping them in tape, I drew them on the vinyl sheet and I fixed them piece by piece on my boots using a hair dryer to stretch and adapt the material to the boot shape.
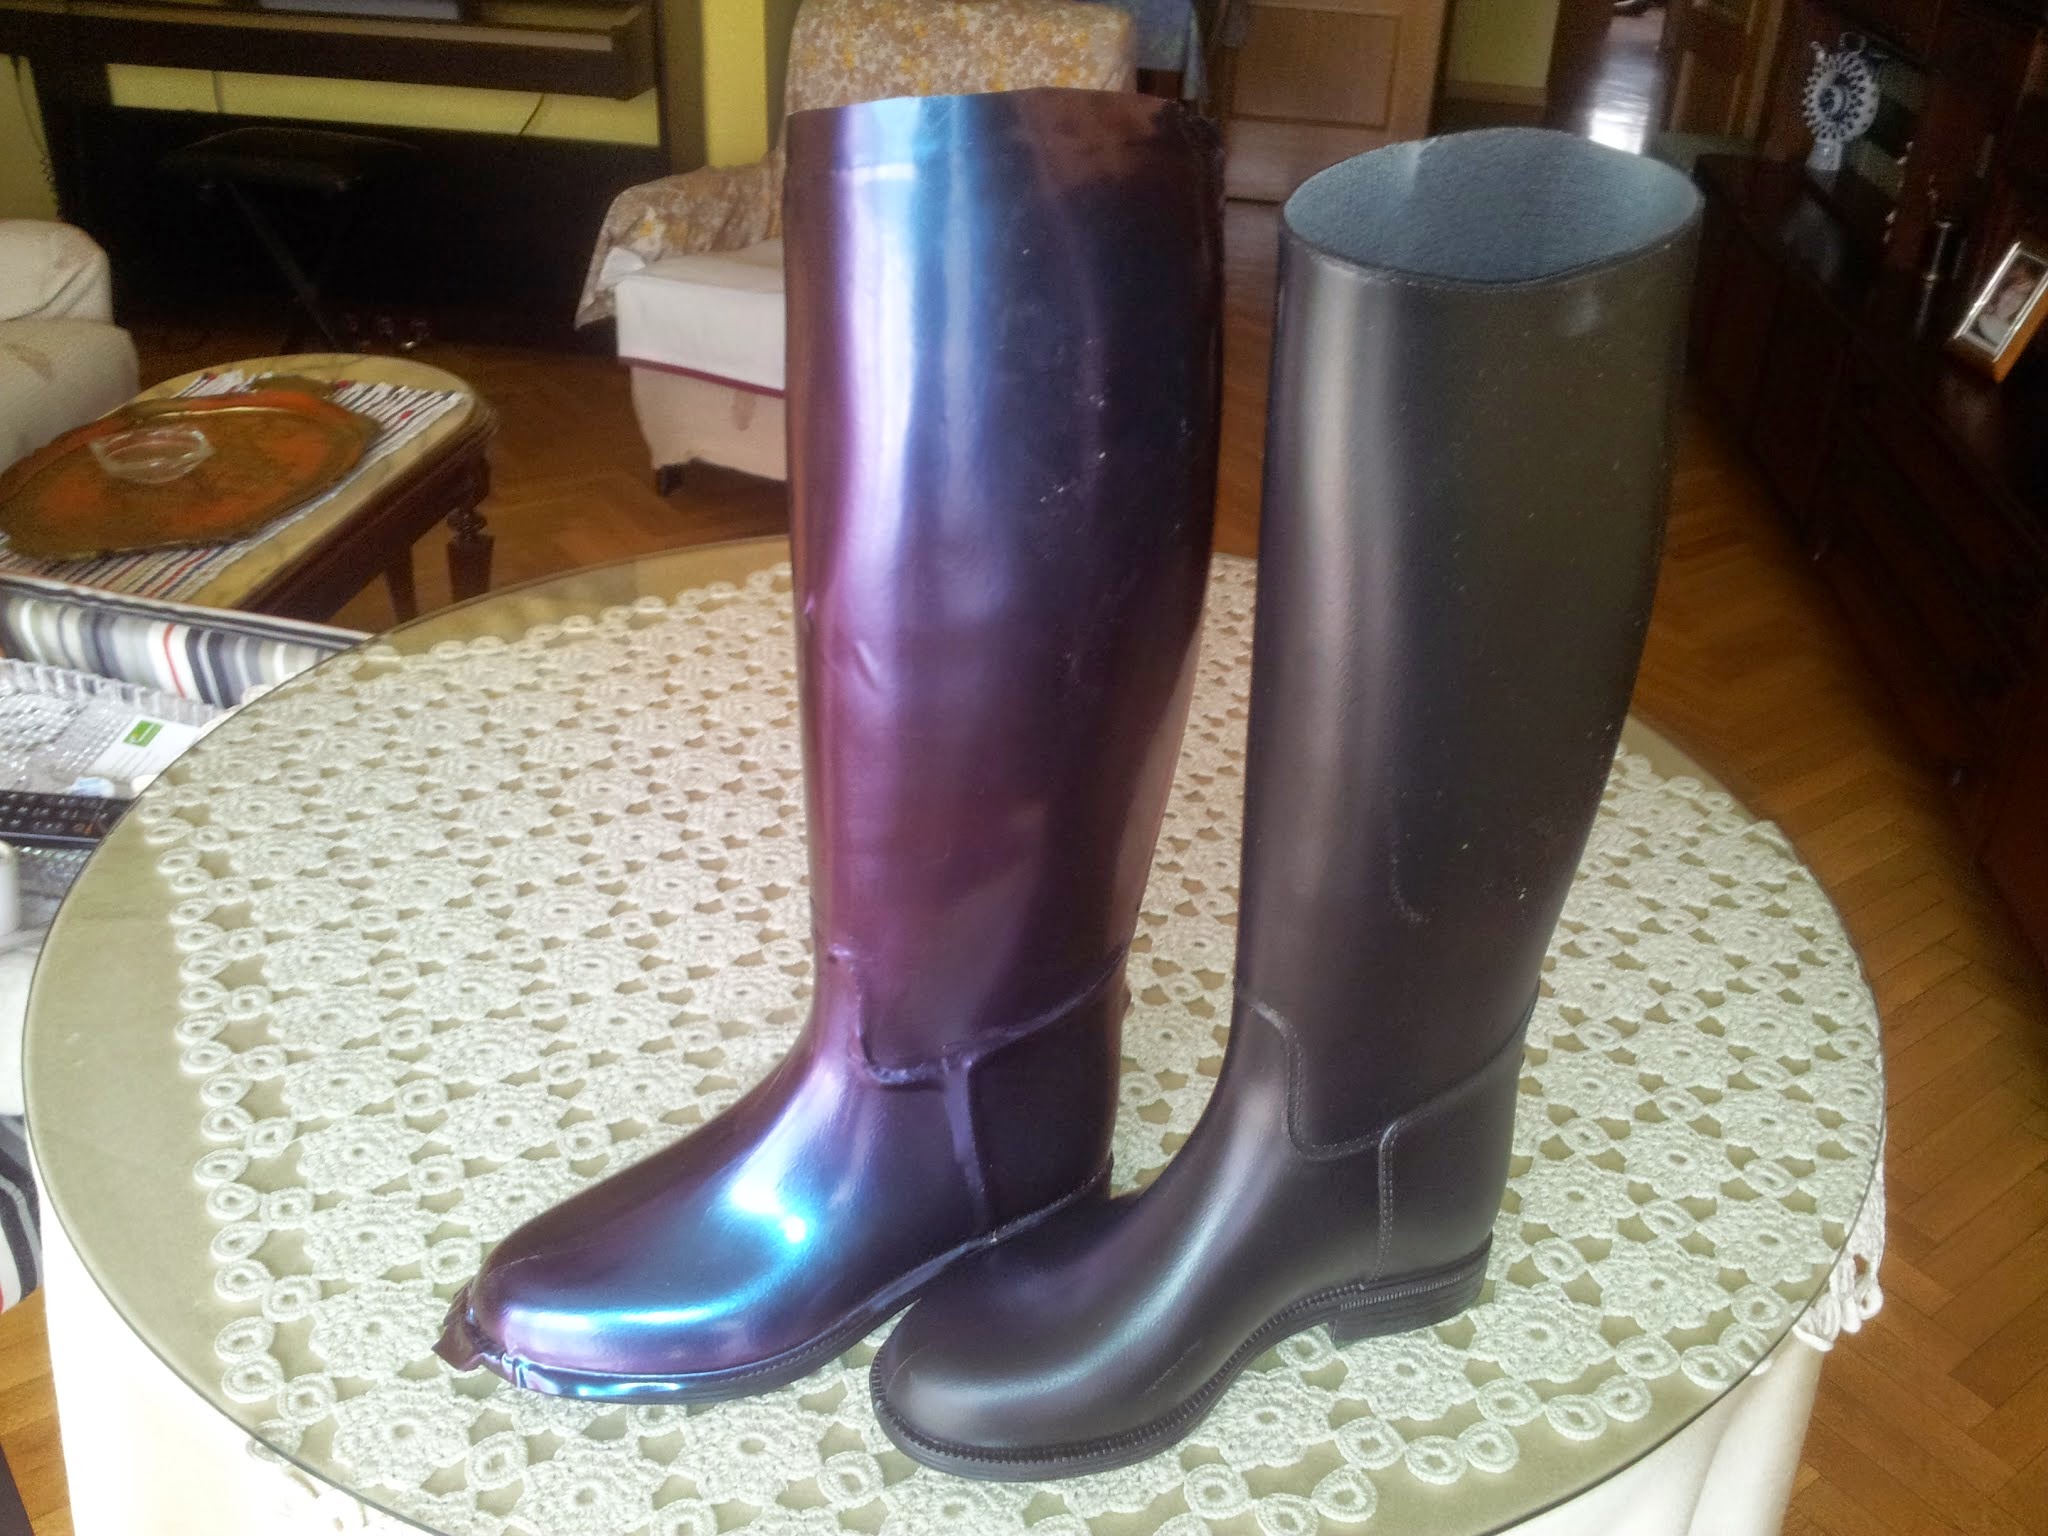
I used Super Glue to connect the different pieces. As you can see, the seams are barely noticeable.

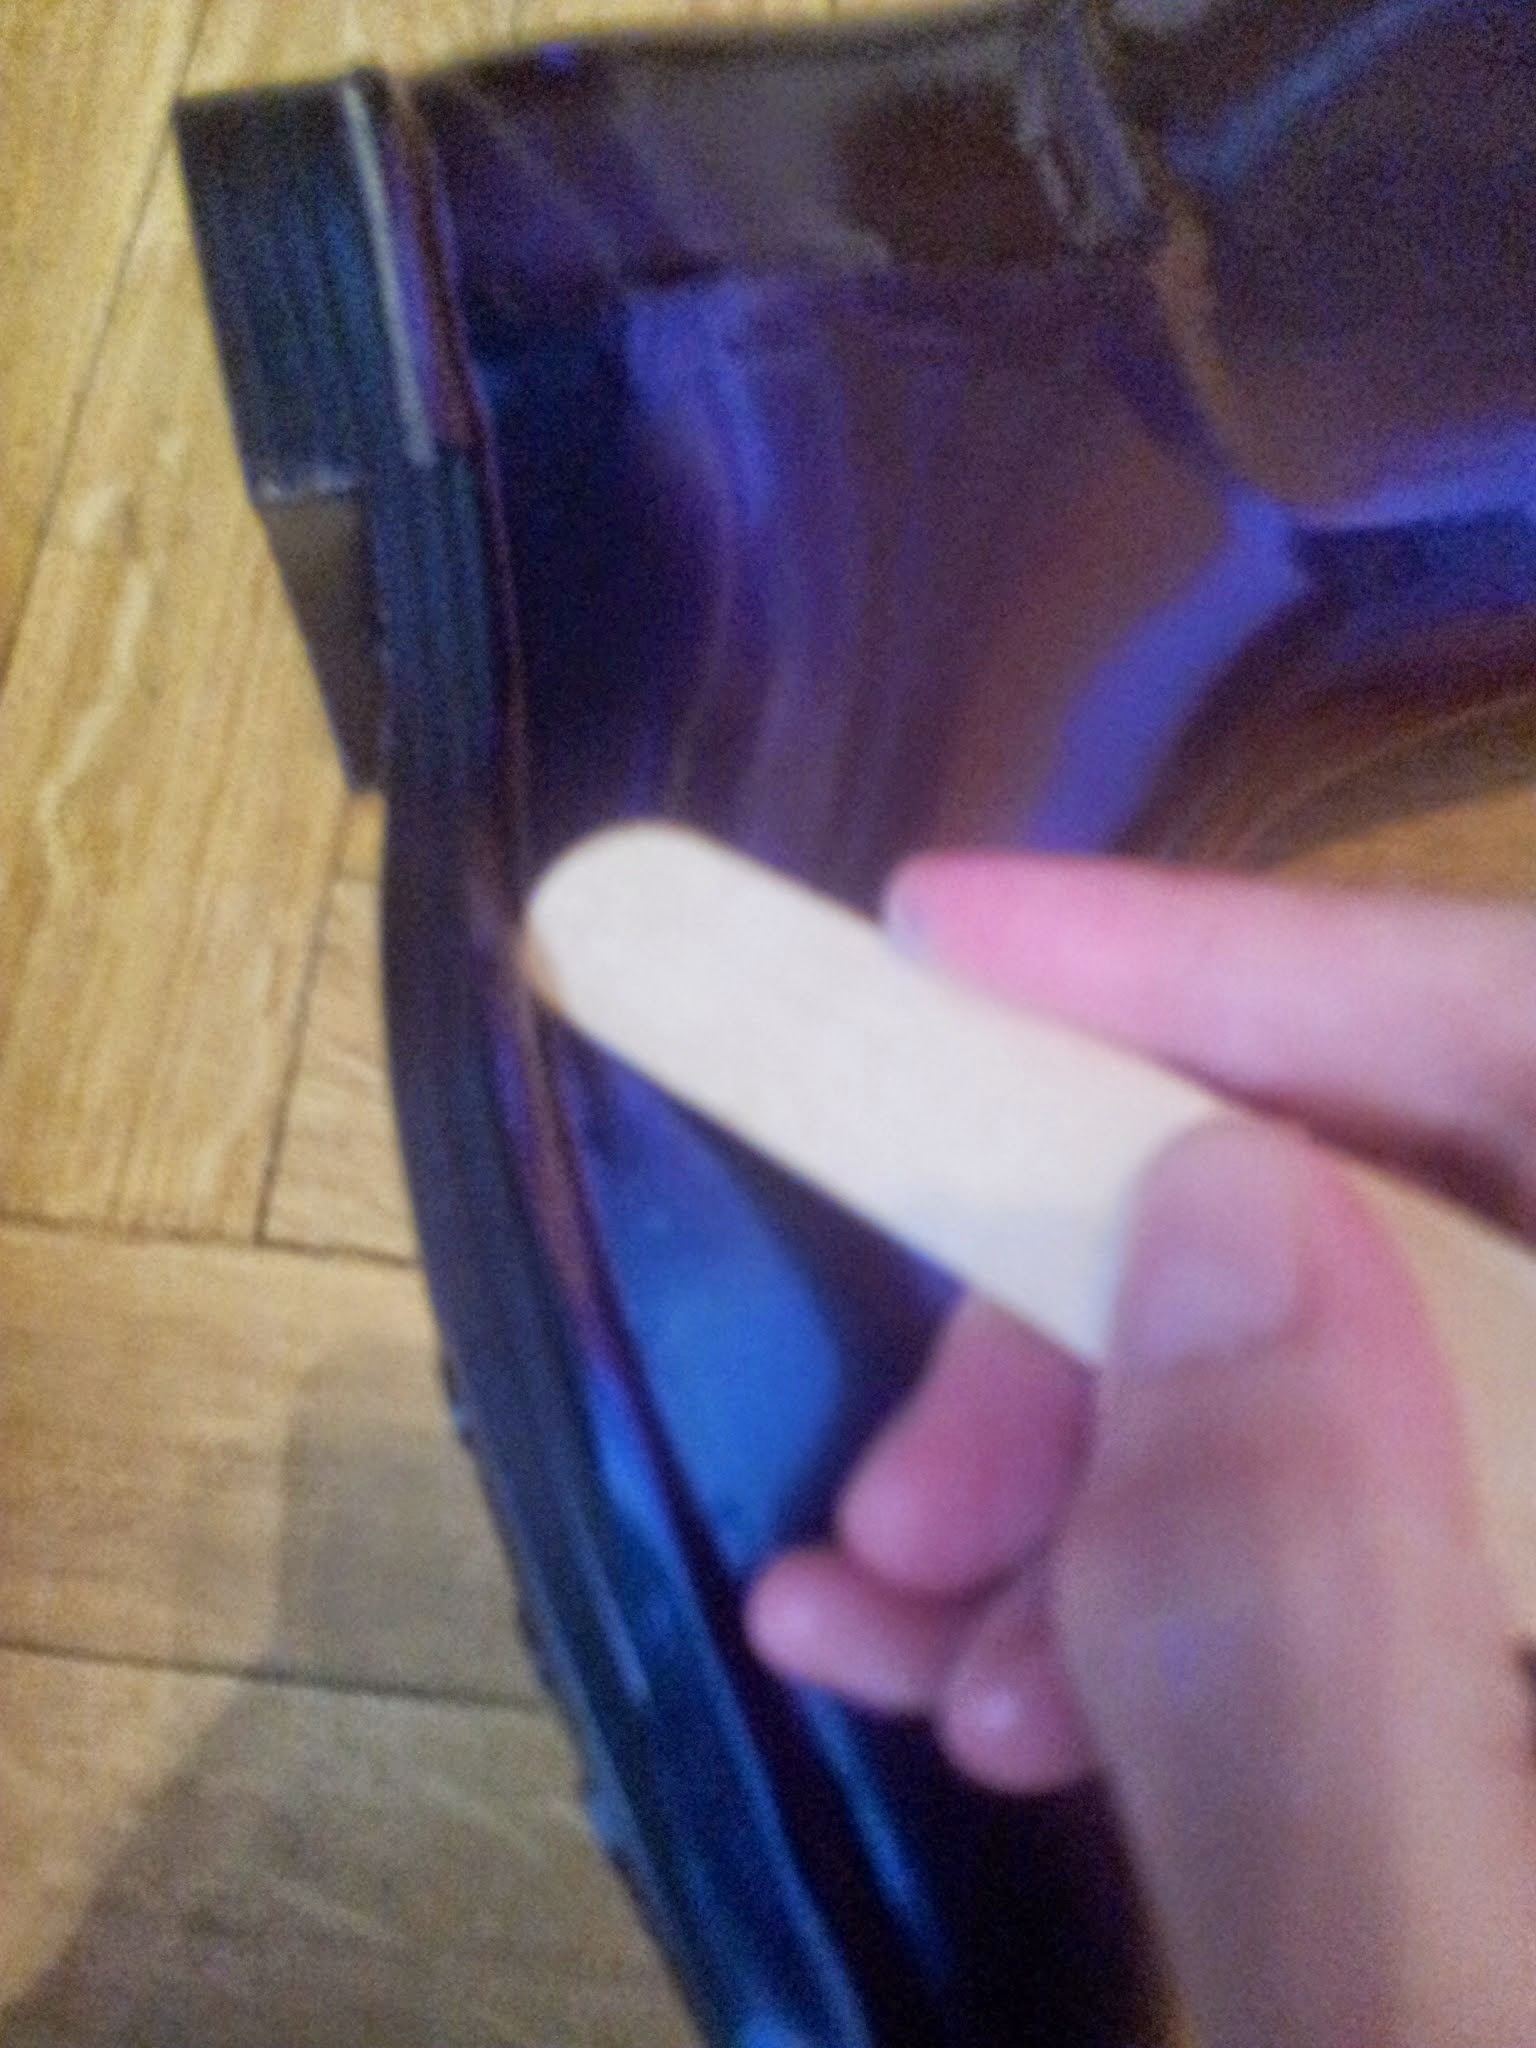
I also applied Super Glue in the lower part and I pressed with a stick to fix it.
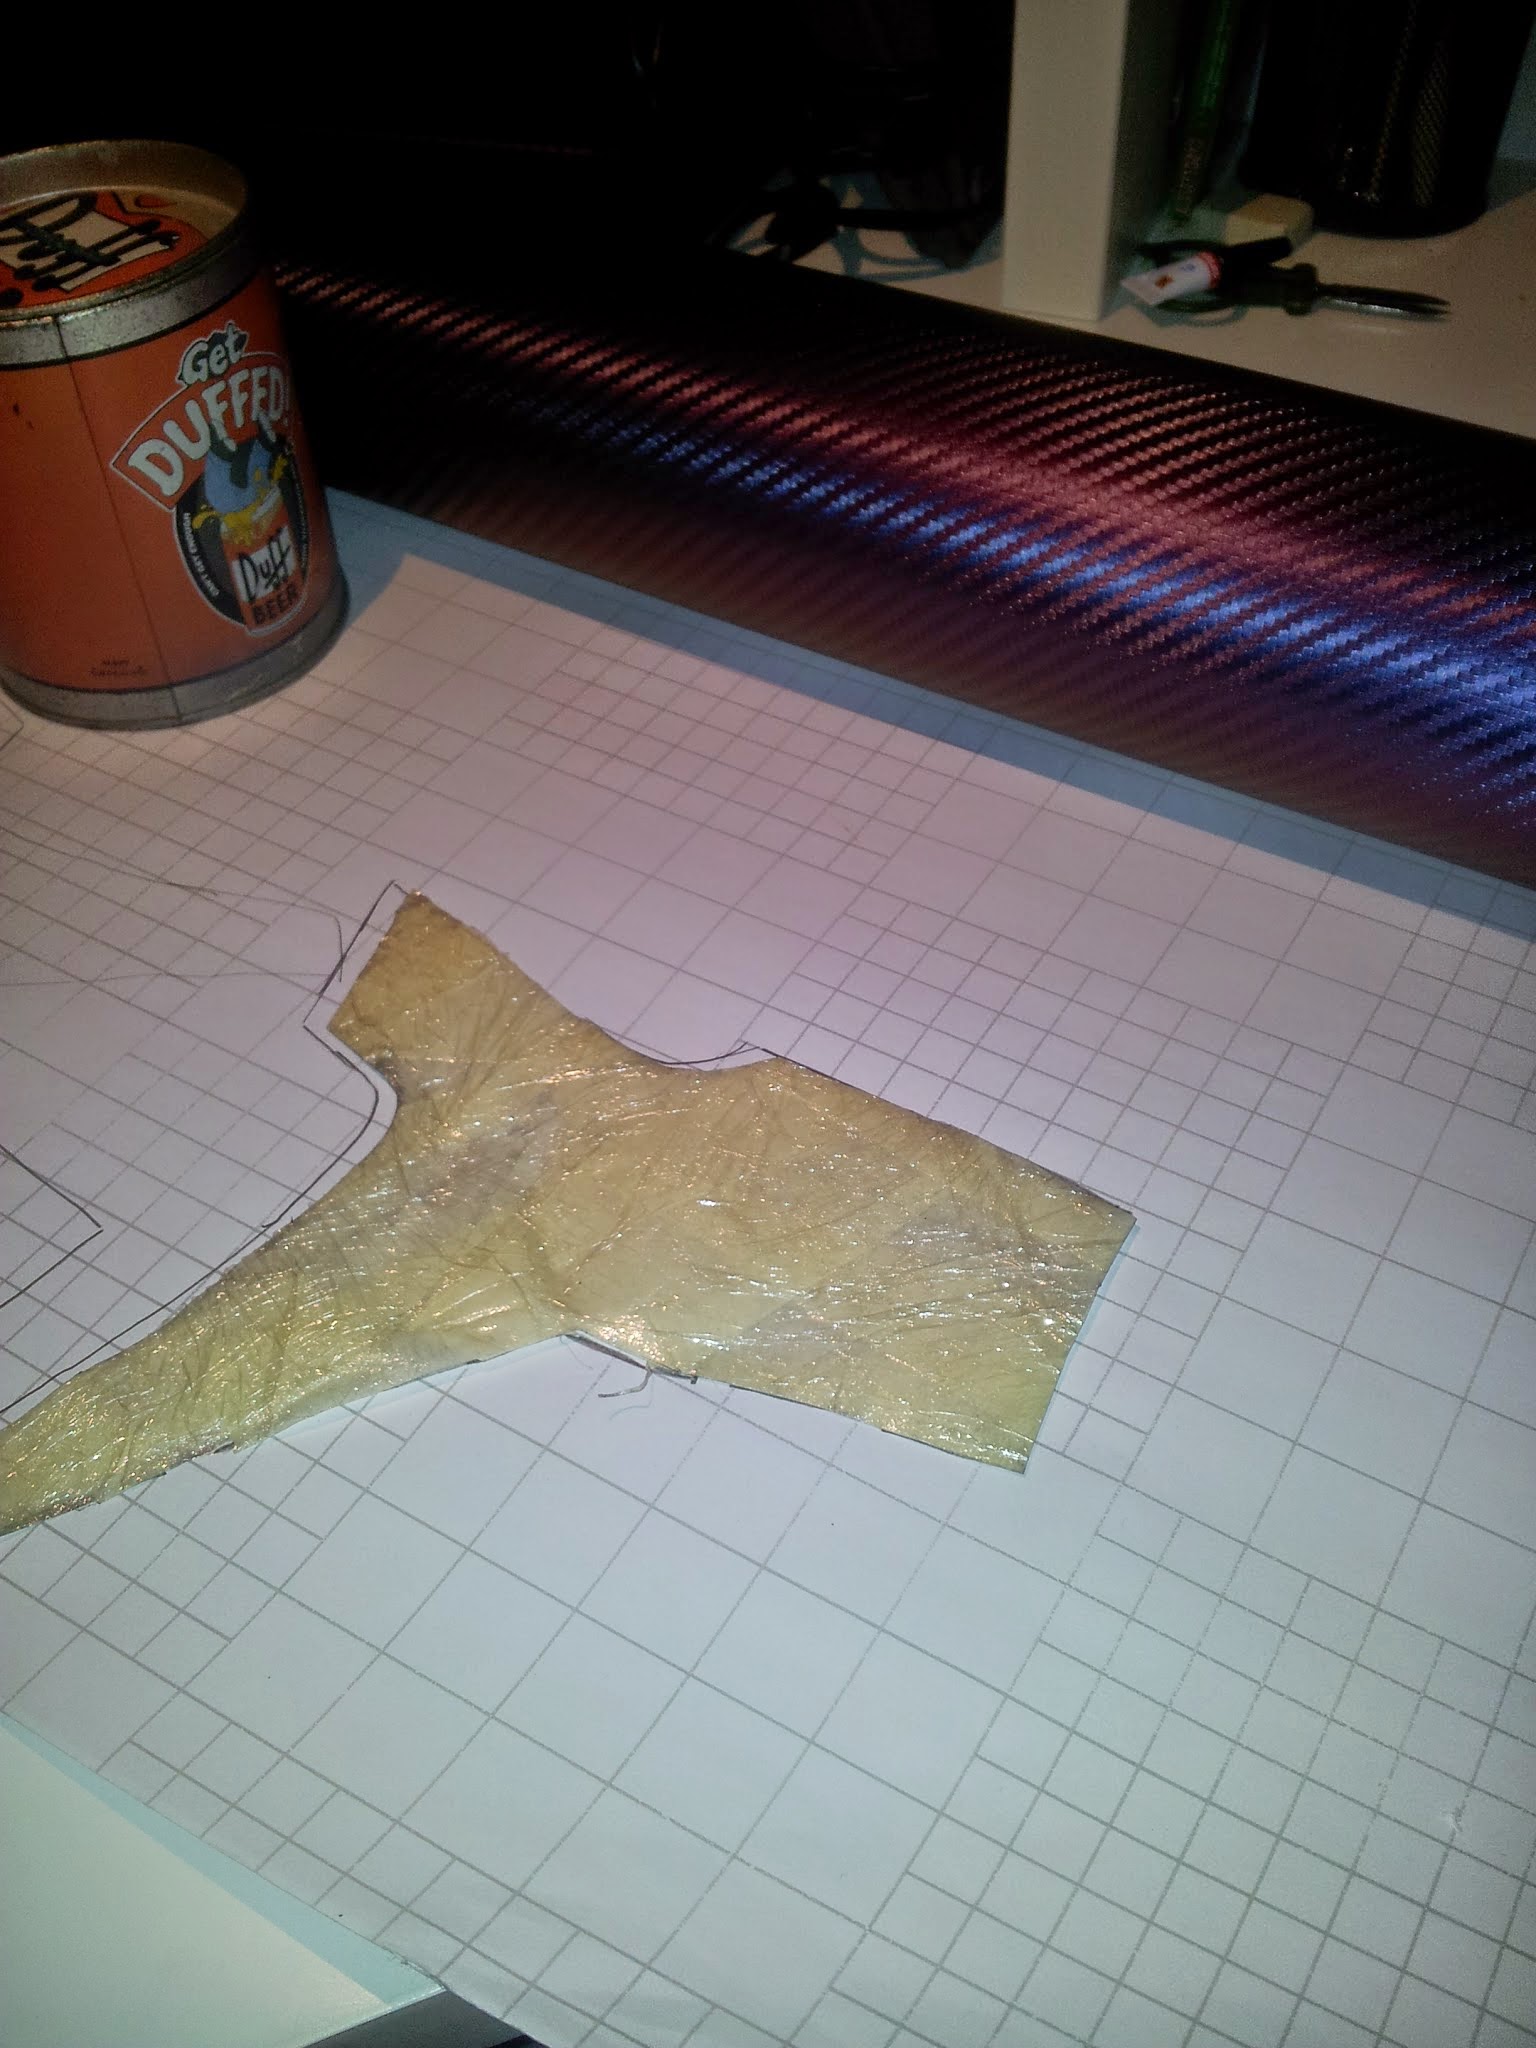
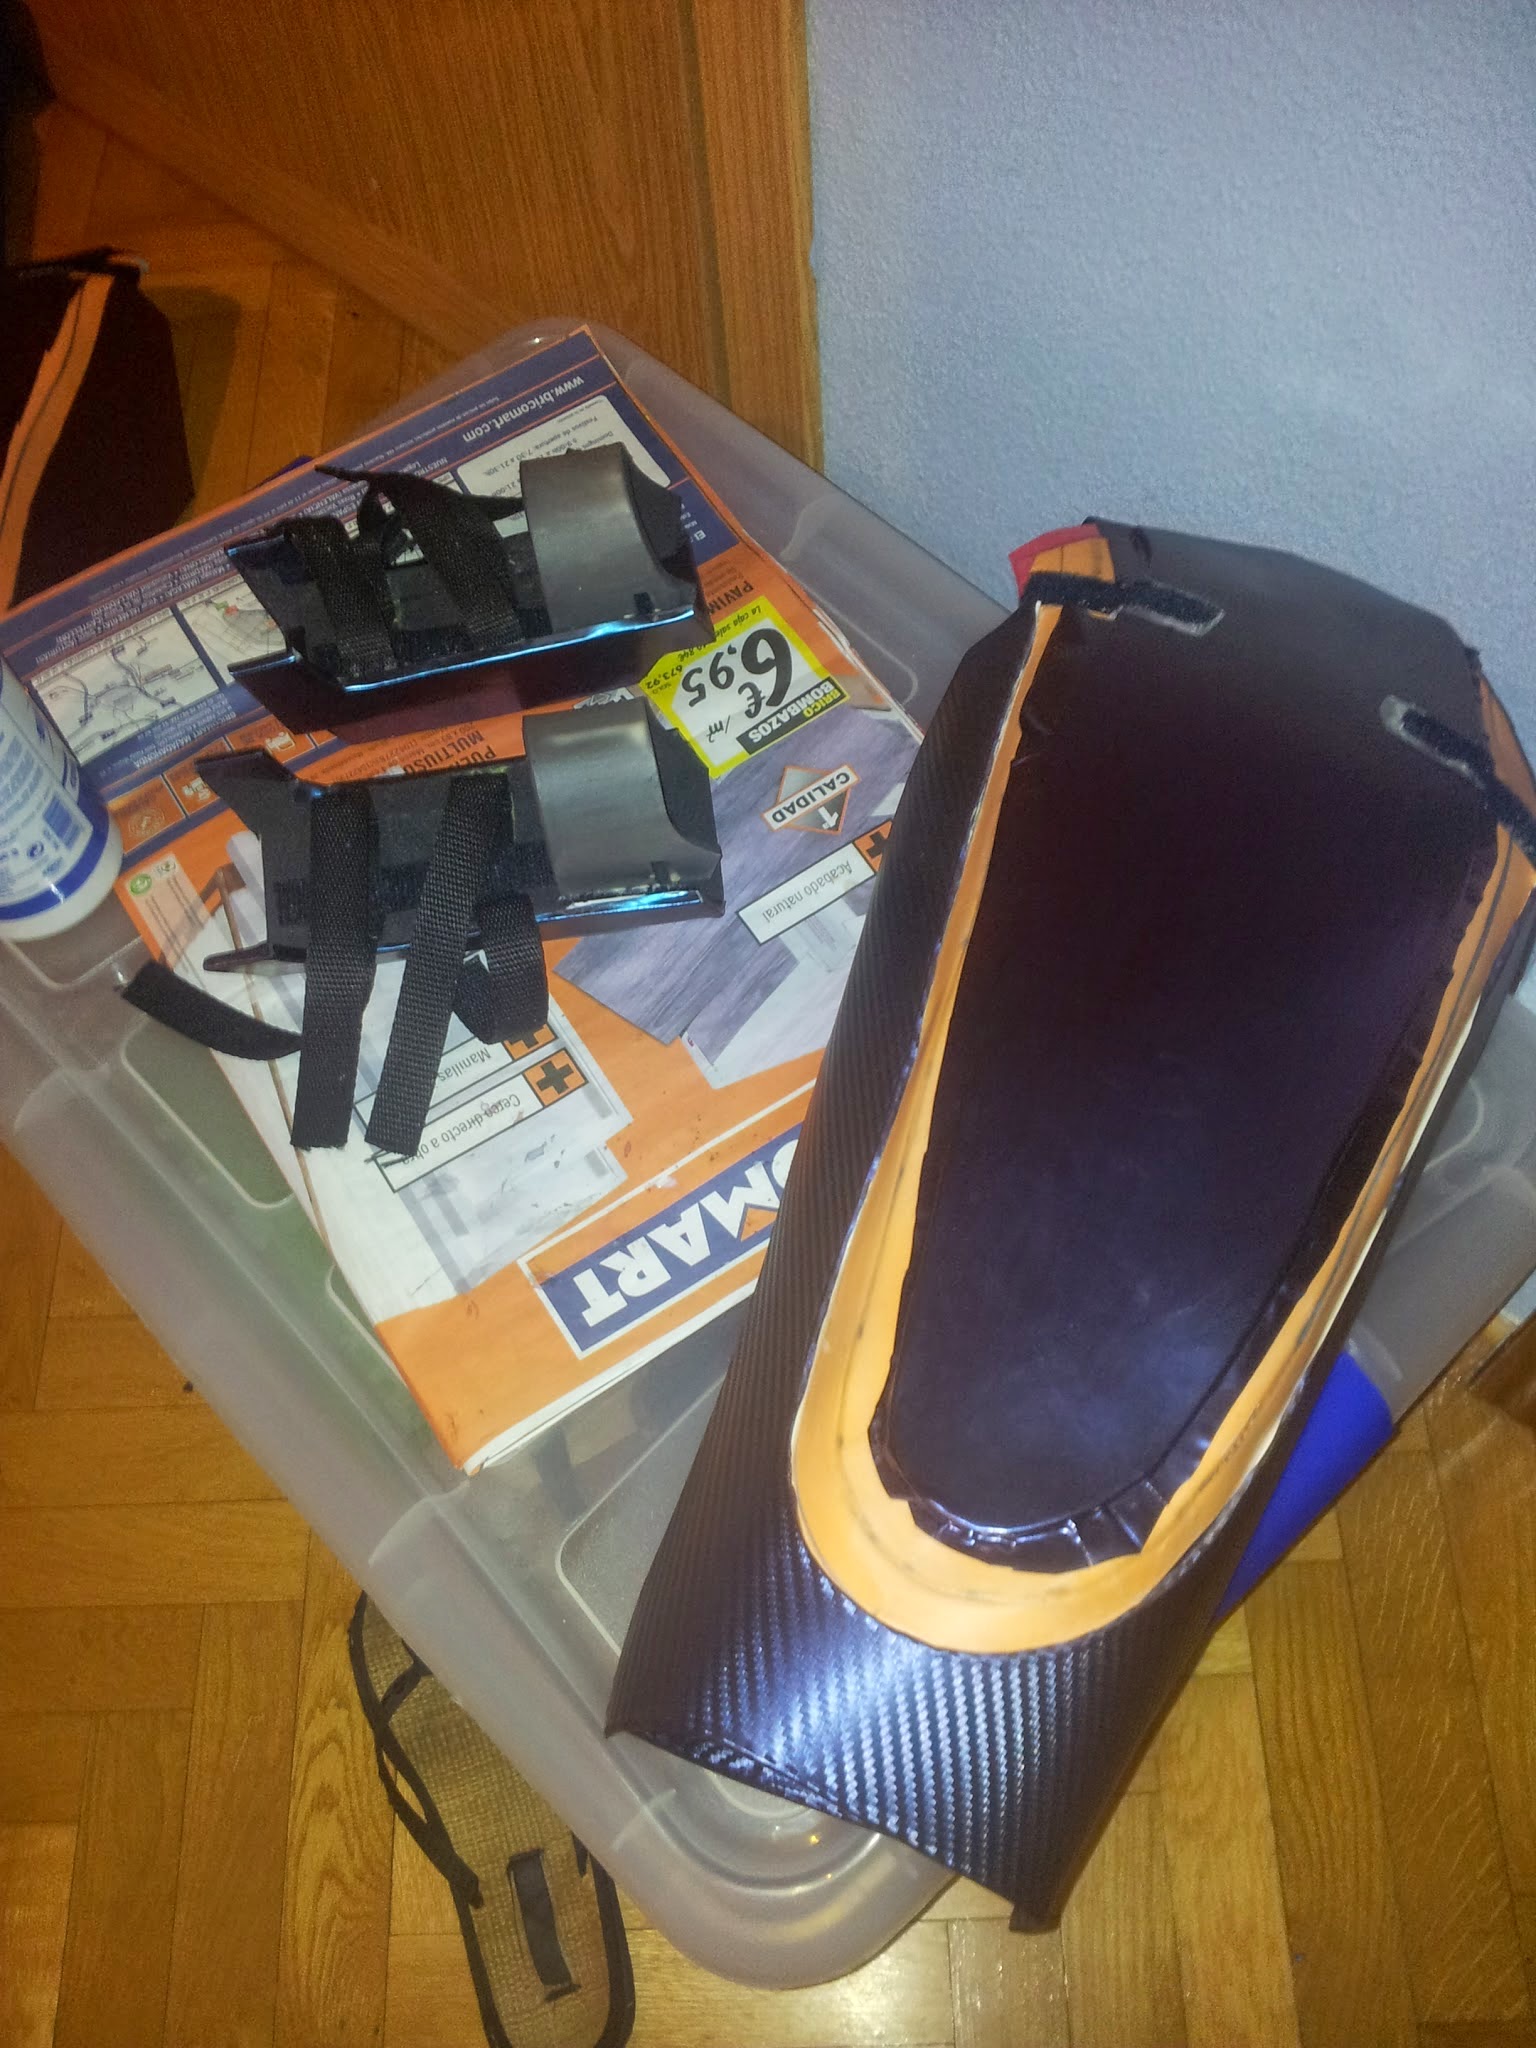
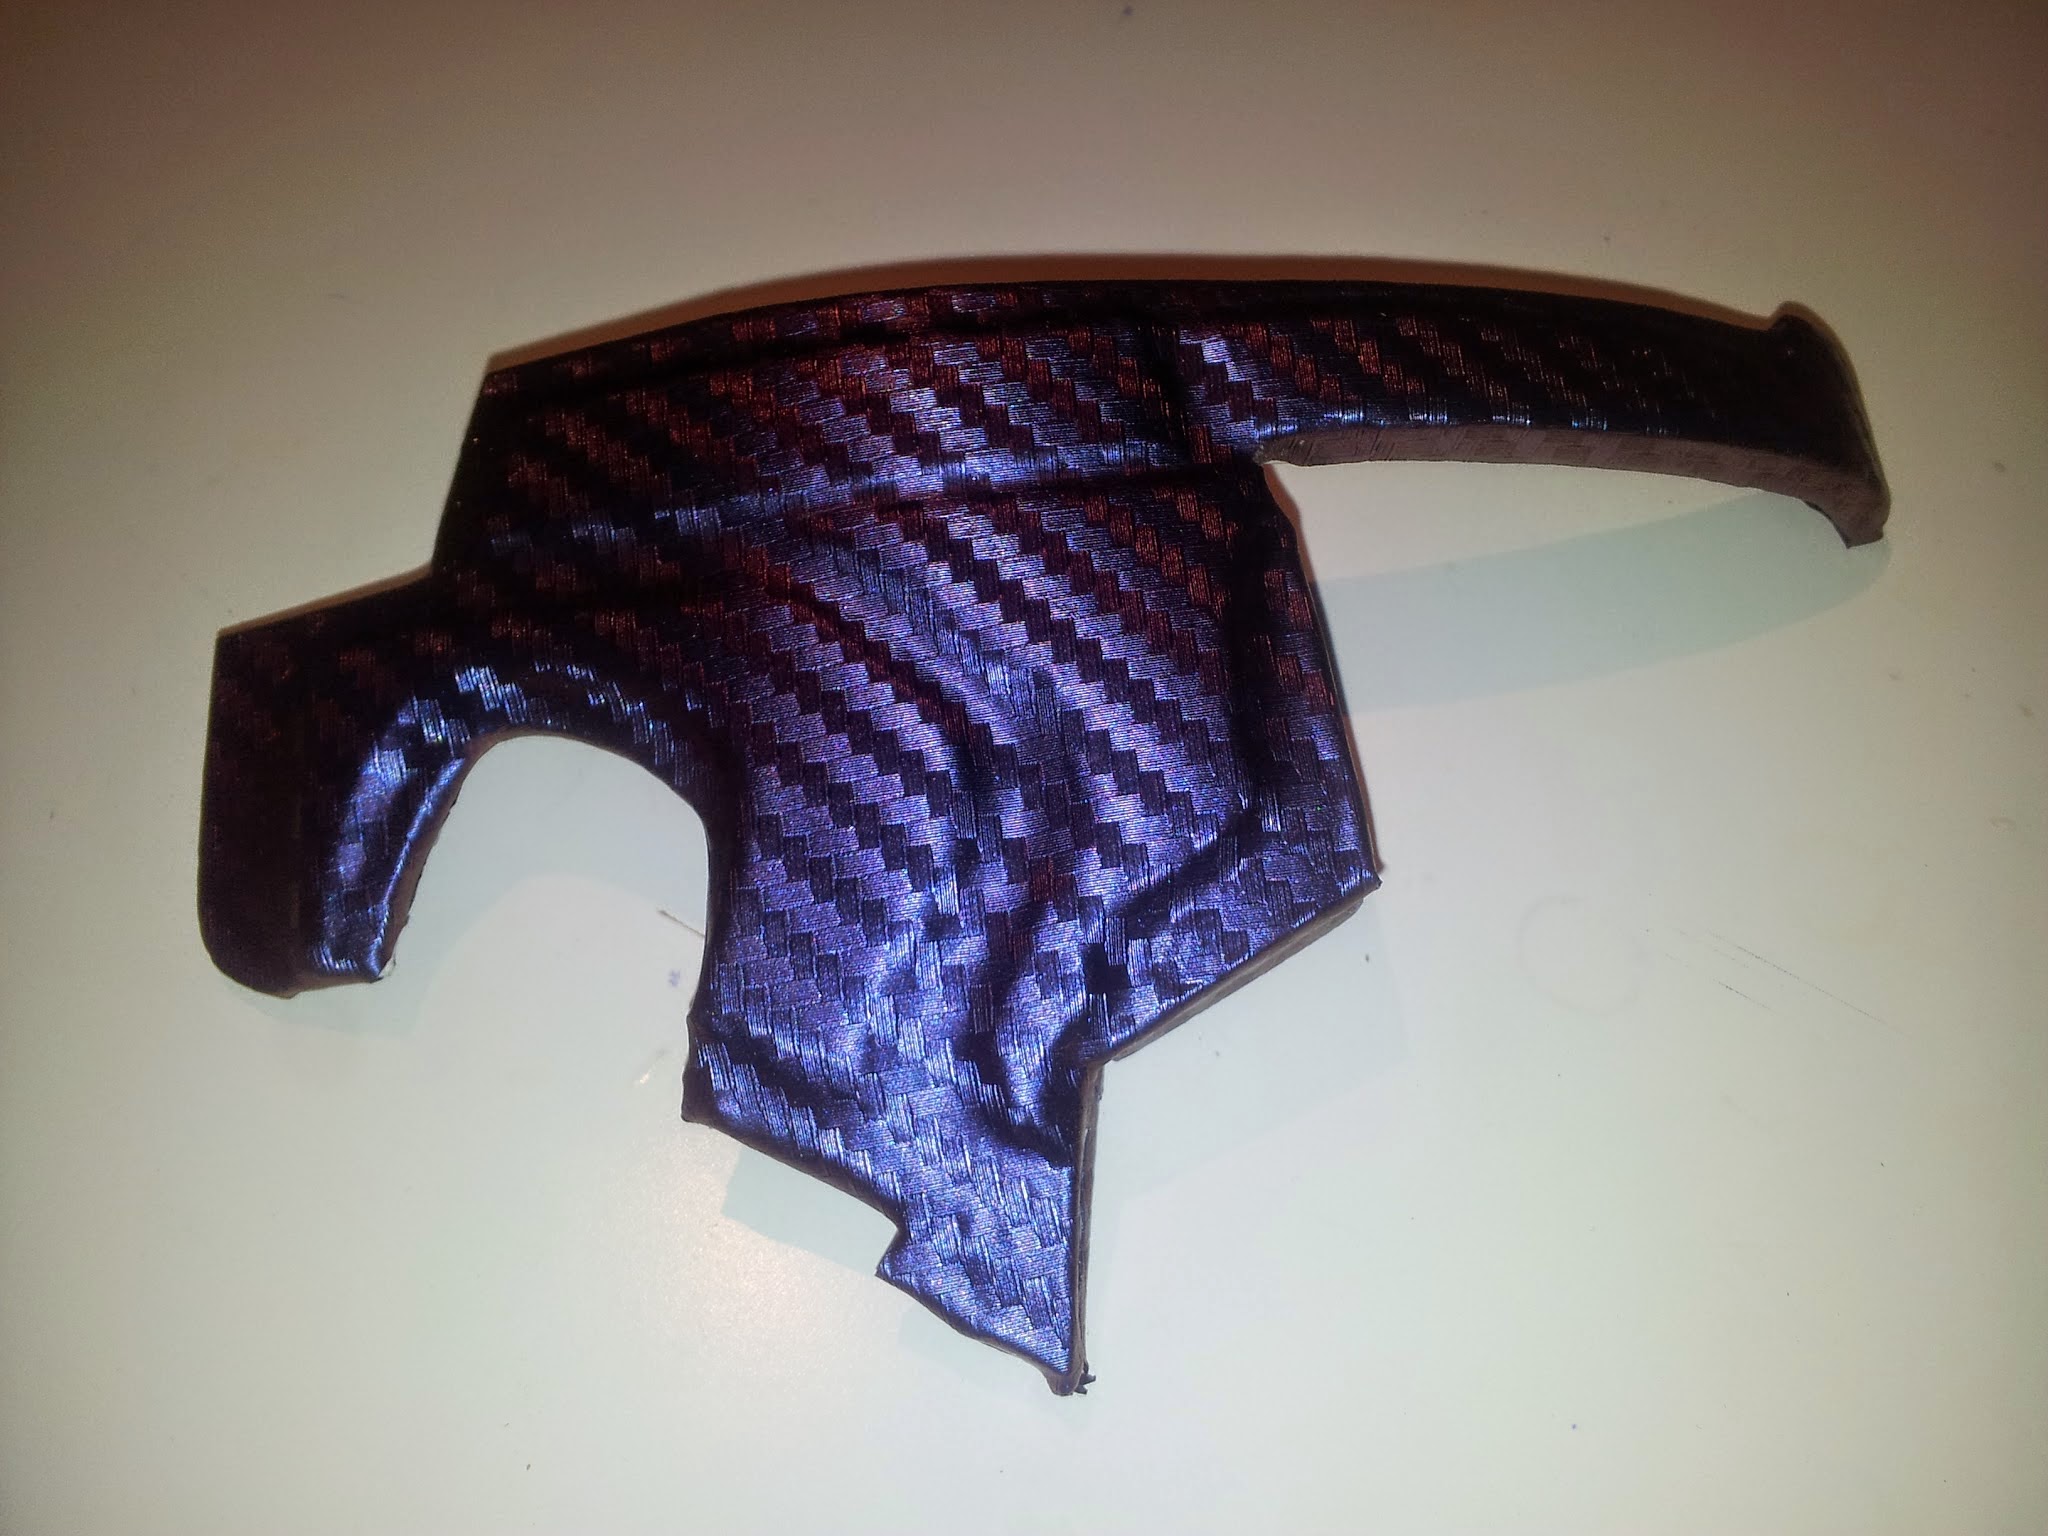
I used the same patterns I made for the foam construction as vinyl wrap patterns. I drew them on the vinyl sheet and I cut it out leaving some extra edge just in case.
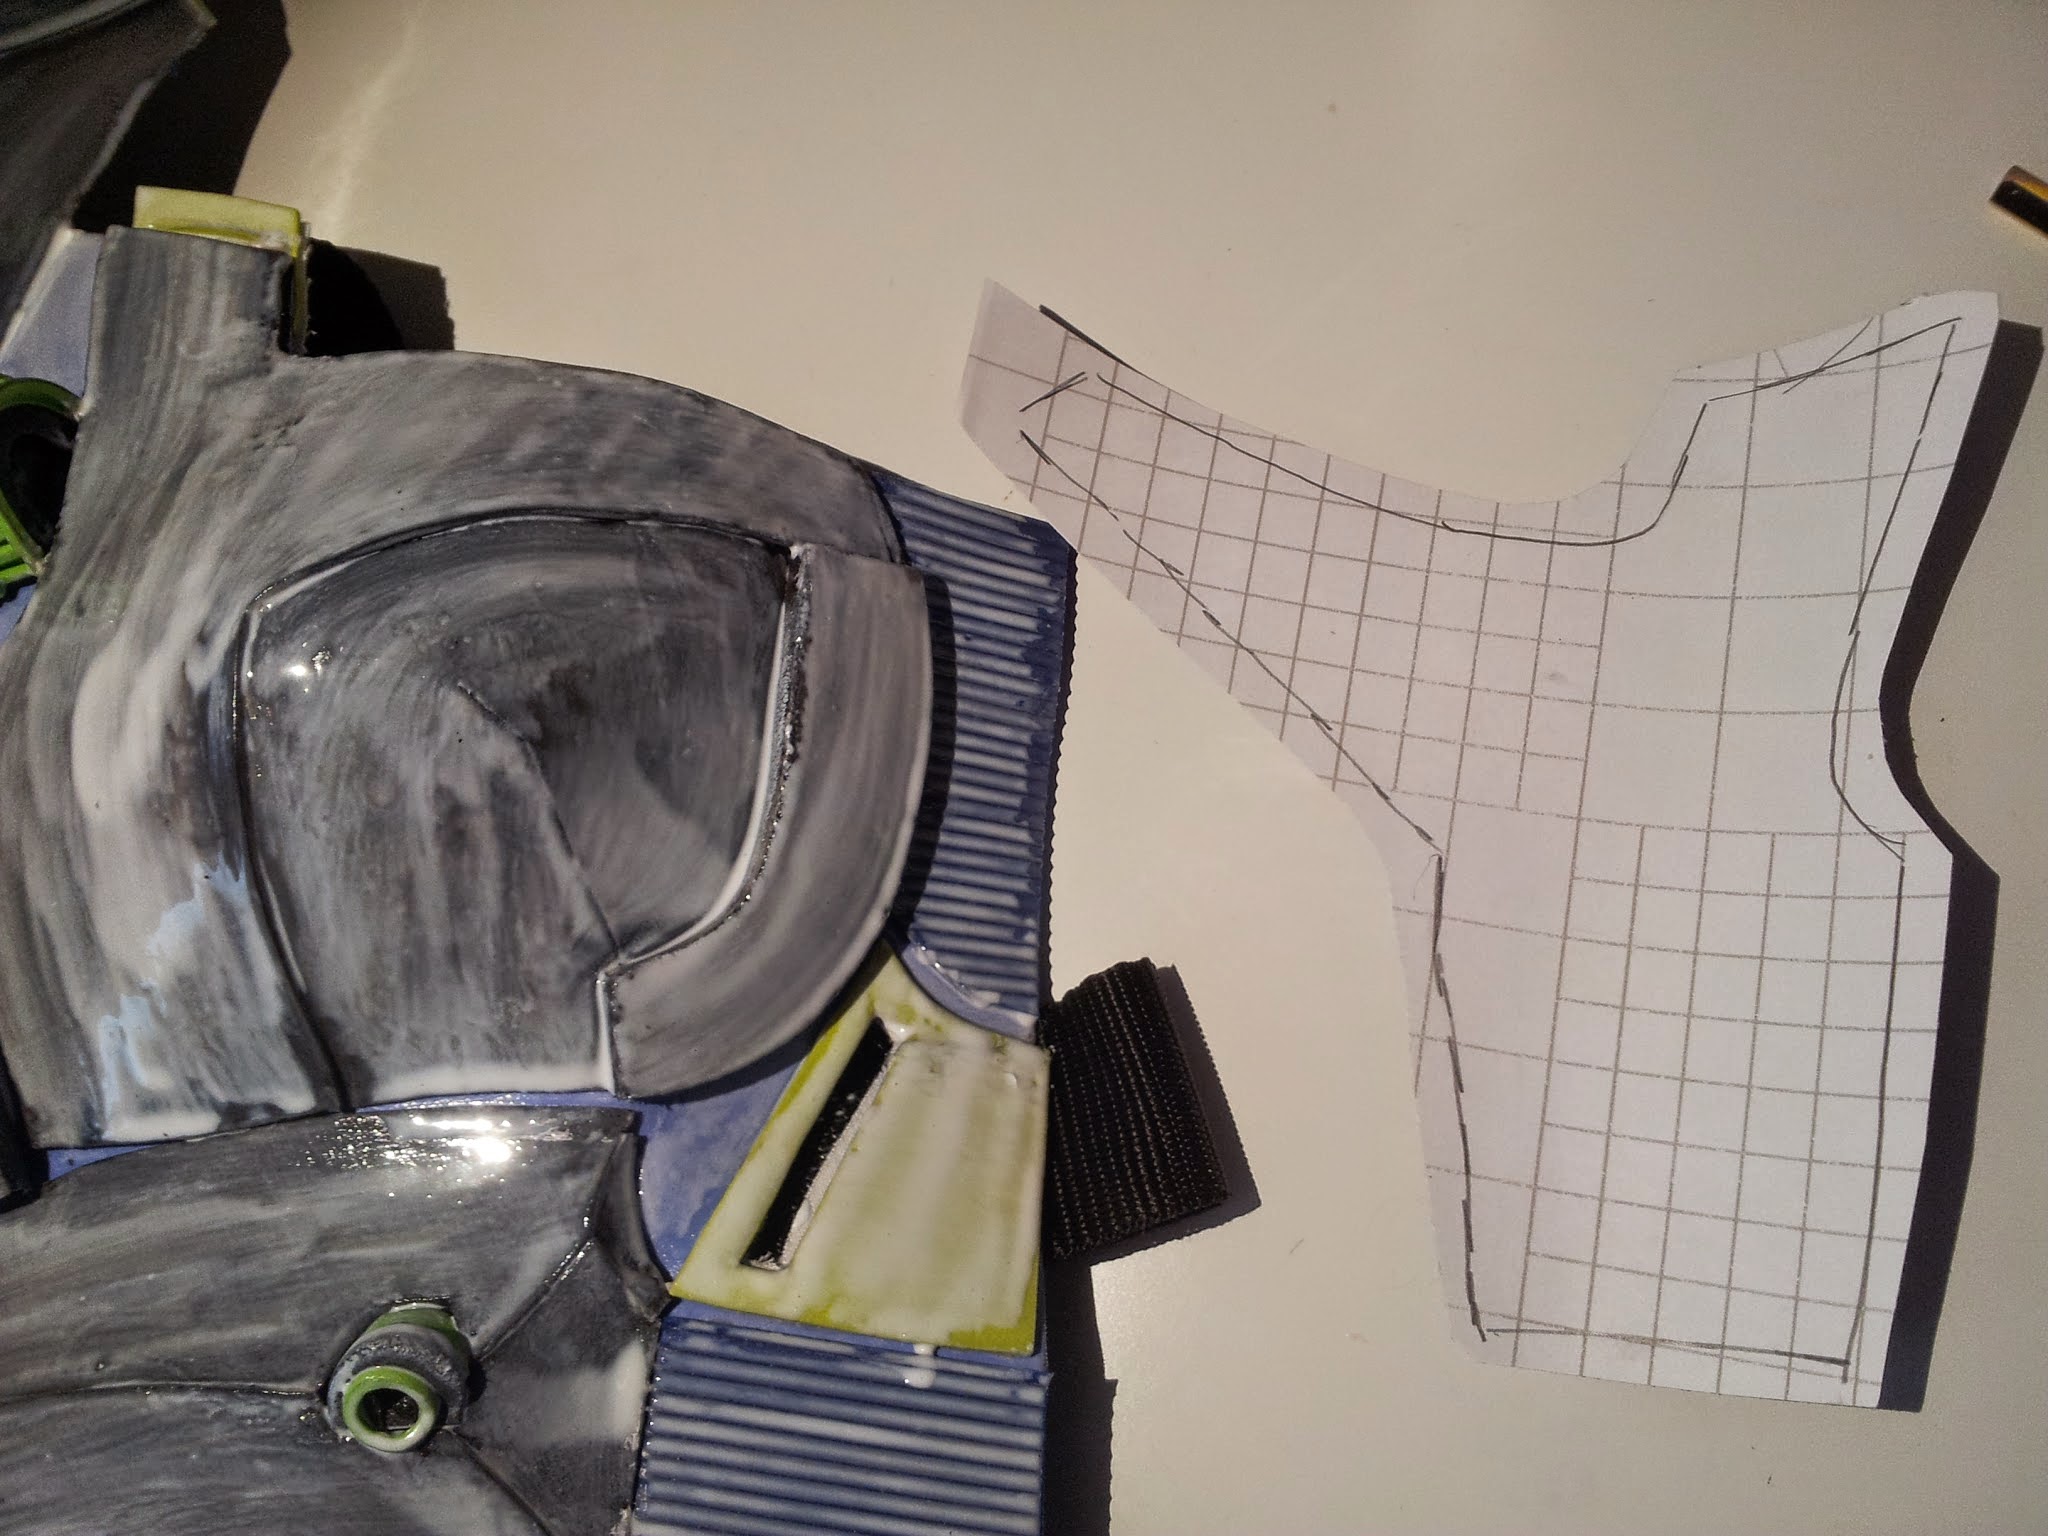 so.
so.
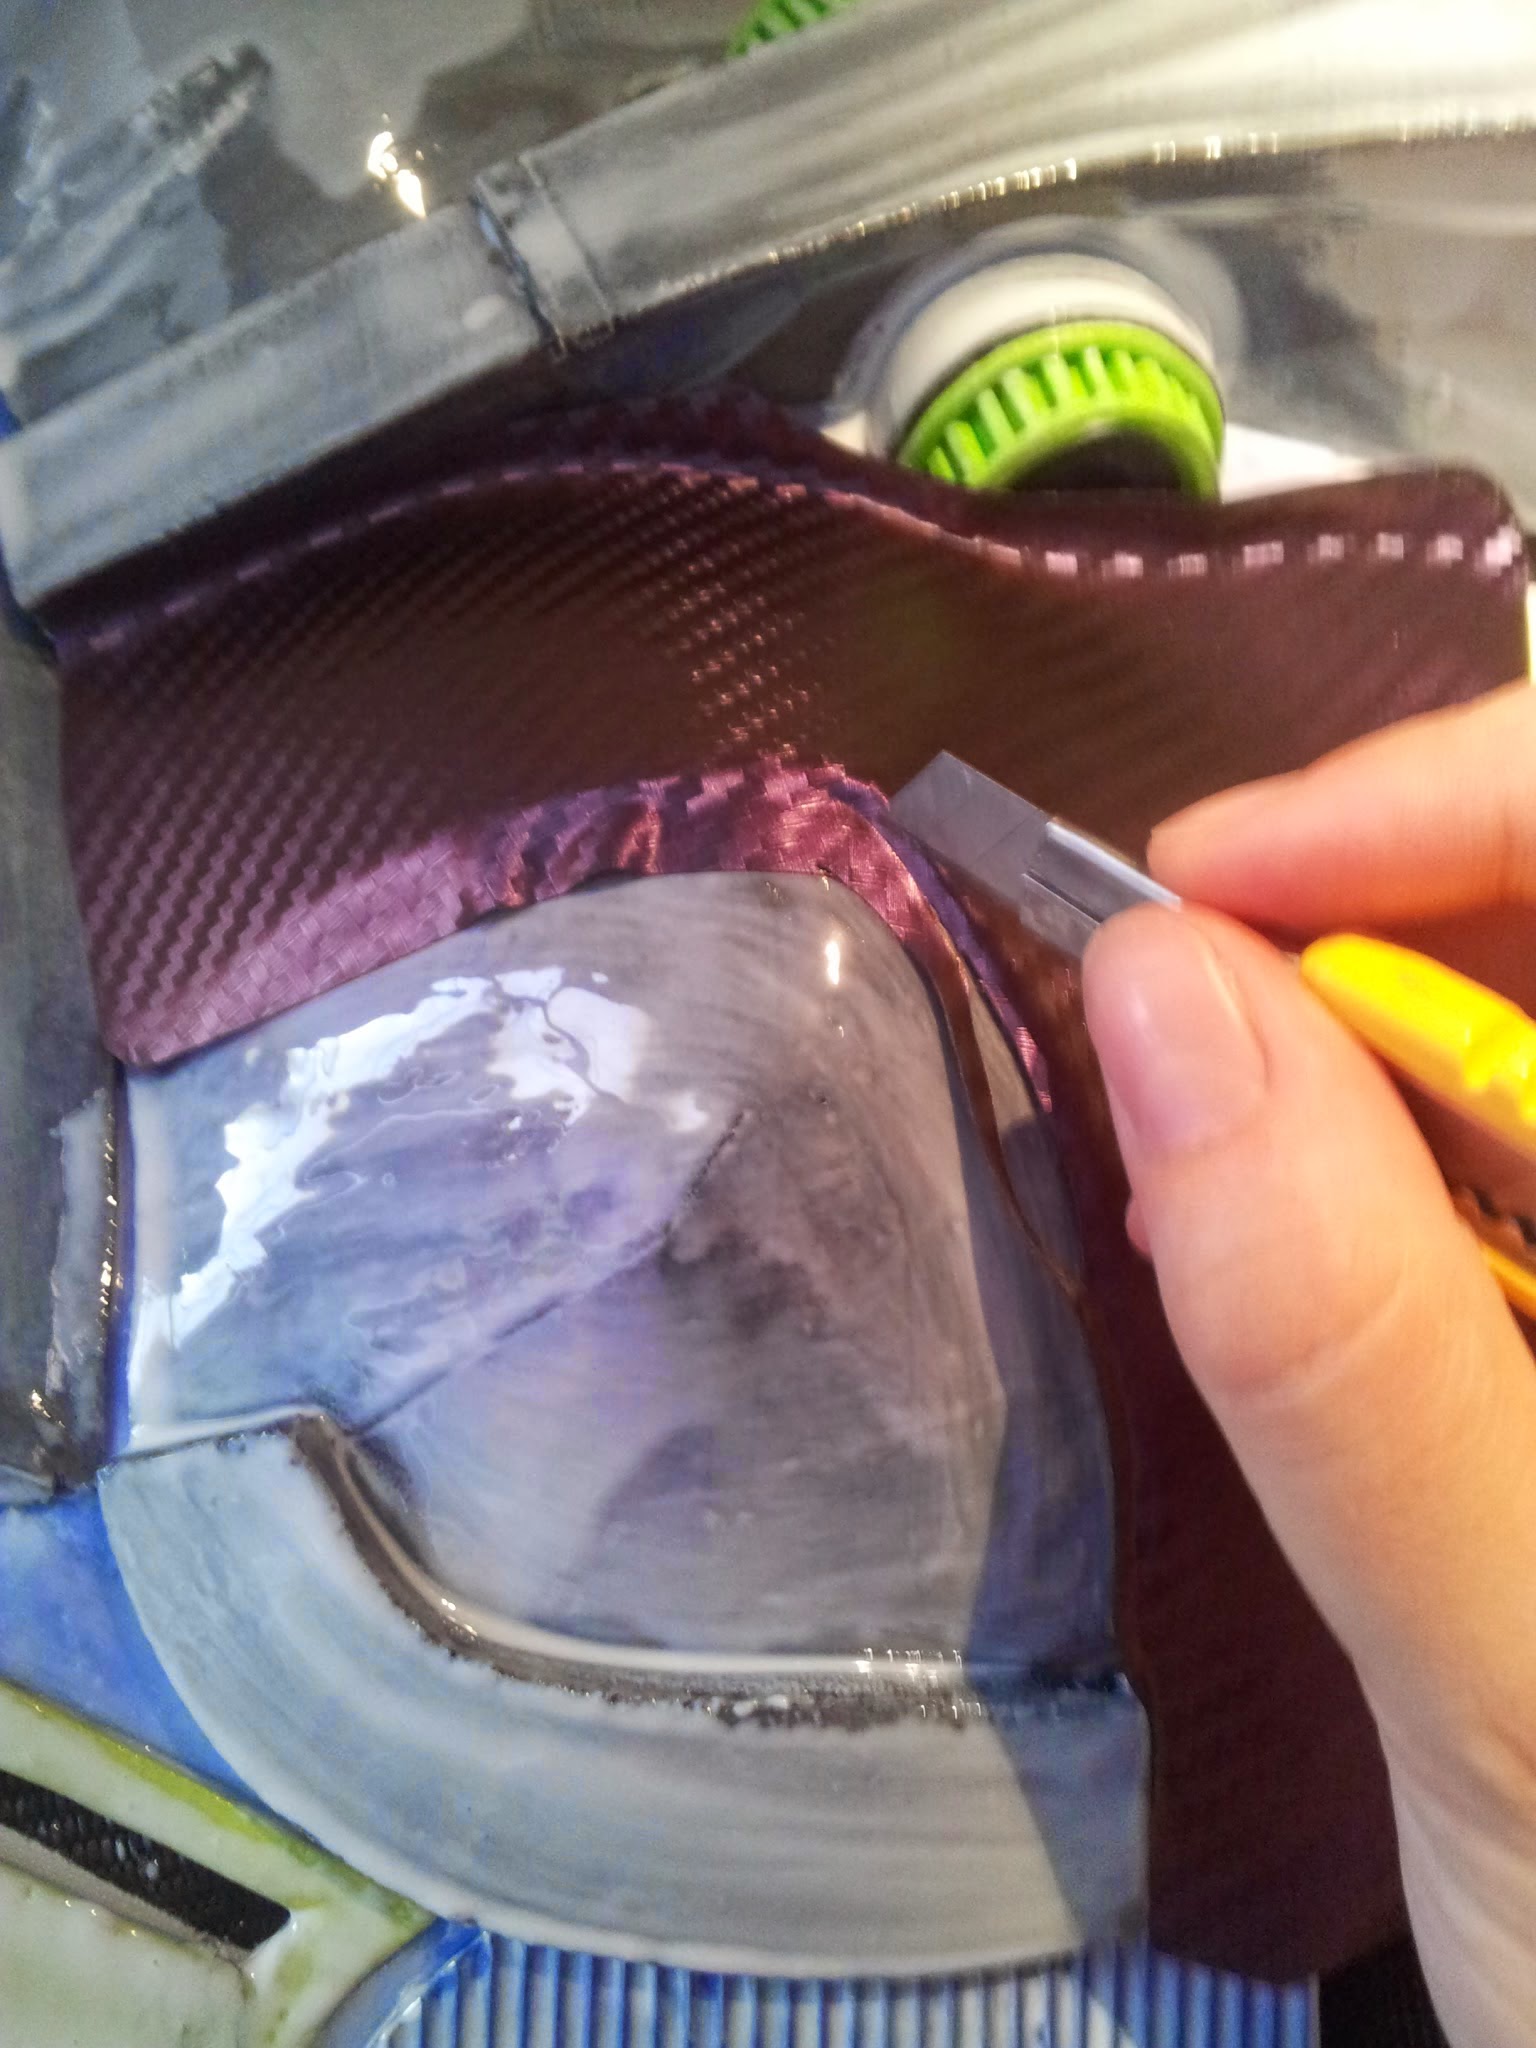
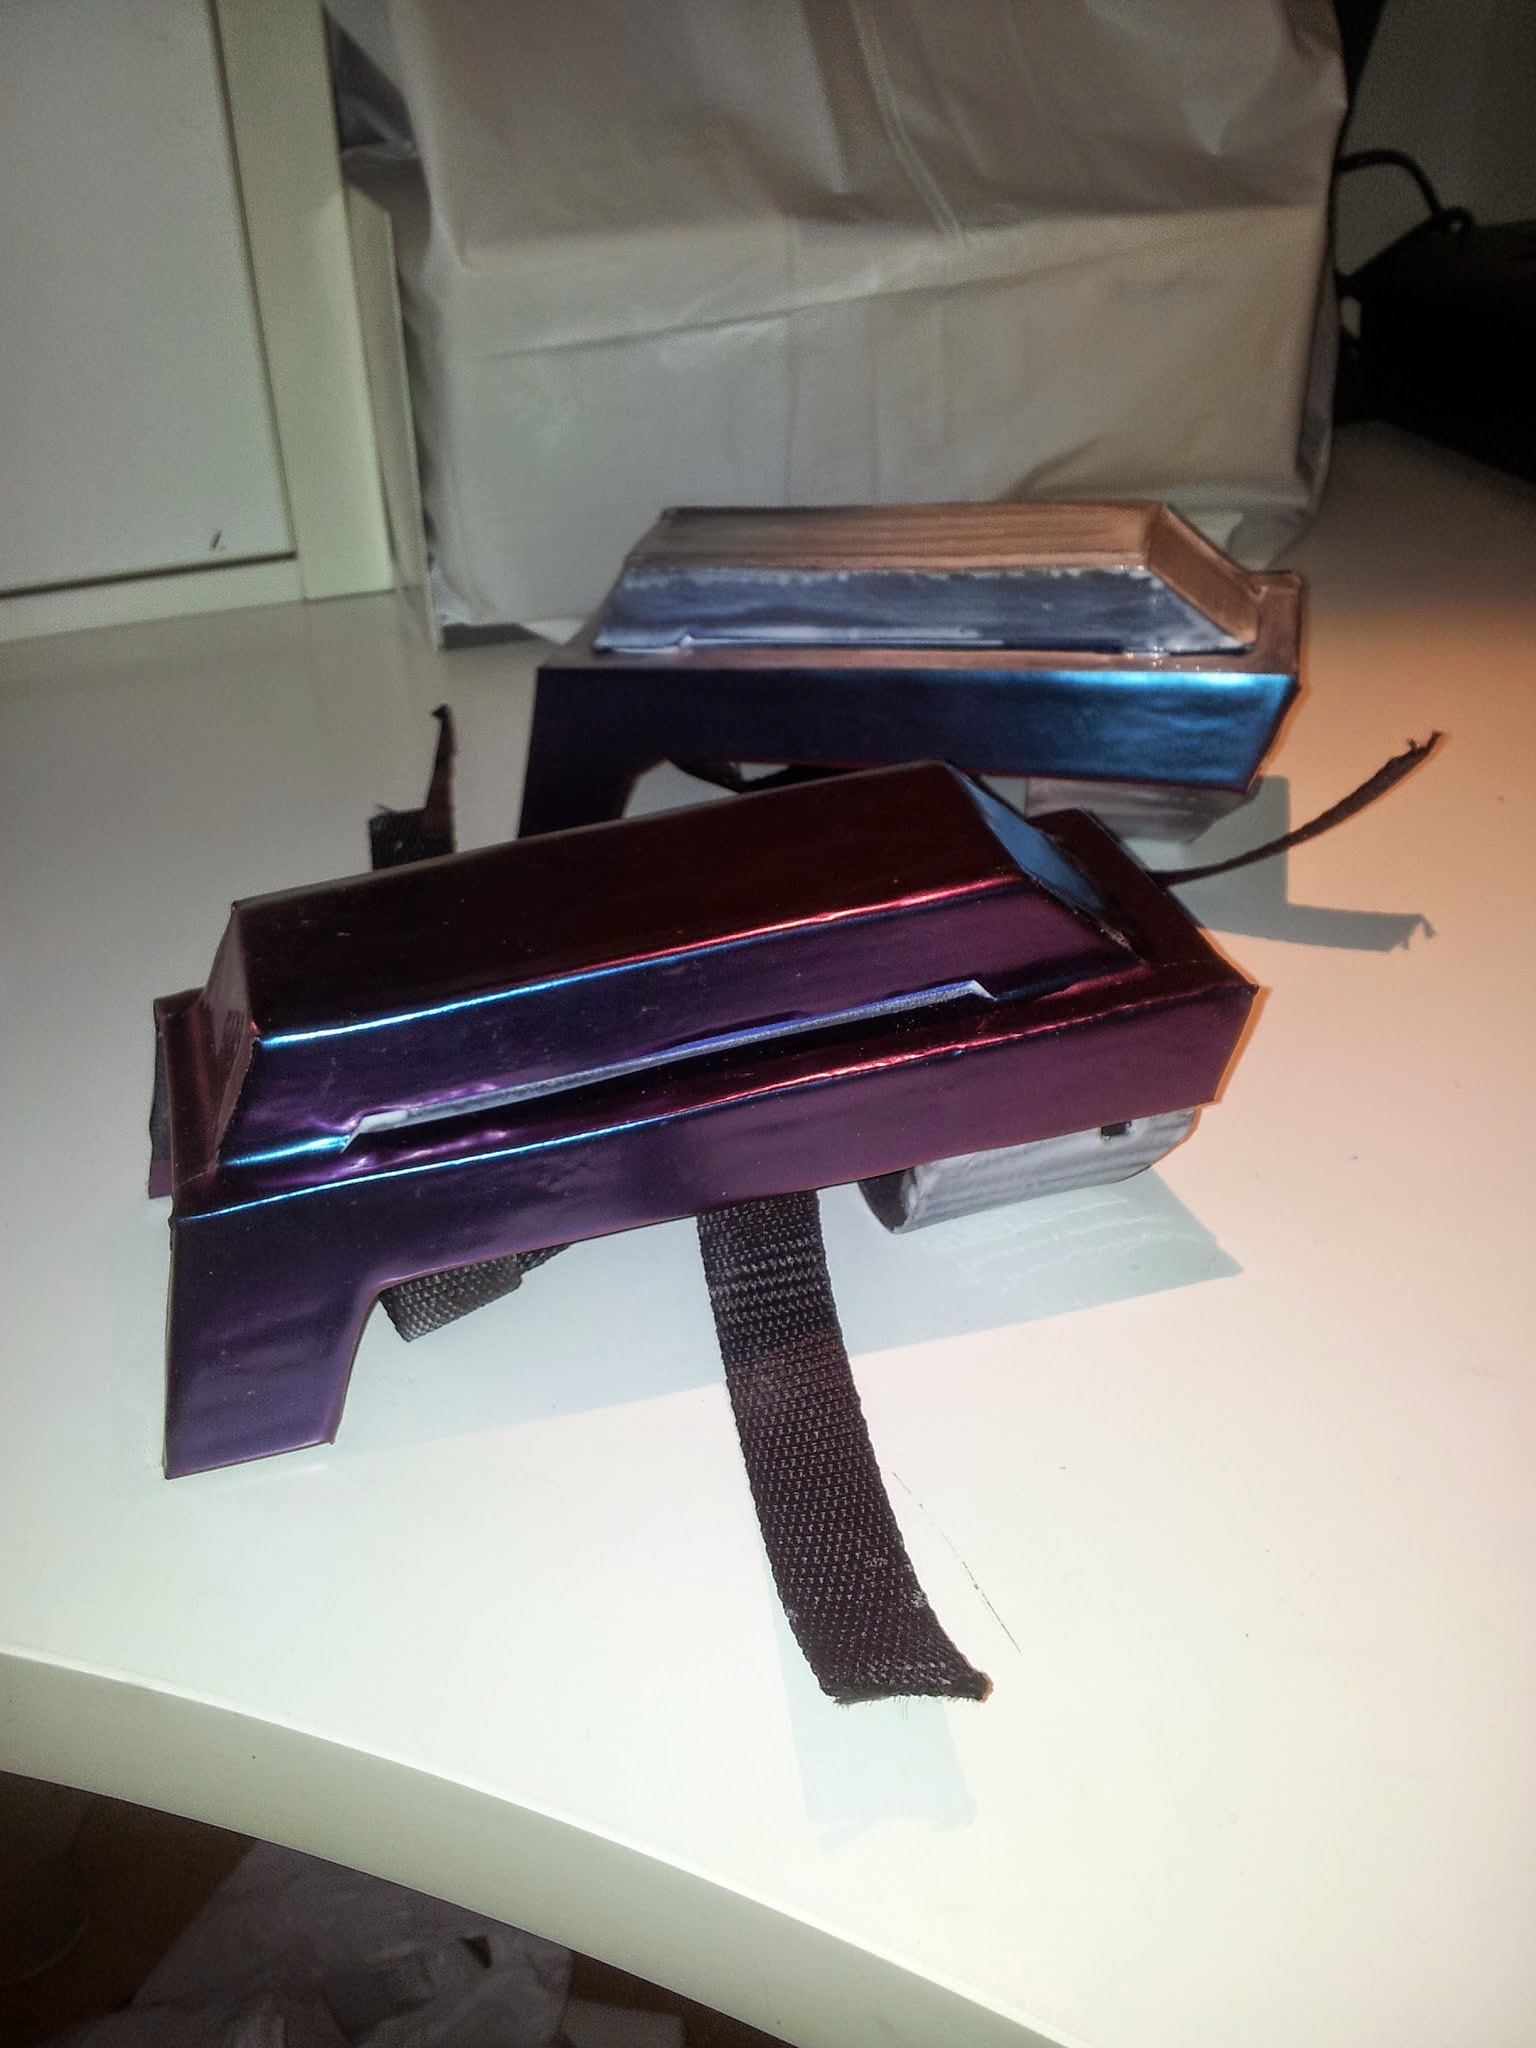
I put the vinyl on the piece and I pressed and heated it to avoid making bubbles. I used a cutter to cut it into the shape. I also put some Super Glue in the edges.
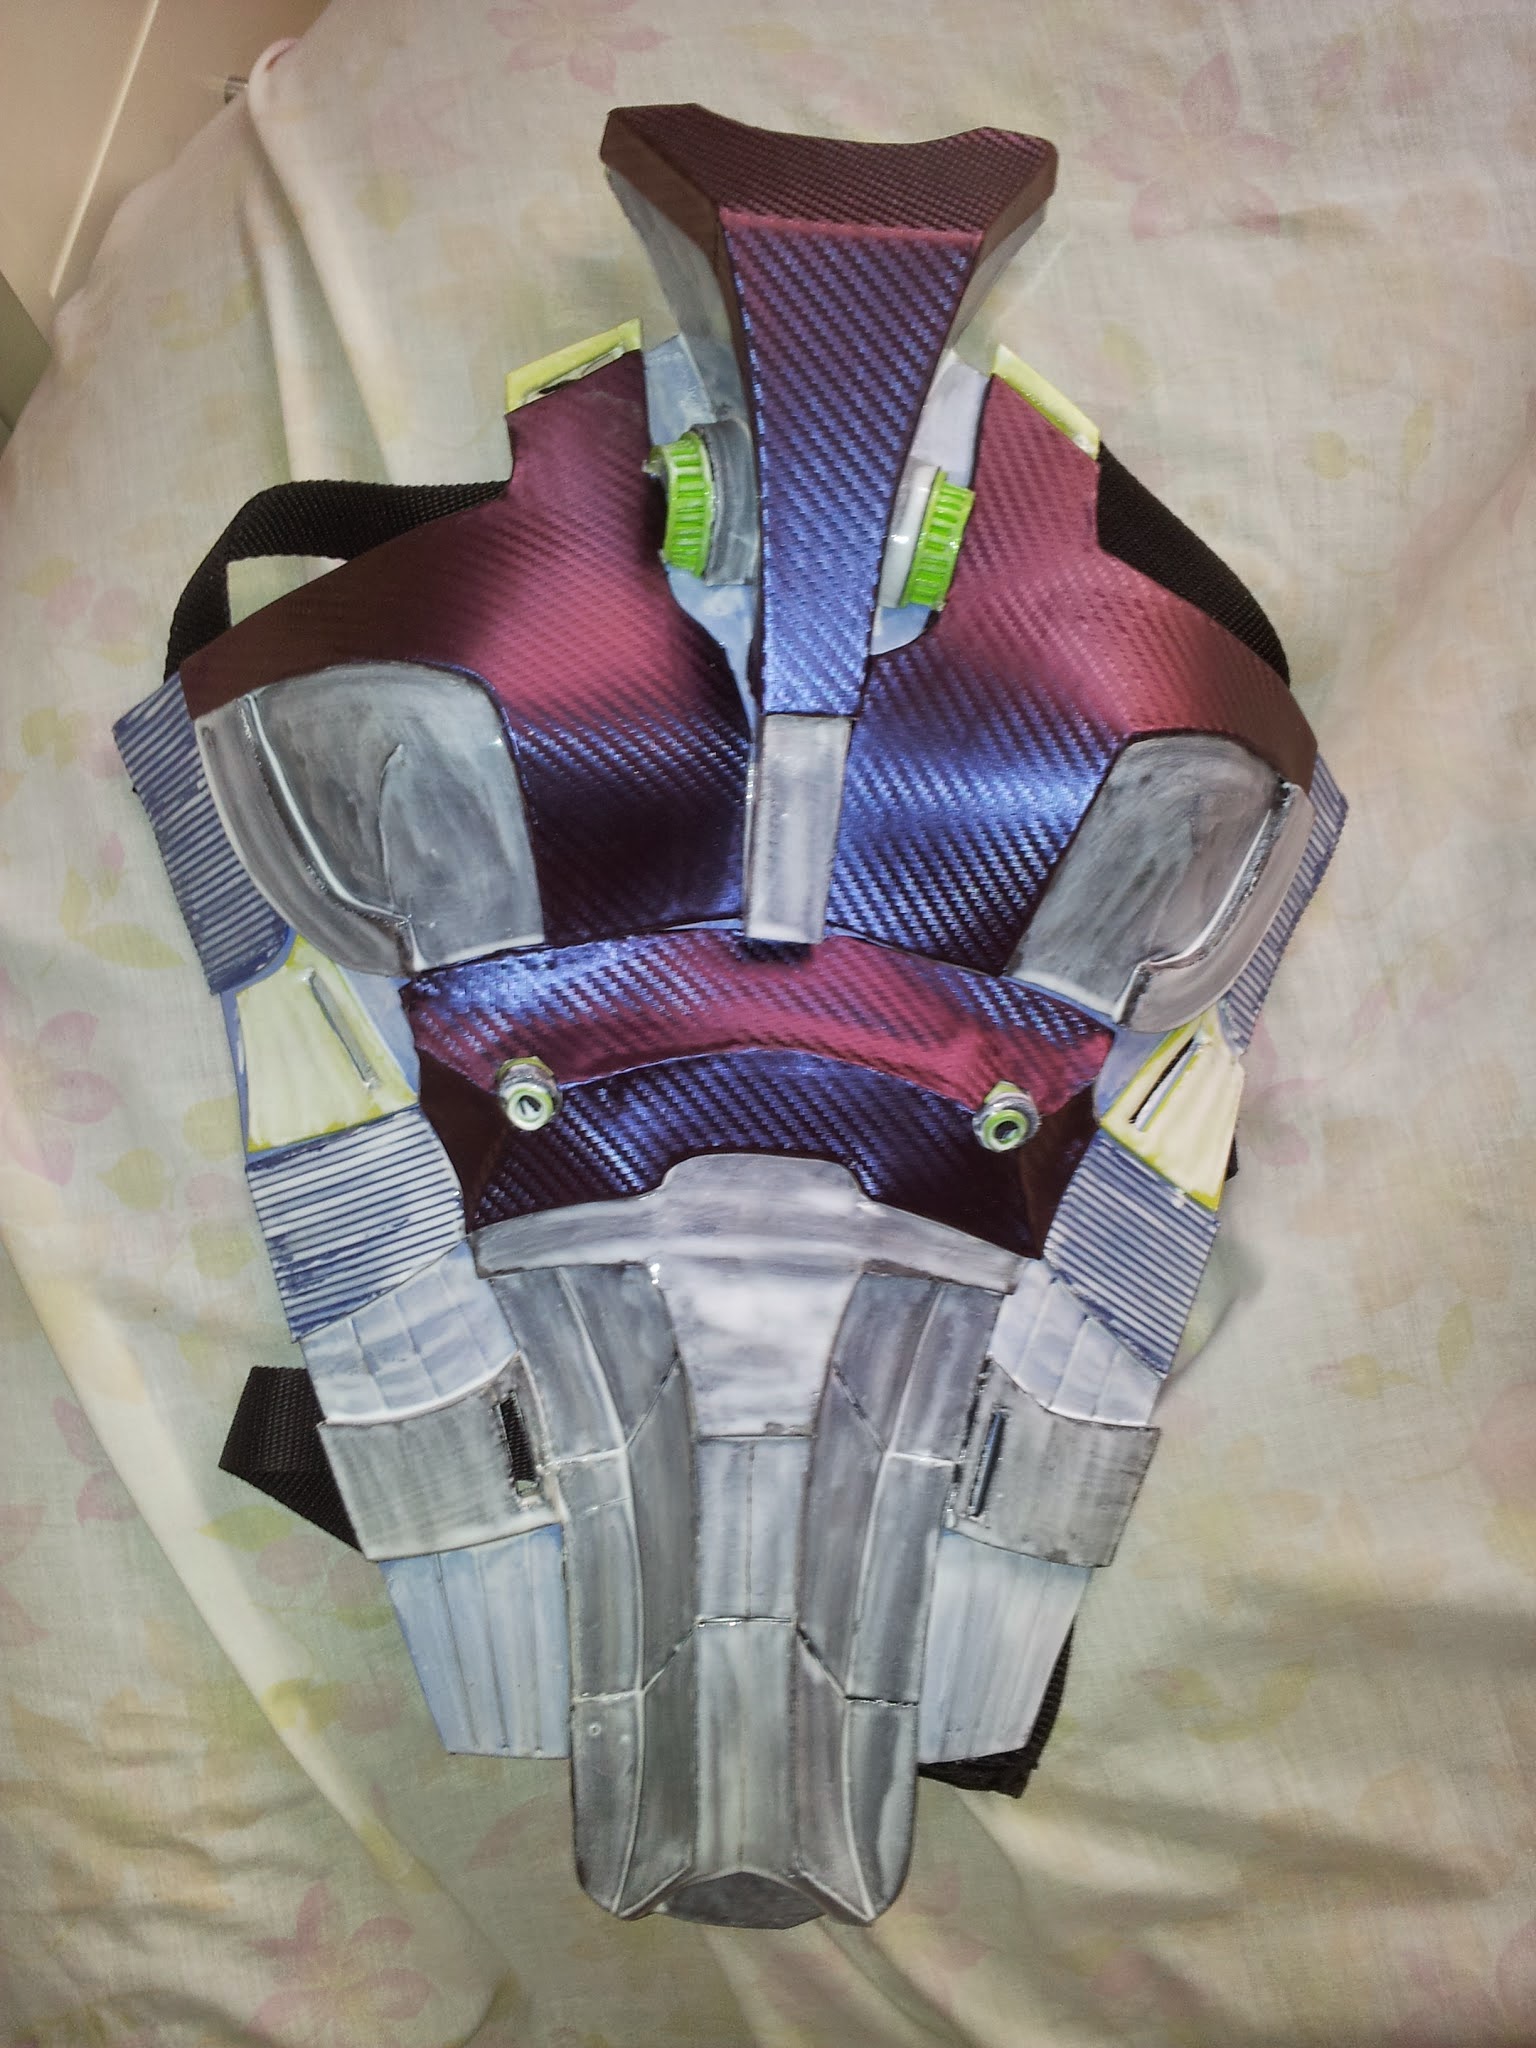
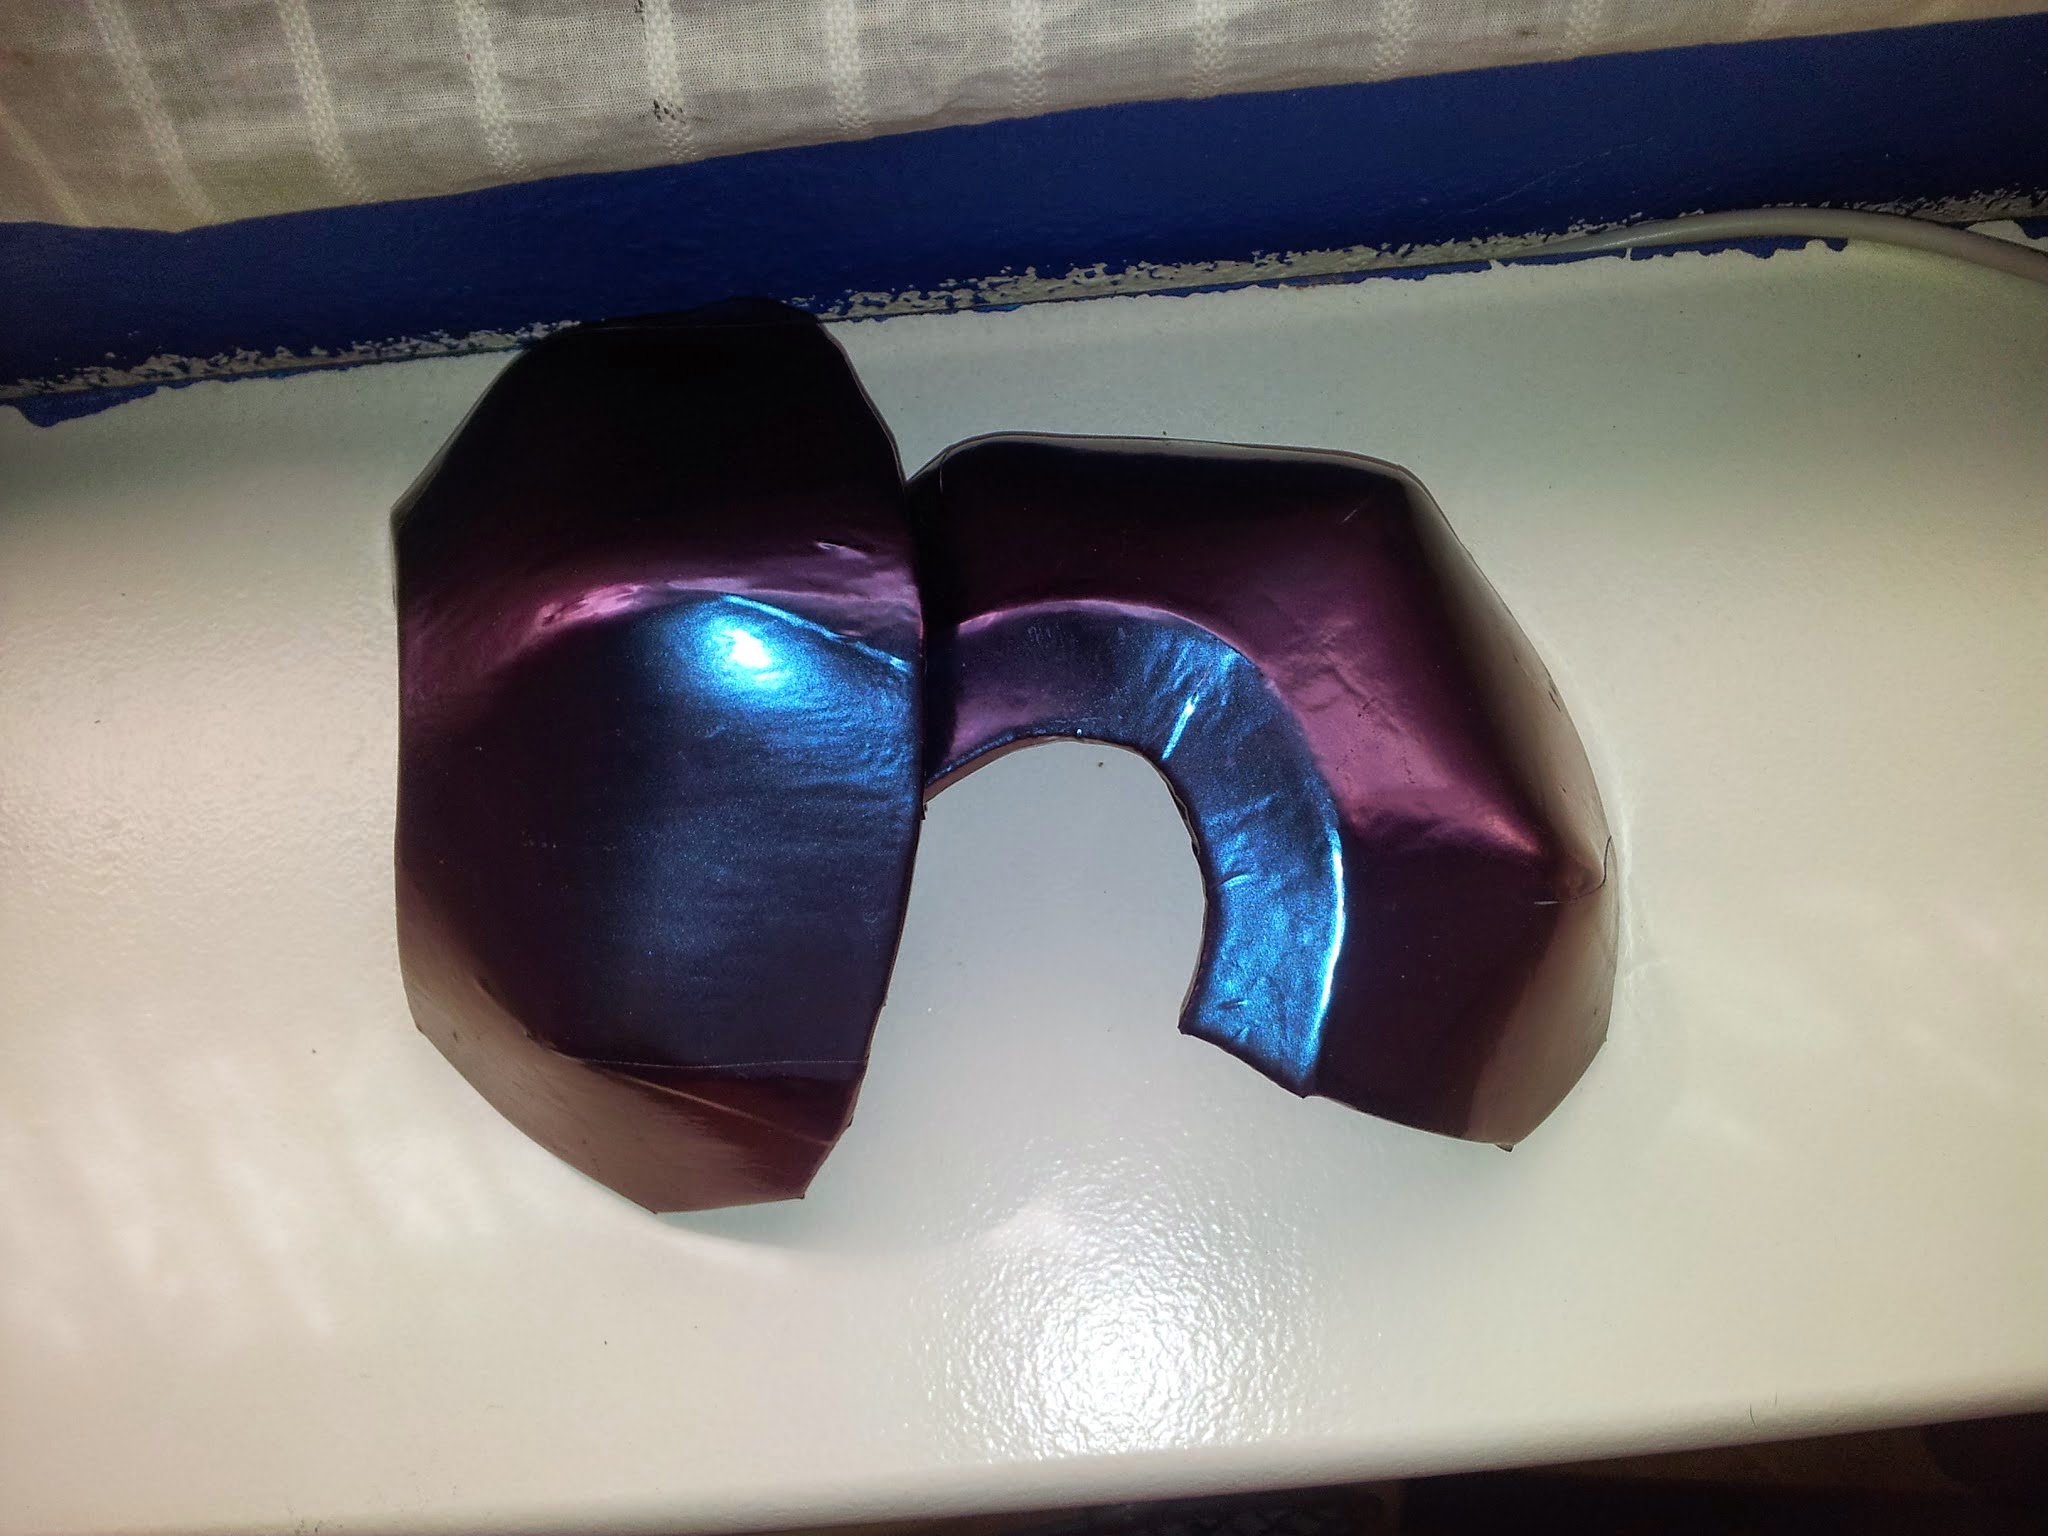
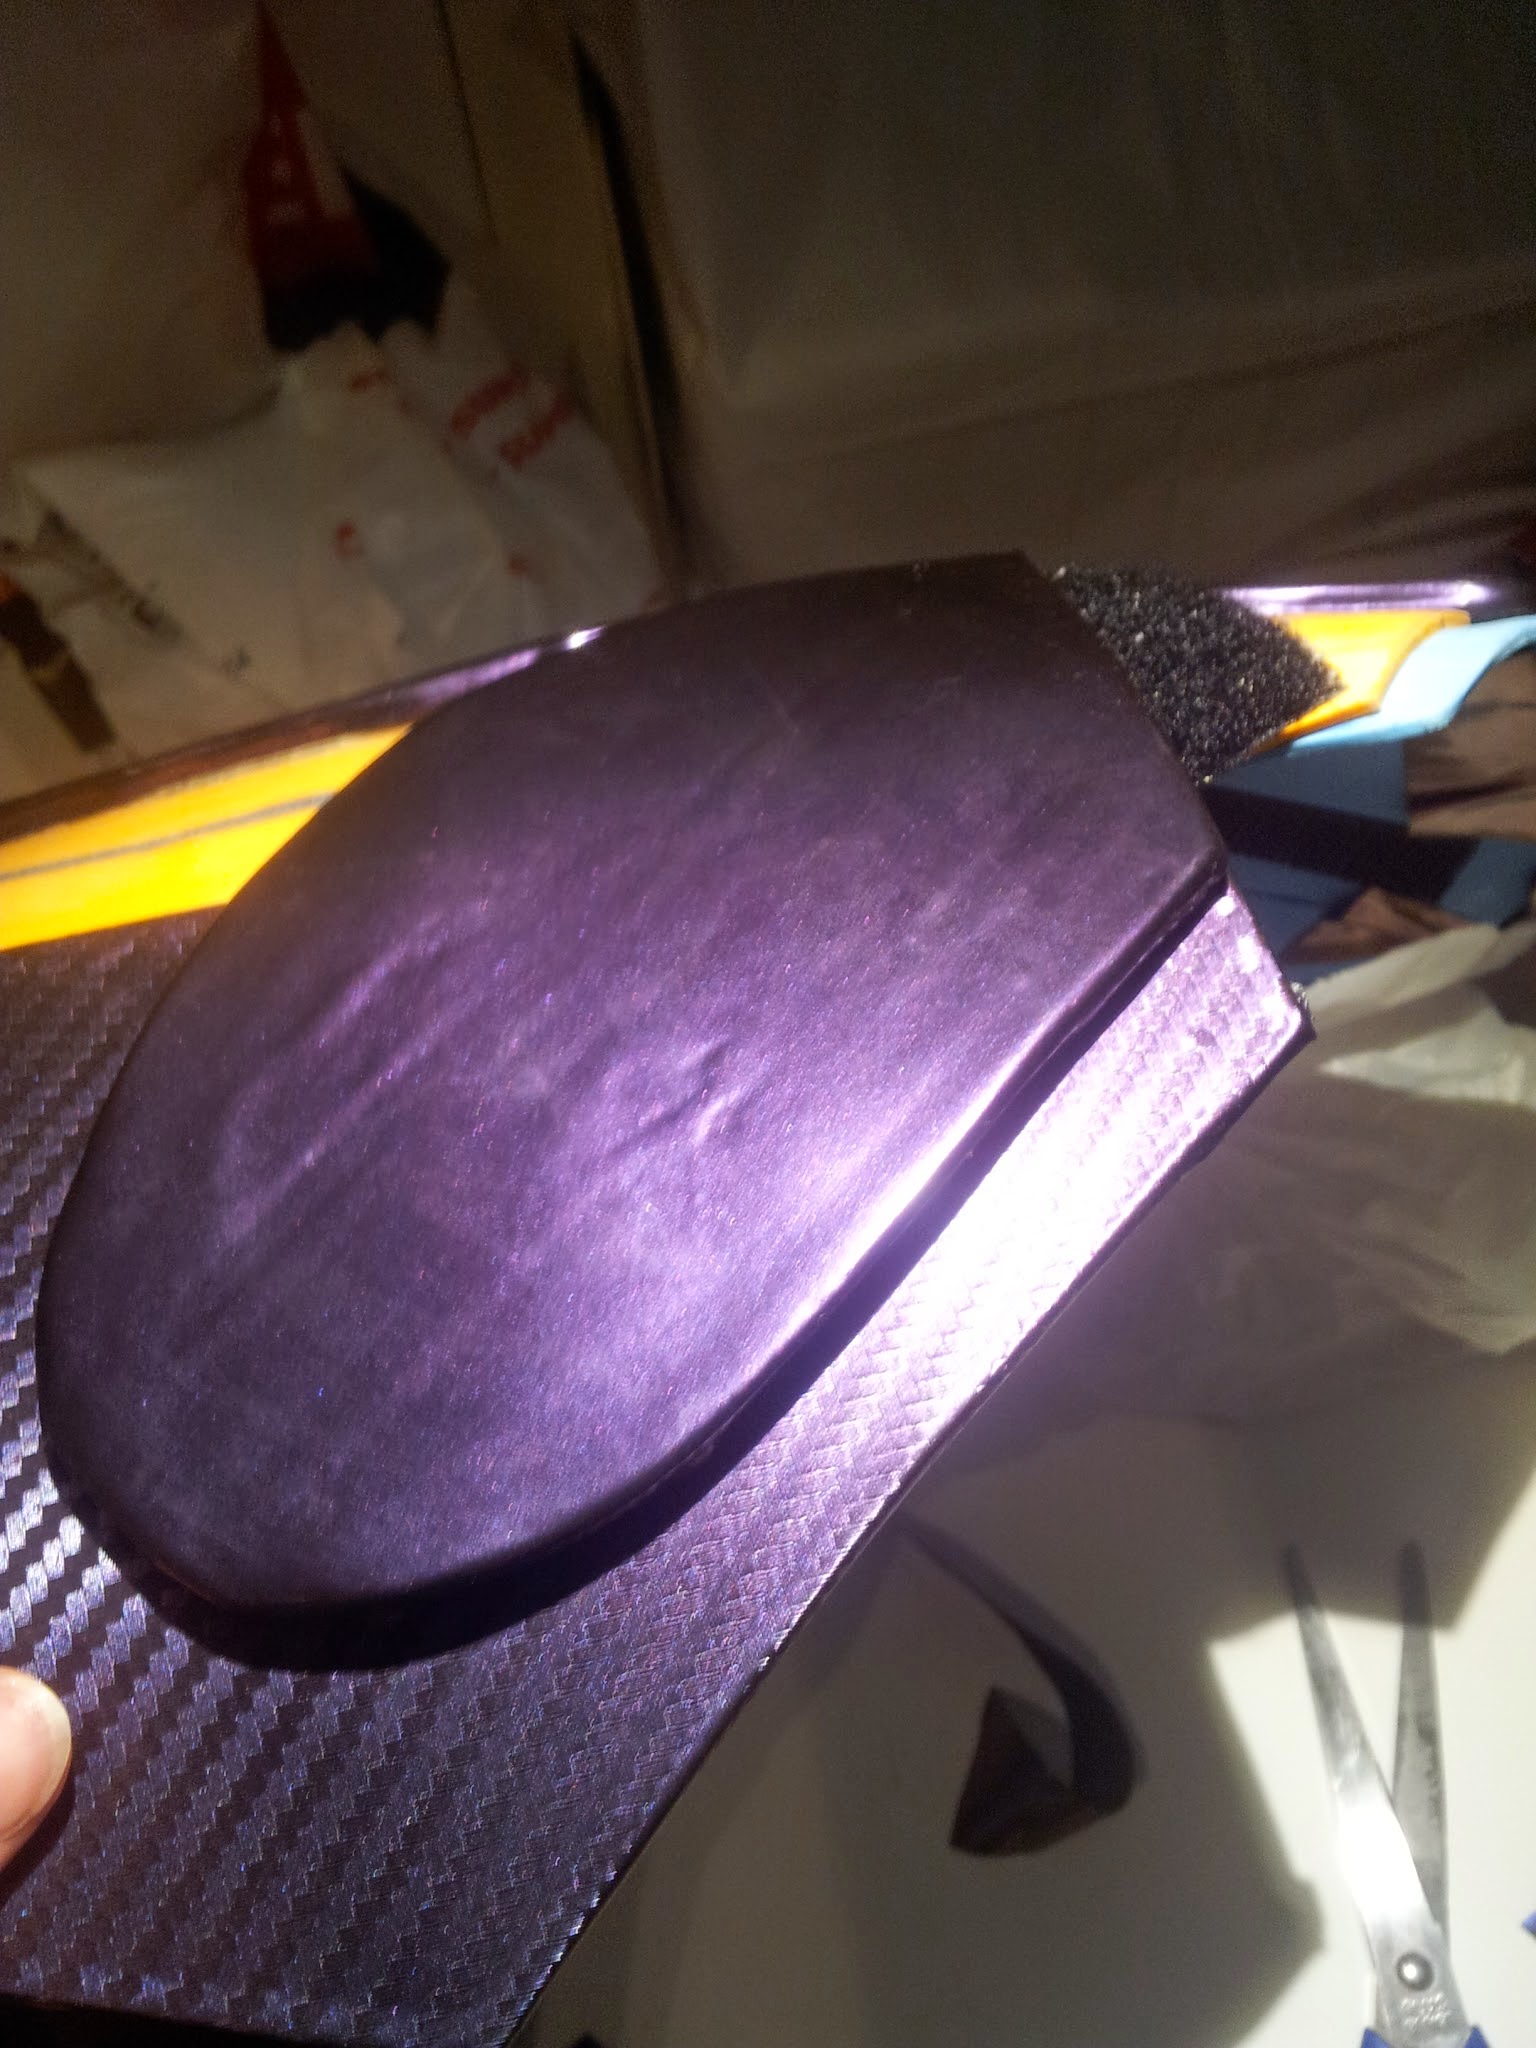
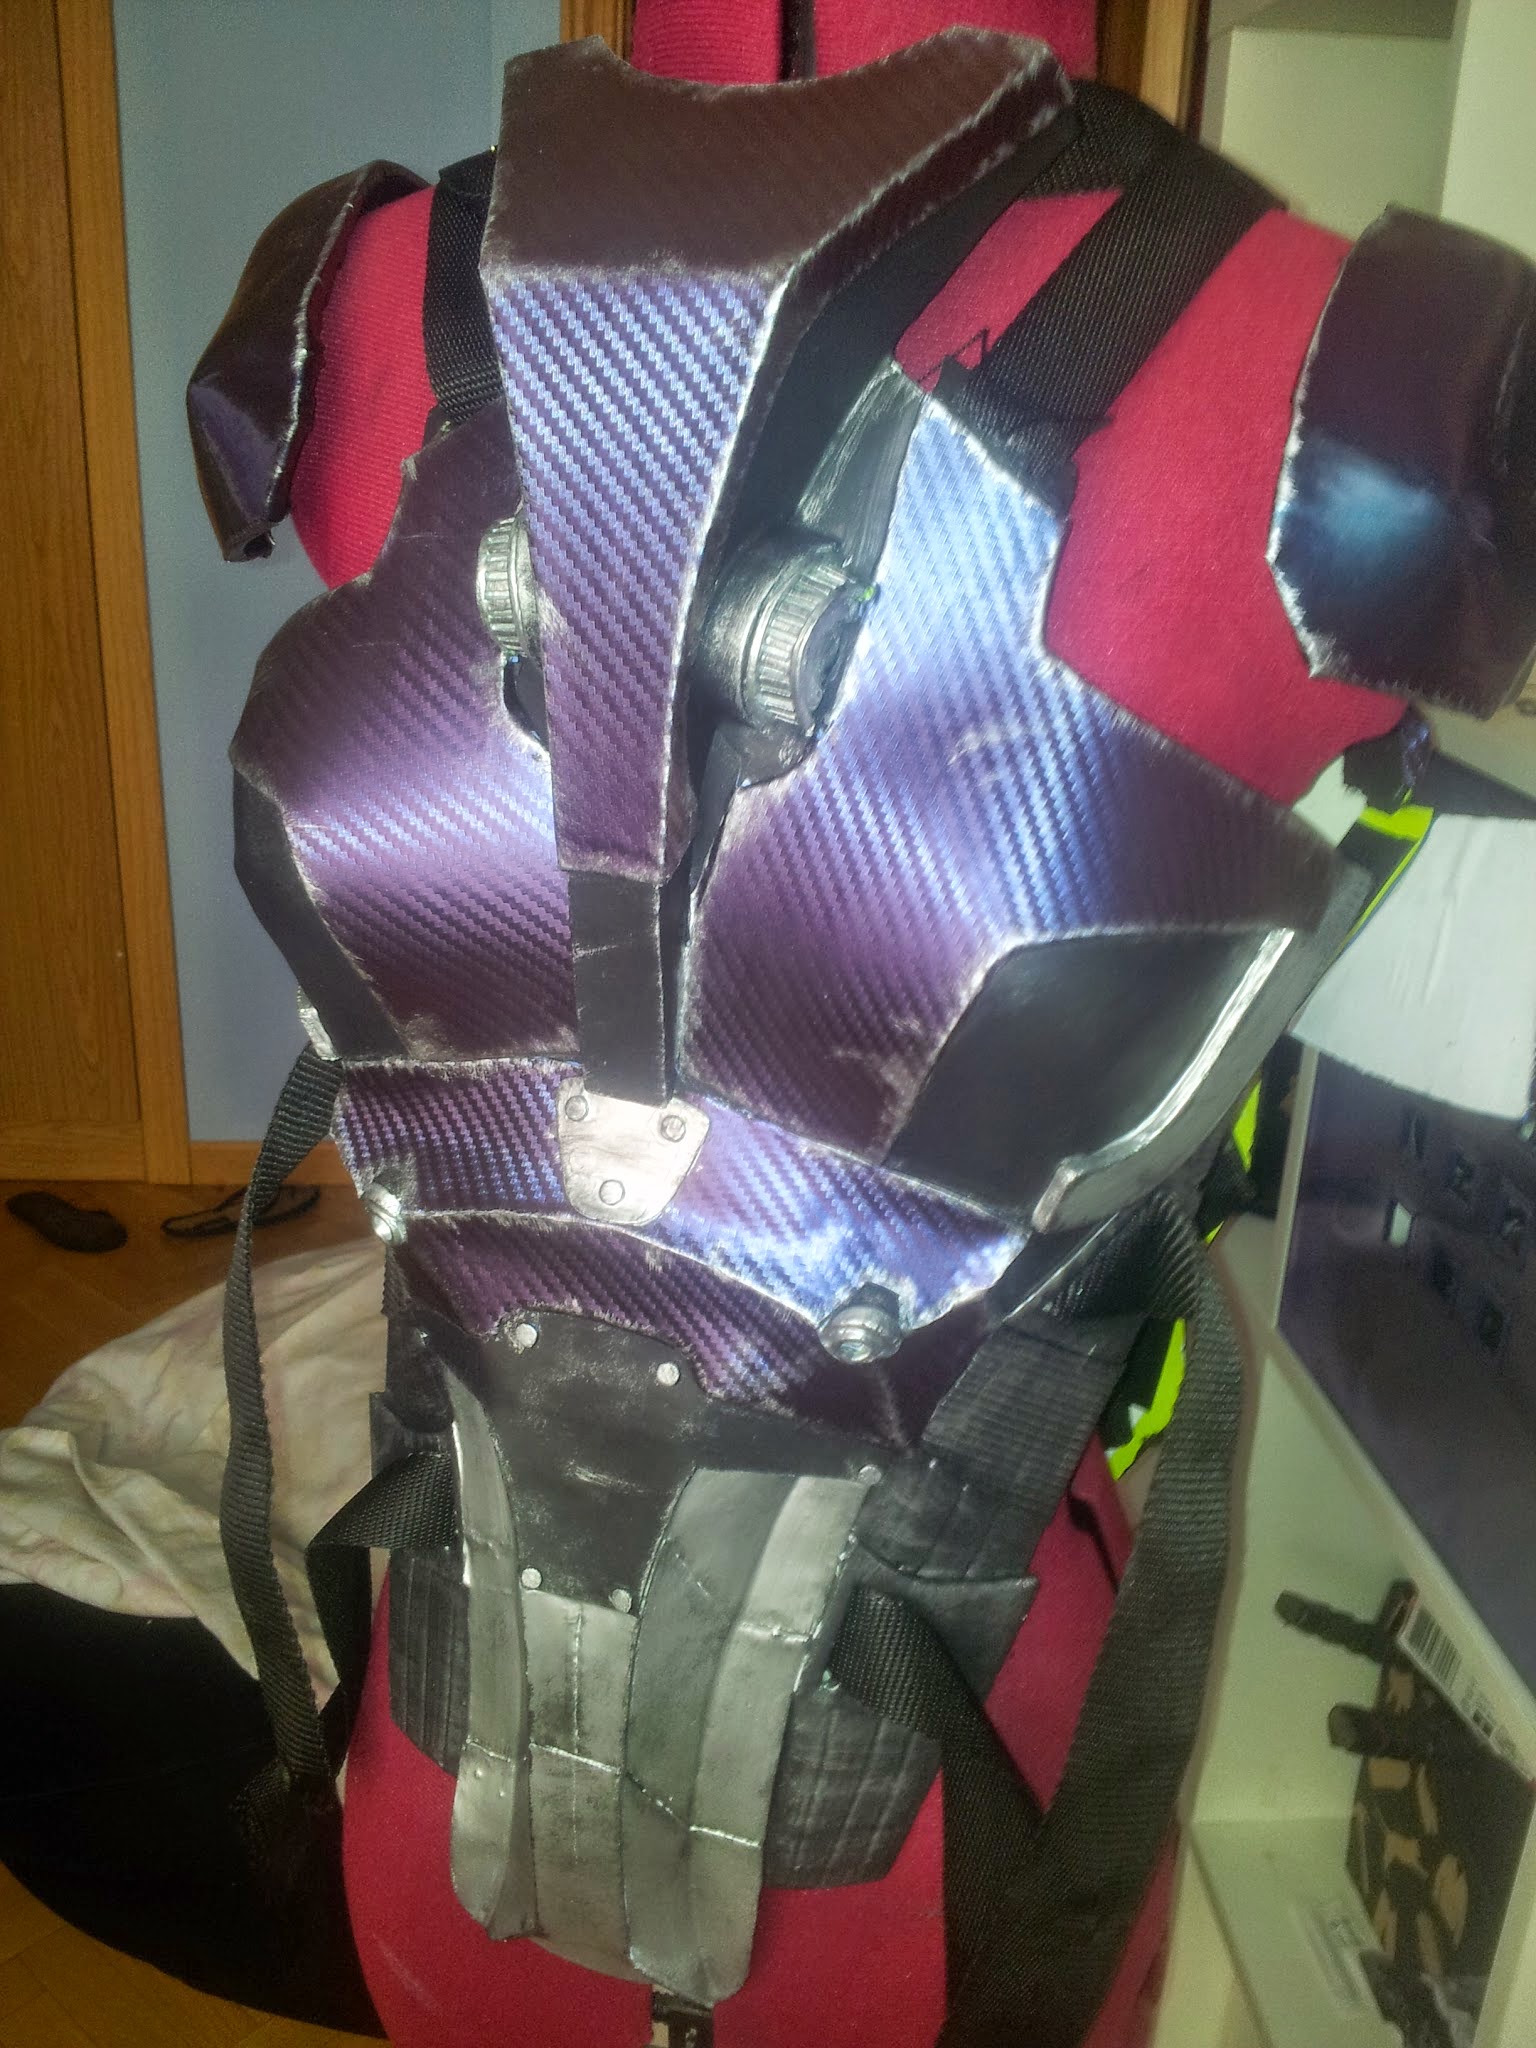
I noticed that it looks way better if you wrap each piece separately before putting everything together. Just like I did in the next image.
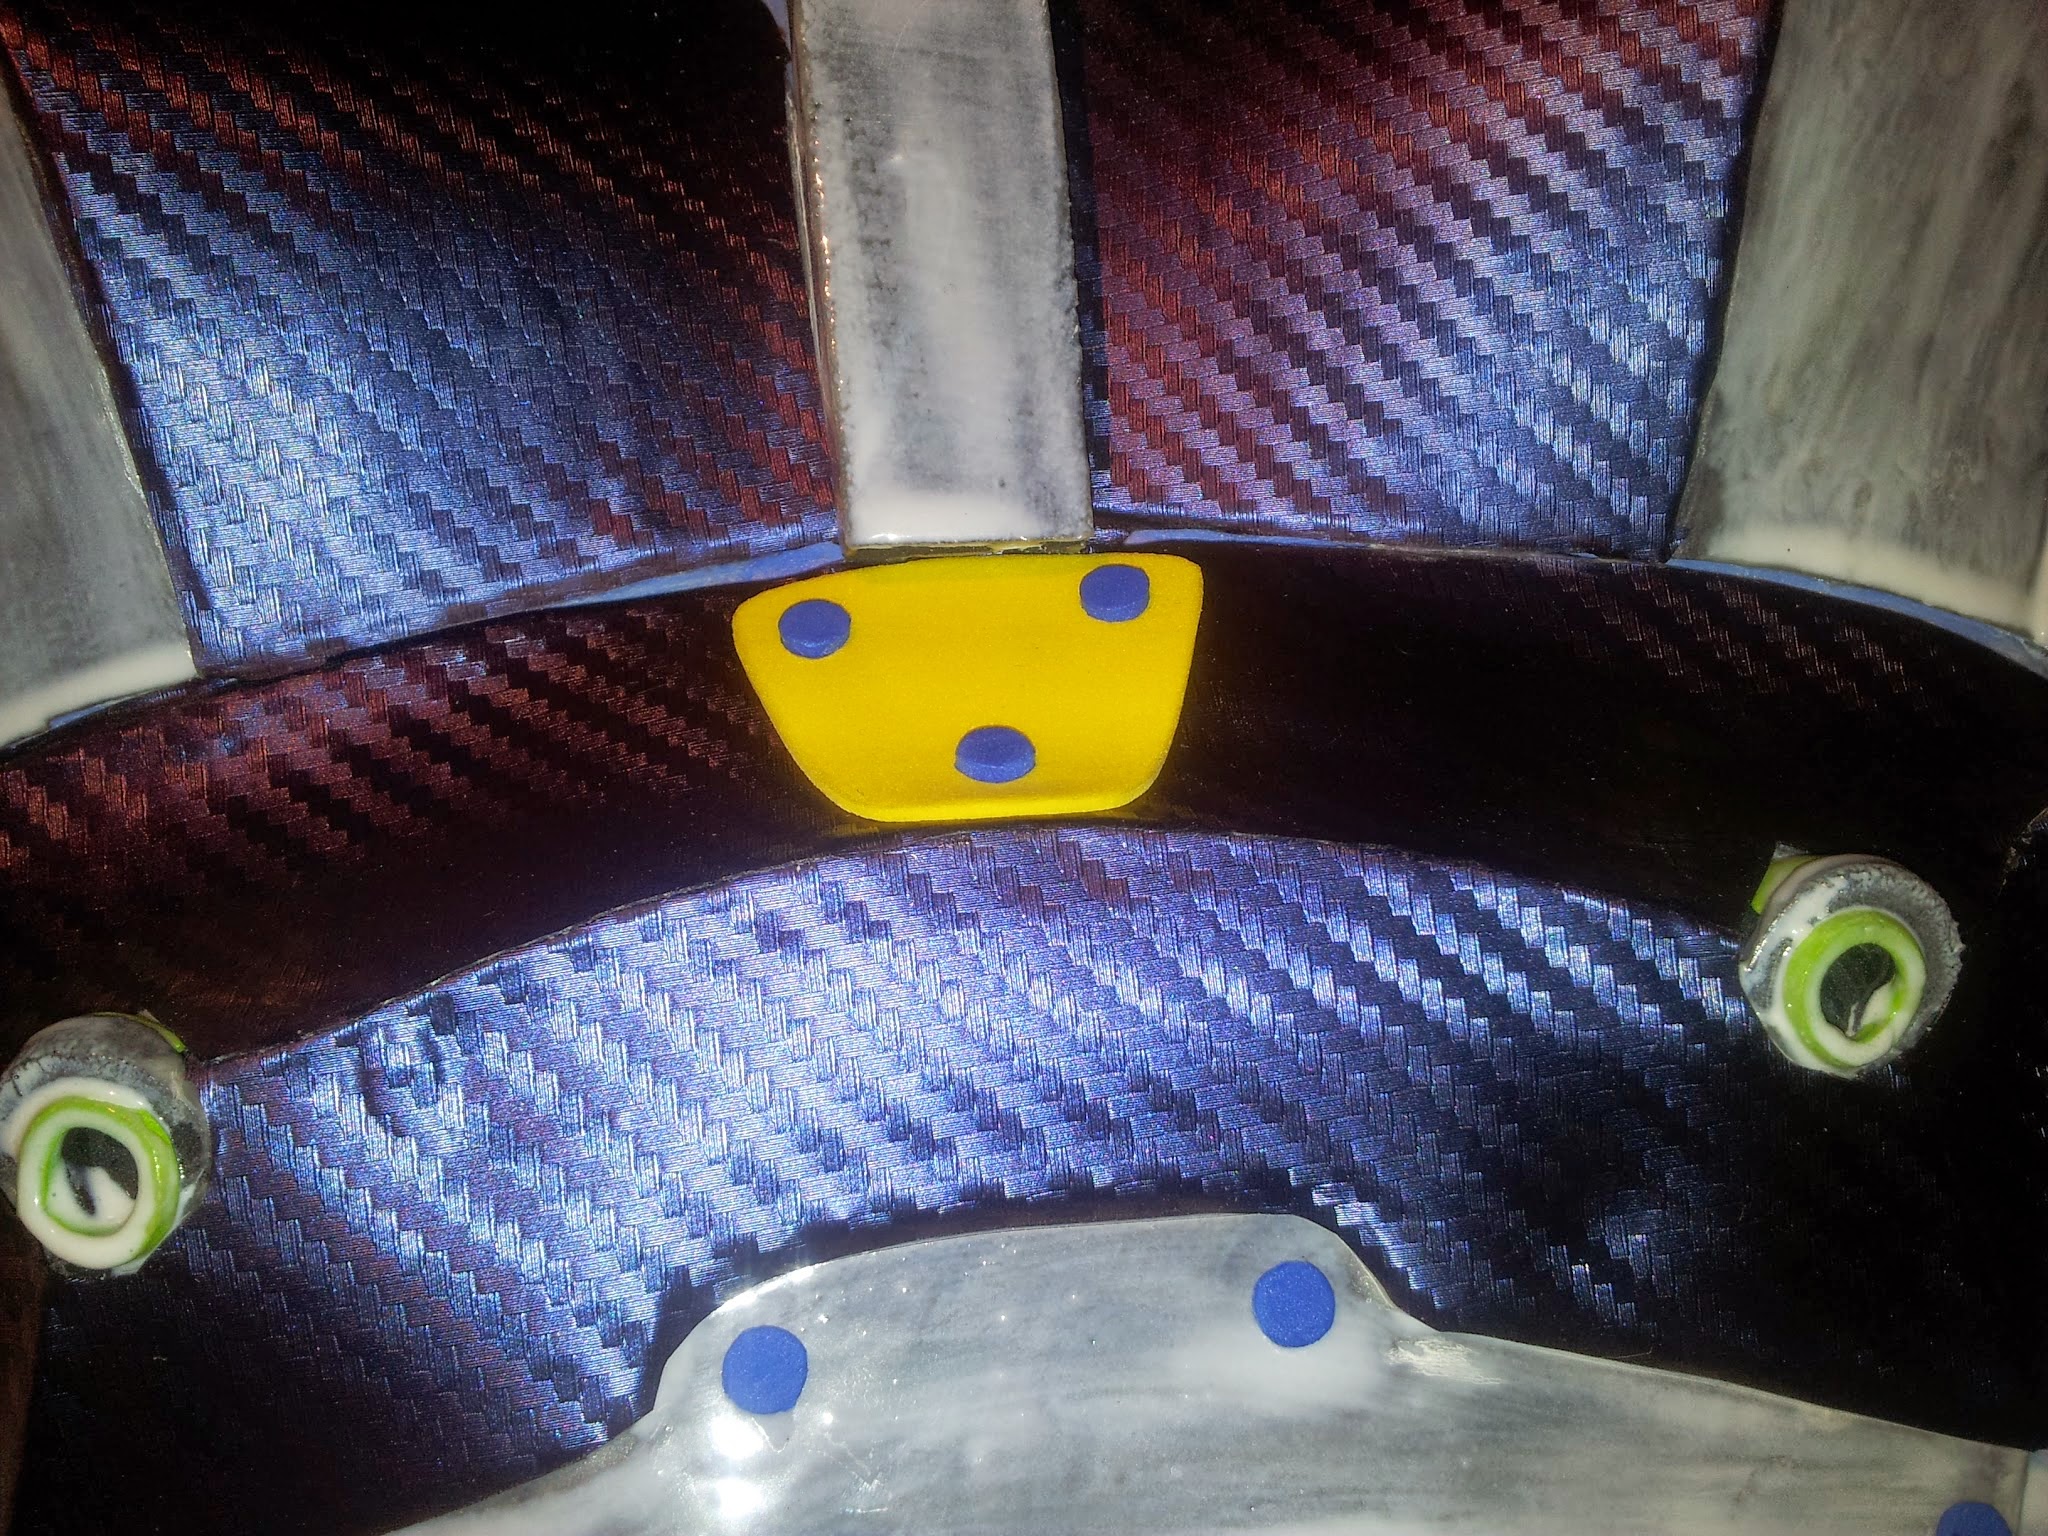
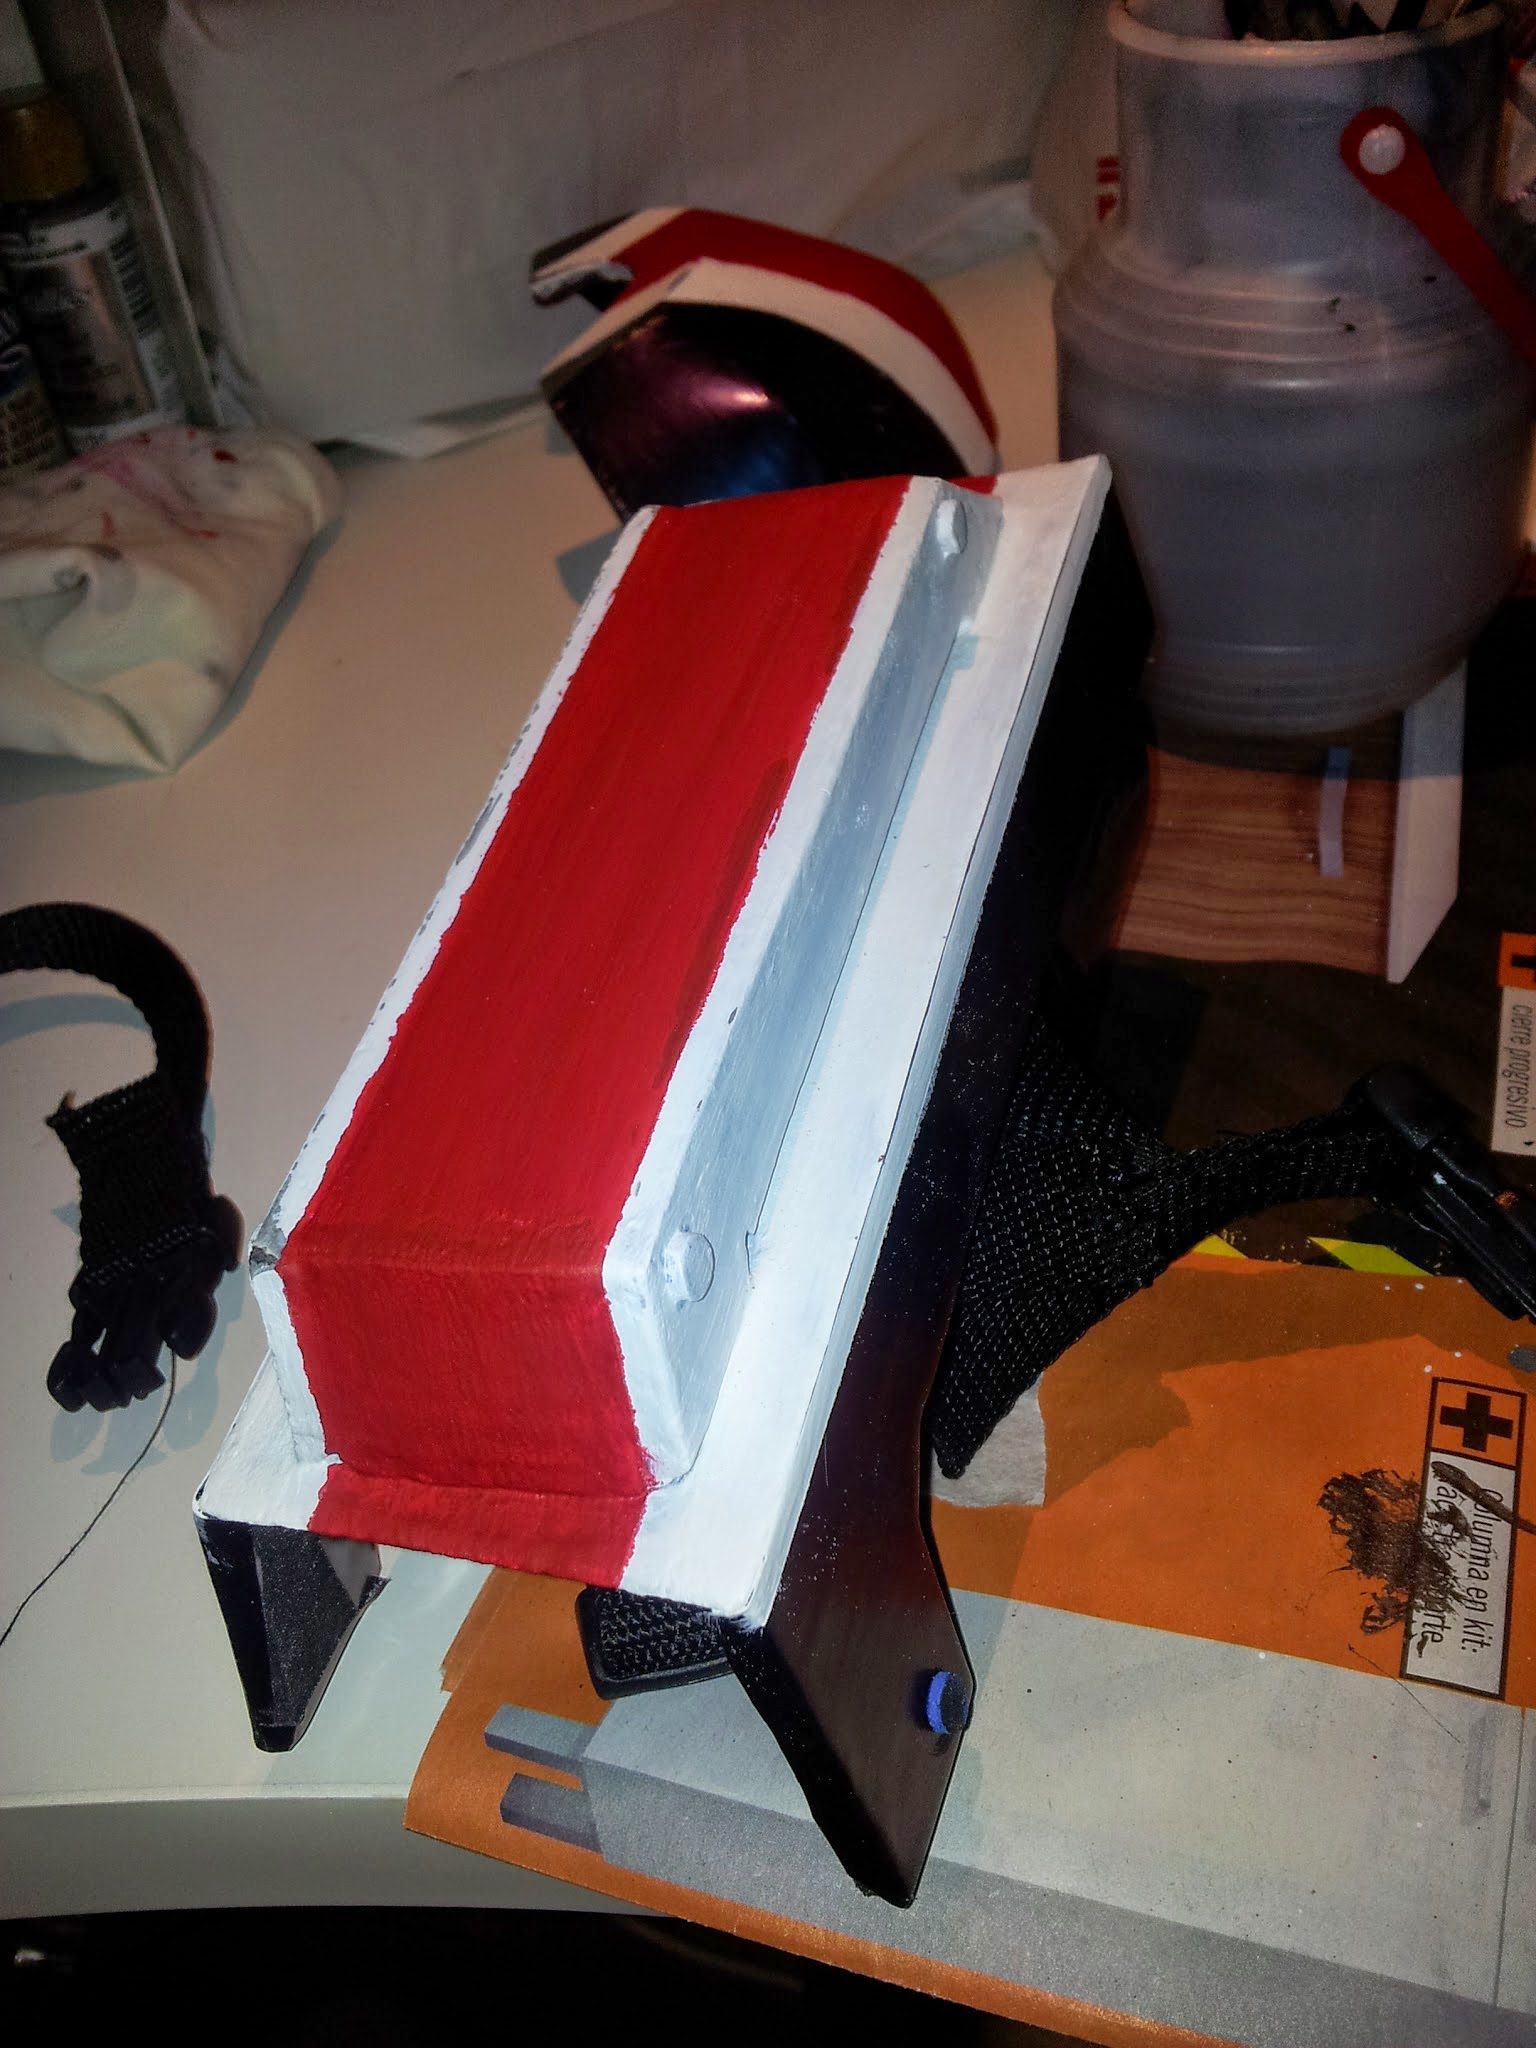
Once I finished wrapping, I added some craft foam details and I painted the black and metallic pieces with acrylic paints.
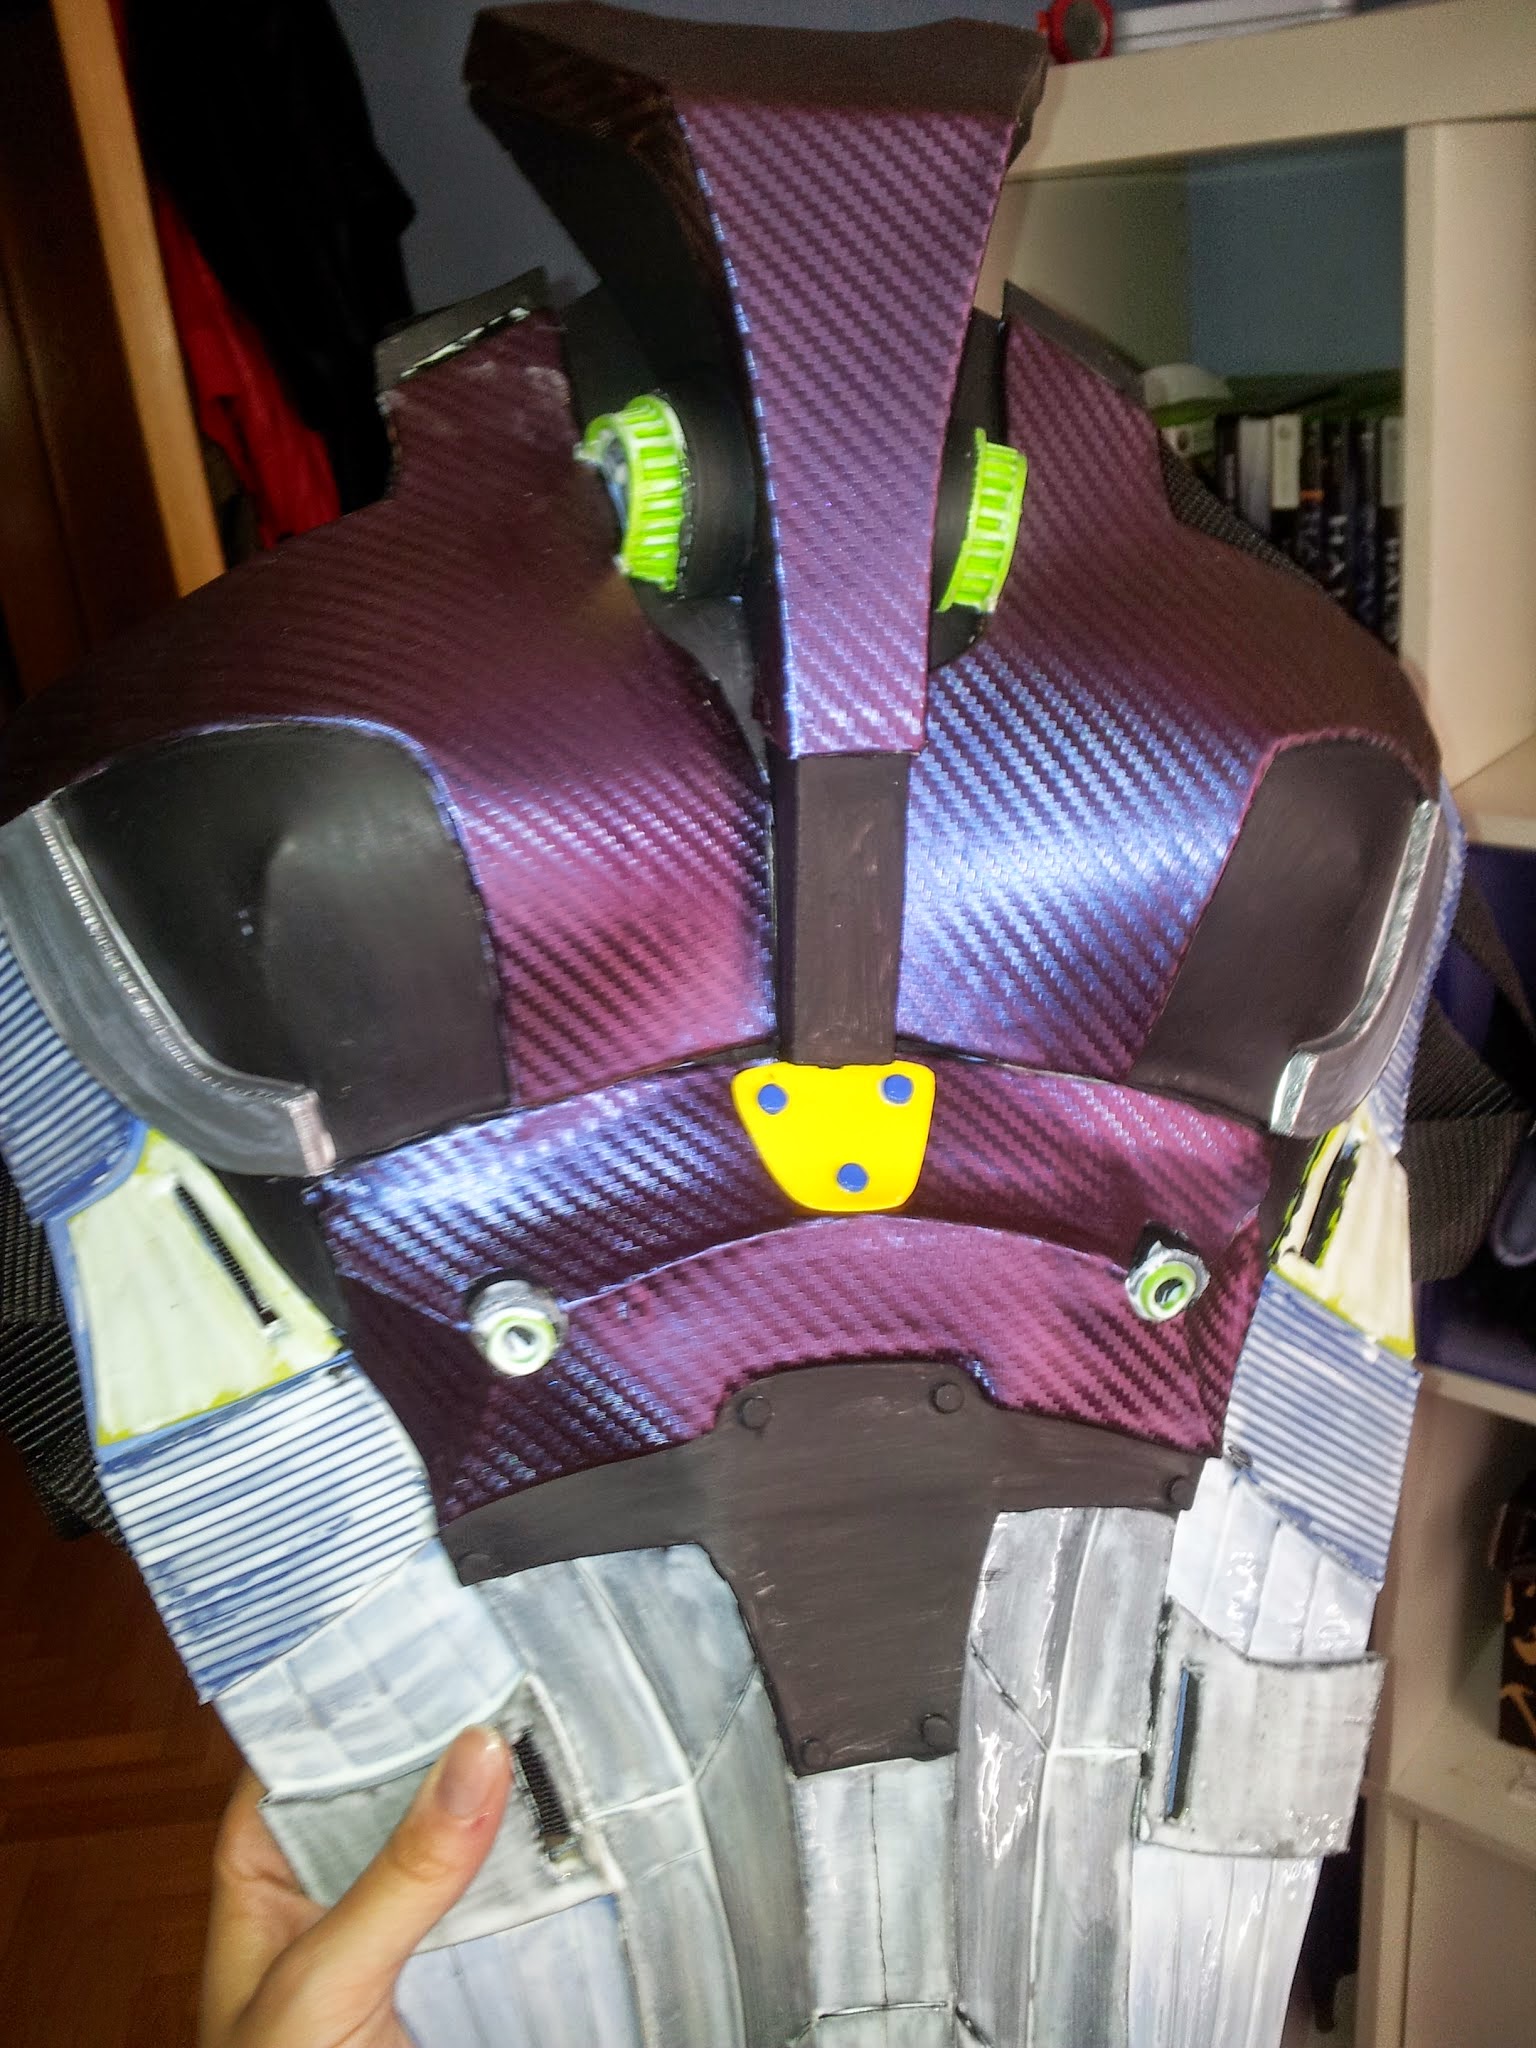
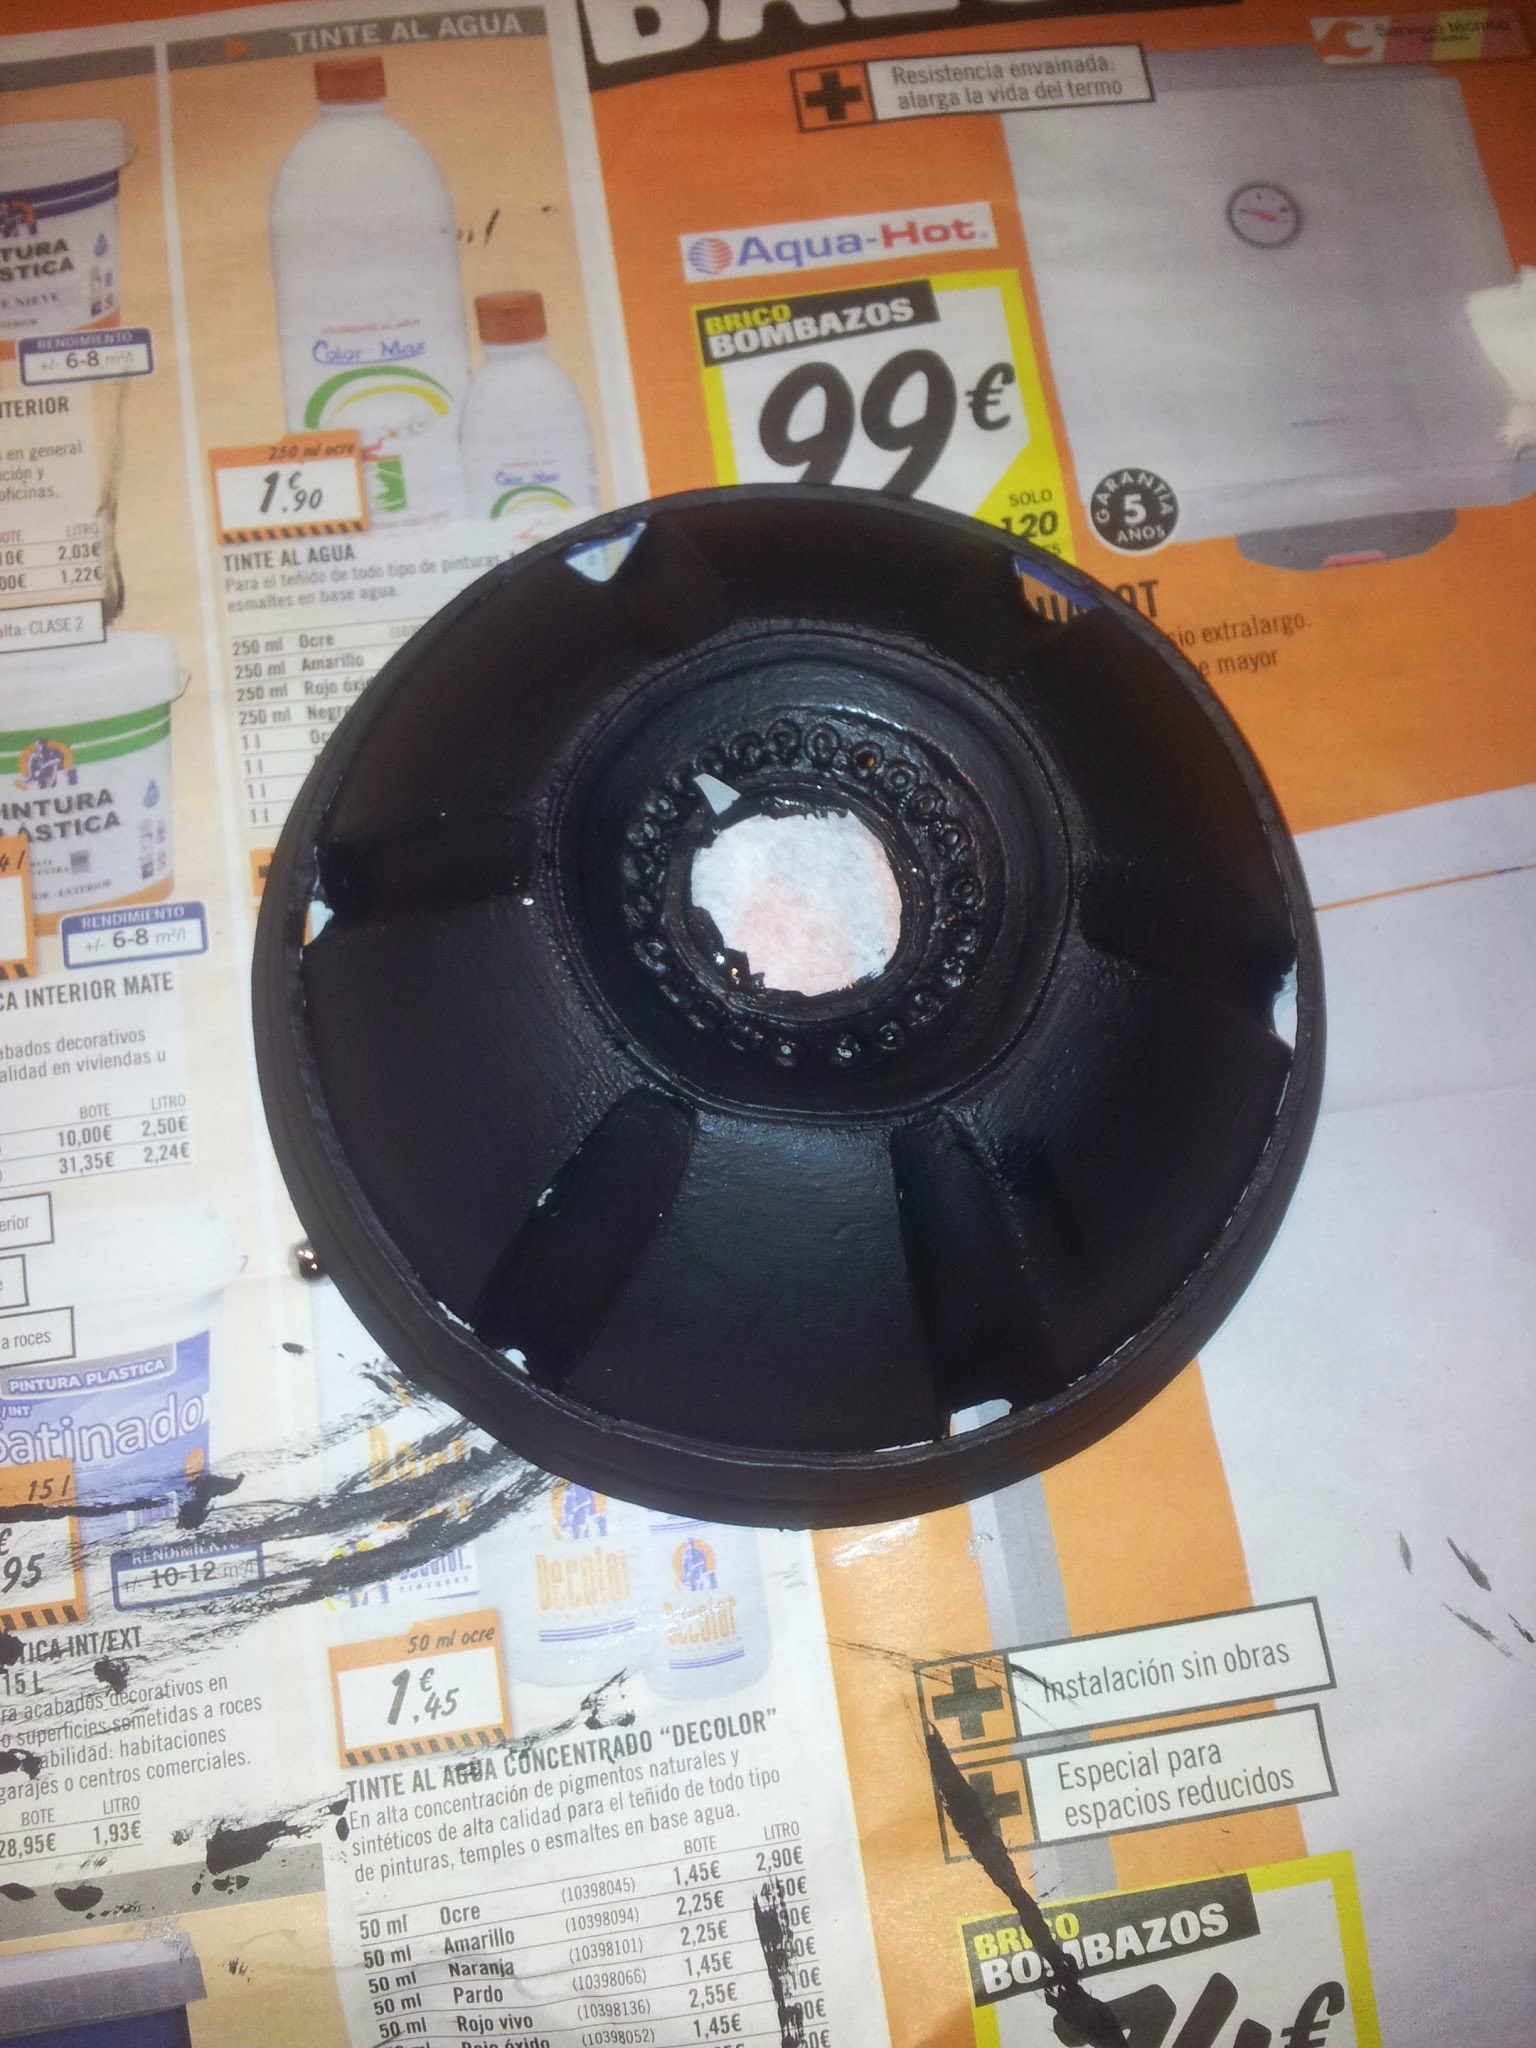
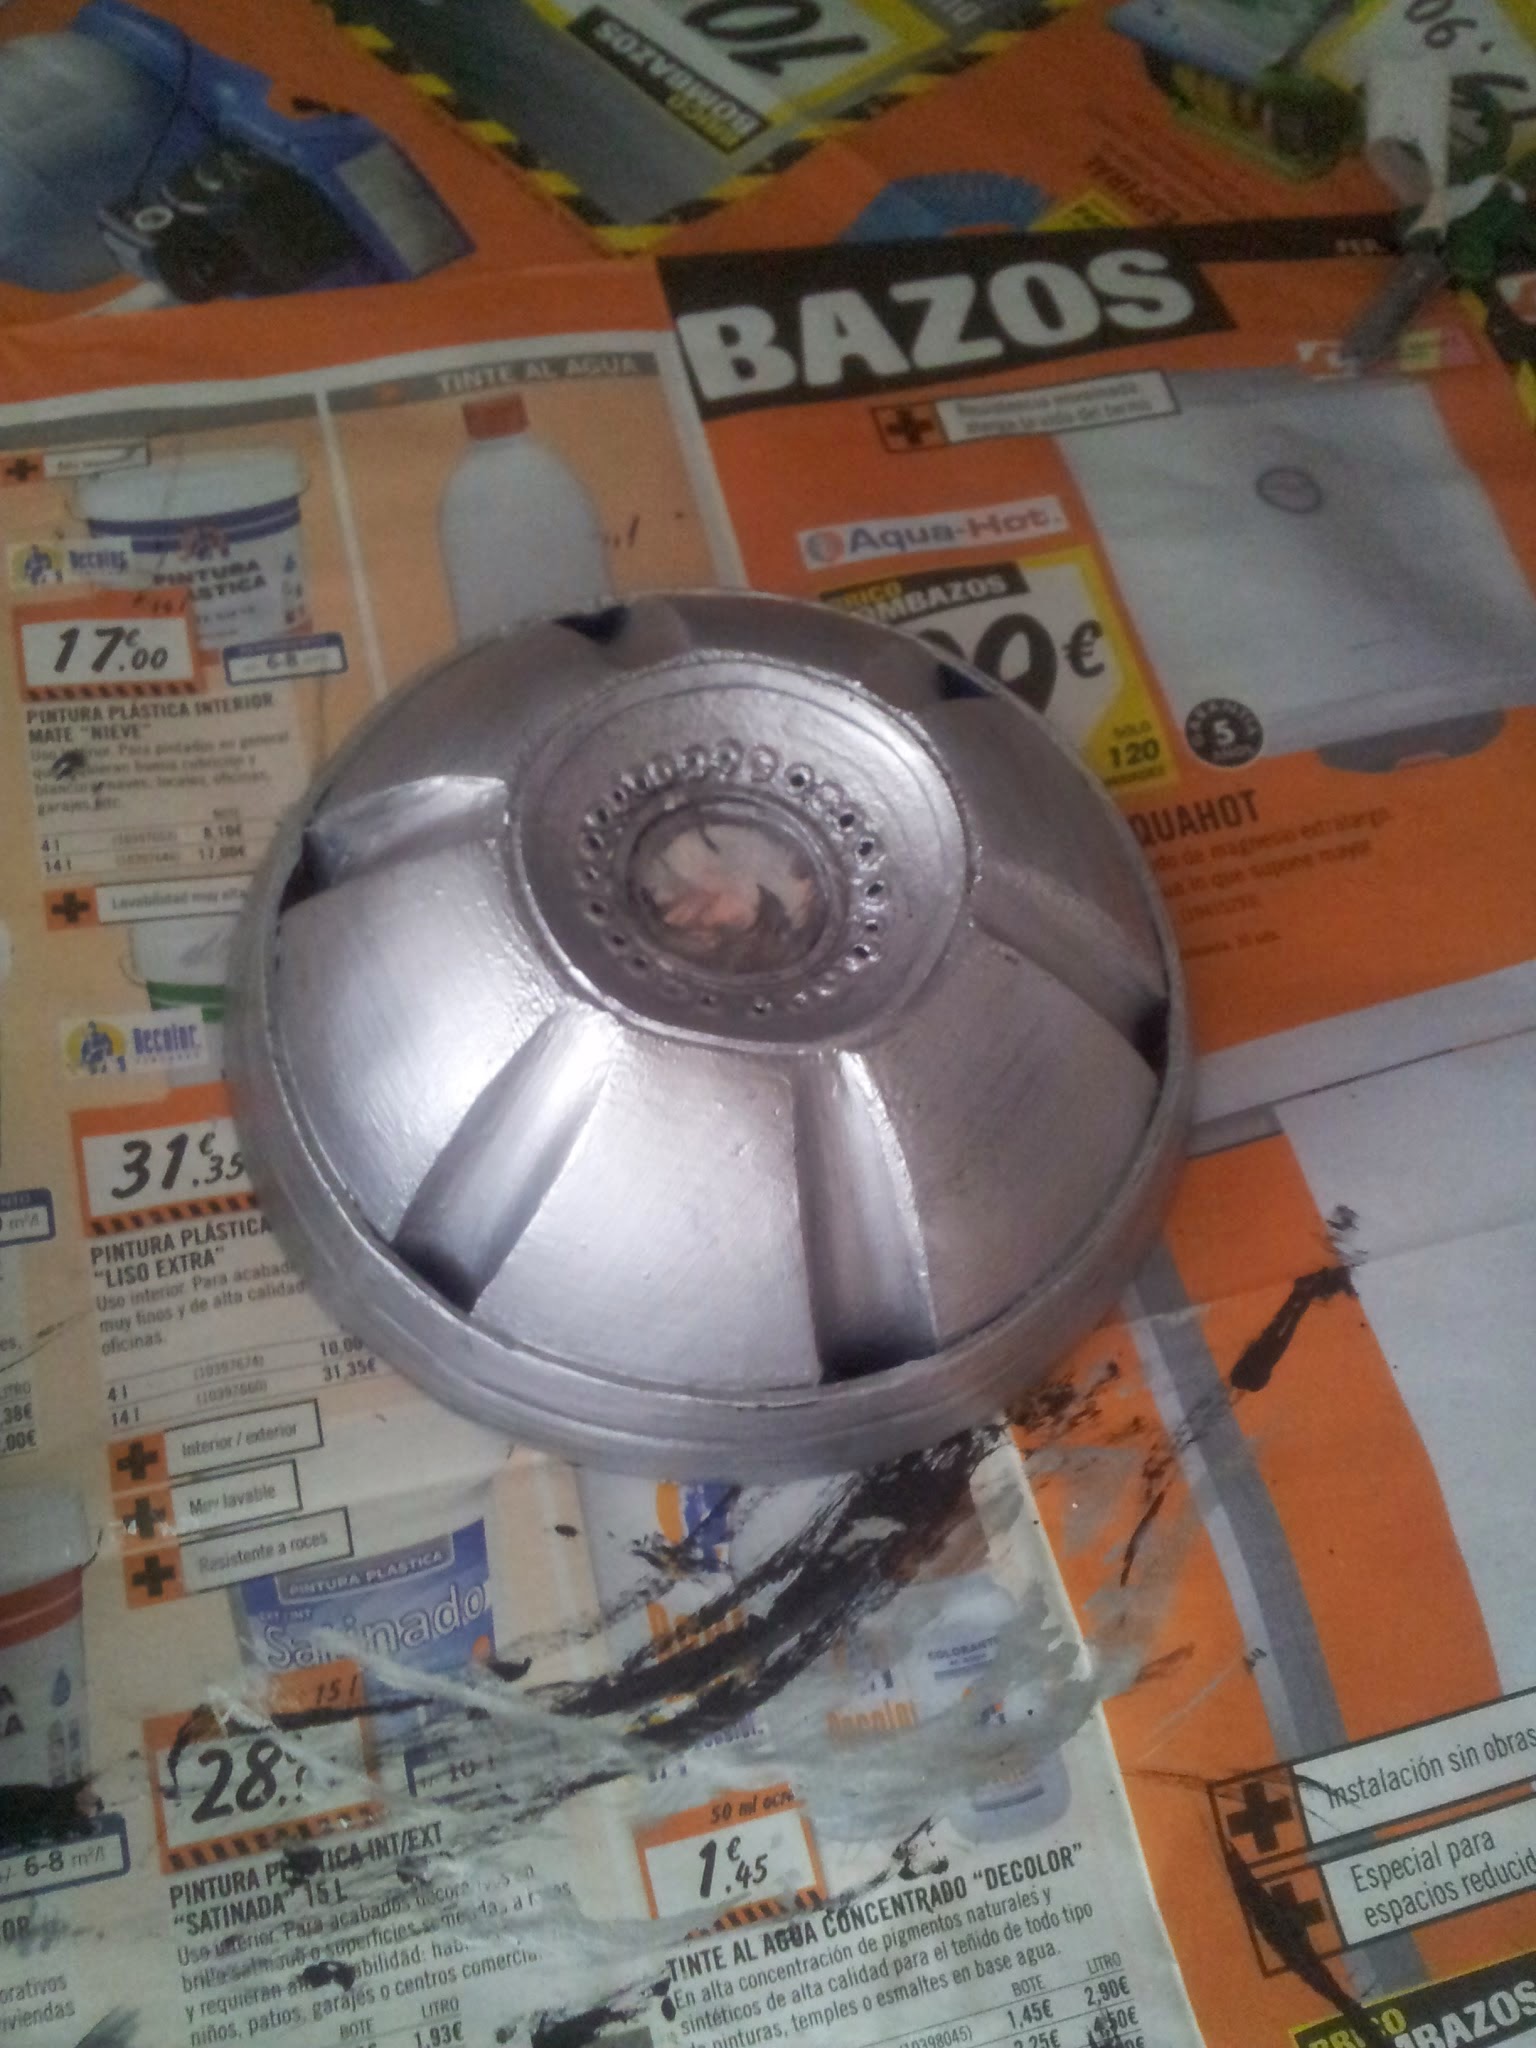
To finish it, I weathered it using the dry brush technique using silver acrylic paint. And I also weathered darker the metallic looking pieces.
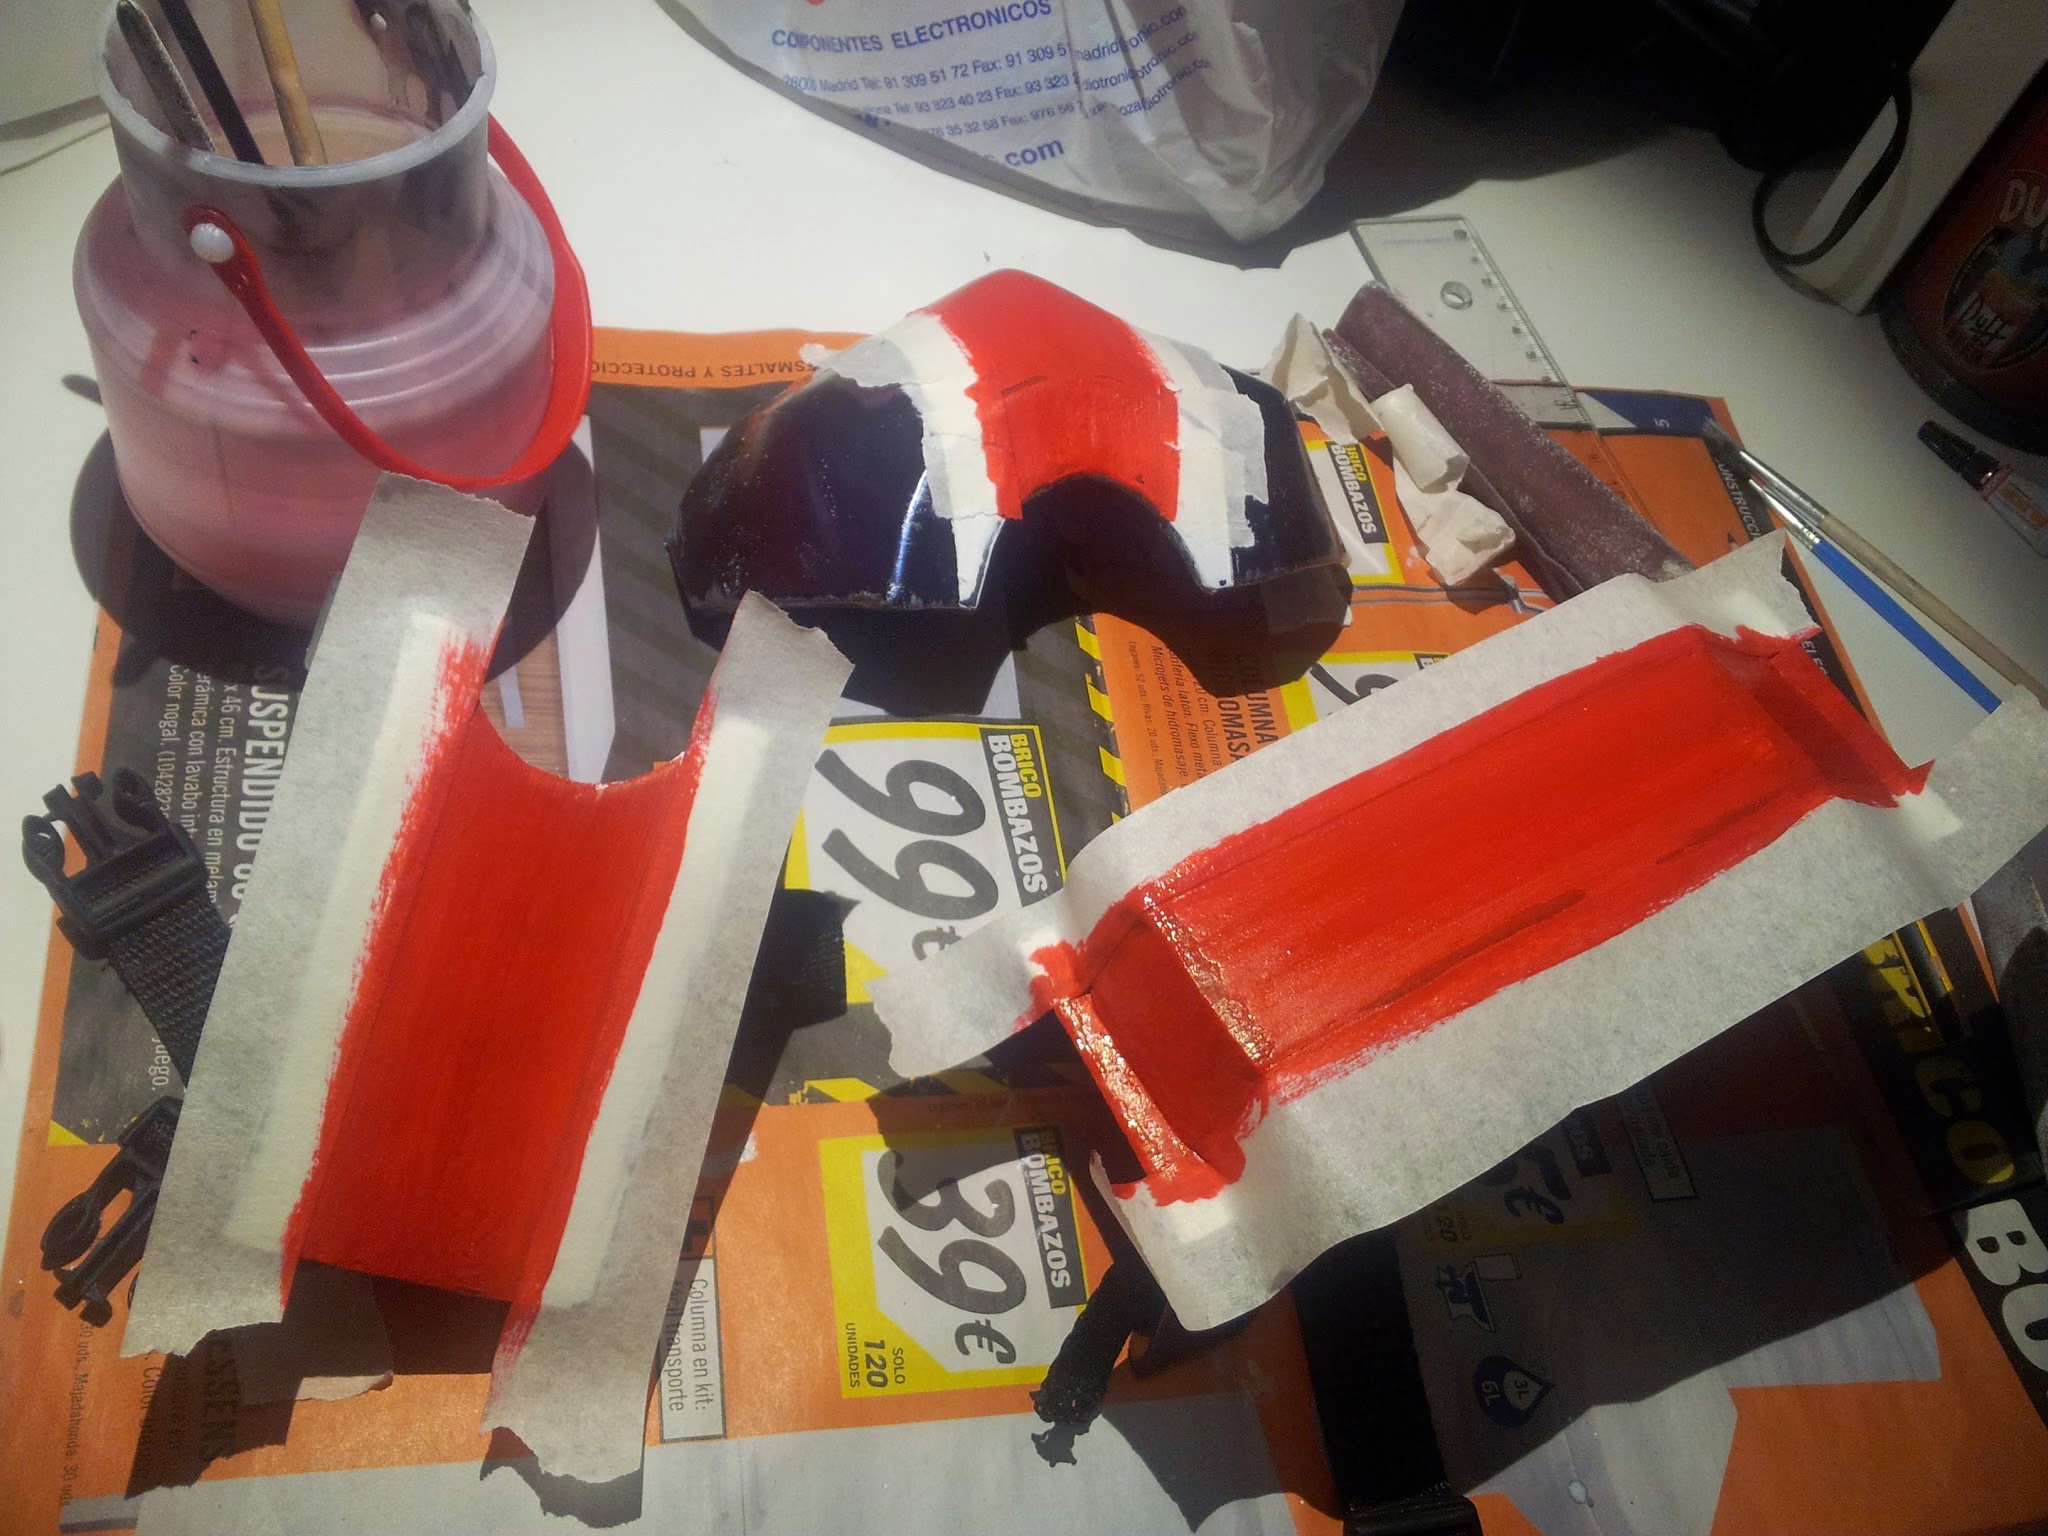
I also painted the characteristic N7 lines on my right arm pieces. I used masking tape to make them look as straight as possible.
I made the N7 logo out of 3mm PVC foam cutting and sanding a little bevel on the edges and making the relieves pressing with a pen.
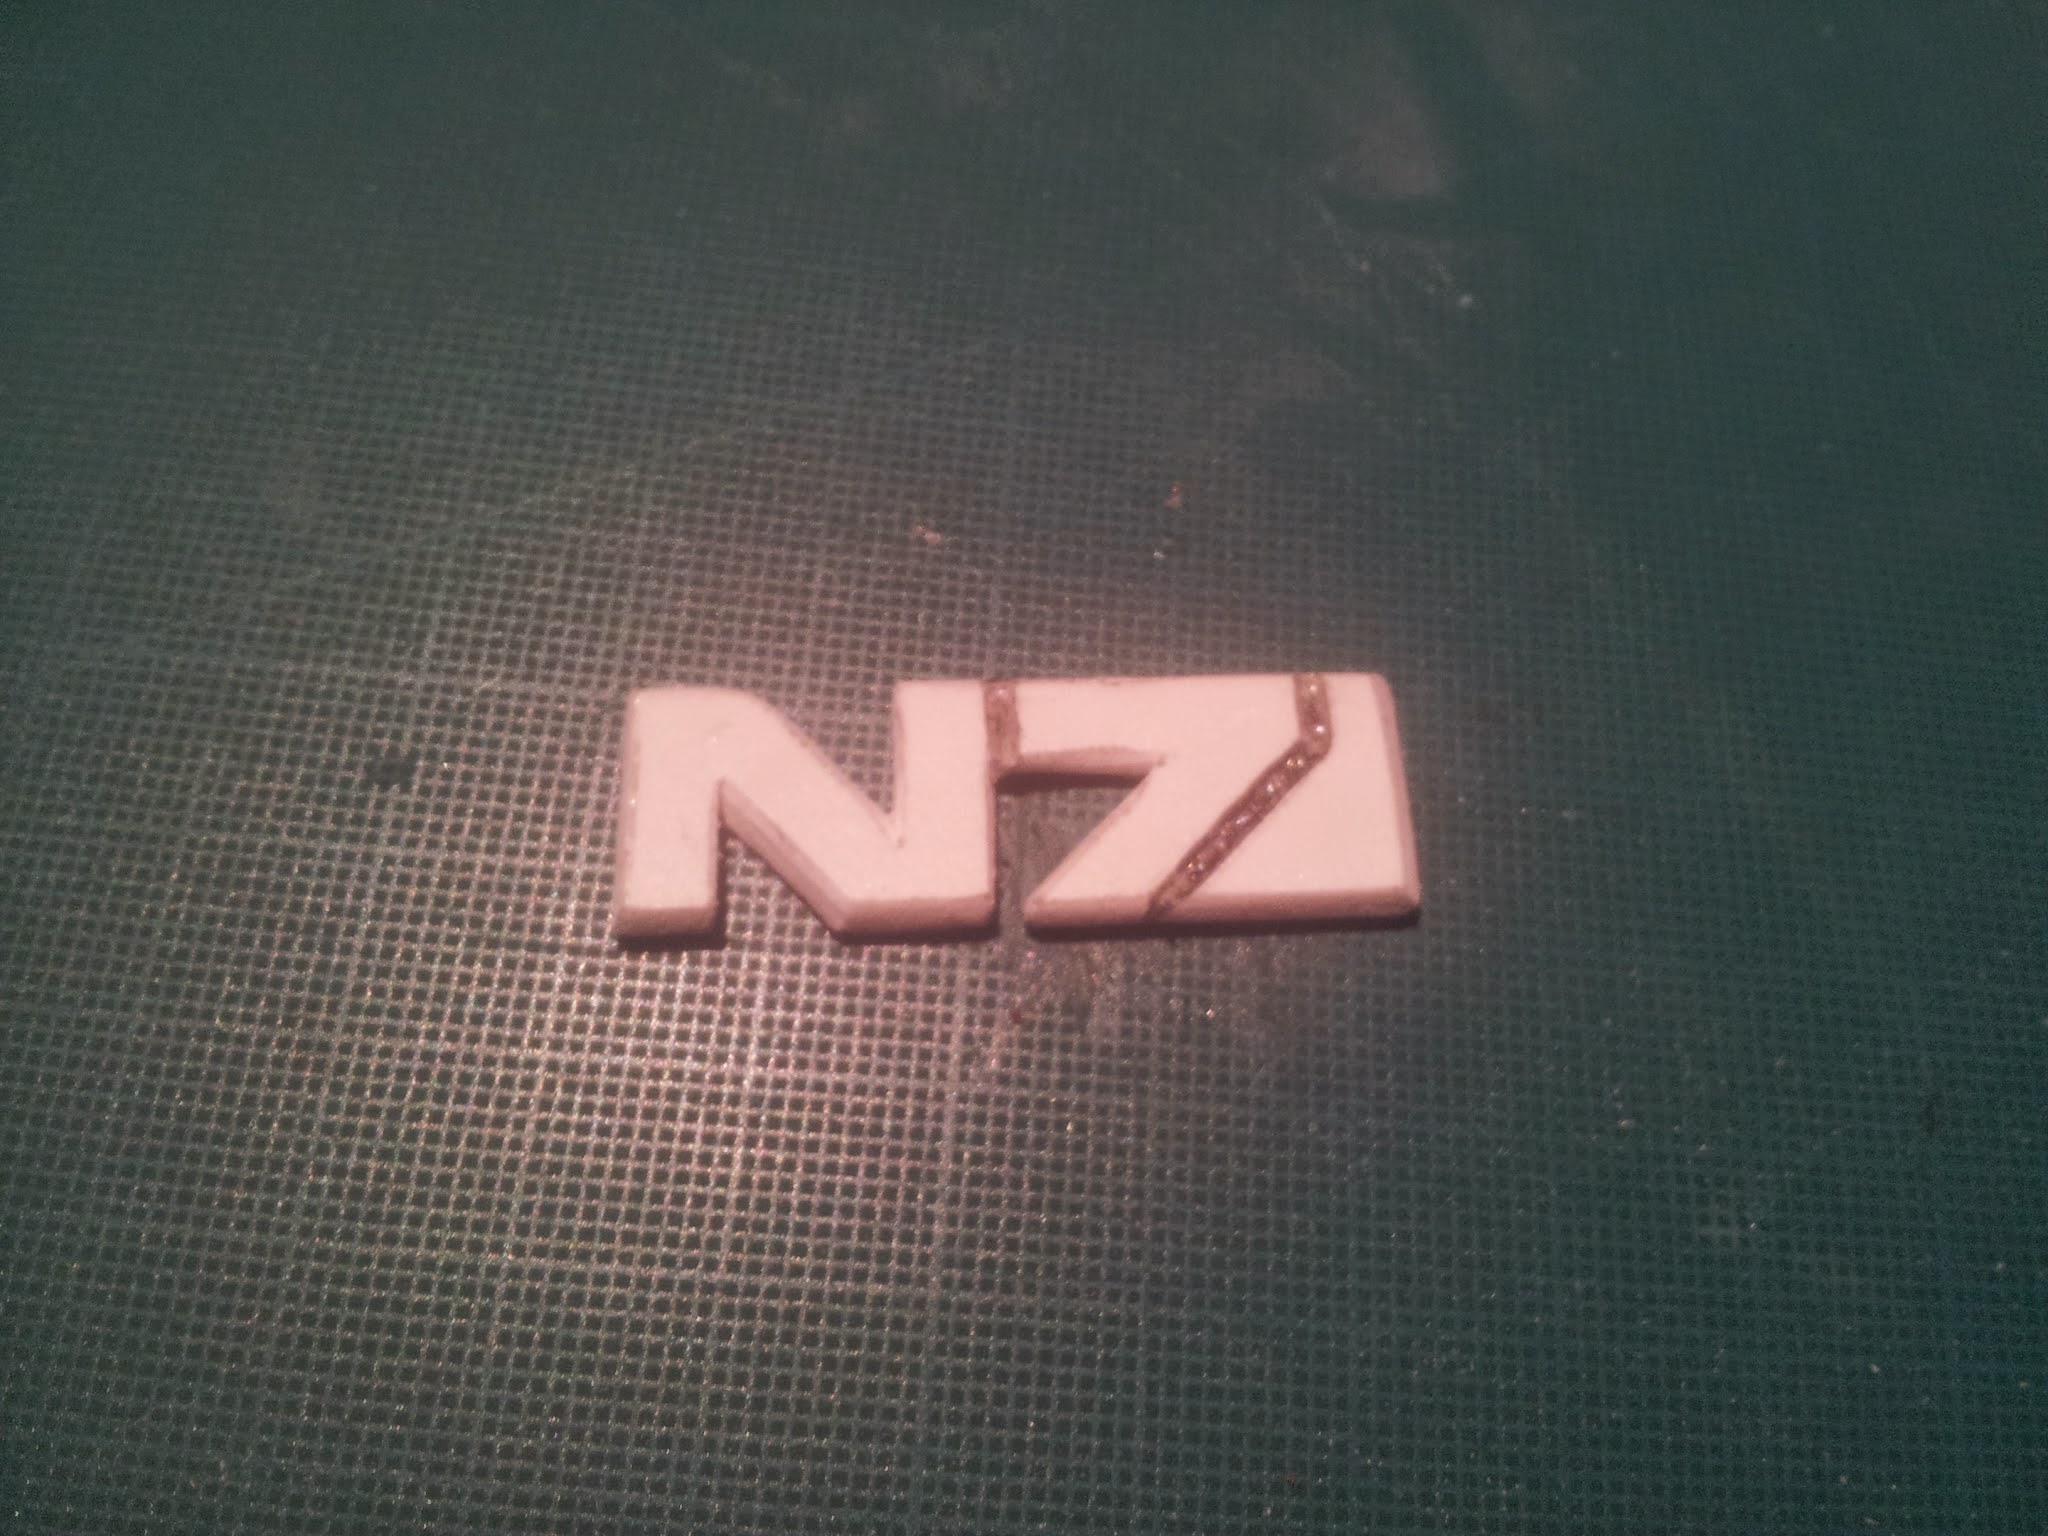
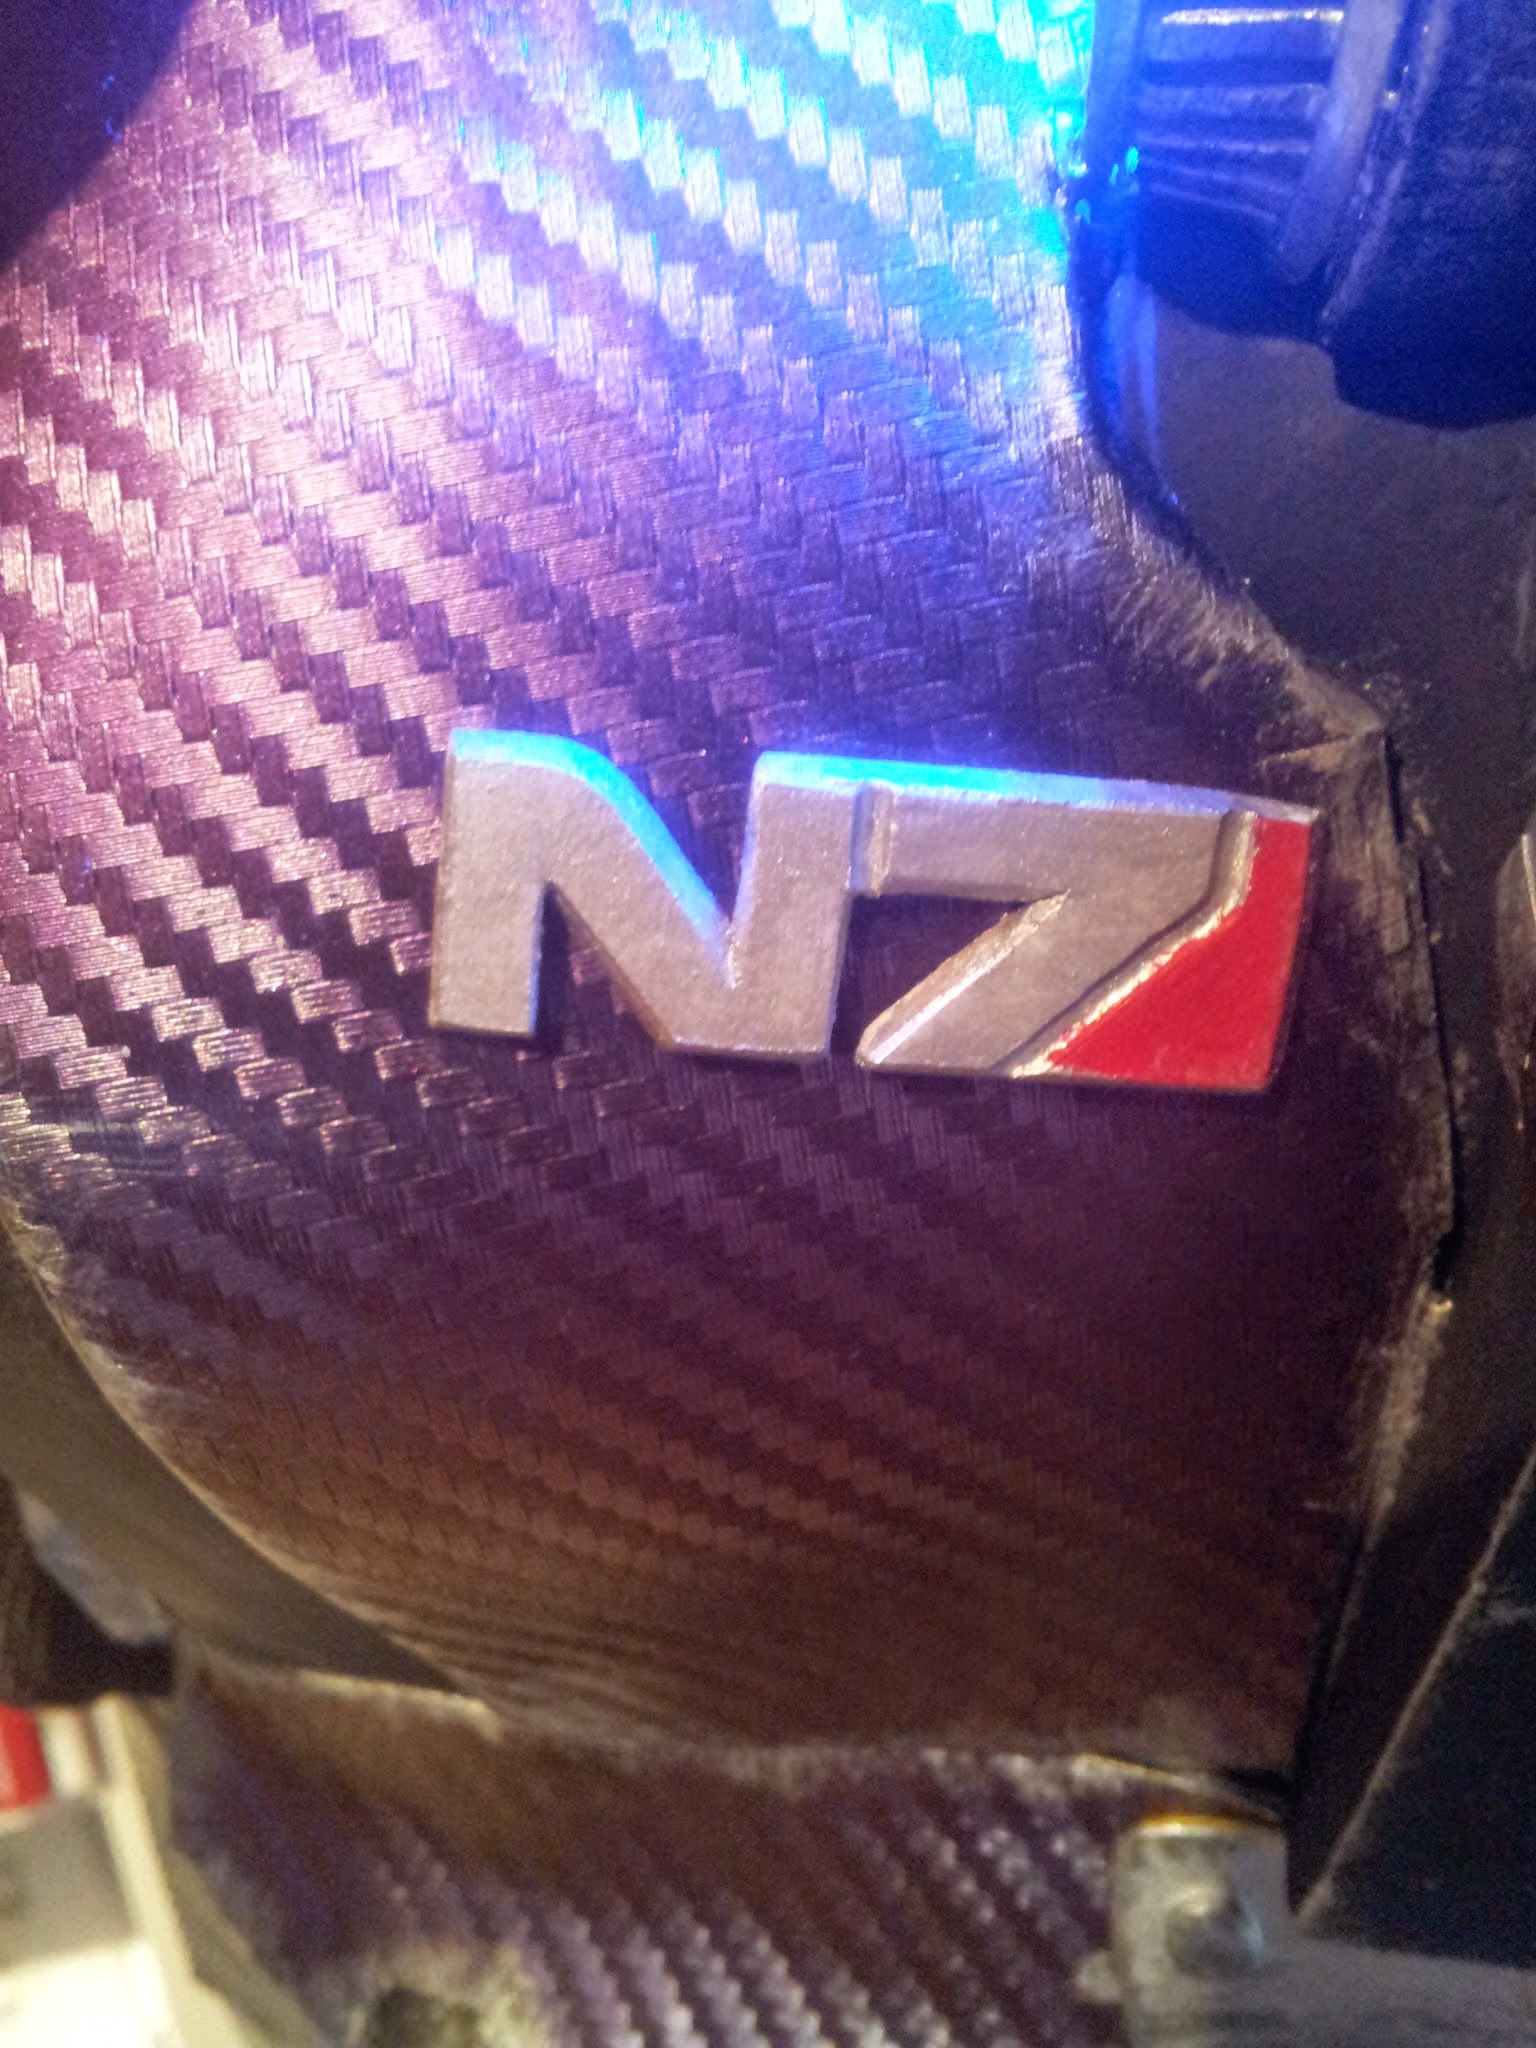
And done!
And this is it, the whole explanation of my Shepard armor construction. In my next entry I’ll briefly talk about the most simple and crappy way to add LEDs to your armor if you have no idea of electronics, just like me, but you just can’t renounce to the splendor a nice bunch of bulbs gives to a kinetic barrier.
Thanks for reading! As always, you can leave your comments down below, on facebook or on twitter.


