Hi! It was about time to start talking about how I made my Morrigan Inquisition costume. This costume has been such a challenge for me, as it has several elements I hadn’t had made before. One of those elements is the pannier (a.k.a. hoop skirt). This is one of the things I’d always wanted to make in cosplay but I’d never found a character that I like wearing one of those.
 |
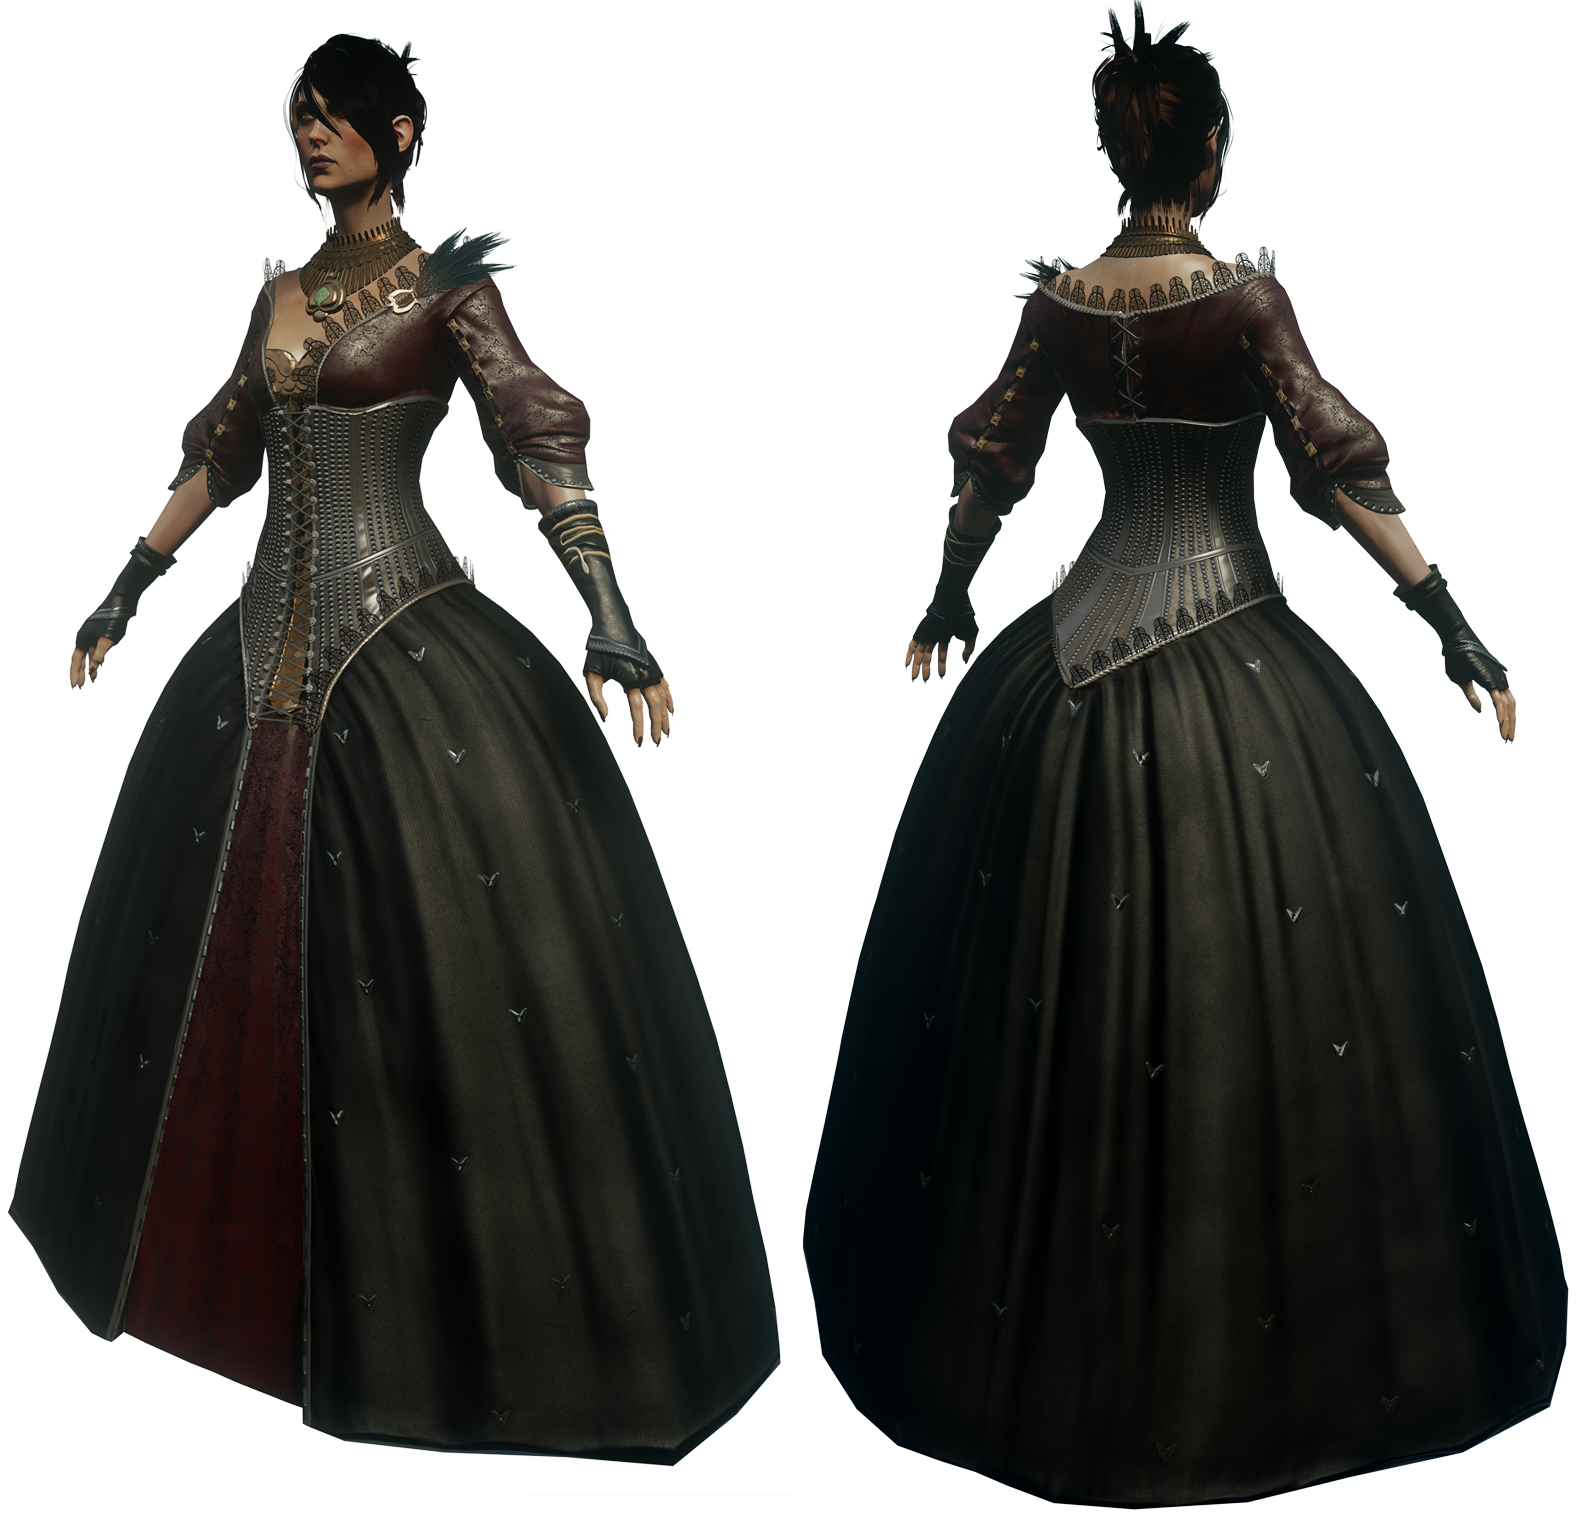
| Picture by Jesús Clares. Full album here. |
It’s funny because when I first saw this new design, I didn’t quite like it. As you may already know, I’m more into warrior-style outfits. But I didn’t discard making it since I like Morrigan as a character and I wanted to learn how to make things. So I started to investigate how to make this skirt structure.
I don’t know if I didn’t search correctly, but it took me a while to find tutorials about this. Well, at first it was hard for me as I didn’t know the name of this structure in english. Once I found it was “pannier”, It became much easier for me to find tutorials. Between this first obstacle and the problems I had to understand how the pattern worked, It took me about two weeks to figure it out. I made several tests and asked some cosplay pals about how they usually make their hoop skirts.
All this research was before Electronic Arts asked me to make this costume for them!! It was by chance that I had been investigating. I’m sure if they’d told me to make this costume before my research, I would have turned the project out (fearful me).
Here you are a list of some tutorials and references I found:
– Tutorial 1.
As you may have noticed, most of these tutorials are made using the Simplicity 3635 pattern. You can buy it here. I didn’t buy it because it’s too expensive, but there it is.
Once I studied how to make it, I got to work!! I bought a very rigid fabric (its name in spanish is “tarlatana” and I can’t find a translation) and white bias to create the rails. I obtained the skirt measurements by taking the proportions between Morrigan’s heigth and her underskirt measurement, then I applied it to my proportions.
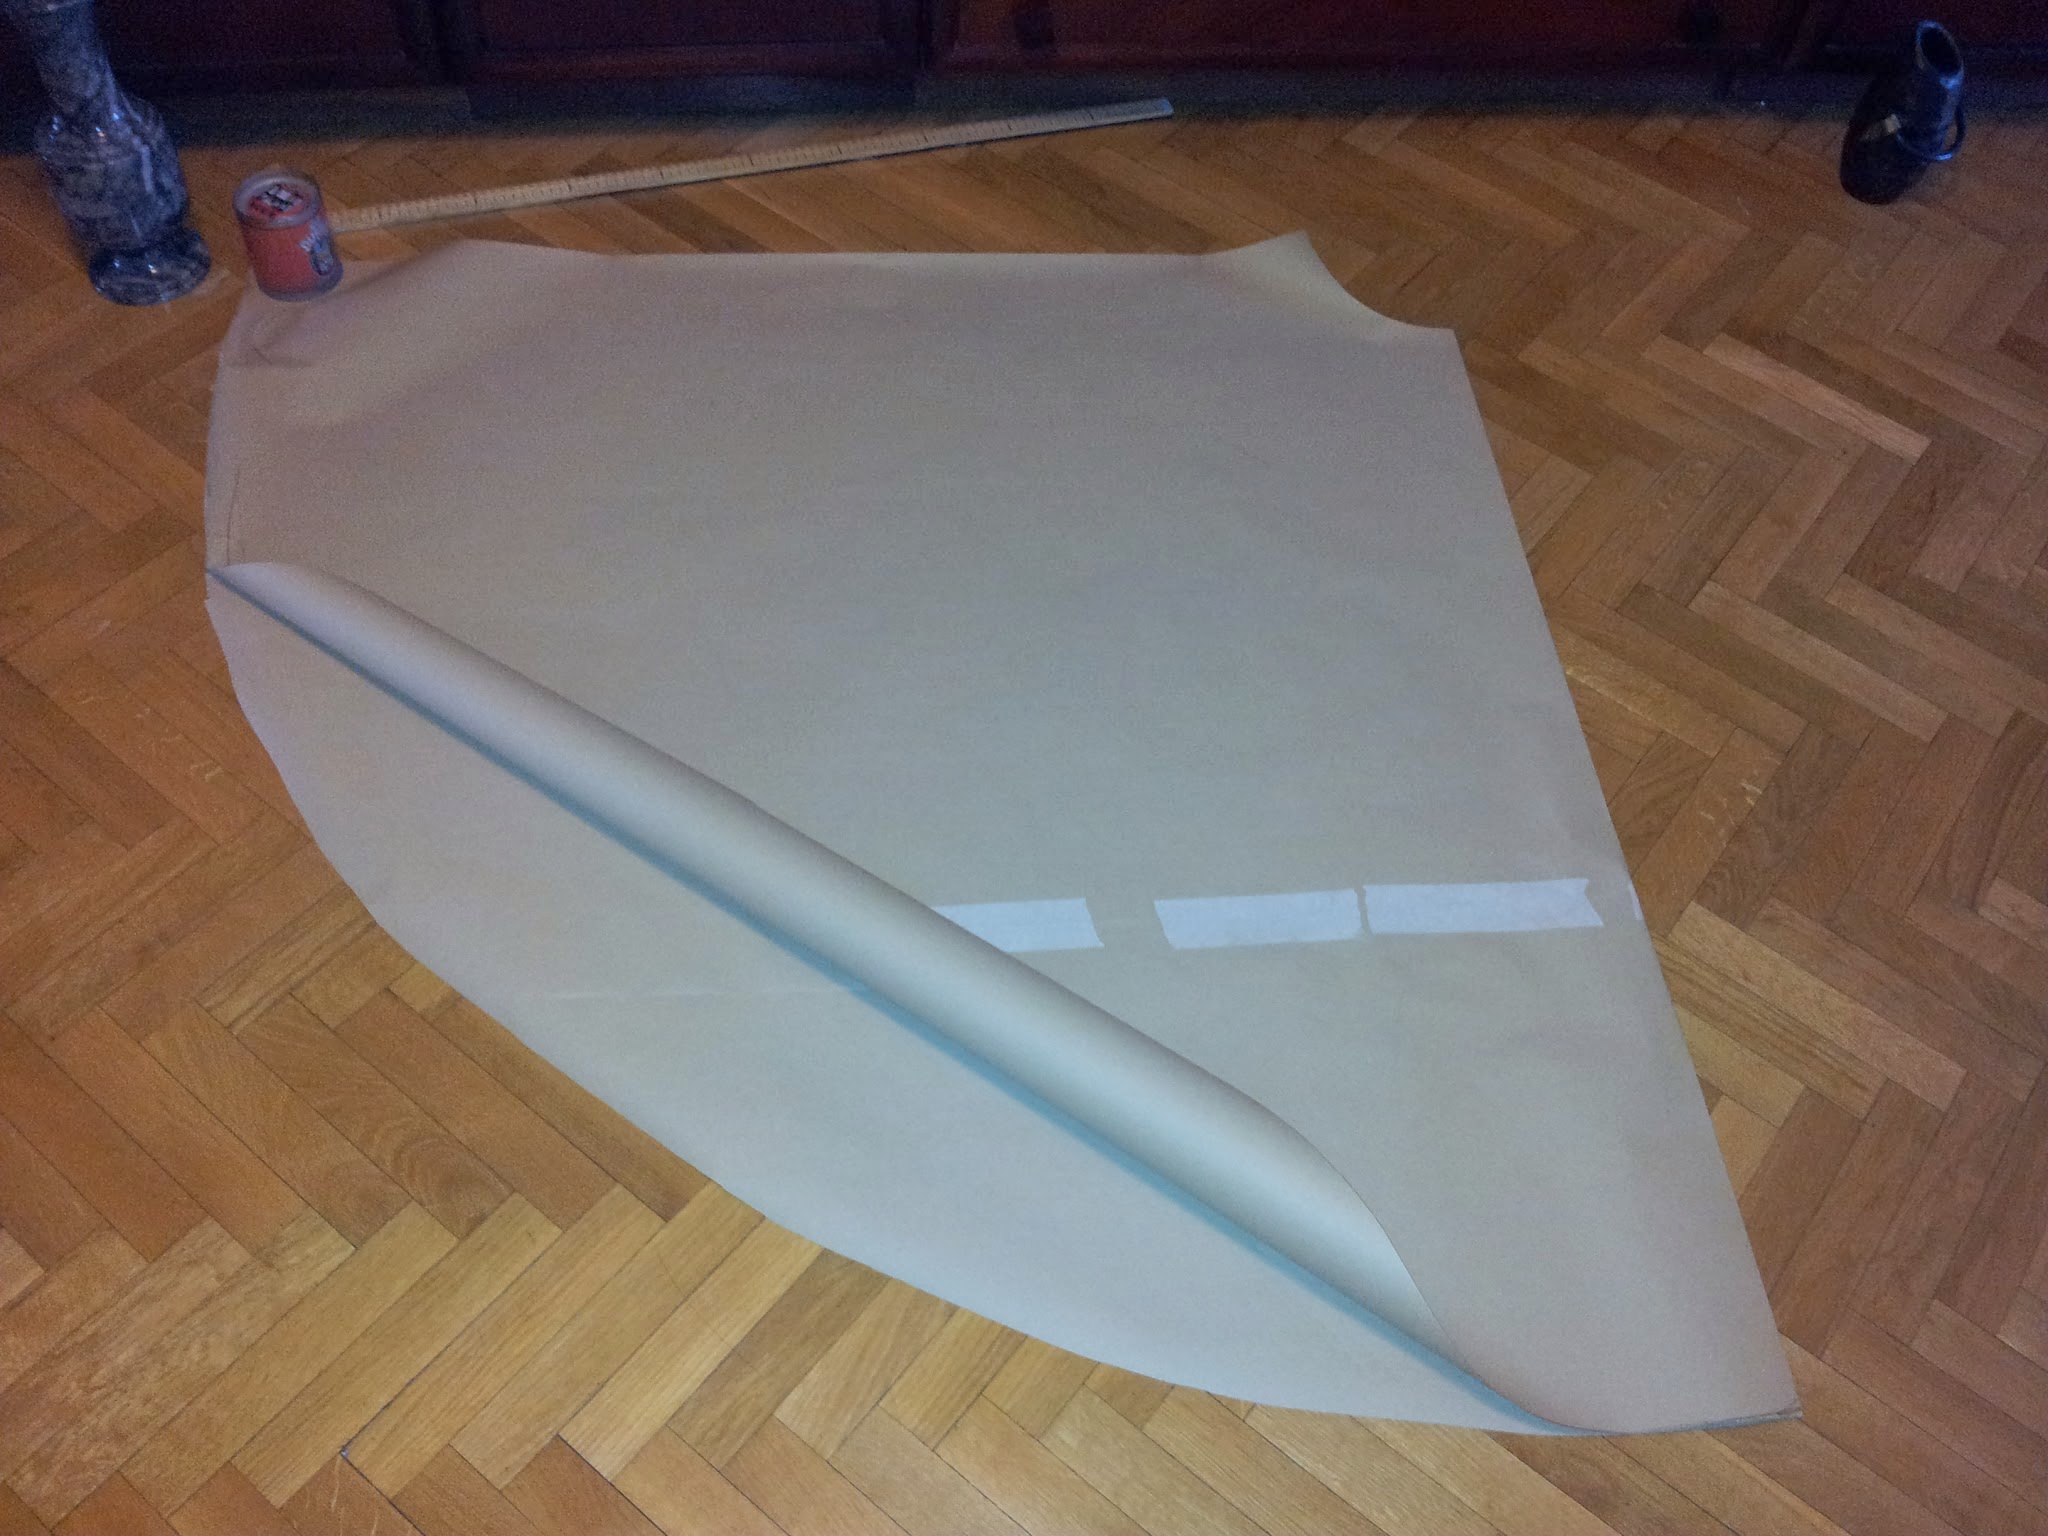
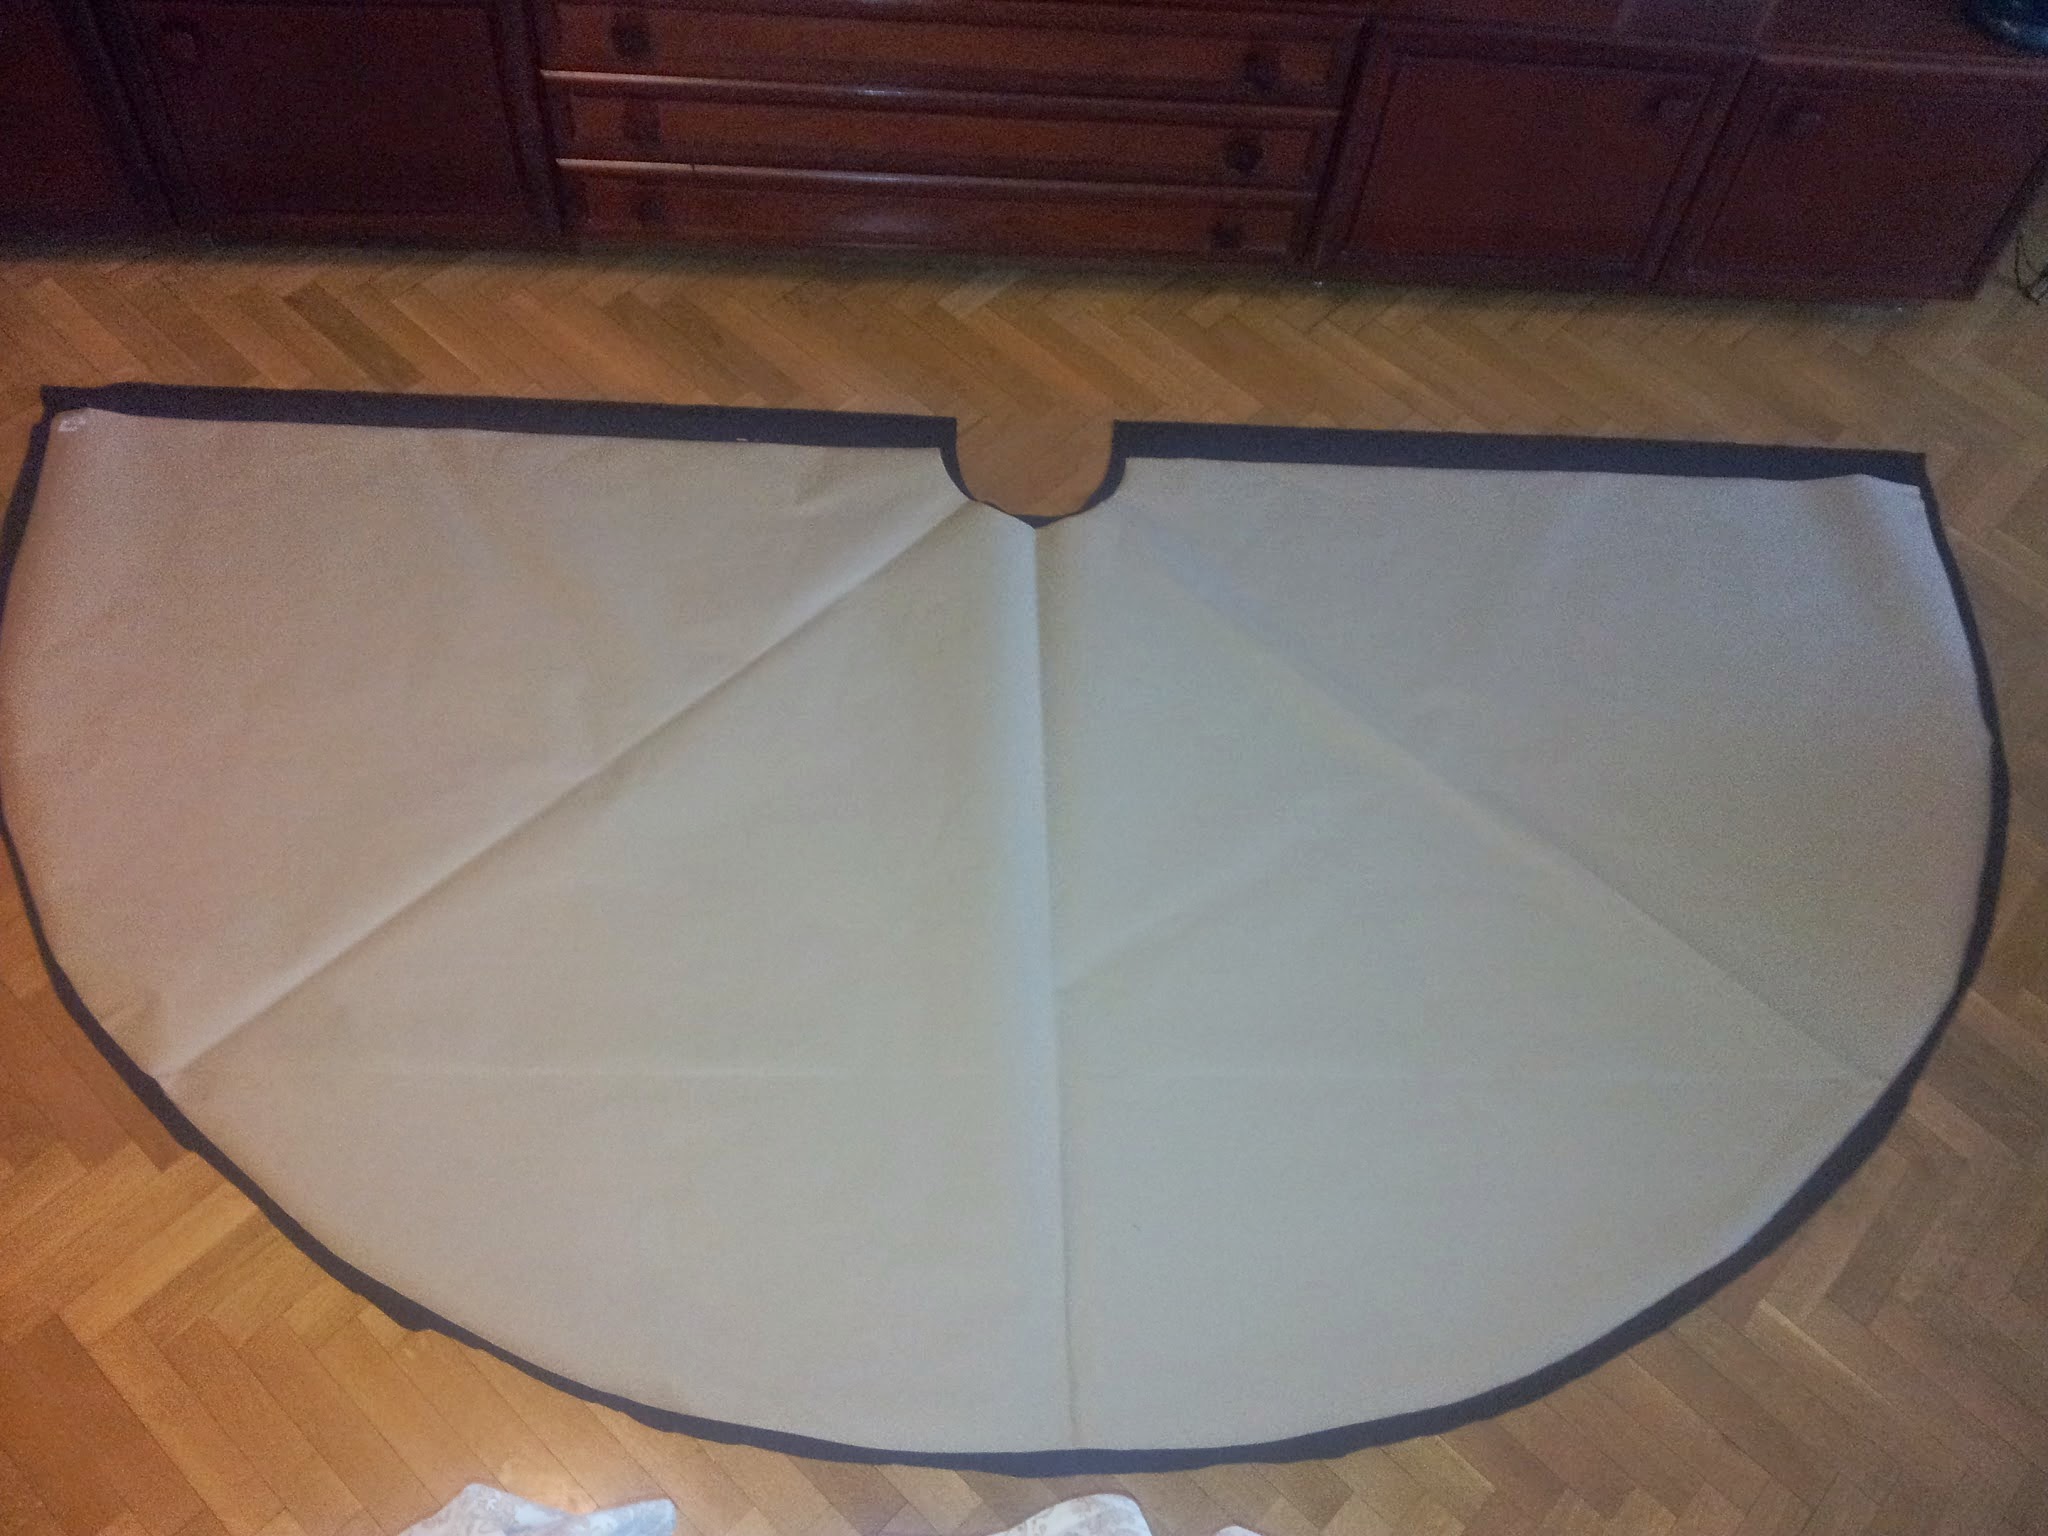
The hardest part of this skirt is that it has this kind of elliptical shape. The pattern consists in two big flat parts (the front and the back) and four lateral narrow parts to give the lateral volume.
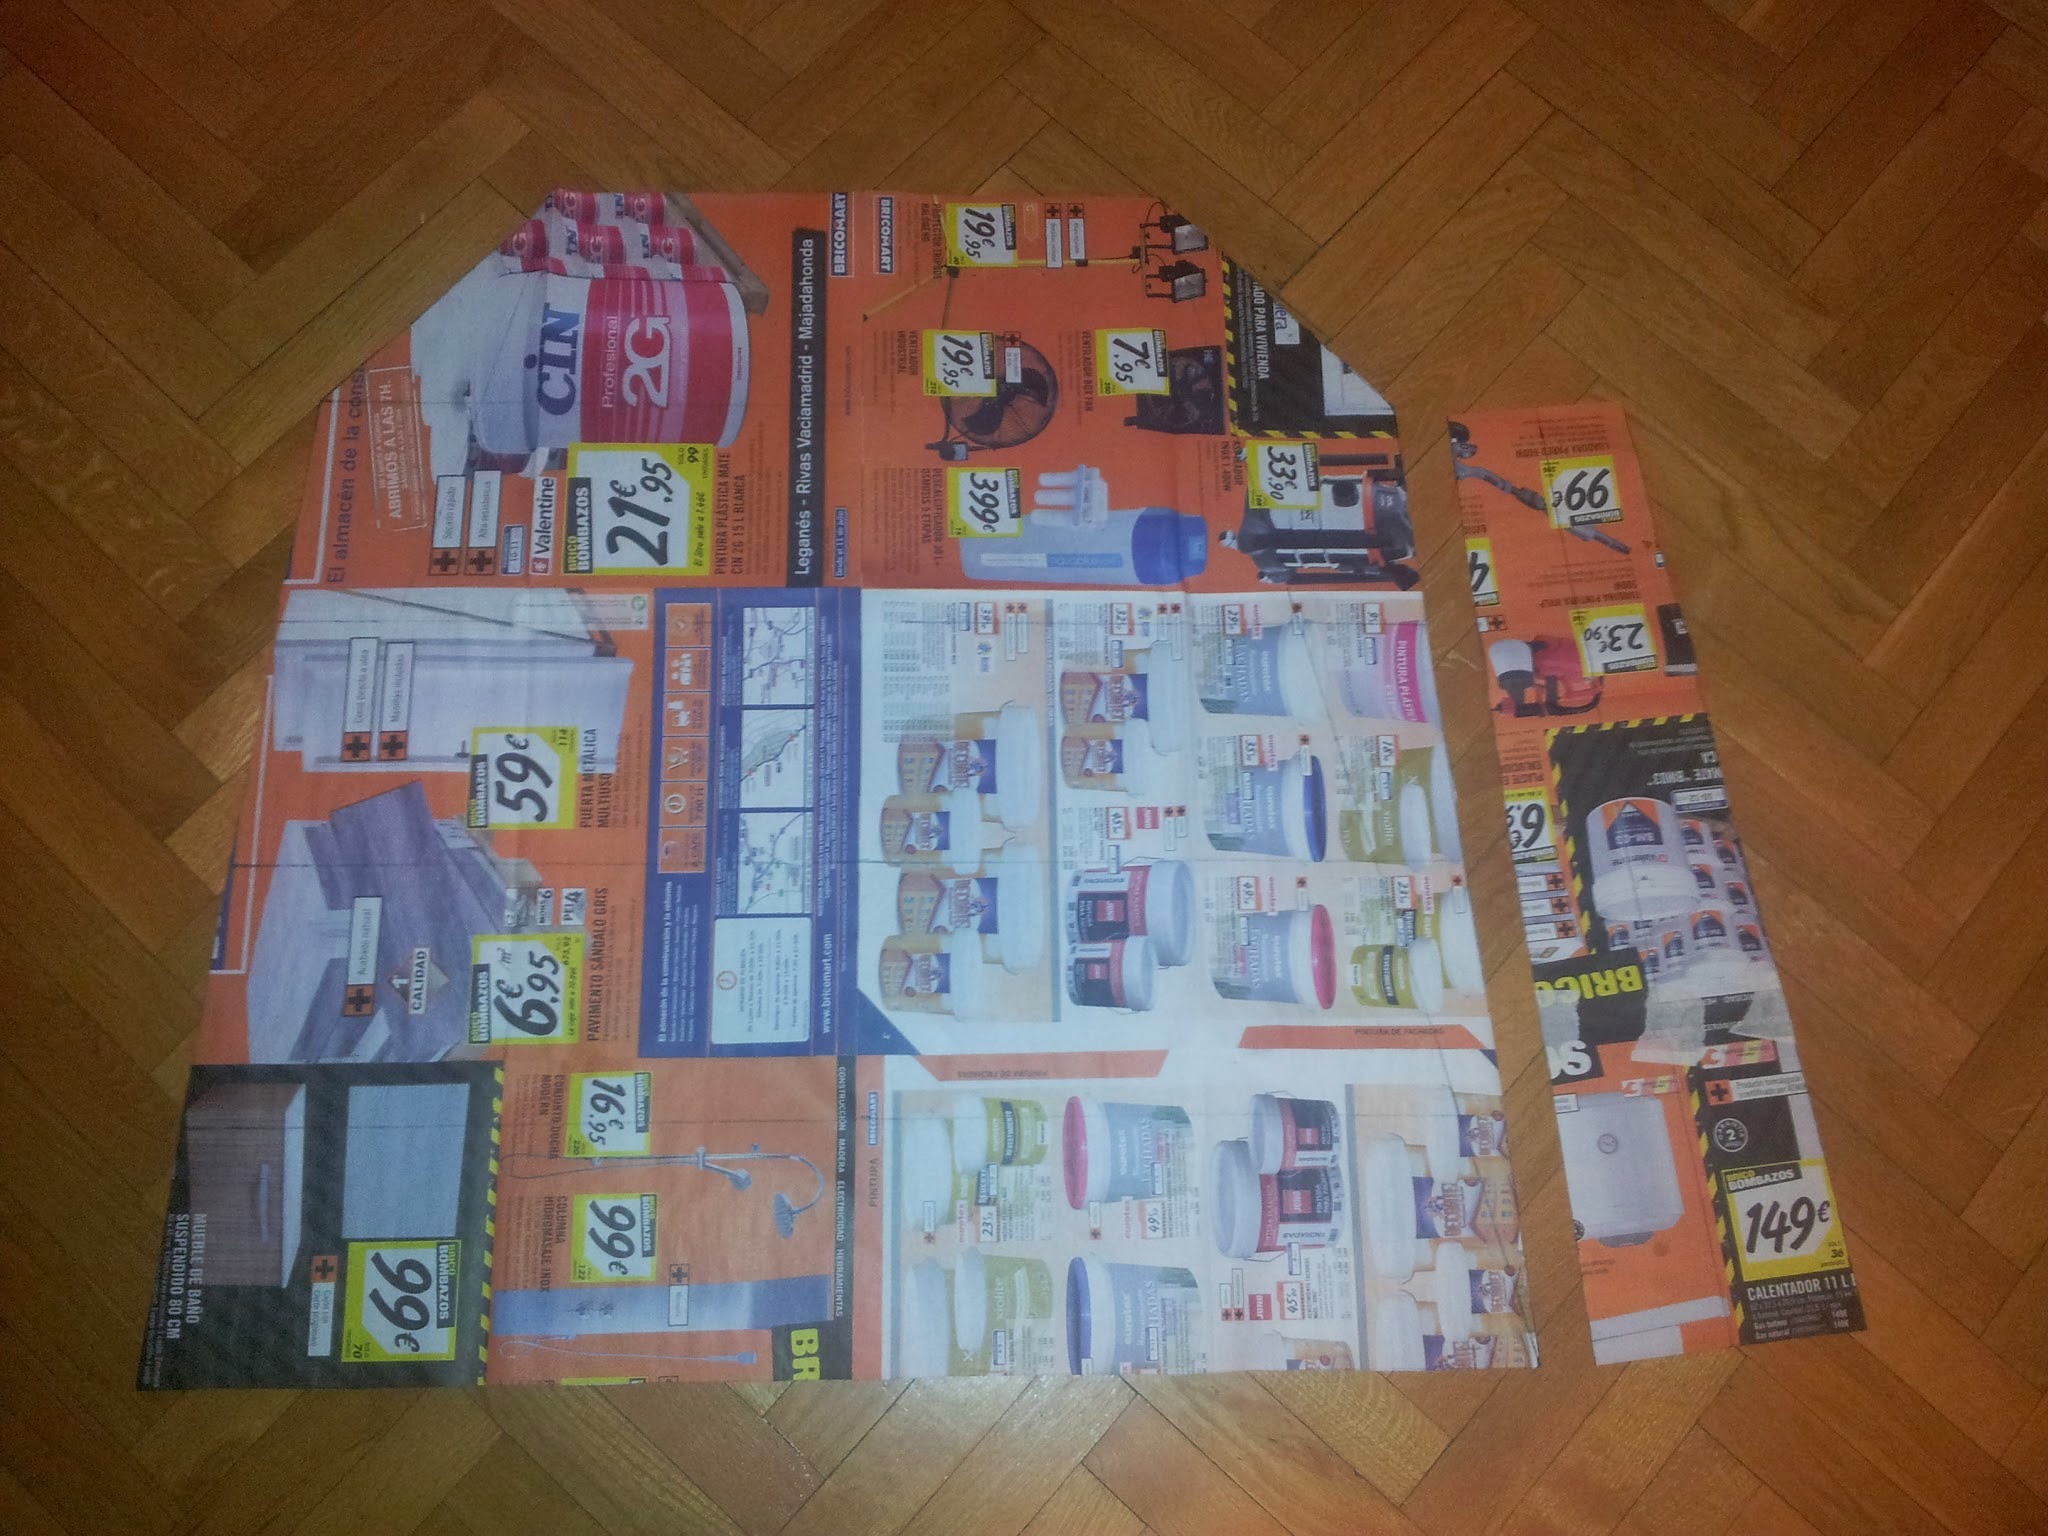
In my patterns you can see one of the big parts and one of the narrow lateral ones.
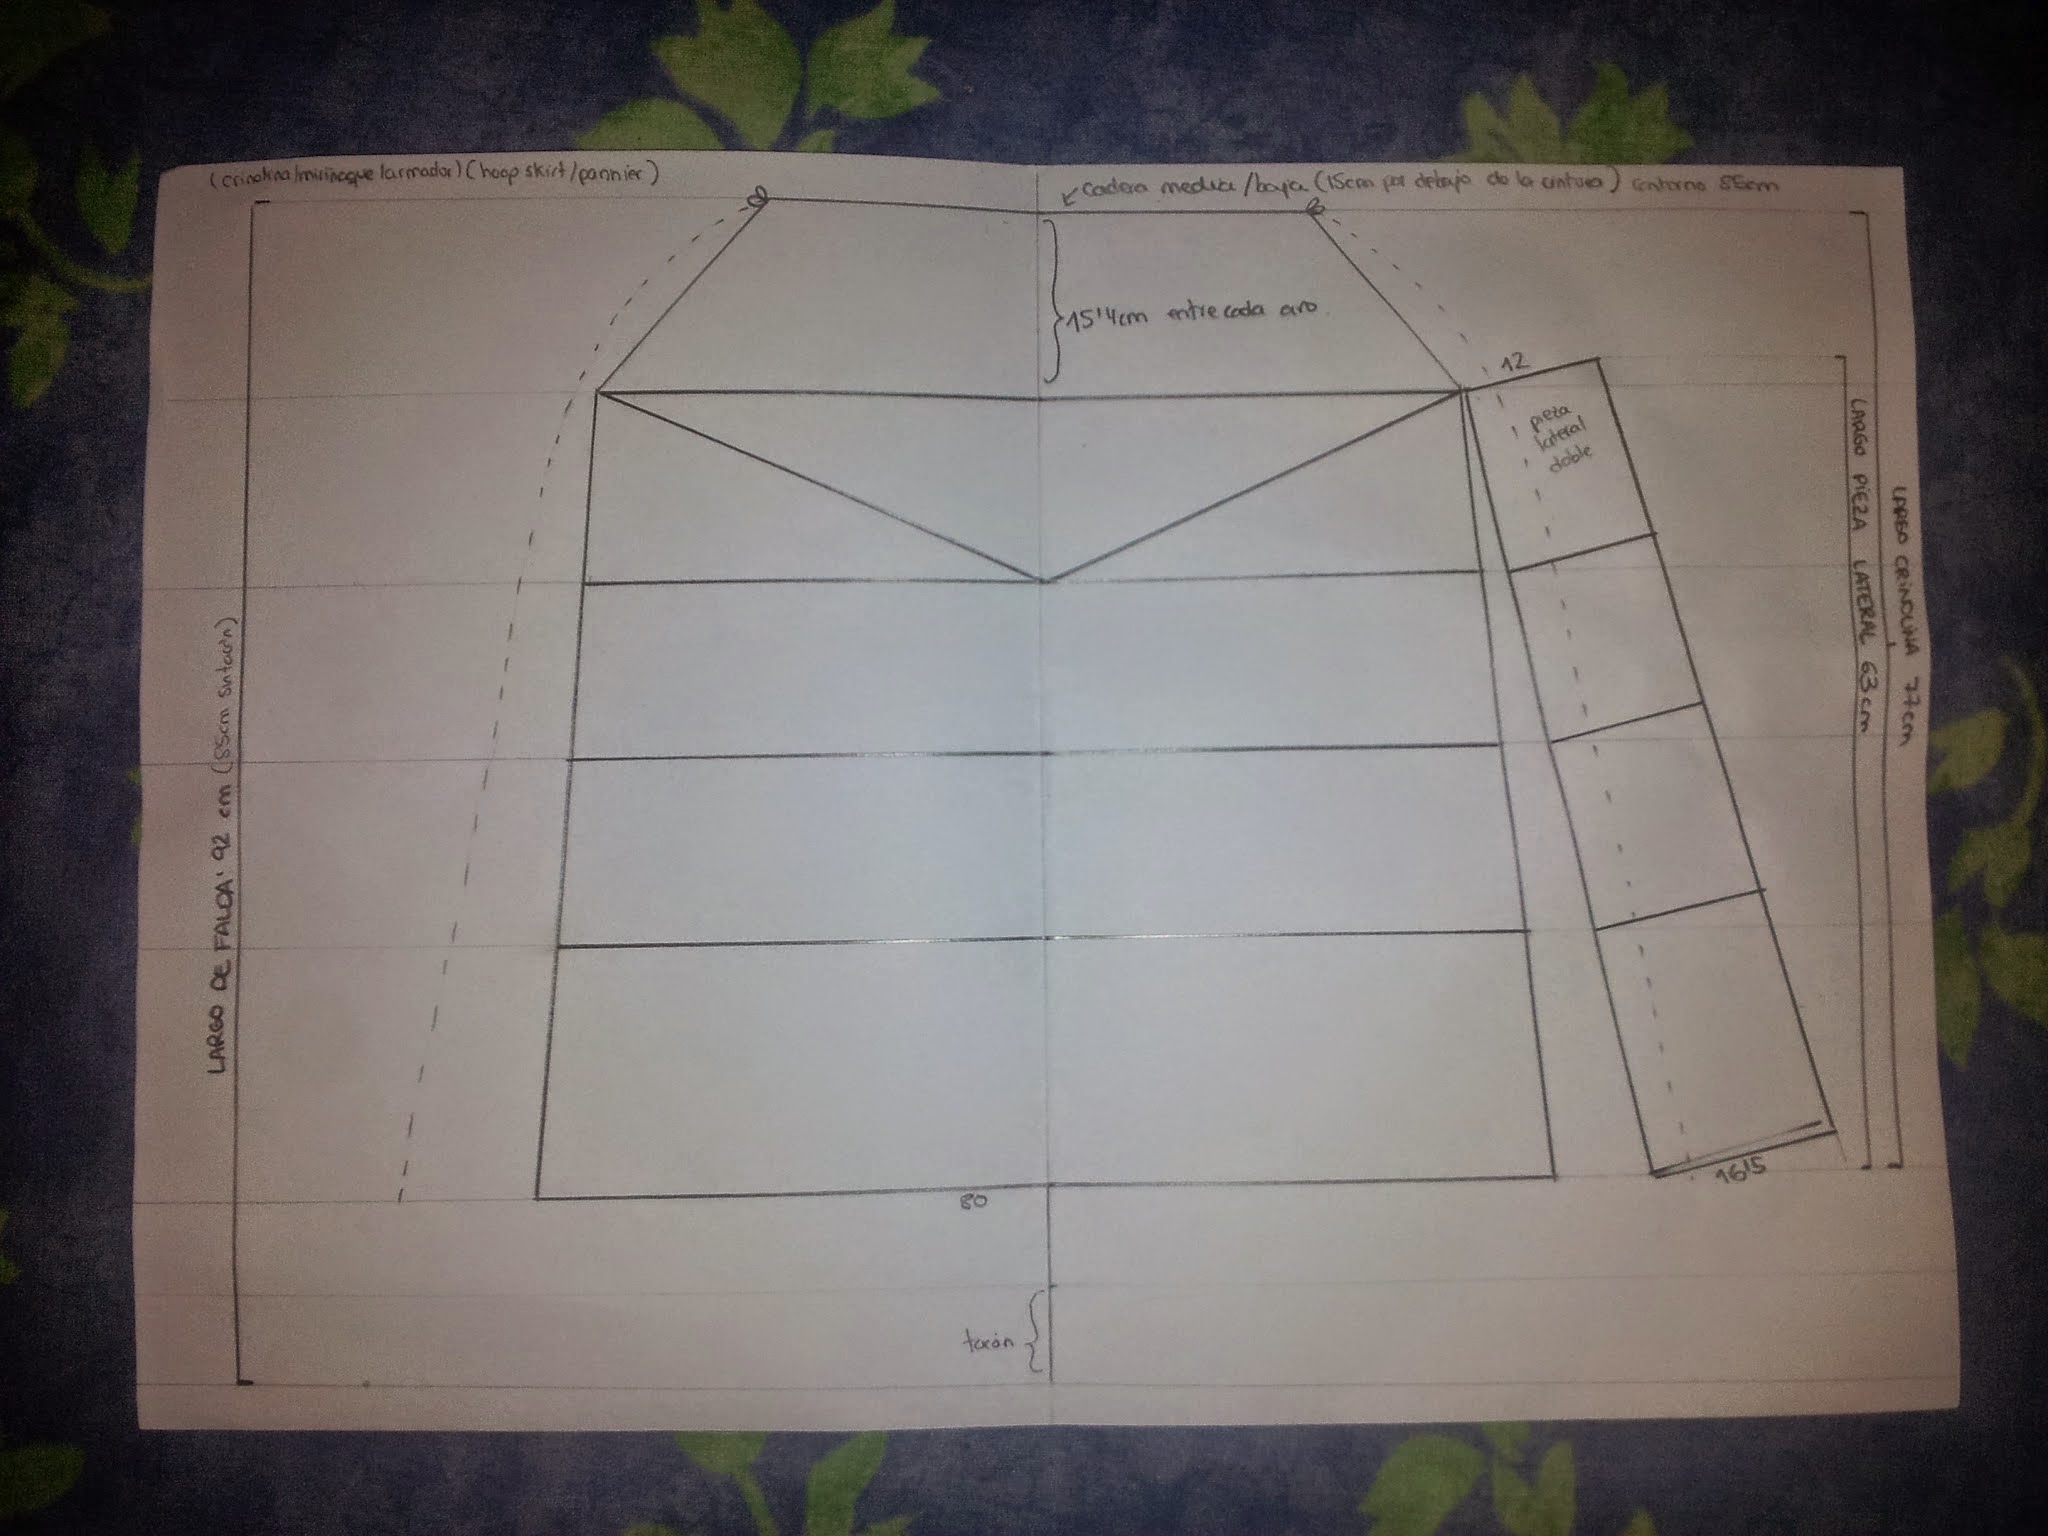
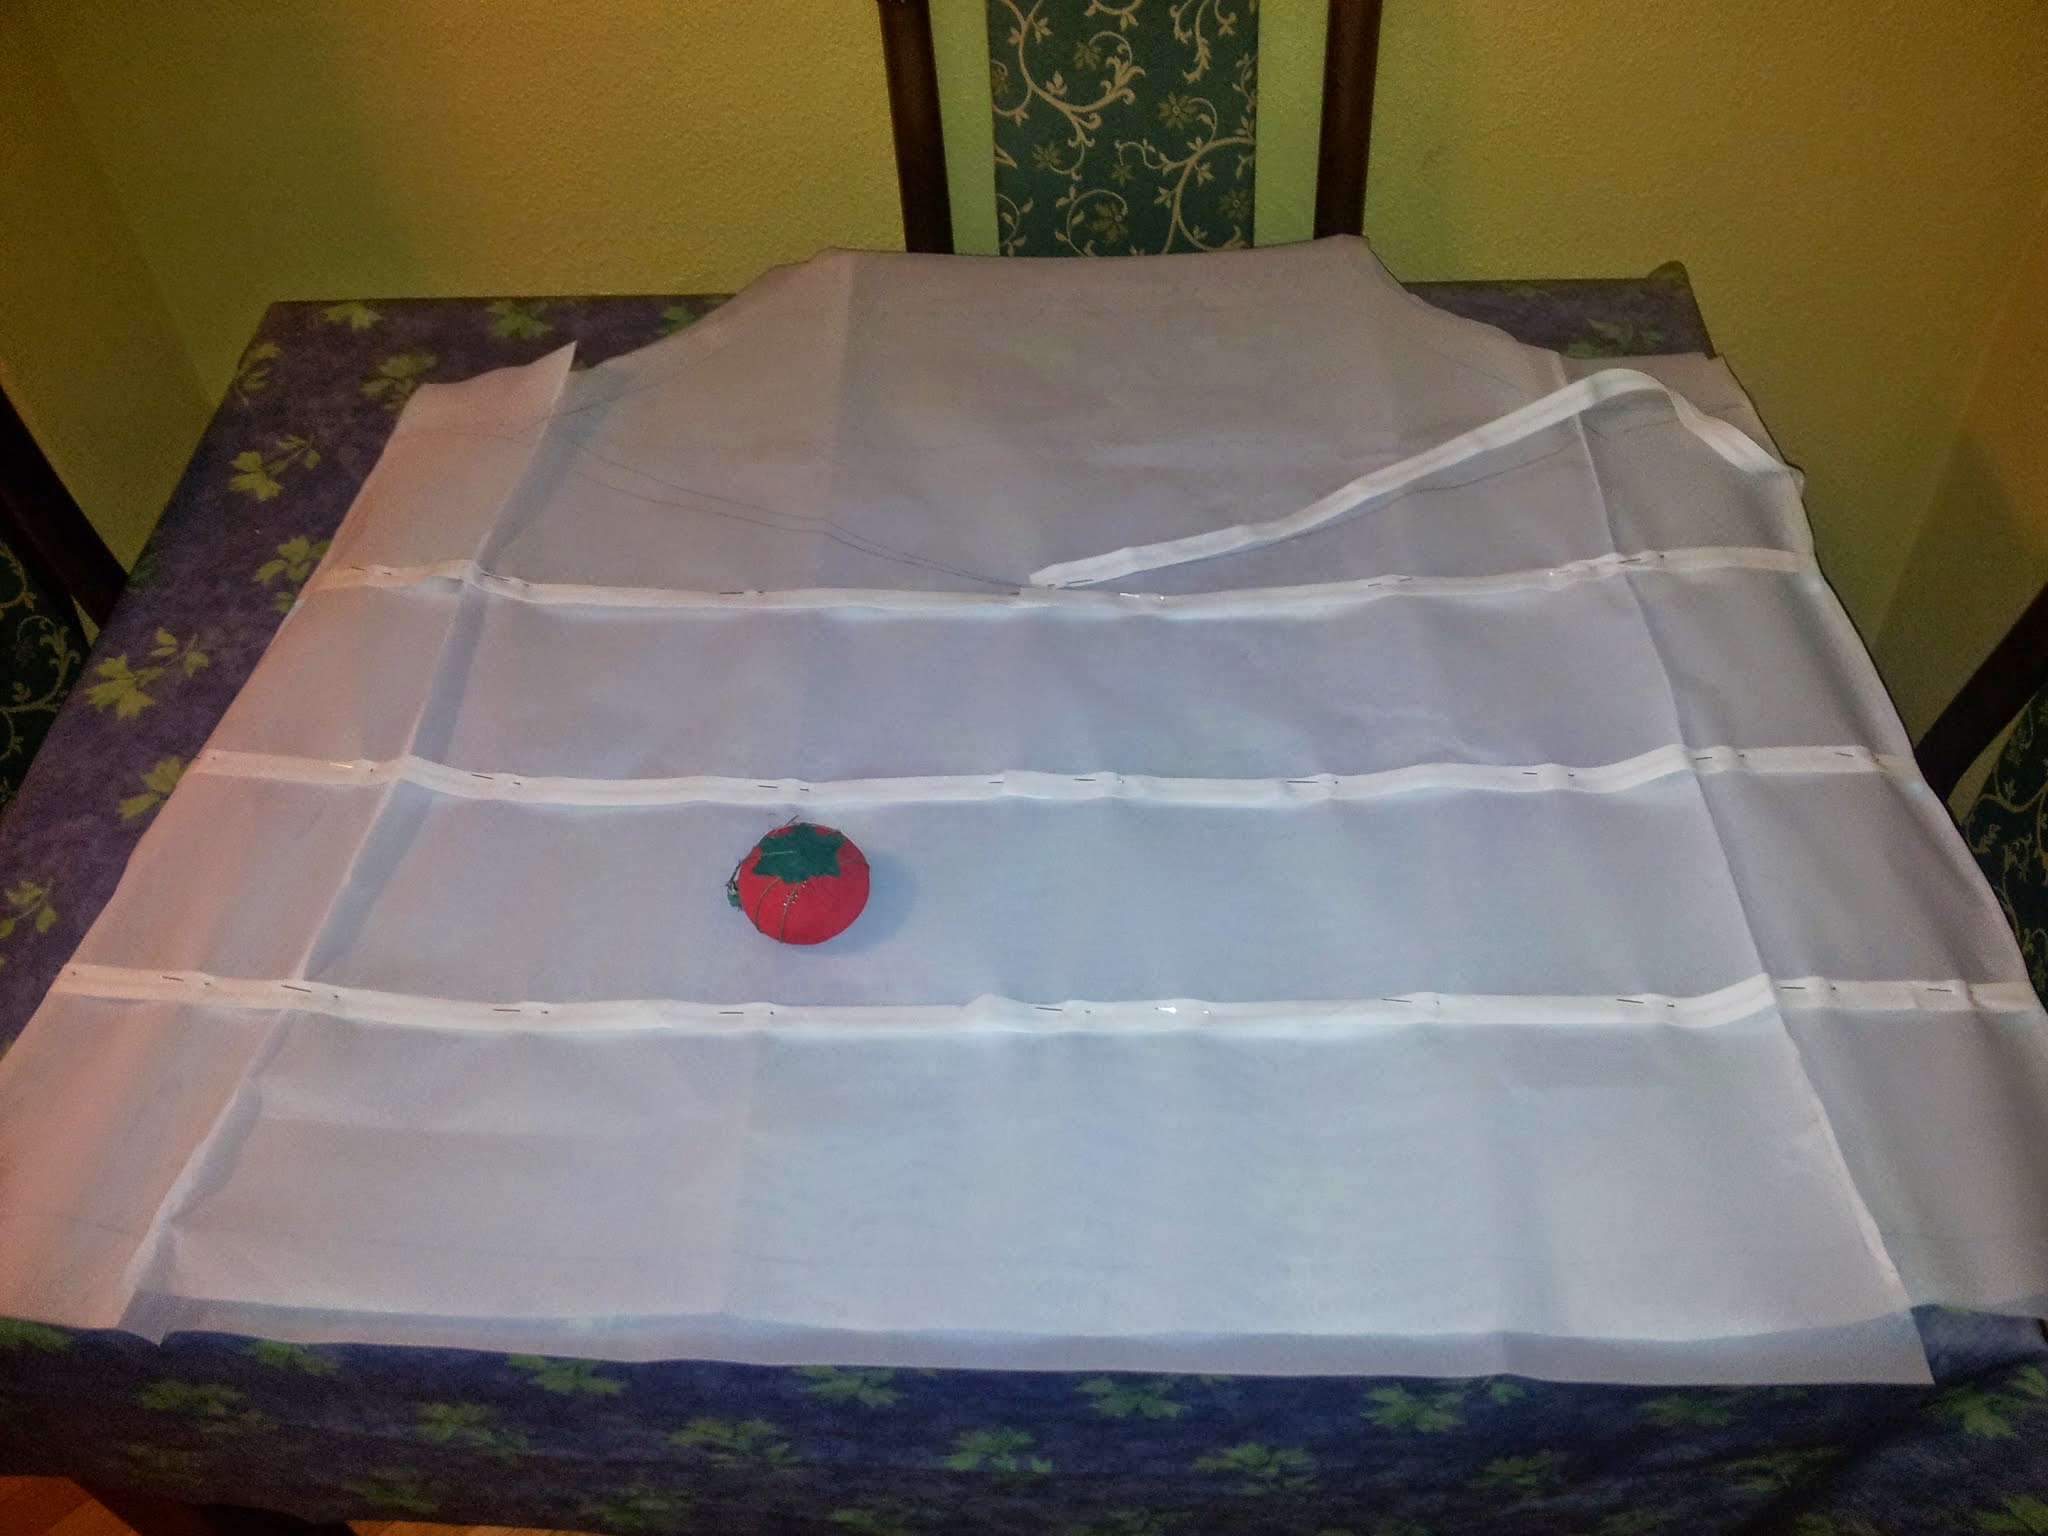
I drew the pattern in a full-size paper taking the measurements from my previous little pattern. I always make my test patterns in scale 1/4. This way I can compare their shape and proportion with the full-size ones to make clear if I made it right or not.
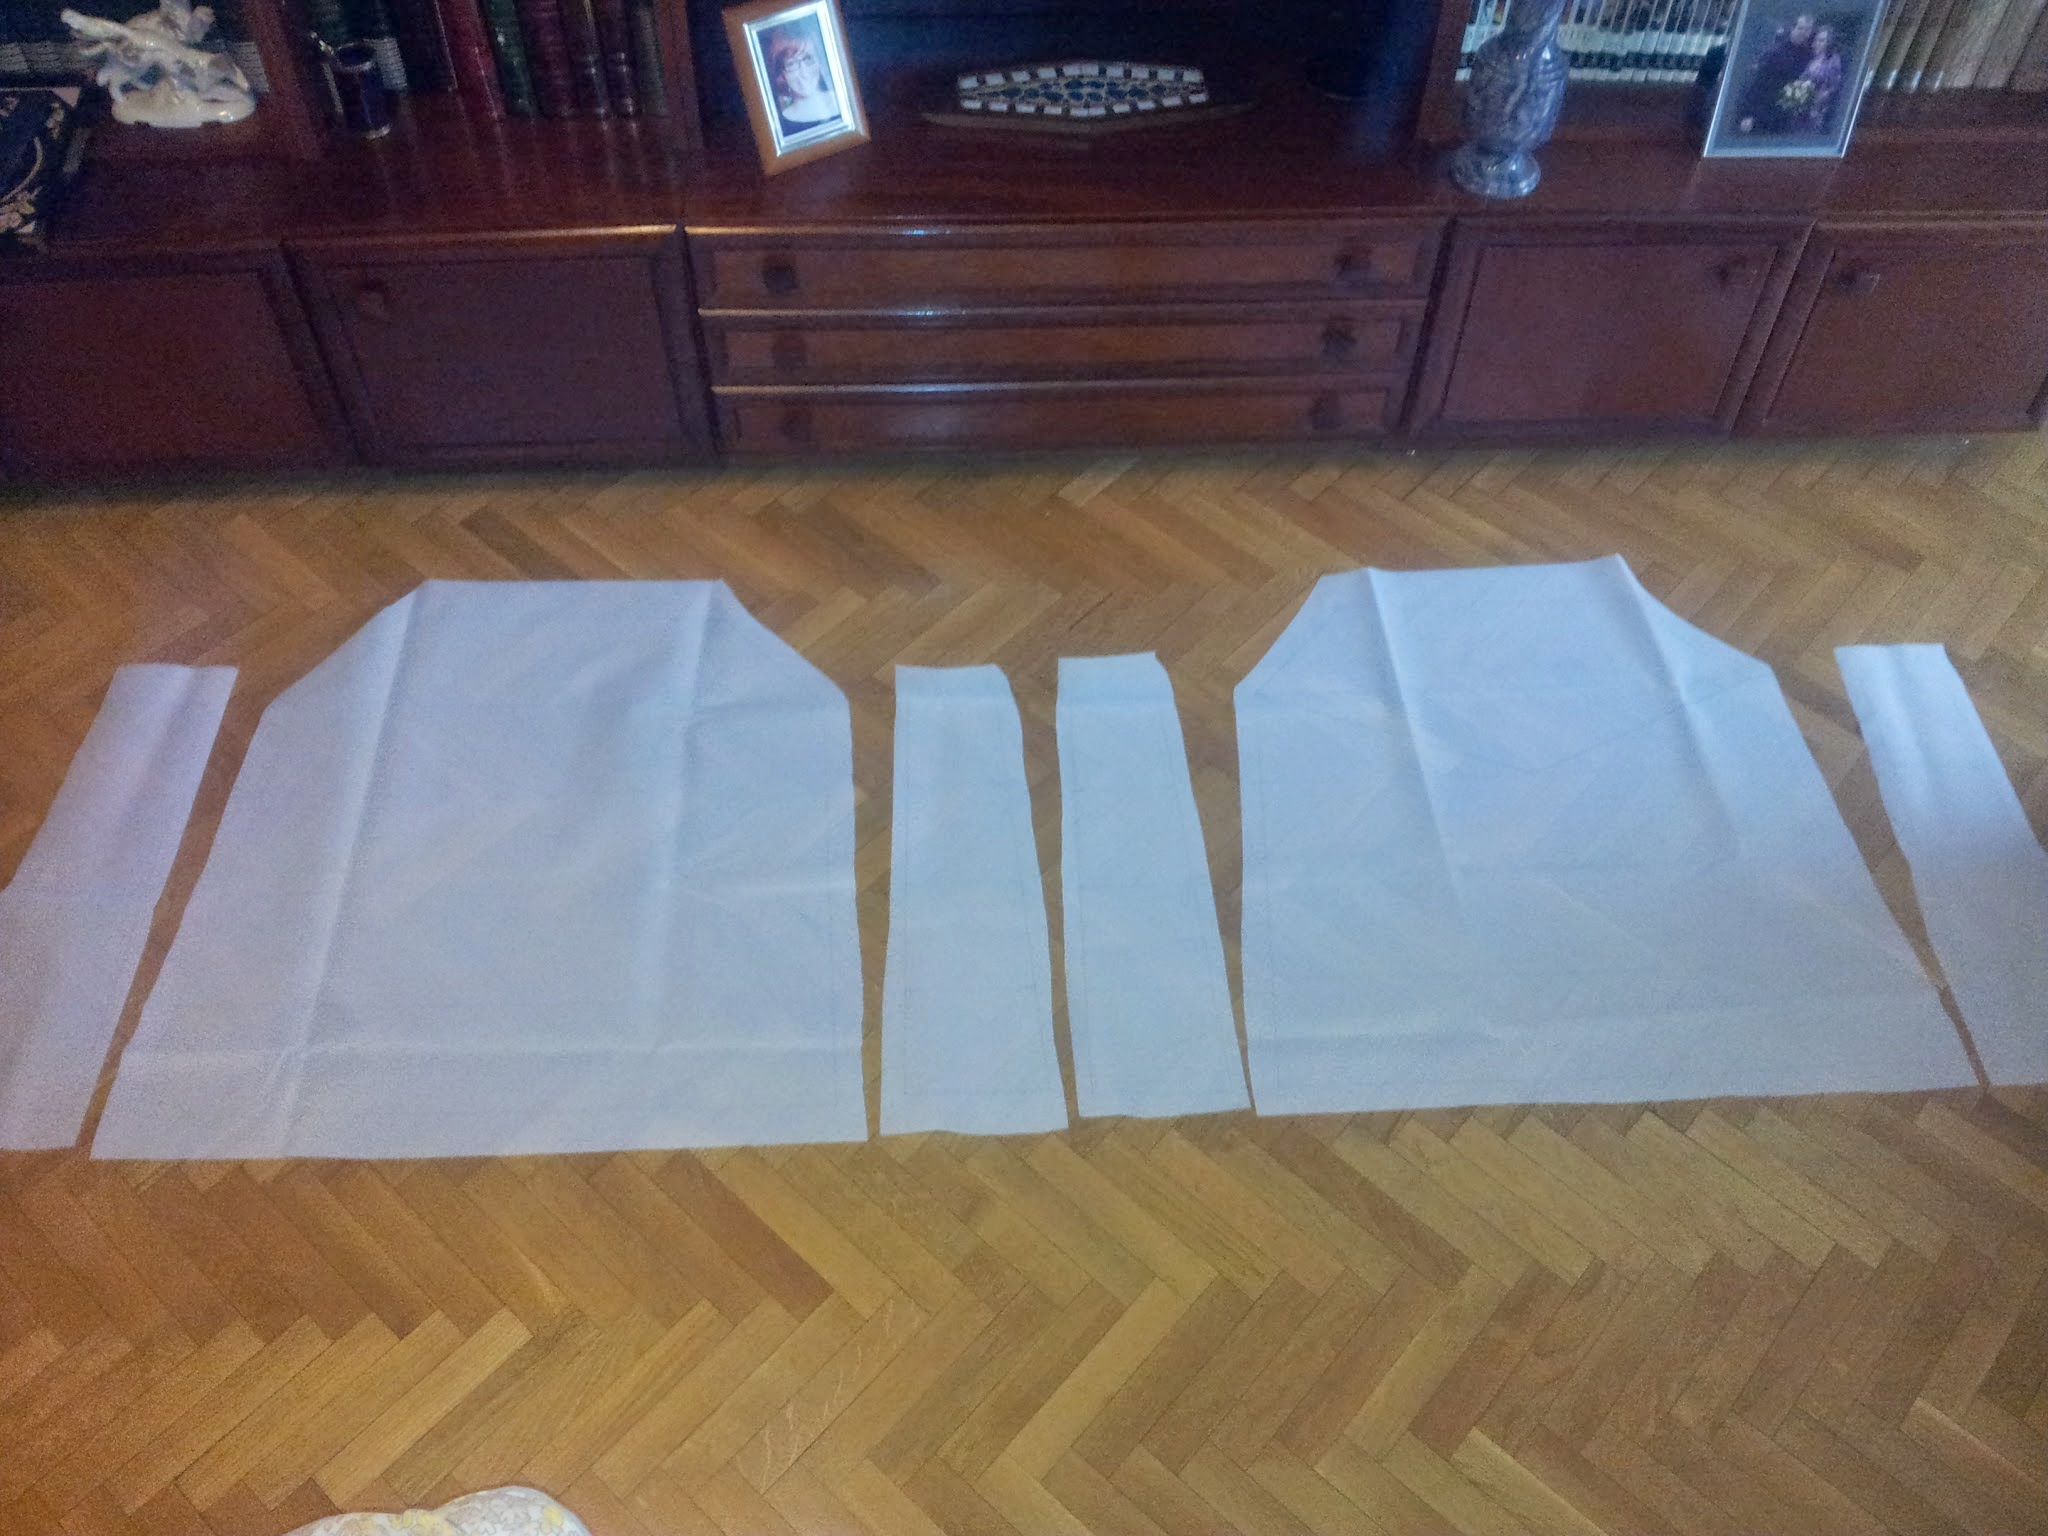
All the pieces spreaded on the floor.
I sewed the bias tape on it.
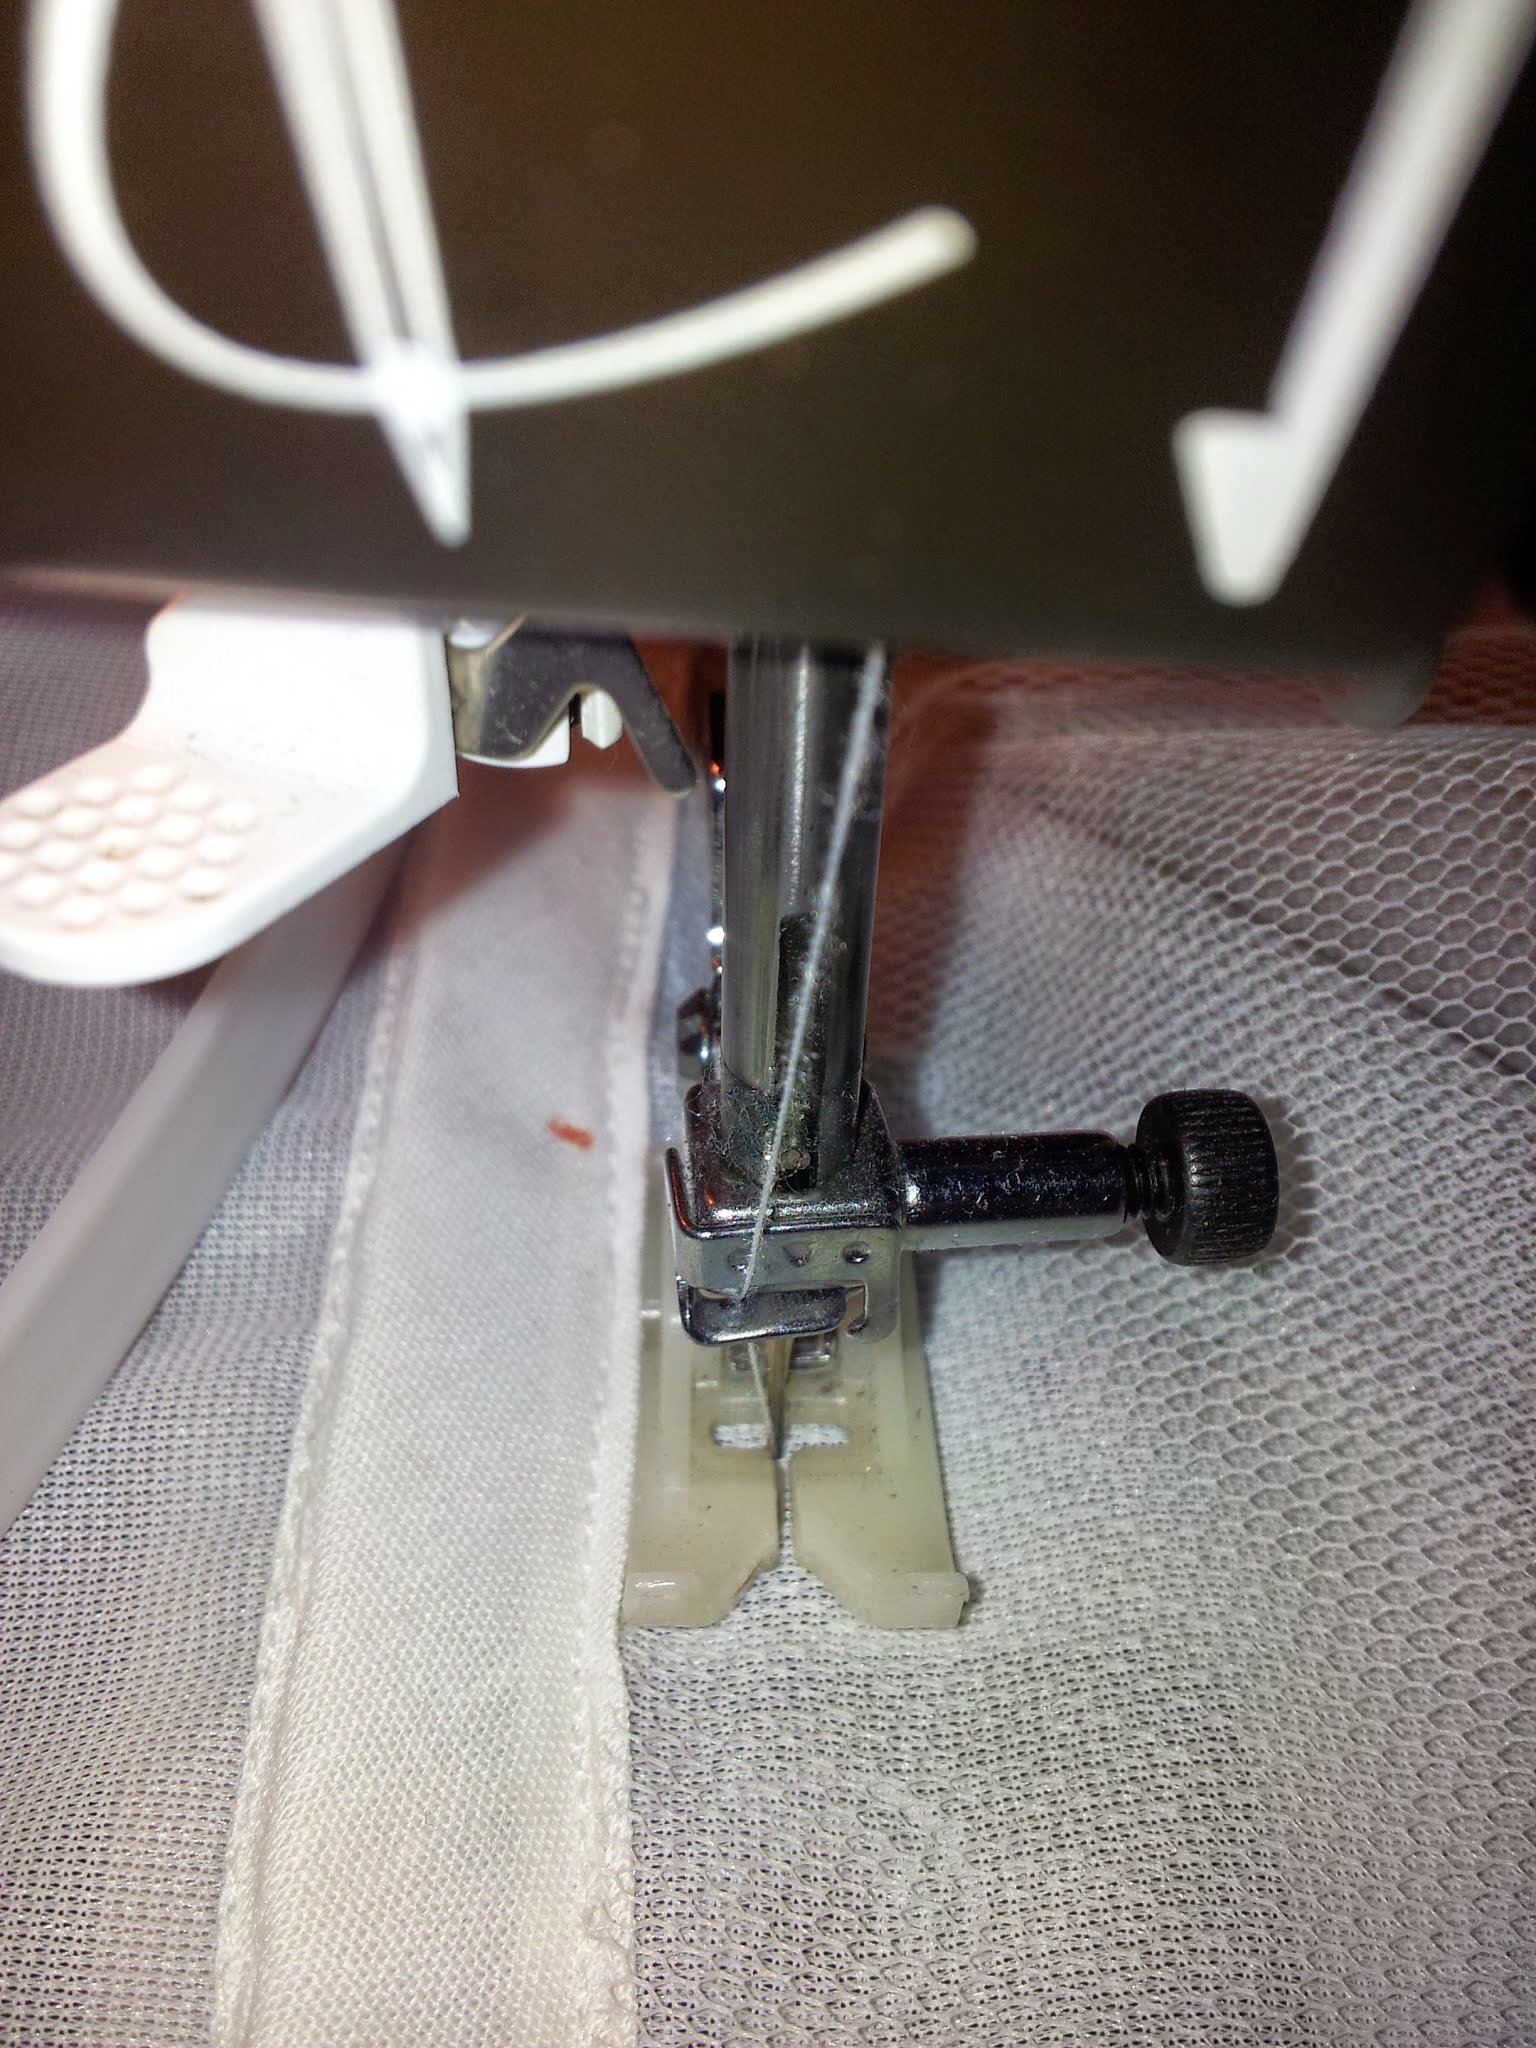 |
| Blood!! |
And done!!
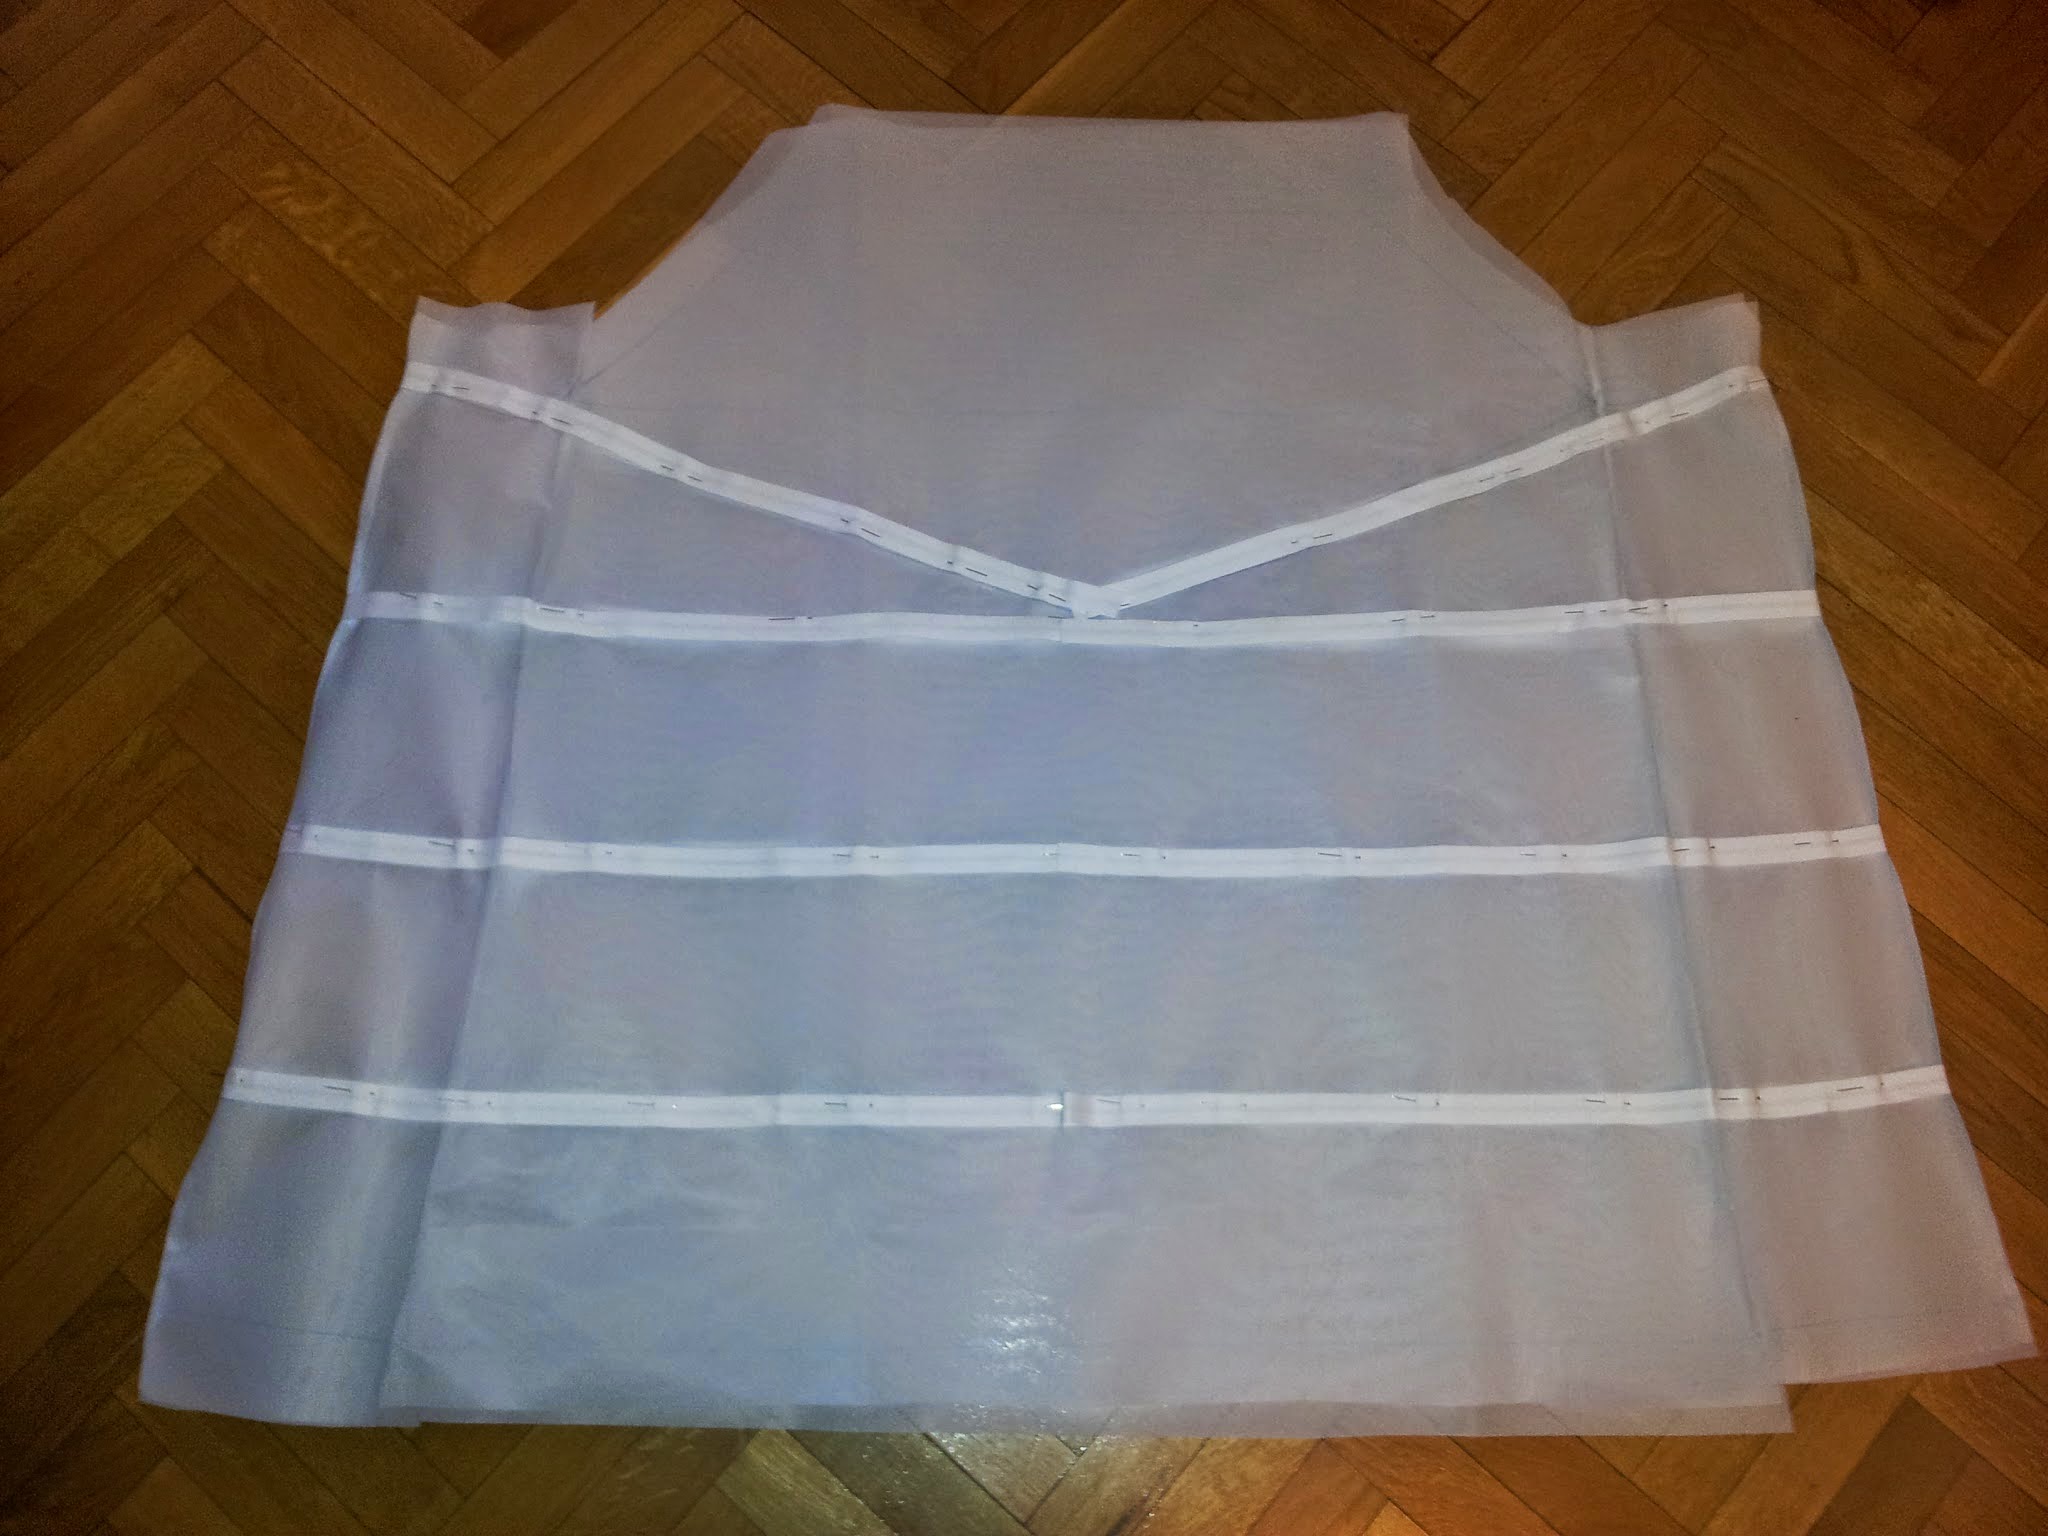
No, it wasn’t actually done. I had to add two extra bias rails on the upper part for it to get more volume at hip level and I gathered a little the seams of the fourth line from the bottom to give it a rounder shape. Not bad for being my first time making this, I guess.
I bought 12mm plastic whalebone to pass trough the rails. I like it as it’s flexible, I can sit down whithout breaking it and it holds the weight of the fabrics over the structure.
I made a hem on the upper part to pass a cord to adjust it to my hips.
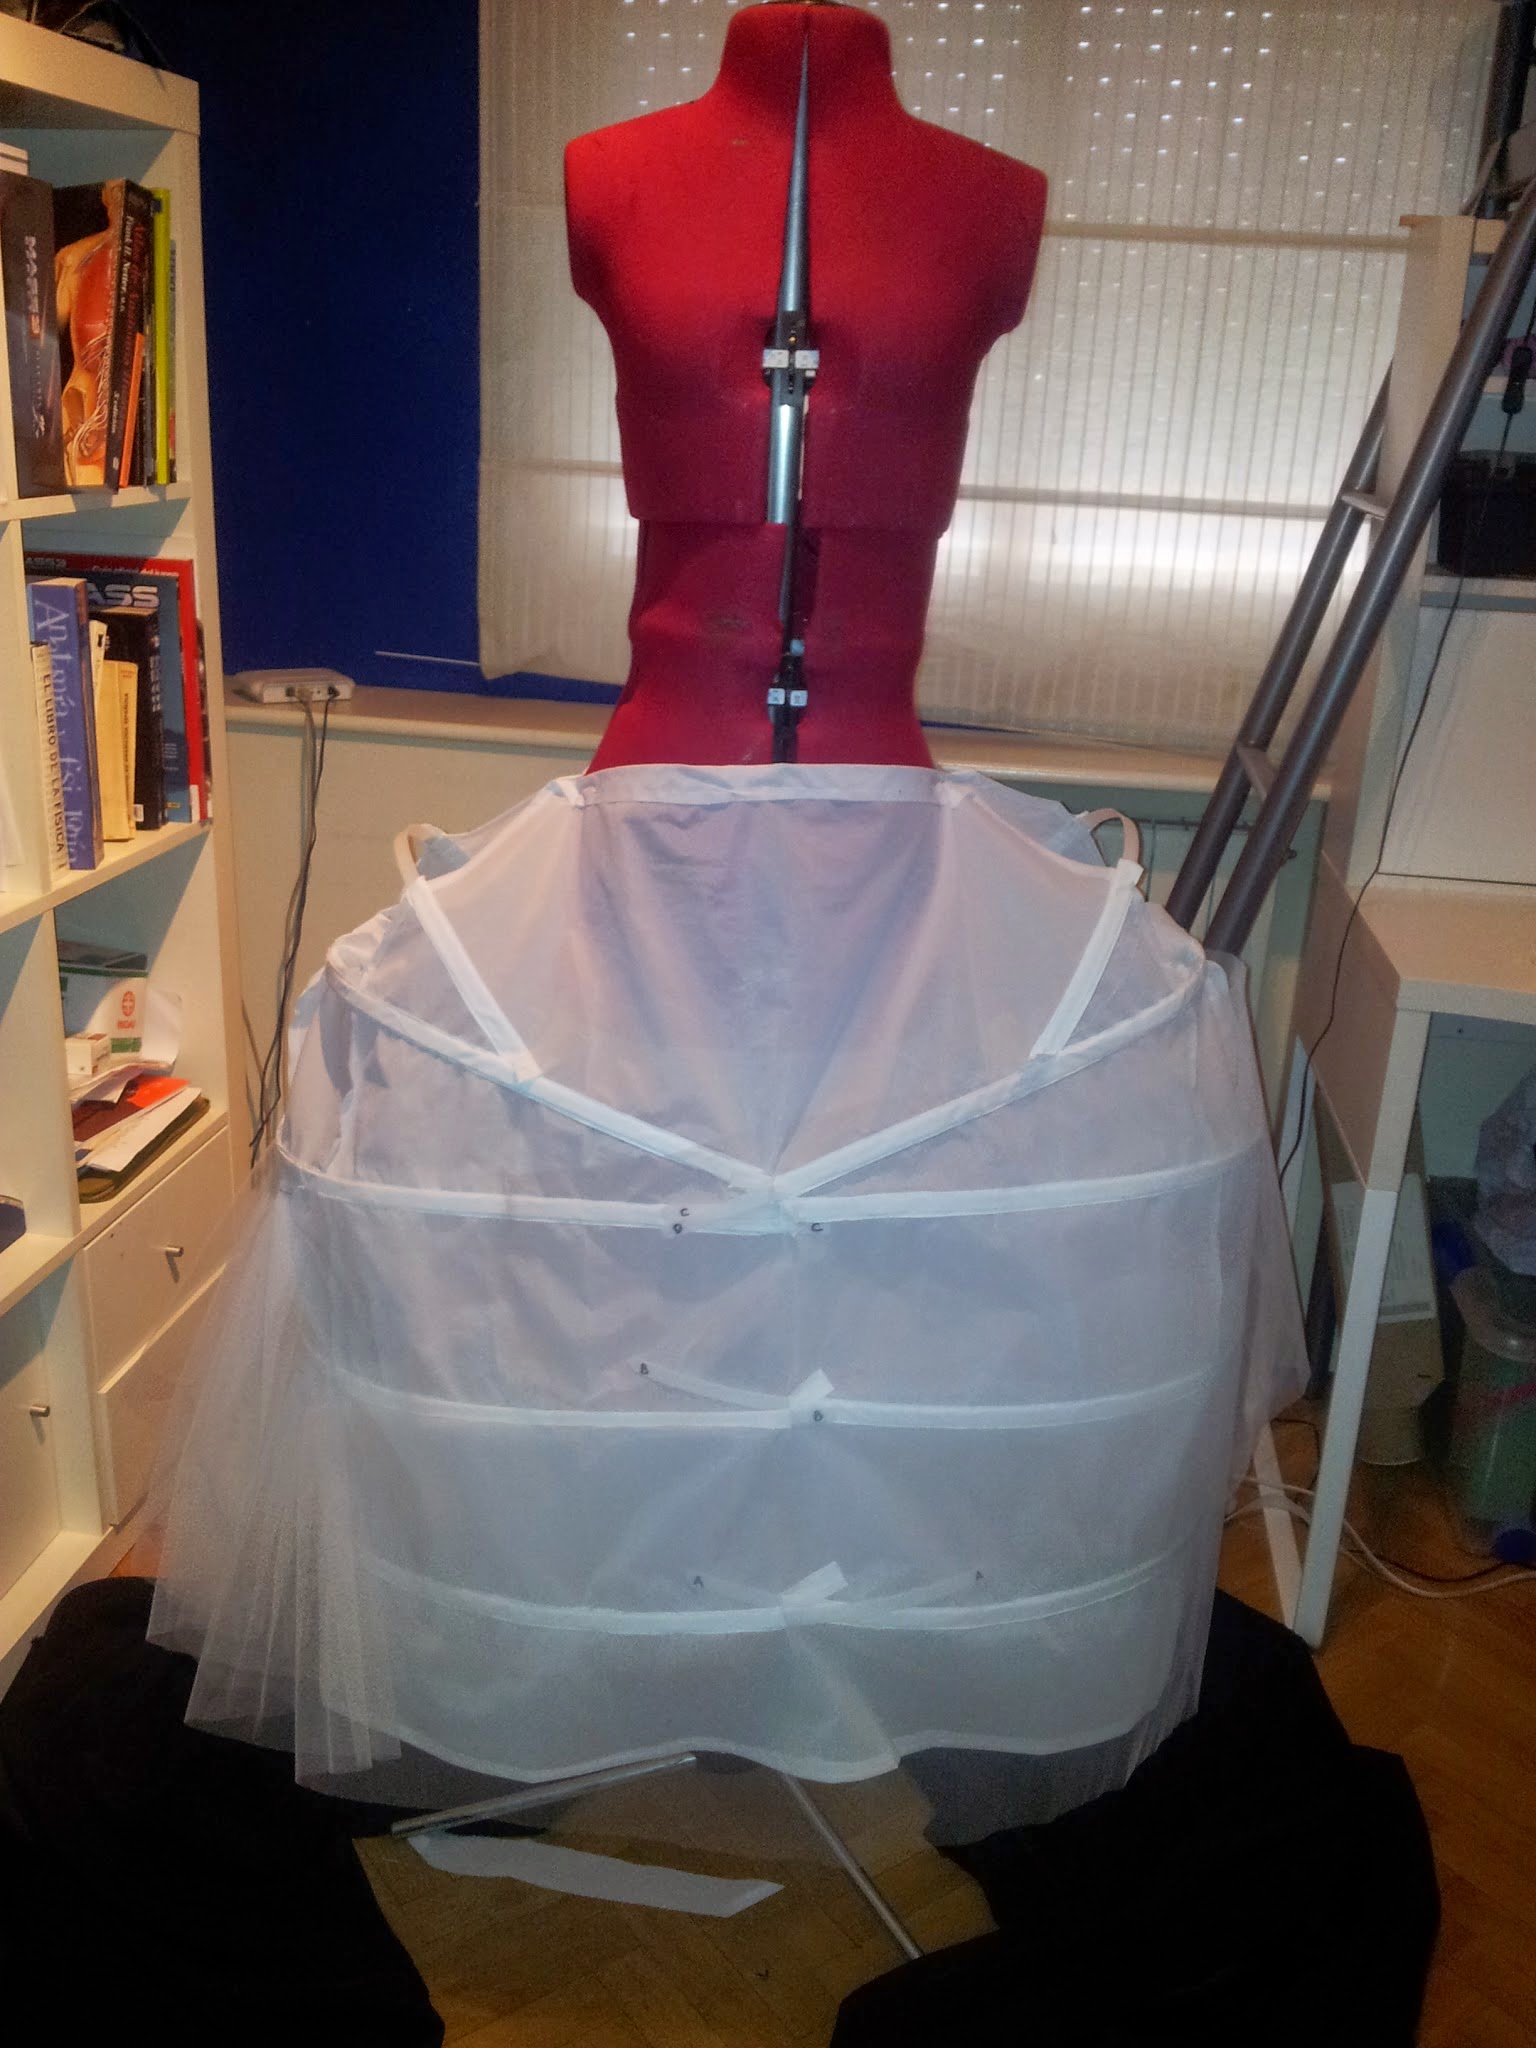
I also added some tulle fabrics here and there, giving emphasis to the sides, to give it volume and to cover the whalebones. I also made a tulle extra skirt to cover the upper whalebones. This way they’re not noticeable under the dress.
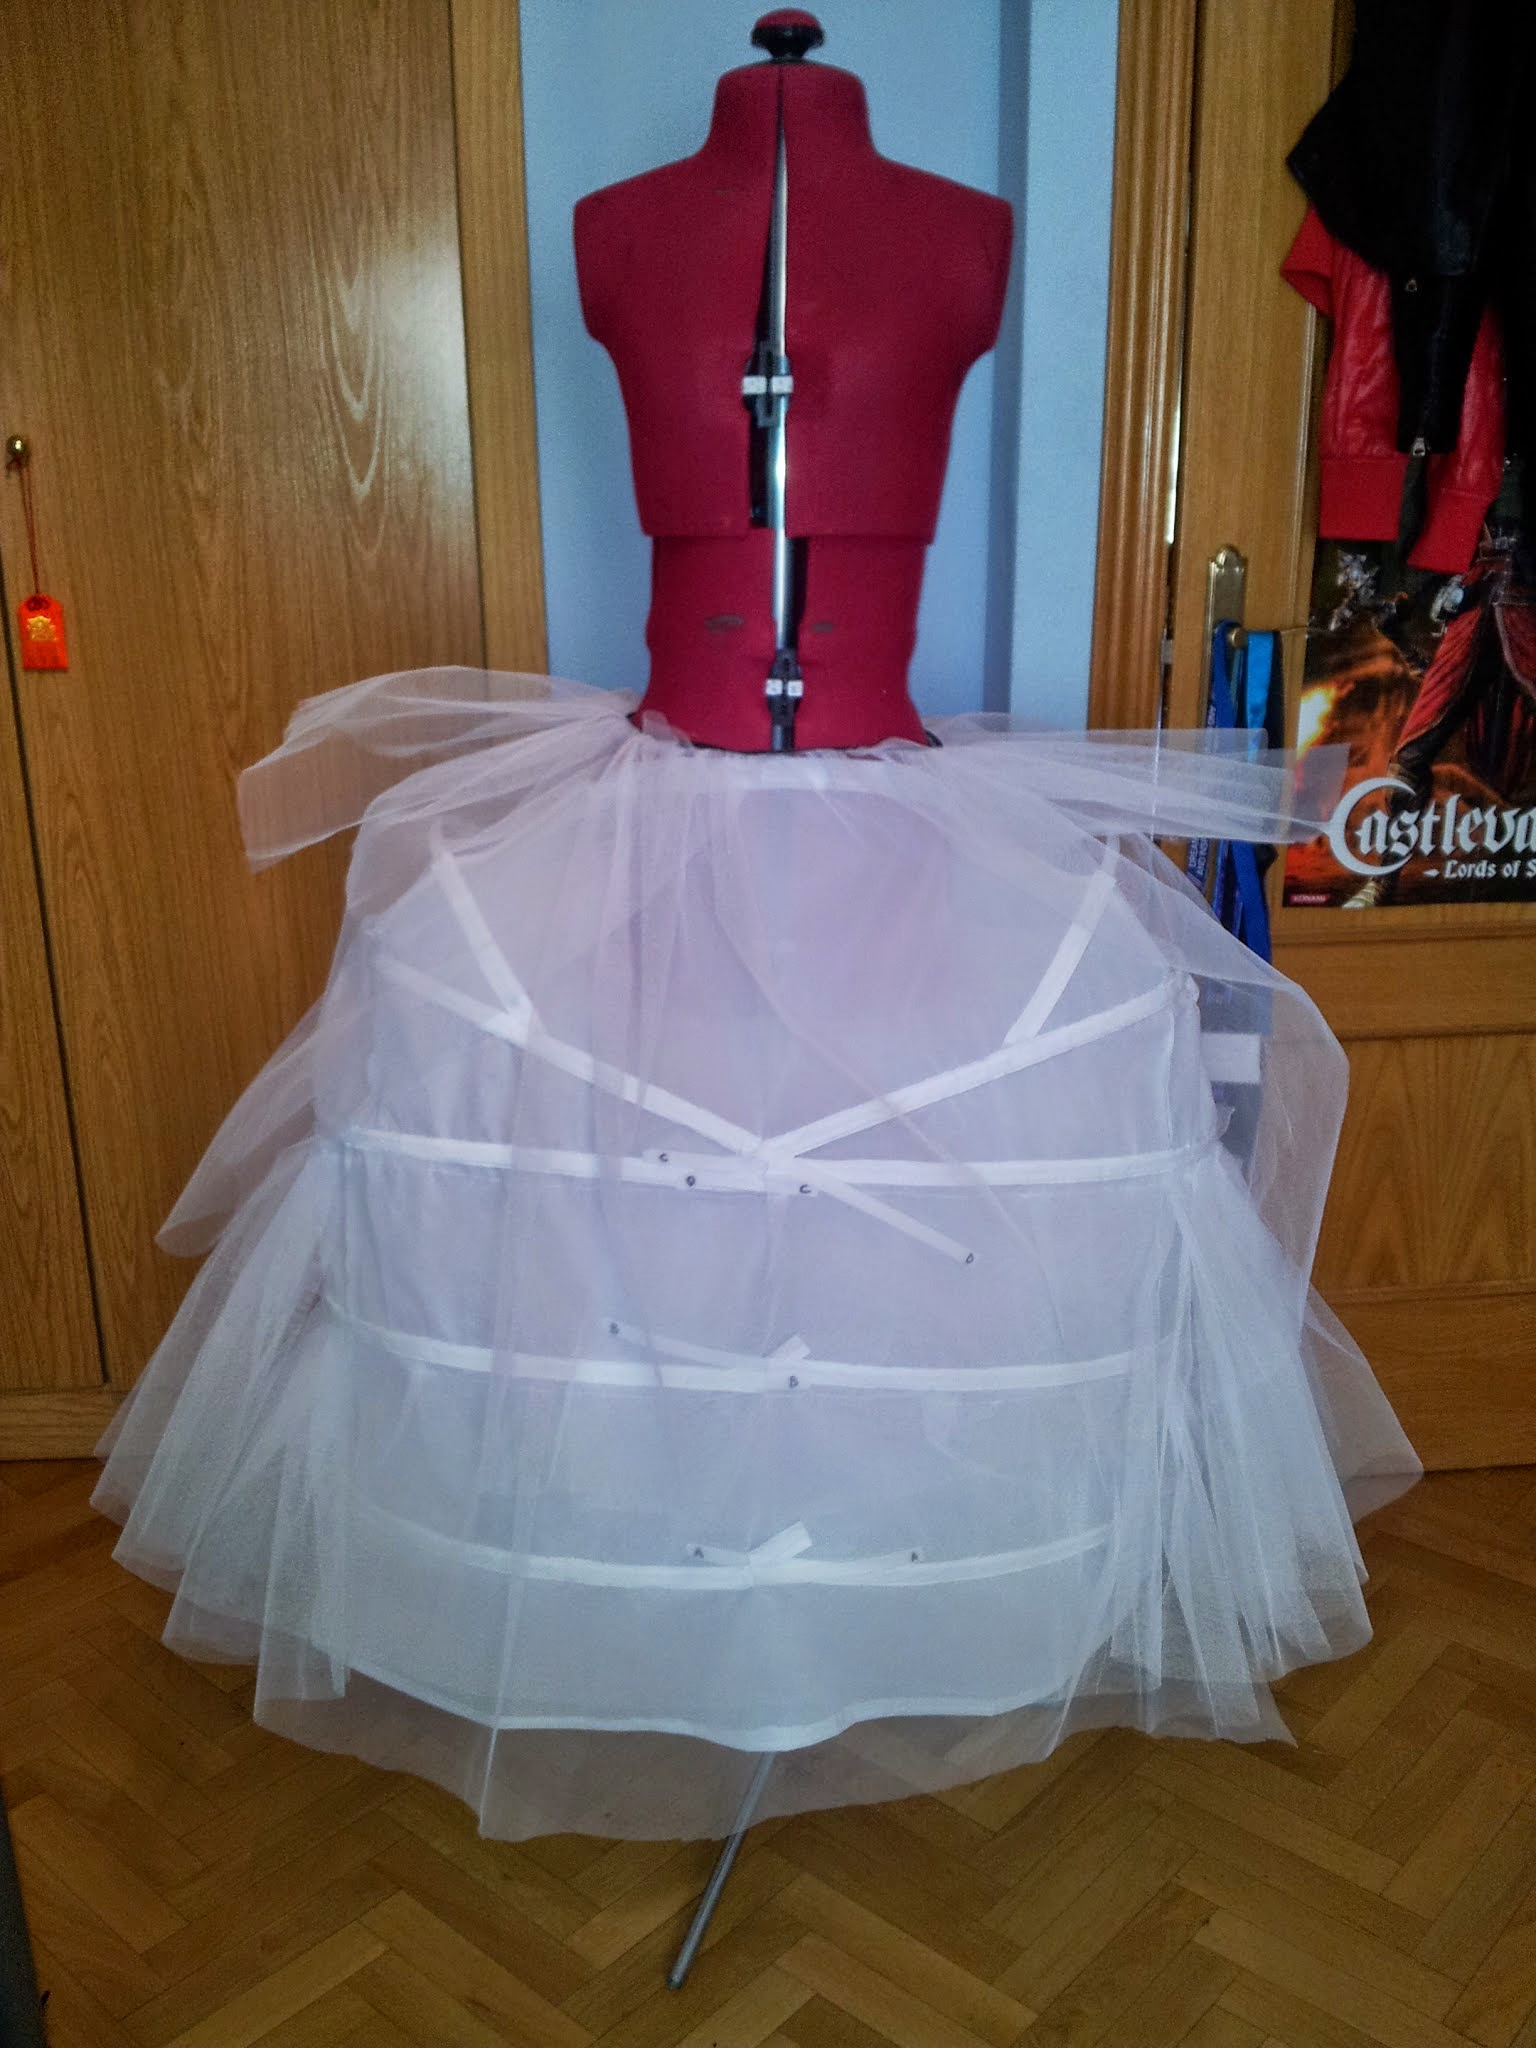
I don’t know if all this is very orthodox, but it worked!!
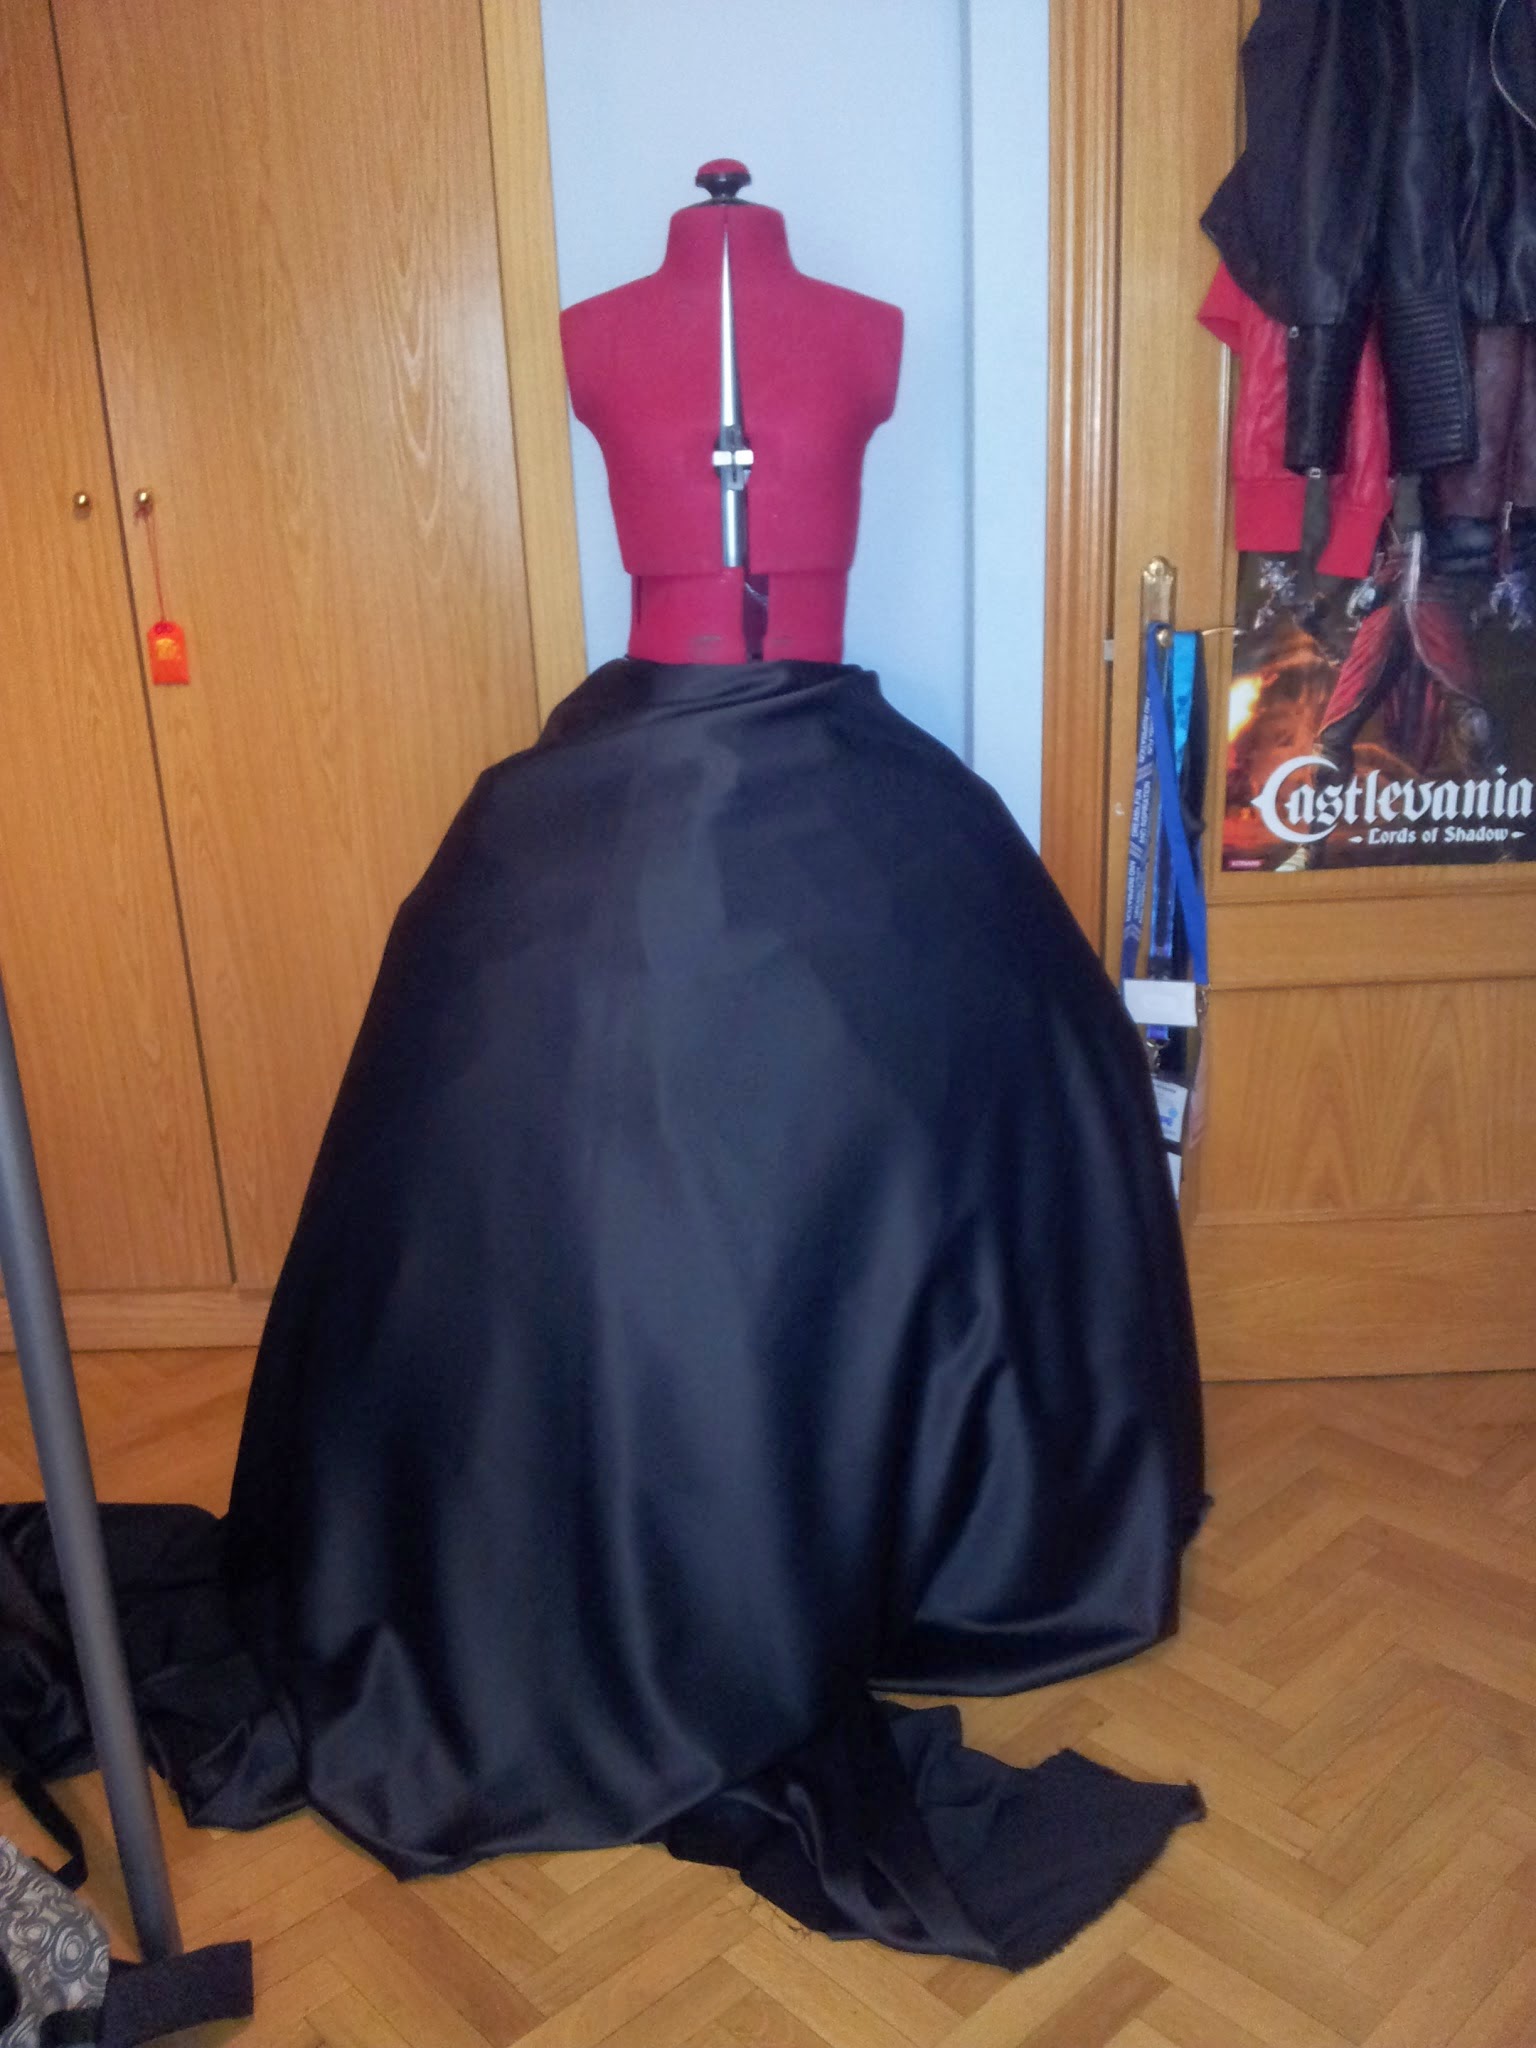
Once I finished the pannier, I moved into making the skirts.
Please, allow me to be a jerk by telling you THESE SKIRTS ARE WAY TOO EASY TO MAKE. Ok, now all the cosplayers who only make pompous dresses have lost my respect for life and I’ve included you in my “airs and graces” list. I don’t know who I hate the most, the “booby-showers” or the “circle-skirt-makers” (I love you, Wilbur). No, c’mon, I’m just joking. If you’re a newie cosplayer, please, don’t feel afraid to make these skirts! They’re very easy to make!
It took me one day to make both the red and black skirts. Patterns included.
As always, I followed these instructions to make them.
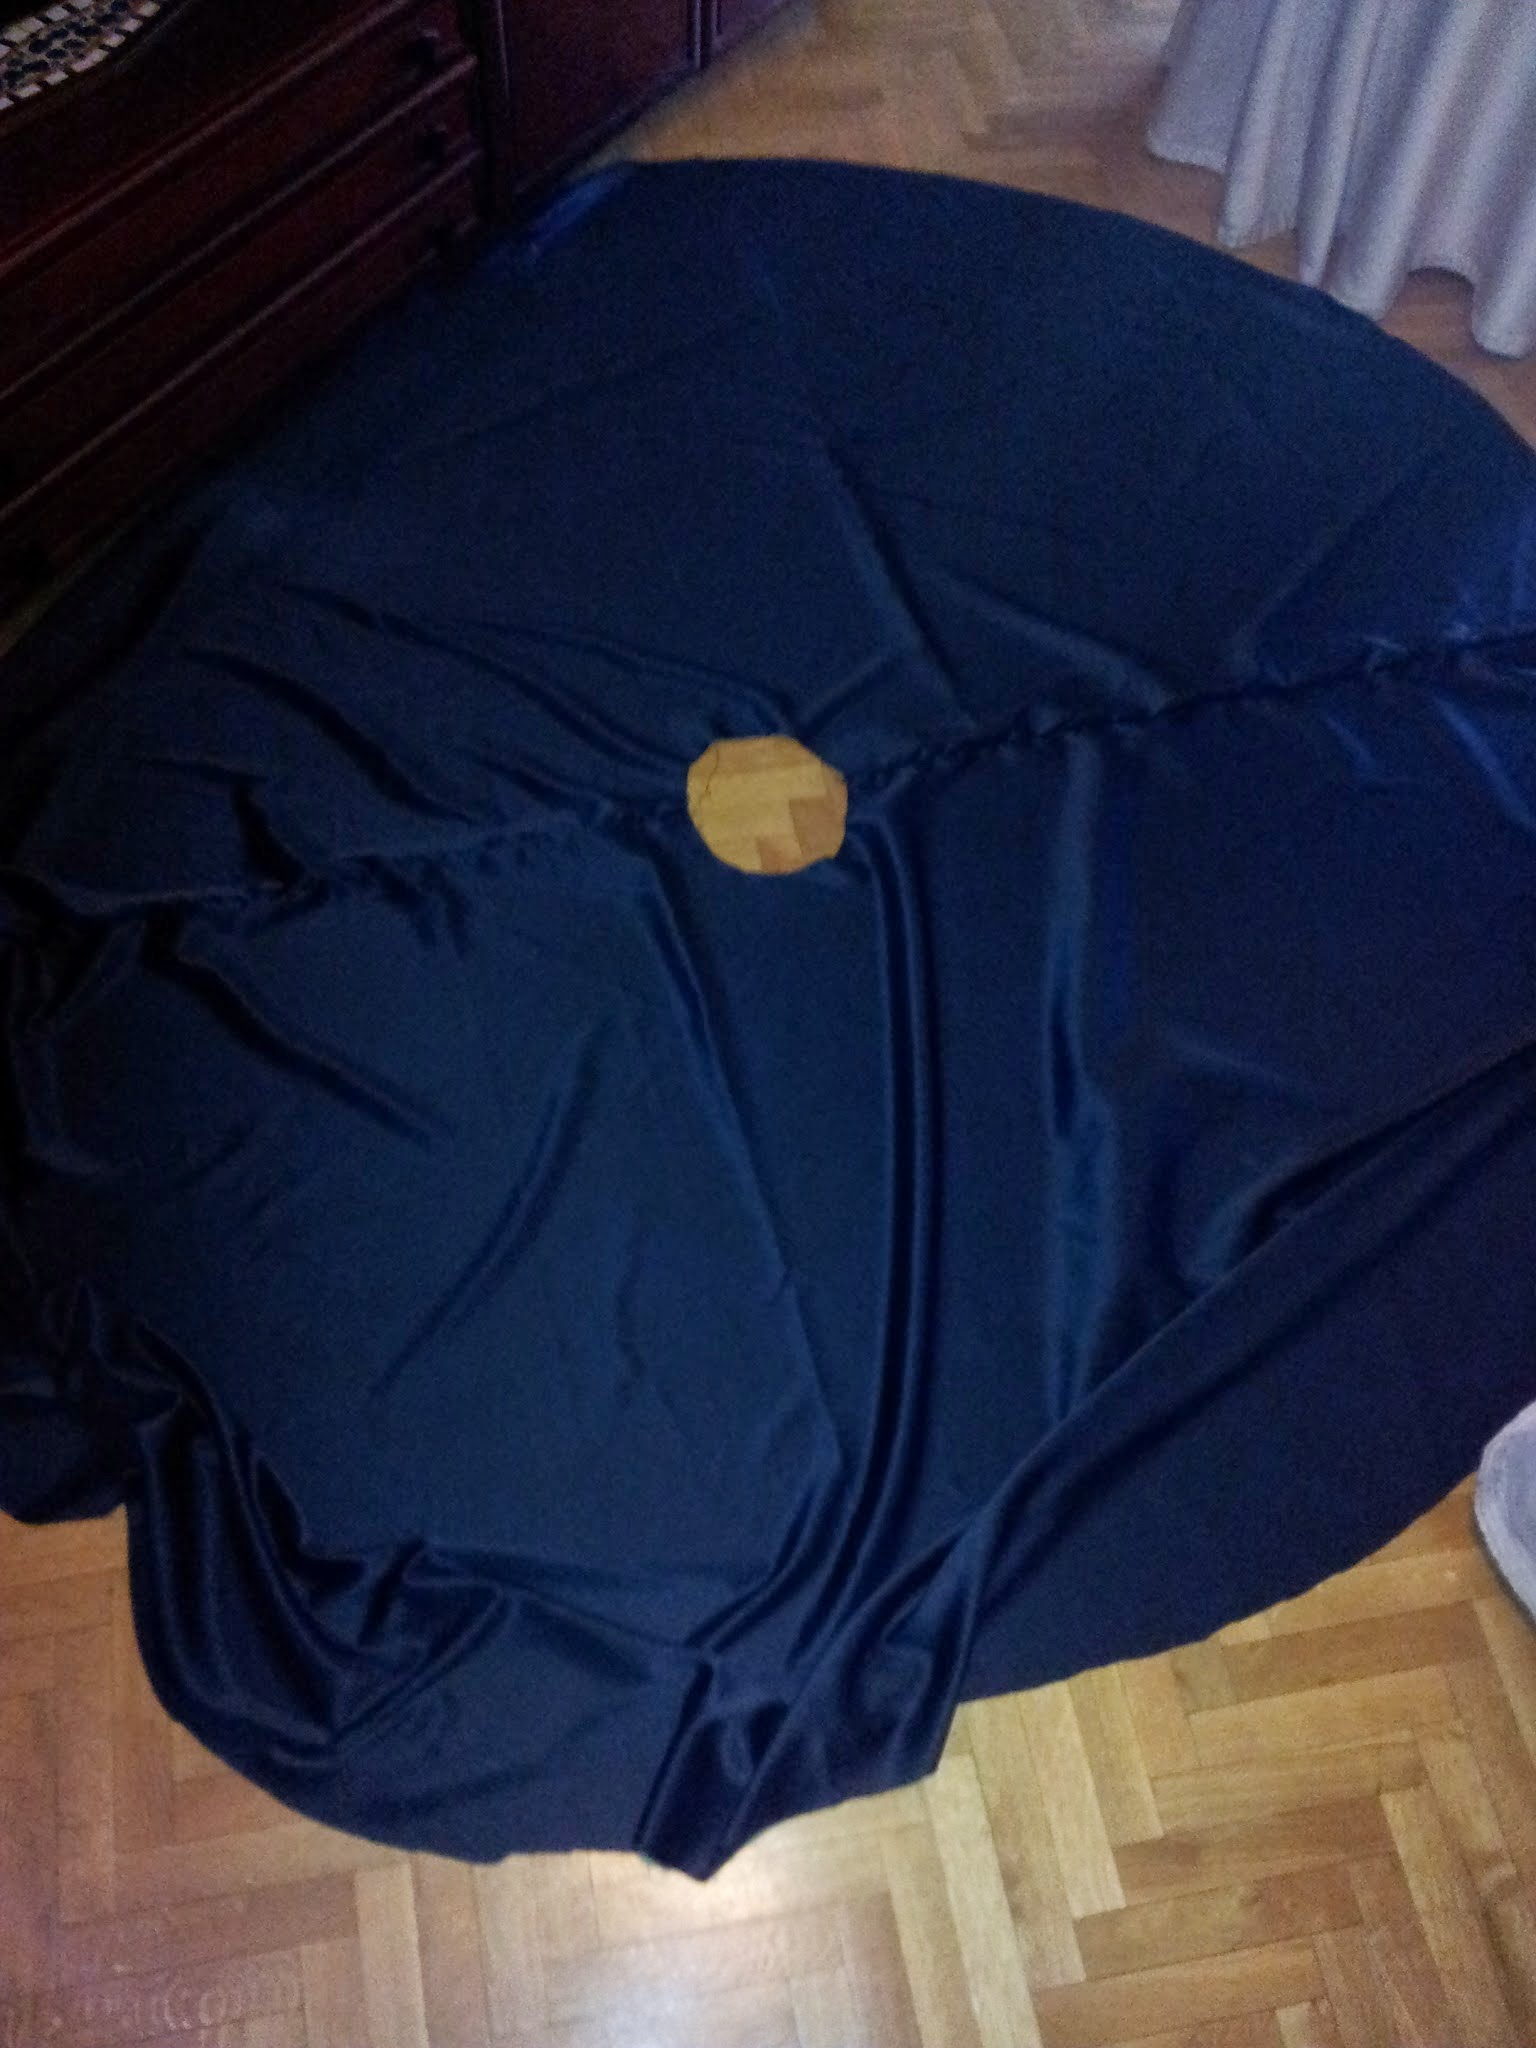 |
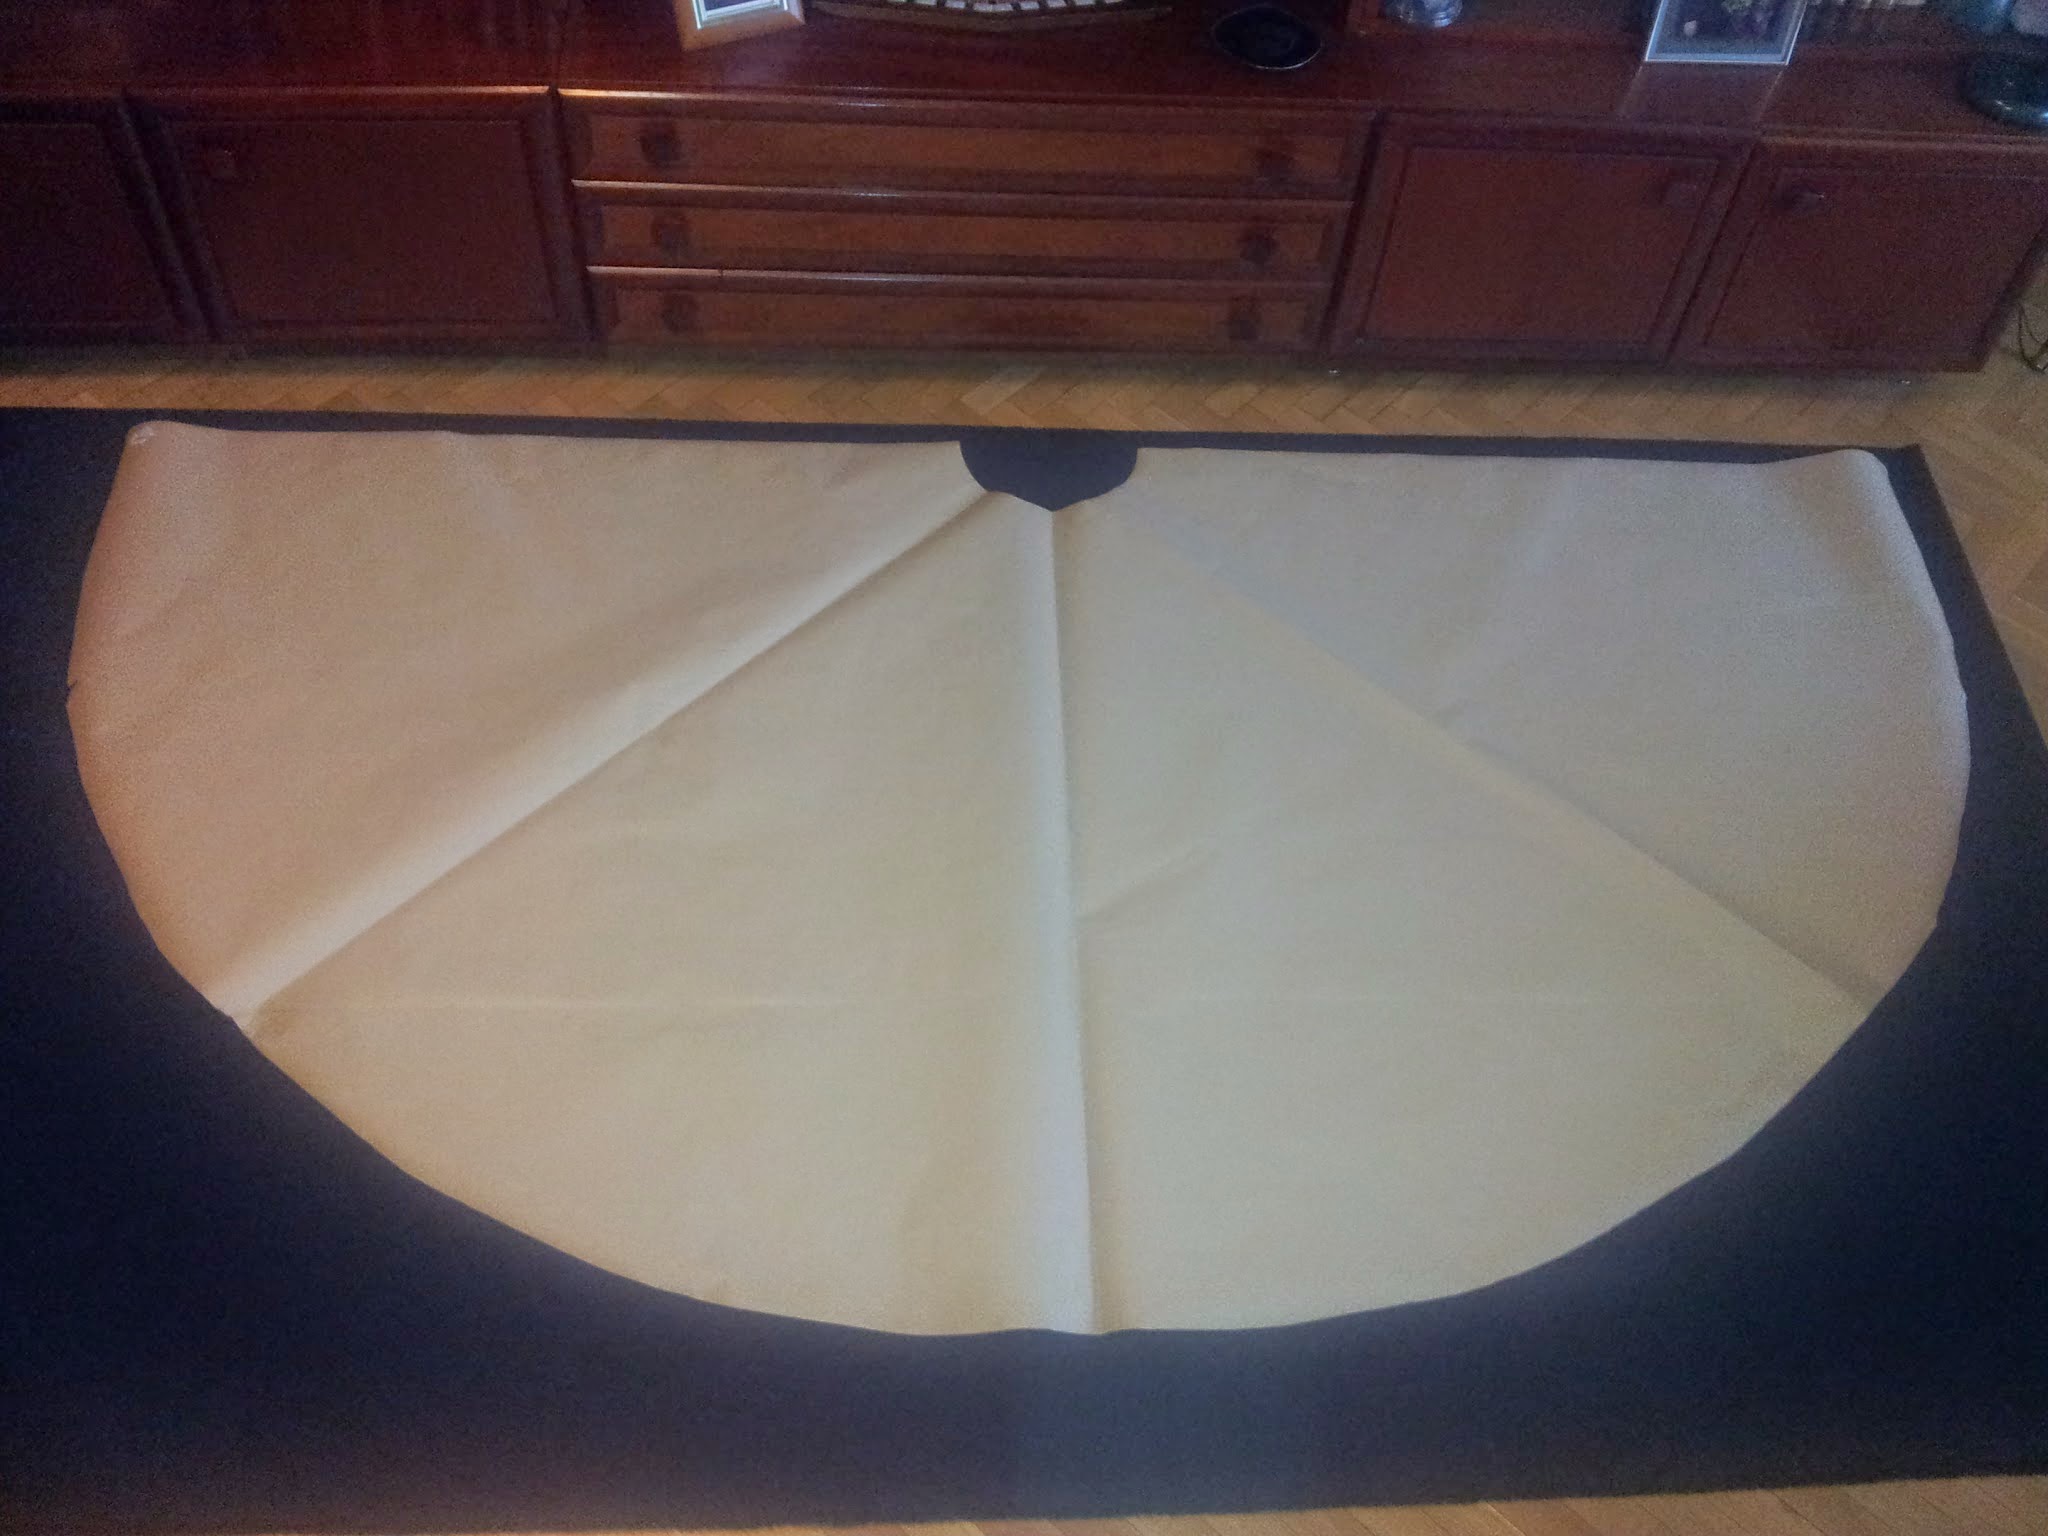
| This fucking skirt takes up all my livingroom. |
I made the pattern way longer than I needed as this skirt has this dificult shape and I didn’t know how to calculate its measurements in paper. I made a regular circle skirt and then I adjusted its length by cutting at ground level.
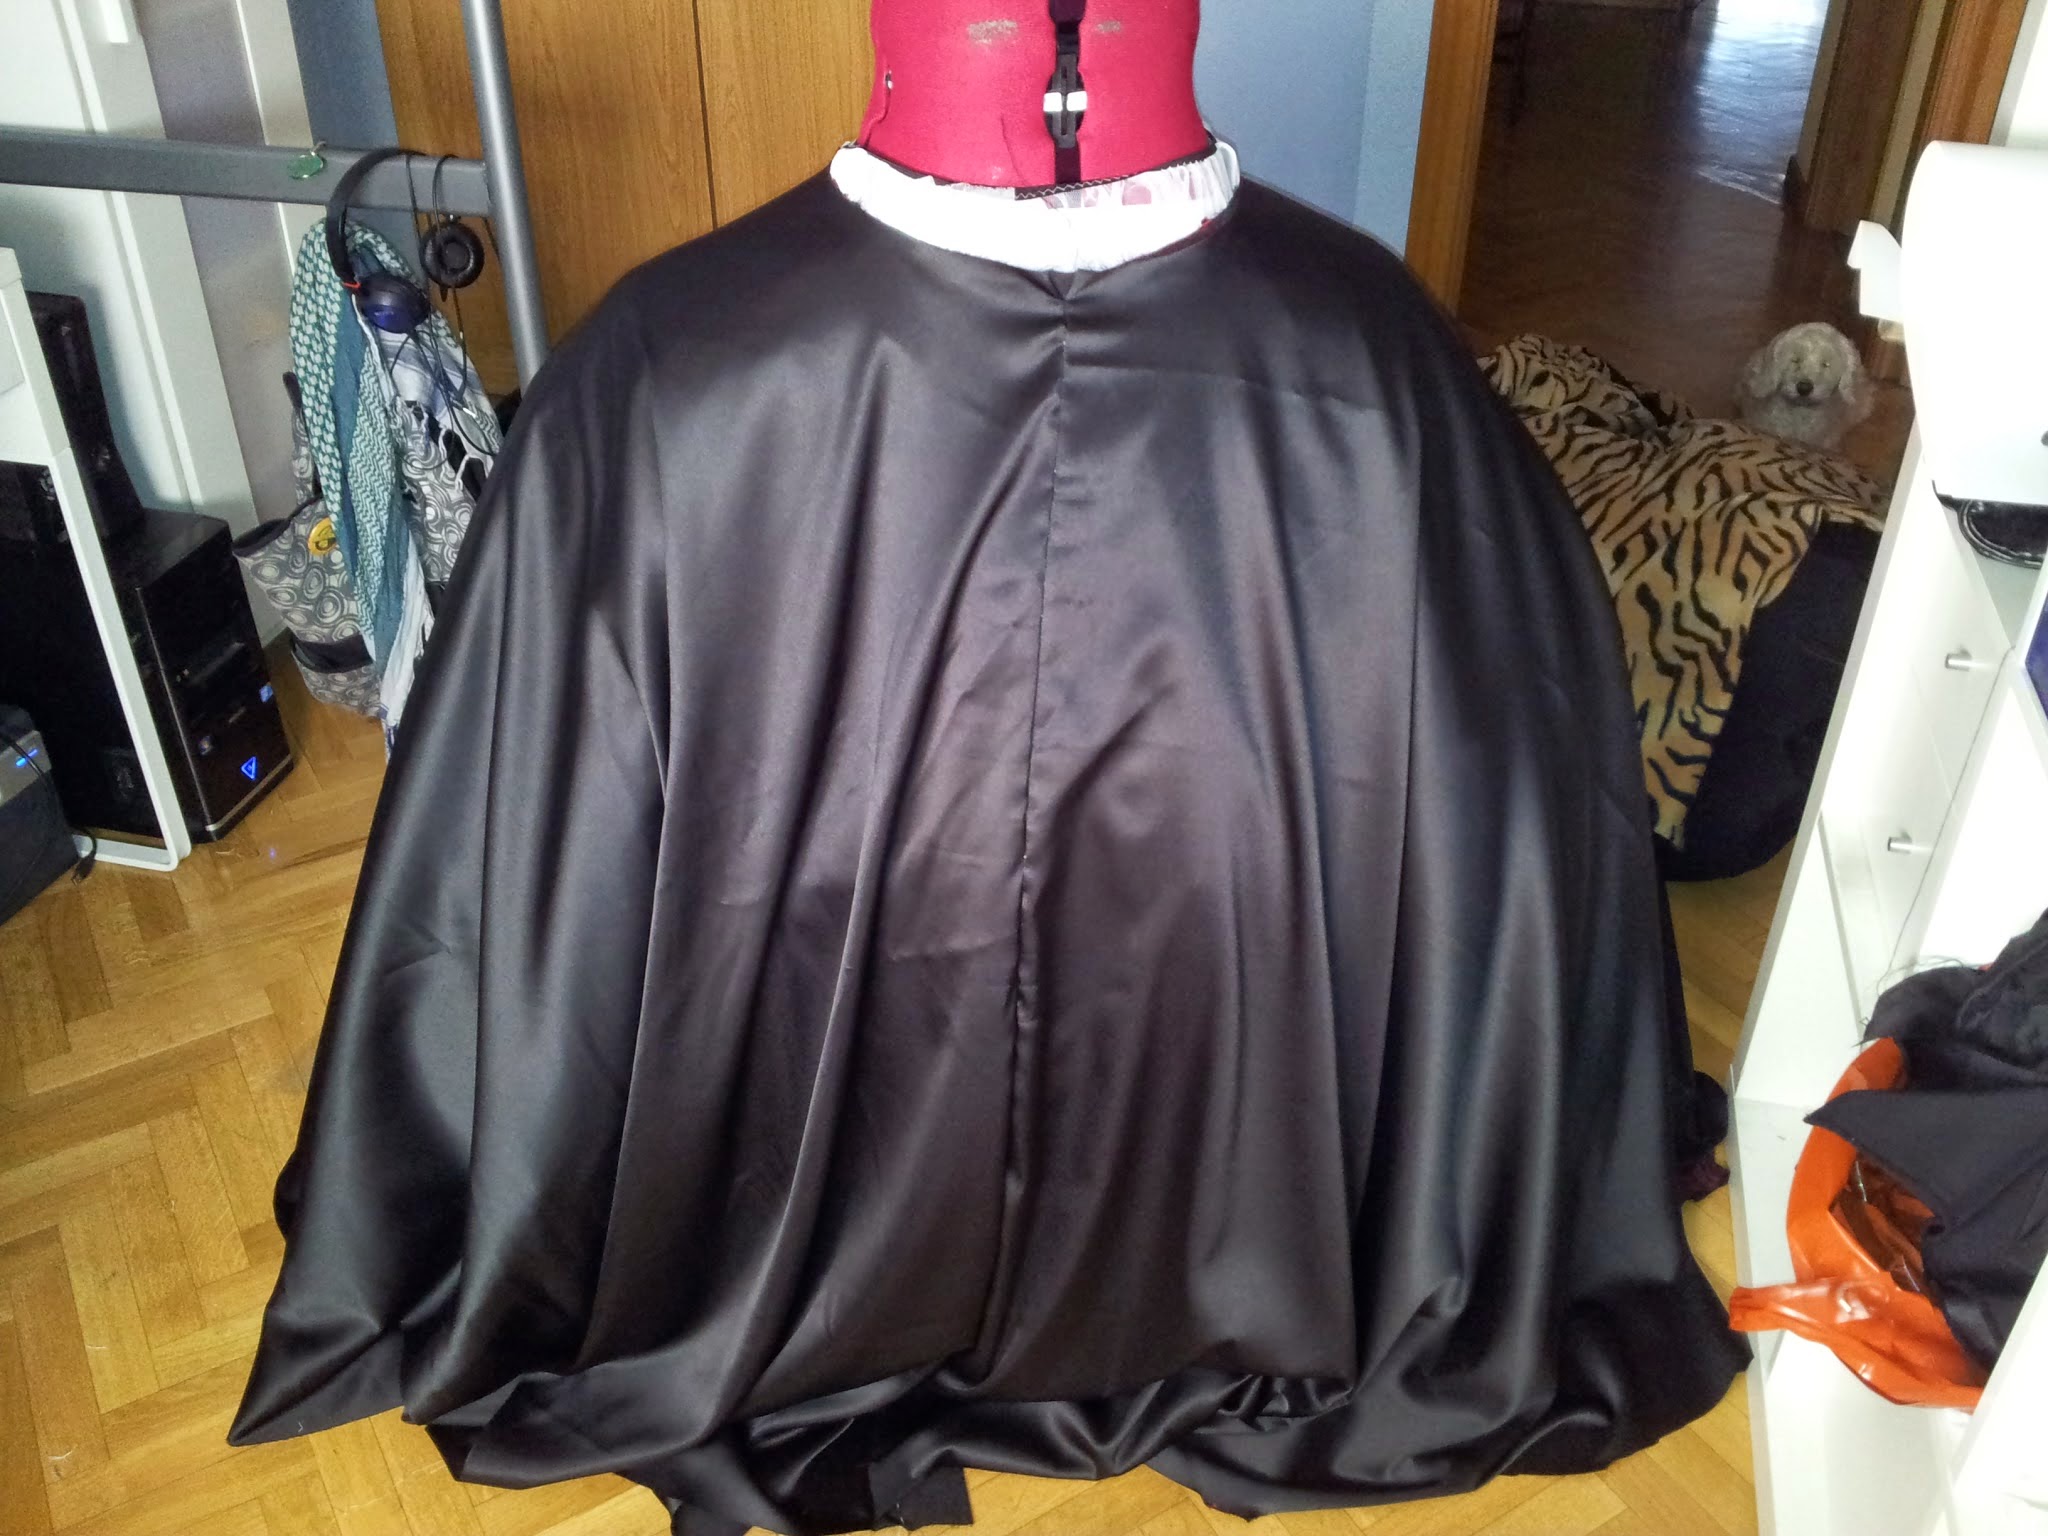
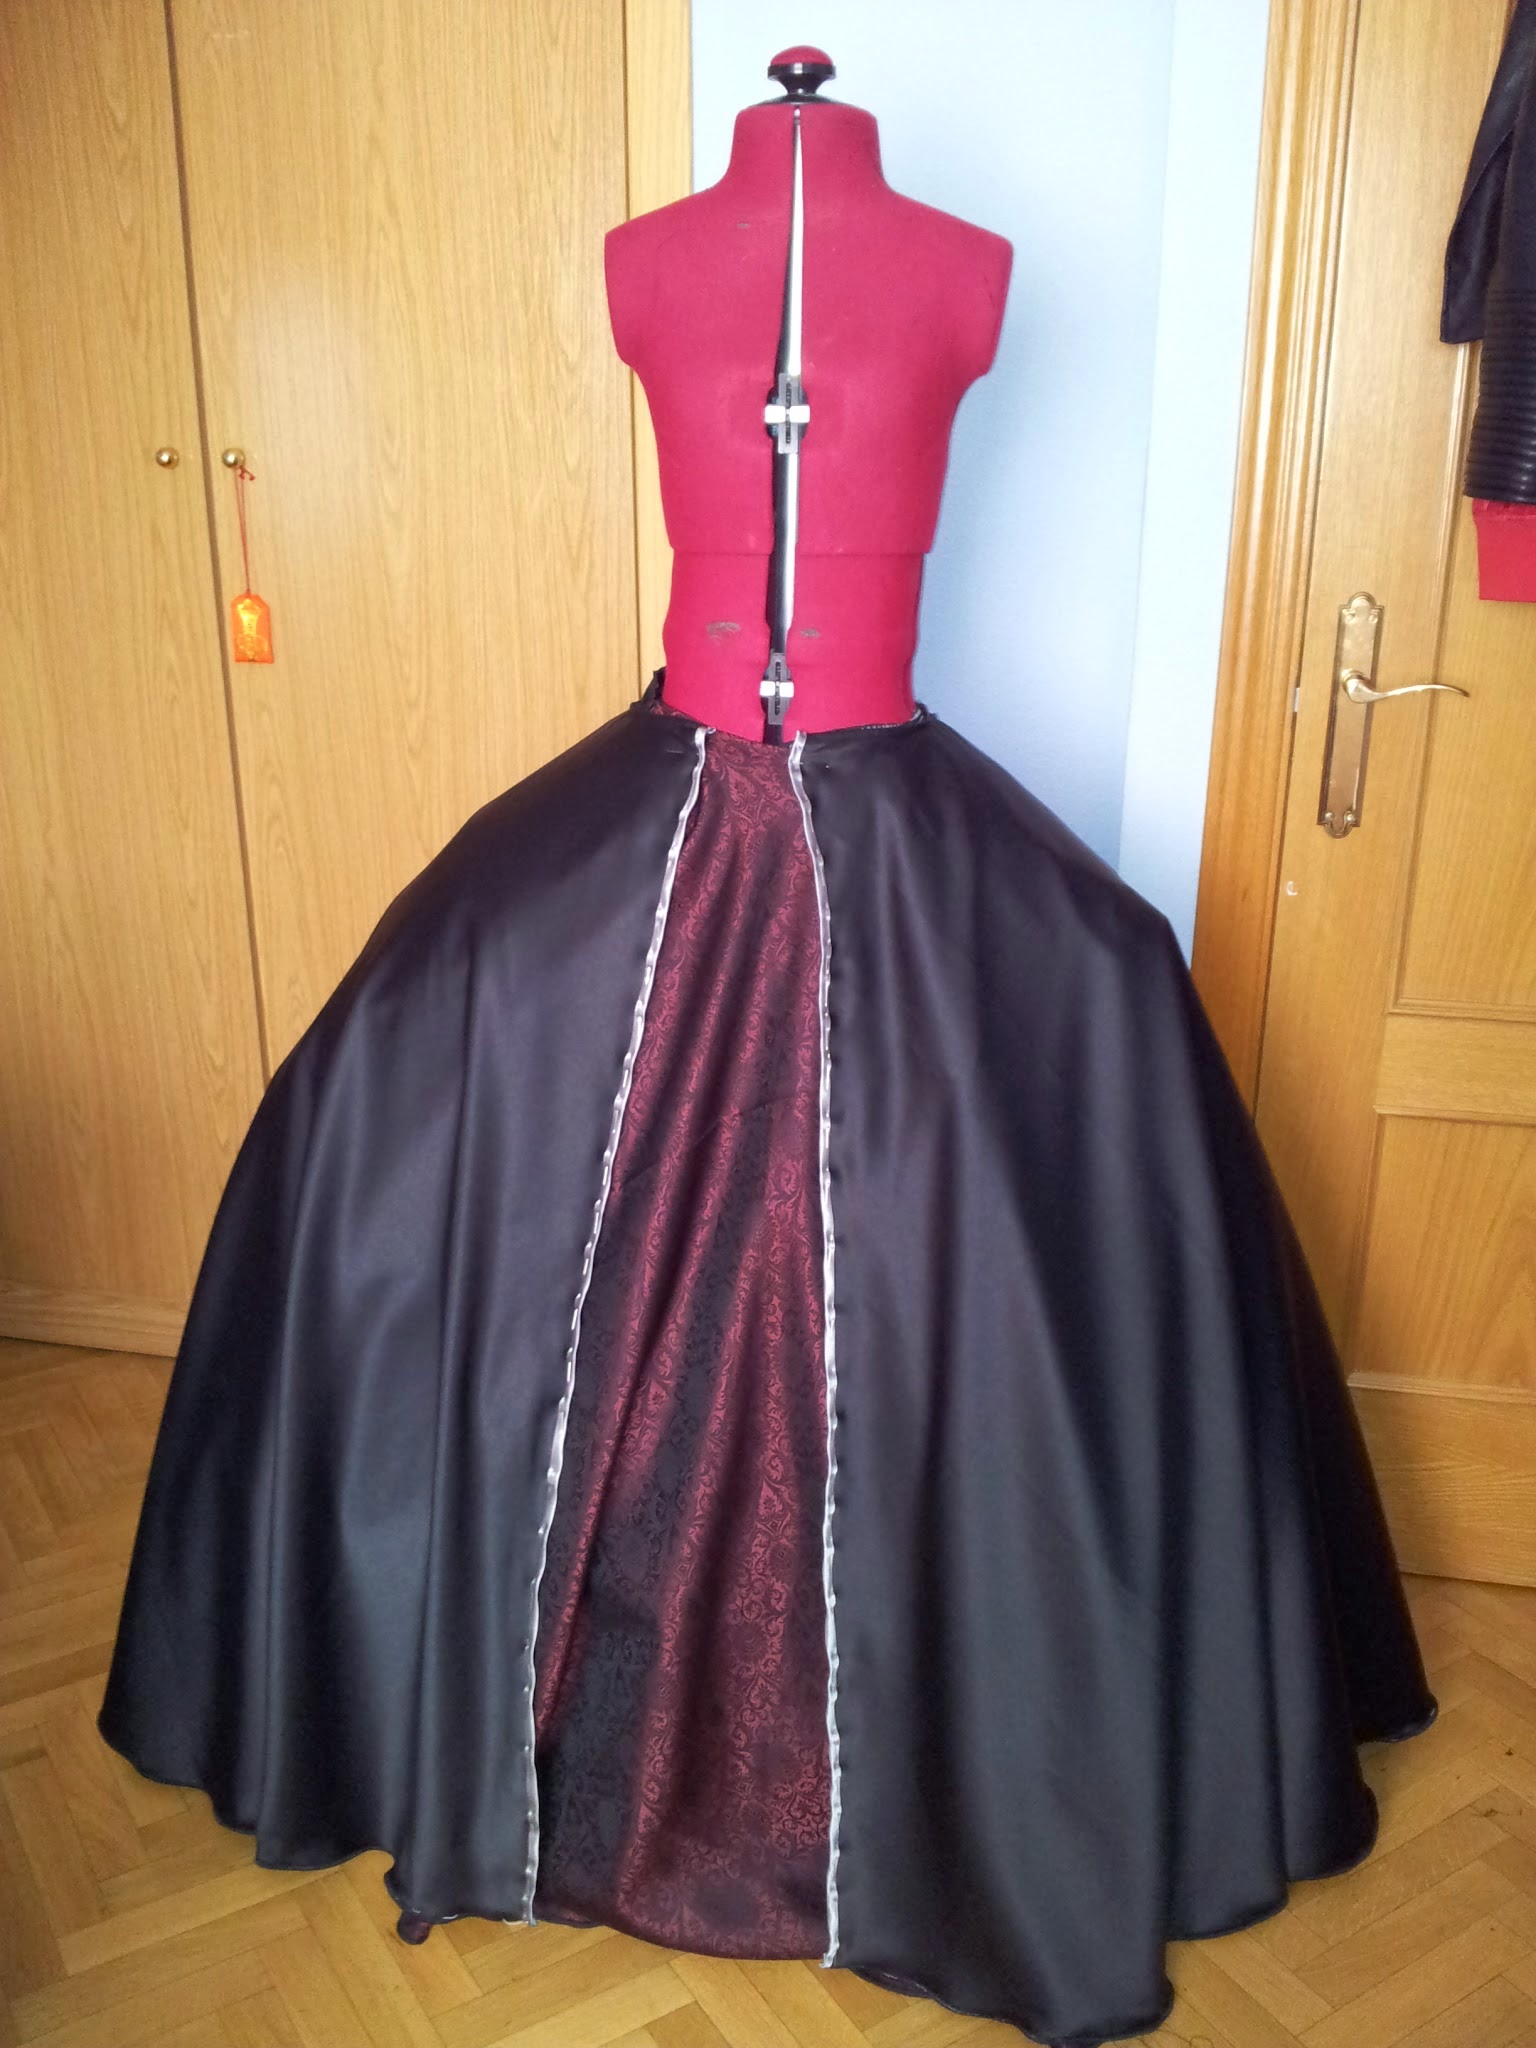
The original pattern for the red skirt was also a circle one, but I didn’t like how it looked under the black one. It had lots of ugly waves, so I ended up narrowing it.
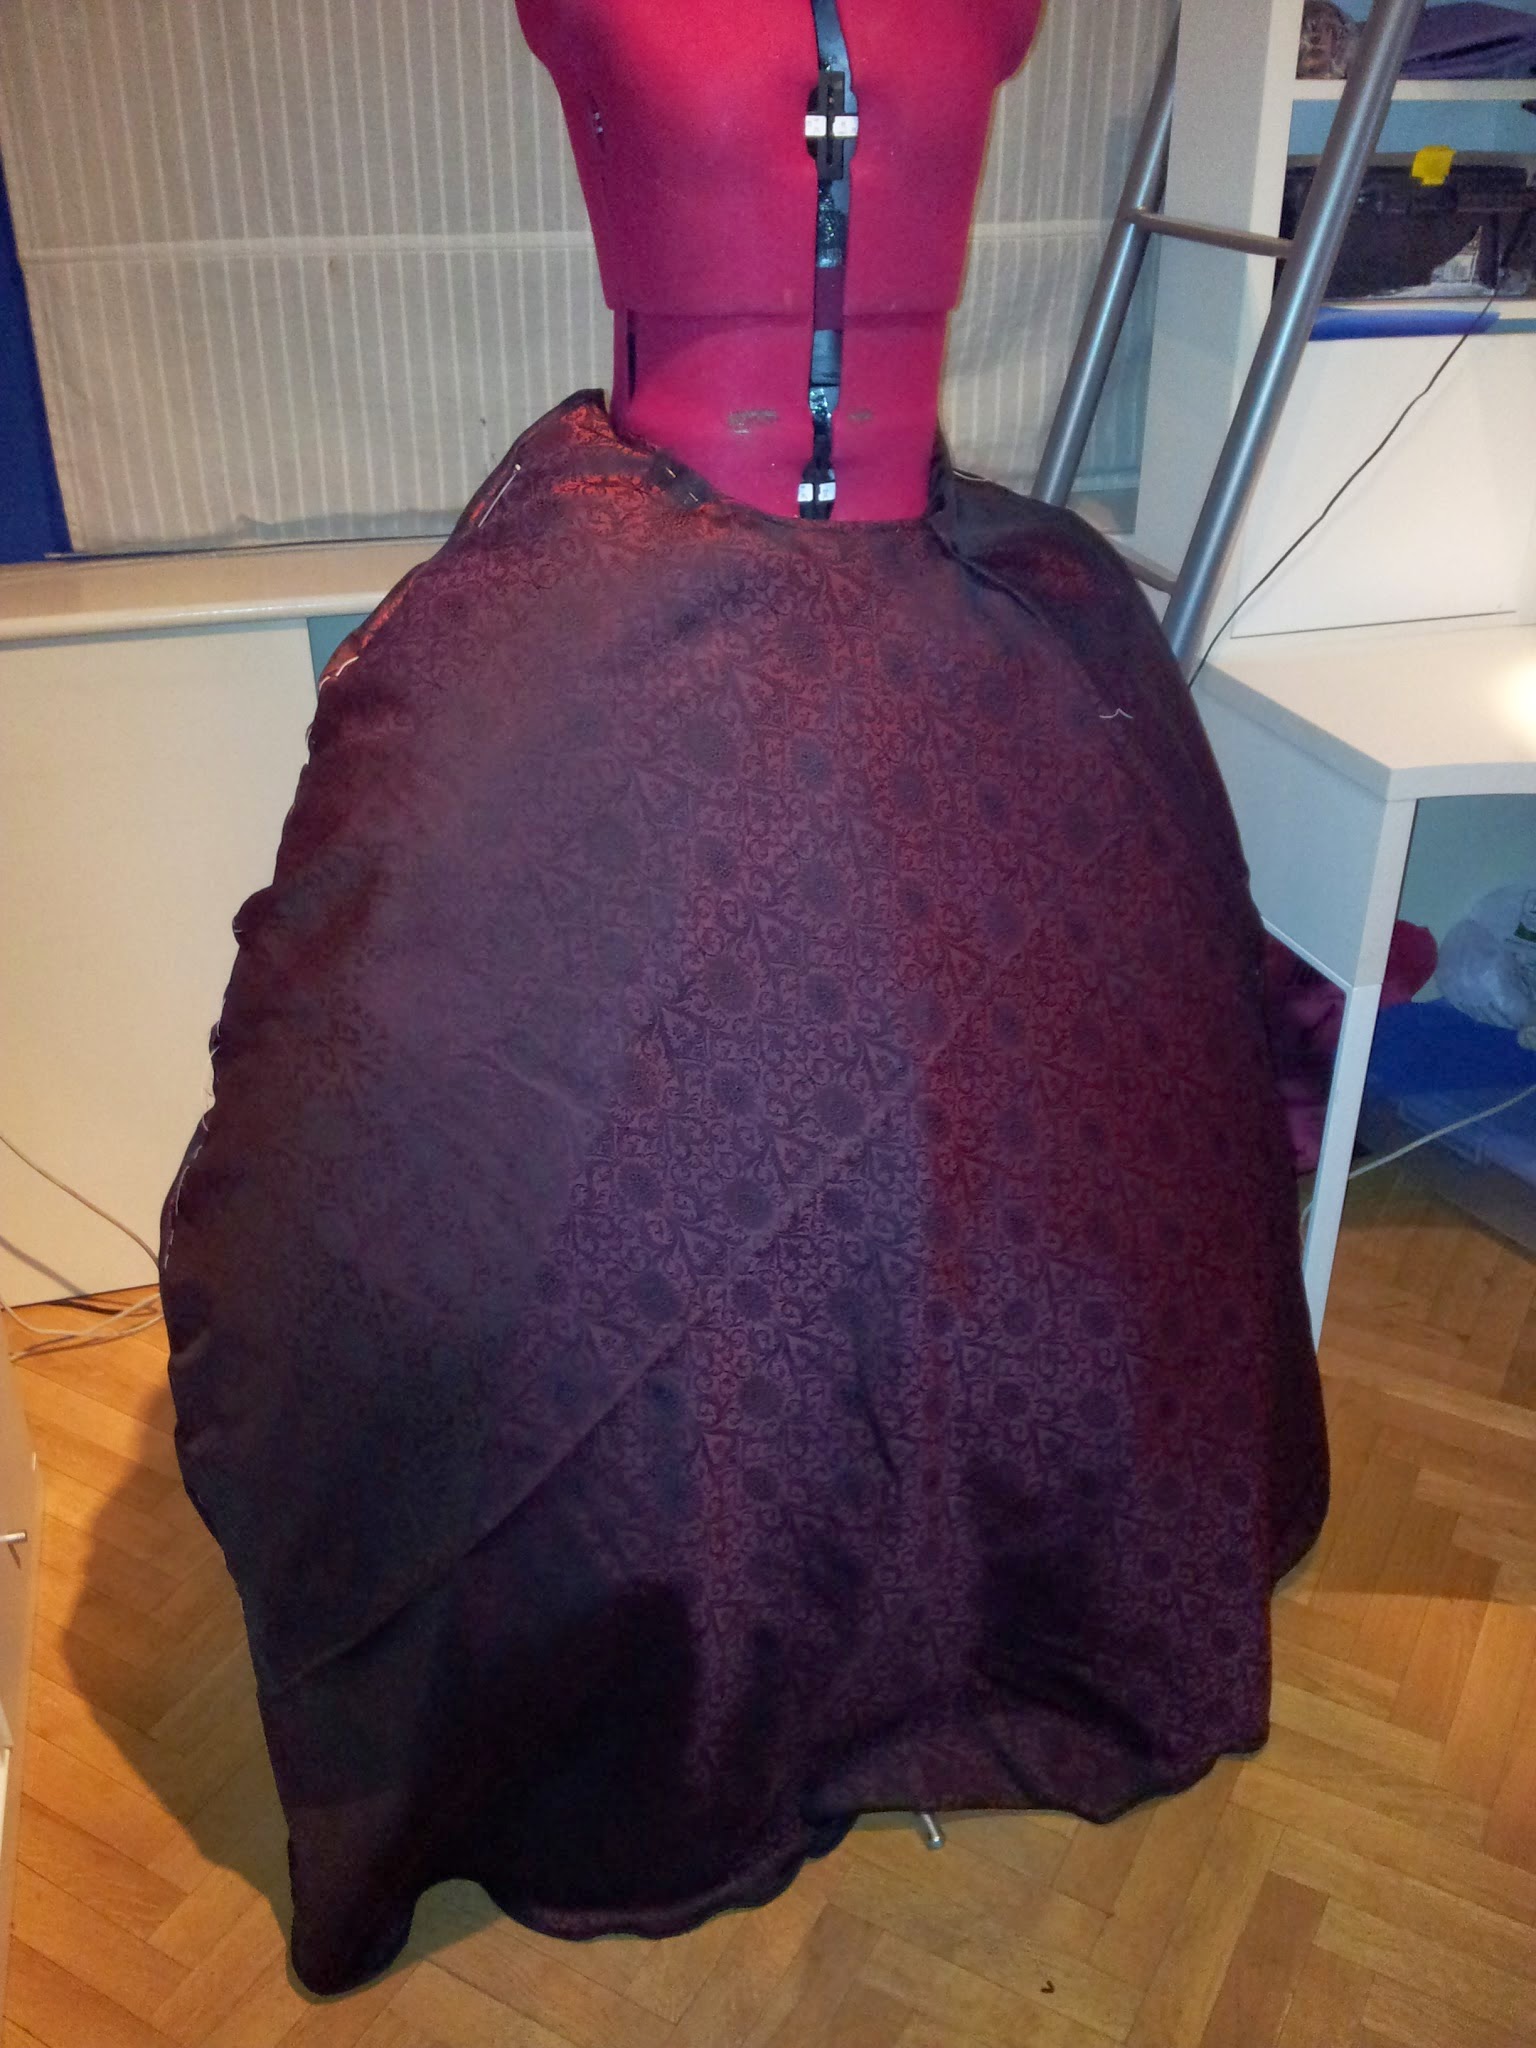
To make the black skirt opening, I just put it over the red one and cut at a guess. I added silver bias on the edges.
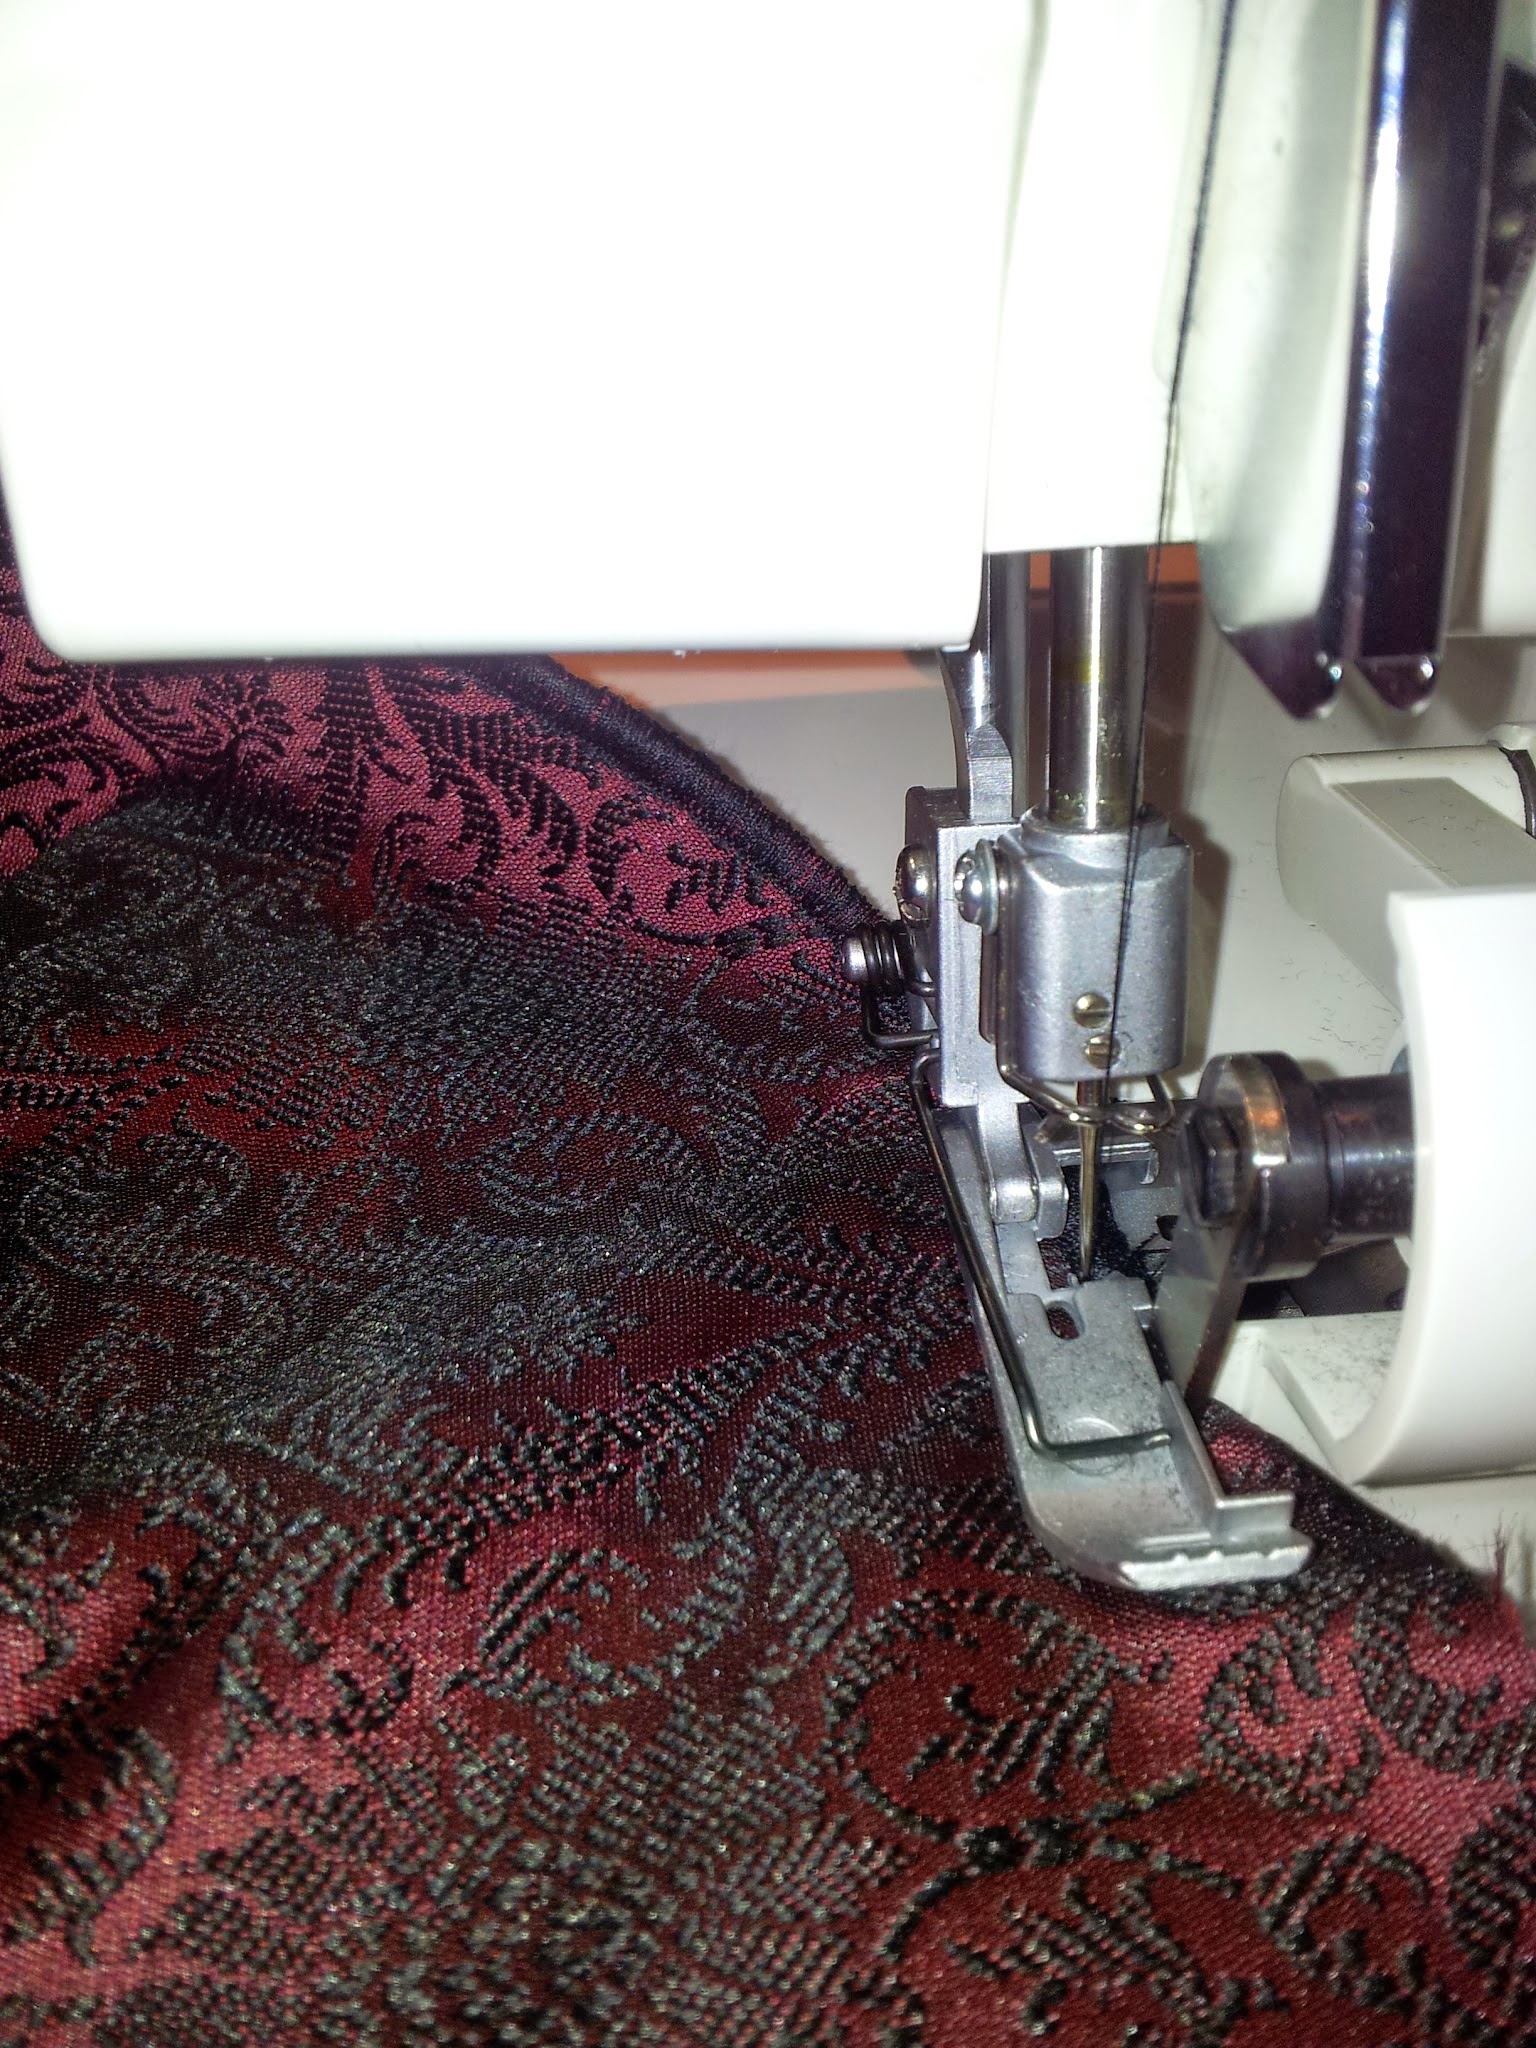
To finish the bottom of the skirts, I made a rolled hem using the overlock sewing machine. Another overcomed challenge! Thanks to Ivy and Anna for their advice and patience. It took me two days of adjusting the thread tensions and stuff until I found the way to make it correctly.
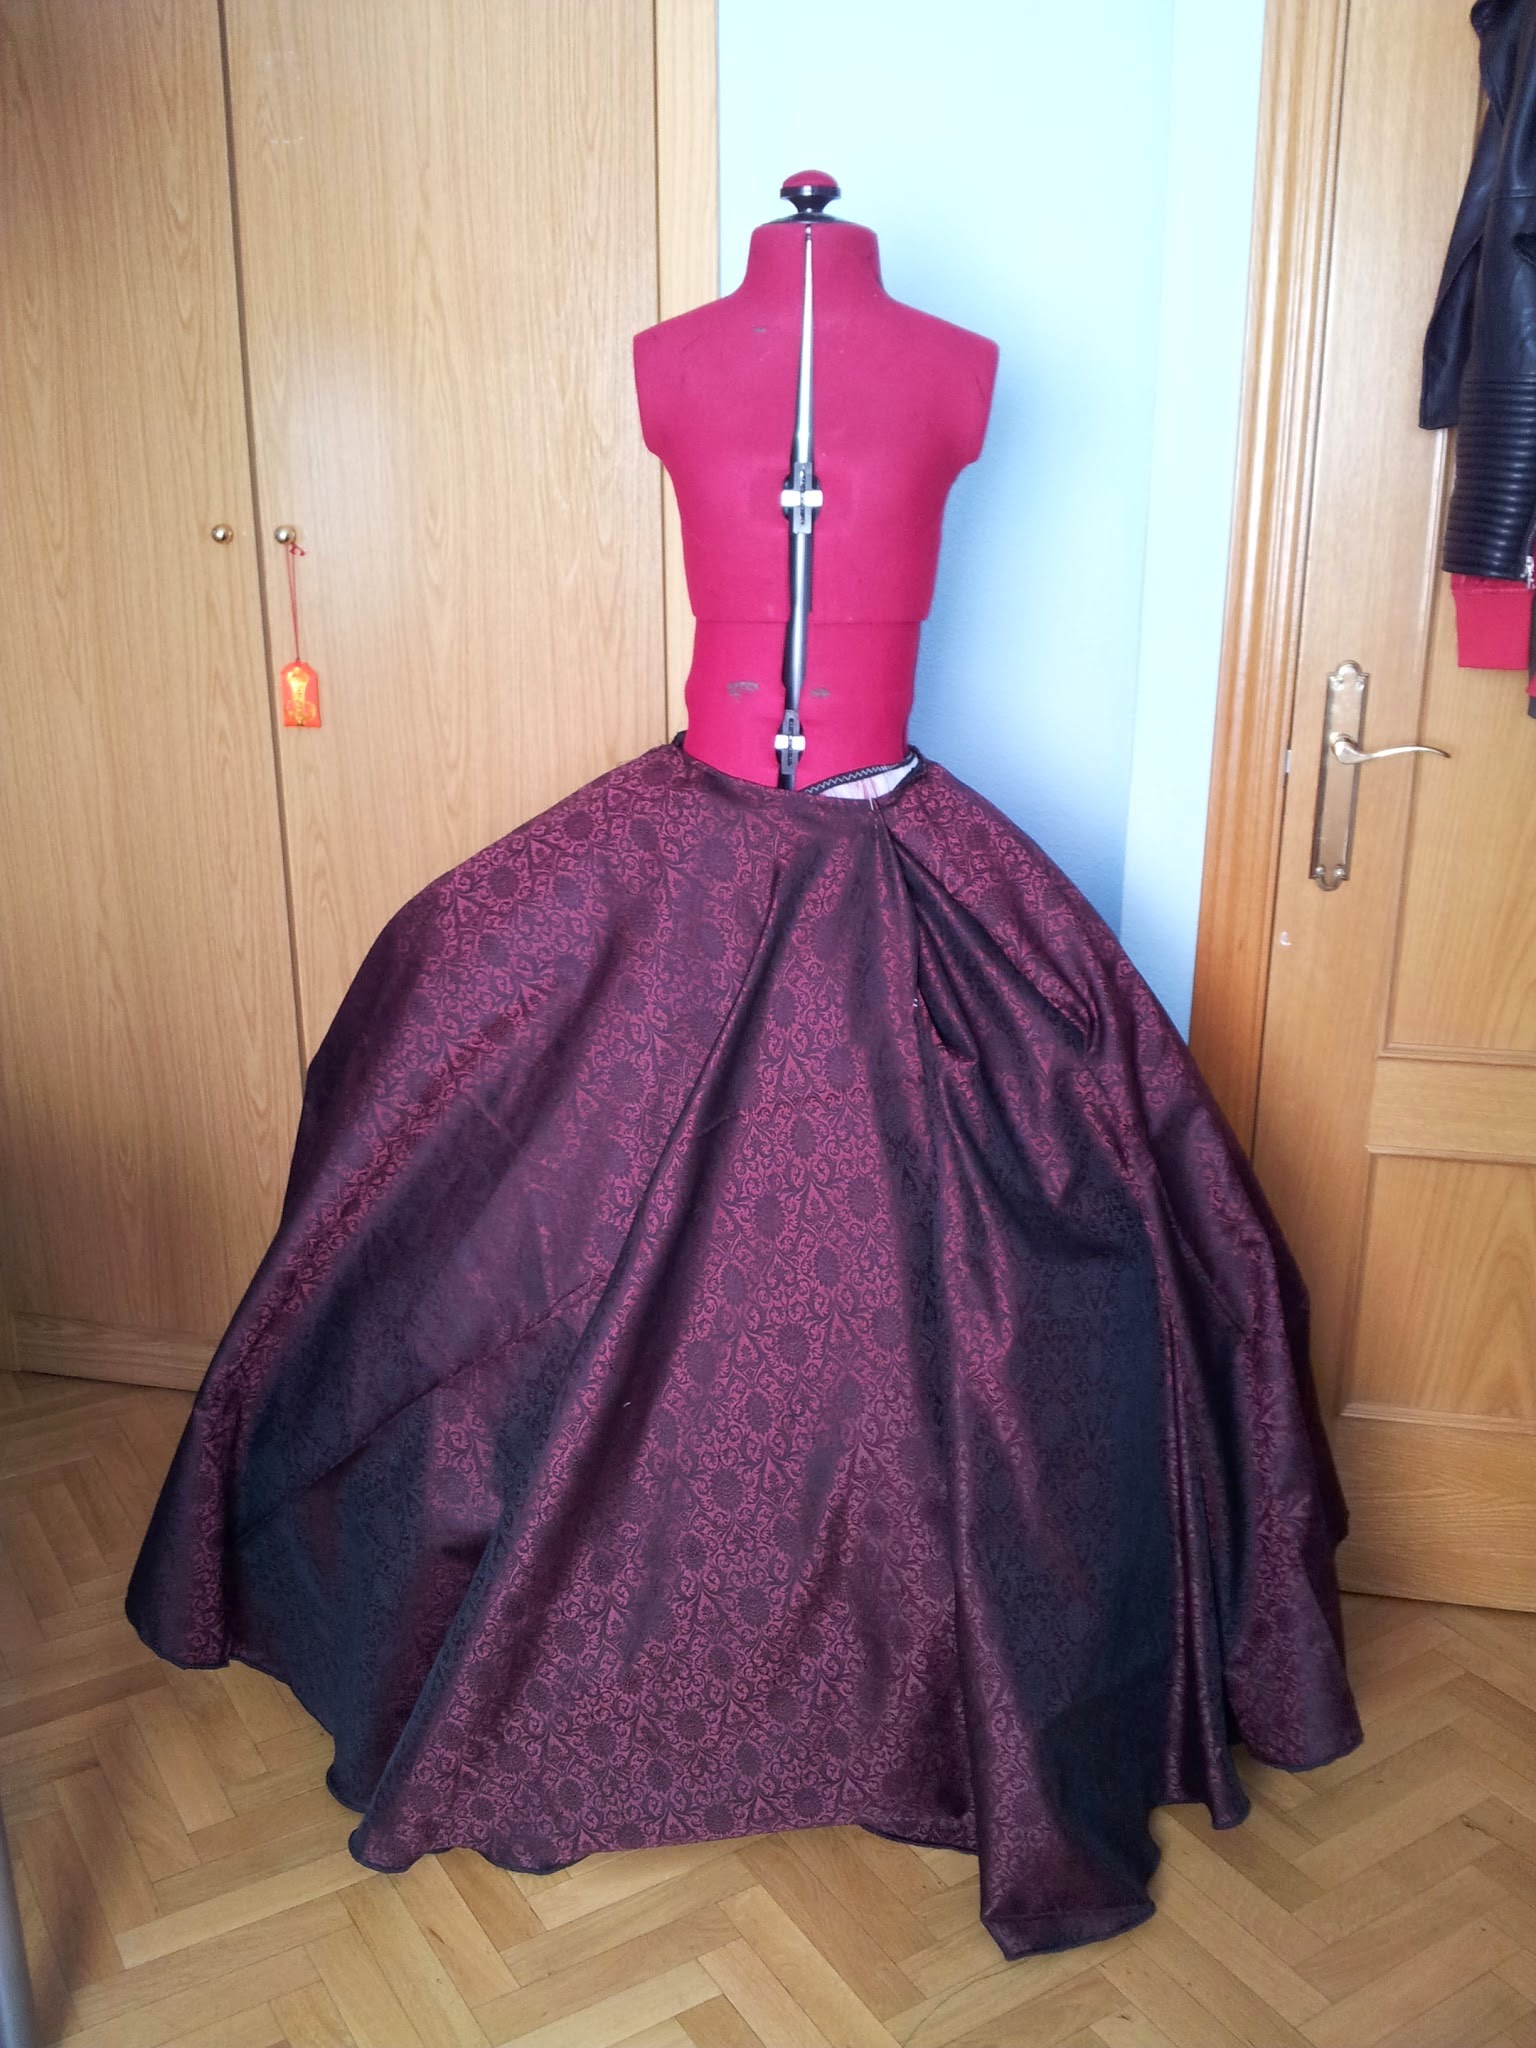
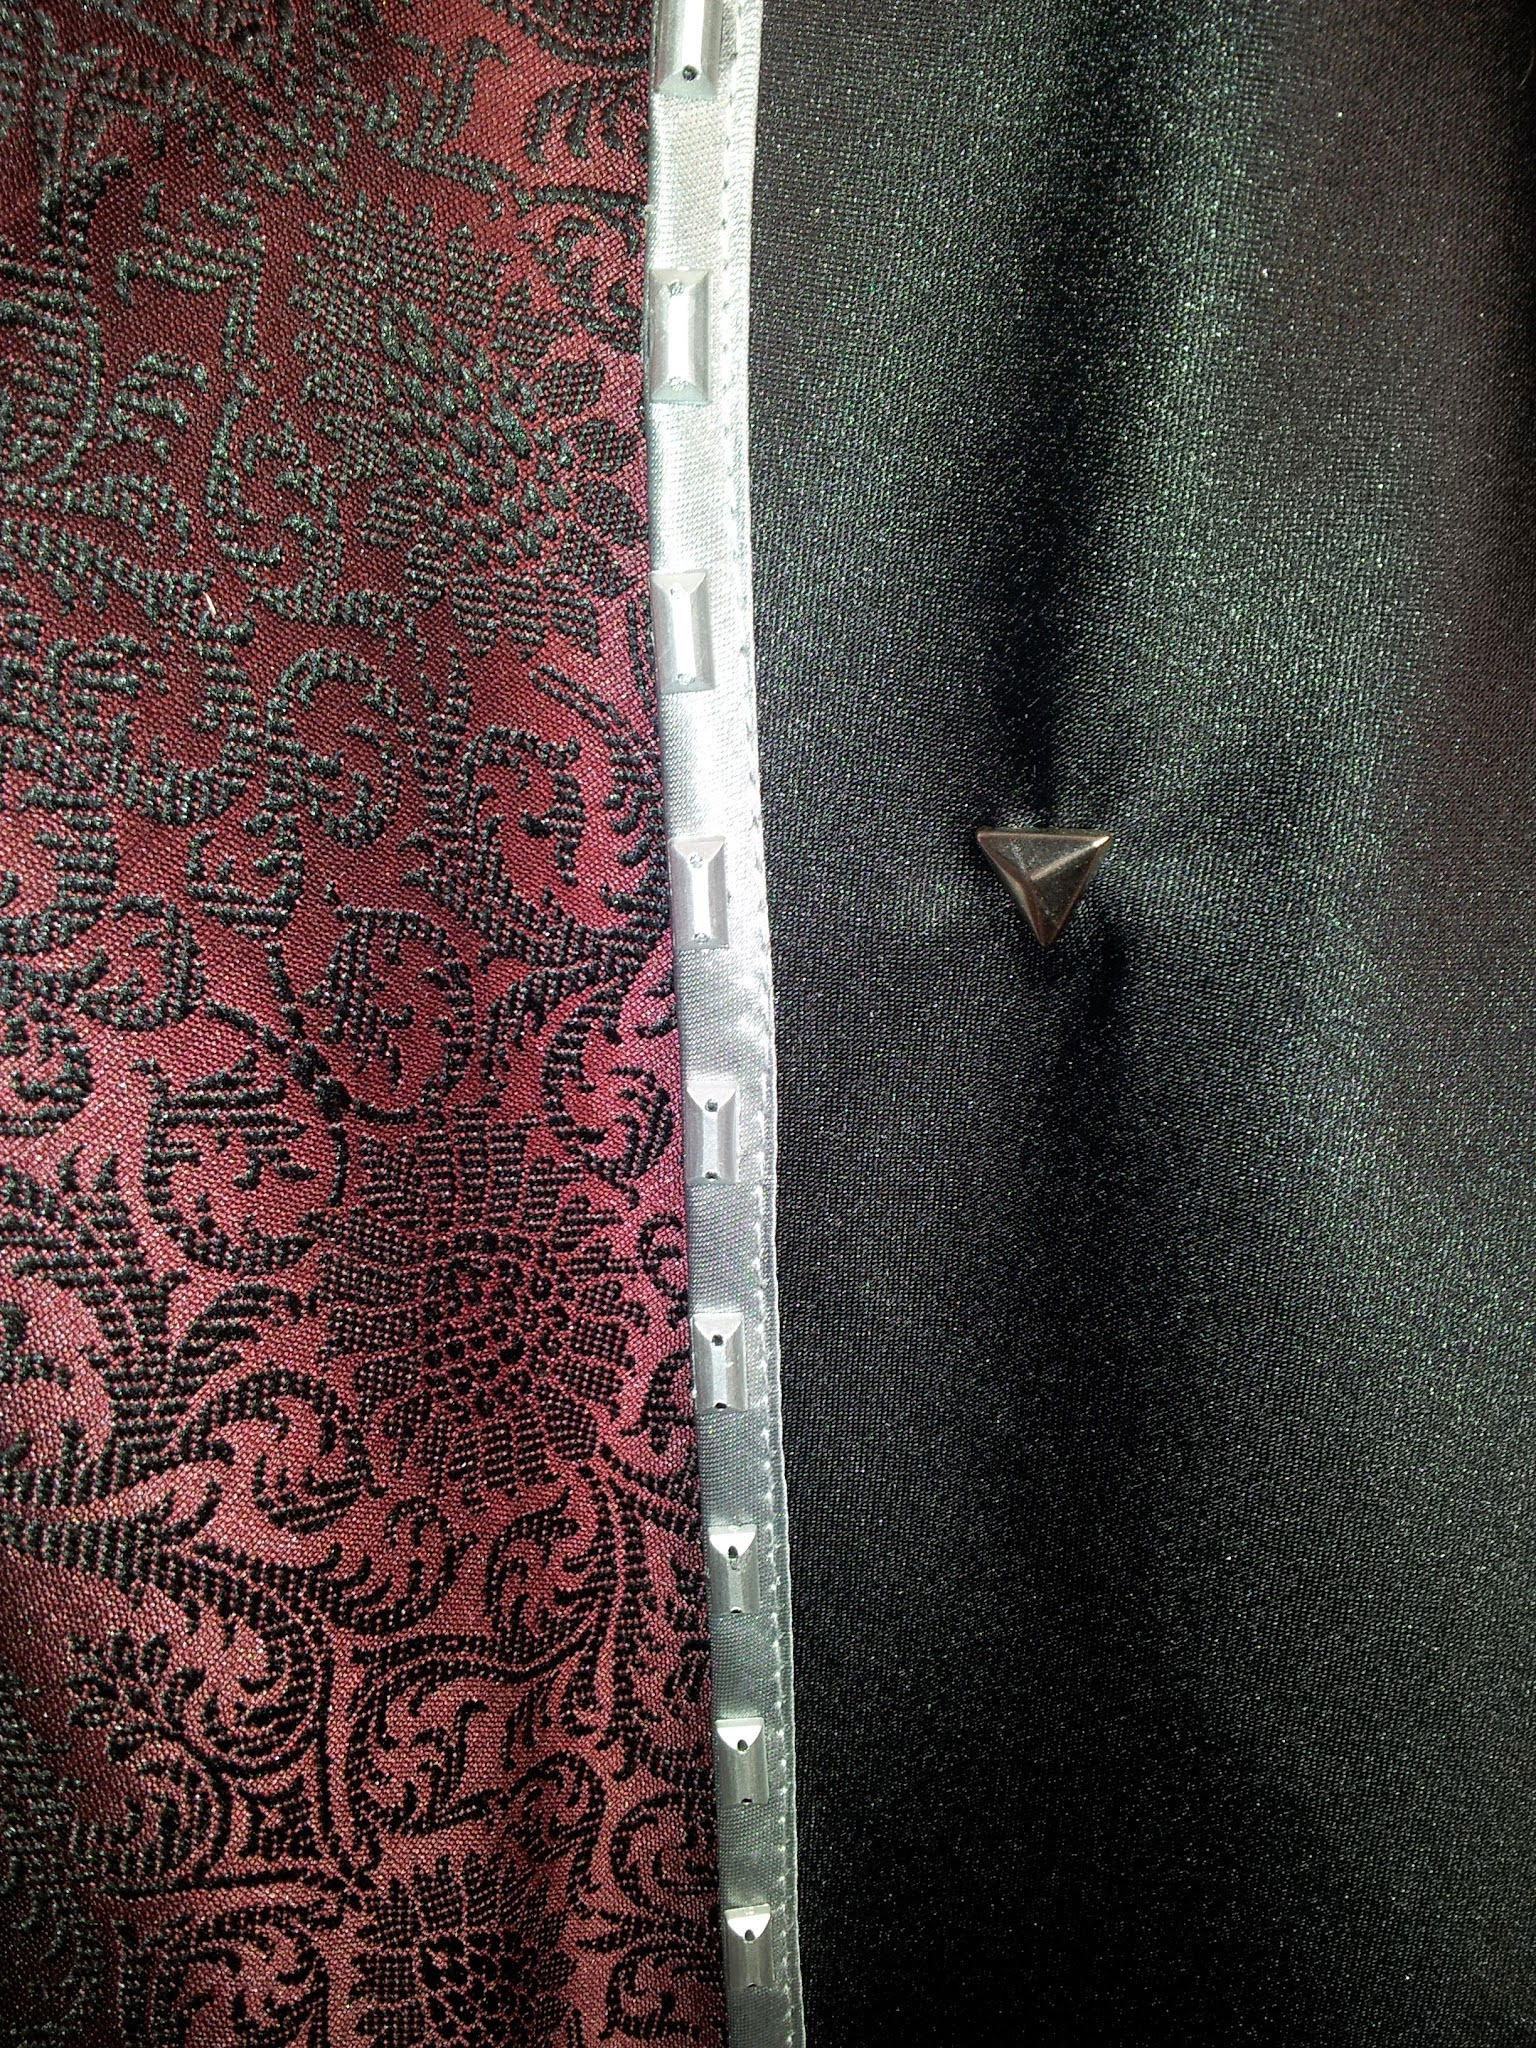
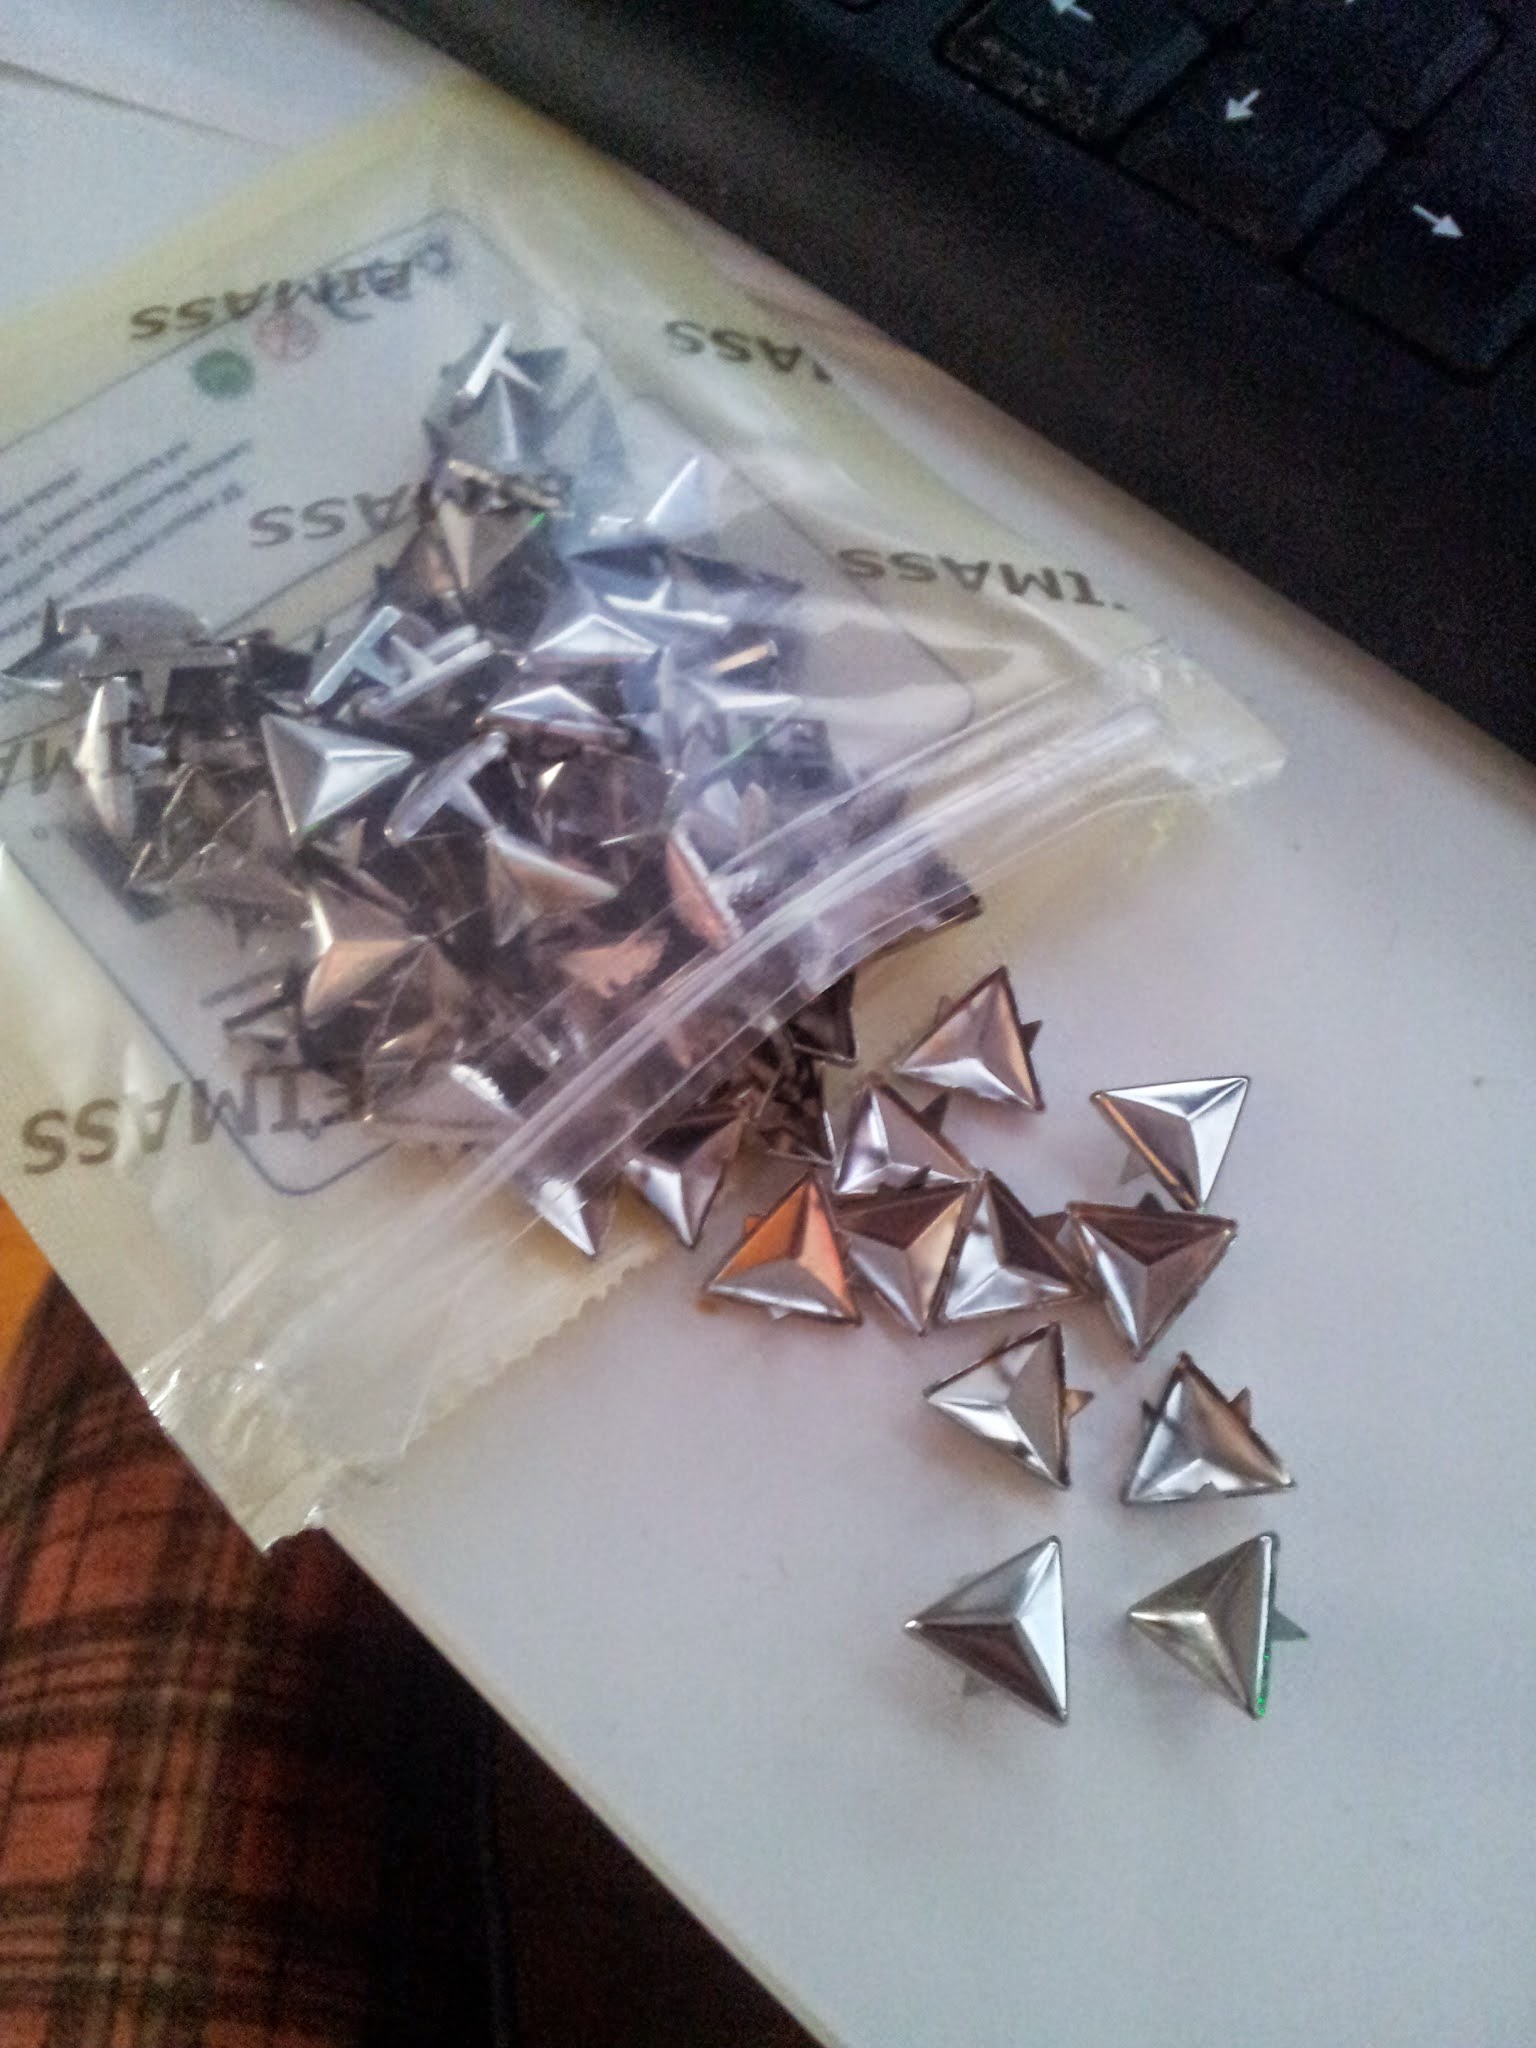
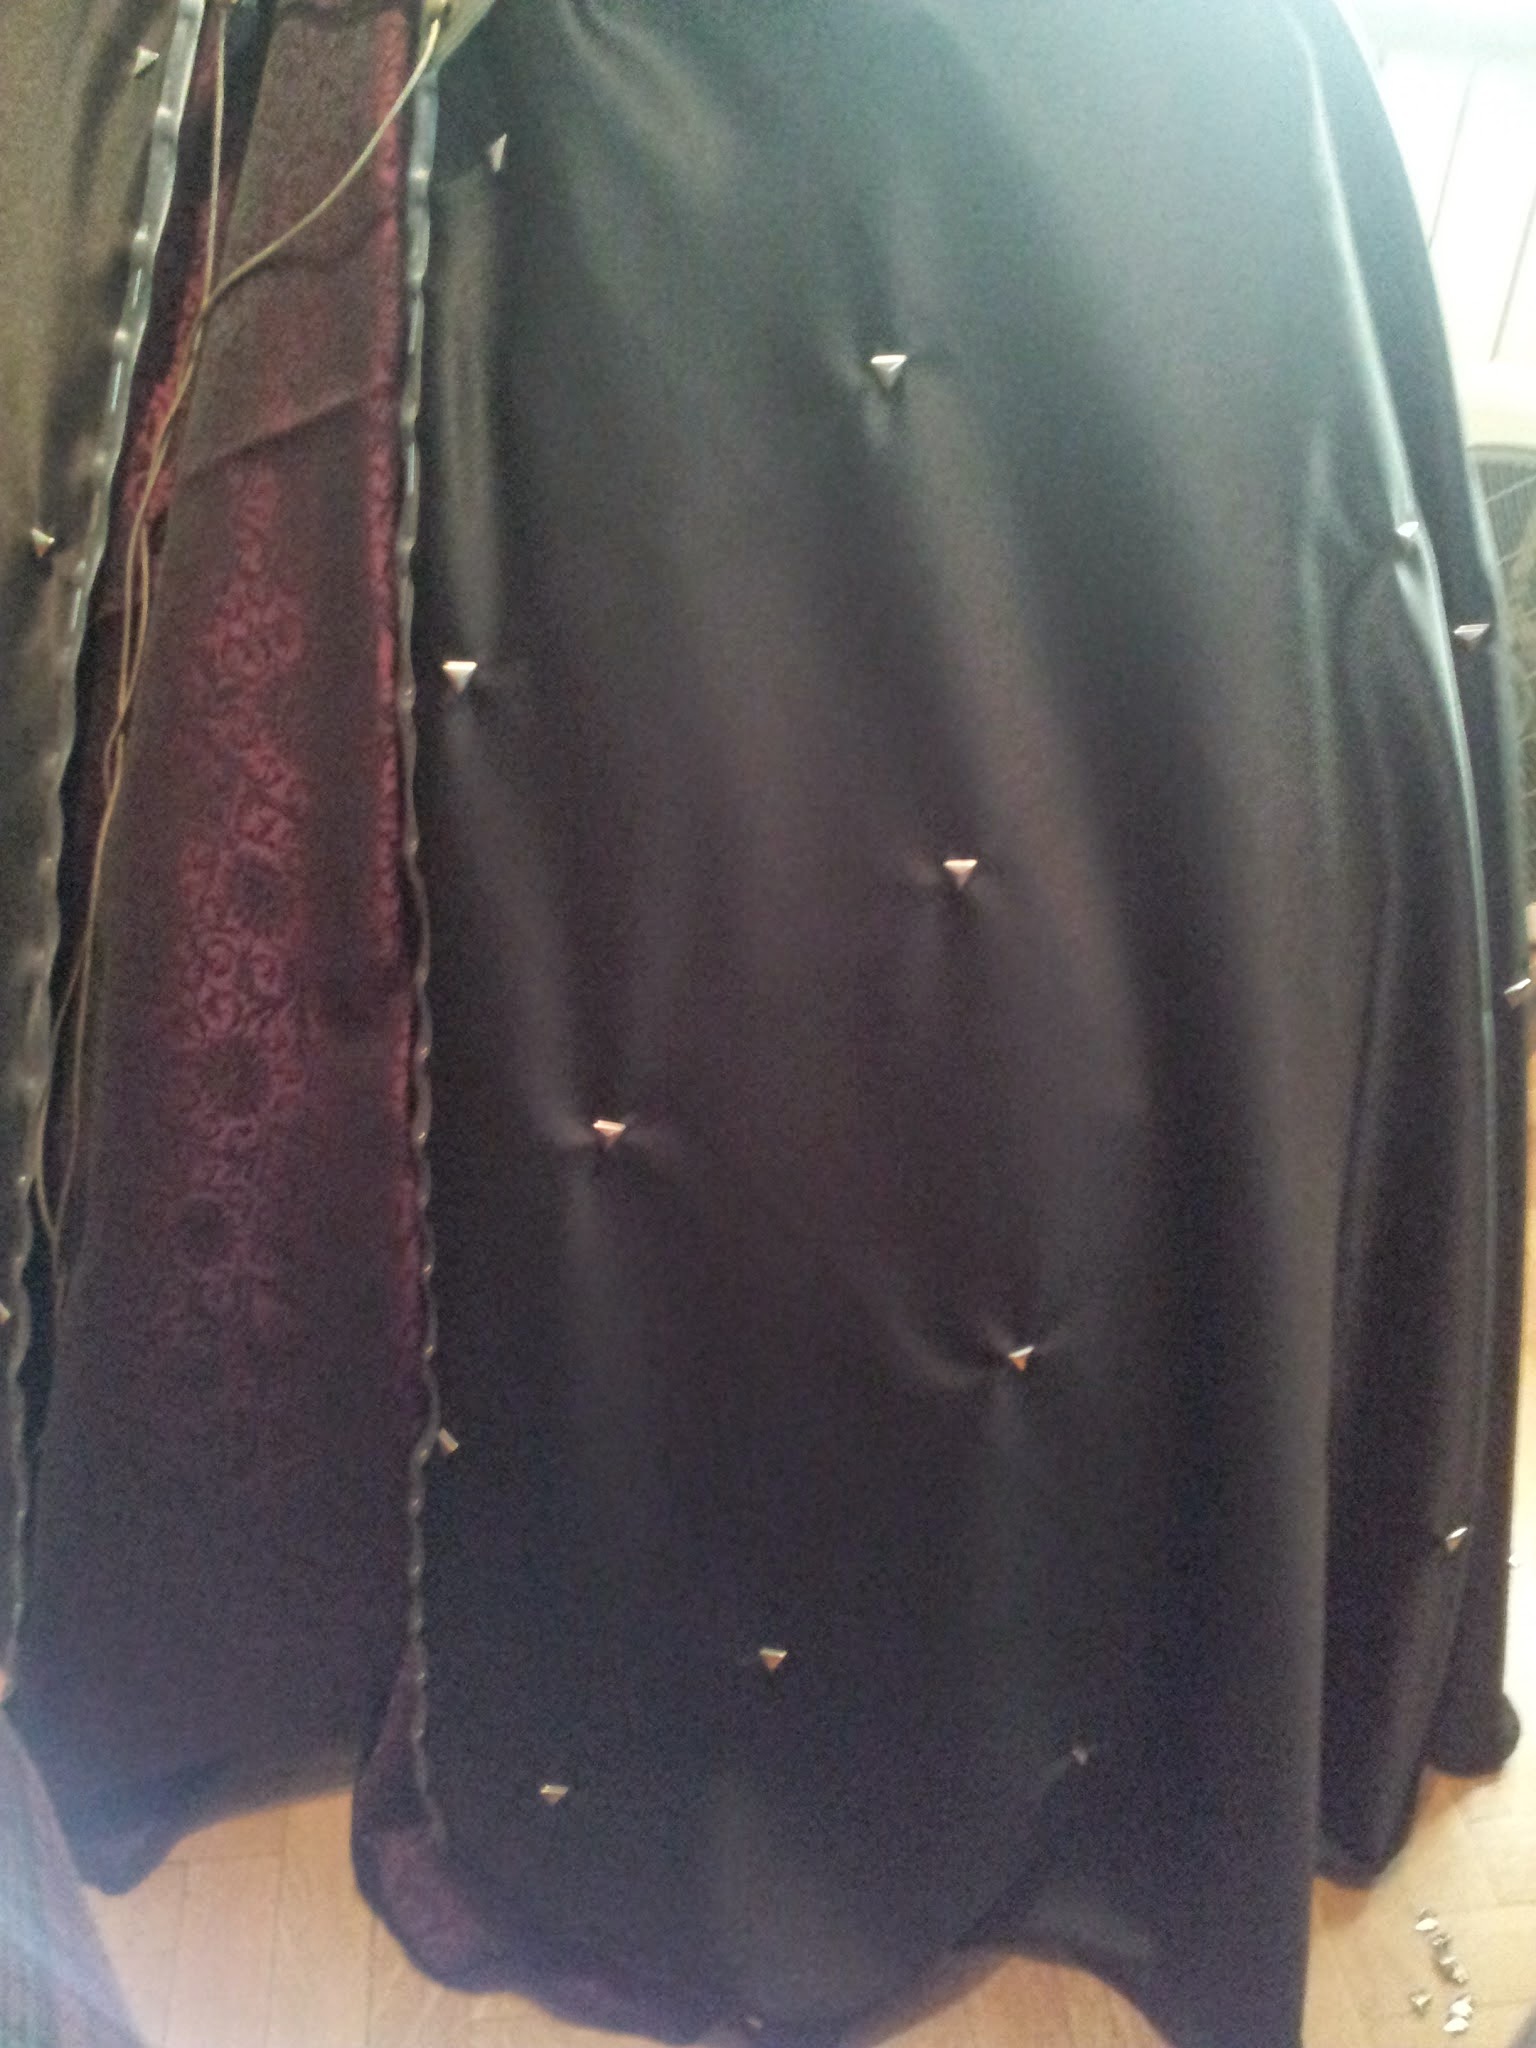
To finish it, I added some ornaments such as the rectangular beads and the triangular tacks.
I was very lucky to find these rectangular beads. I was going to miss this part of the costume because I didn’t know how to get the effect, untill I found these ornaments in the notions store by chance. They were originally black. I had to prime them and spray paint them in silver.
I know the triangular tacks are not the most accurate ornaments here, but I didn’t have time to make that kind of bird-like decoration the model has by making a prototype, a mold, and 100 replicas. I think these tacks look pretty good, they have this beautiful chrome finish, they get attached really well to the fabric and they are fully washable.
And that’s all about the skirt! I’ll keep on making entries about my Morrigan costume.
As always, if you have any doubt, complain or anything, please write it in the comments below, facebook or twitter.


