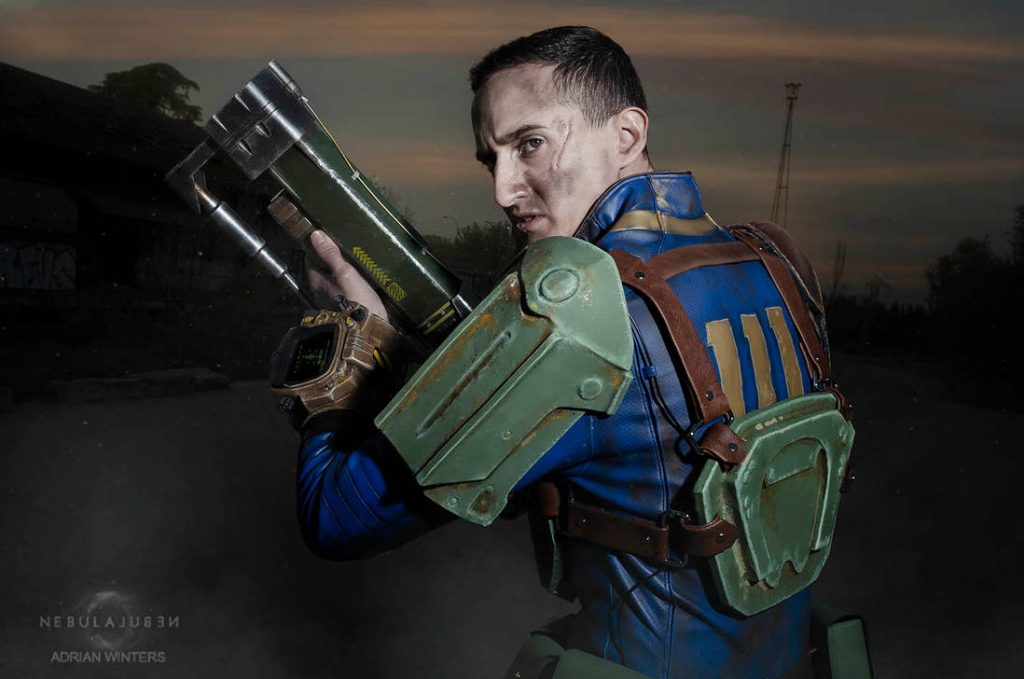
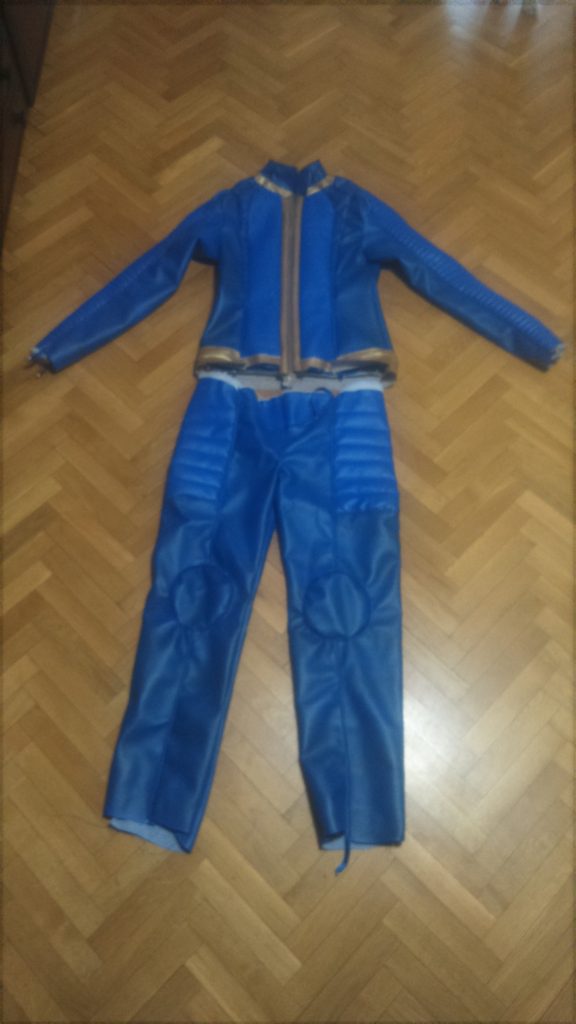
I made this costume back in 2021, but I never uploaded a tutorial about it. Now I’m taking the chance the Fallout series has just been released on Amazon Prime, and it has the most accurate costumes ever in history, to show you how I made the vault dweller suit for my husband.
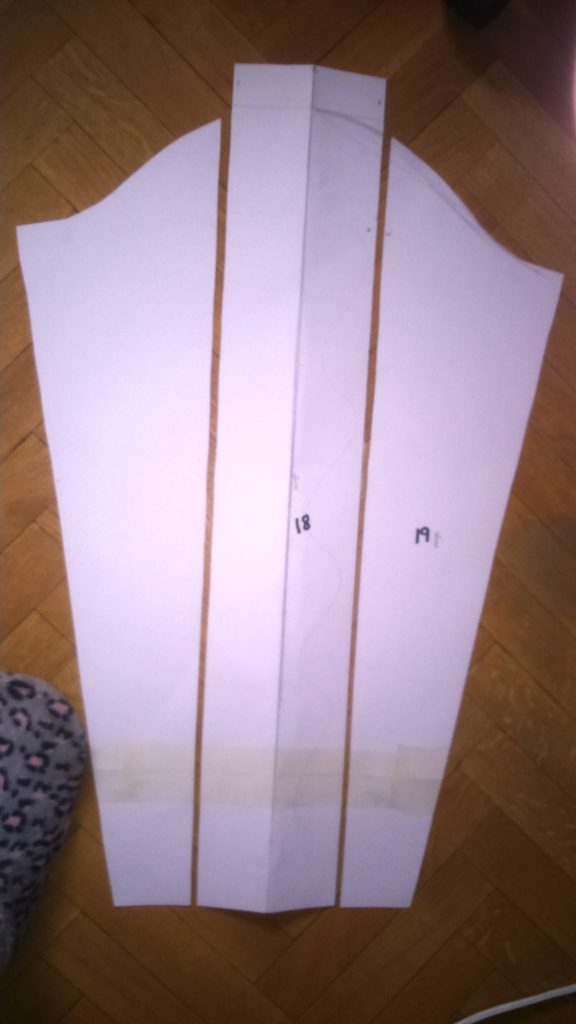
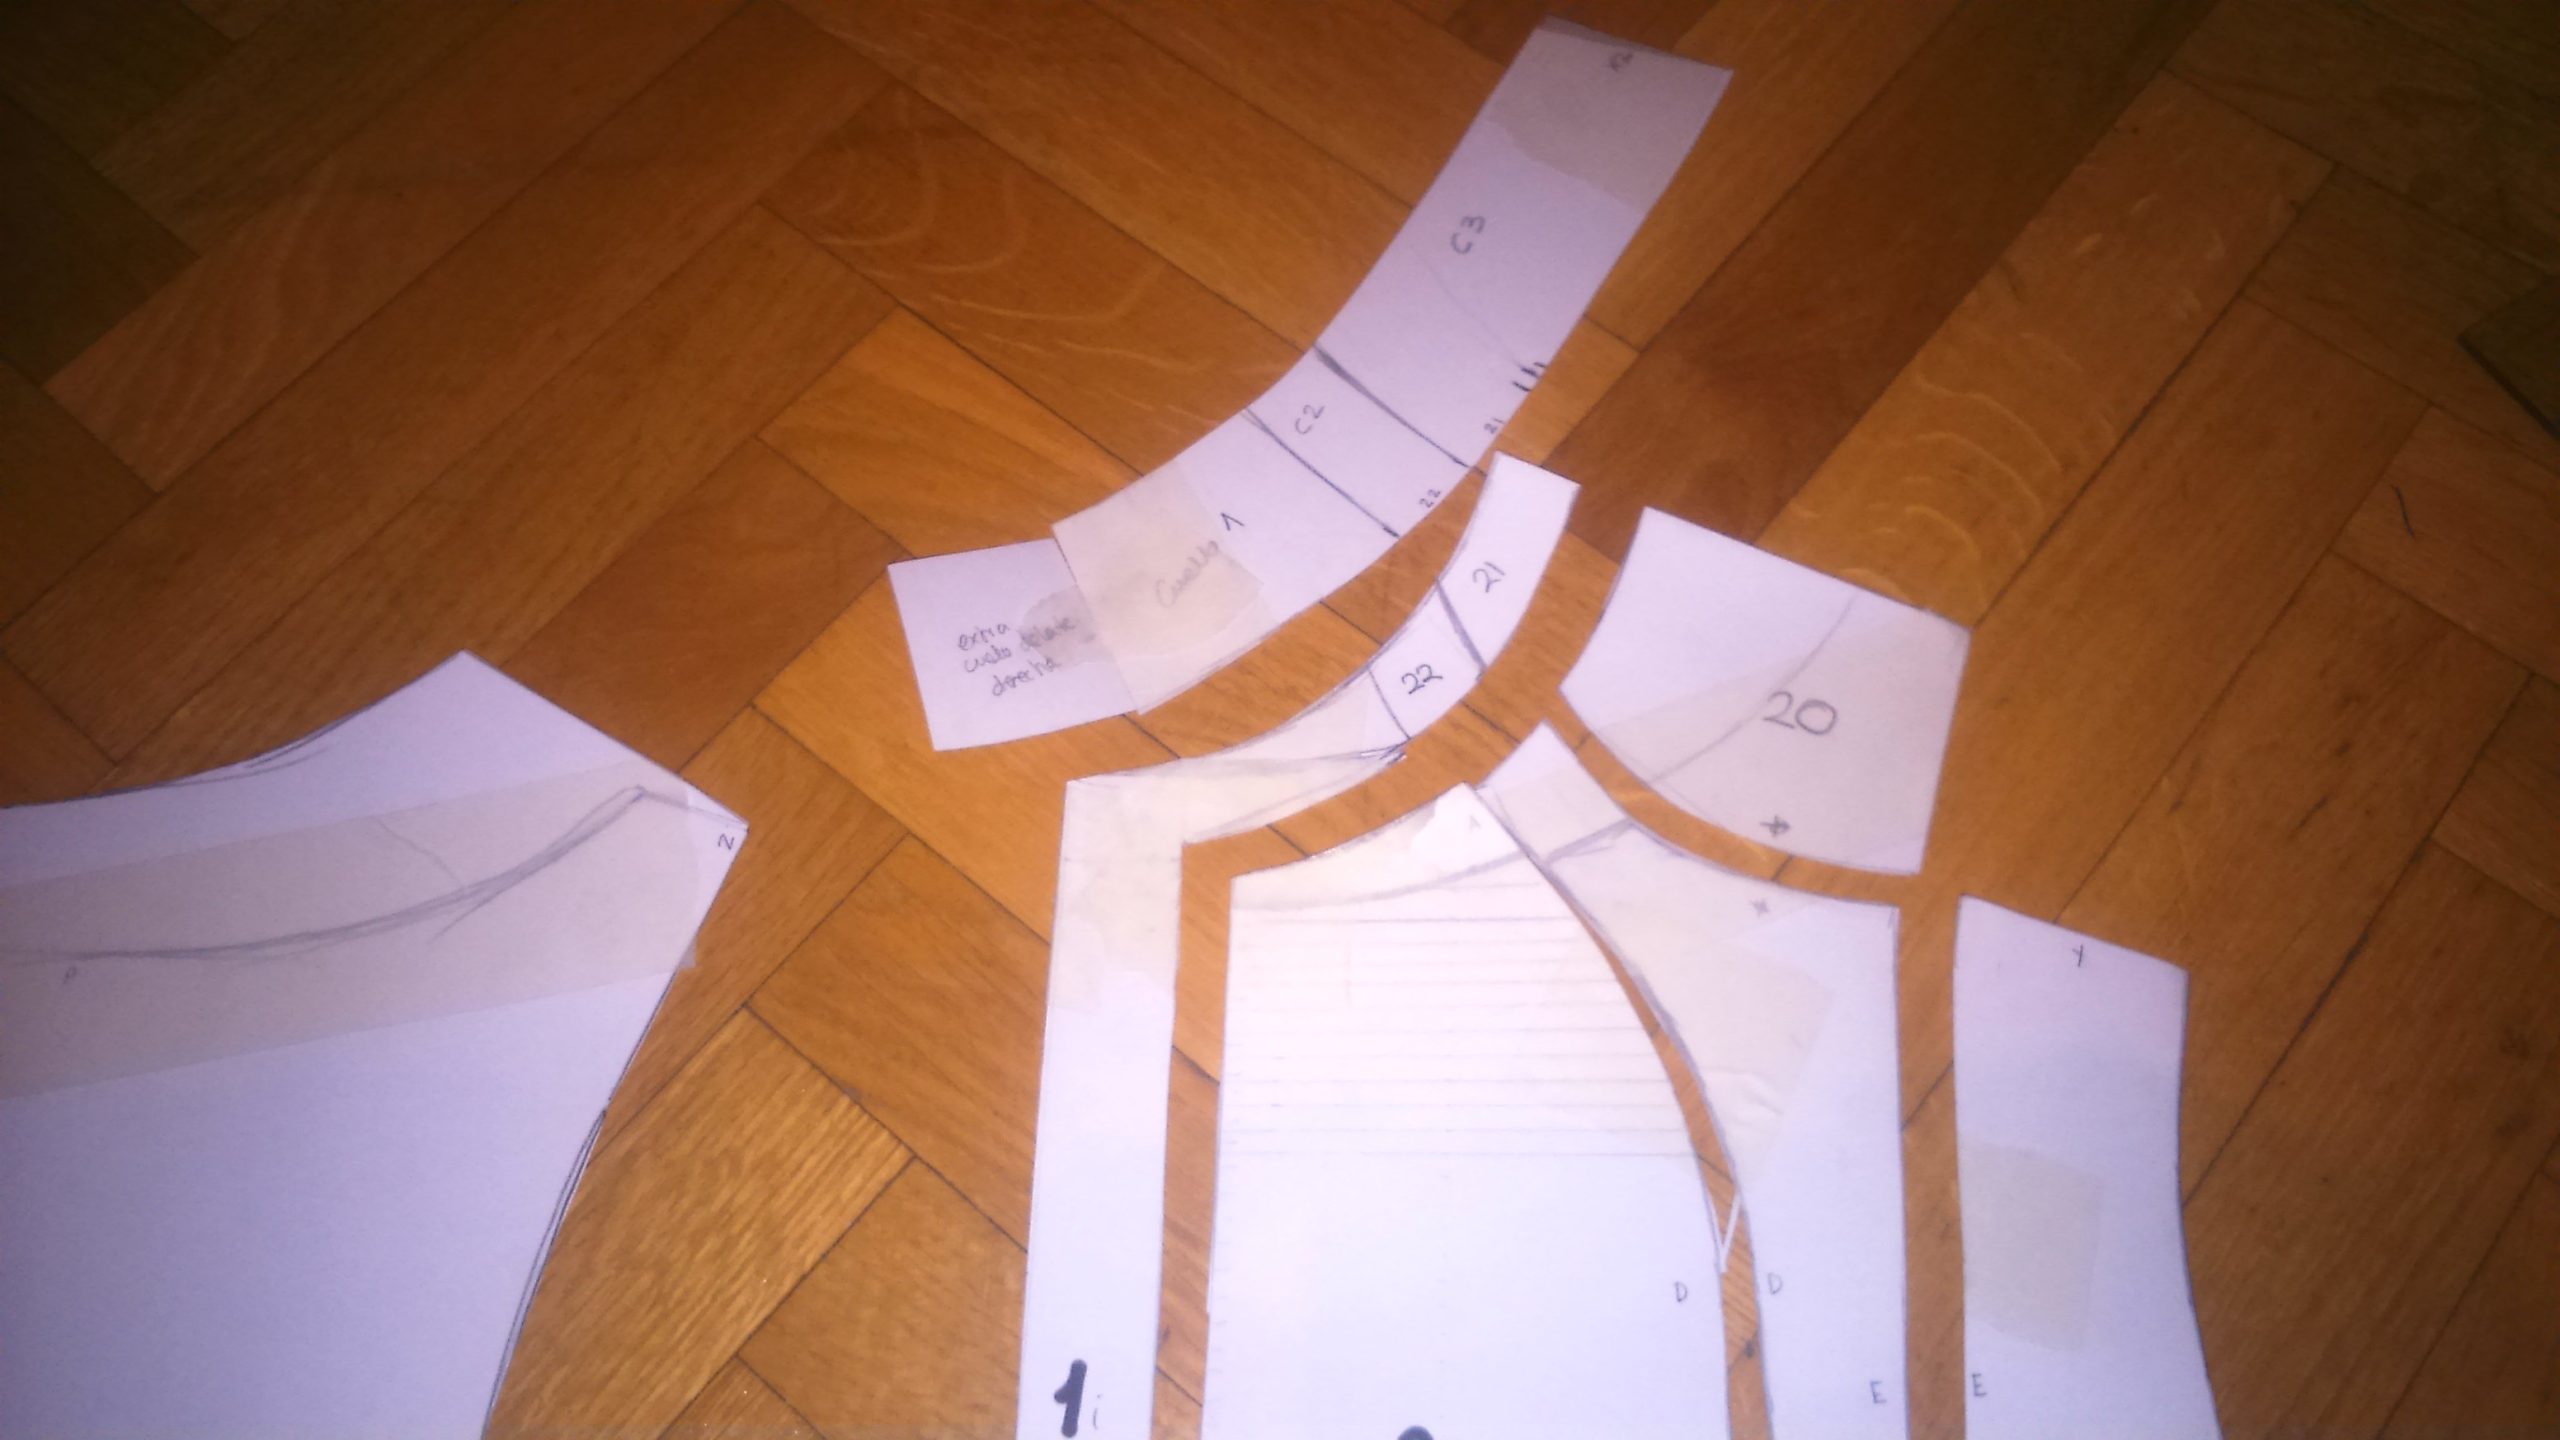
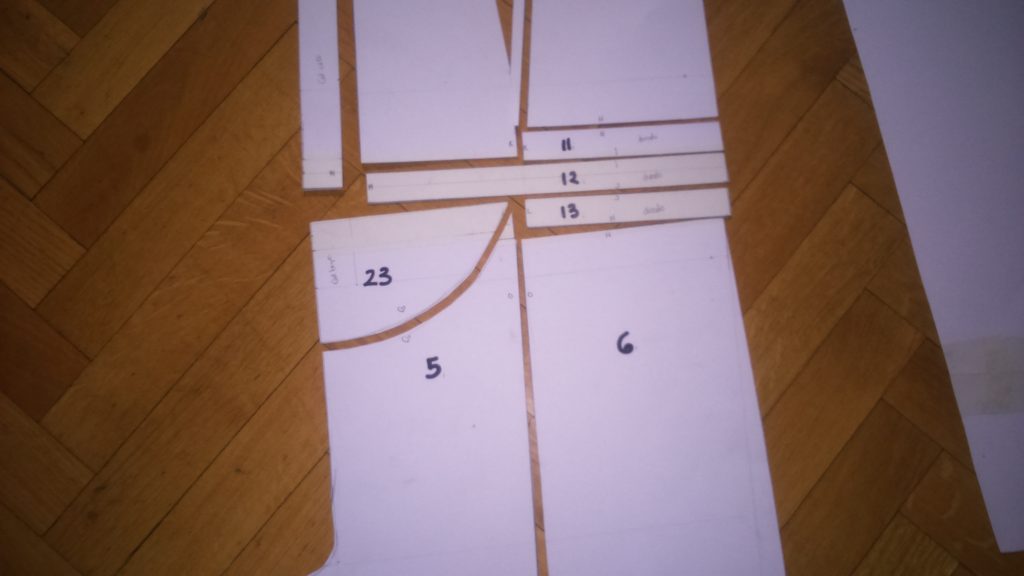
Pattern making
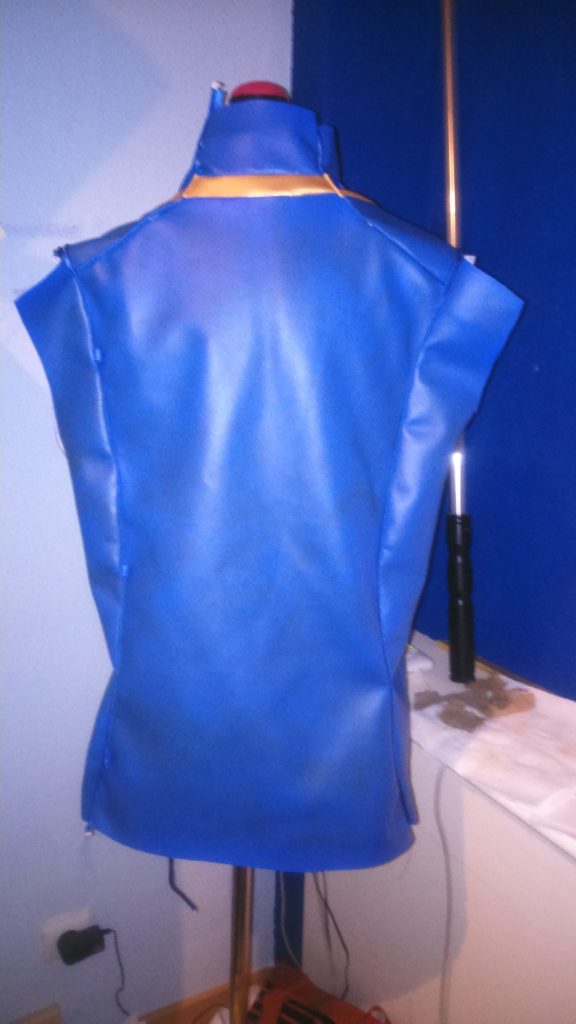
To begin with, I had to make top and bottom base patterns and, after that, I joined them to get the overall pattern. Putting together both top and bottom patterns is not the easiest task and requires some alterations. An important pint here is to add an extra 5 to 10 cm (2 – 4 inches) in between for you to be able to sit and move comfortably.
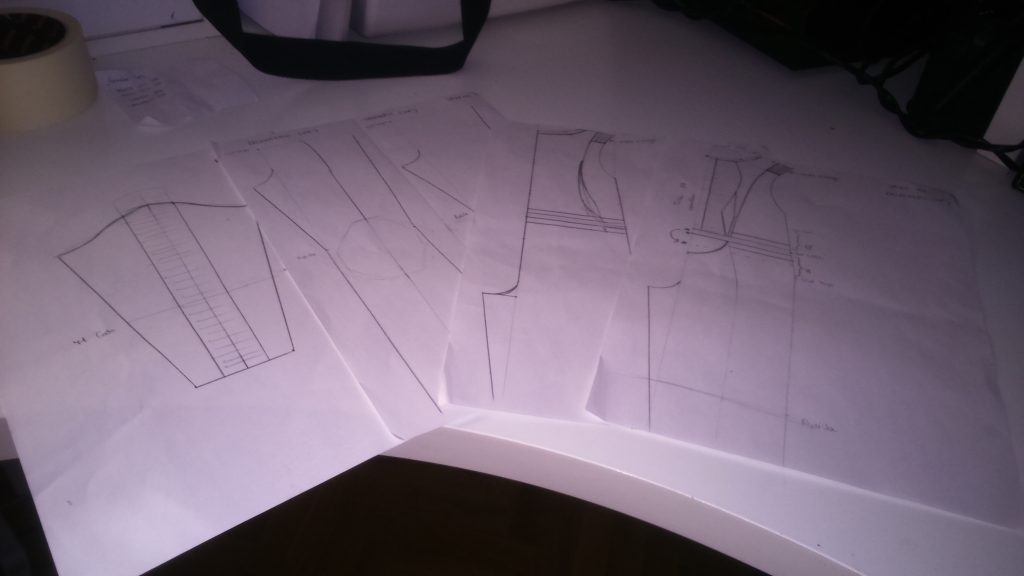
I’d also advise you to make a mockup garment before using the final fabrics. I didn’t do it at that moment but now that I’ve been attending sewing classes for two years, I’d definitely do it. Mainly because, if you’re going to make a pleather or a vinyl garment, if you need to unstitch at some moment, that’s going to leave a mark and it’s going to look pretty ugly.
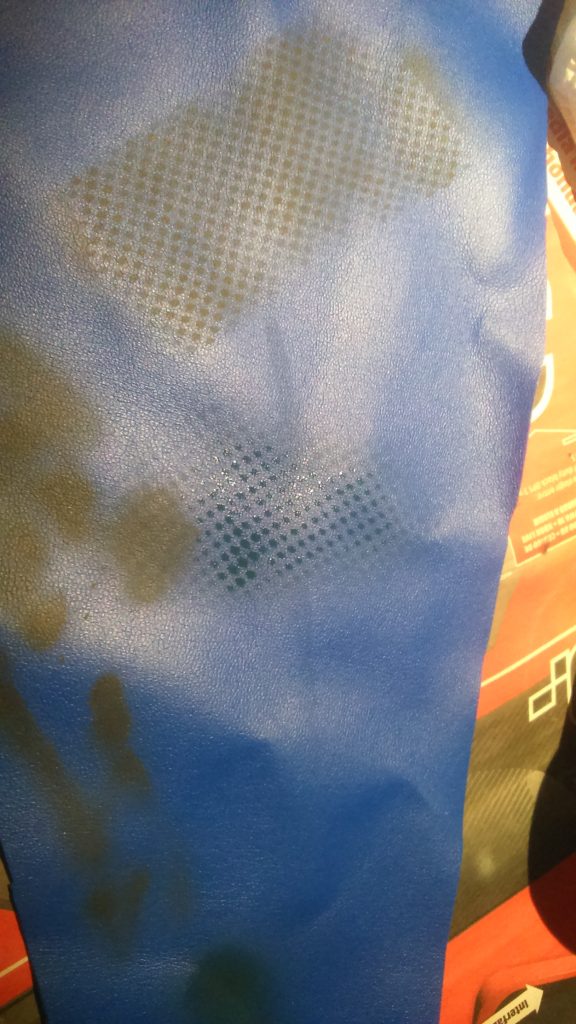
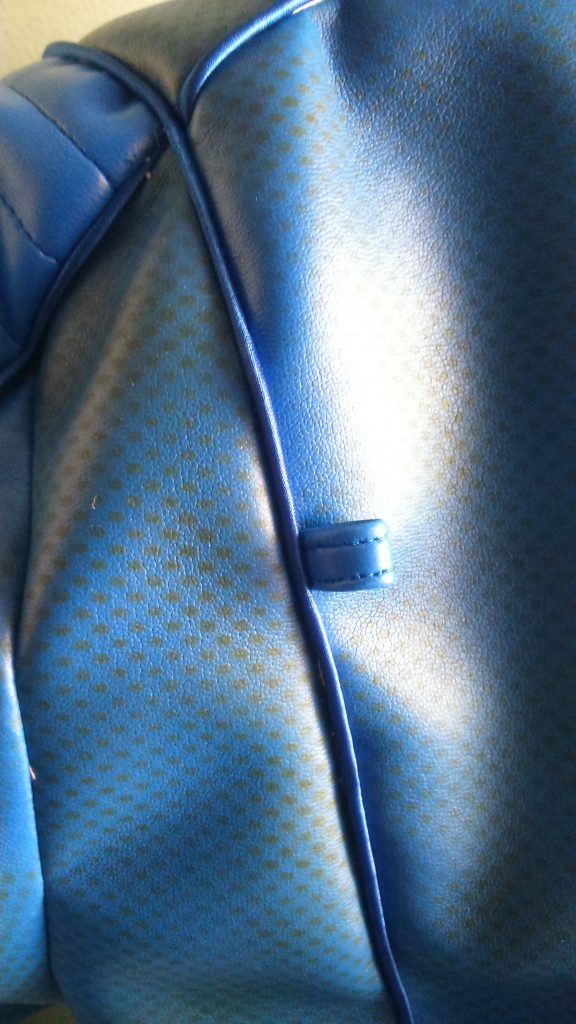
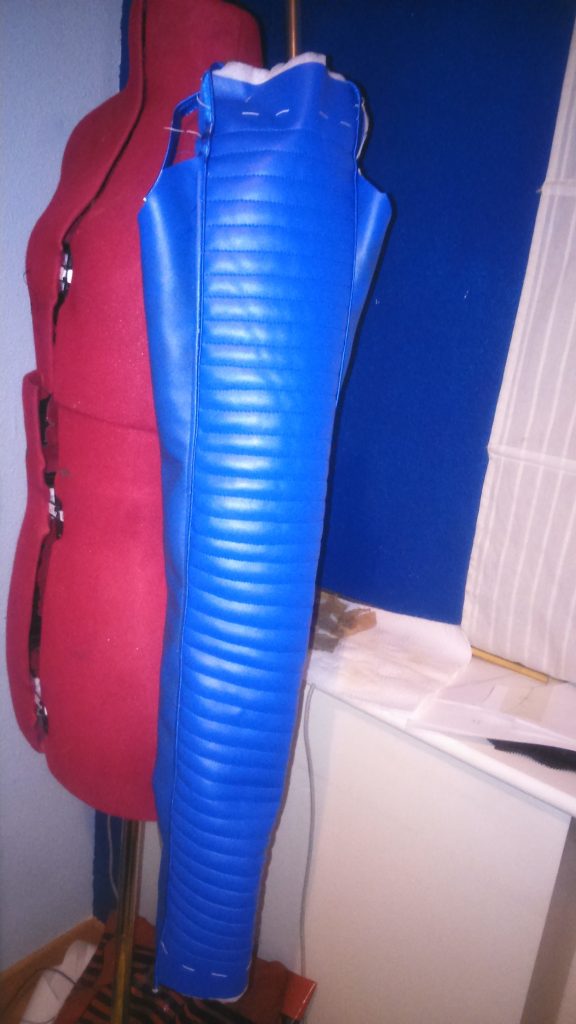
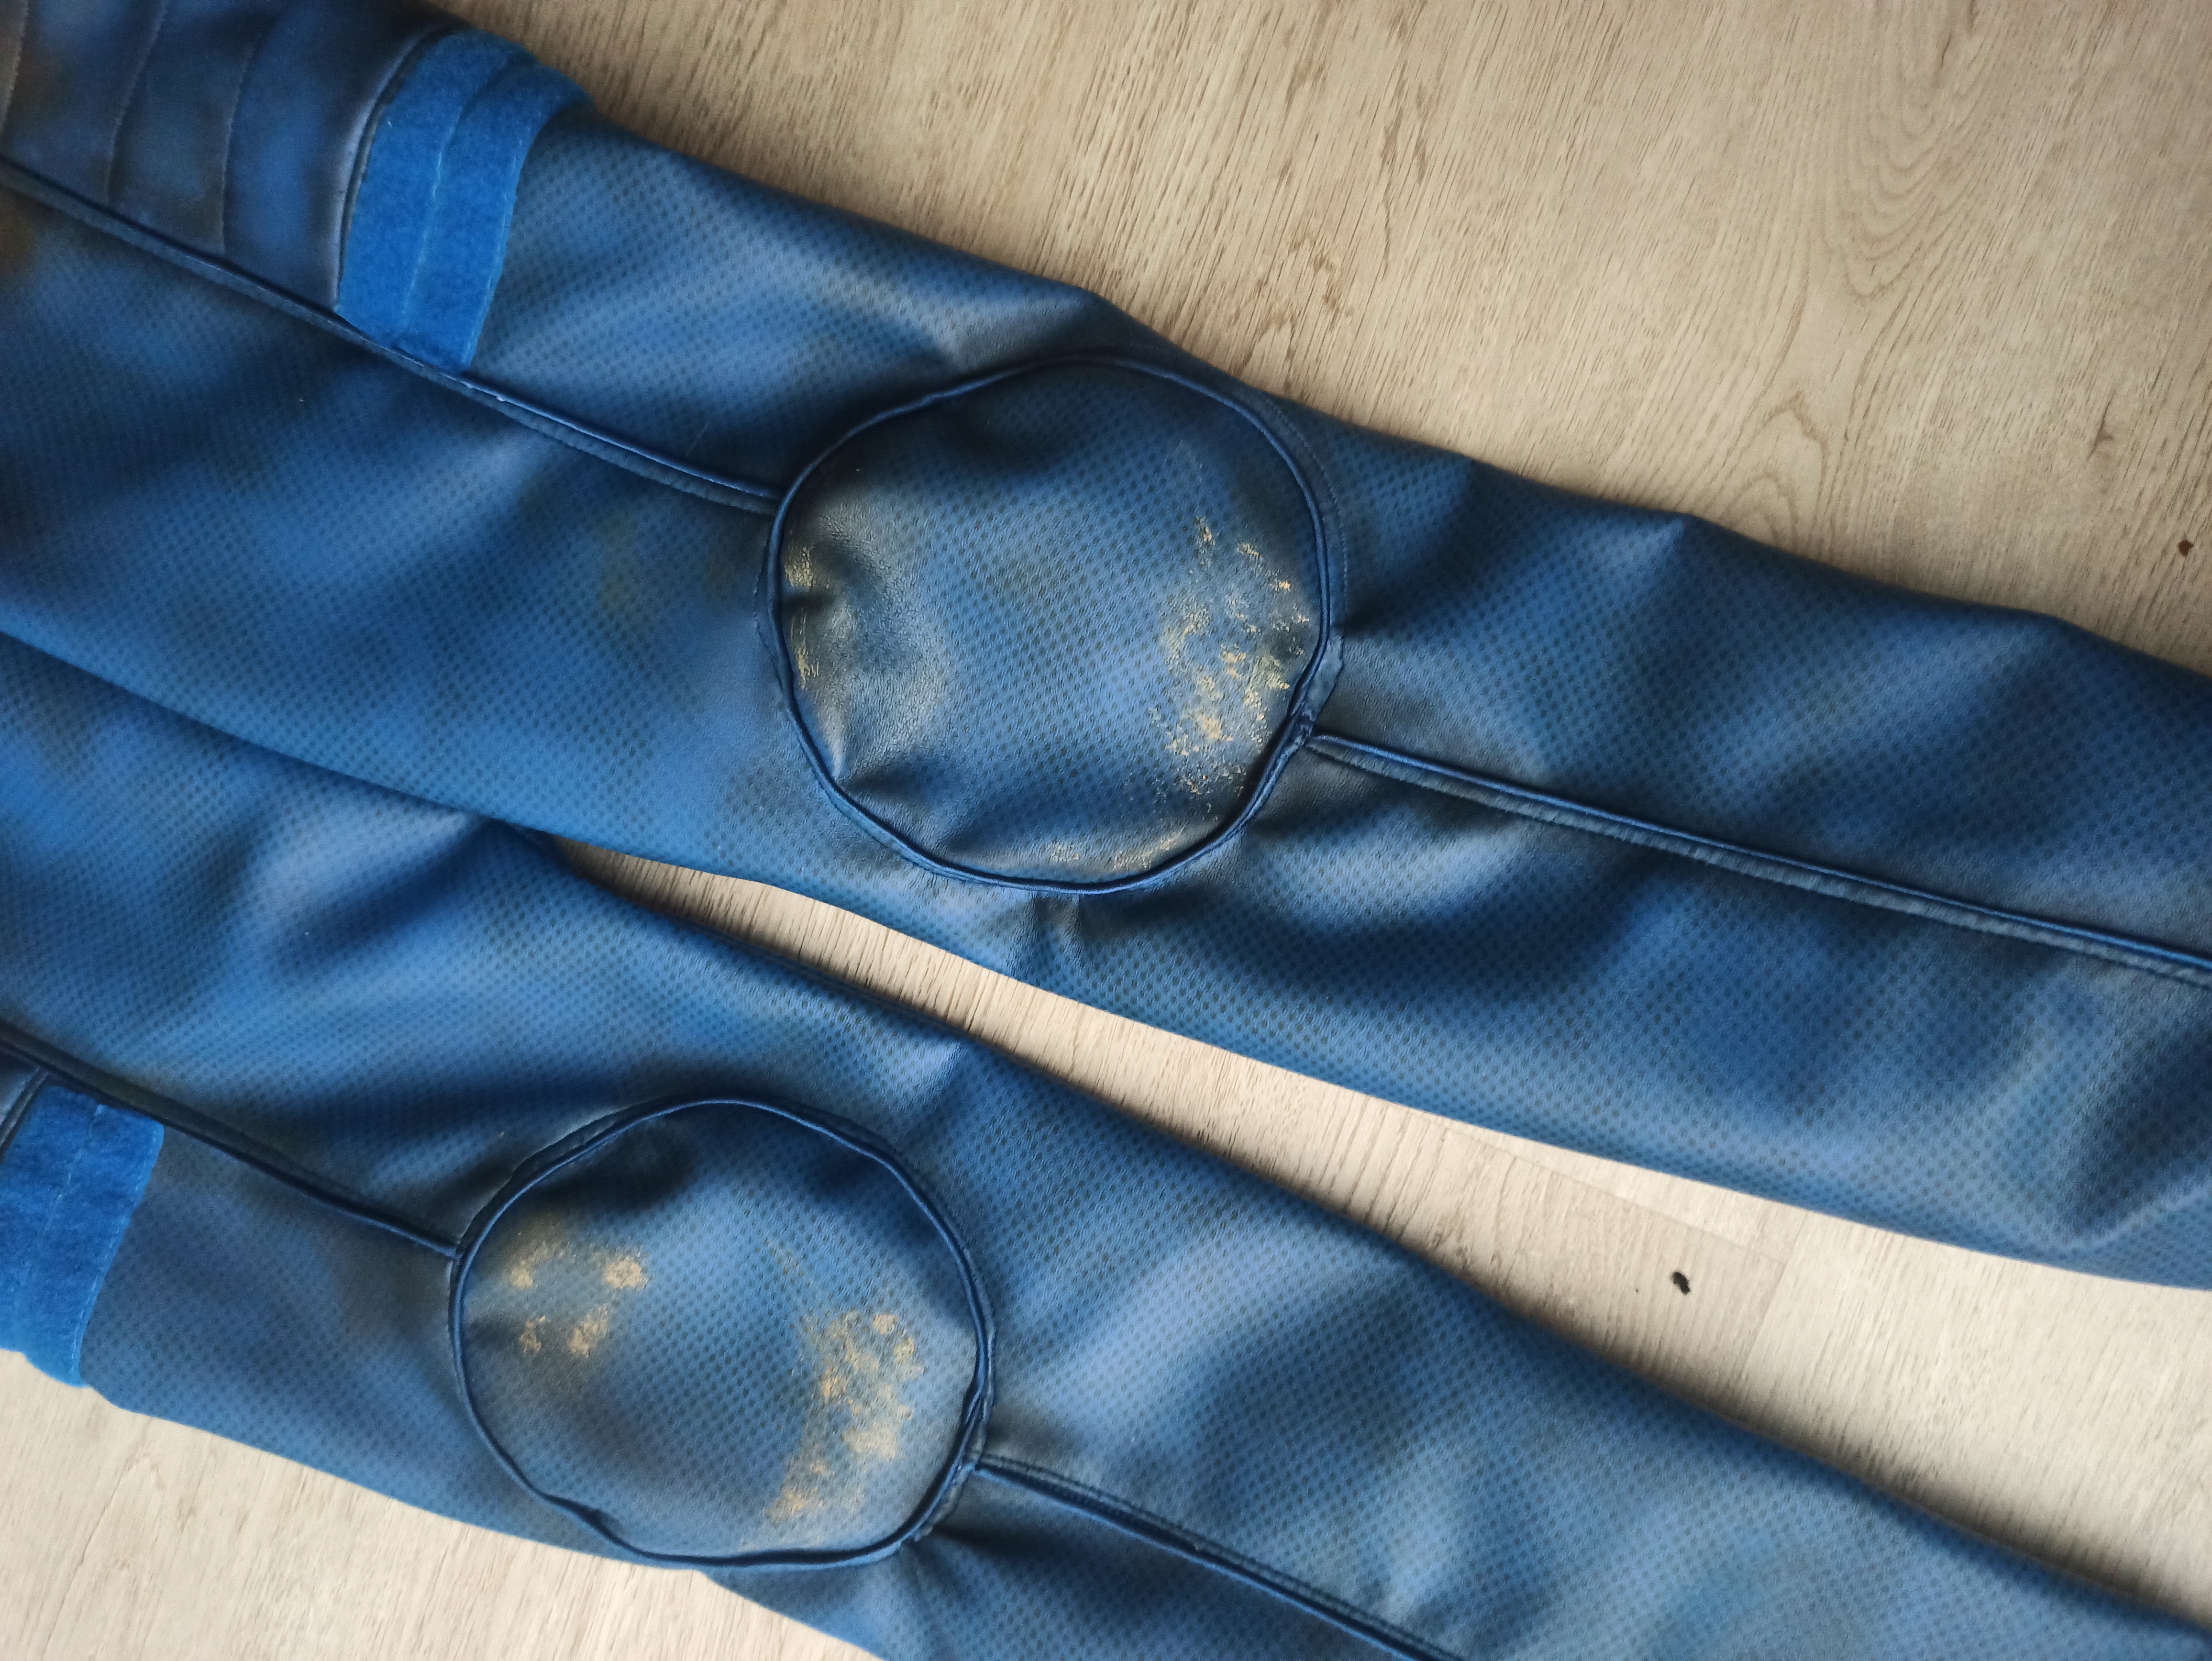
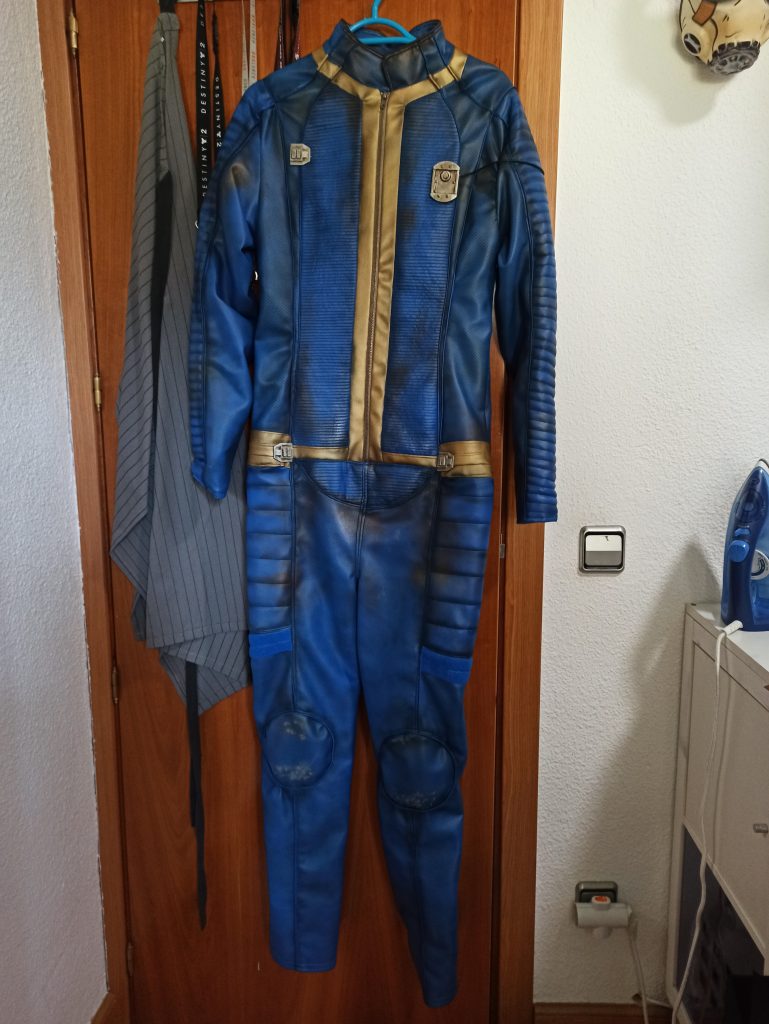
Sole survivor’s garment has very interesting textures: first, because the fabric texture has this dotty look. And second, for its padding.
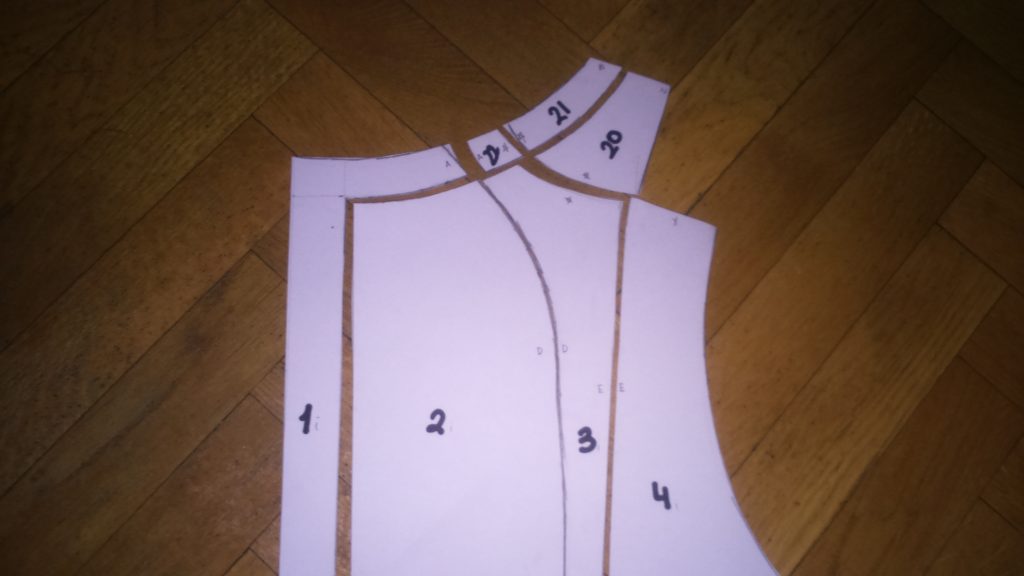
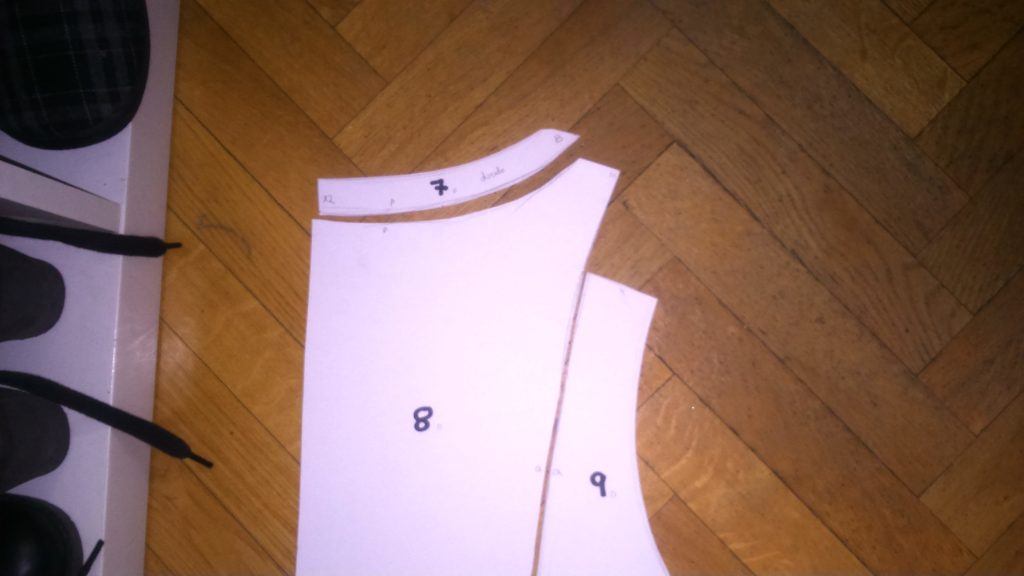
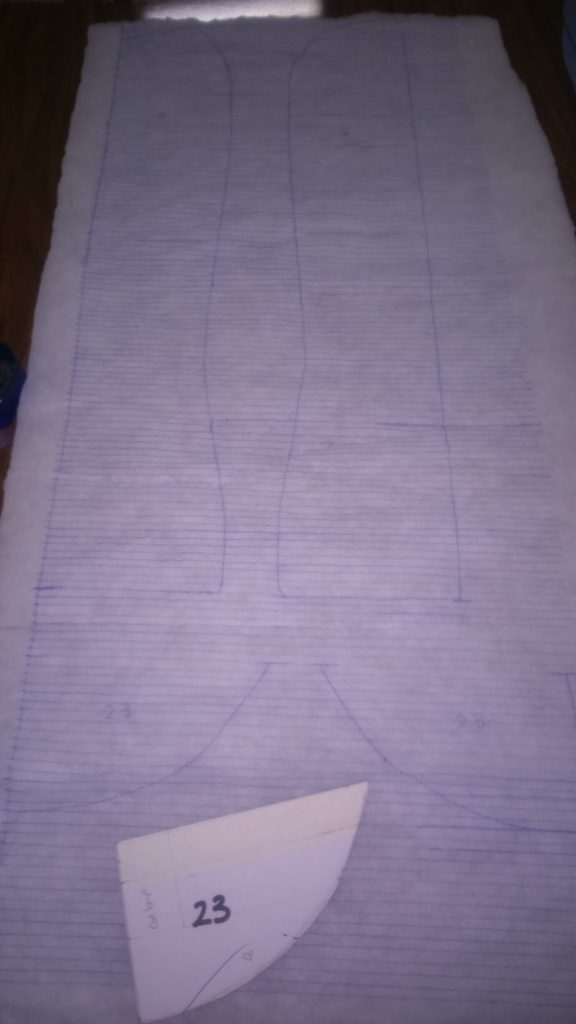
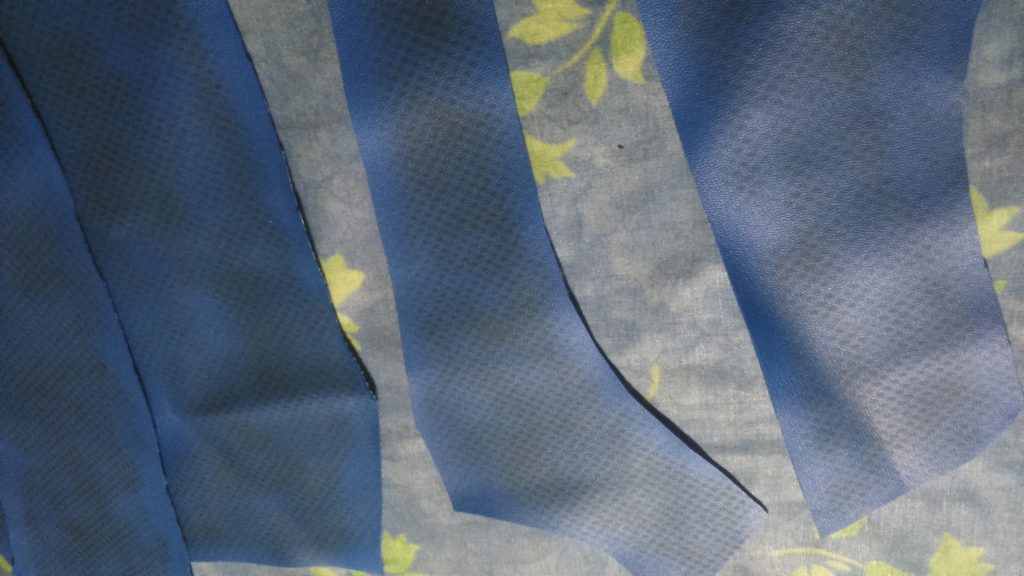
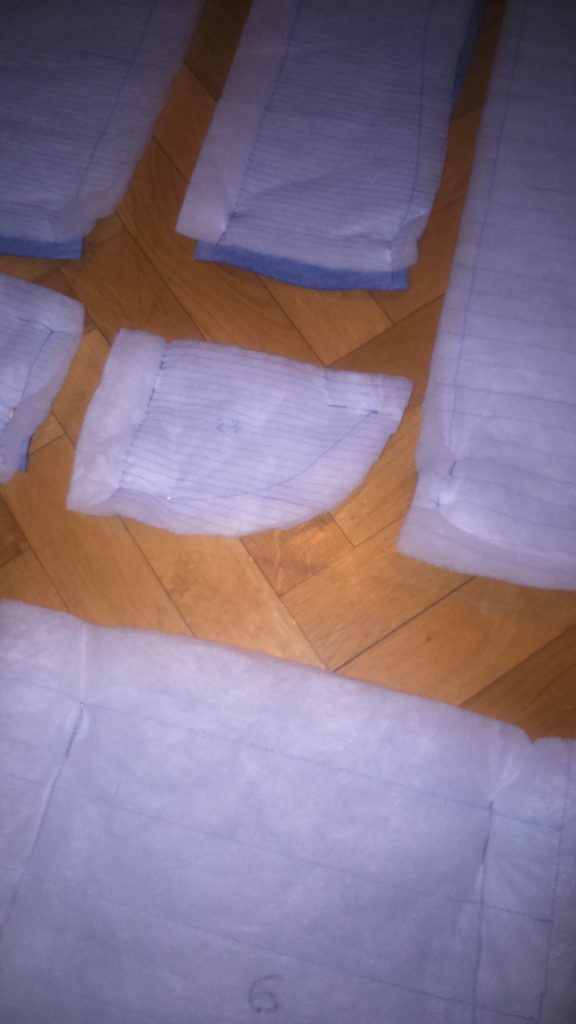
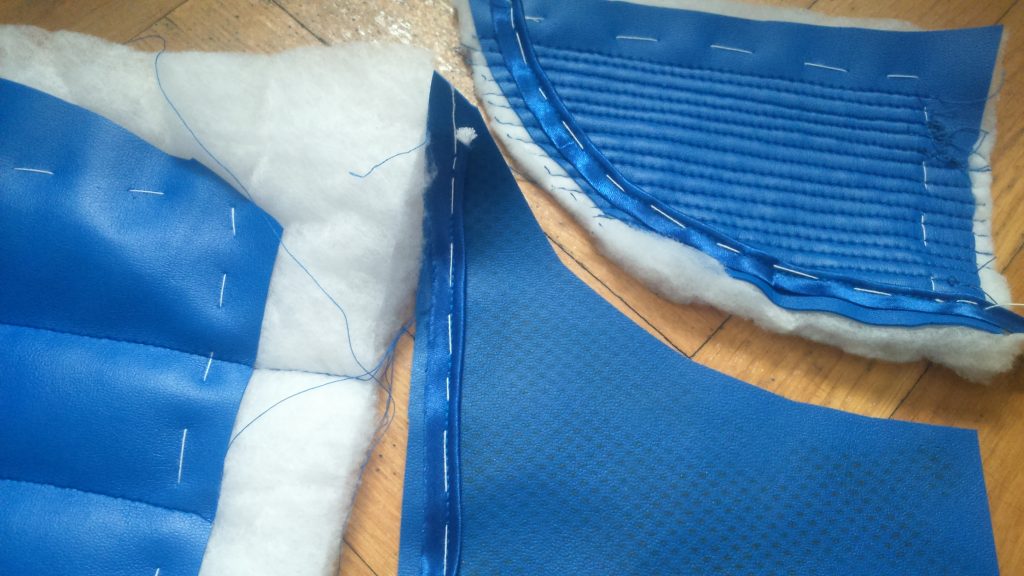
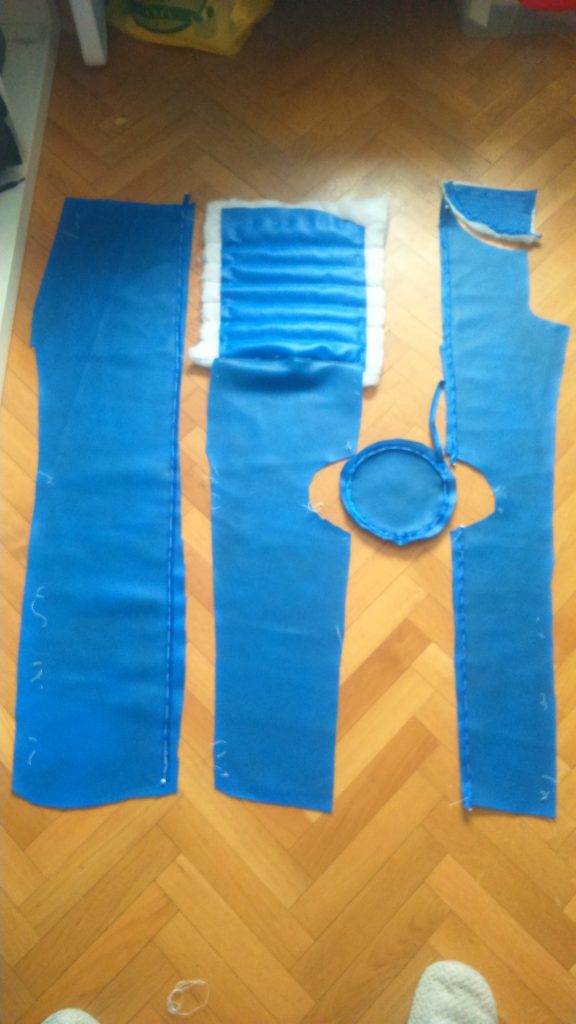
Once the general shape was patterned, I drew each separate part and prepared them for painting and padding.
Textures and padding
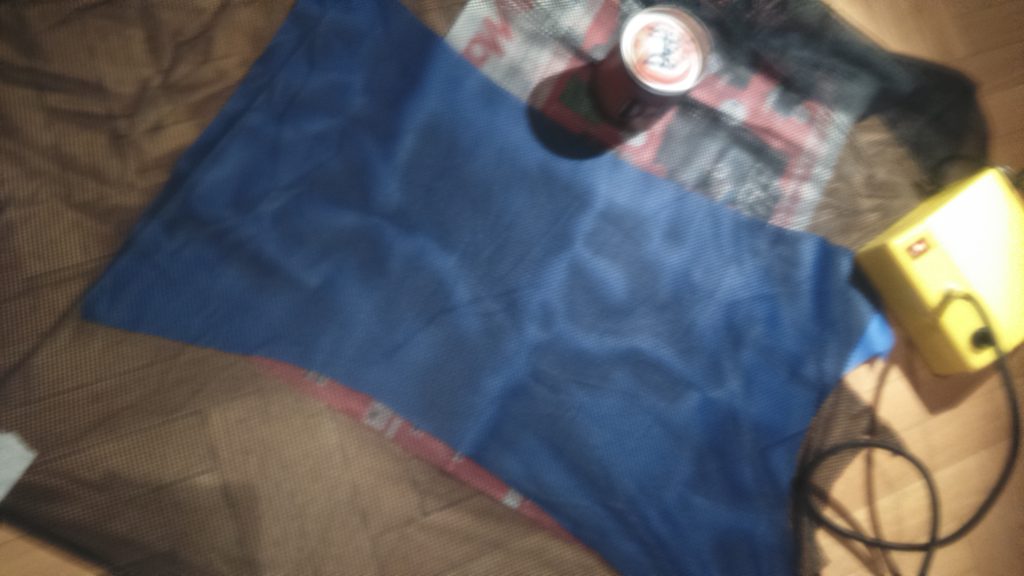
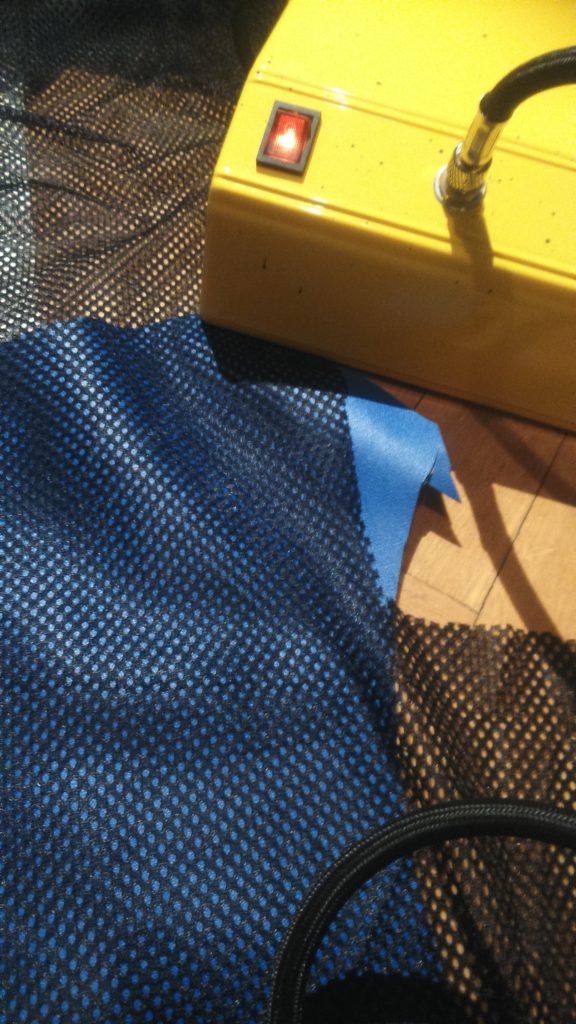
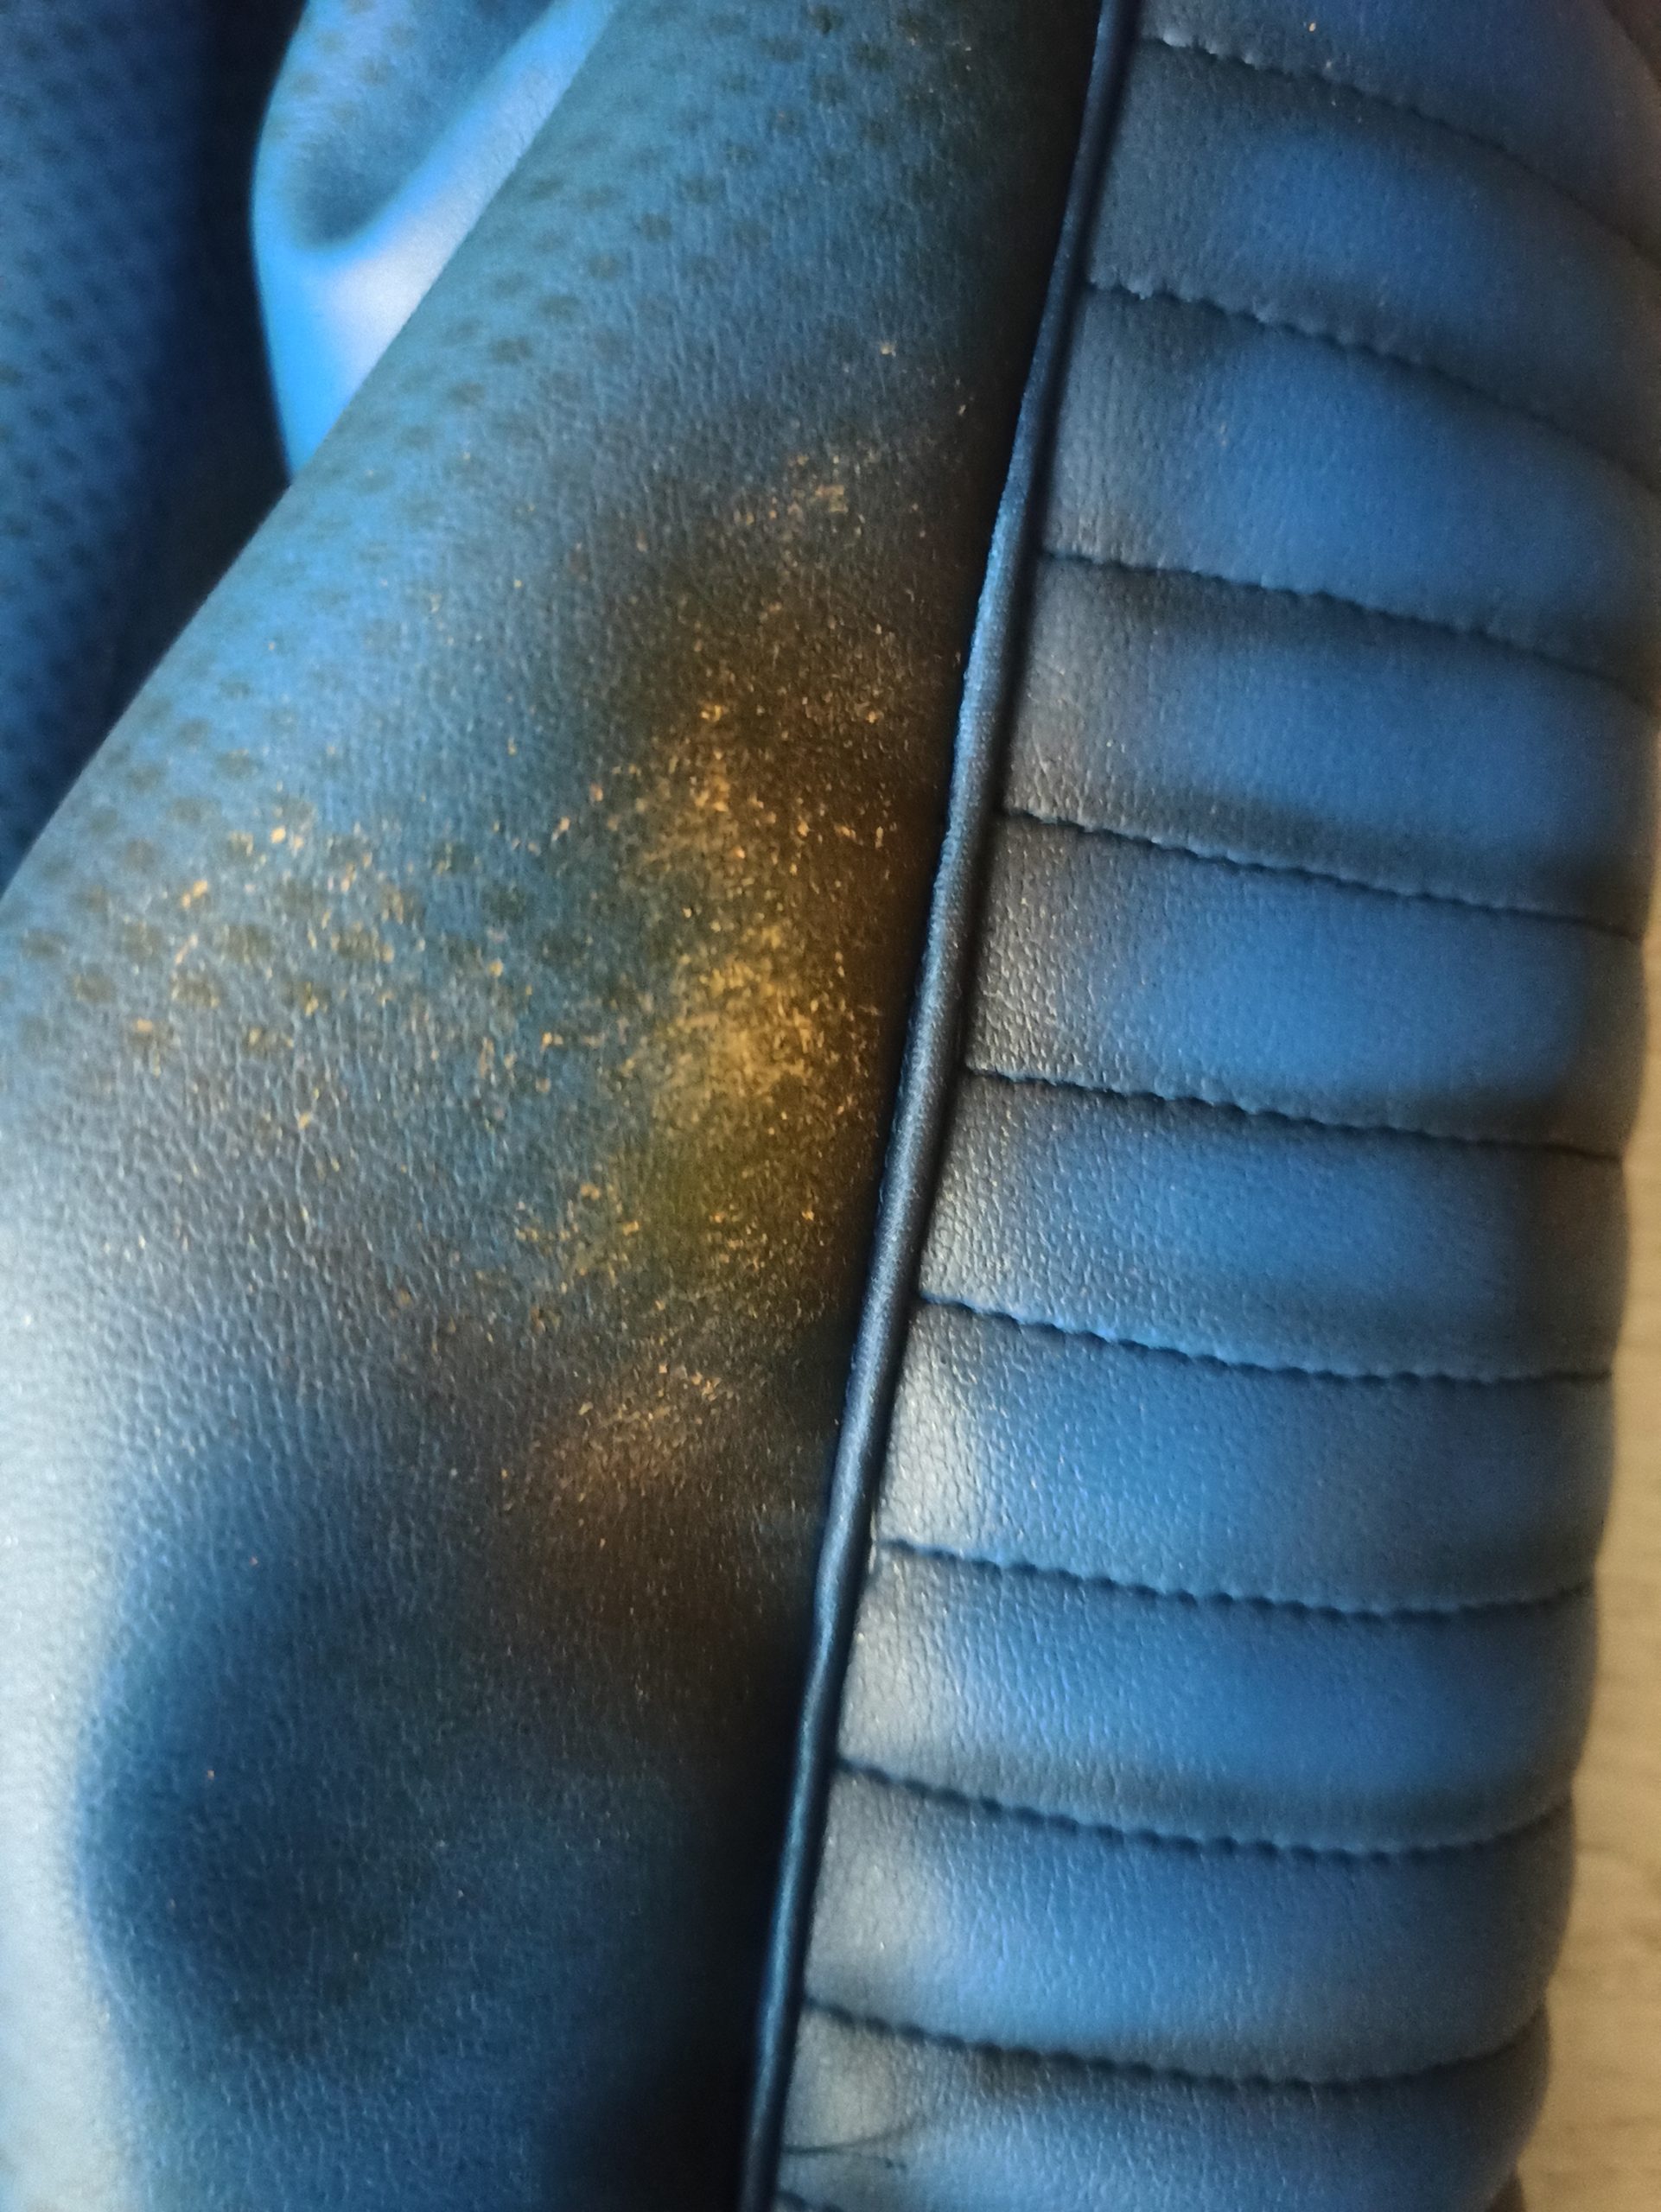
To emulate the texture of the fabric, I used a mesh fabric as stencil and airbrushed in a darker blue color. I’d had liked to get a more sporty-looking fabric, but the closest one I found was a blue soft and flexible pleather one. I used a mesh fabric as stencil and painted the texture in a slightly darker blue tone using the airbrush.
I wonder if the Amazon Prime’s Fallout series creators left some oddments of these fabrics…
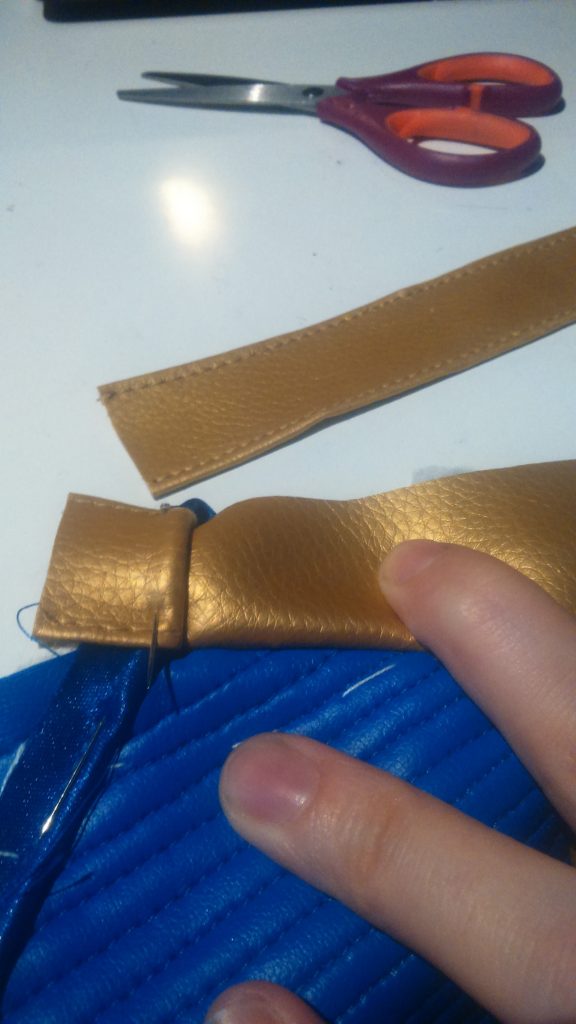
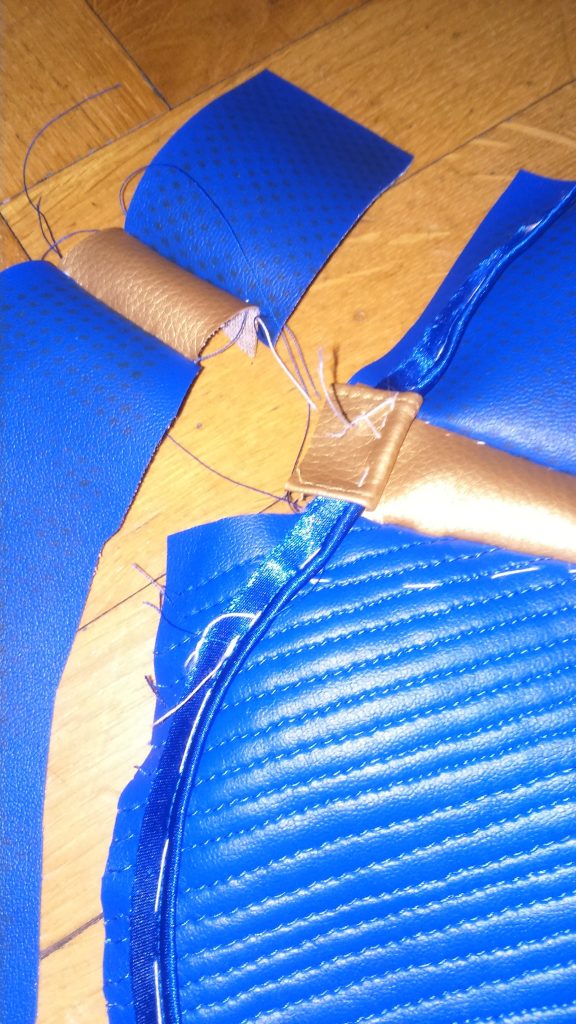
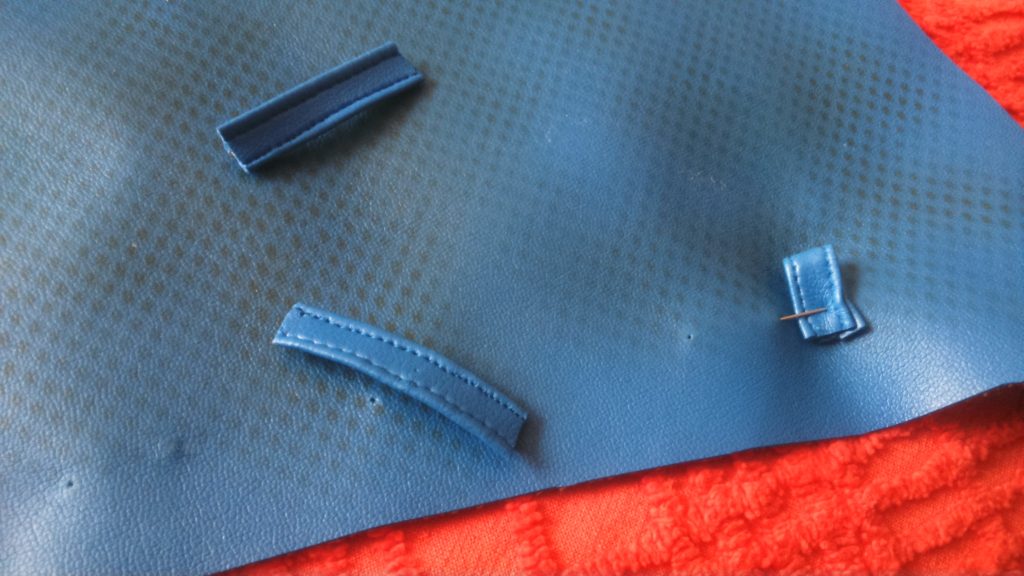
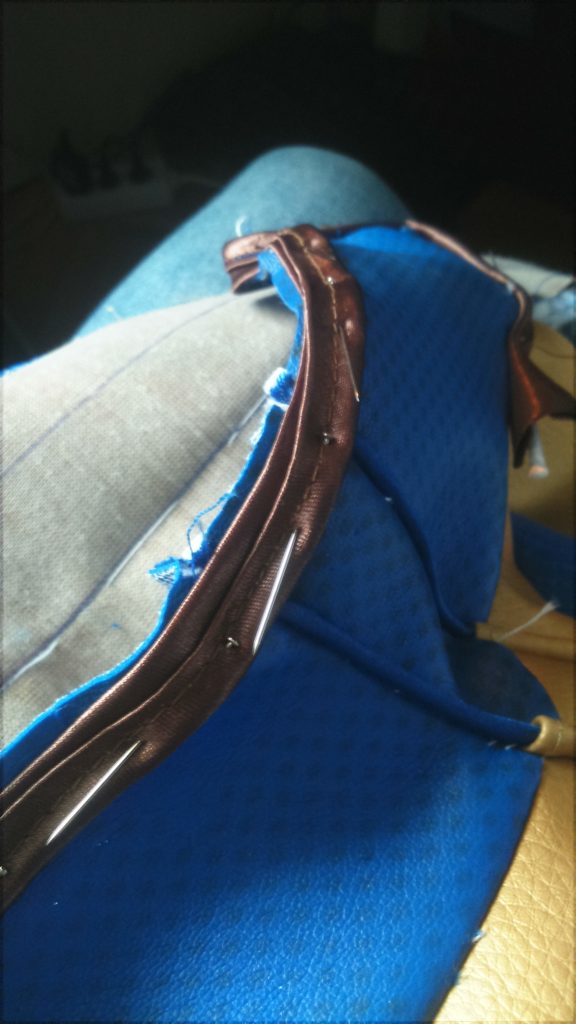
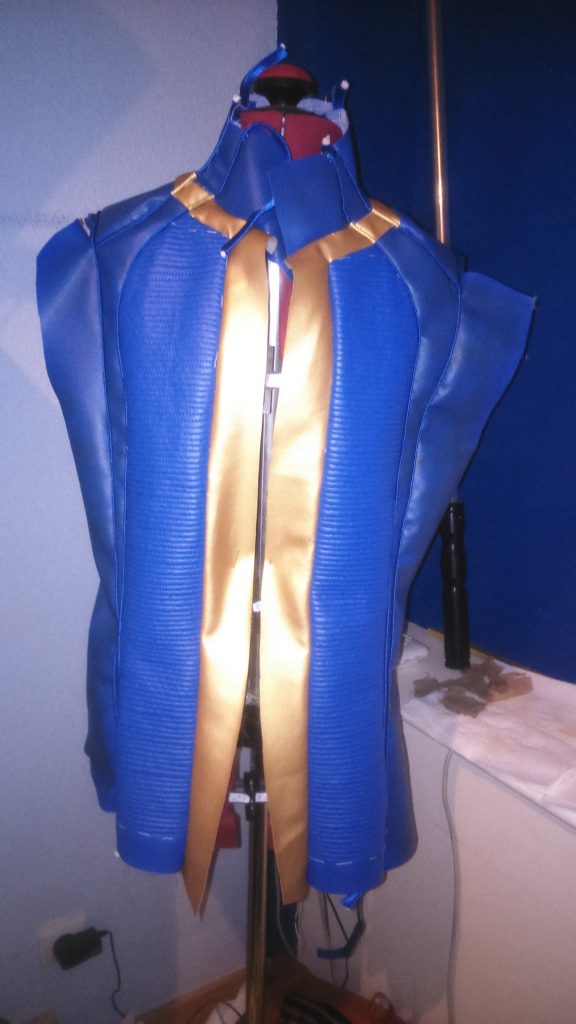
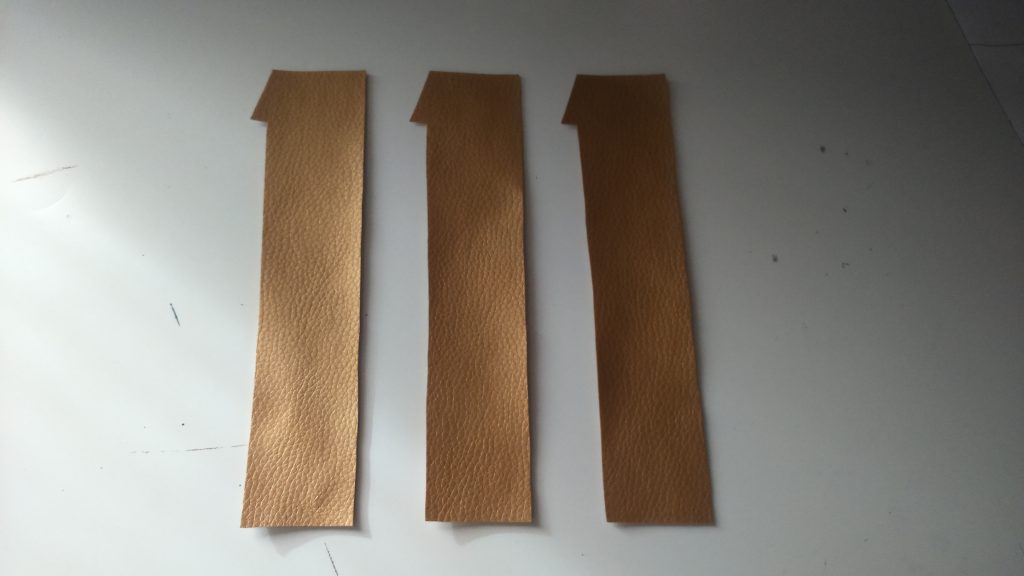
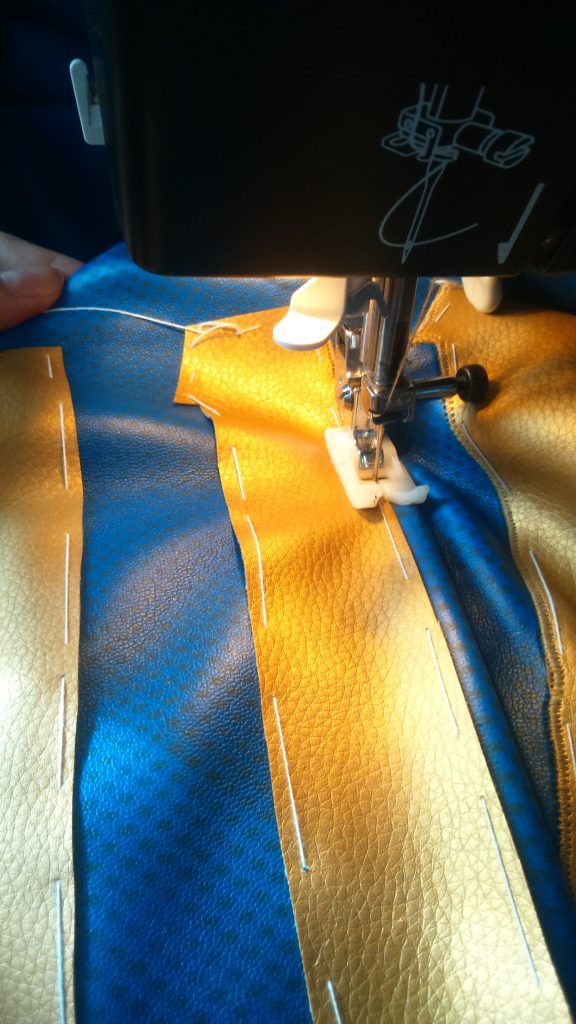
Golden details are also made using faux leather fabrics. This one is thicker than the blue one.
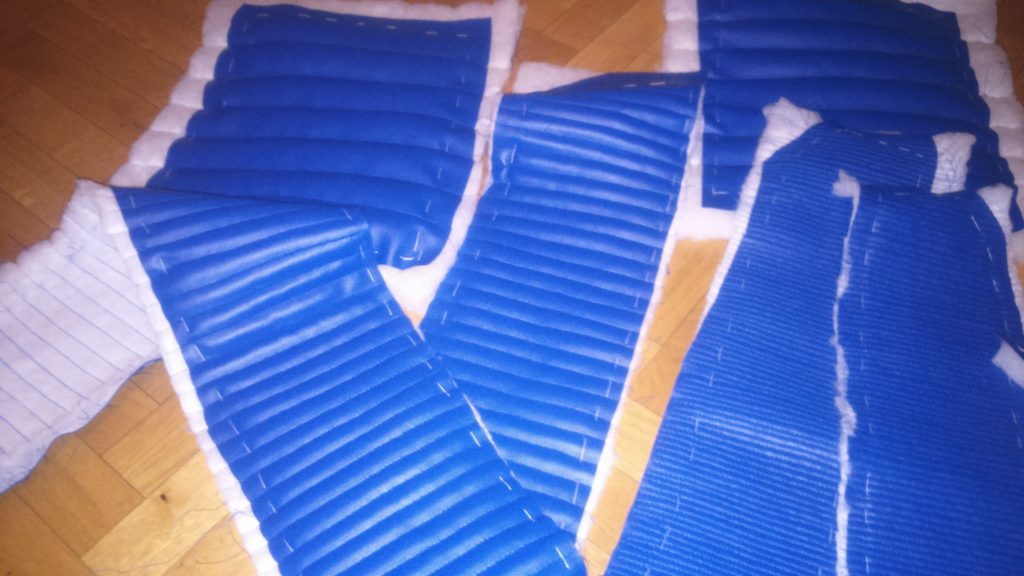
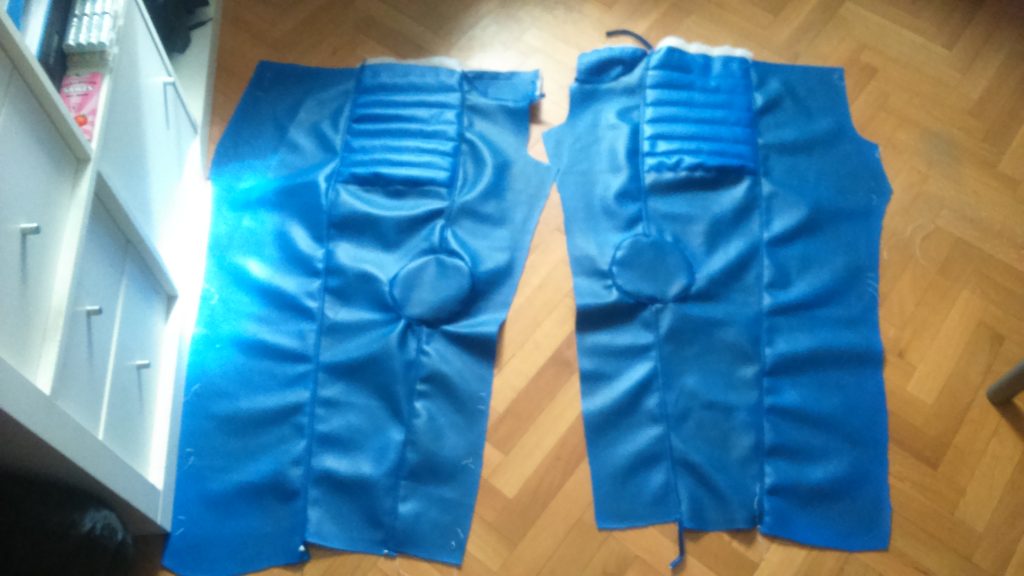
In order to make the padding, I used wadding under each piece and stitched it.
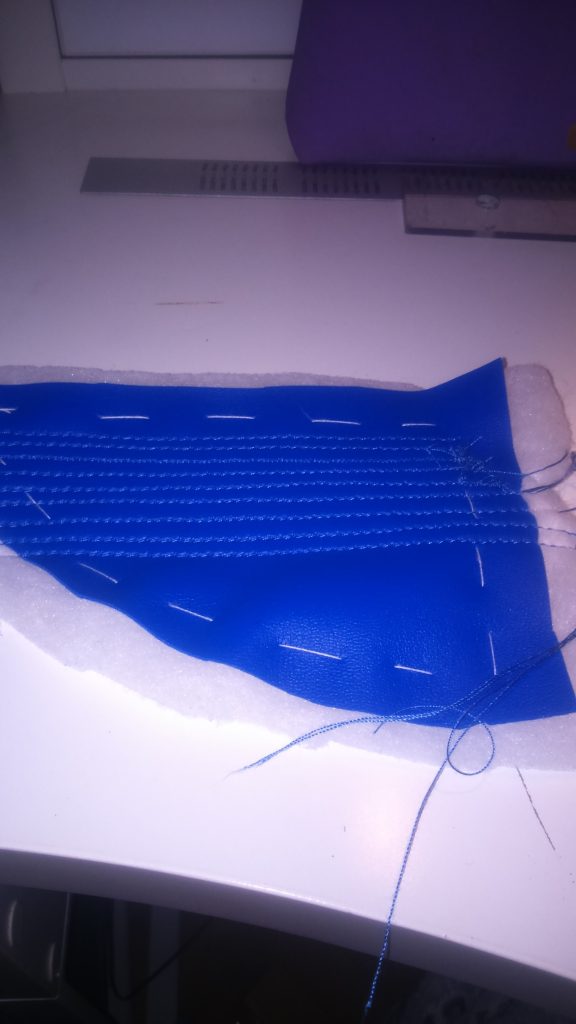
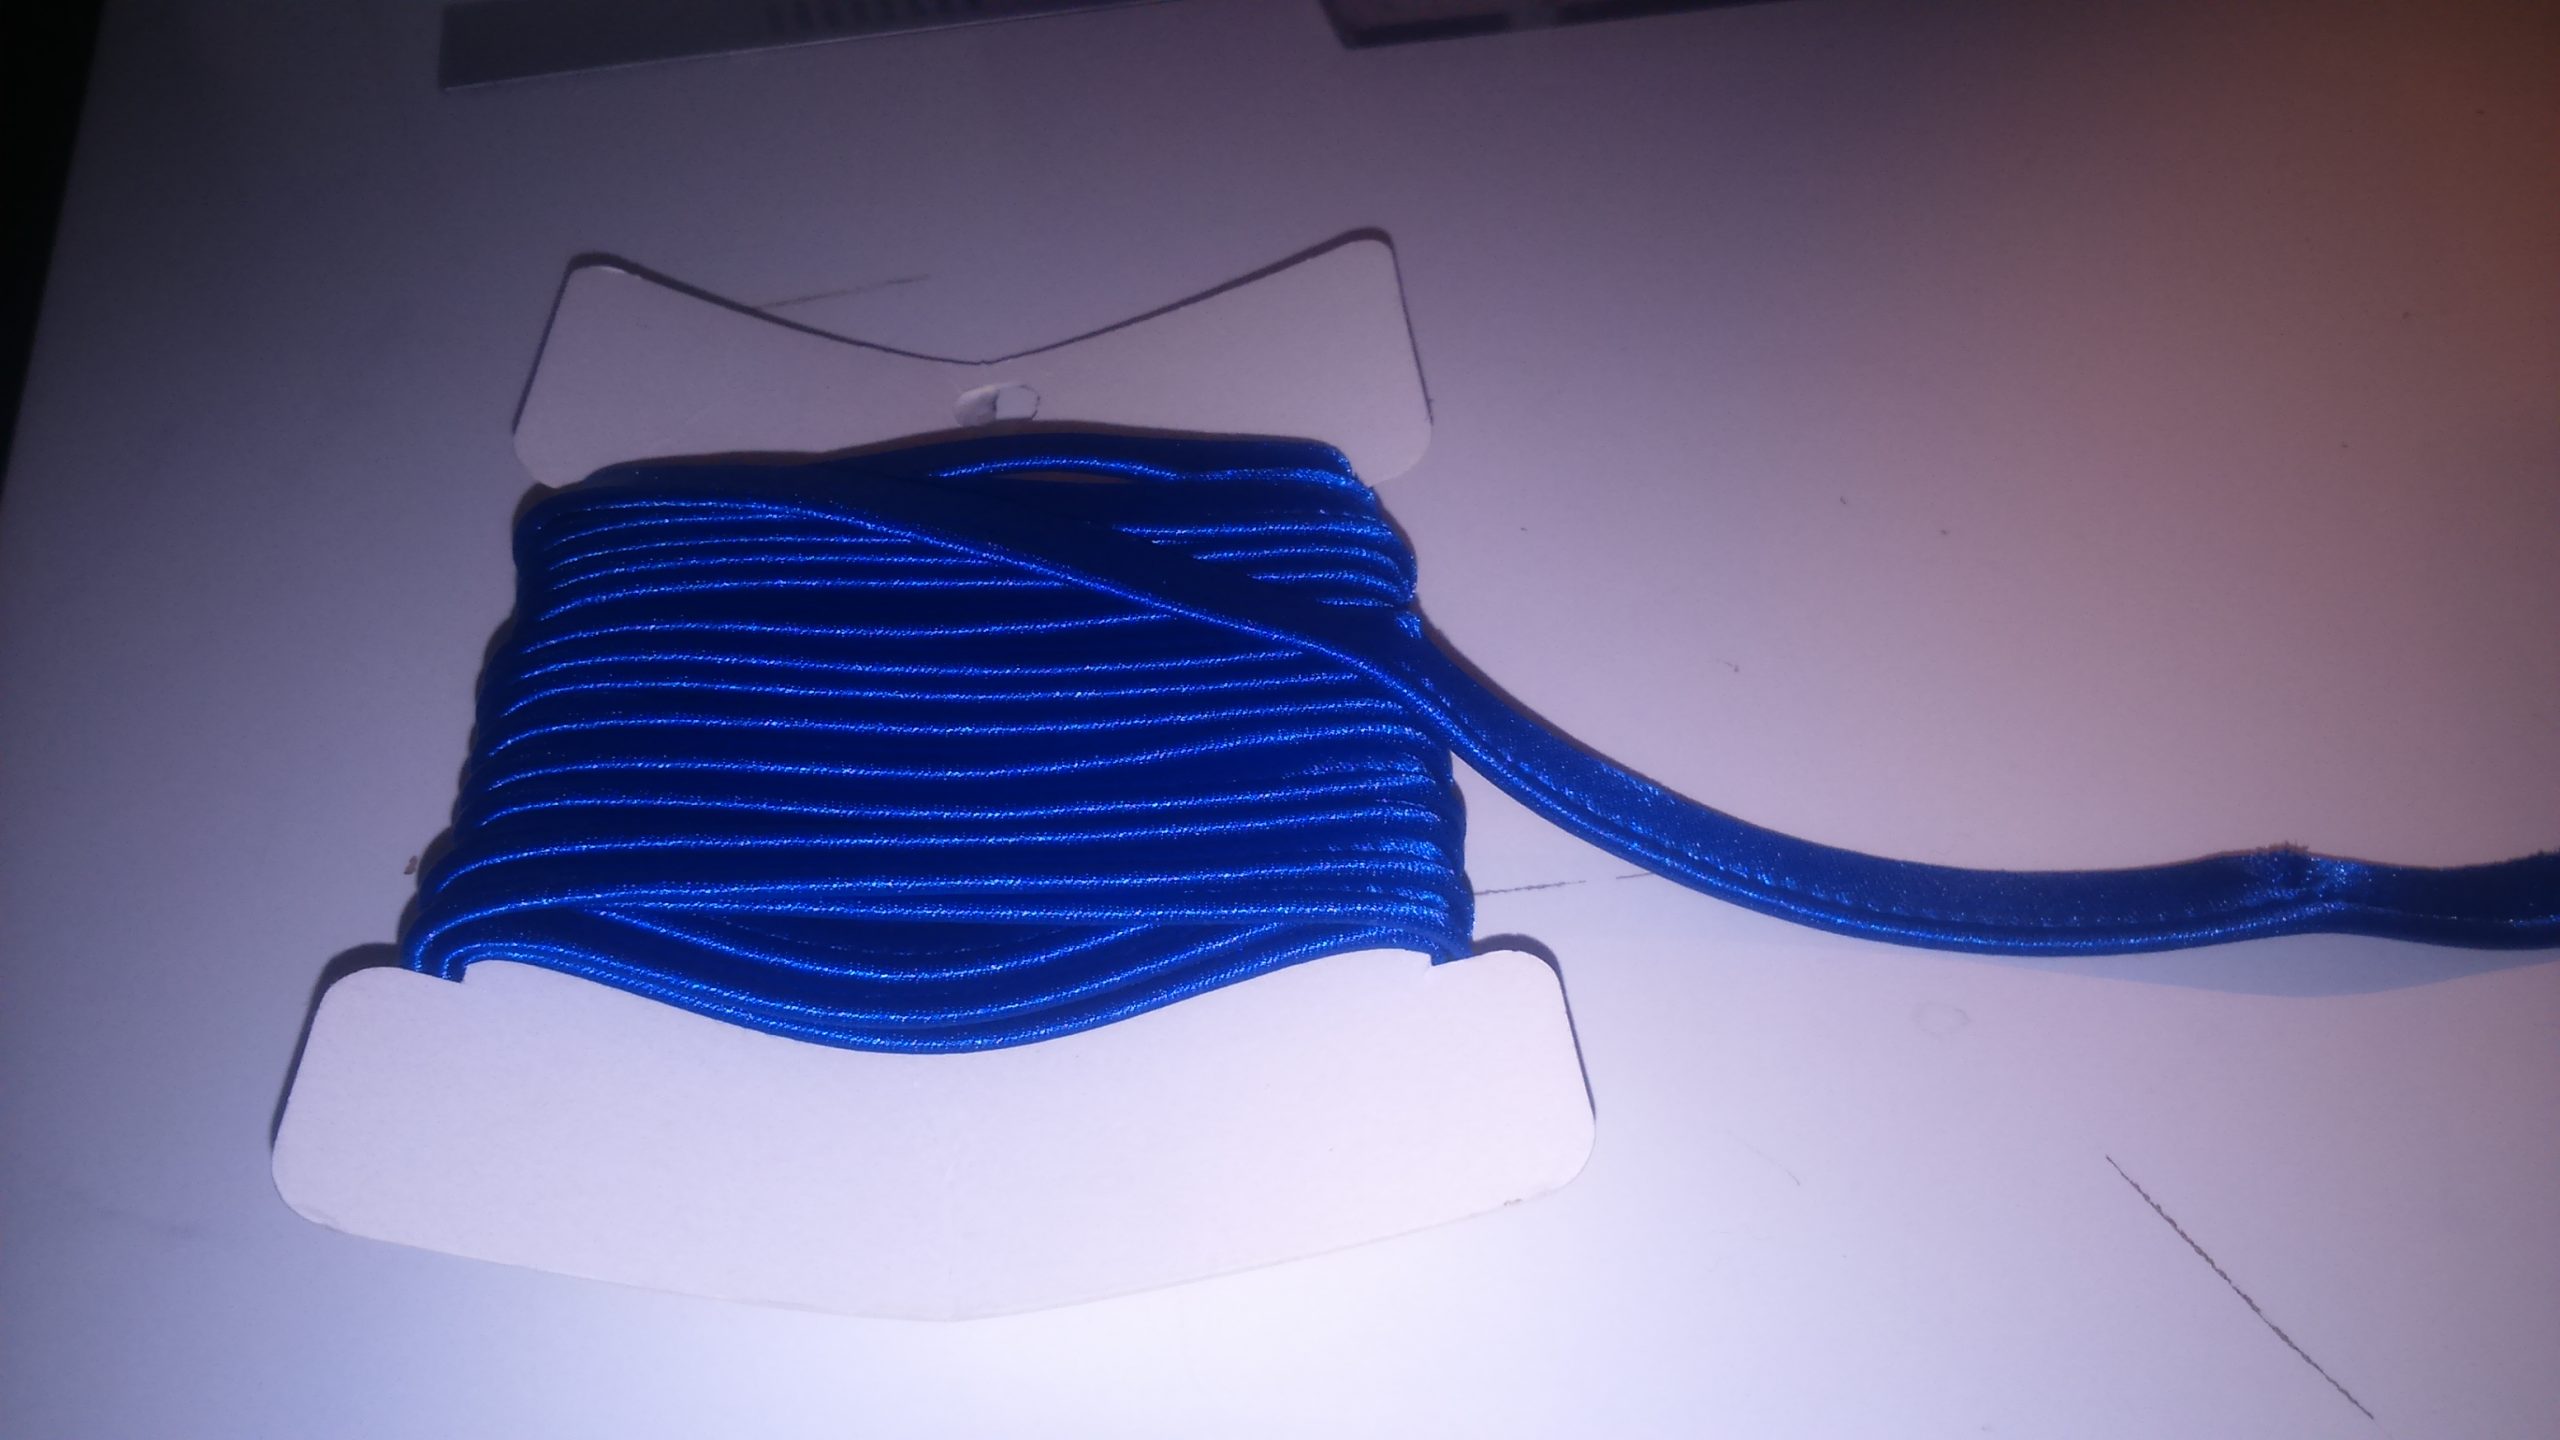
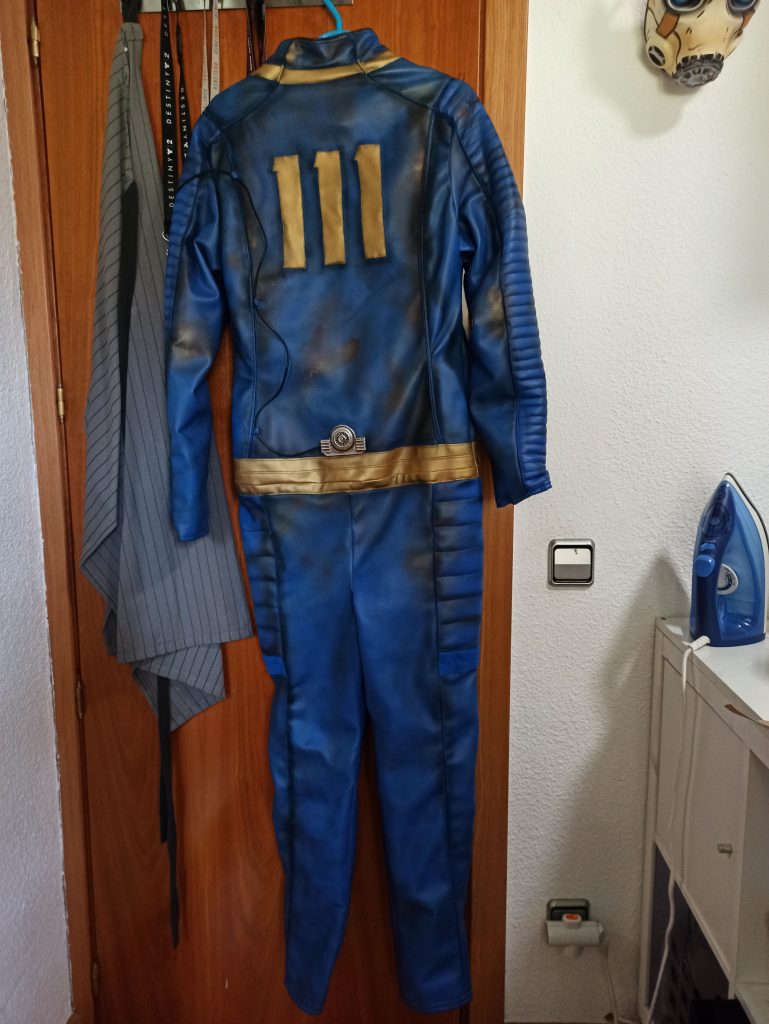
Another cool element in this garment is the piping, that is to say, those strips of folded fabrics inserted into the seams that give definition to the edges. You can fin them already made on haberdashery stores, but this time I had to make them by hand. The same way I Inserted those loops between the back seams in order to eventually pass a wire through.

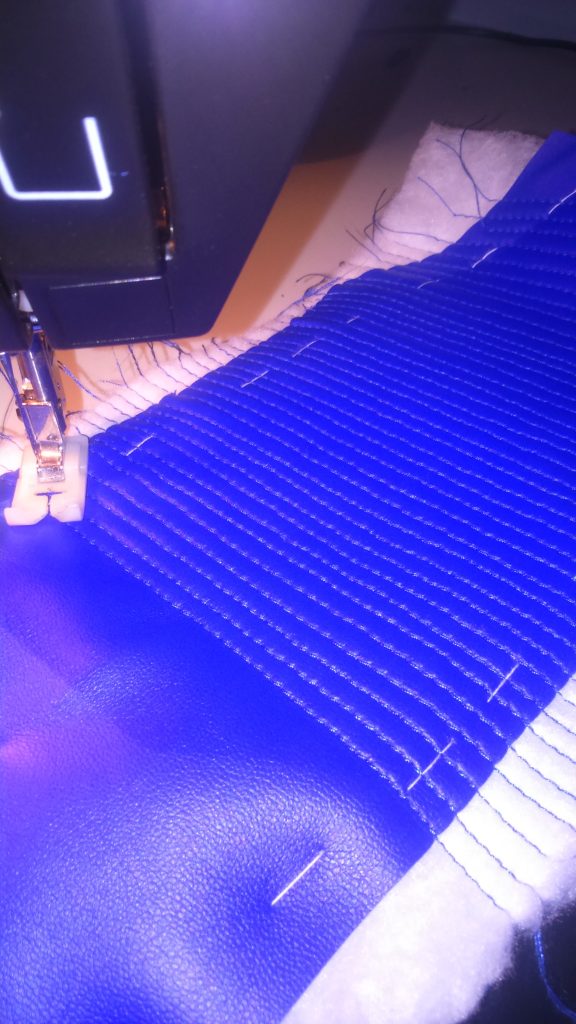
Once texturized, I sewed everything together.
Let’s sew!
In order to sew these pleather fabrics comfortably, you can spread some moisturizer on them. This way it will slide smoothly under the presser foot and the stiches will look homogeneous.
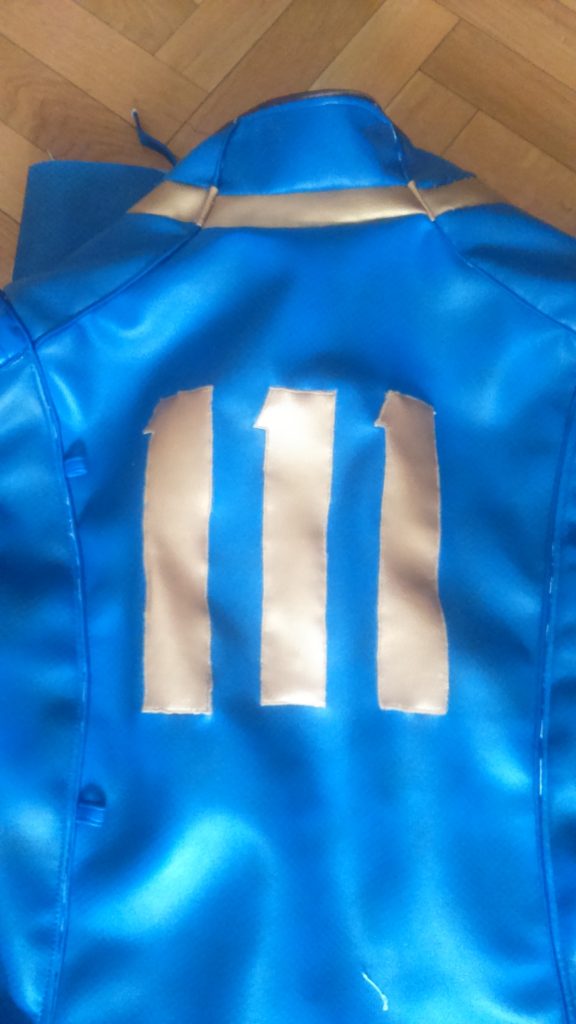
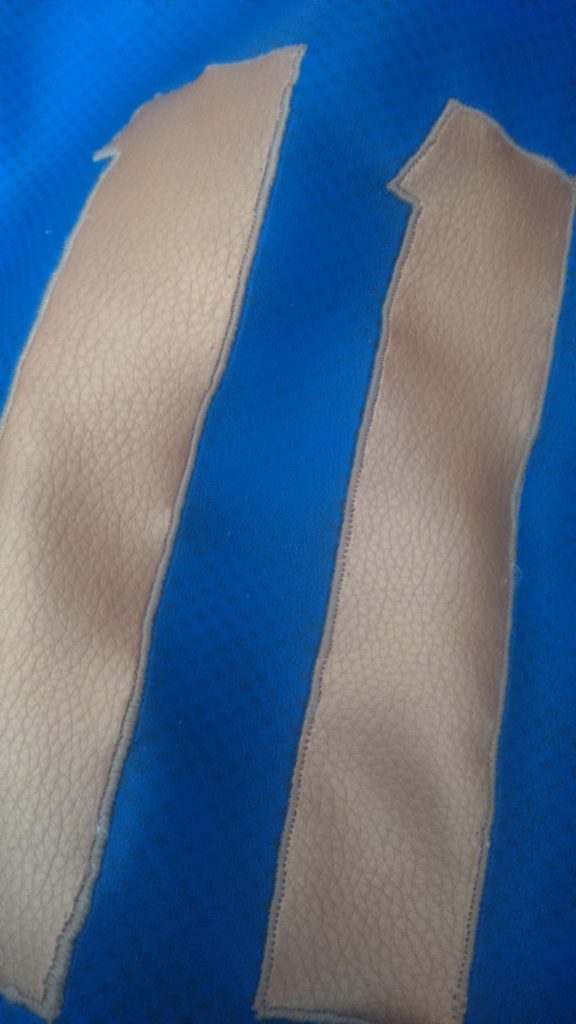
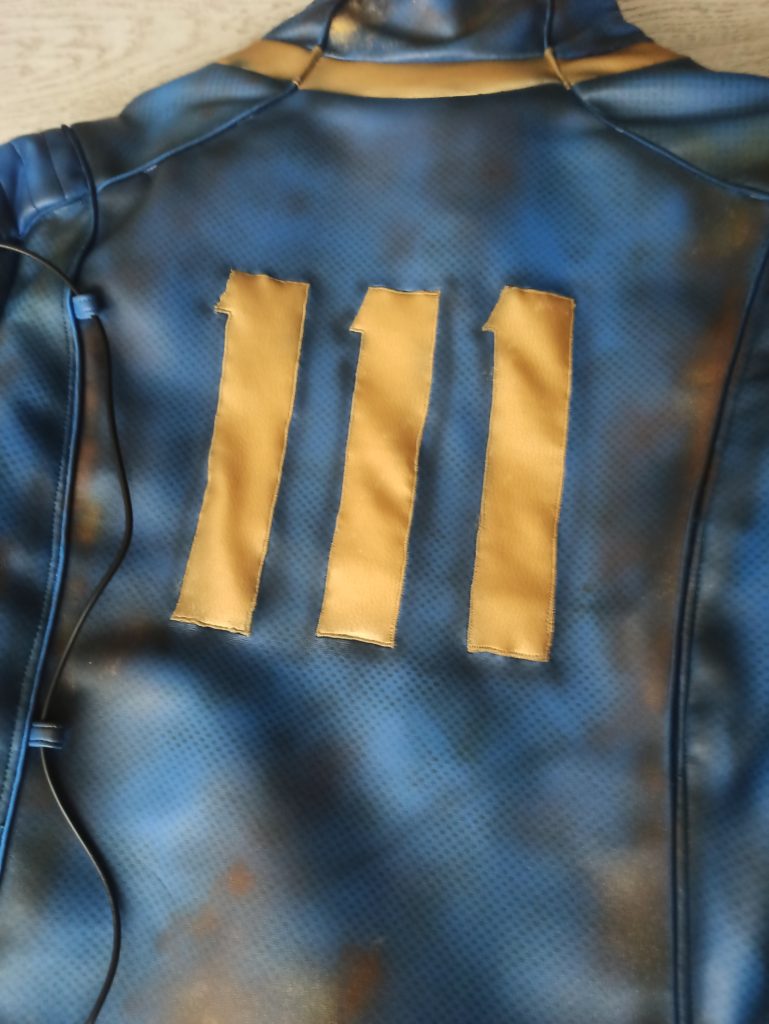
I cut the 111 numbers and sewed then on the back of the suit.

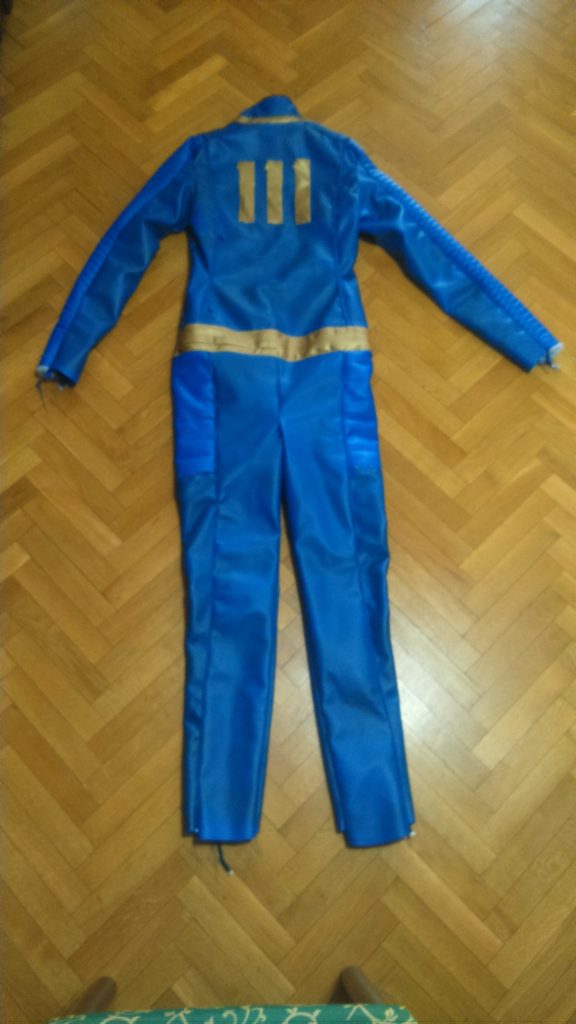
But that’s not all! Fallout clothing require a certain amount of dirt and weathering. That’s why I used my airbrush to get that aged and destroyed effect.
Weathering
As I always advise, check out Warhammer figure painting tutorials to learn where to apply light and dark tones. To achieve that dirty look, I applied brown and rusty colors between seams and spots I wanted to look aged and I used a light blue color to make the padding pop. Also, I added a worn-out effect on the kneepads, both using paint and a touch of sanding paper.

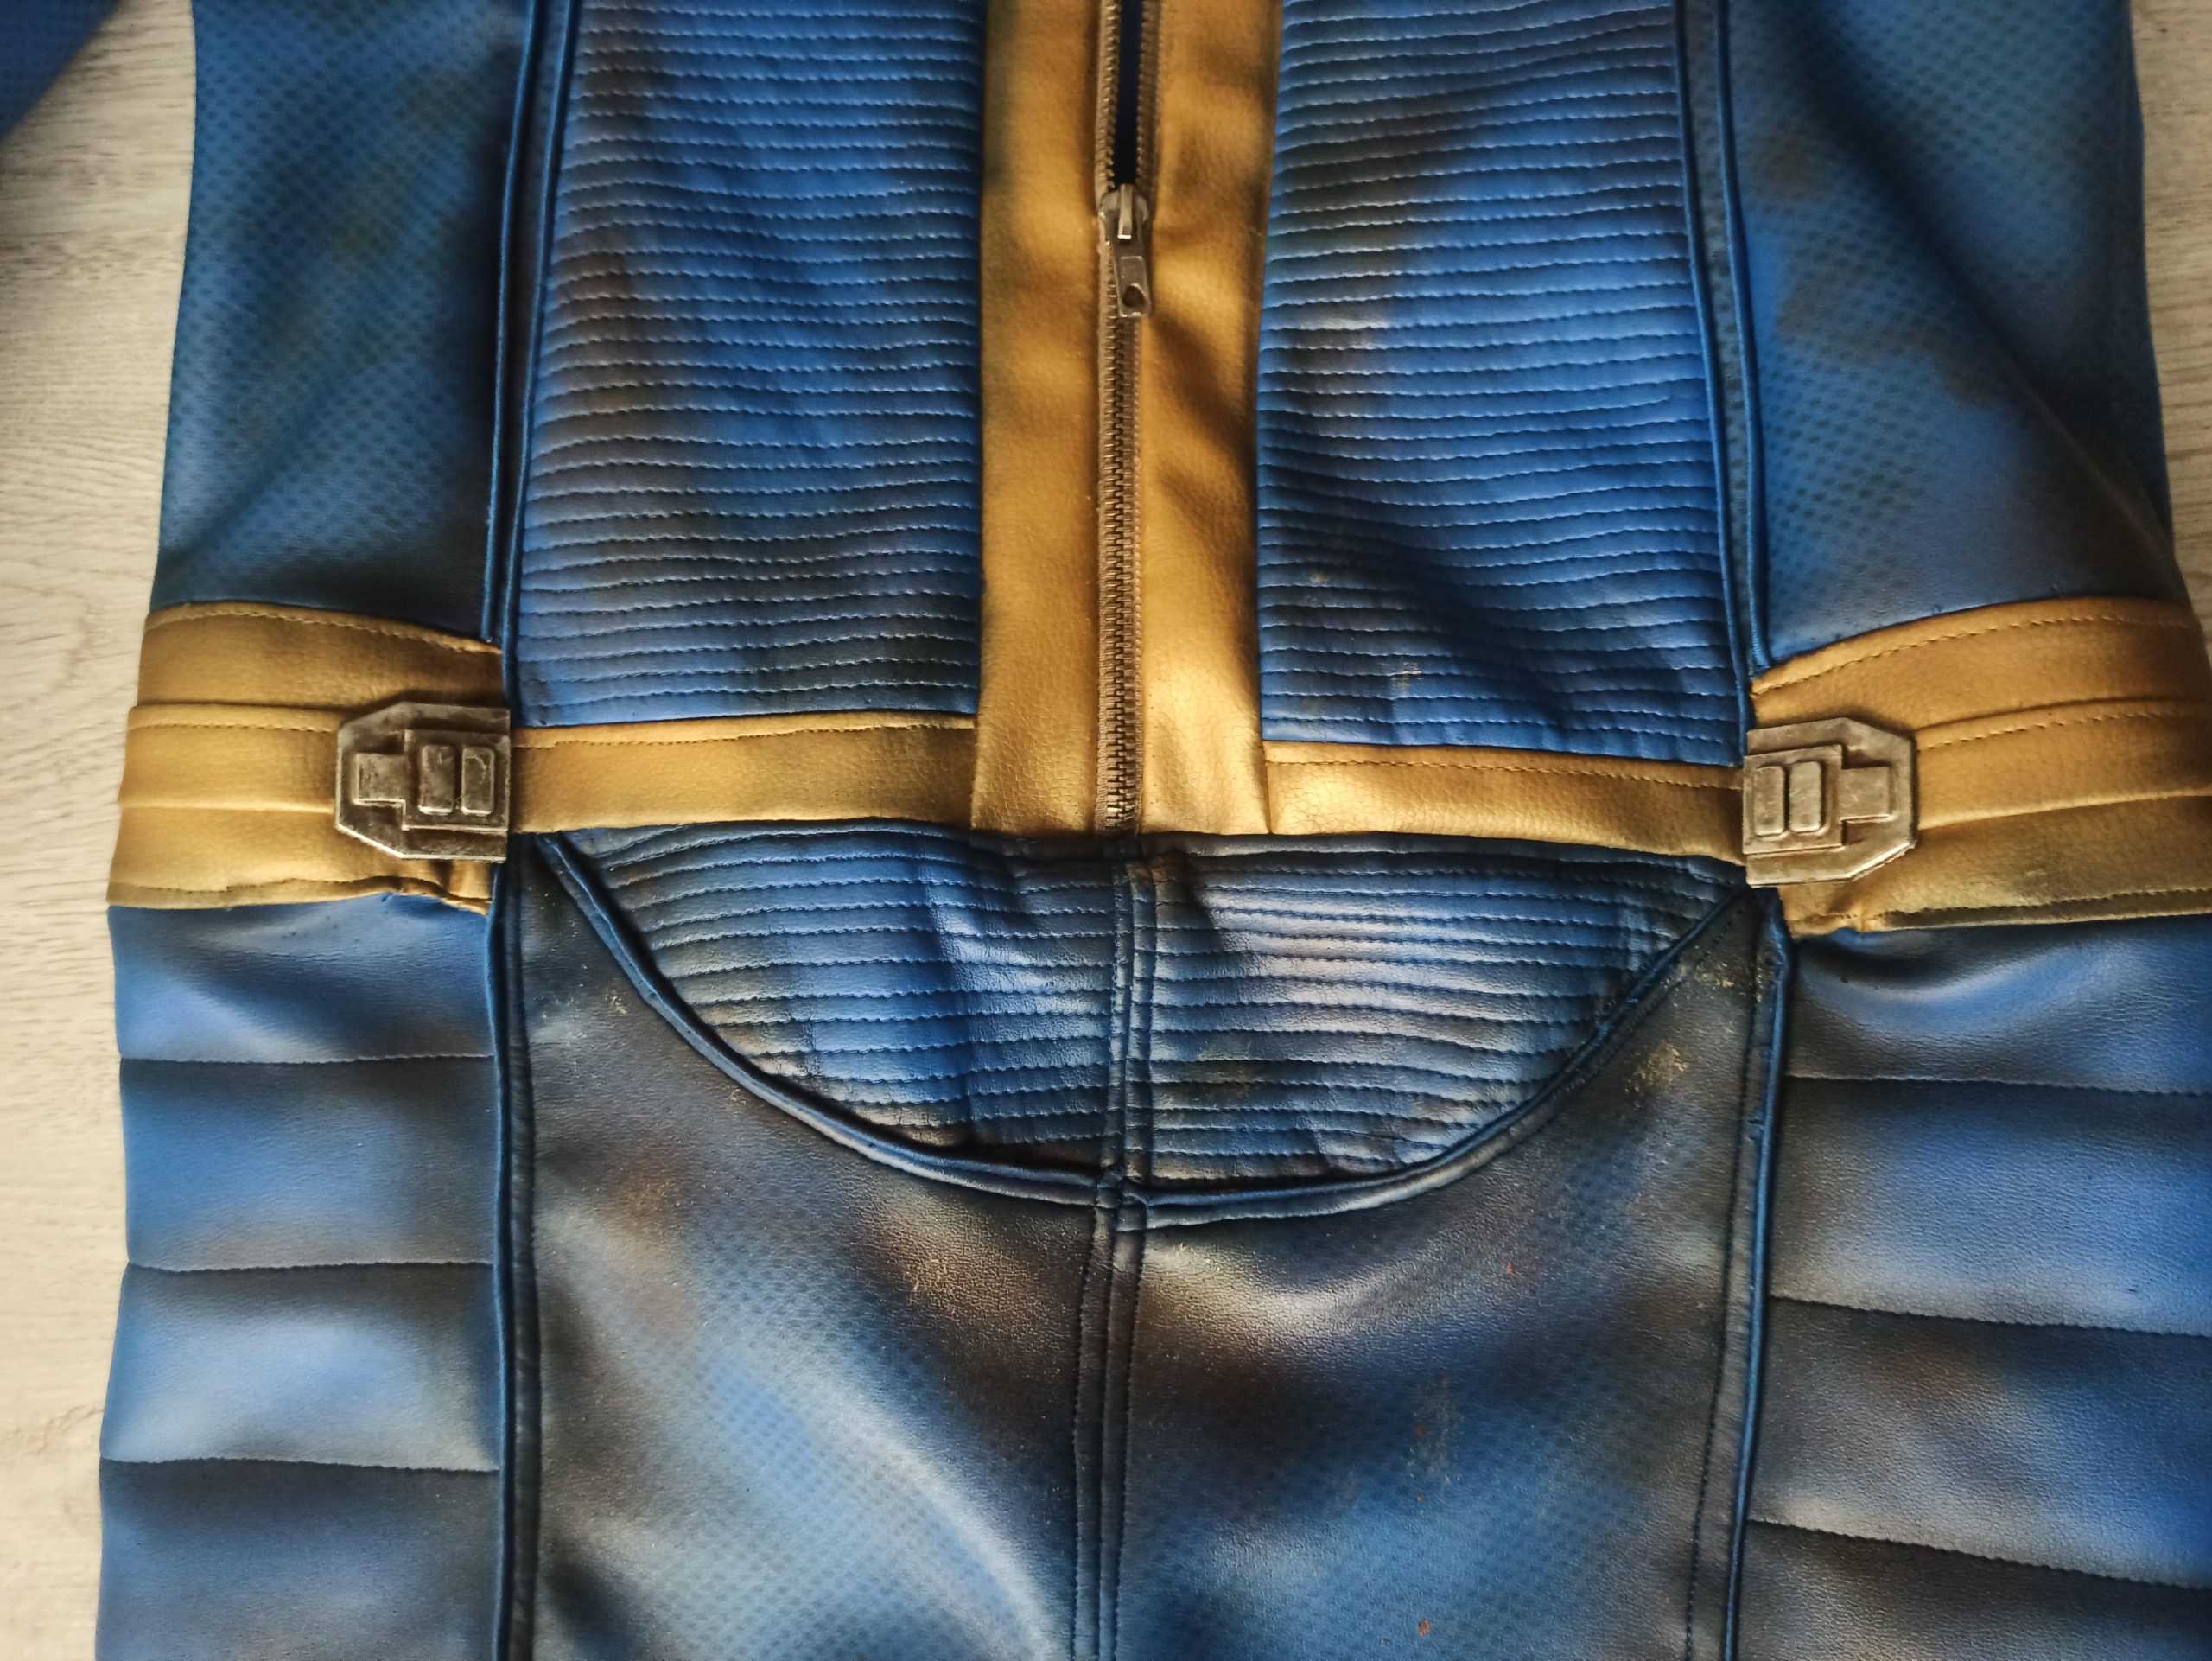
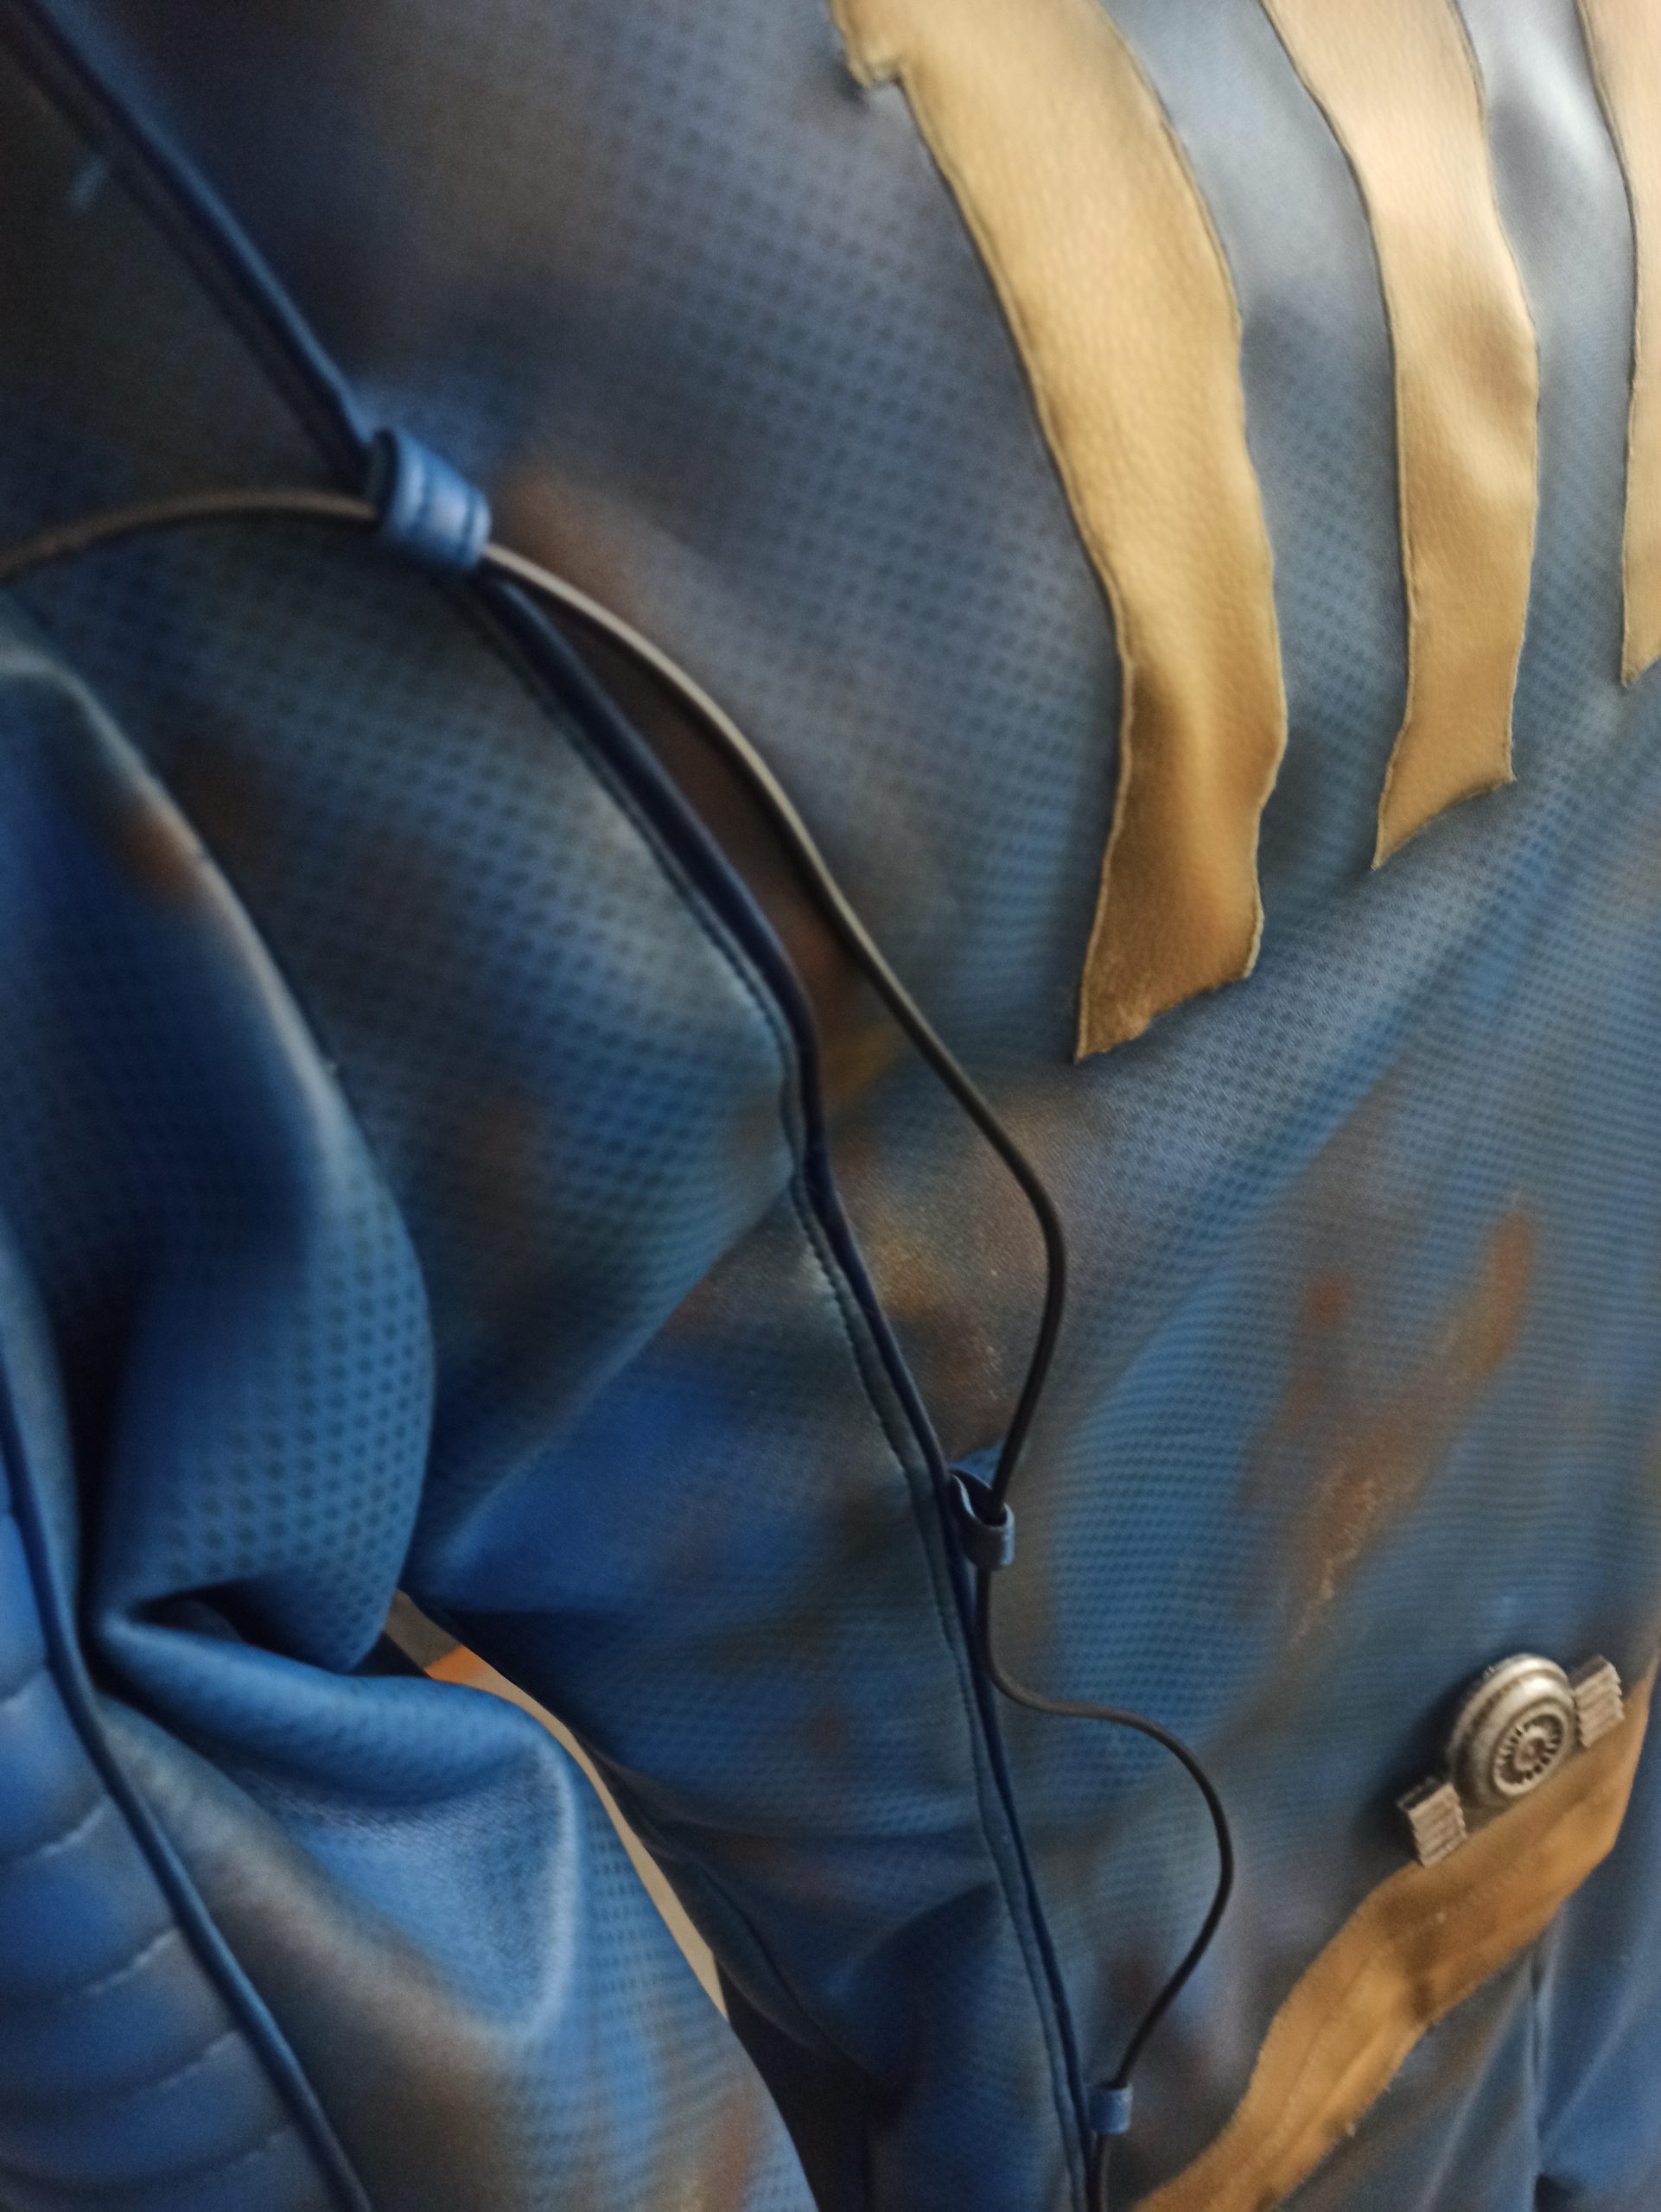
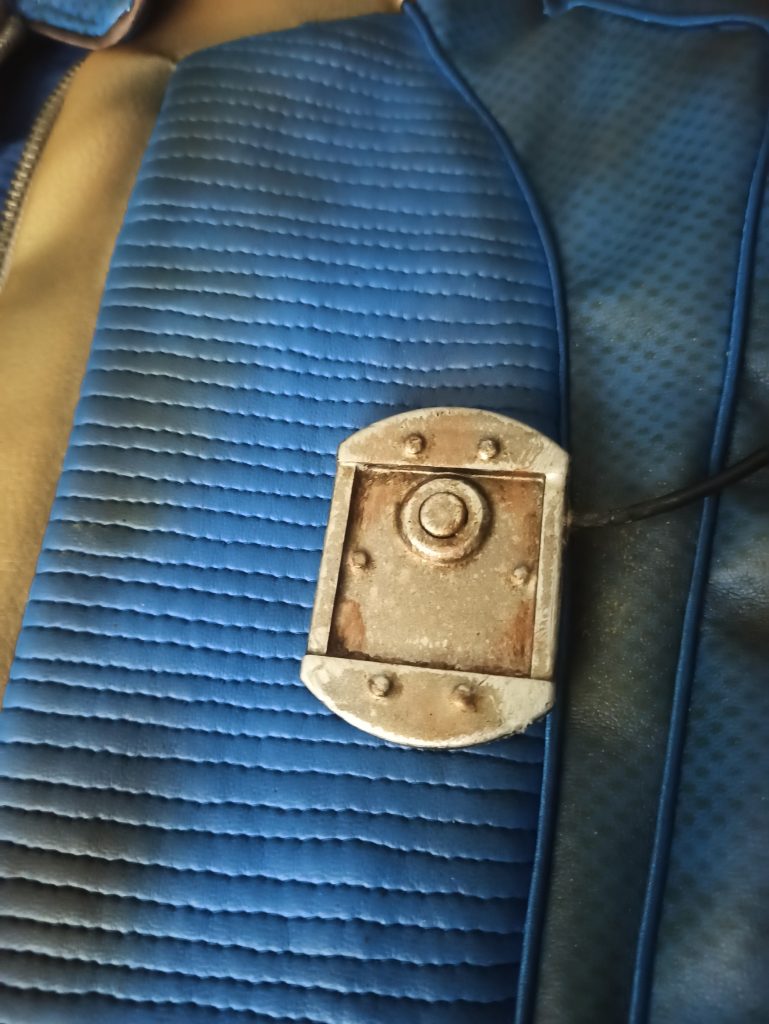
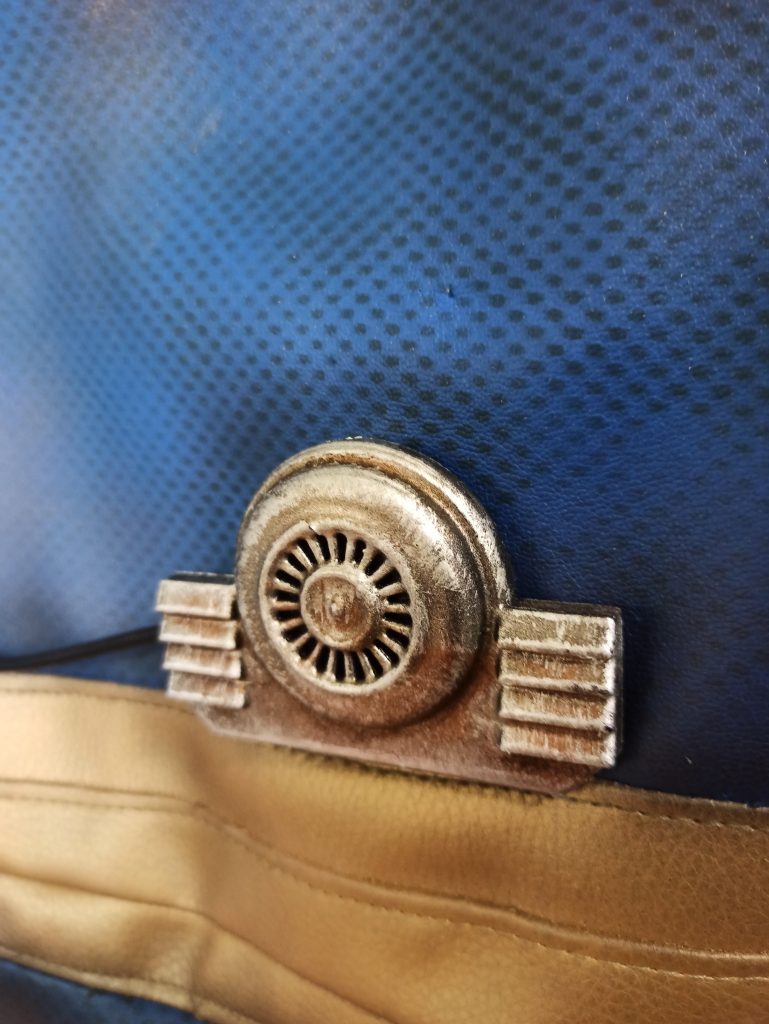
To finish it, I designed and 3D printed the metallic looking elements. I painted, weathered them and glued them to the suit.

And we’re done wit the Fallout vault suit! On my next entry I’ll shwo you how I made the armor.
Hope this tutorial was useful! Feel free to comment if you have any doubt or formal complaint.
Thanks for reading!


