
As you already know, I’m a big craft foam fan and I like to make the more foam elements in a costume, the better. But my husband doesn’t have the same opinion as he thinks foam feels too soft. He wanted a stiff and resistant armor so I got to work! For this project, we chose different armor parts from the game: combat armor parts for the breastplate, left shoulder pad, belt and thighs and leather armor for the arm and forearm.
Construction
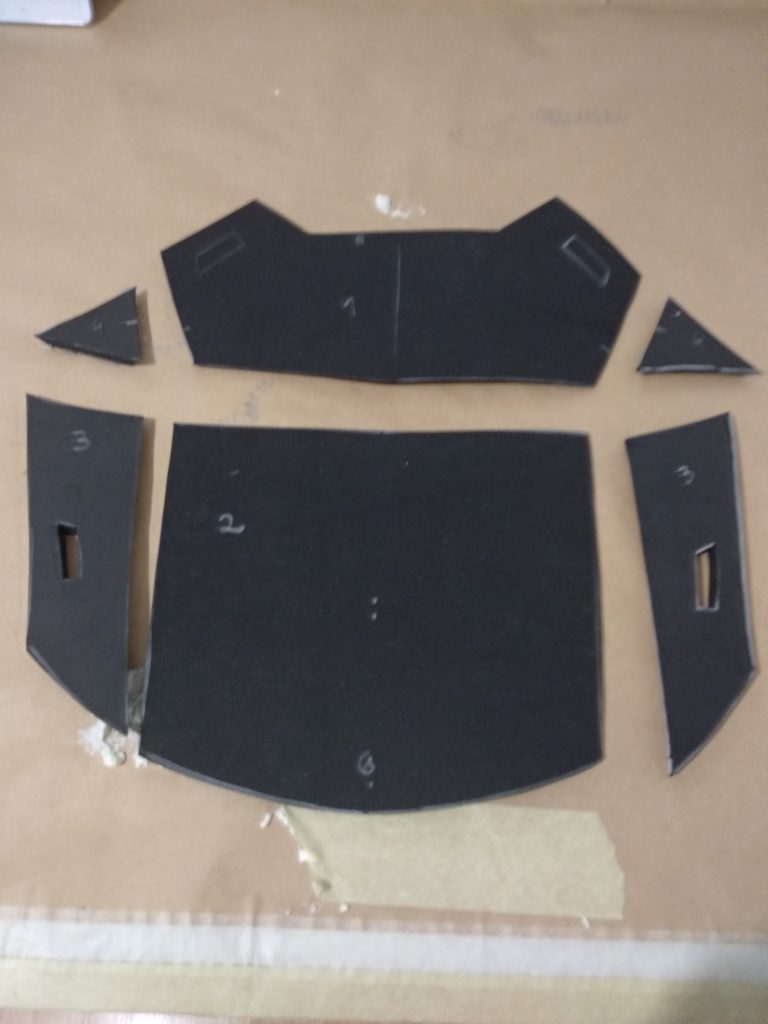
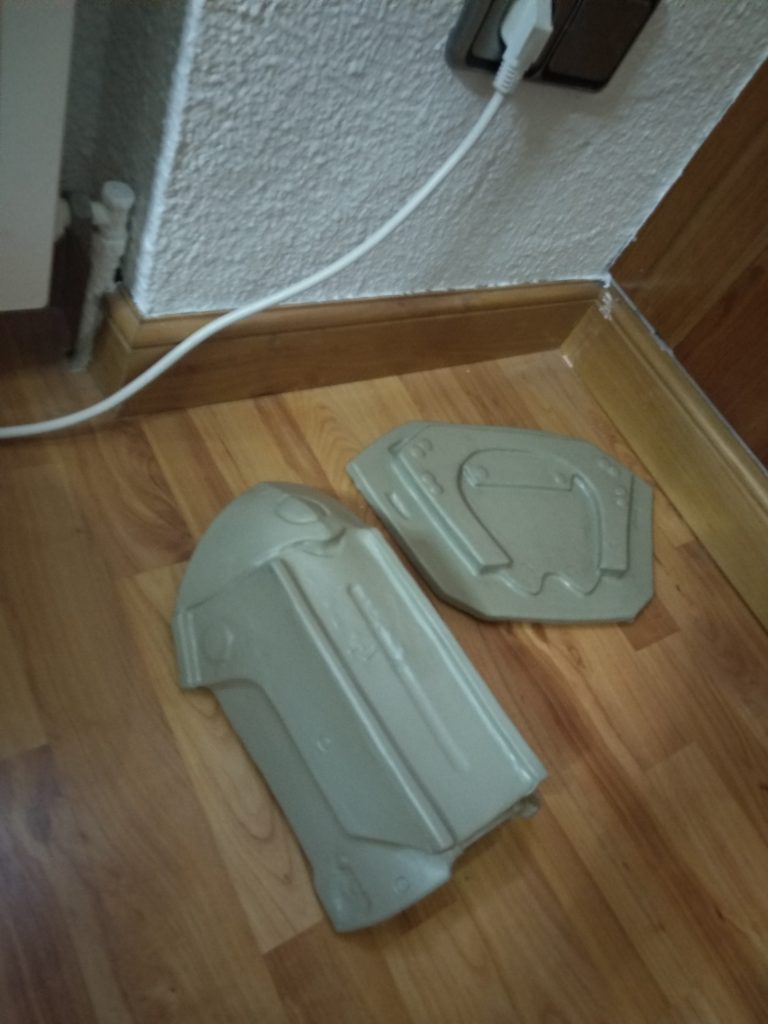
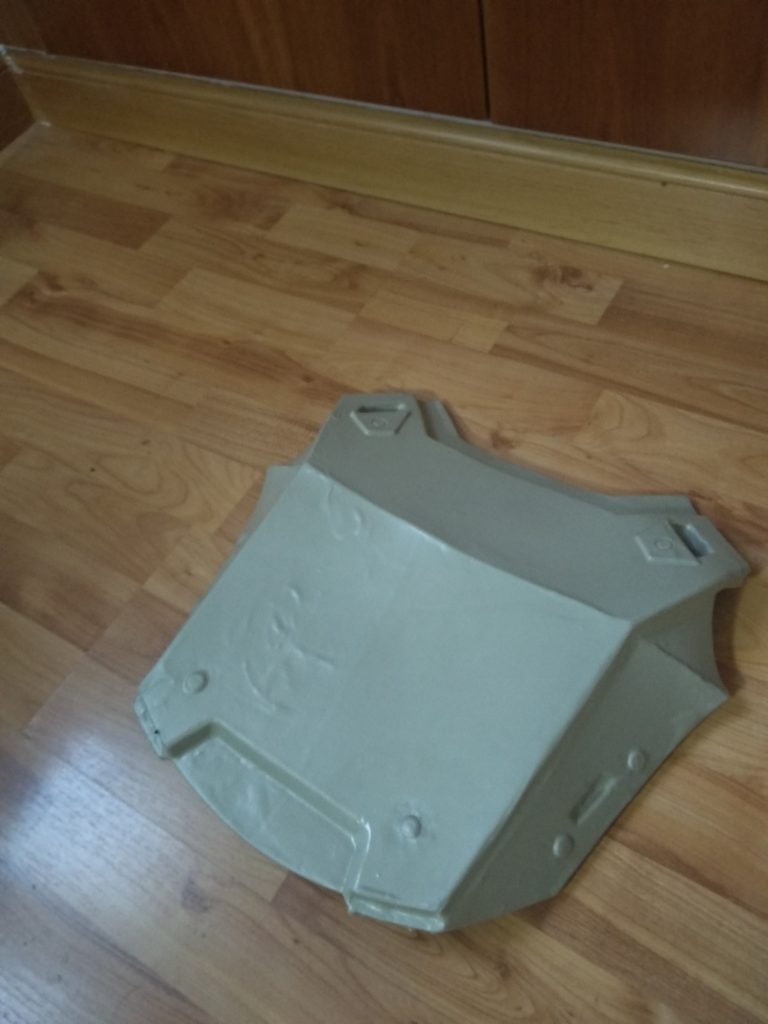
With those requirements in mind, which material you think I used? That’s right: craft foam. As it has to be. Because I’m the f—— boss. Haha. Haha, well no, joking aside, I made the base with craft foam but I covered everything using Thibra.


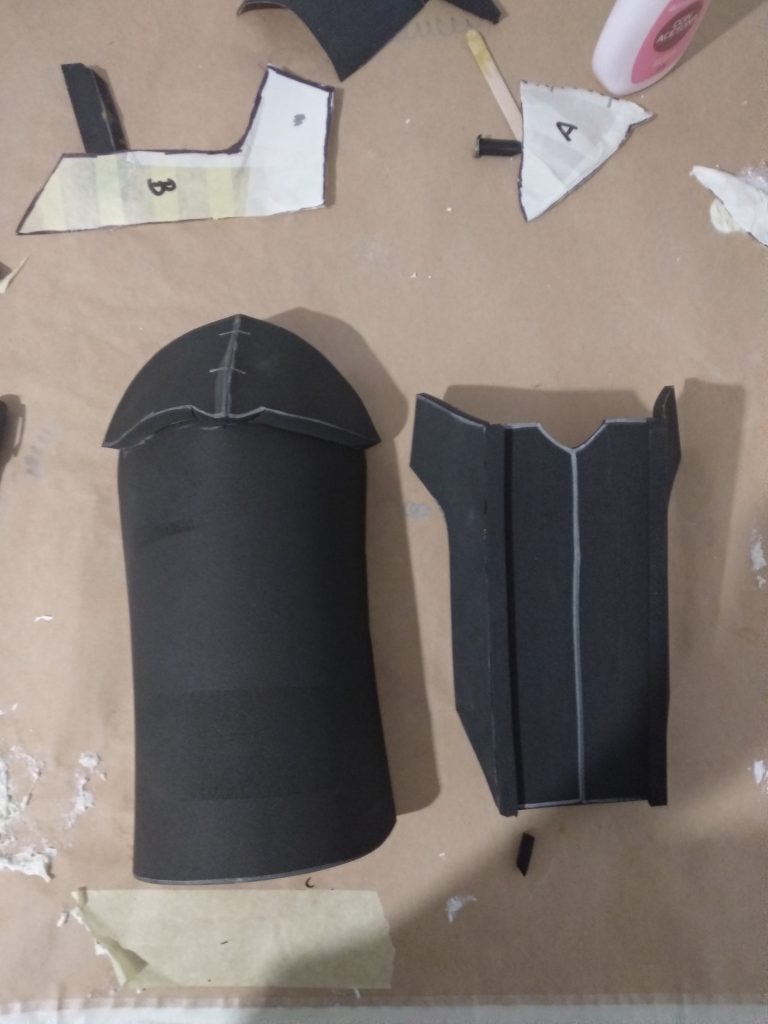

As I say in my book, Thibra is a thermoplastic that can be used as a complementary material to EVA foam and gives it strength and stiffness. It’s my favourite thermoplastic as its finish is very, very smooth. But have in mind It’s not easy to manipulate! This material is quite difficult to shape without getting bubbles and lumps and, once ruined, you can’t go back in time. In addition, its surface is so smooth and easy to mark, that even fingerprints will stamp it and even the smallest reliefs will be affected by gravity. You will have to plan your moves in advance before heating it so you adapt it taking advantage of the universal force of gravity and to manipulate it as less as possible. This material doesn’t admit any mistake!!

Luckily for me, as this is a postapocalyptic armor, I didn’t care if some flaws appeared. But, even with that, I had to repeat some pieces. The material doesn’t get completely unusable if the surface gets spoiled but it won’t look even ever again, so you can keep those spoiled parts and mold them into chunky elements. But, yes, once spoiled, you can forget about making it look flat again.
Some cosplayers like to cover their foam pieces both inside and outside but I’m a quite tight person, so I like to cover only the visible sides. I think that’s enough like that.

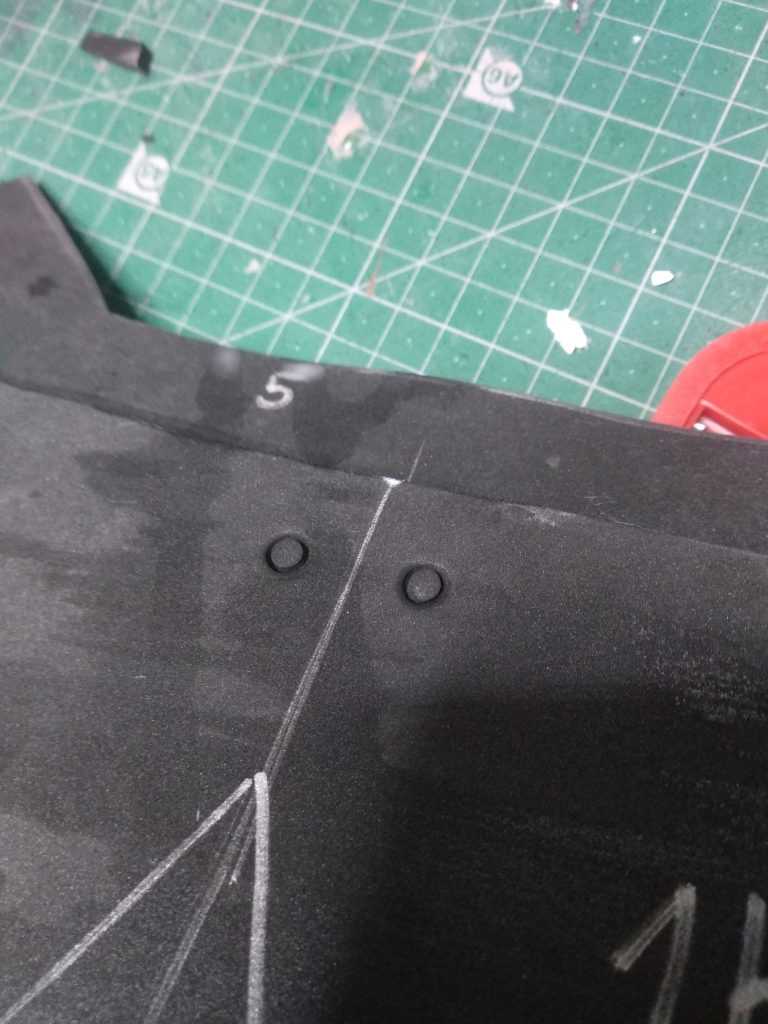
Of course, I also used craft foam to make the belts, which are 2mm foam strips wrapped with pleather. I joined them to the armor using metallic belts and rivets.


Same way I made the leather armor parts: by wrapping foam pieces with faux leather sheets.

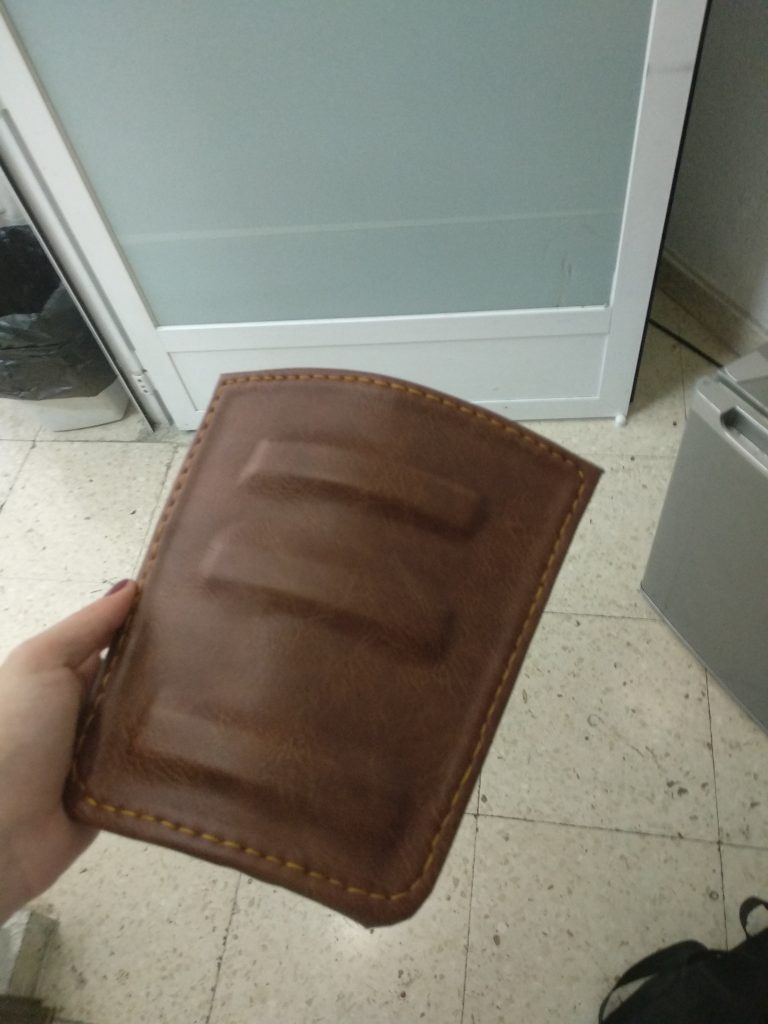

Last, the pockets are also made of foam but this time I didn’t cover the material. I just primed it with liquid vinyl spray (Full-dip) and painted them.

Paint and weathering
One of my favorite things when making postapocalyptic elements is that they allow me a high level of deterioration. First, I cut a stencil to airbrush the Minutemen emblem on.
To make this armor look verisimilar, I added all kinds of damage effects. And, as always, I strongly advise you to learn by watching miniature painting tutorials.


I used the outlining technique on this armor for the first time in my life instead of applying a silvery looking dry brush. In other words, I painted in a lighter green color the edges of the armor to make it look worn out. And I applied brown and rusty colors on the inner reliefs and places where dirt would accumulate to make everything look filthy.


And that’s it!
Feel free to comment!
Kisses.


