Hello everybody! Today I’m bringing you the second part of my Peebee head tutorial. I’ve prevously talked about how I sculpted the clay head and now i’ts time to make some molding and casting.
I’ll upload a video-recap on this process very son. By now, here you are the write-up.

First of all, this is the list of materials I used:
– Plaster.
– Water based clay.
– Release agents.
– Latex.
And the tools:
– Brushes.
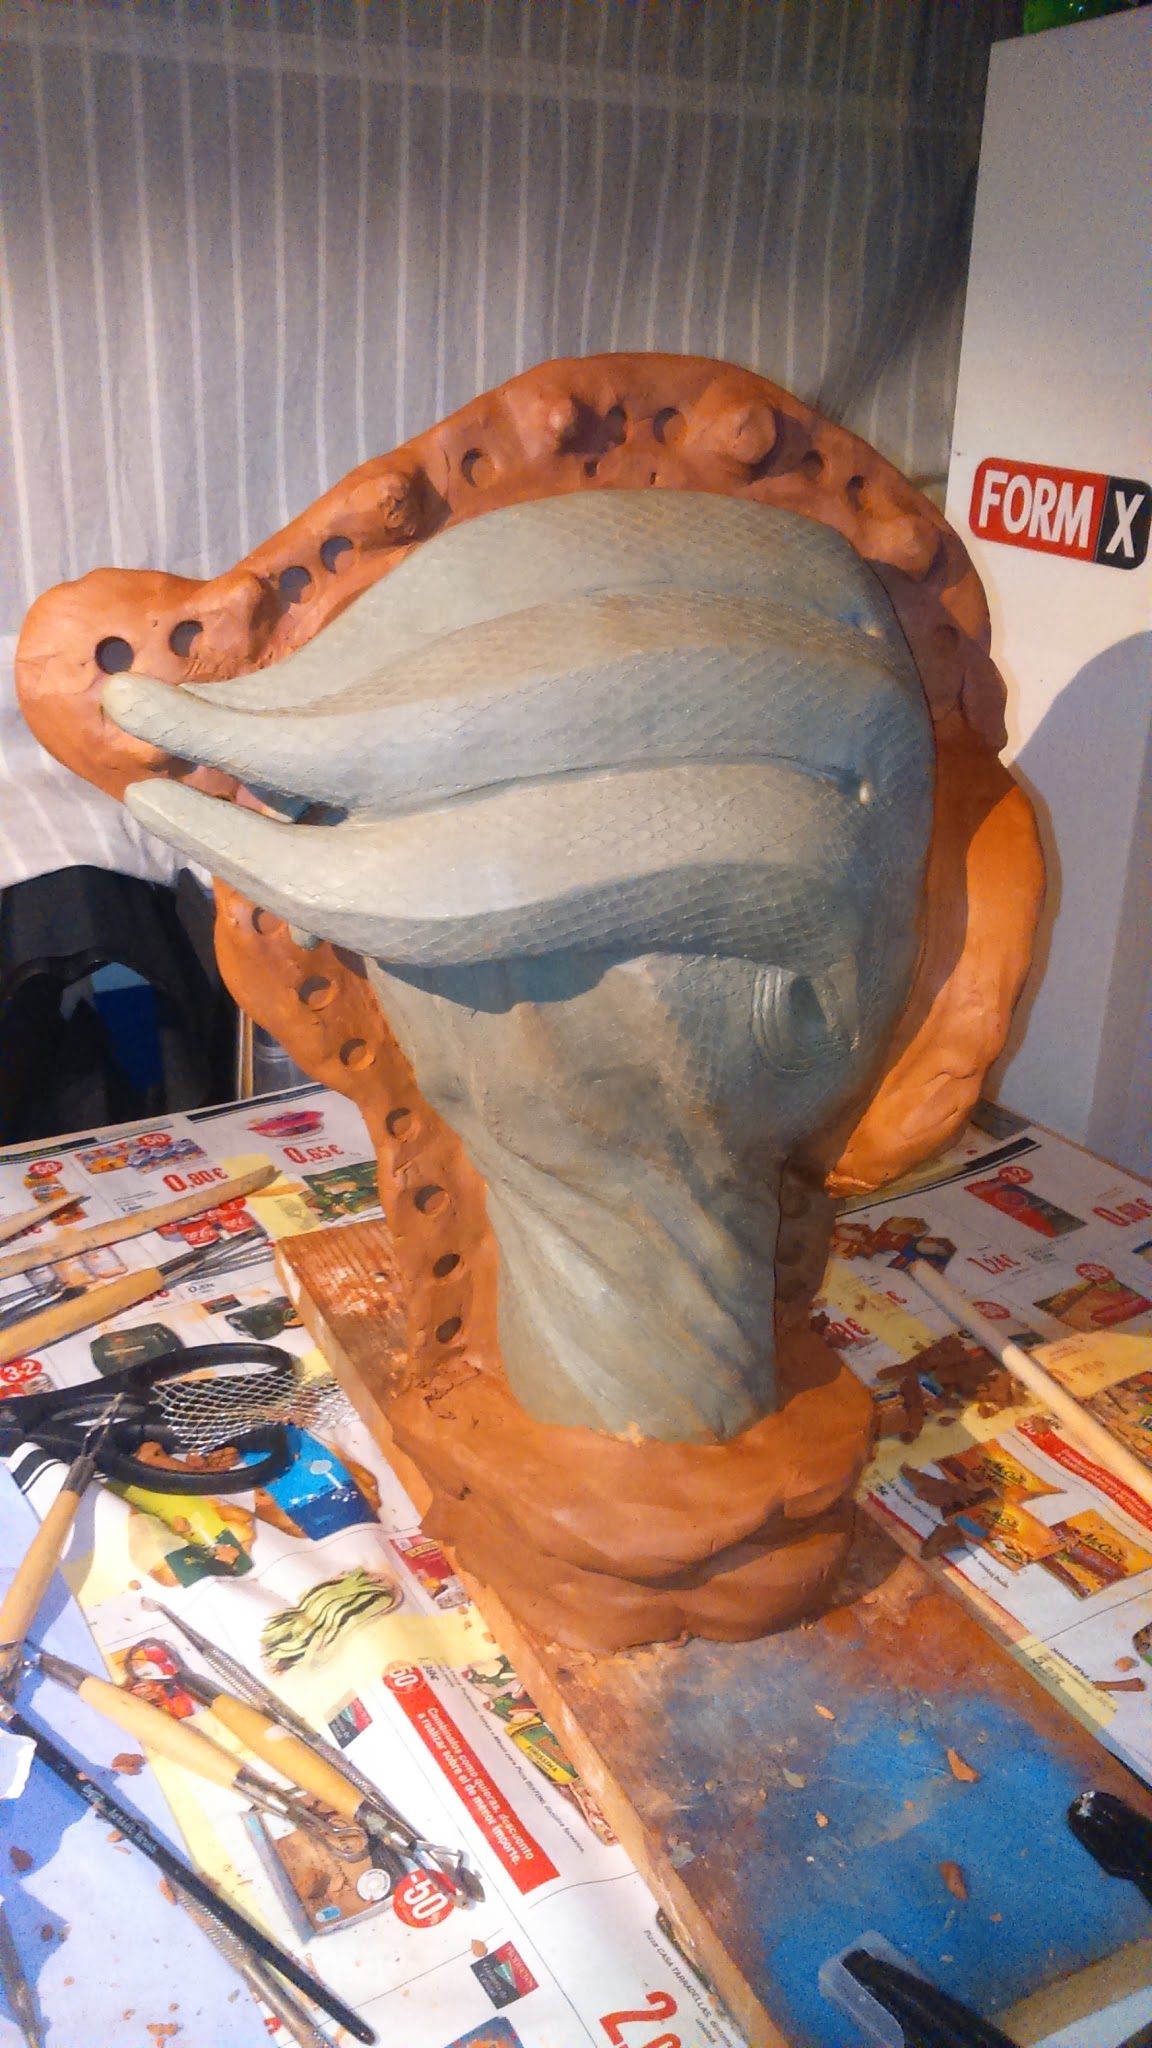
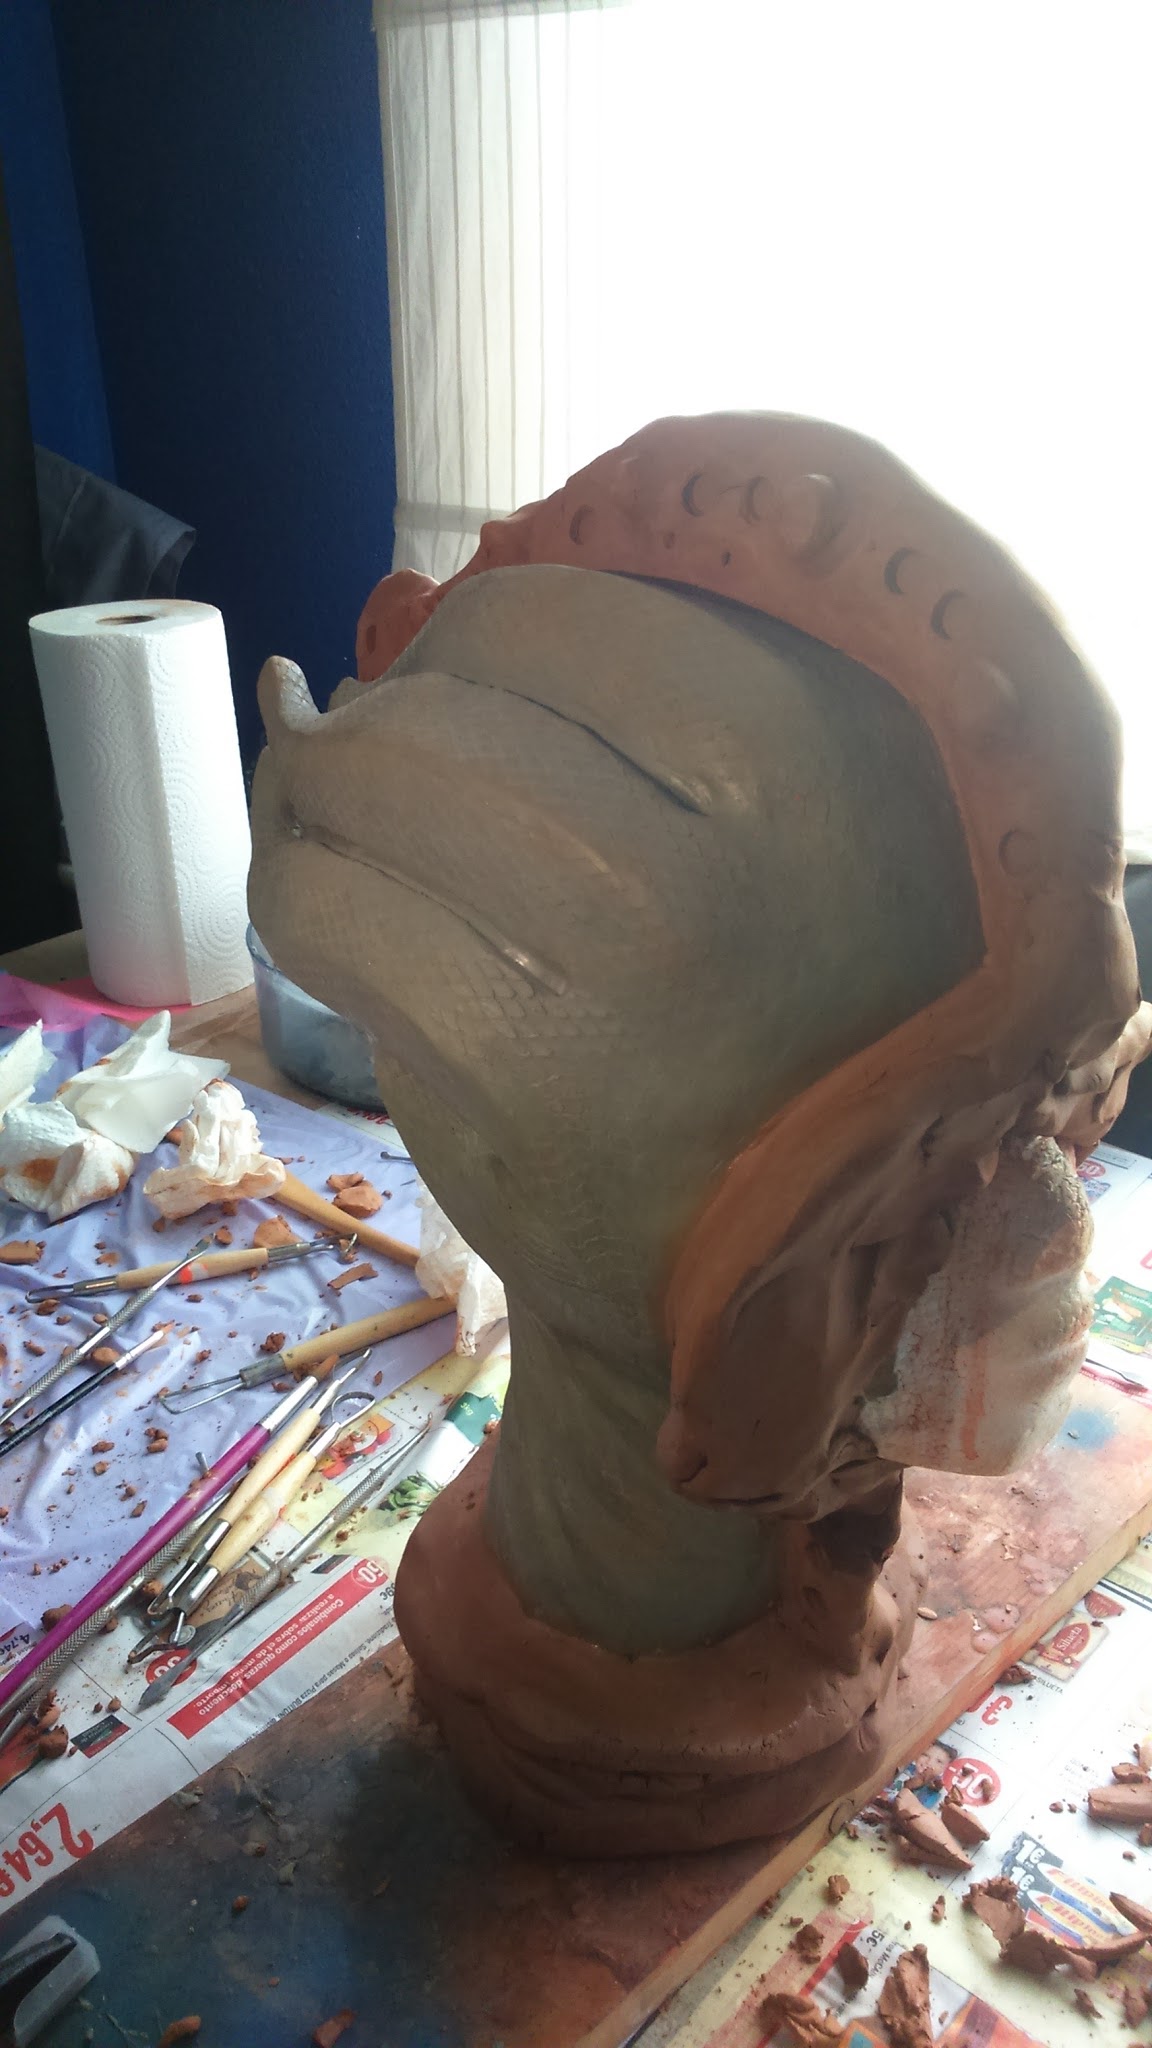
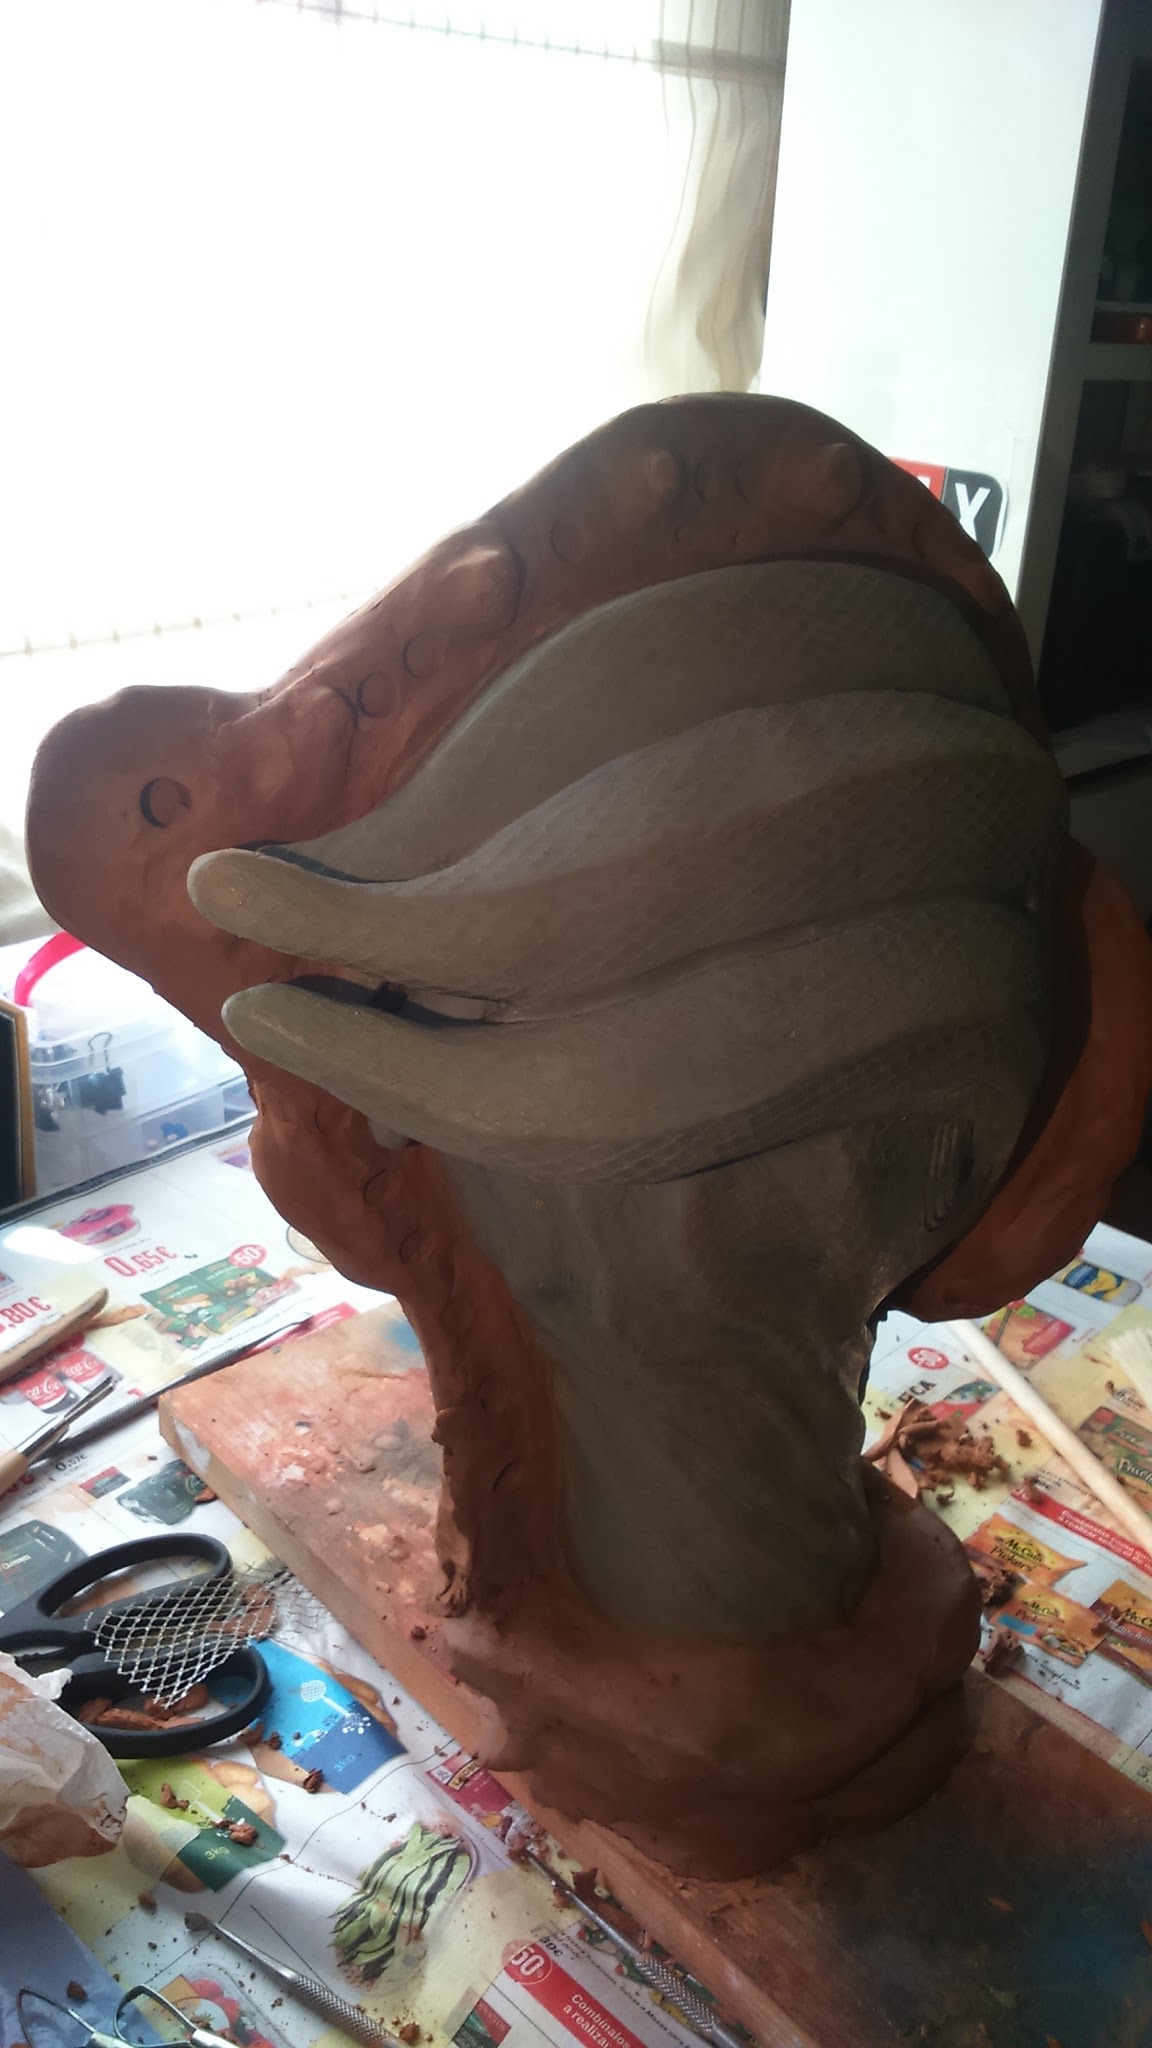
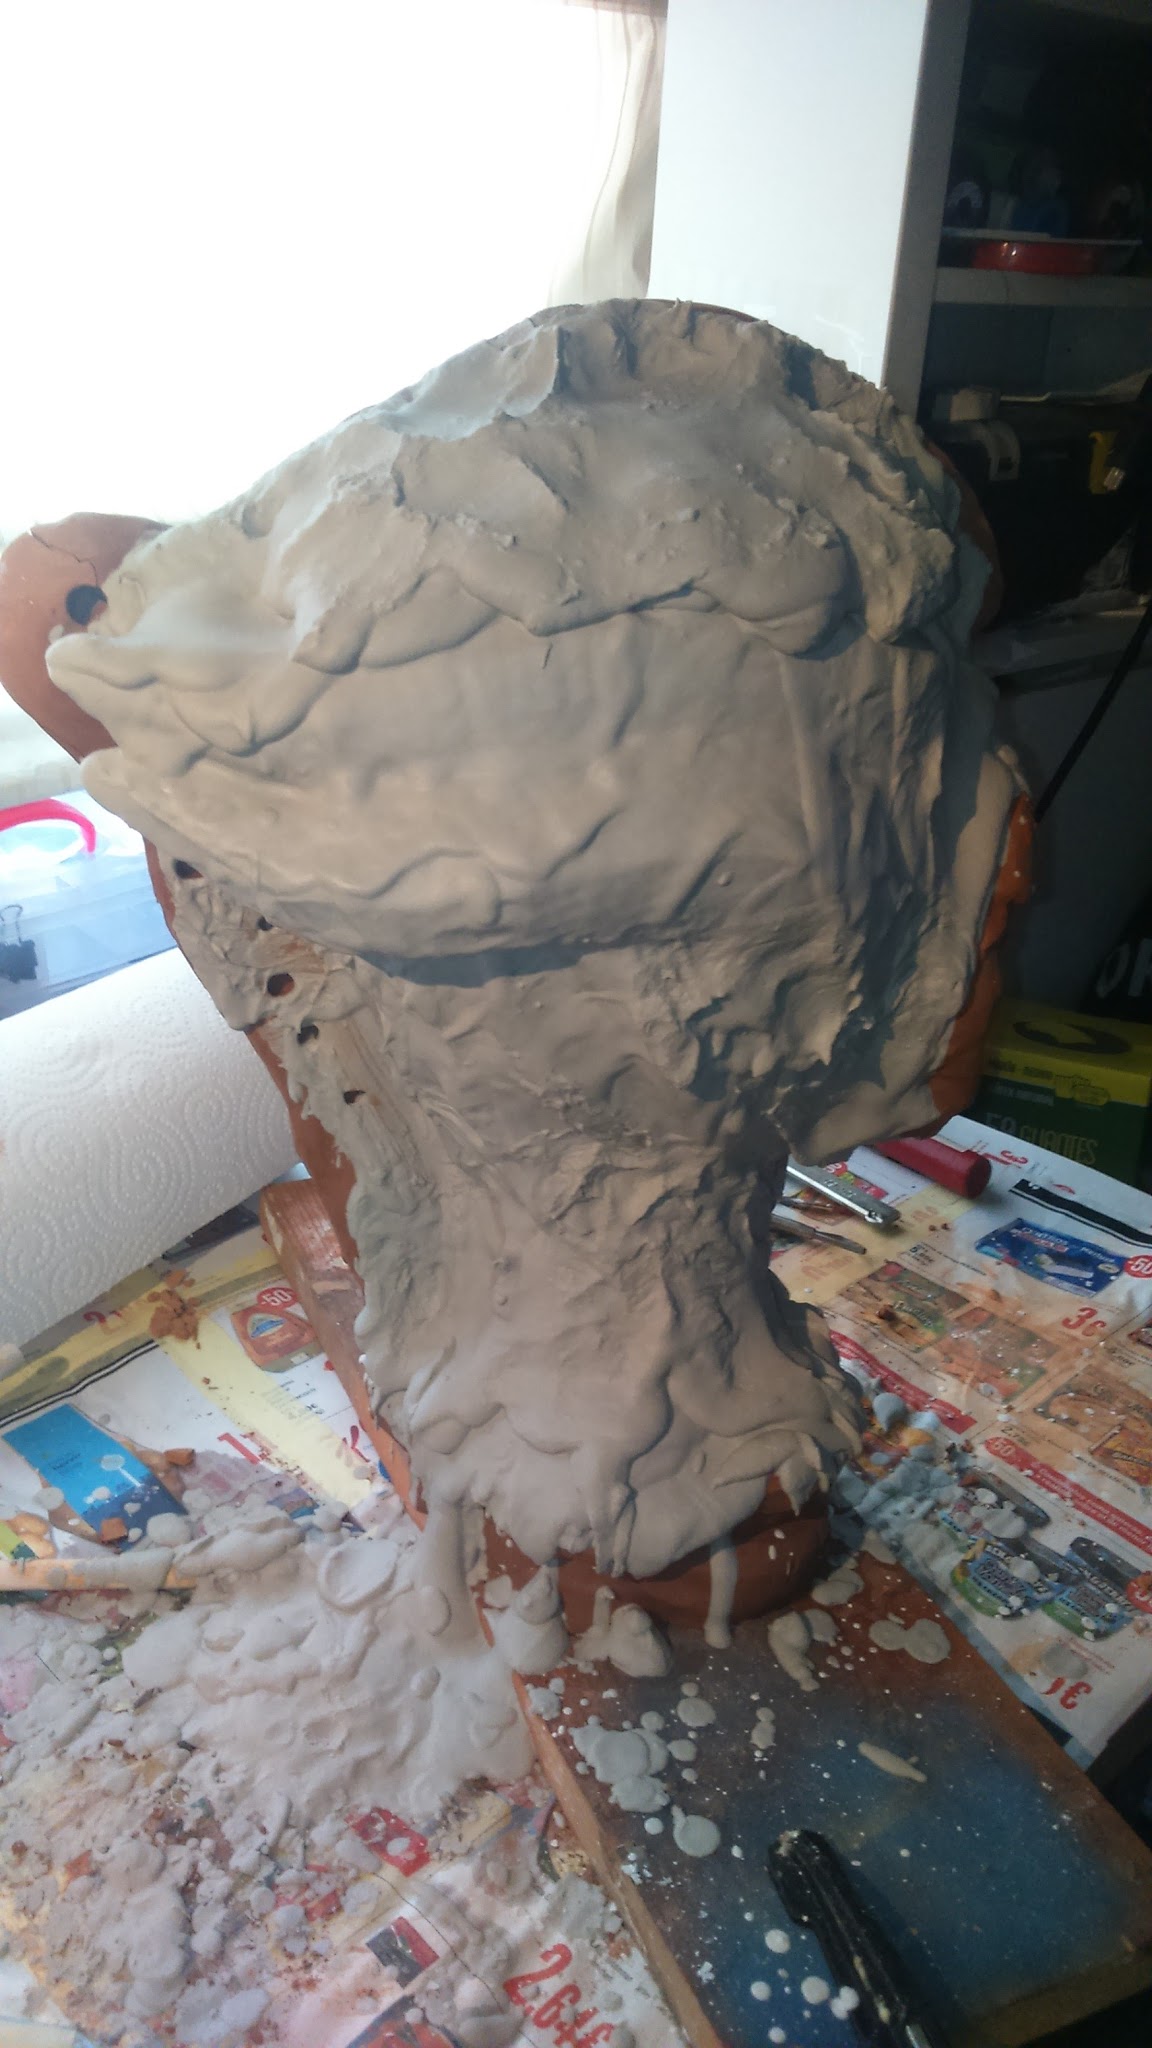
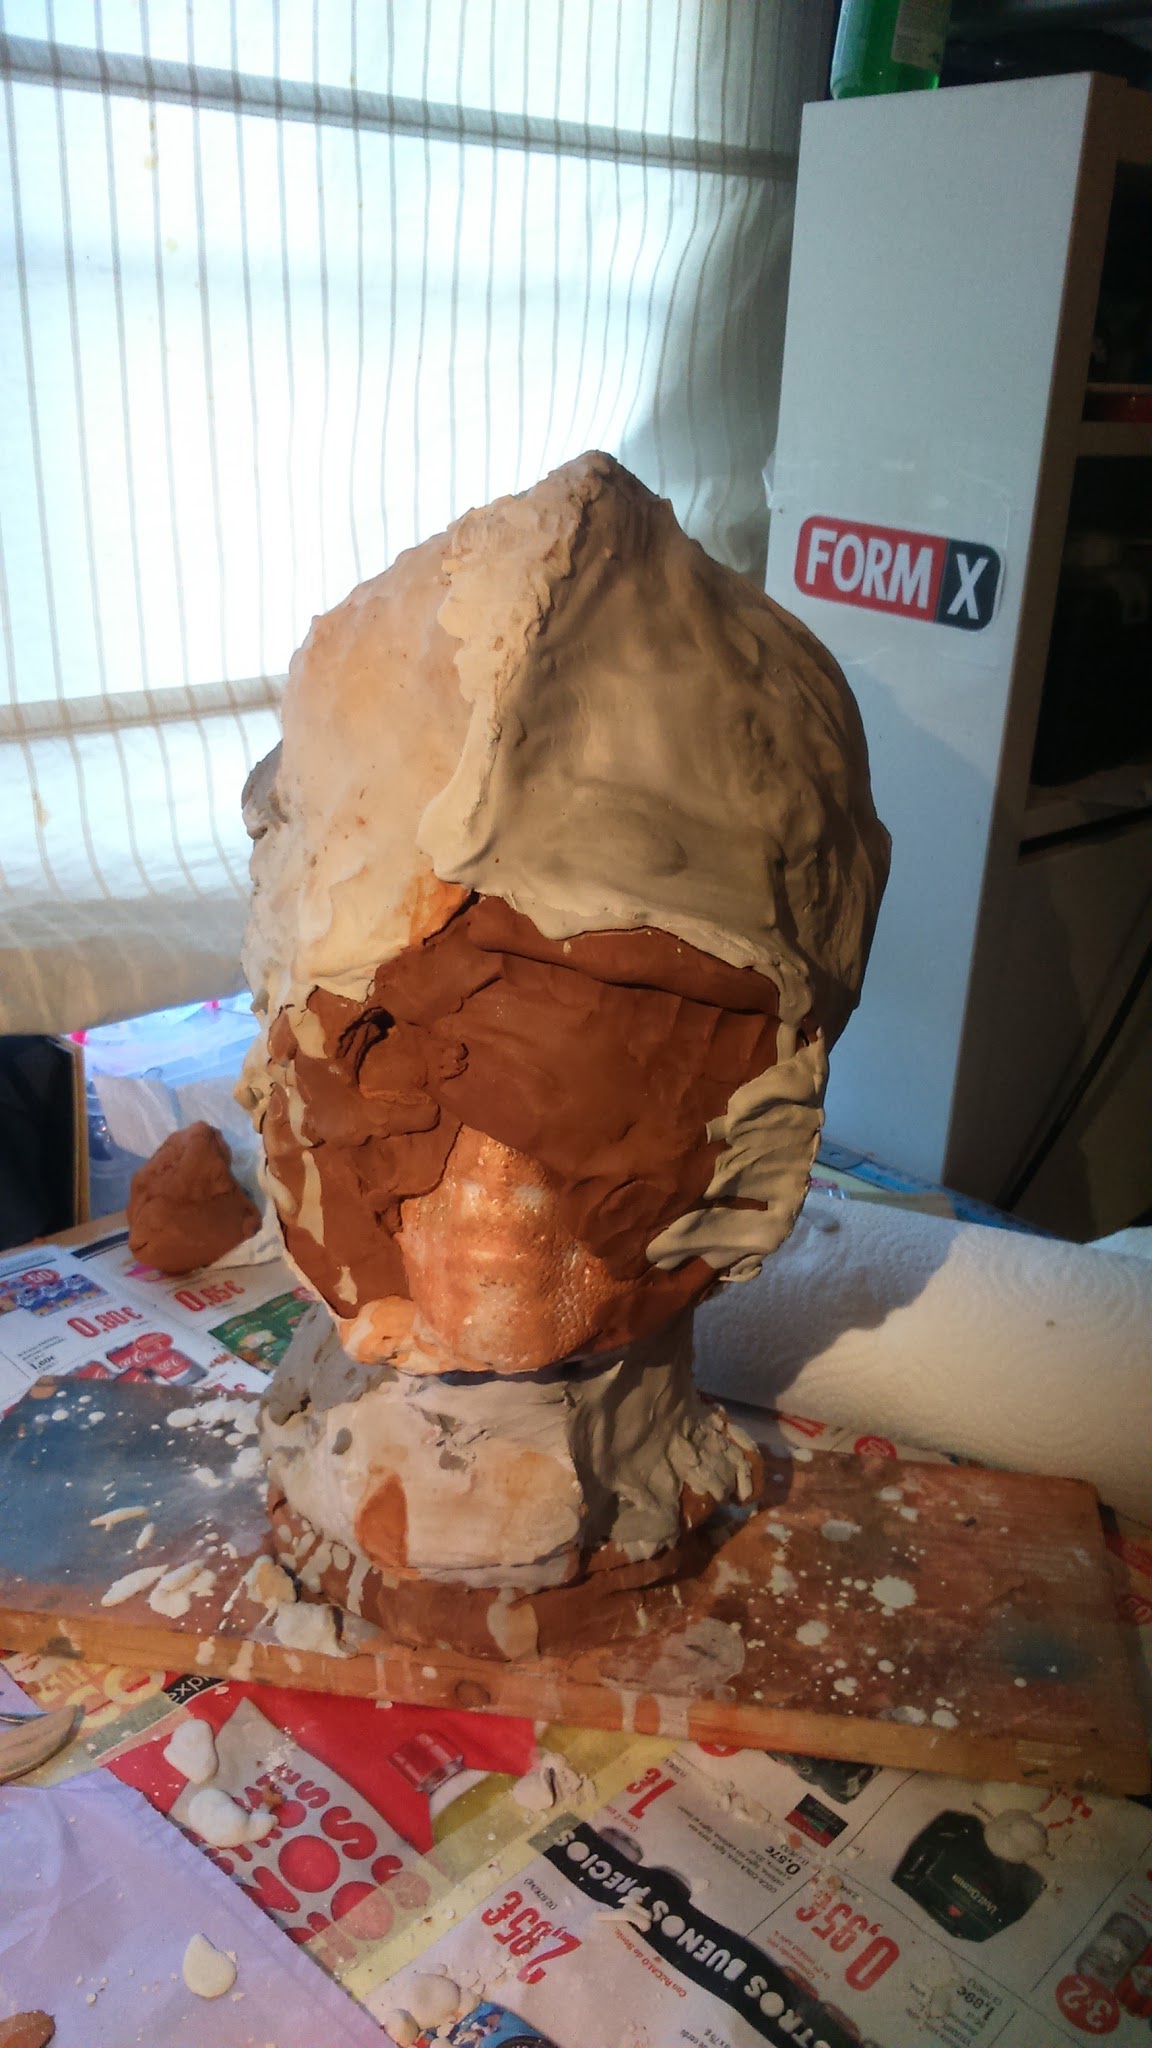
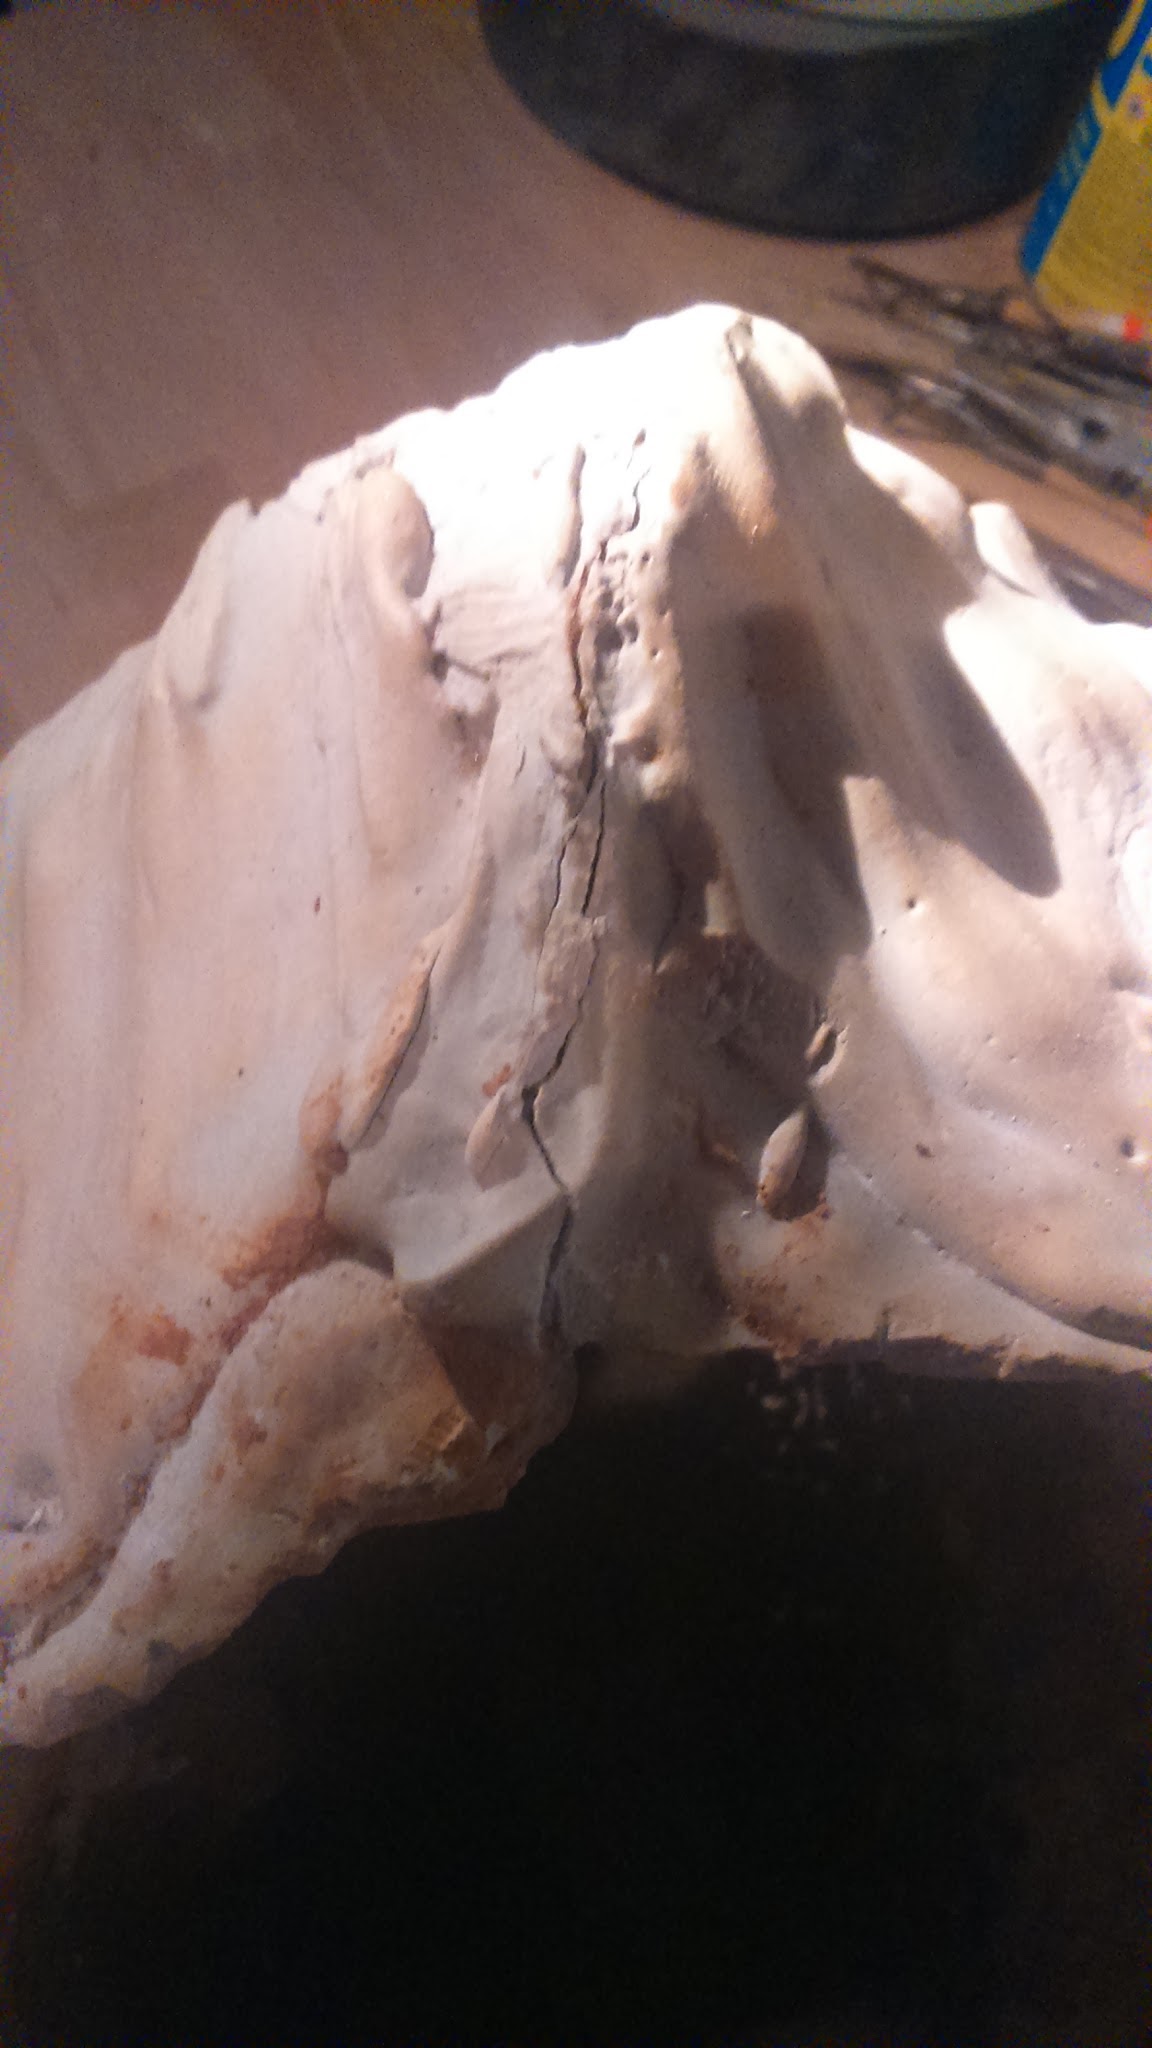
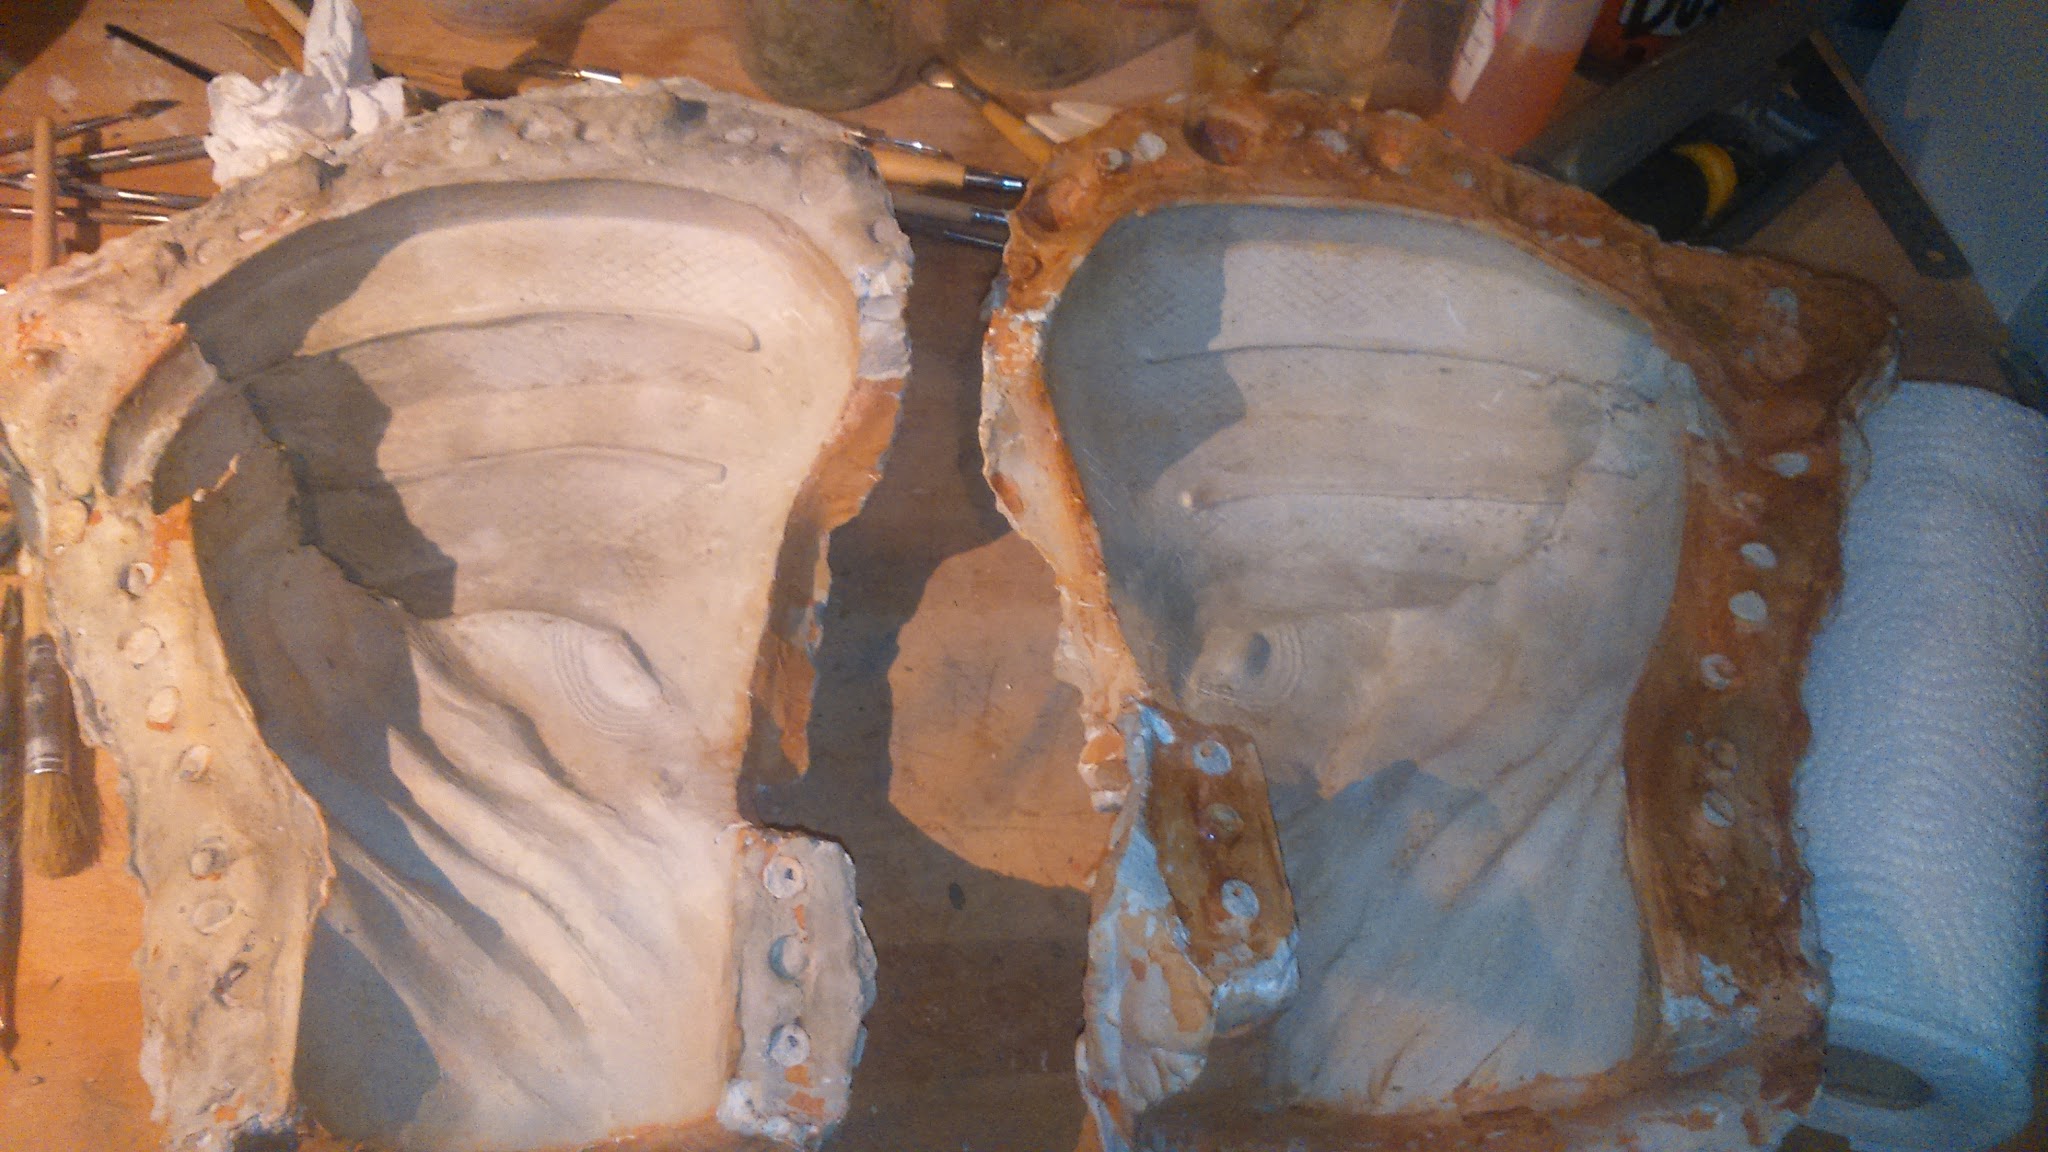
Just like in my previous entry, I based myself in this tutorial by Emmabellish, who made a beautiful Aria T’Loak cosplay. To make this mold, the best option (the technique I’ve seen in all the tutorials I’ve watched) is to make a two-part mold. So the first thing I did was delimitating half of the head using water based clay. I used this clay because the head was made of oil-based plastiline and this way I didn’t mess it up. The cleaner the line between both clays, the cleaner the final product.
The problem here is that red clay tends to crack when dry and separates from the sculpture. That happened to me and I had to remove it and do it again, so I did the next step while it was wet.
The guys from the store told me about better options for the next time: using soft plastiline or Wed Clay, that is glycerin-based.
Anyway, water-based clay worked fine.
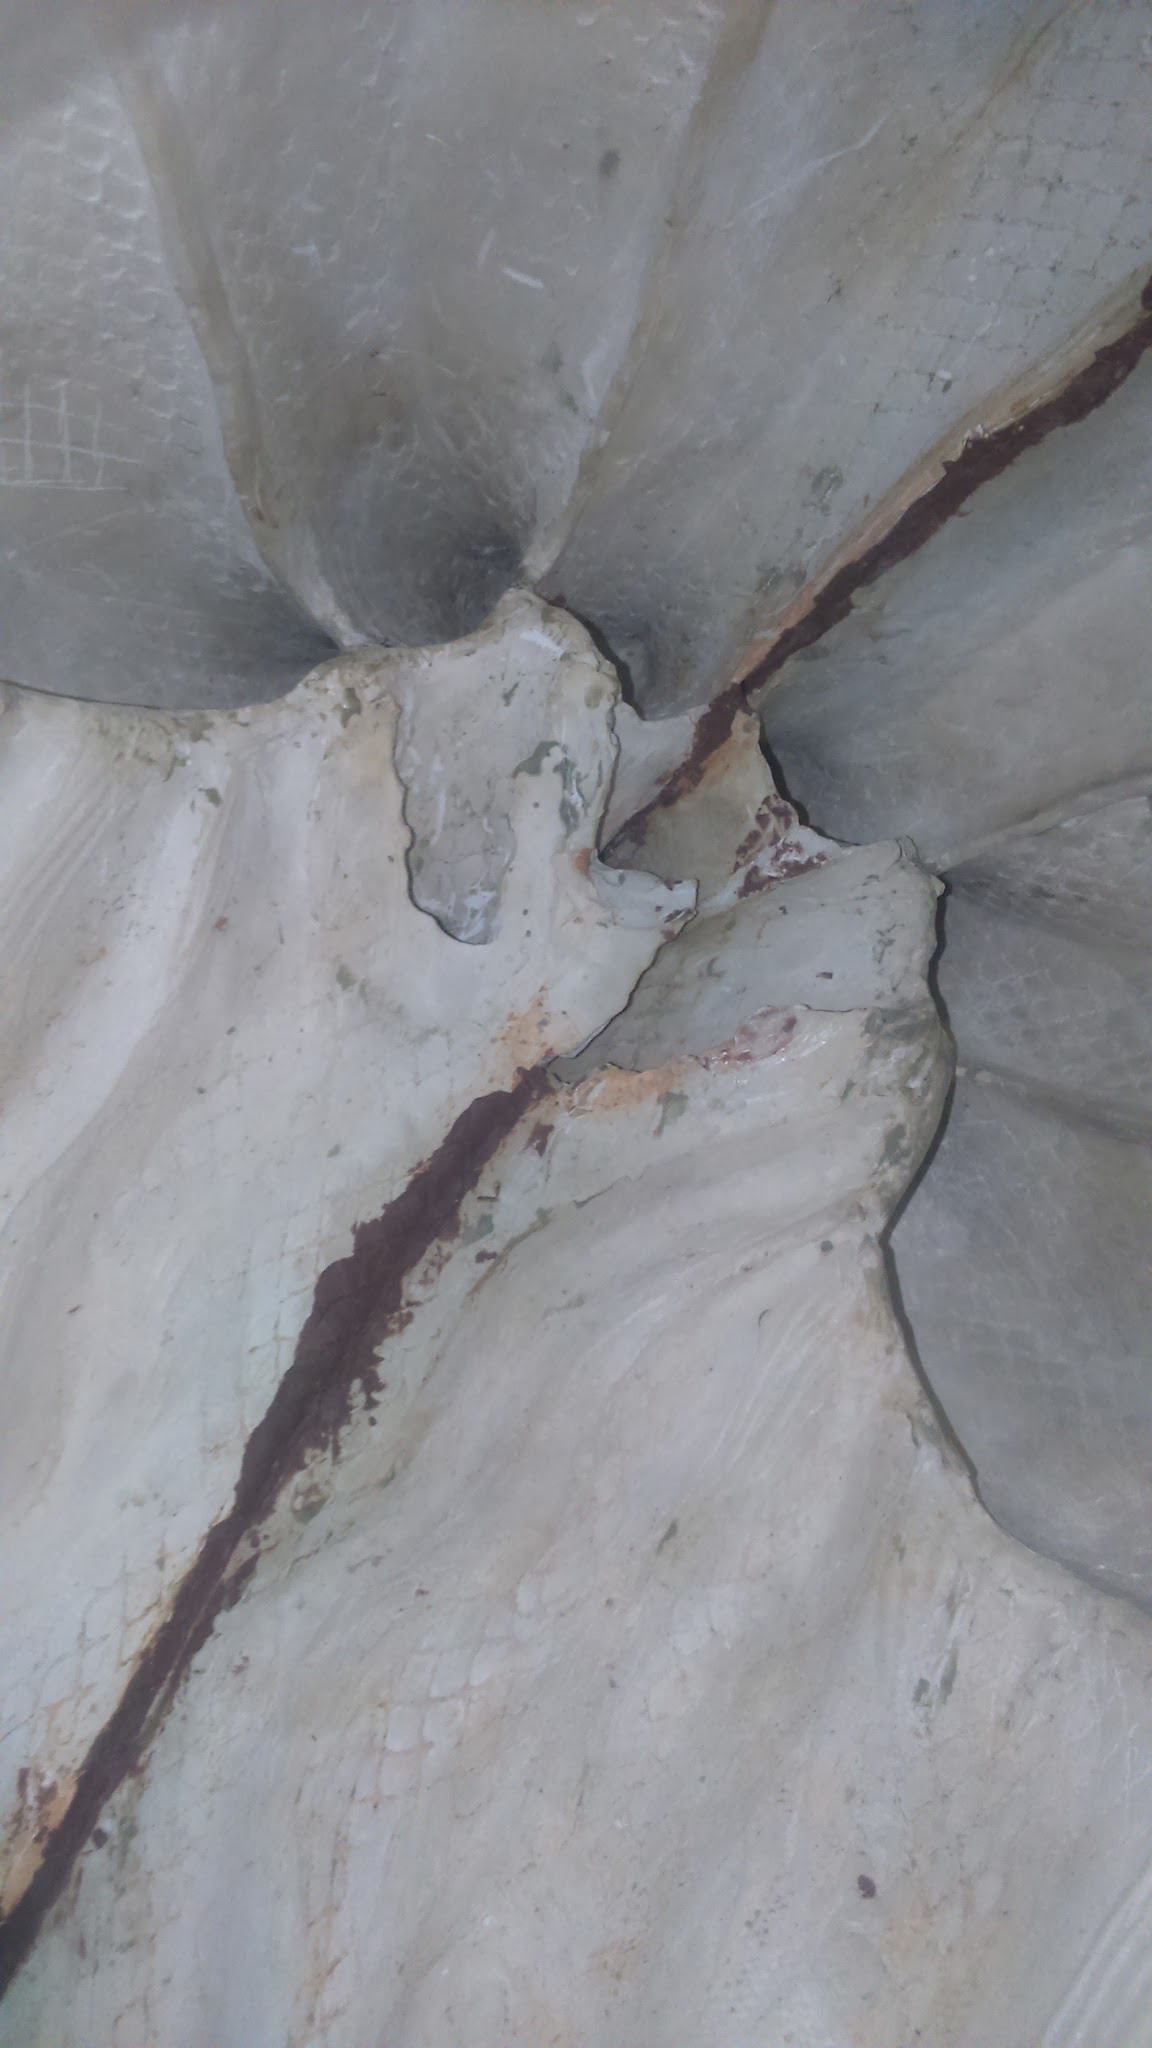
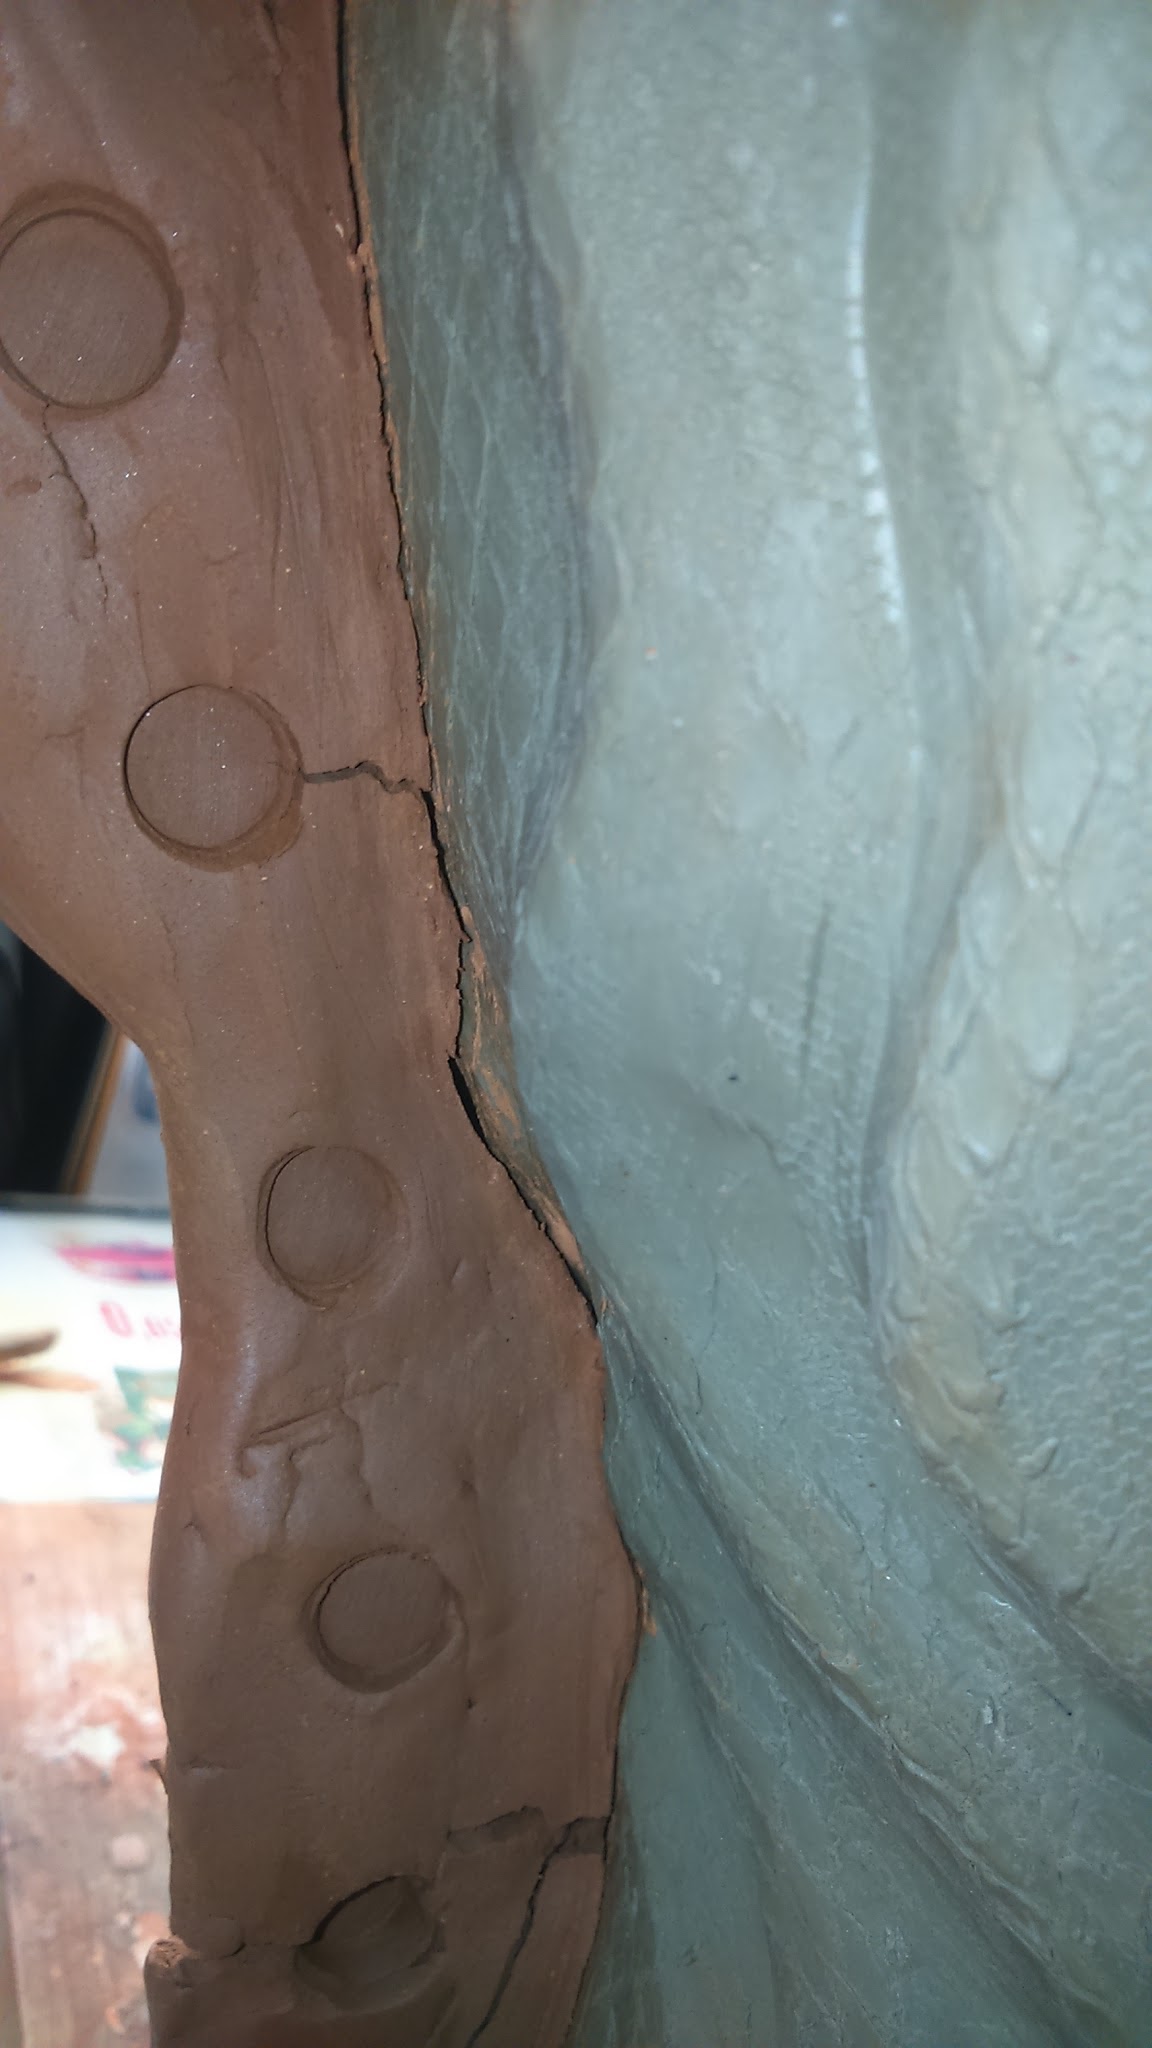 |
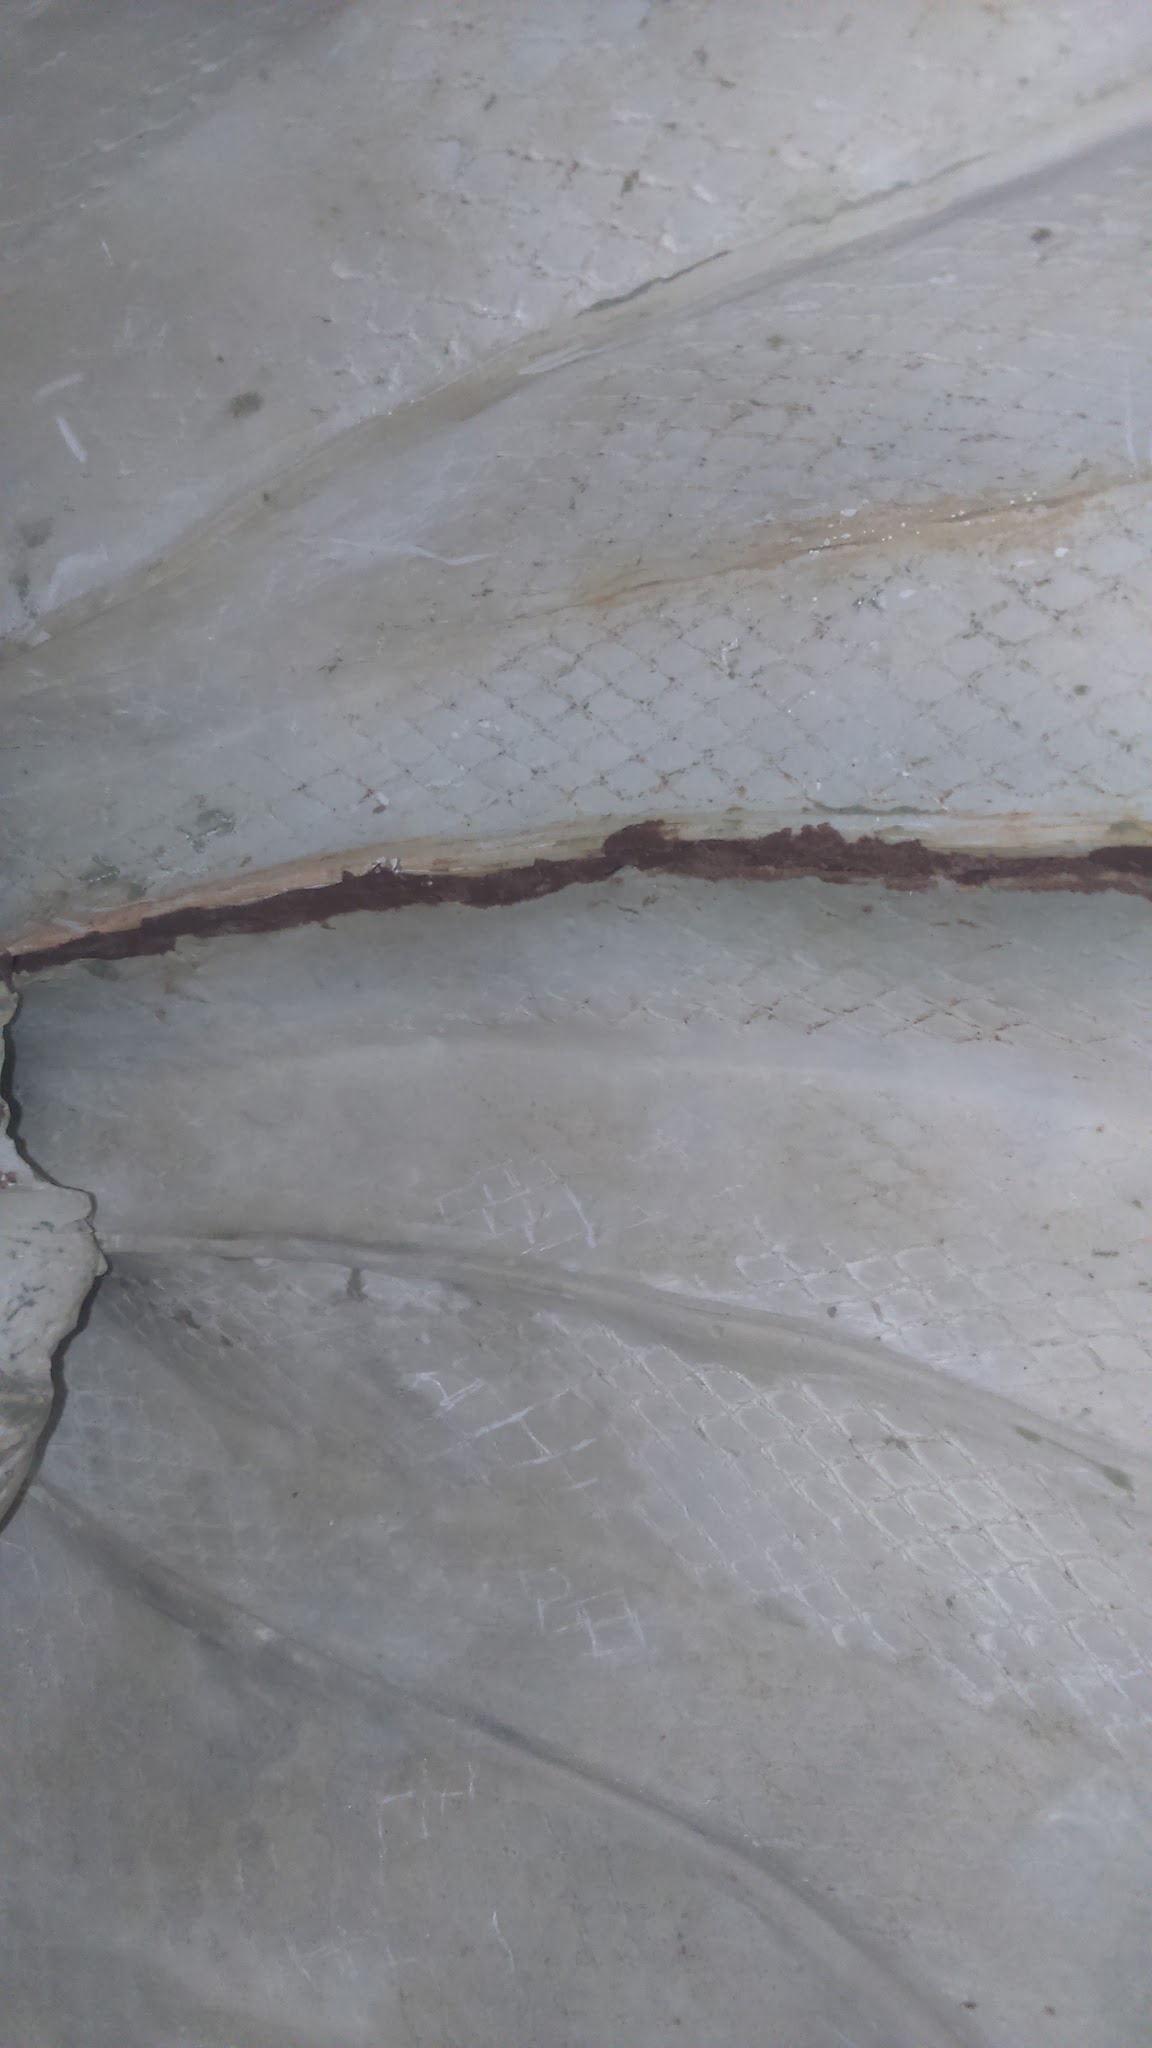
| Grietas por aquí / Cracks here. |
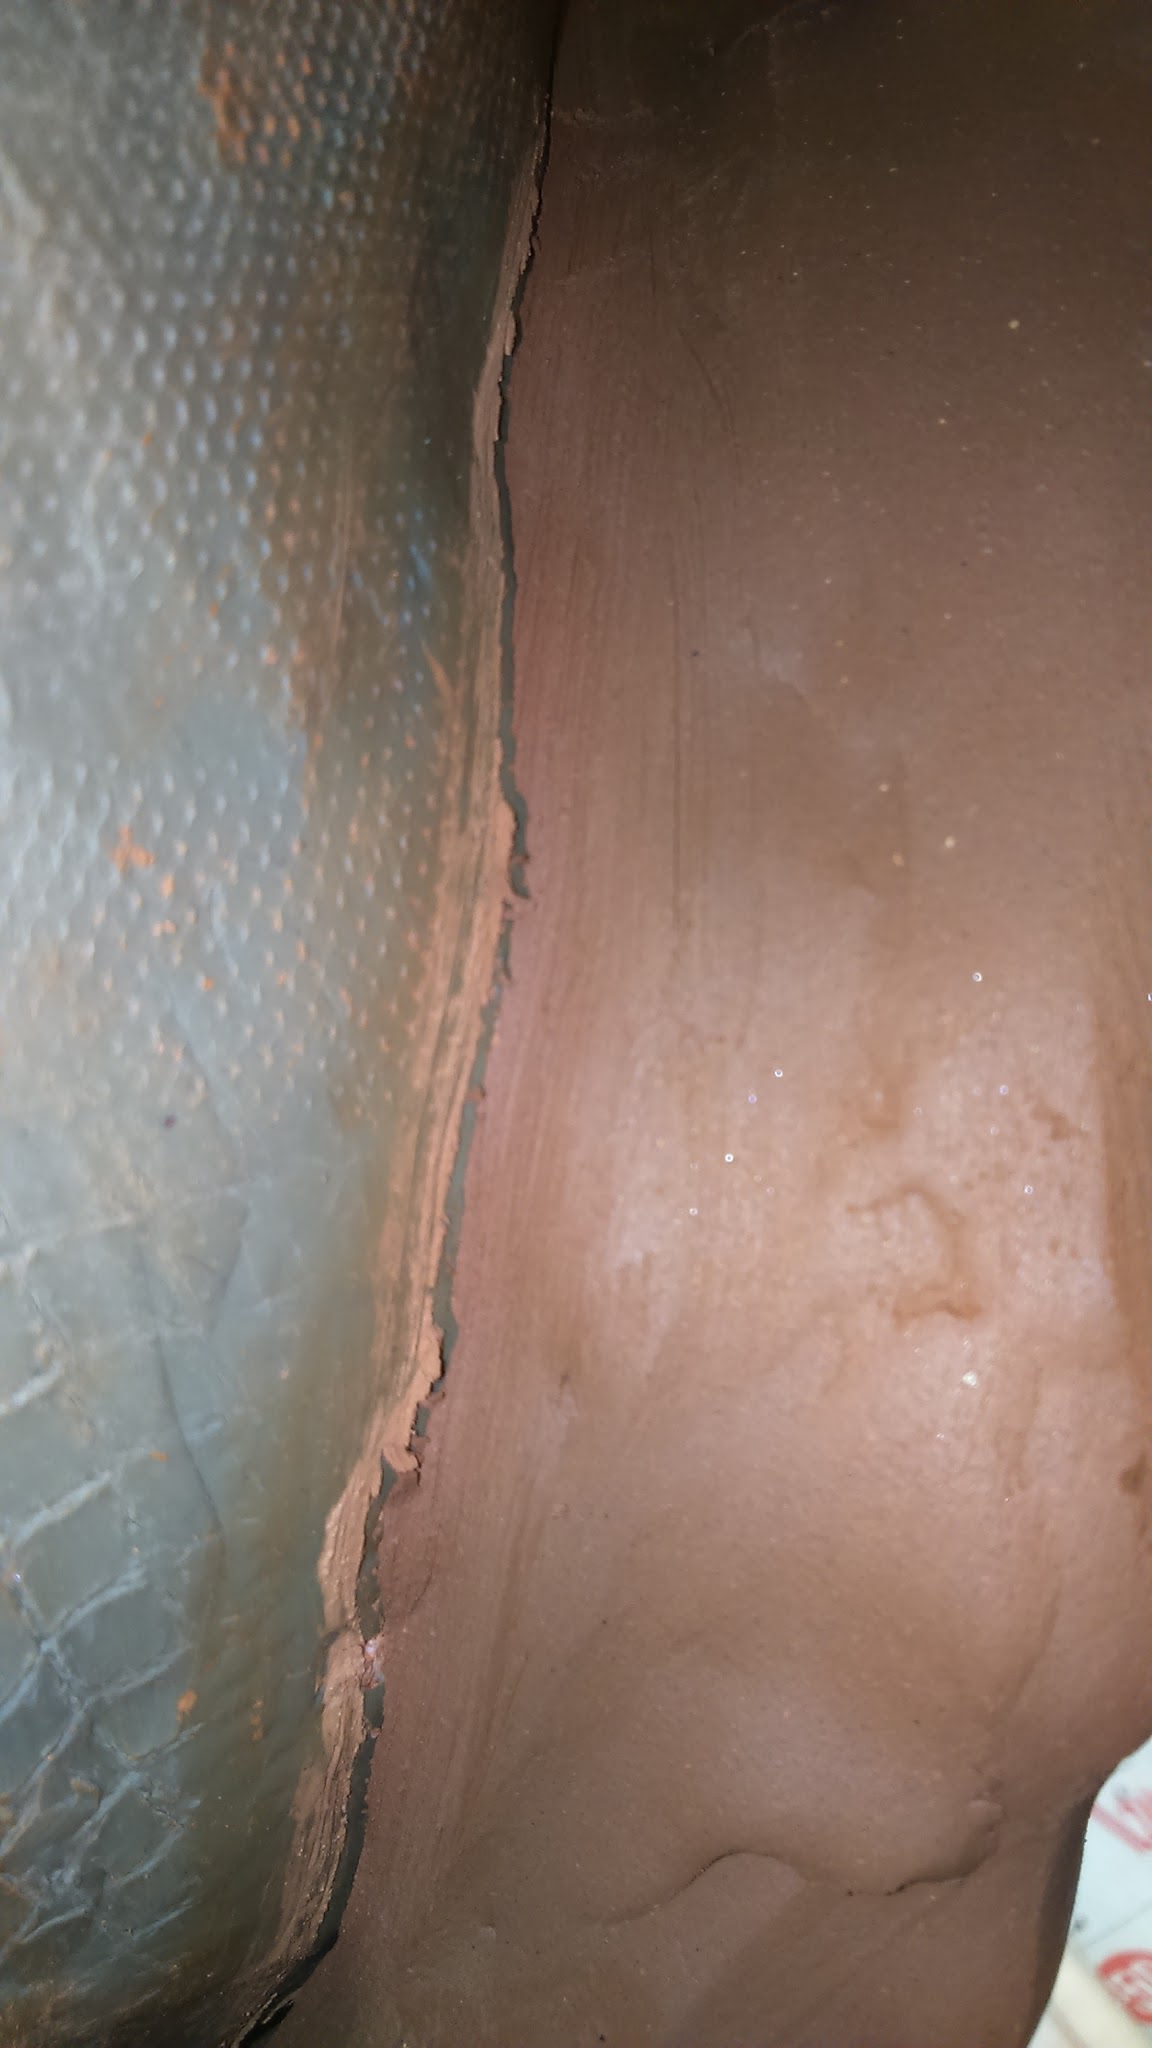 |
| Grietas por allá / Cracks there. |
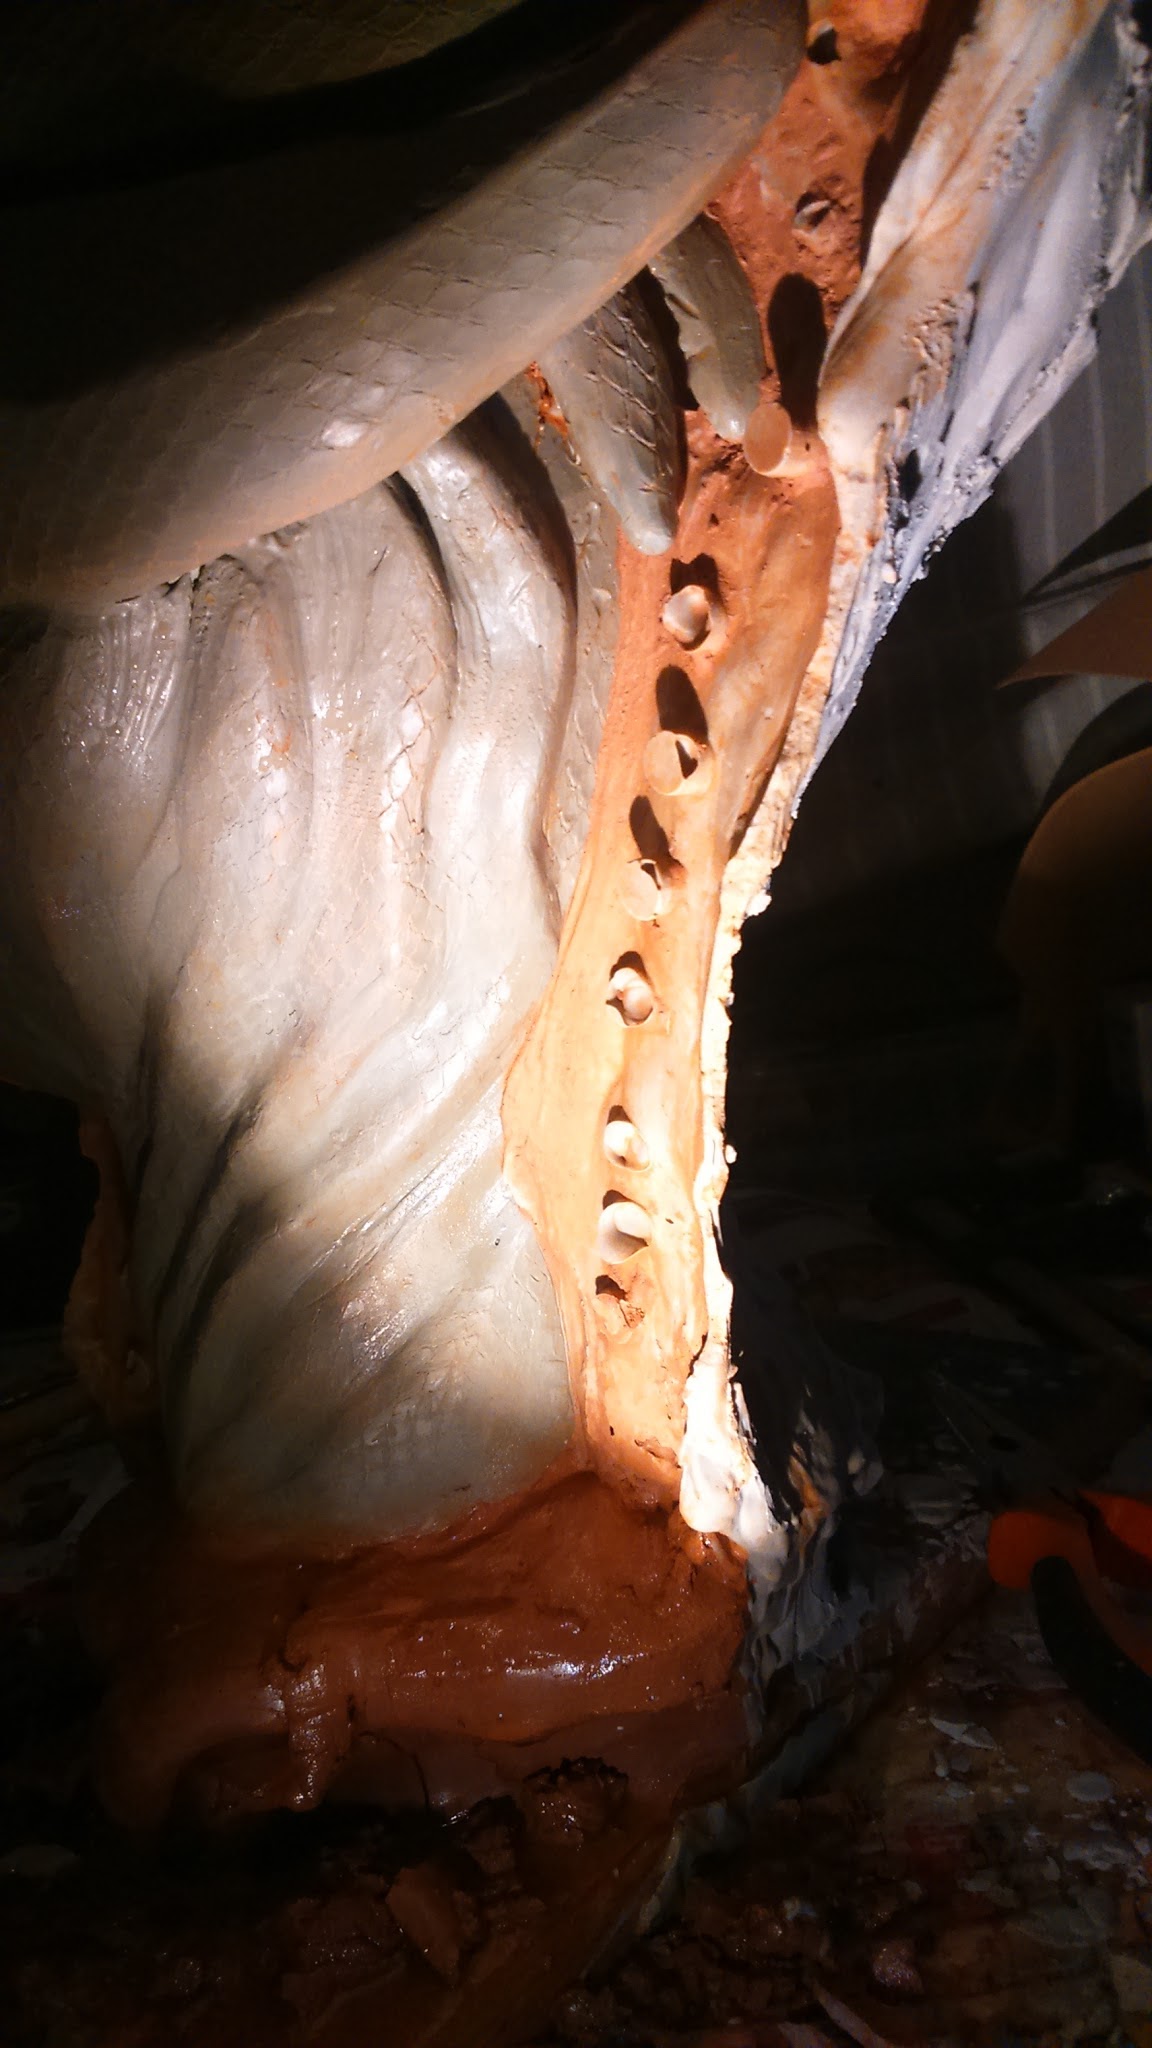
Once I delimited the first half correctly (with no cracks and no crap), I added the registration marks on the water-based clay to make sure the other half fits in correctly.
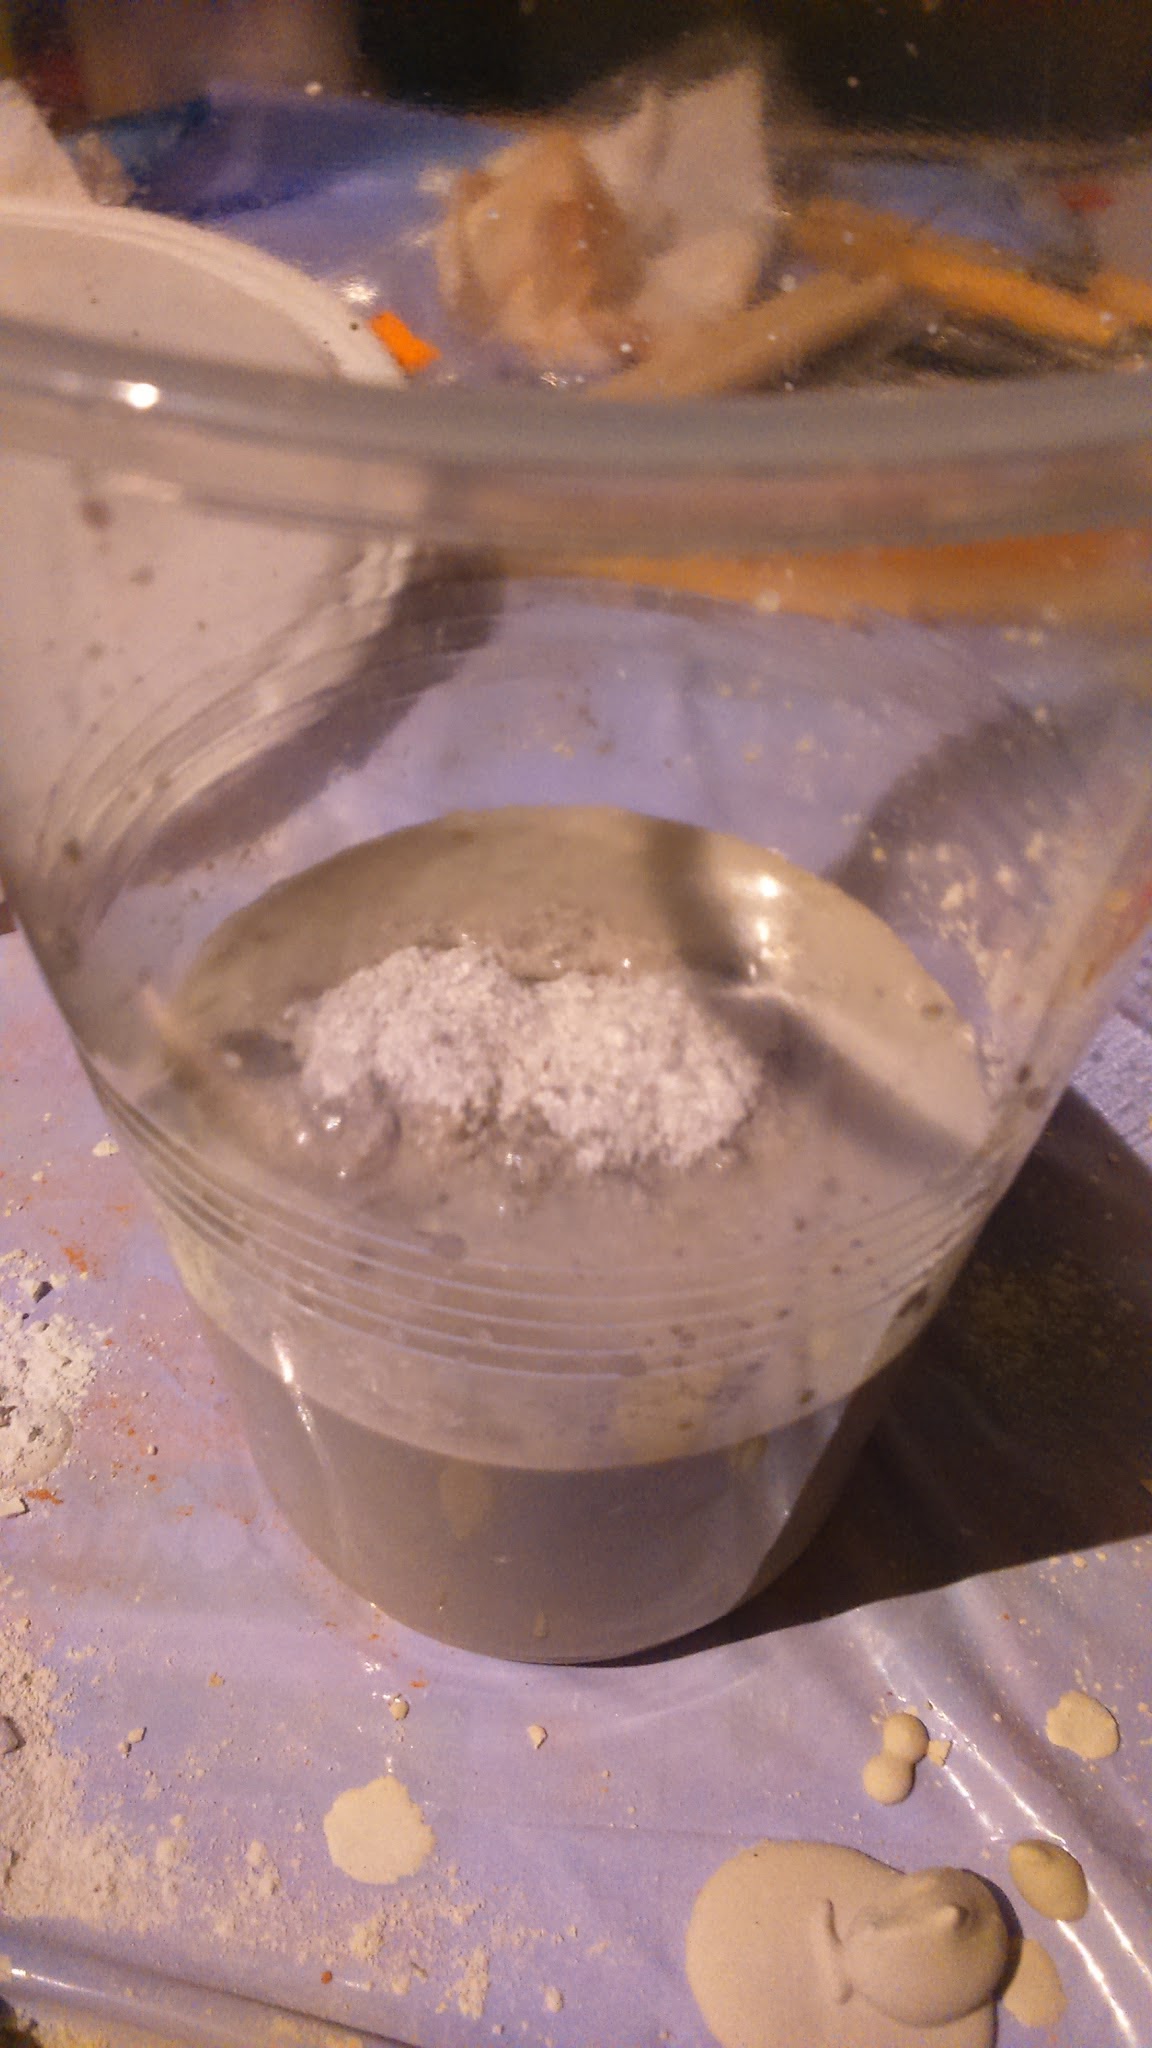
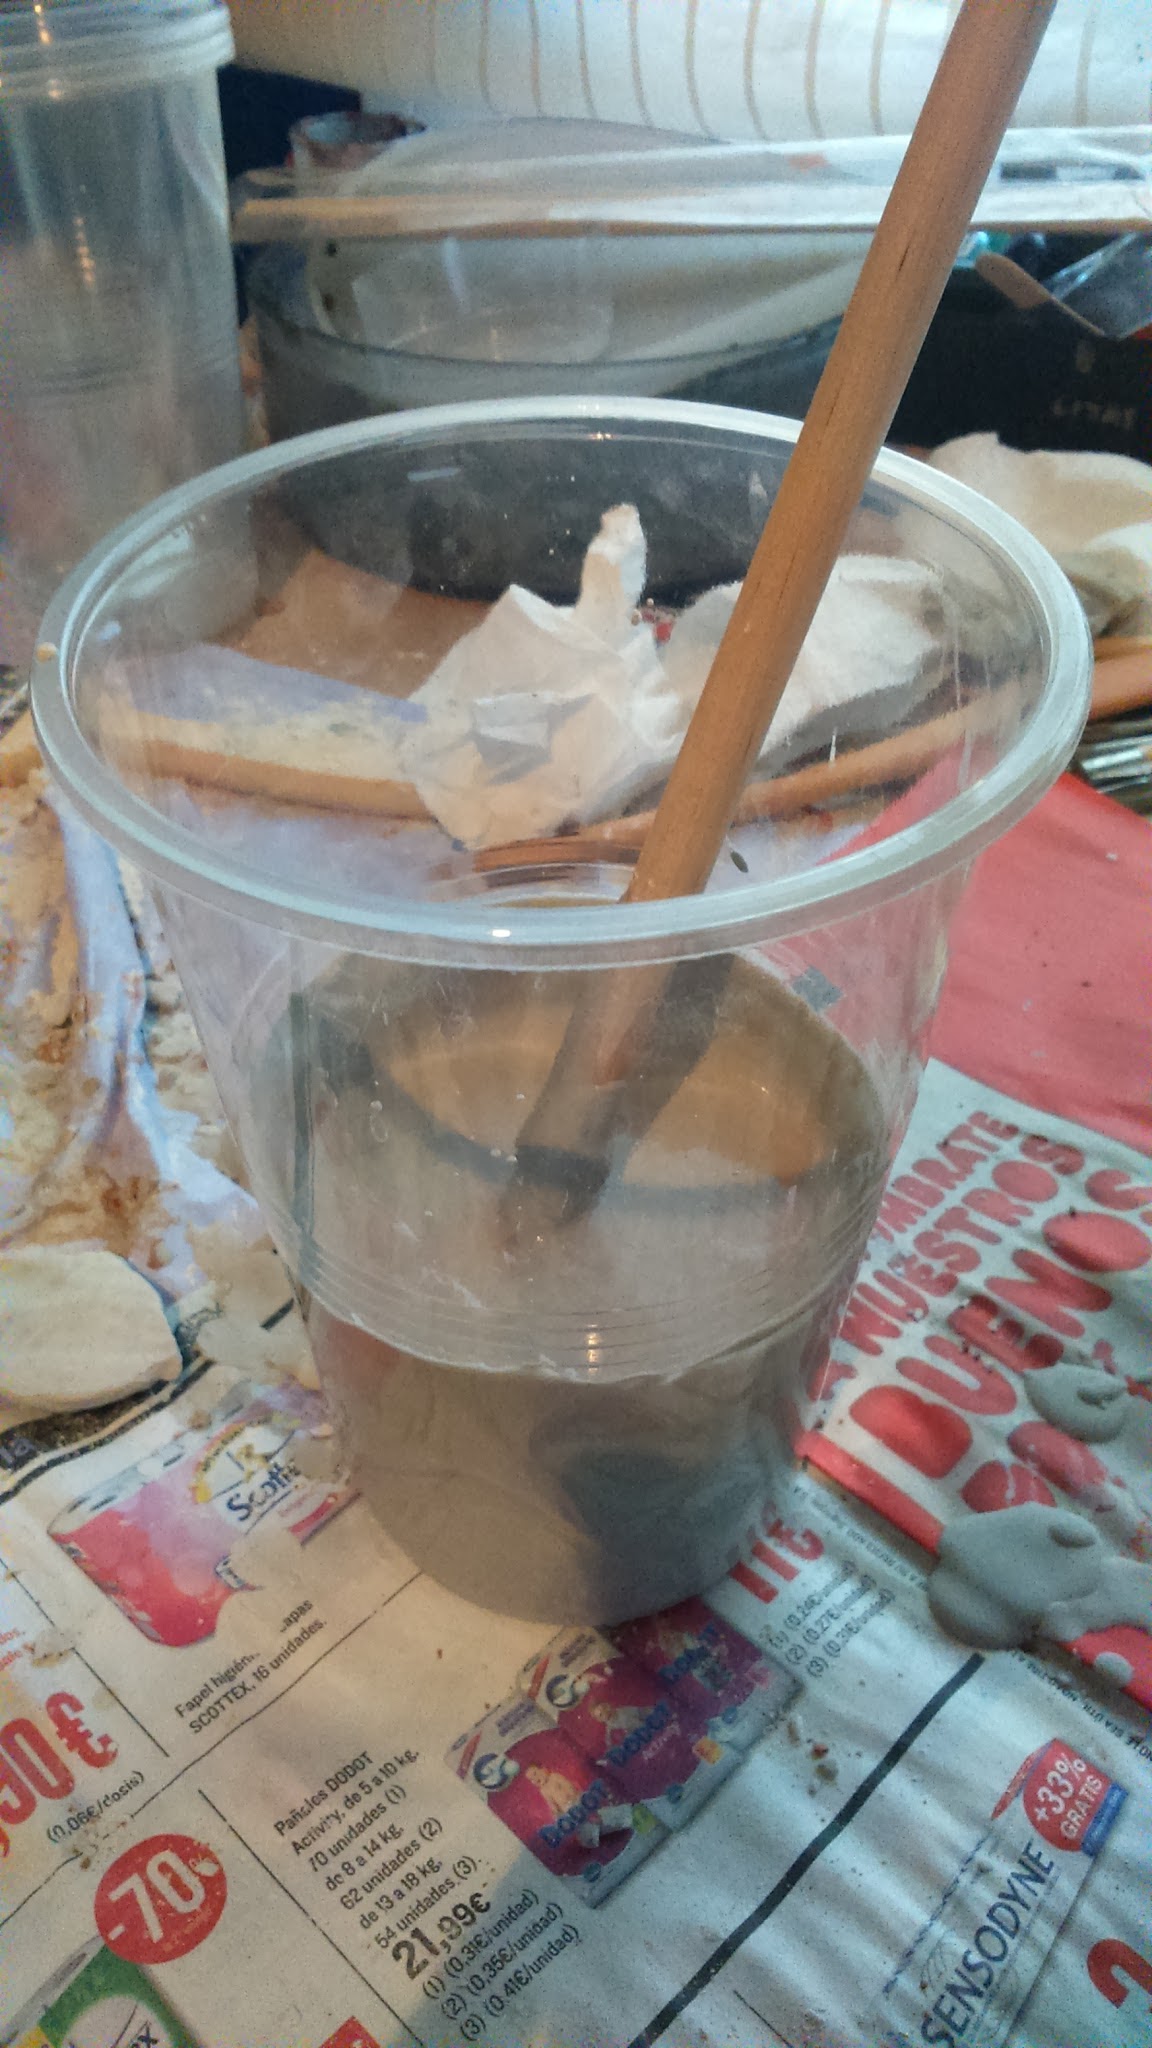
Then I prepared the plaster. Following the Ultracal 30 instructions, you have to mix a proportion of 38 parts of water for 100 parts of plaster. But you don’t need to strictly follow it. Being practical, the trick is to fill a container with warm water and start adding plaster little by little until there’s a “plaster island” floating on the water, I mean, until plaster overflows water a little bit. Then you stir it till you get an homogeneous mixture. You don’t have to mix the exact proportions, from then on, you can add more plaster if you want a denser mixture.
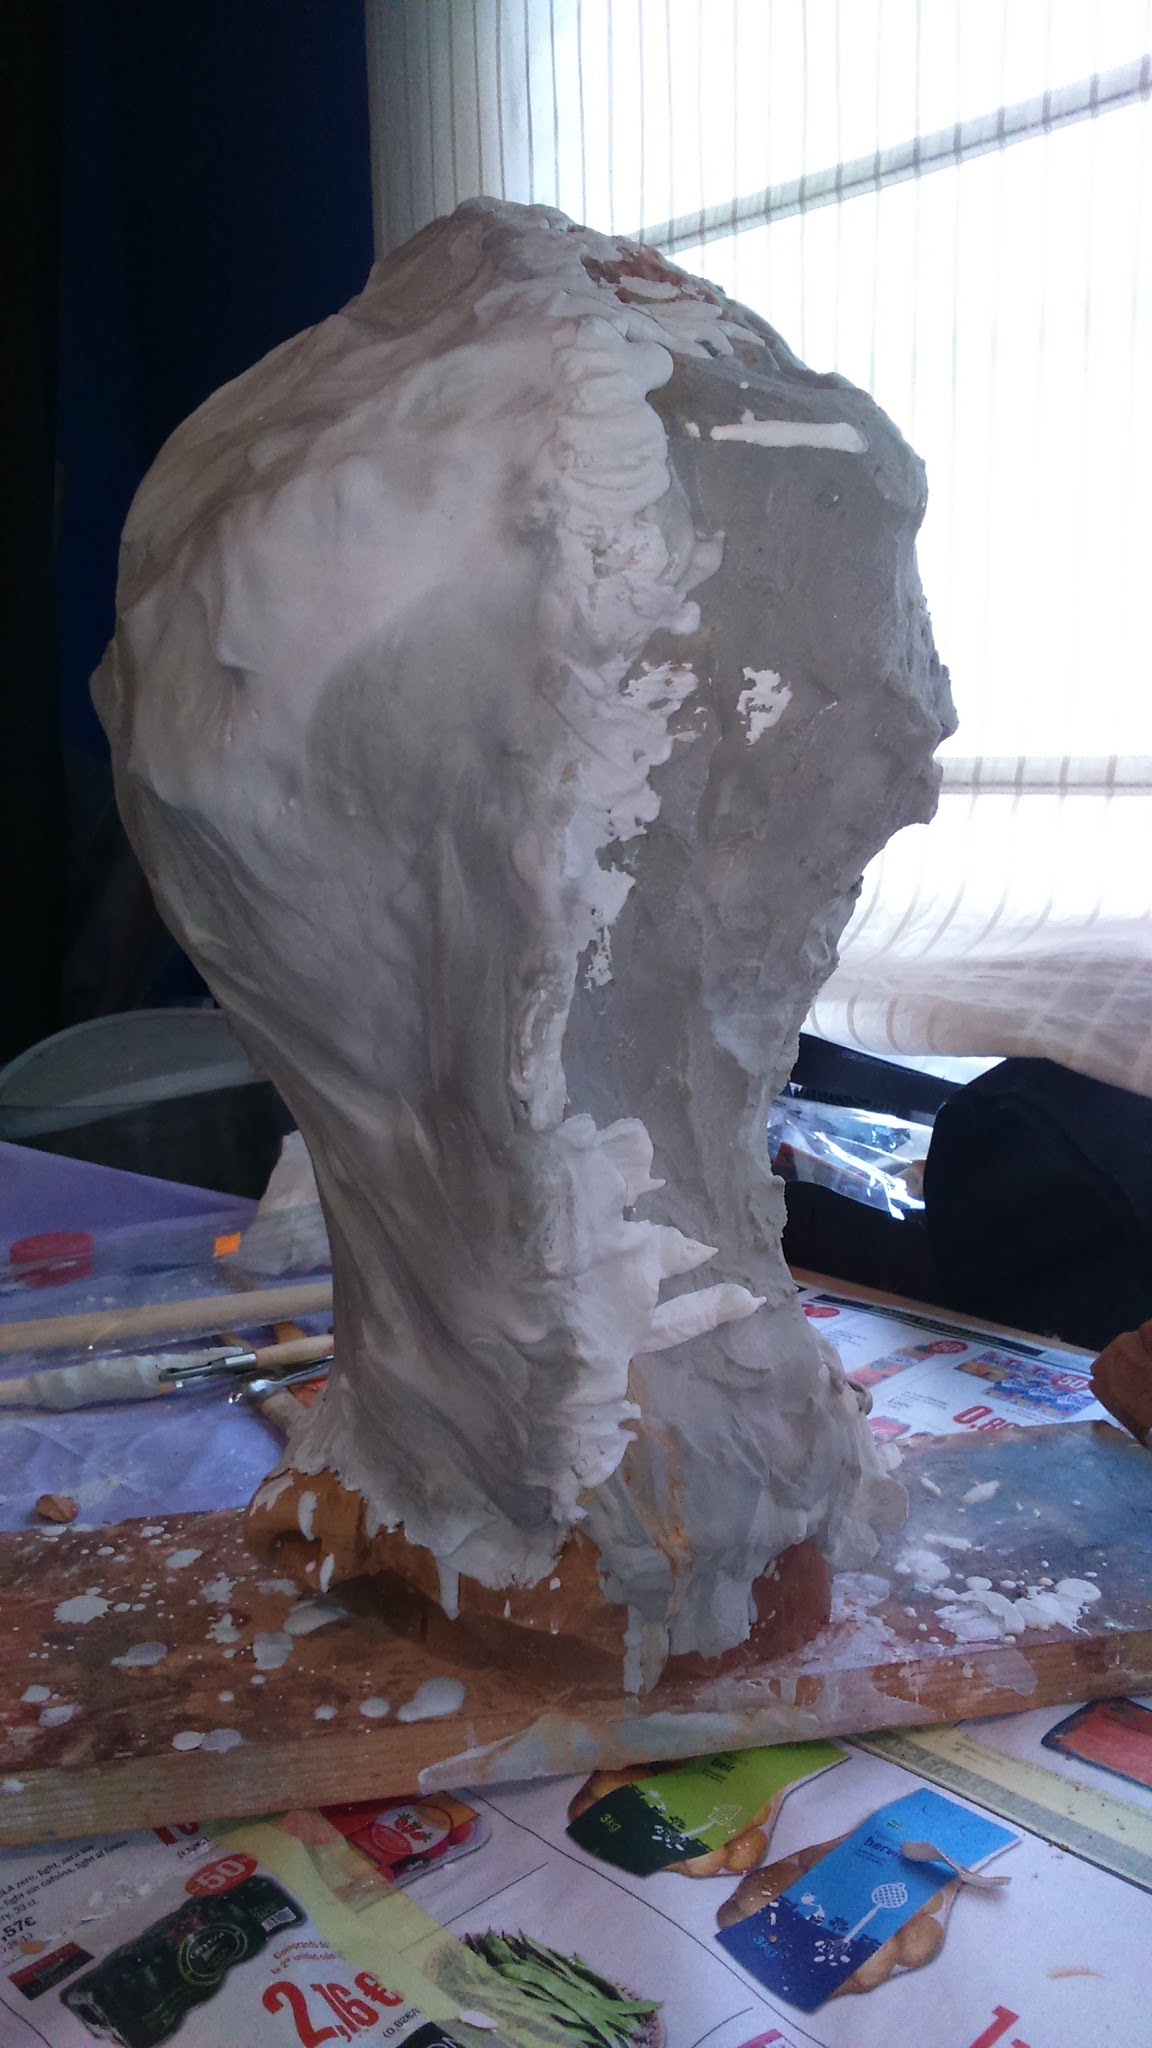
Once the plaster was ready, I applied the first thin coat with a brush to get the fine details. After that, I started adding thicker coats of plaster till I got a thick mold. You can see it drips at first but, as the material starts drying, it sets better.
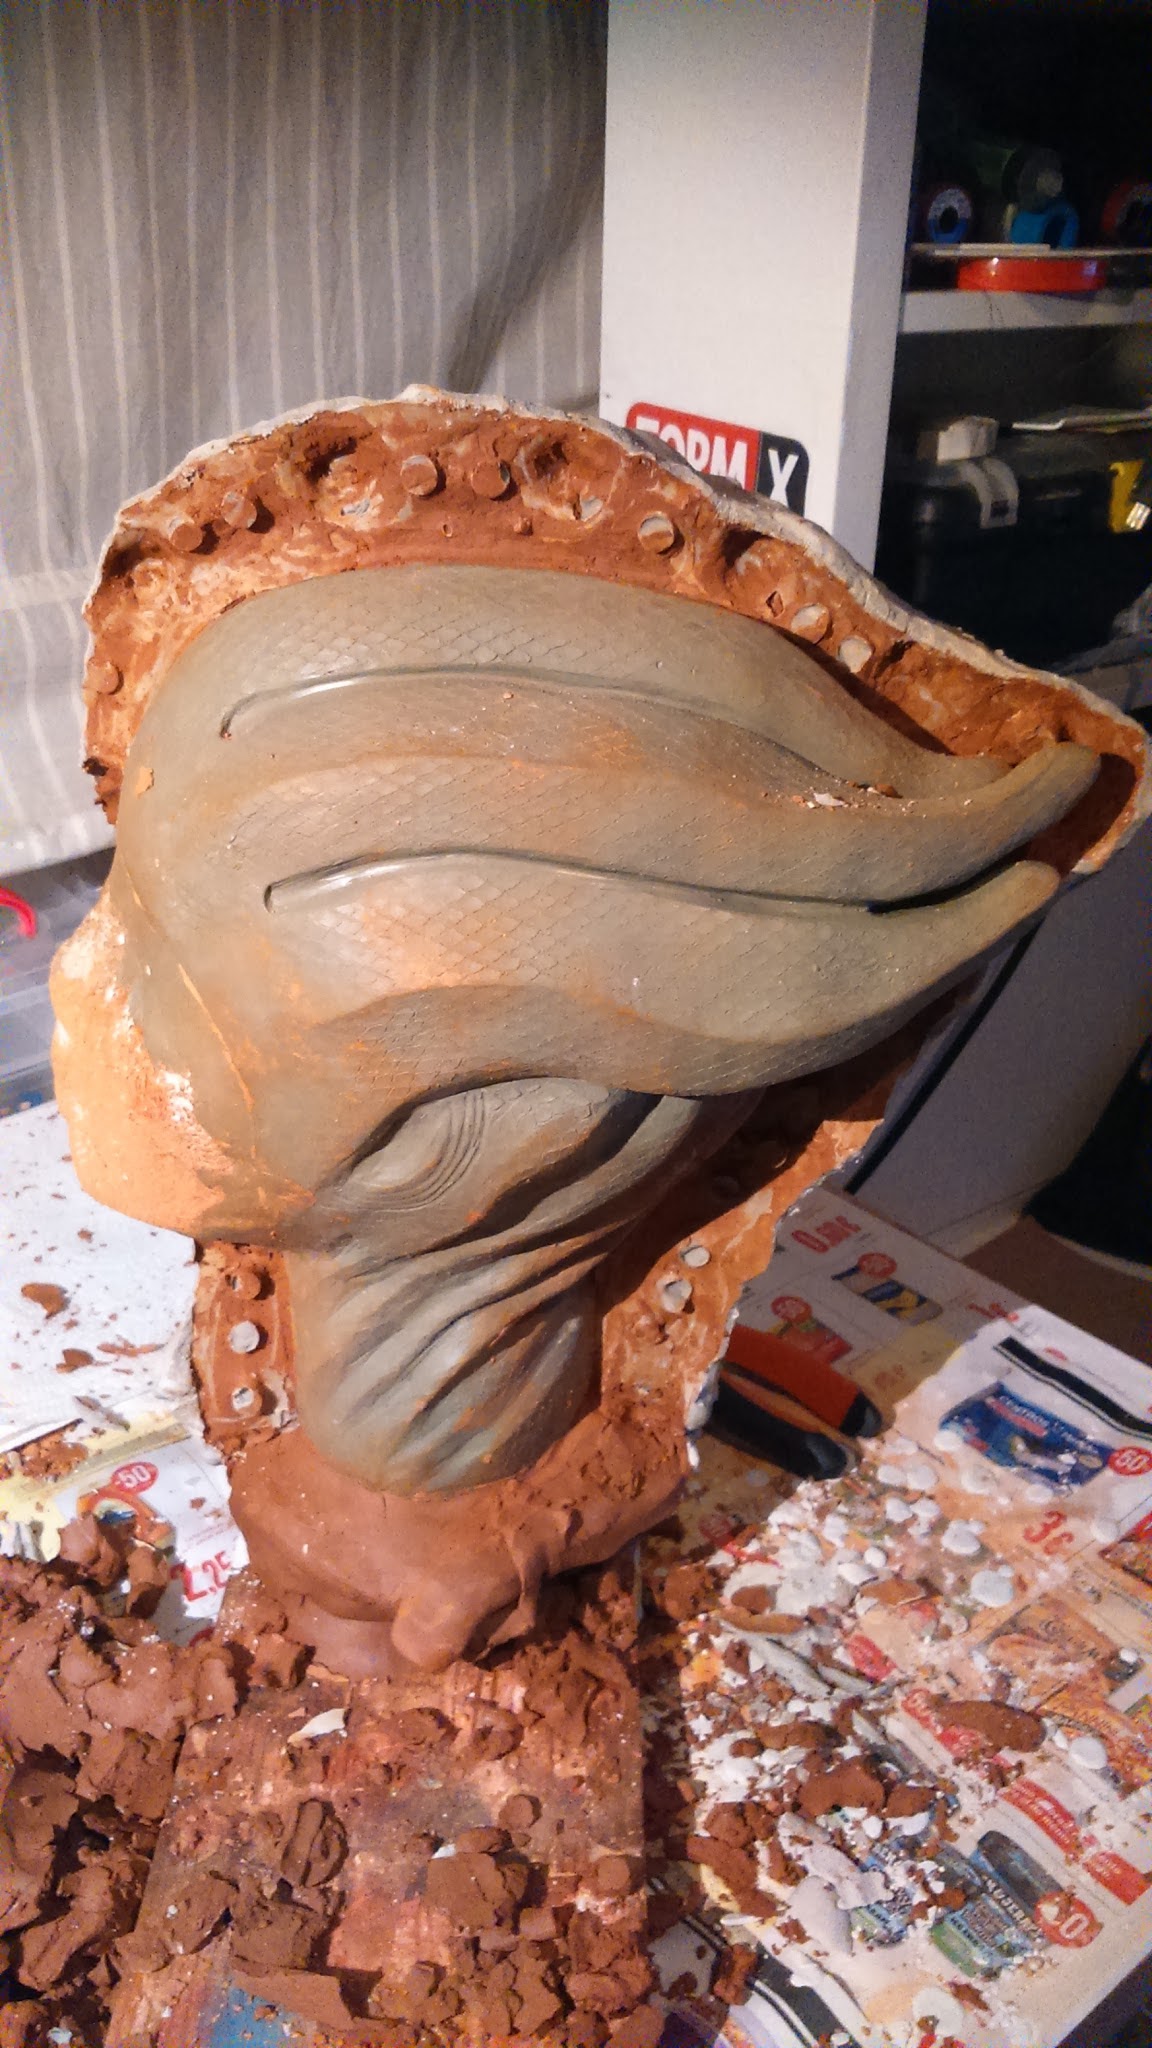
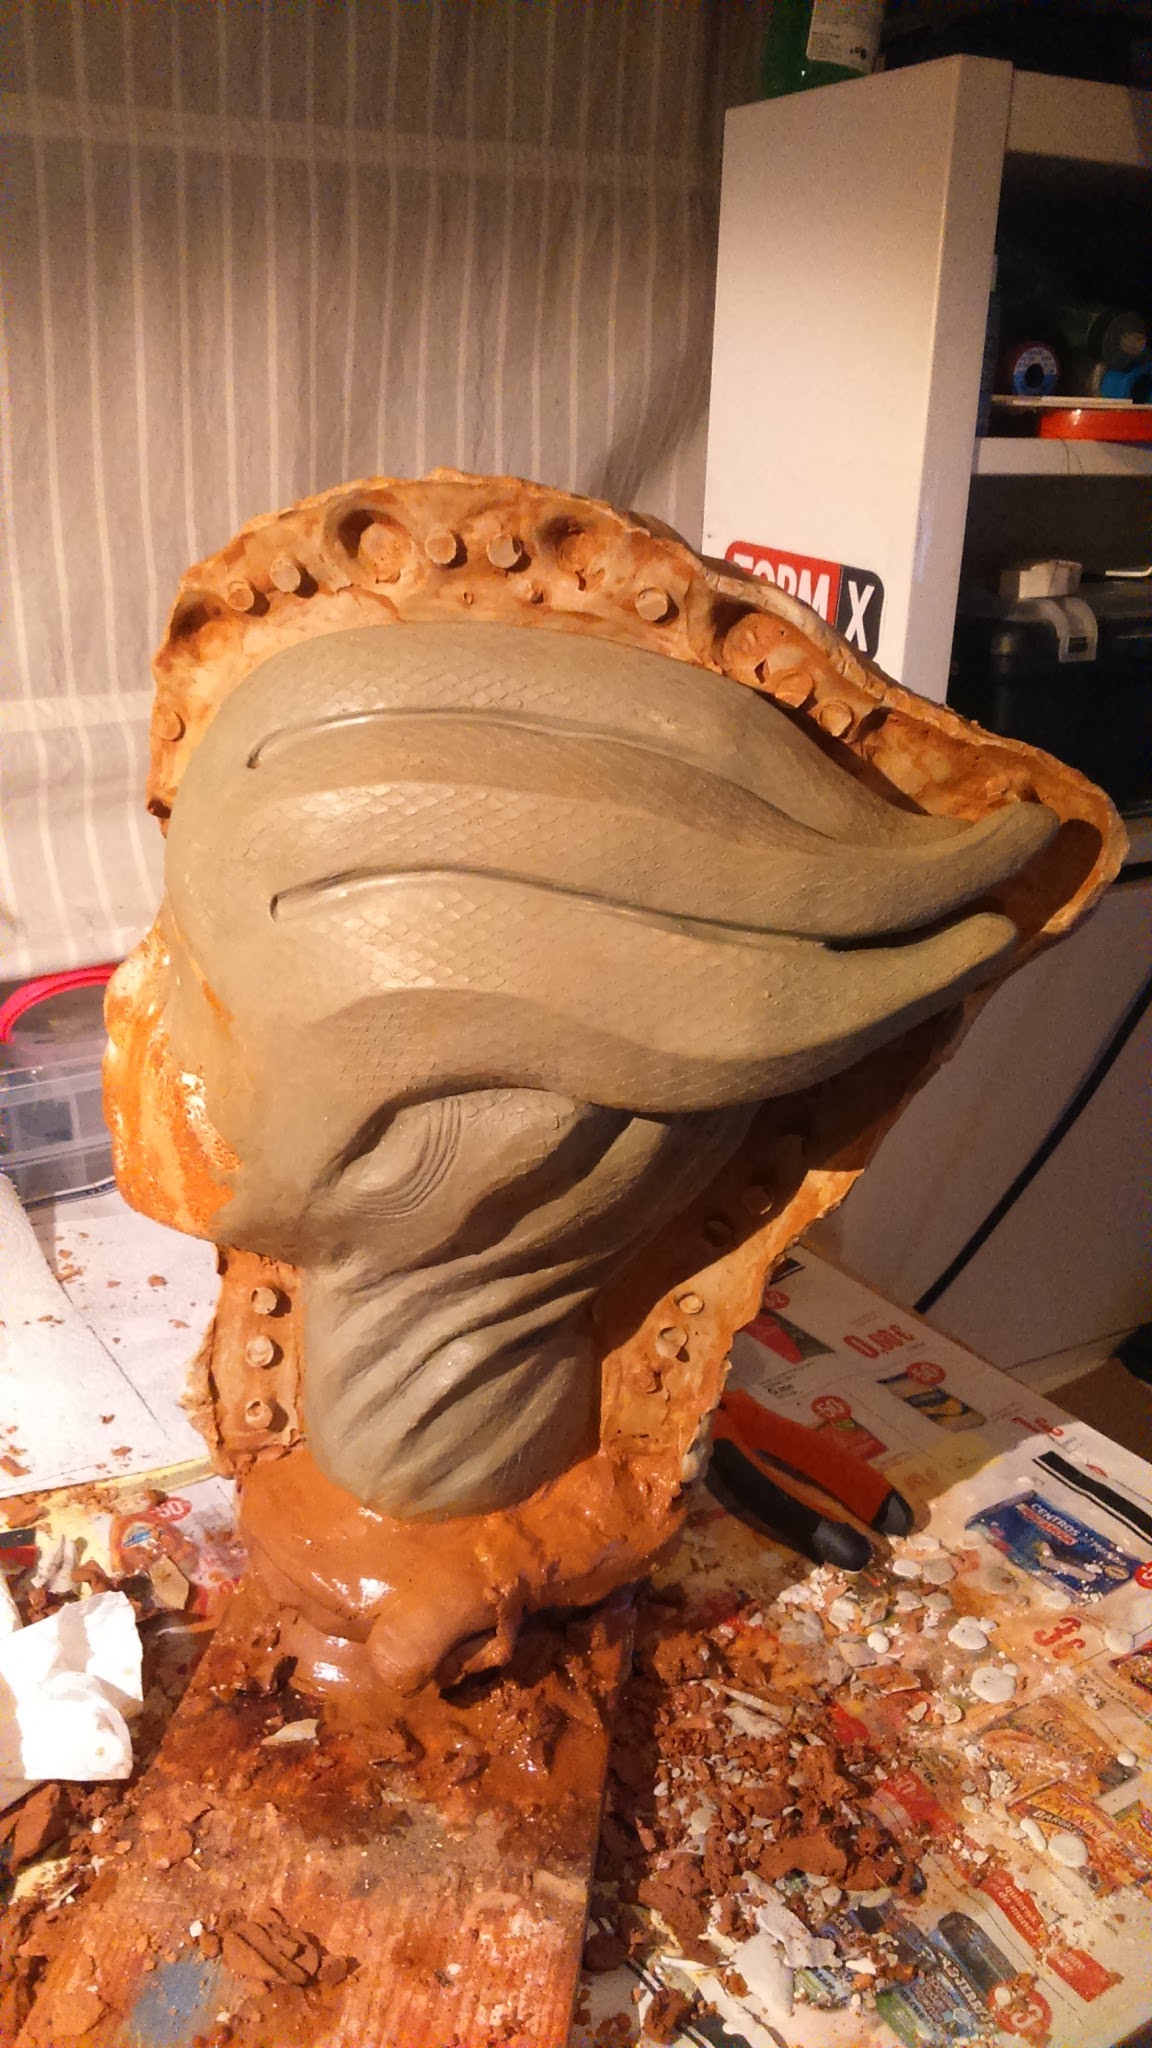
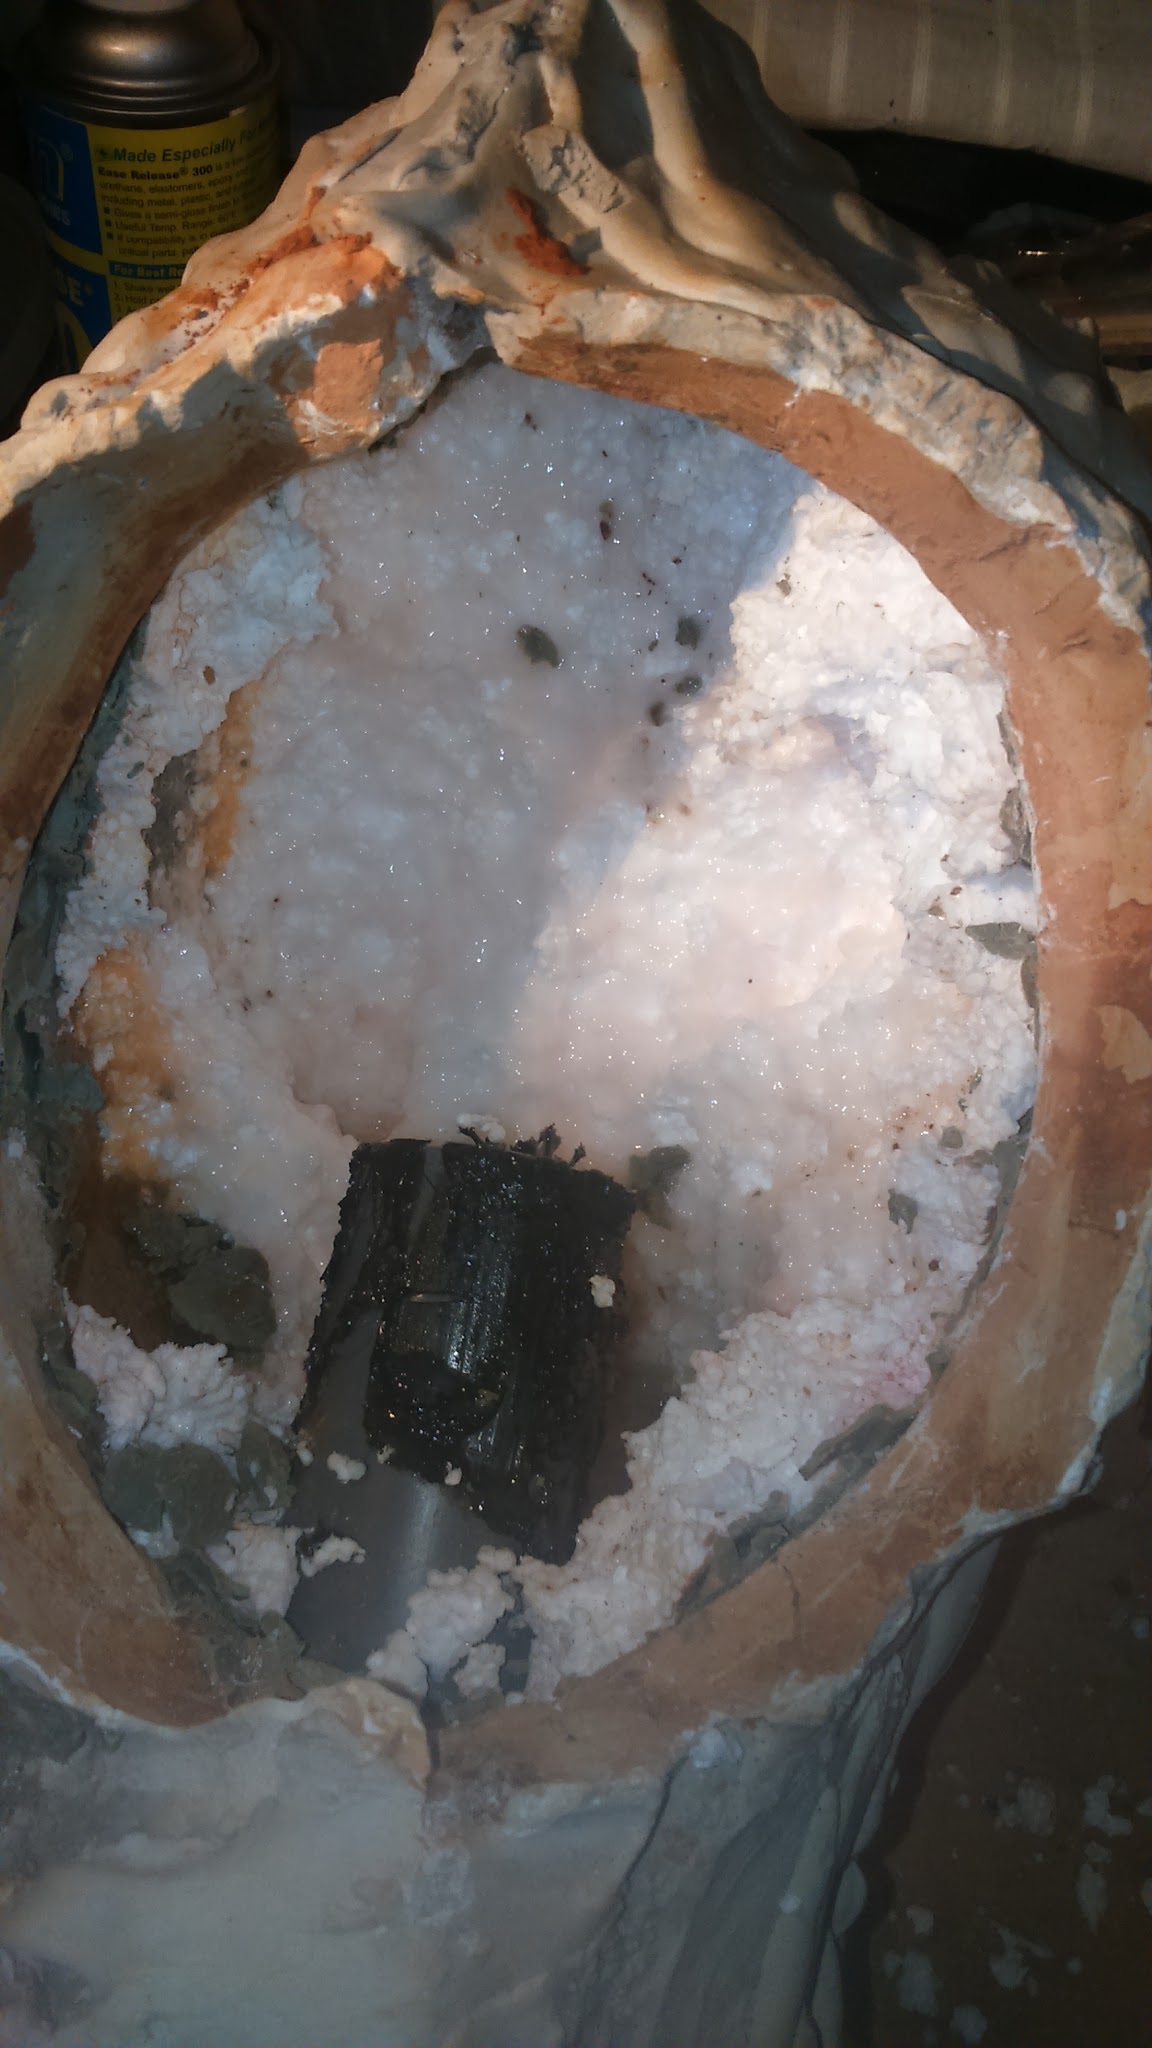
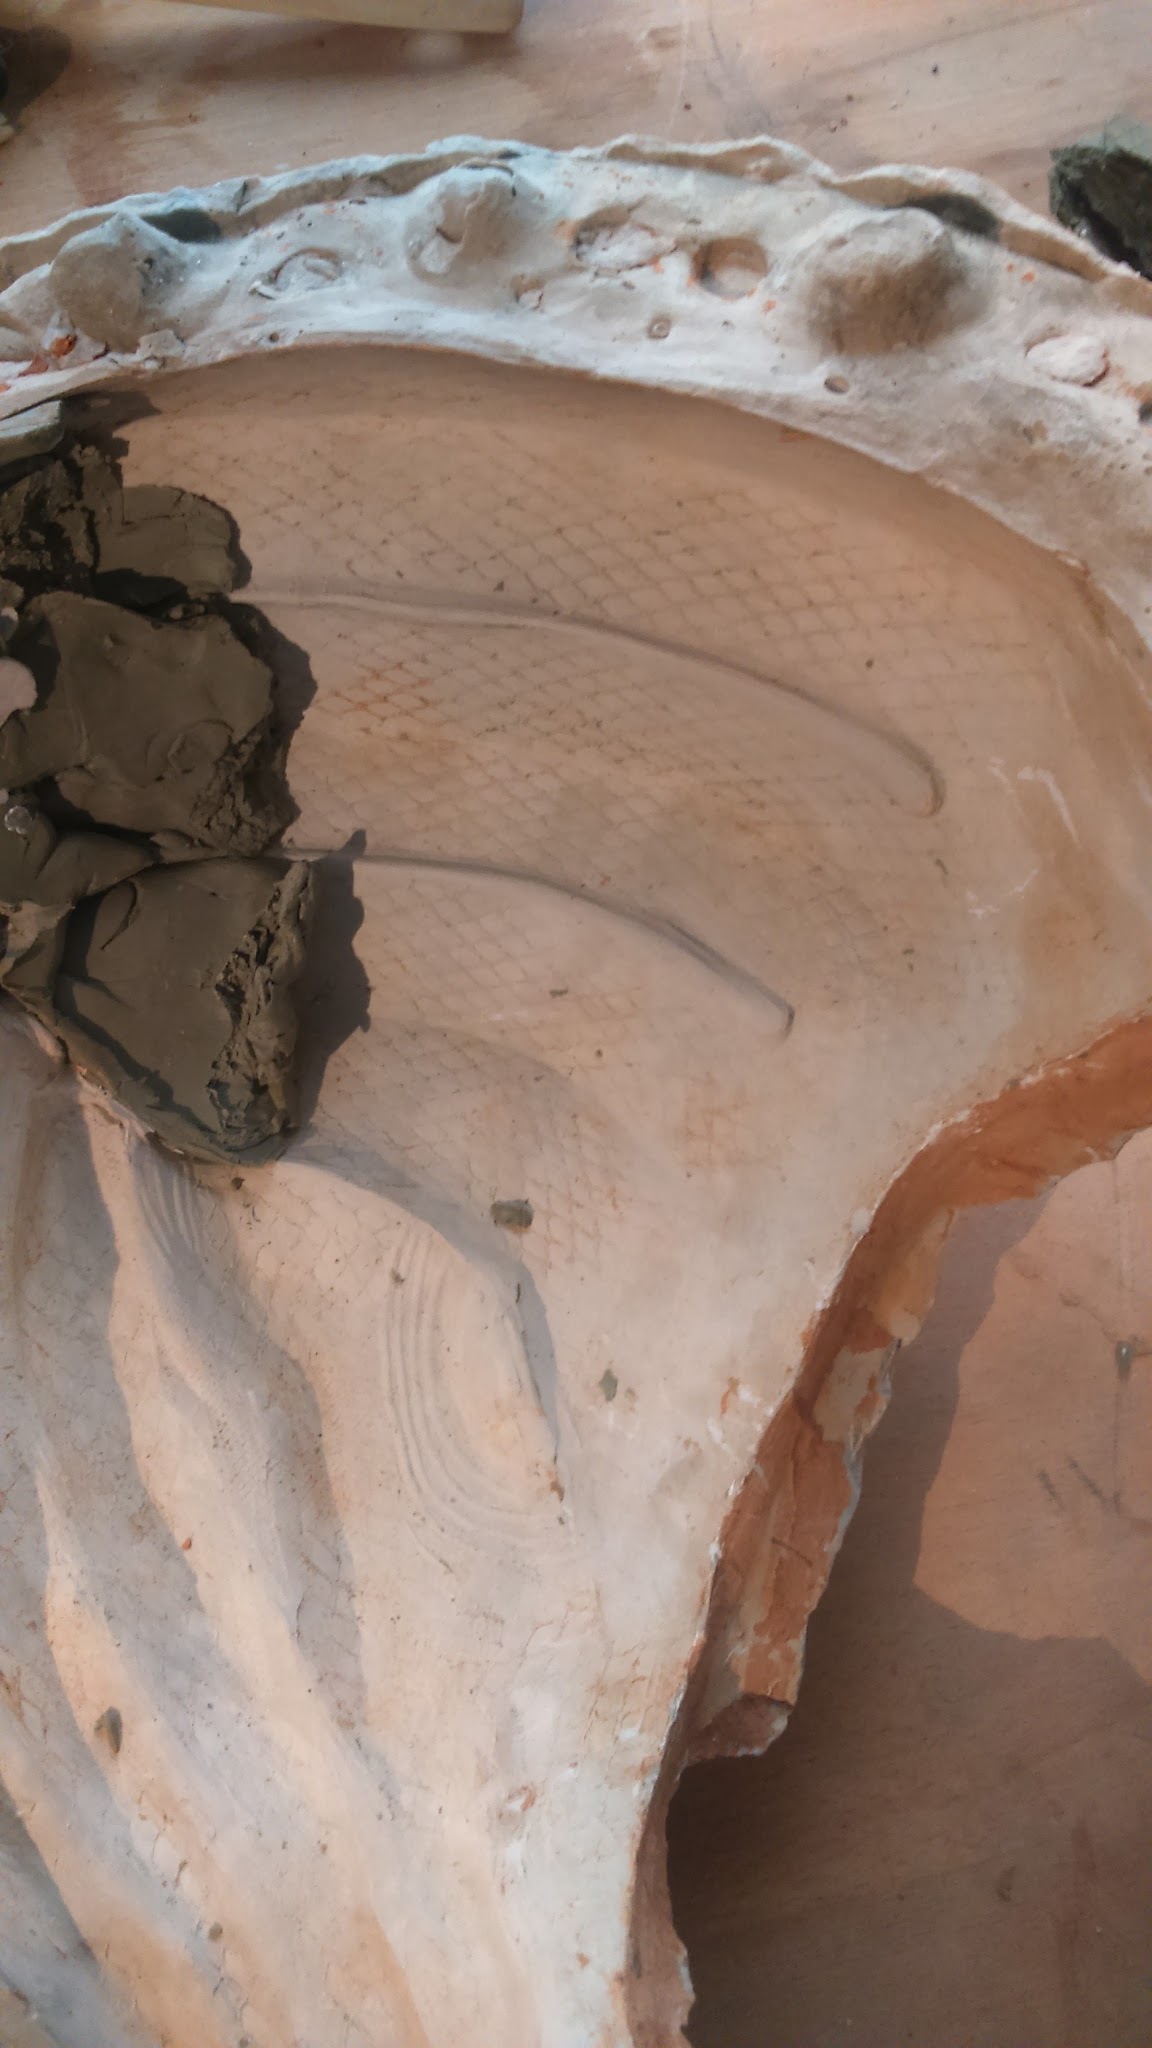
The drying time is pretty fast, about 30 minutes. So after making the first part of the mold, I removed the water-clay wall and it was ready to make the other half of the mold. I removed most part of it using my modeling tools. and, as the plastiline is oil-based and water doesn’t affect its structure, I removed the remaining water-based clay using a wet brush.
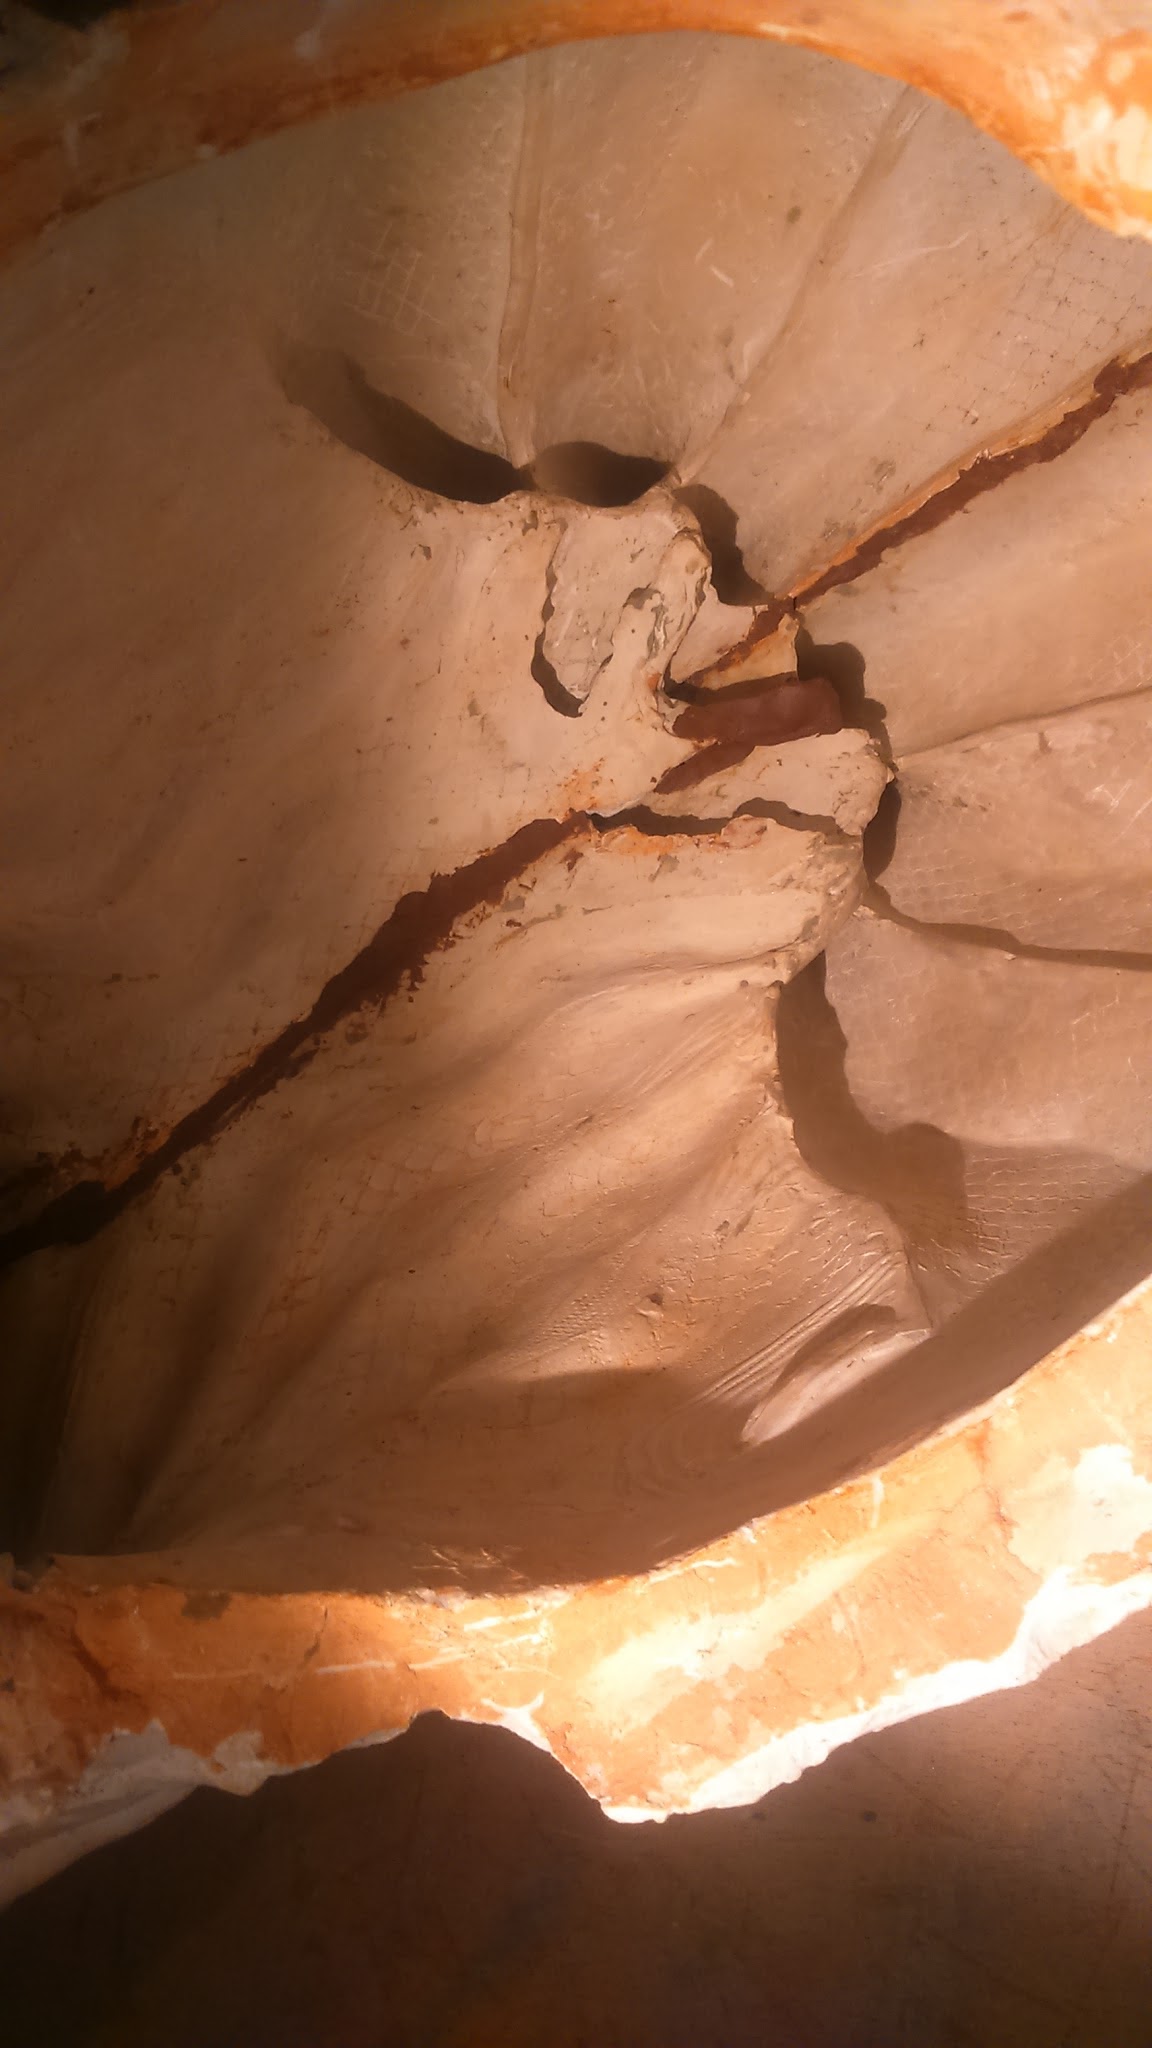
 |
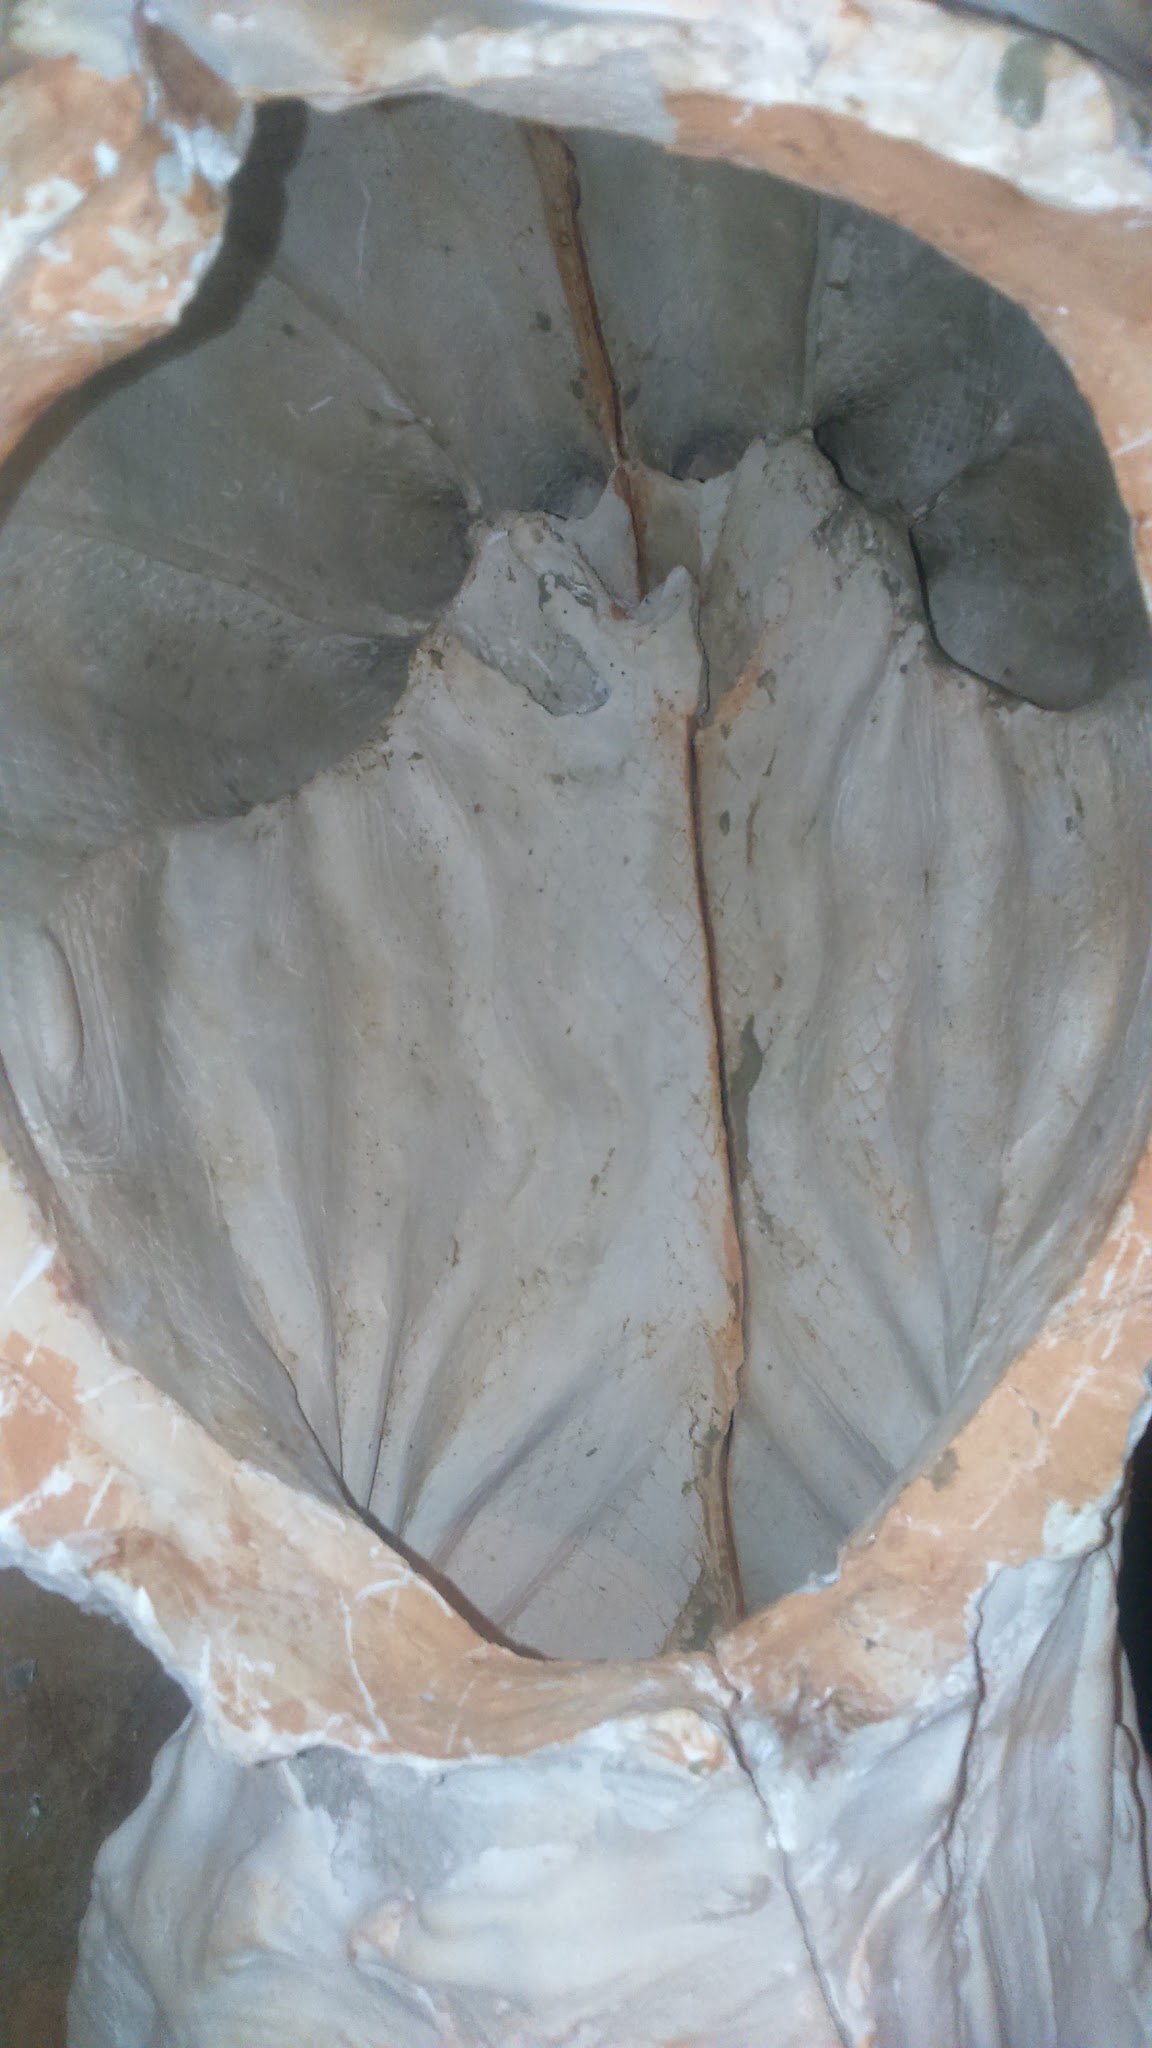
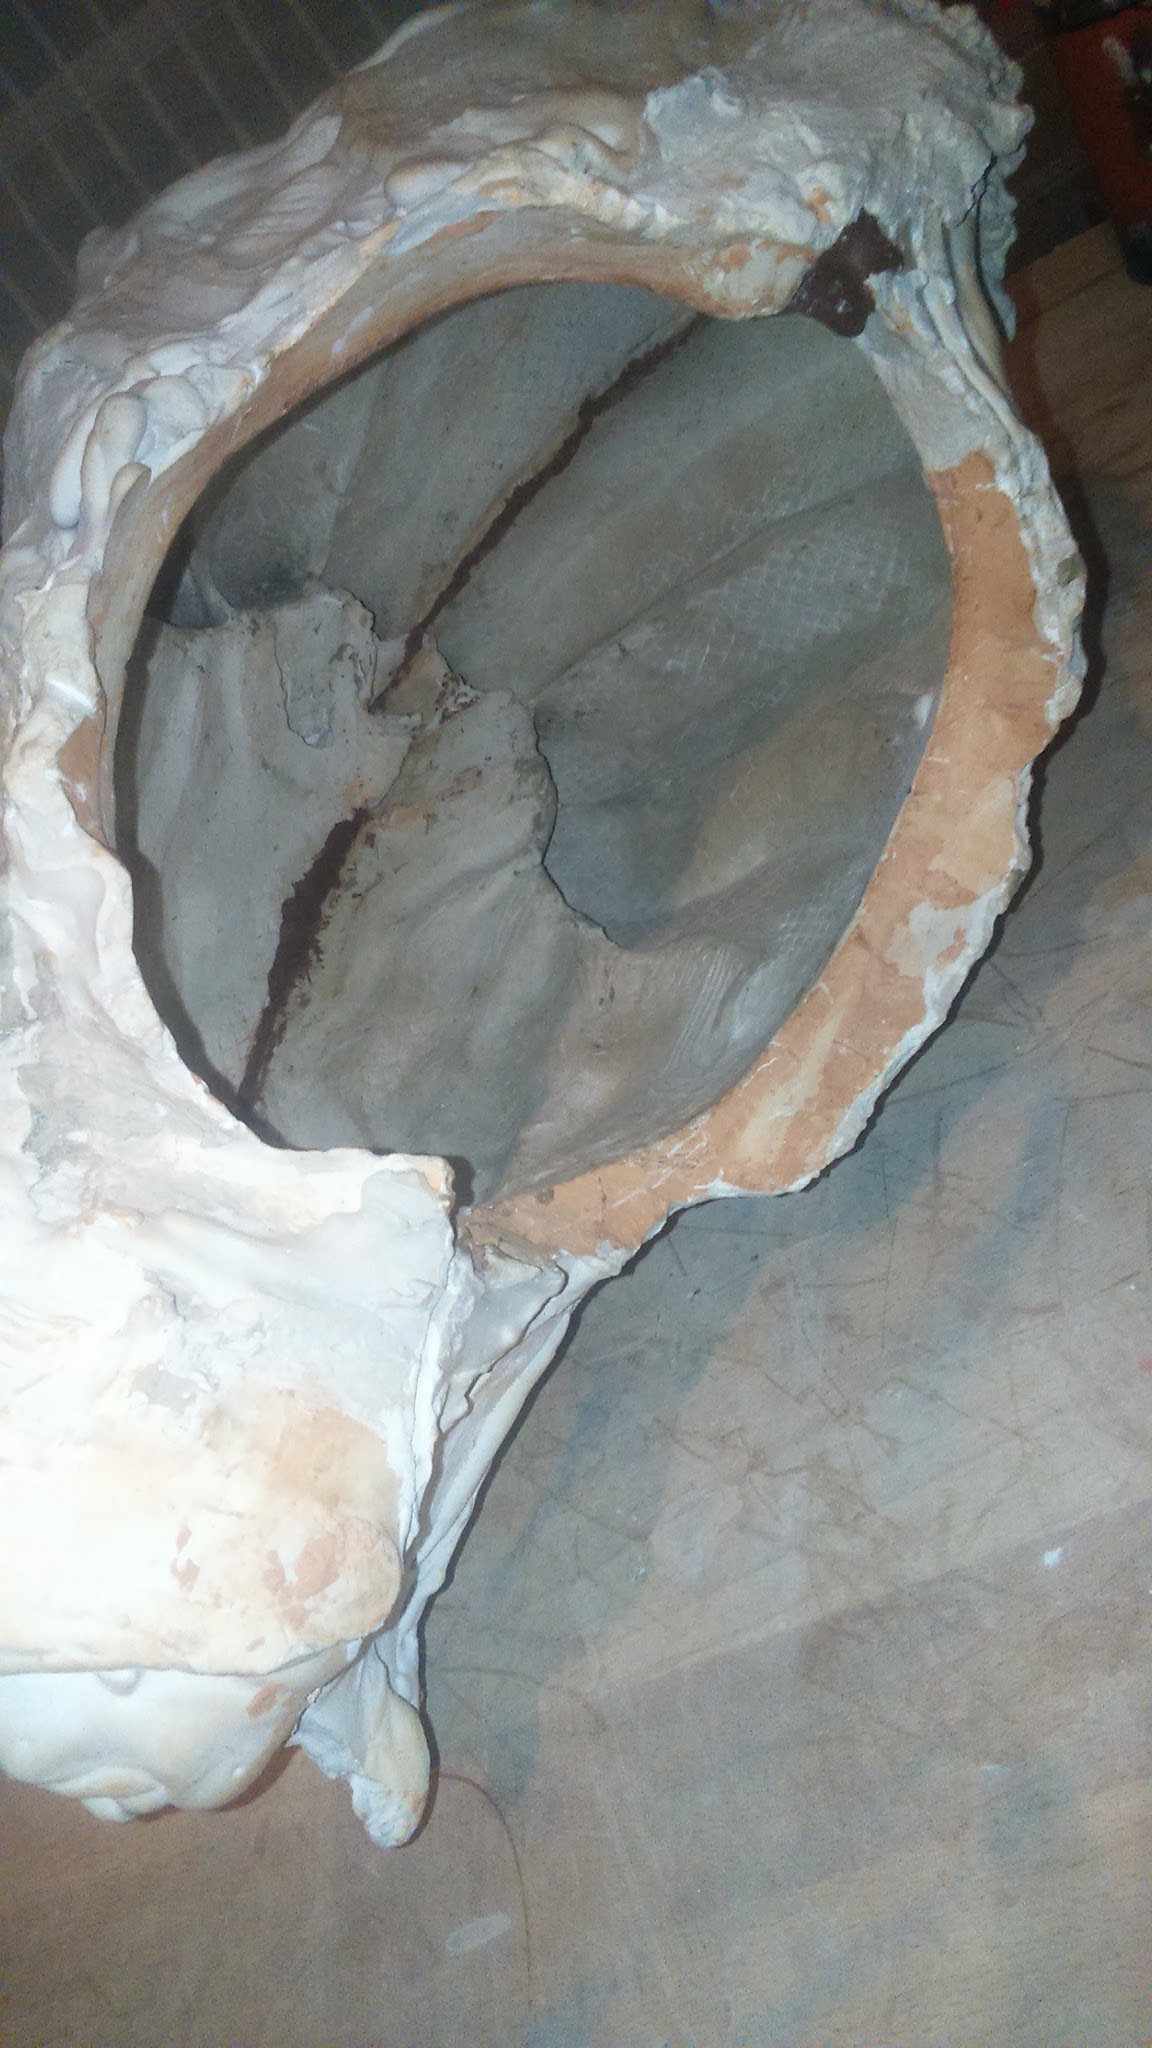
| Lo peor fue limpiar esta zona / Worst part was cleanning this area. |
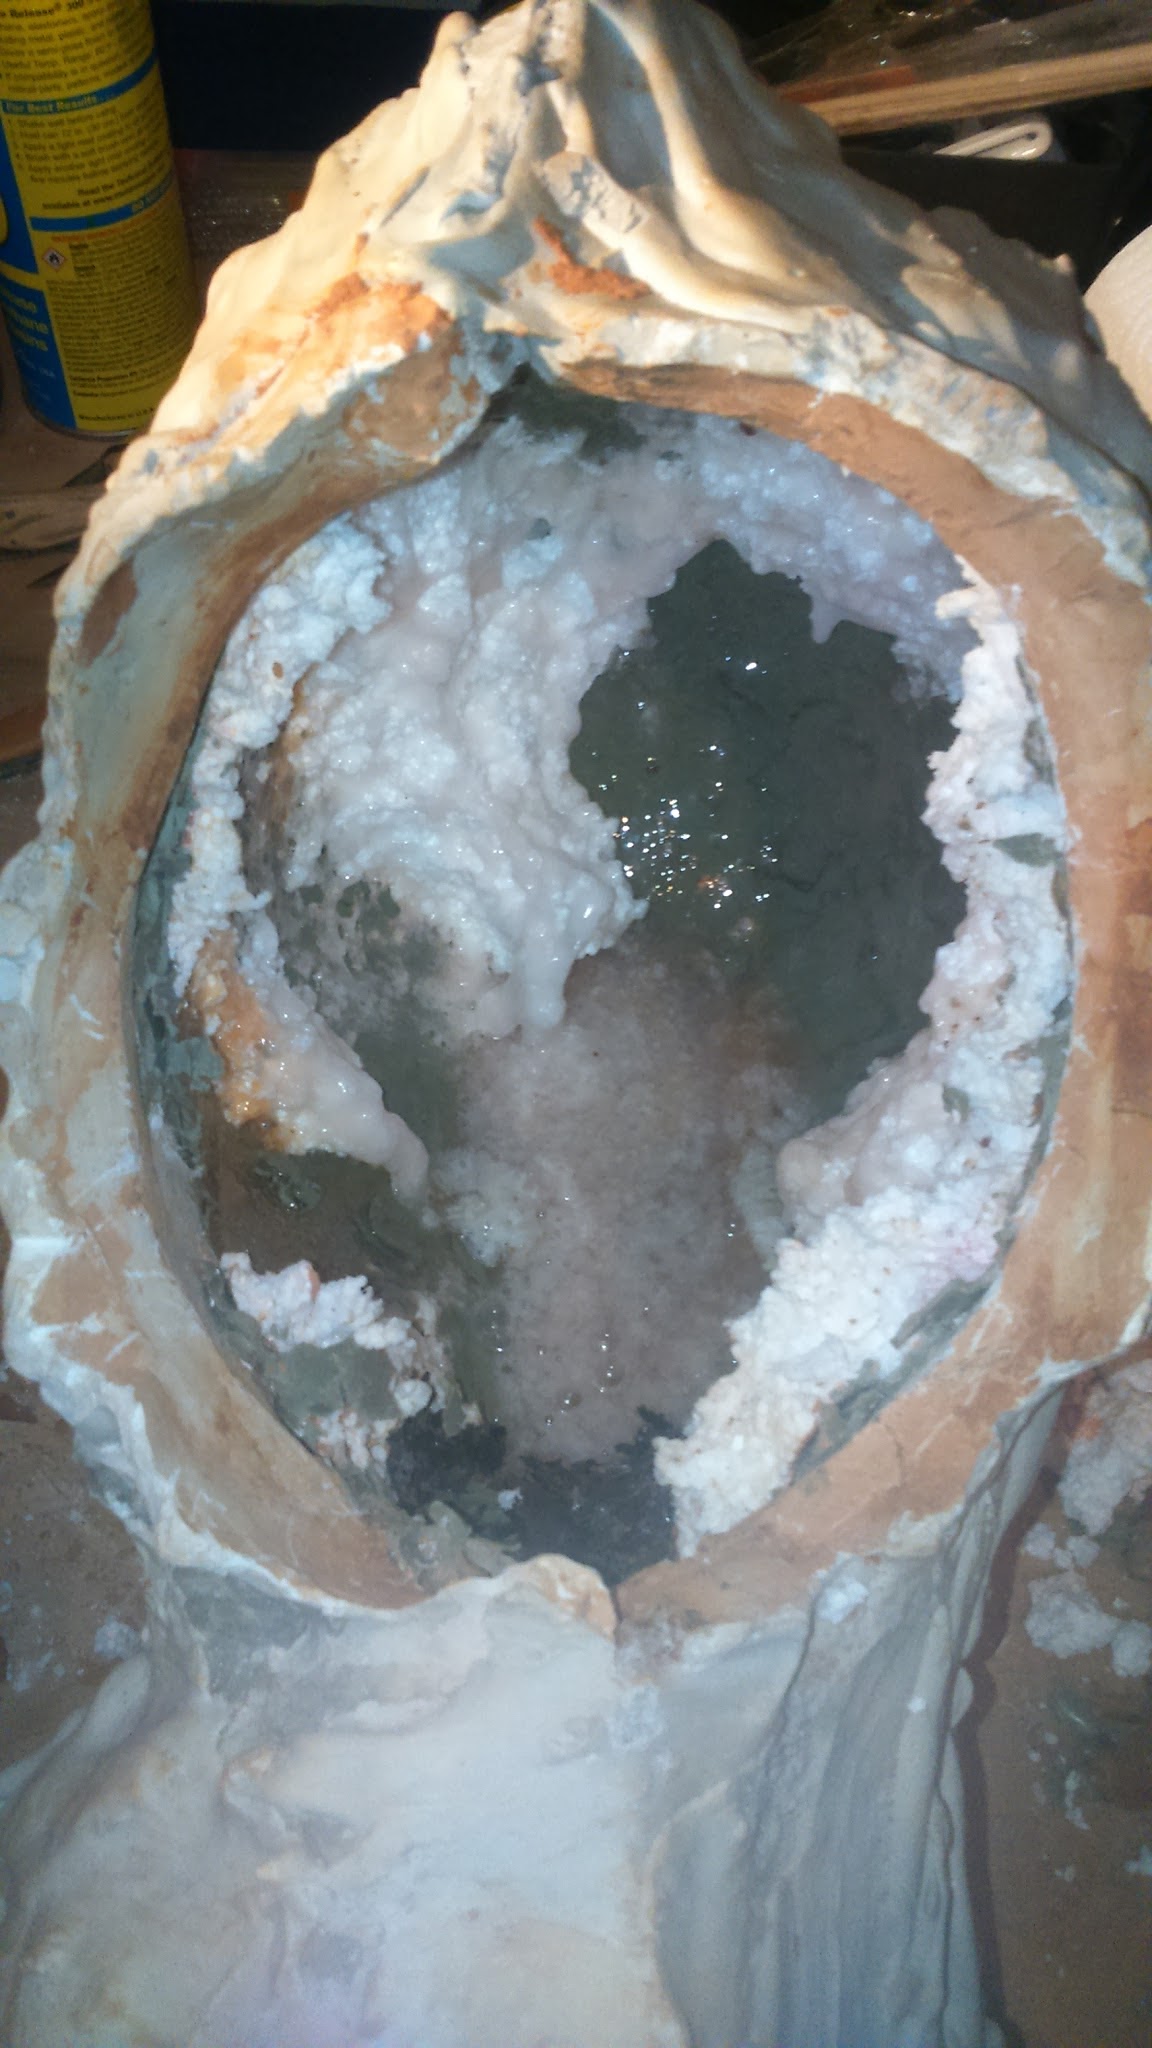
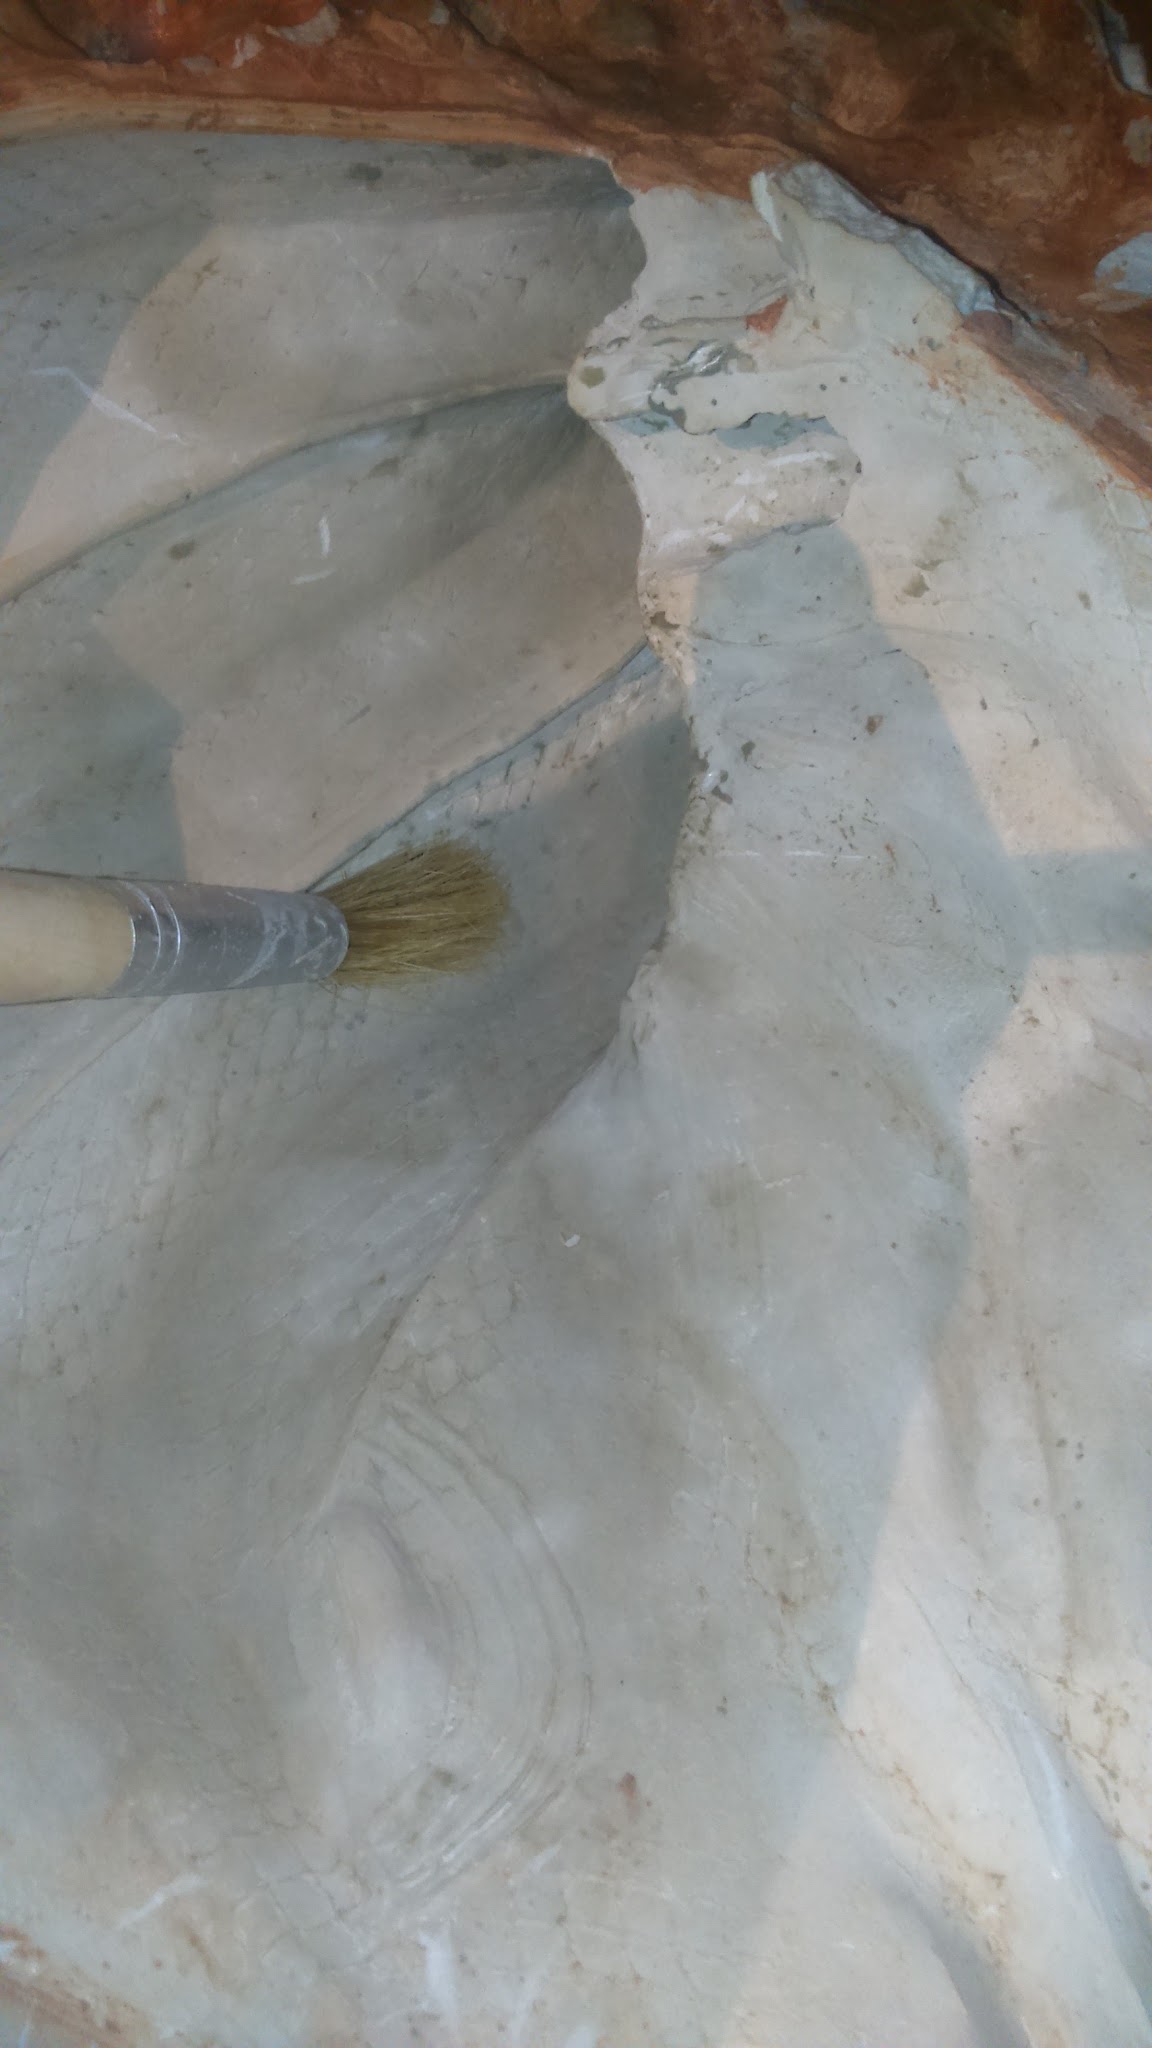
This is very important: use a release agent between both parts of the mold because plaster tends to merge even when it’s dry. You can use releasing spray or vaseline for this purpose. I used both to make sure I’d be able to release it. And, spoiler: even with all that, it was pretty difficult to unmold.
I’ve seen that some cosmakers add a couple layers of a hardening material over the Ultracal mold such as plaster bandages, fiberglass and resin, burlap or other stuff. I asked at the store and they told me there’s no need to add any other material because Ultracal 30 is hard and thick enough so there’s no need to reinforce it. It’s an essential step when you make some silicon casts, but not this time.
I asked Emmabellish via twitter and she told me that, after releasing the master, she joined both halves of the mold permanently. As latex is a very flexible material, it doesn’t matter if the mold is not separable. It’s just a matter of being able to release the master sculpture.

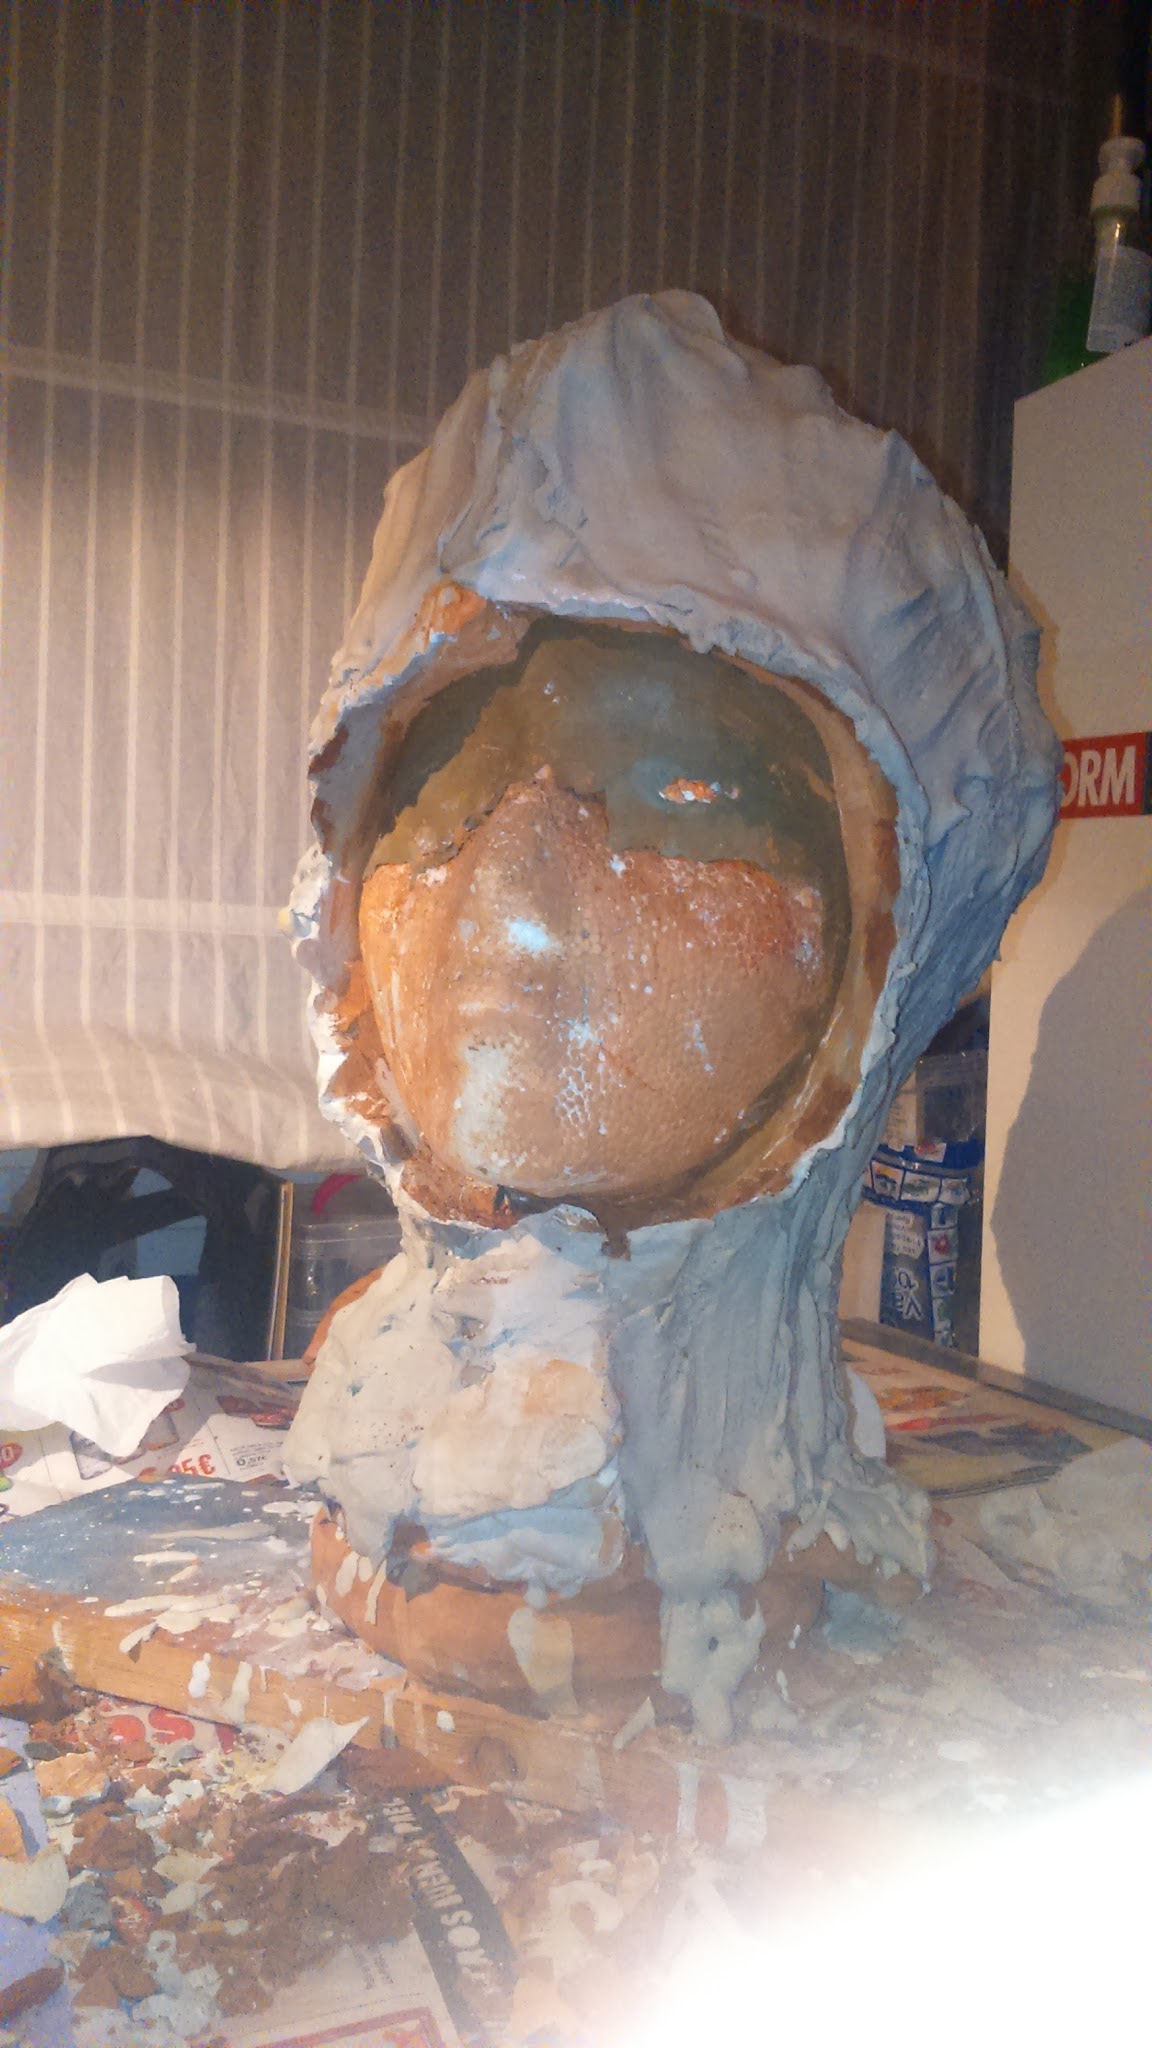
And here it came, the moment of truth!! And, at first, I wasn’t able to separate the mold . I started hollowing the sides of the polyurethane head but It didn’t move. At least I did see where the mold seam was, and both parts looked strongly stuck together.
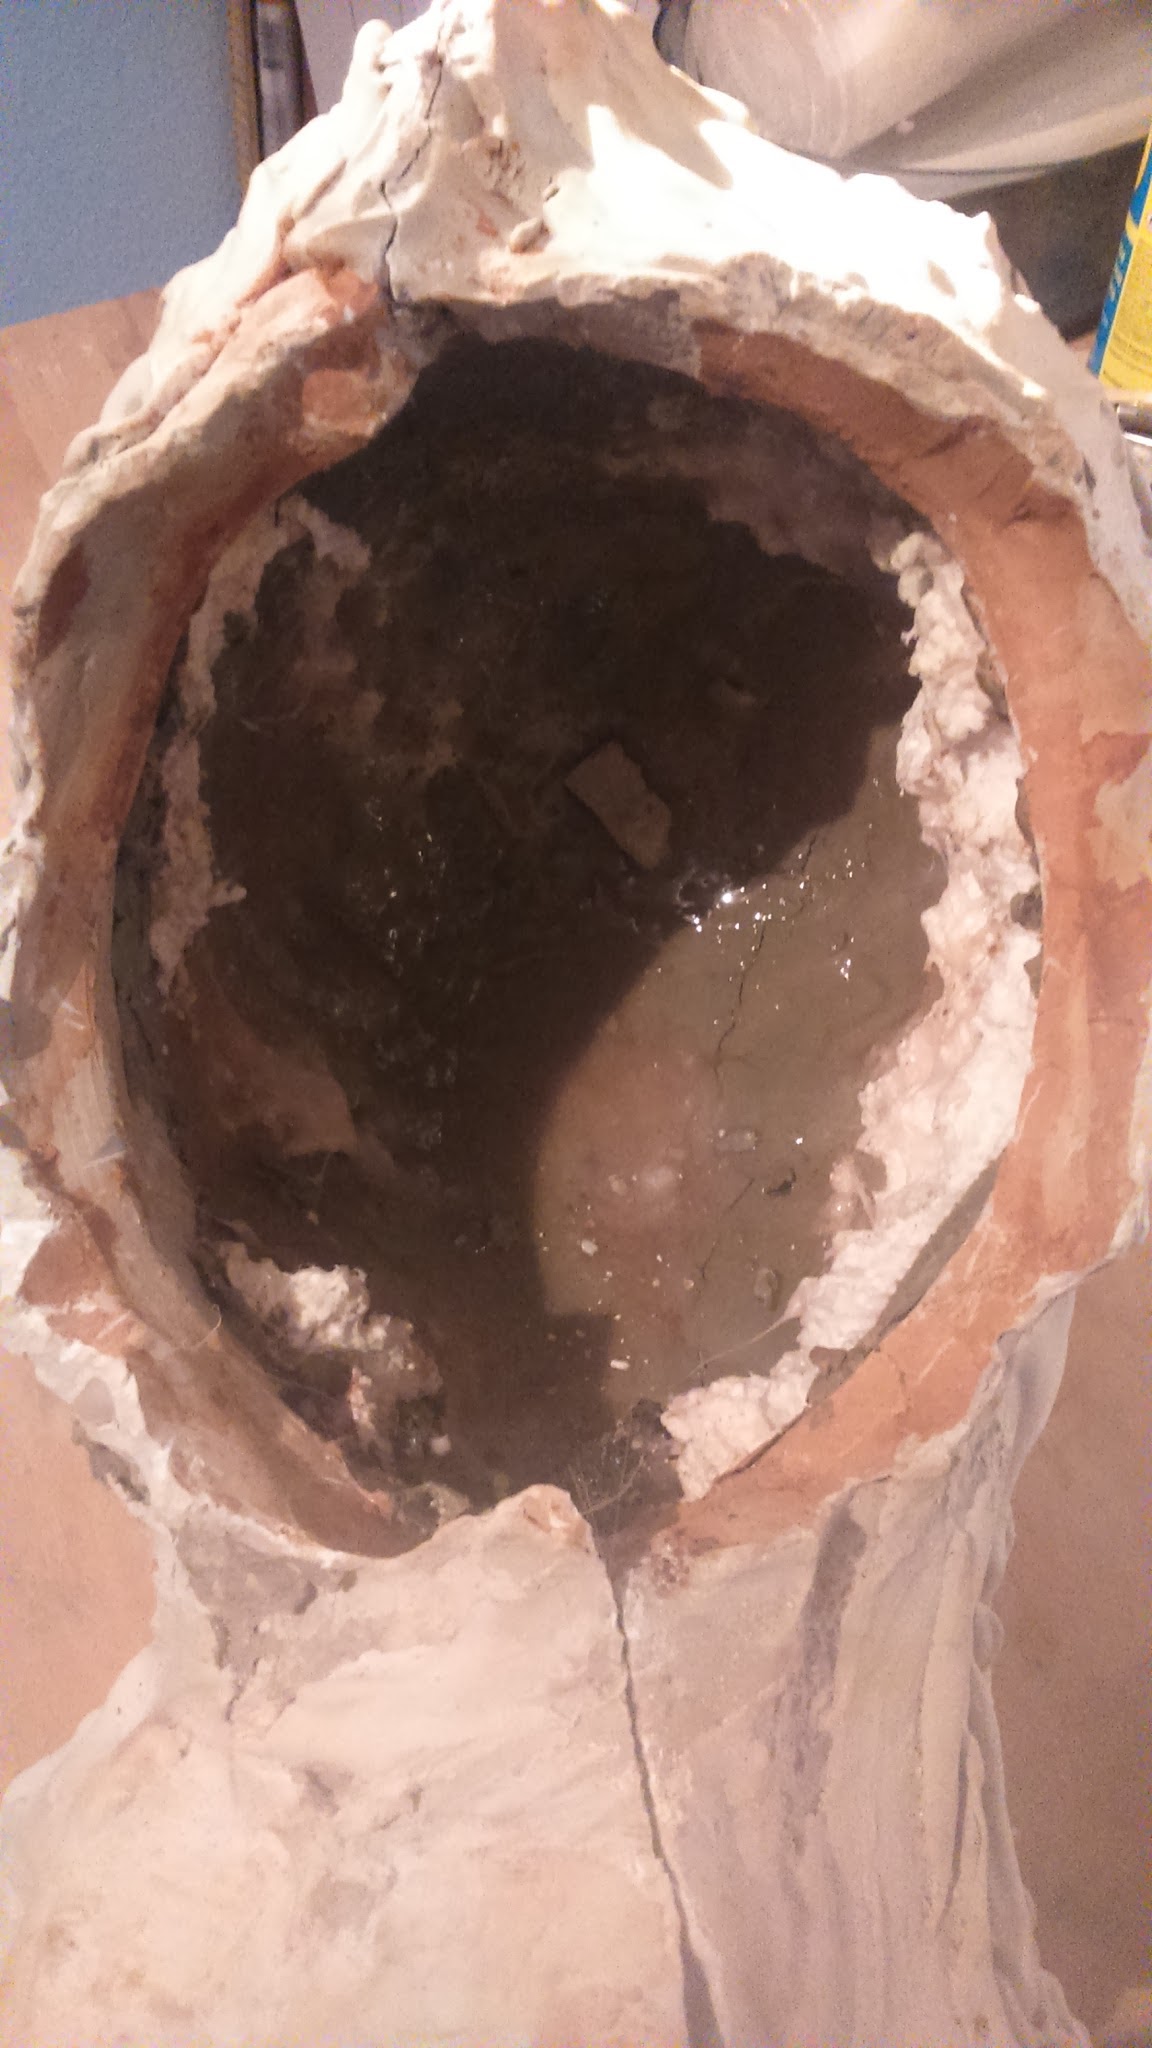
So I followed Sumyuna’s lessons and I disolved the head using acetone.
After that, I used a screwdriver as a crowbar and carefully tried to open the mold. Suddenly, a crack appeared along the whole union and I eventually separated its parts.
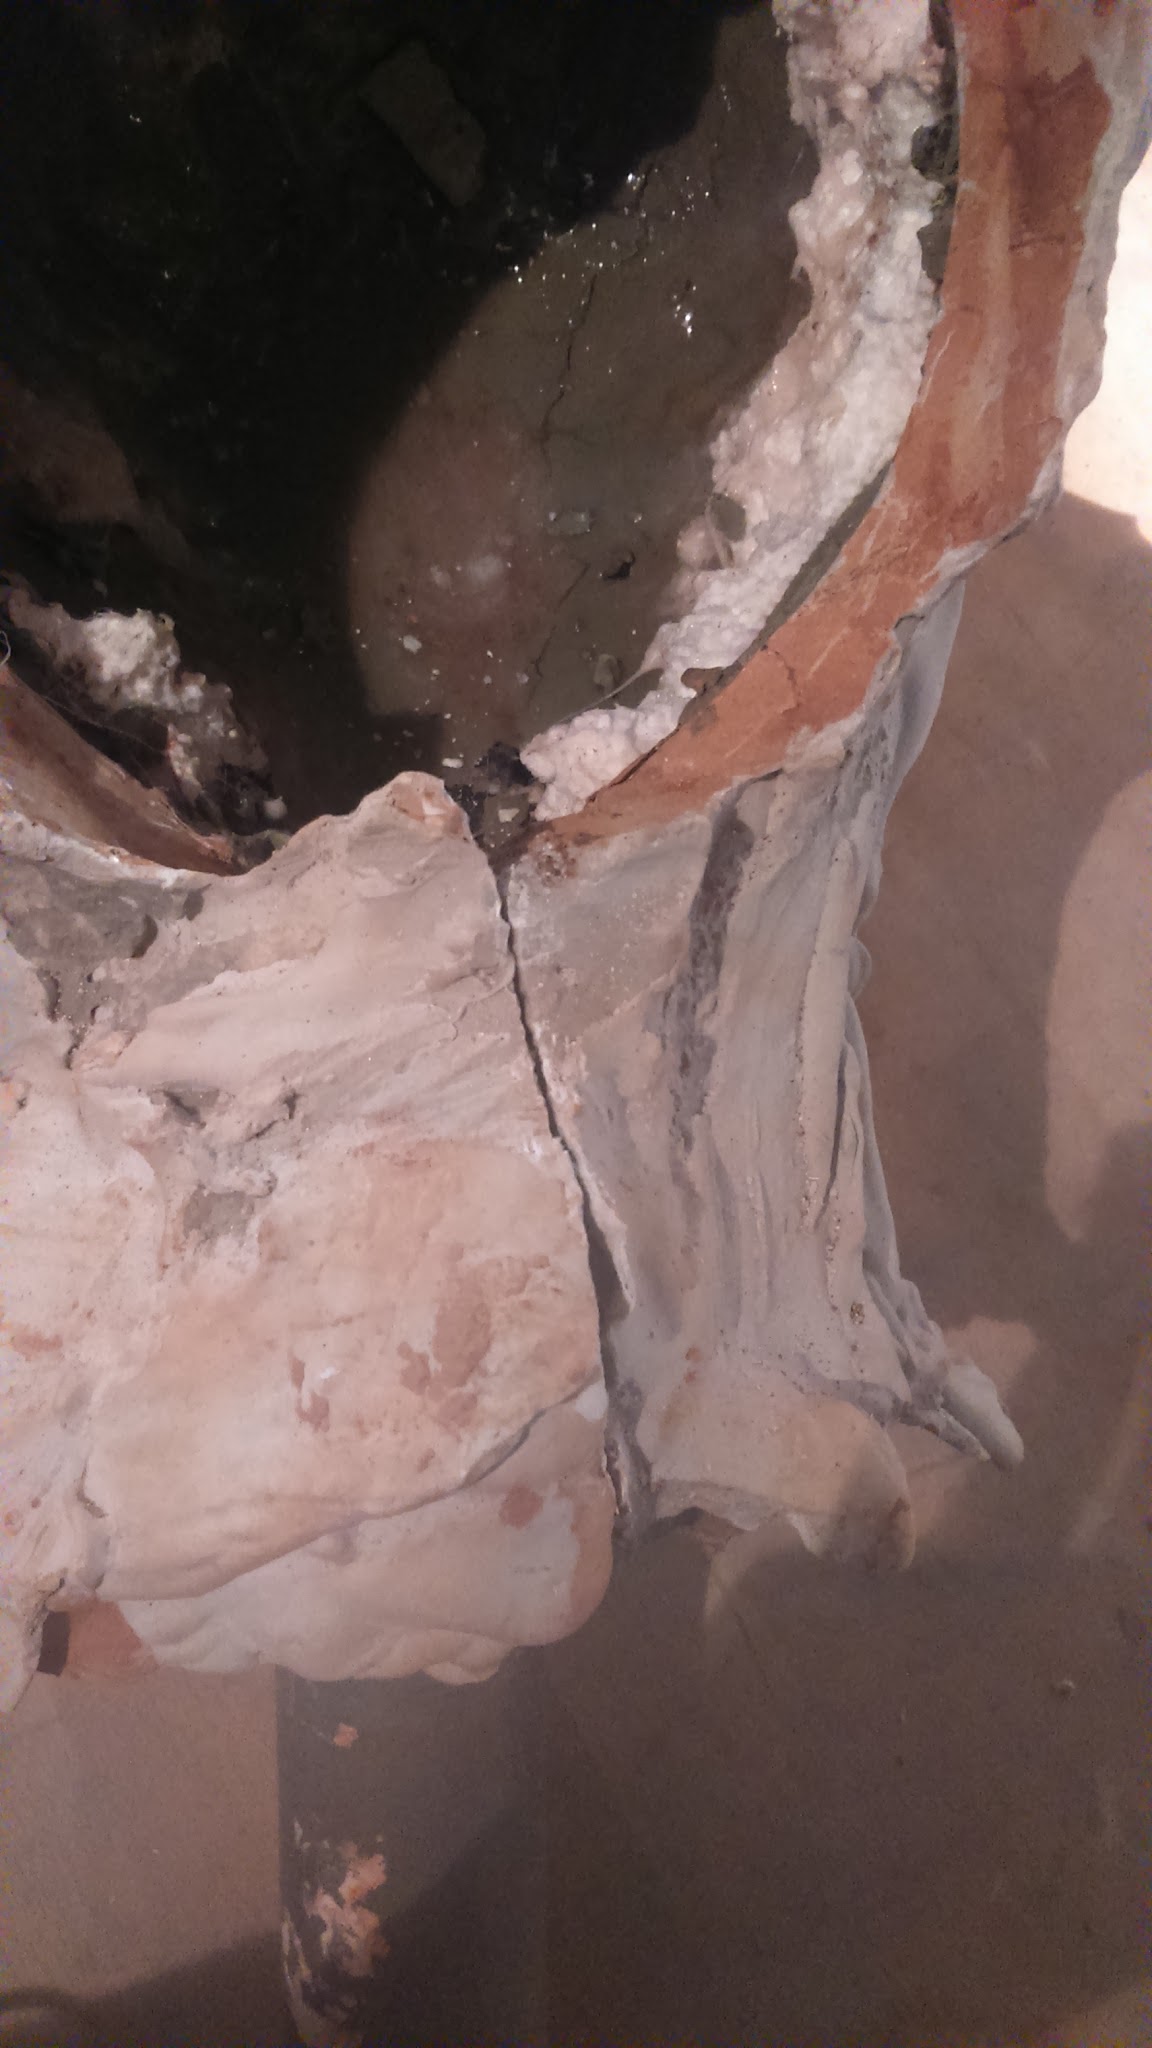
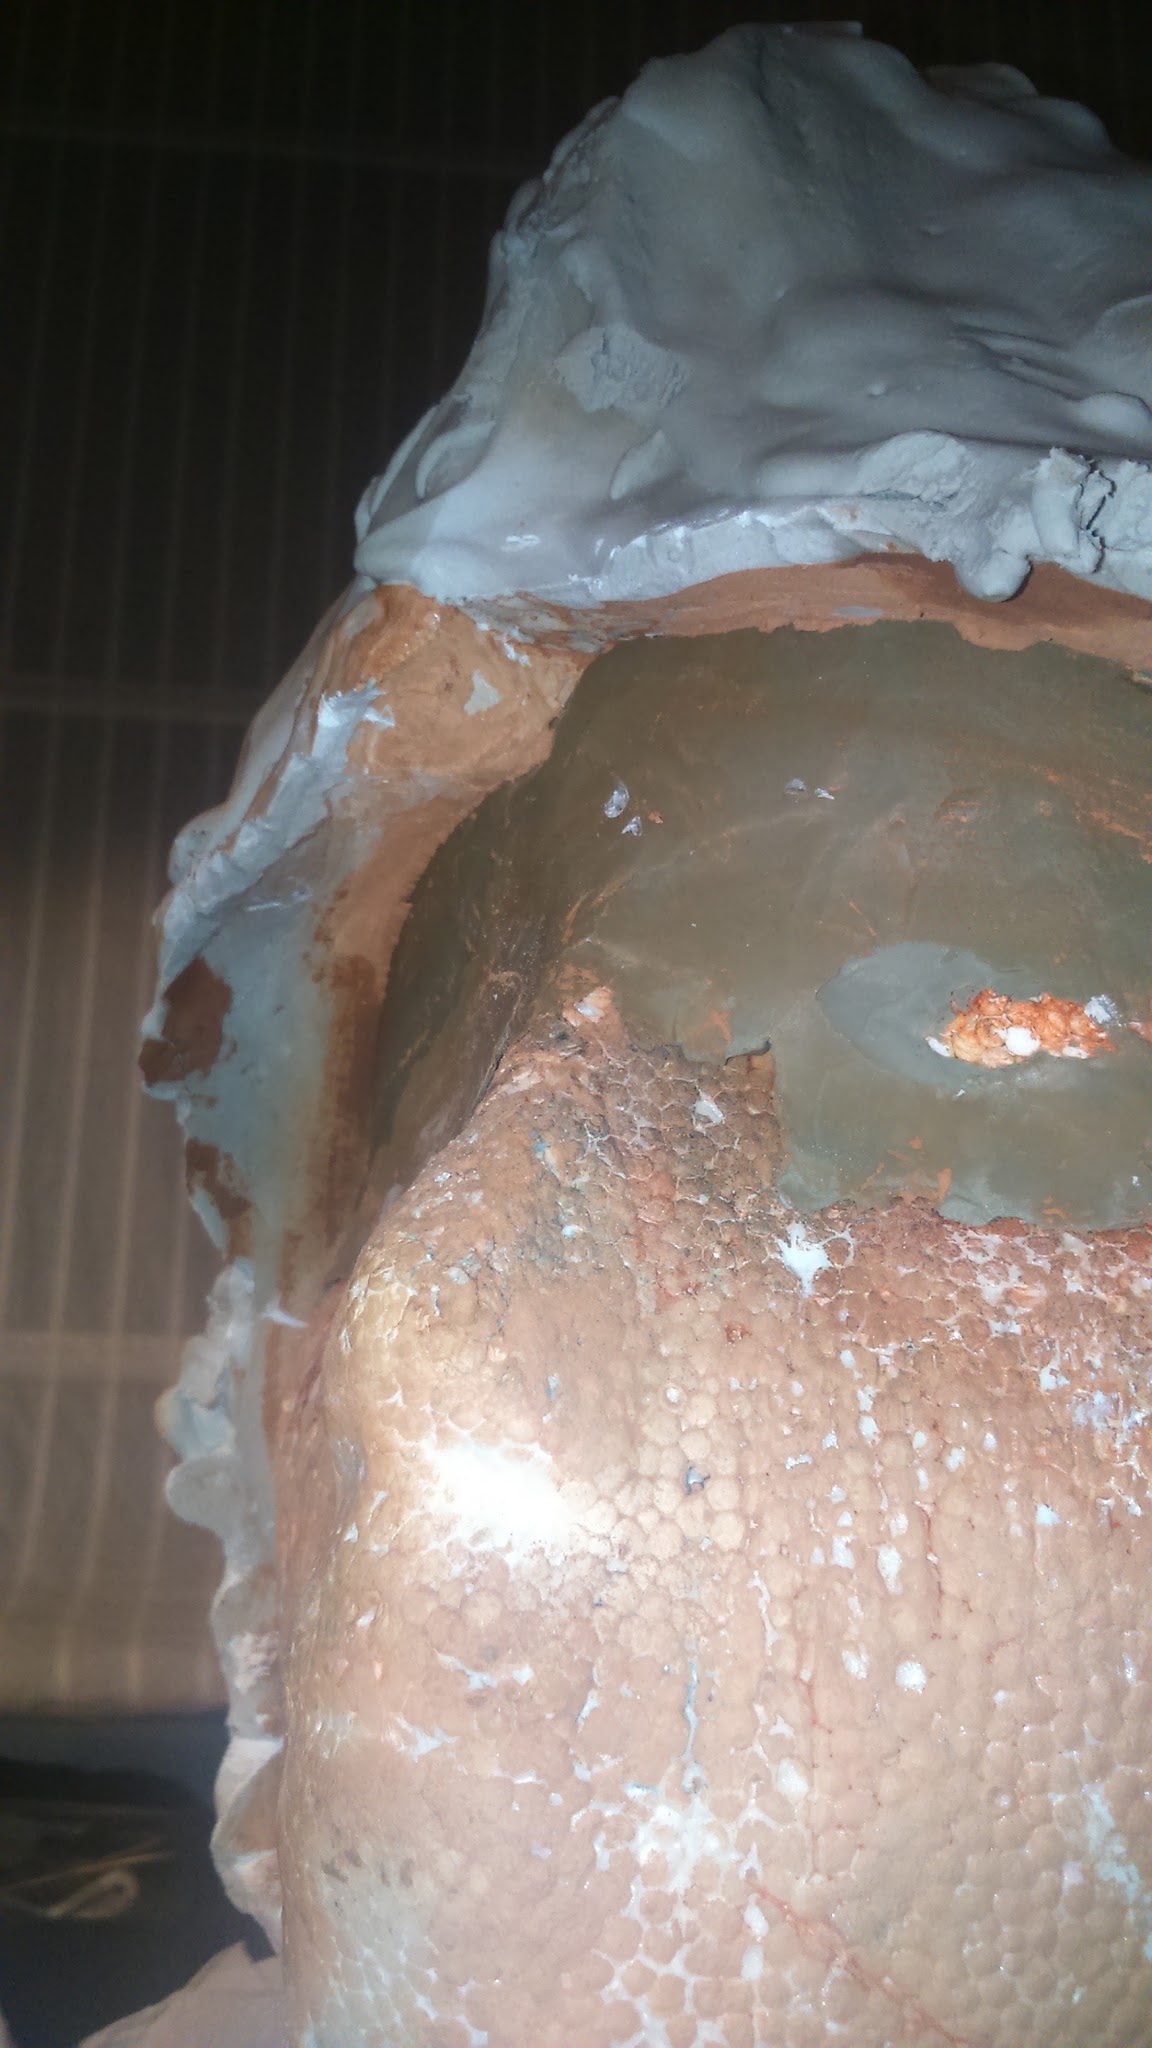
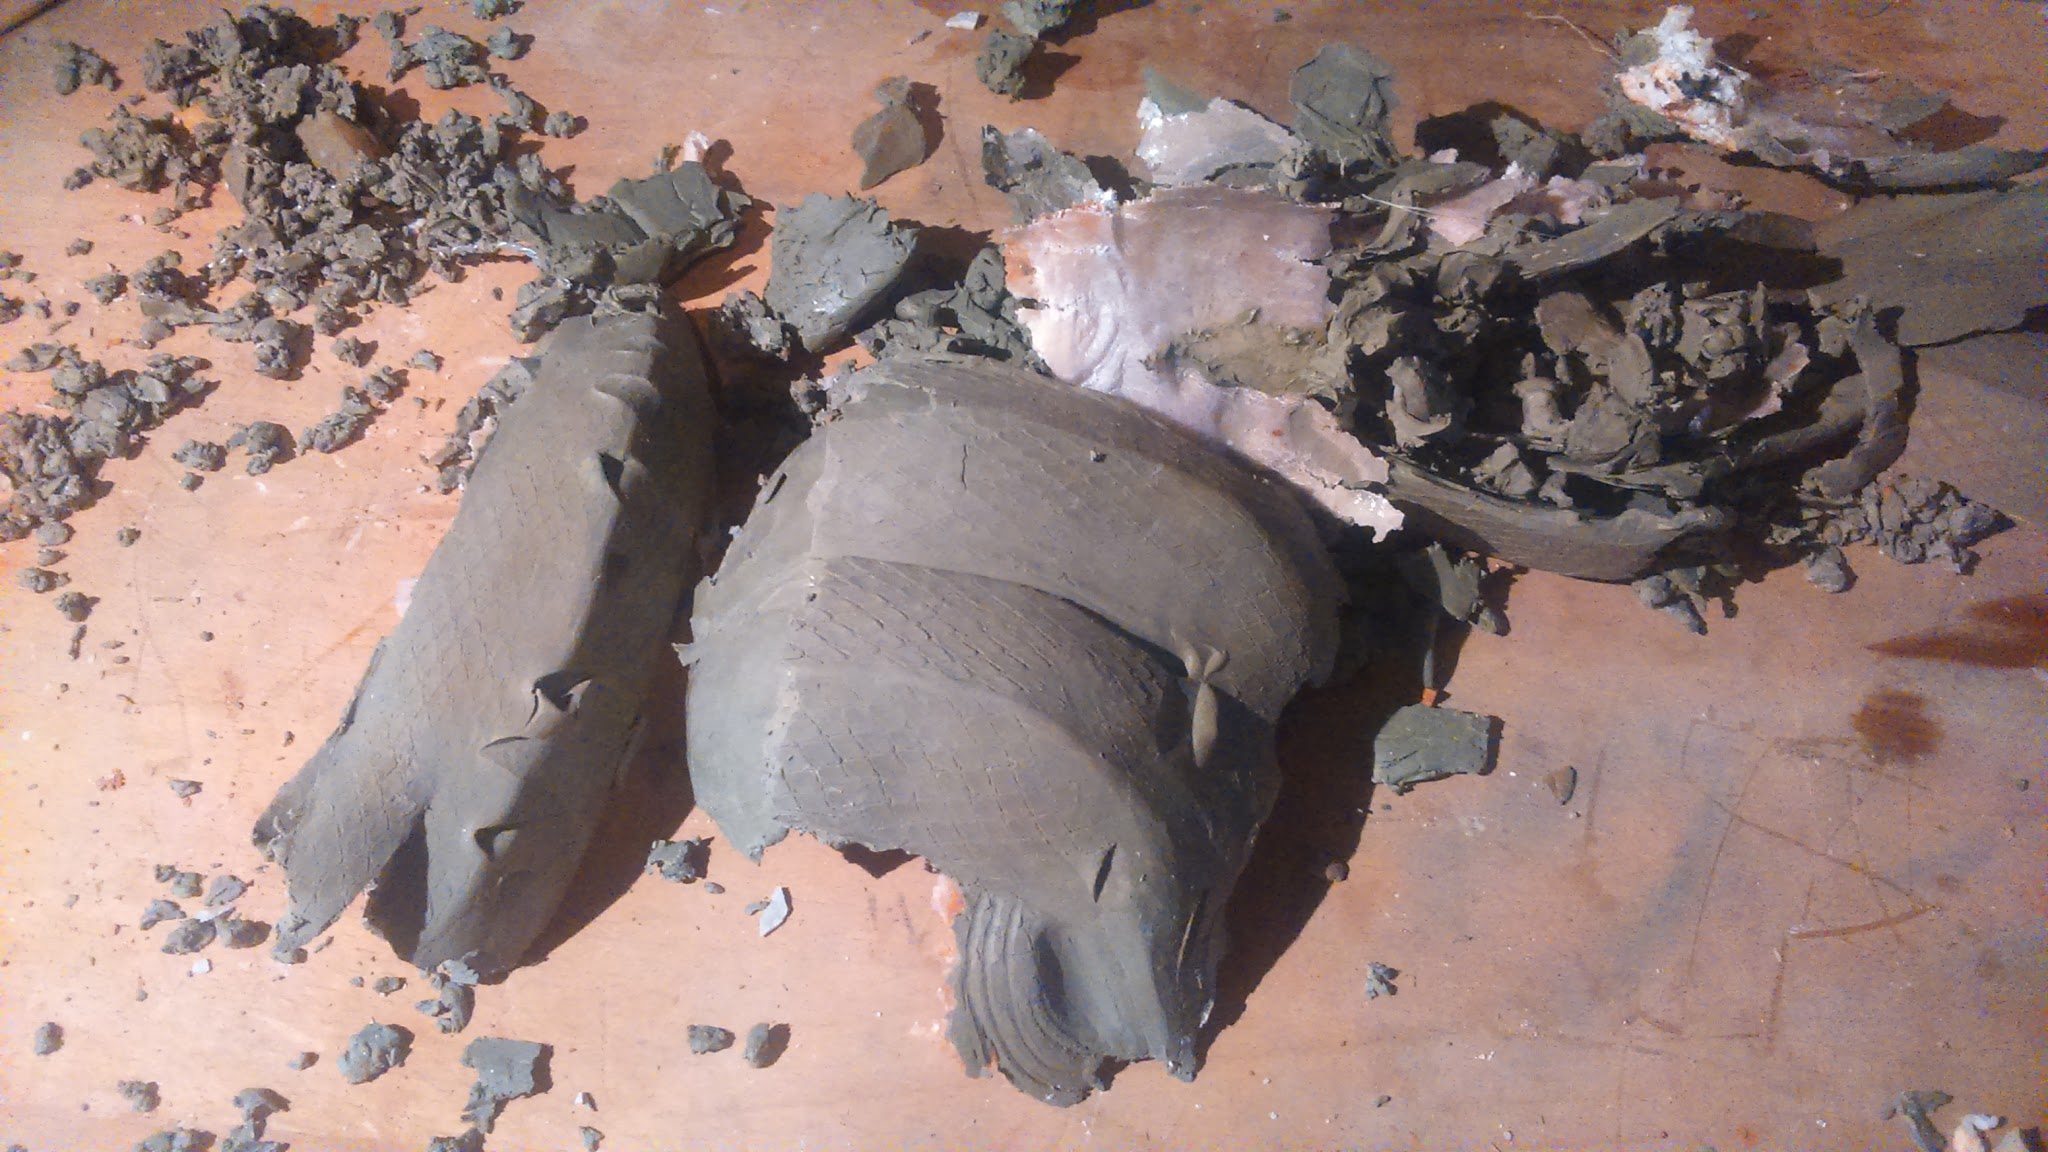
After that it was time to destroy the plastiline master with pain and sorrow. Taking out the plastiline from the tips of the tentacles was an absolute pain in the ass. I prefer sanding that doing this. I spent like fouw hours pulling it out with my sculting tools. Once the plastiline remains were out, I cleaned the mold up rubbing with a brush impregnated with trementine.
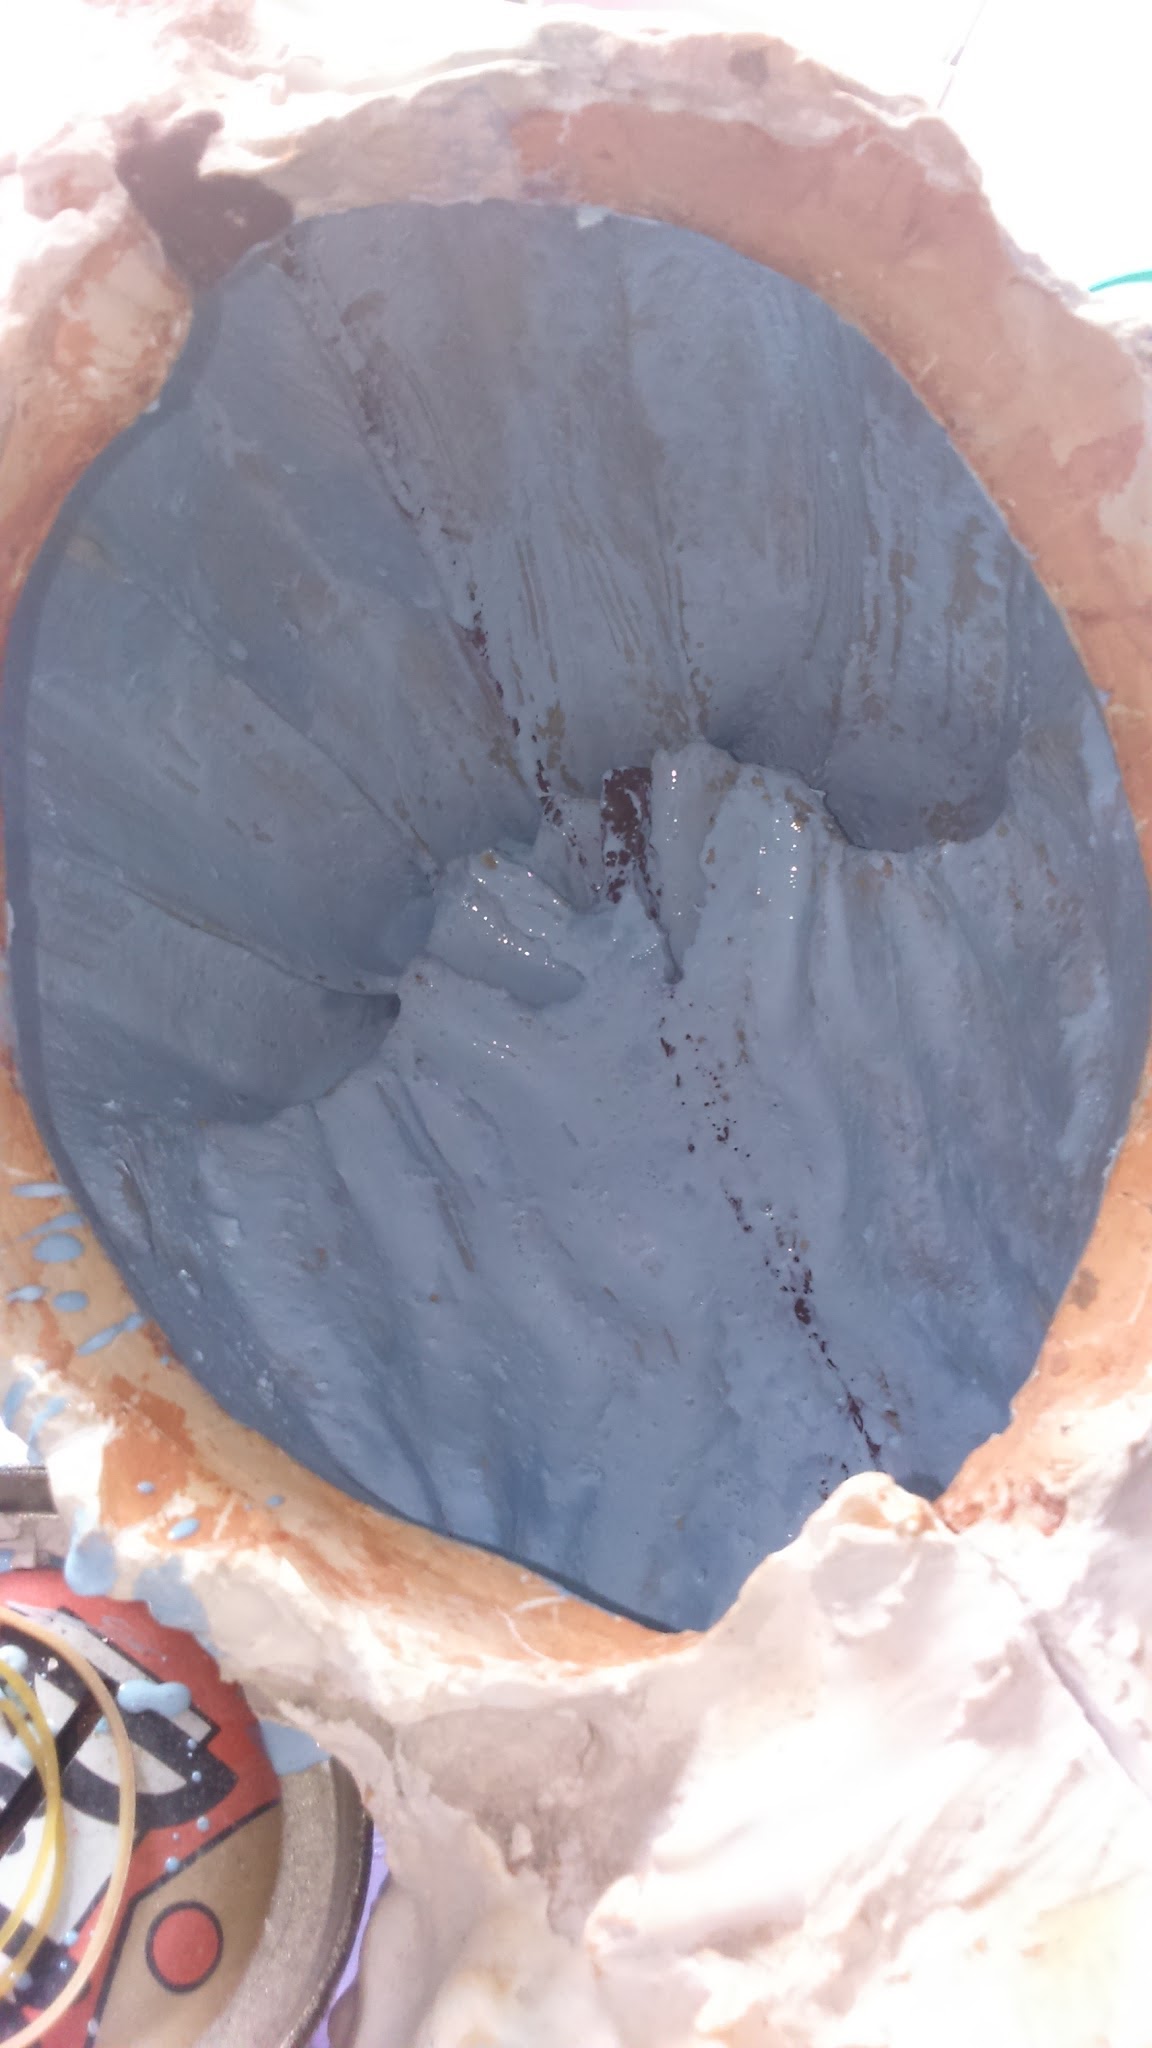
I joined permanently both parts of the mold using Ultracal again. I fixed little irregularities I found and I concealed the union using Apoxie Sculpt, that is a super easy to use epoxy clay that adheres very well to any surface. I smoothed out the union trying to get an even and hermetic finish.

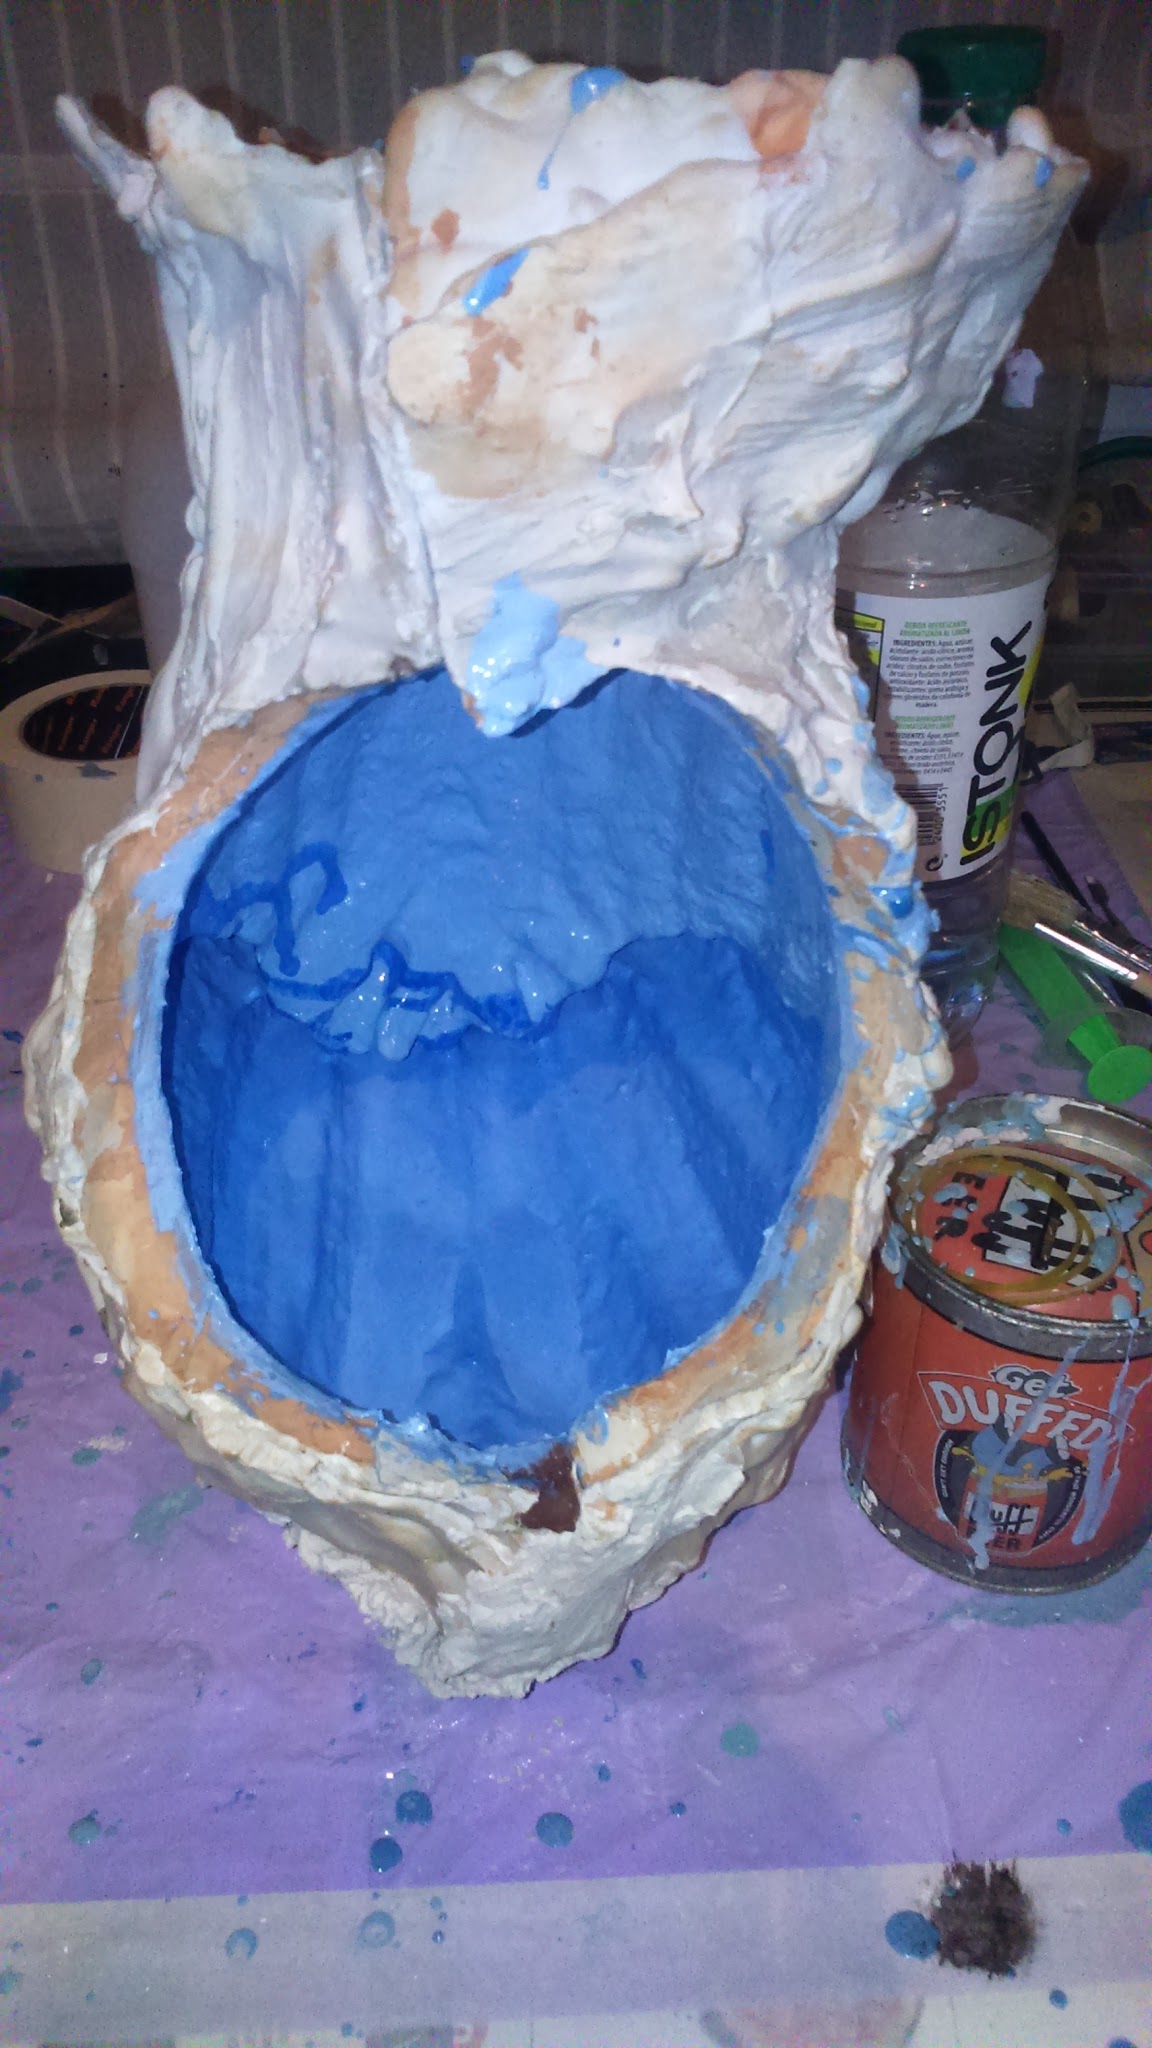
The mold was done! So it was time to do the latex cast to get the prosthesis. As I sad in my lekku tutorial, latex is a very easy to use material, it air dries and it smells pretty strong. You better use gloves and a respirator to avoid fainting. And try to work in a well ventilated place.
I filled a cup with latex and a white and blue pigment mixture. I obtained a pretty pale blue because latex gets darker when it dries and I didn’t want it to look too dark.
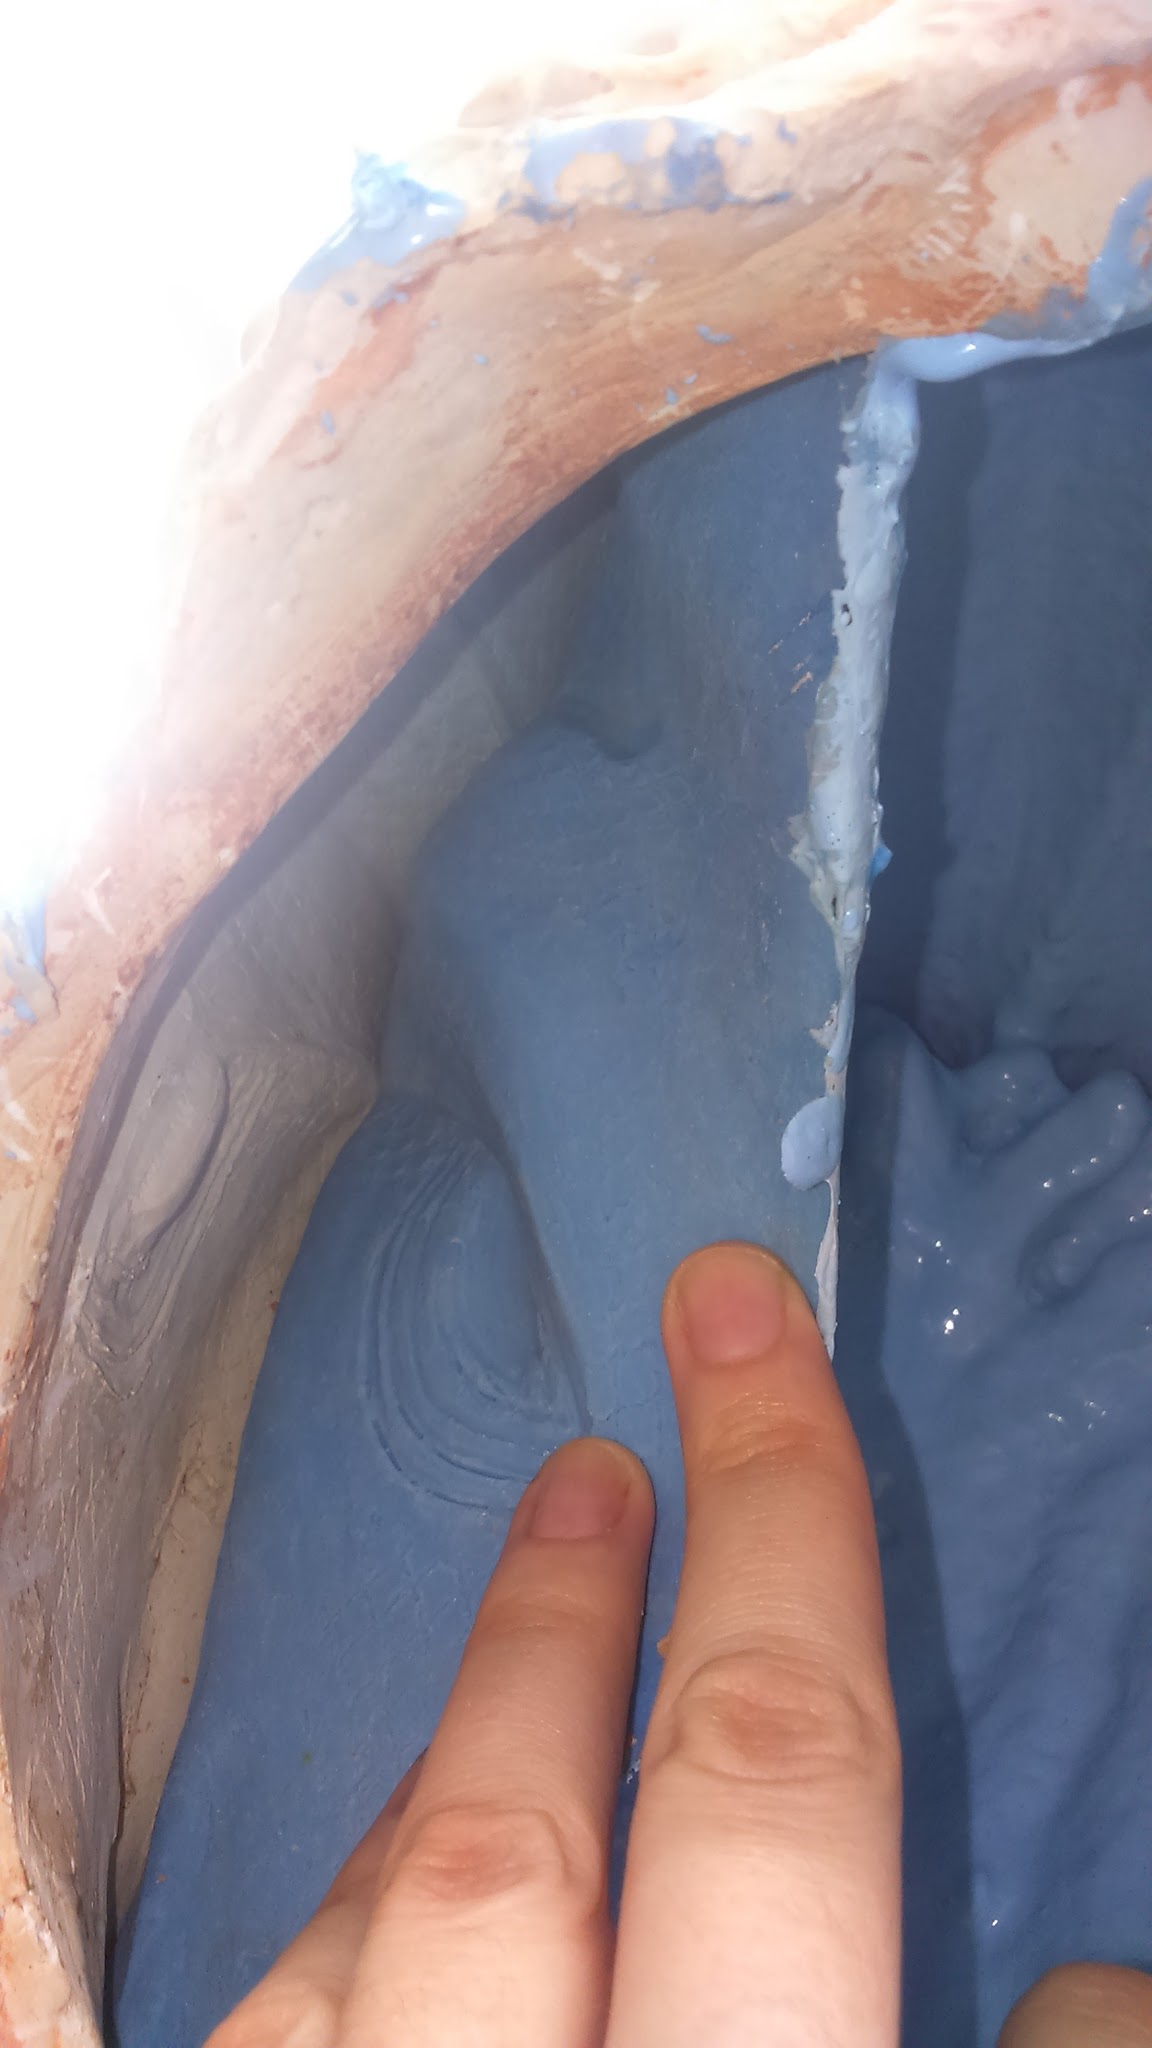
I started by coating it with a brush to get the finest details and I filled the end of the tentacles carefully. I filled them very slowly using a sryinge and tapping from the outside to avoid bubbles.
I kept on applying layers and moving the mold into different positions for the latex to settle in different parts until I got the desire thickness.
The liquid latex piled up inside the tips of the tentacles and it seemed to dry up a little slower, so I let it dry for one week to make sure it would come out completely dry.
I used a hair dryer for it to dry faster.
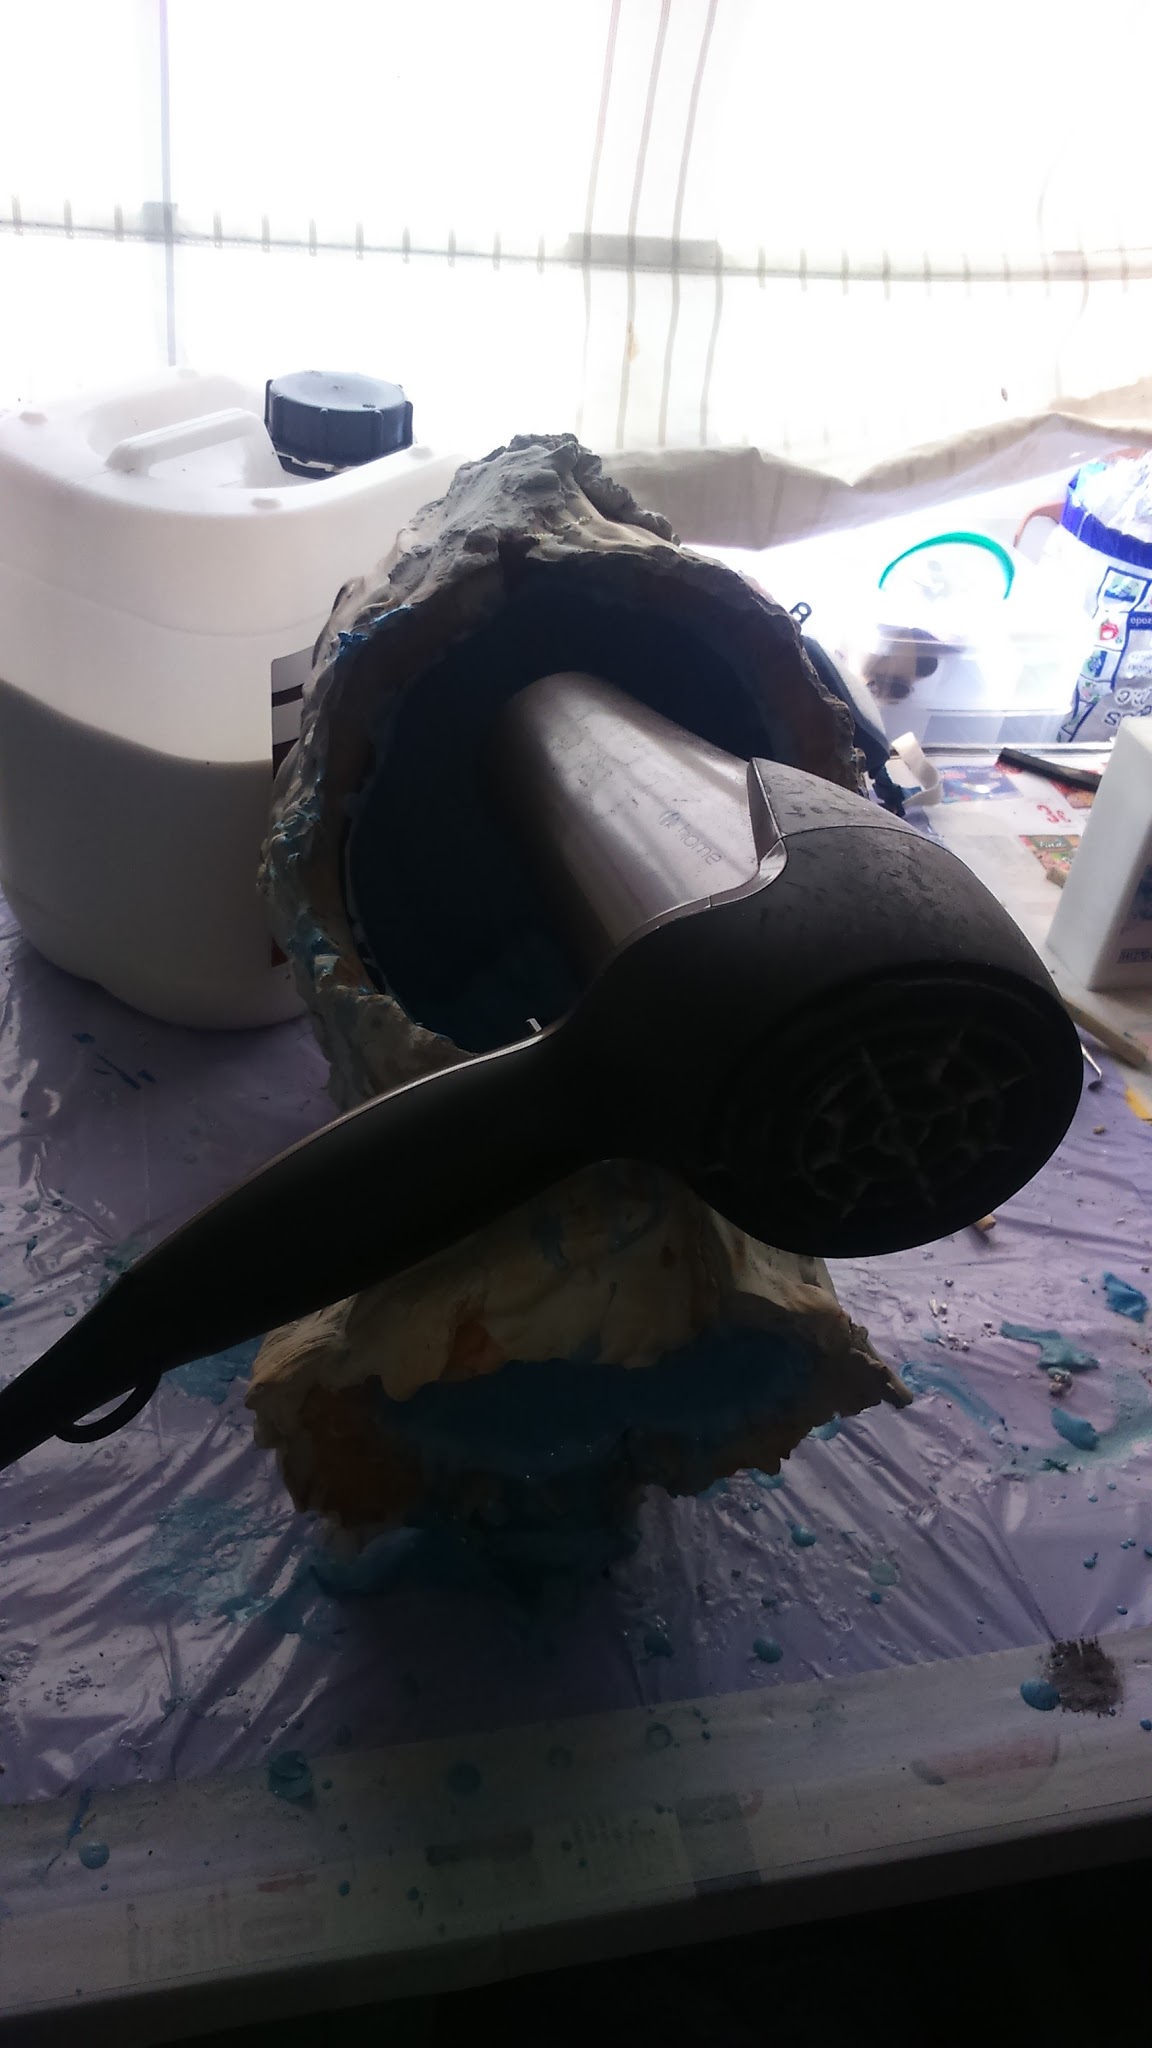
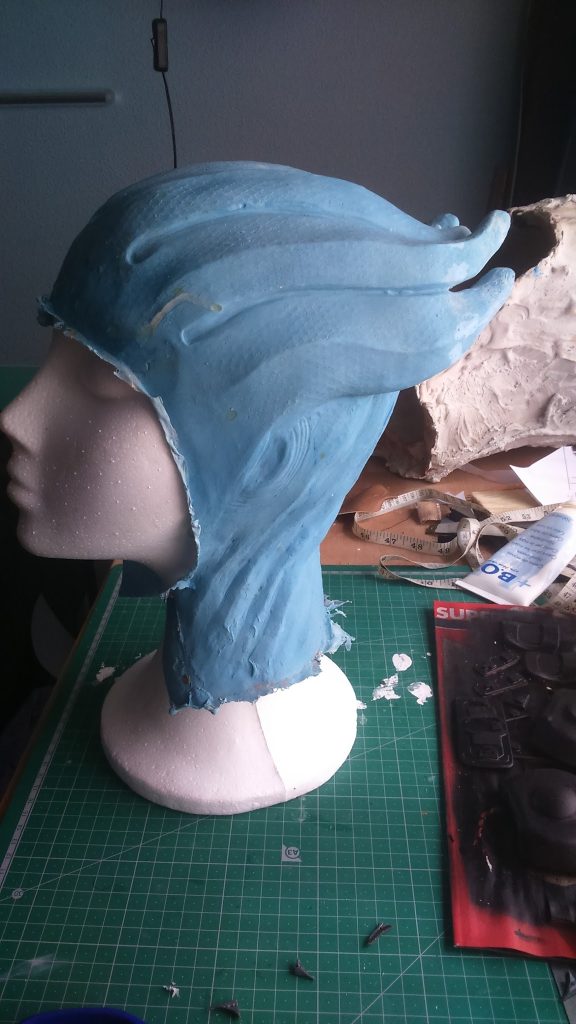
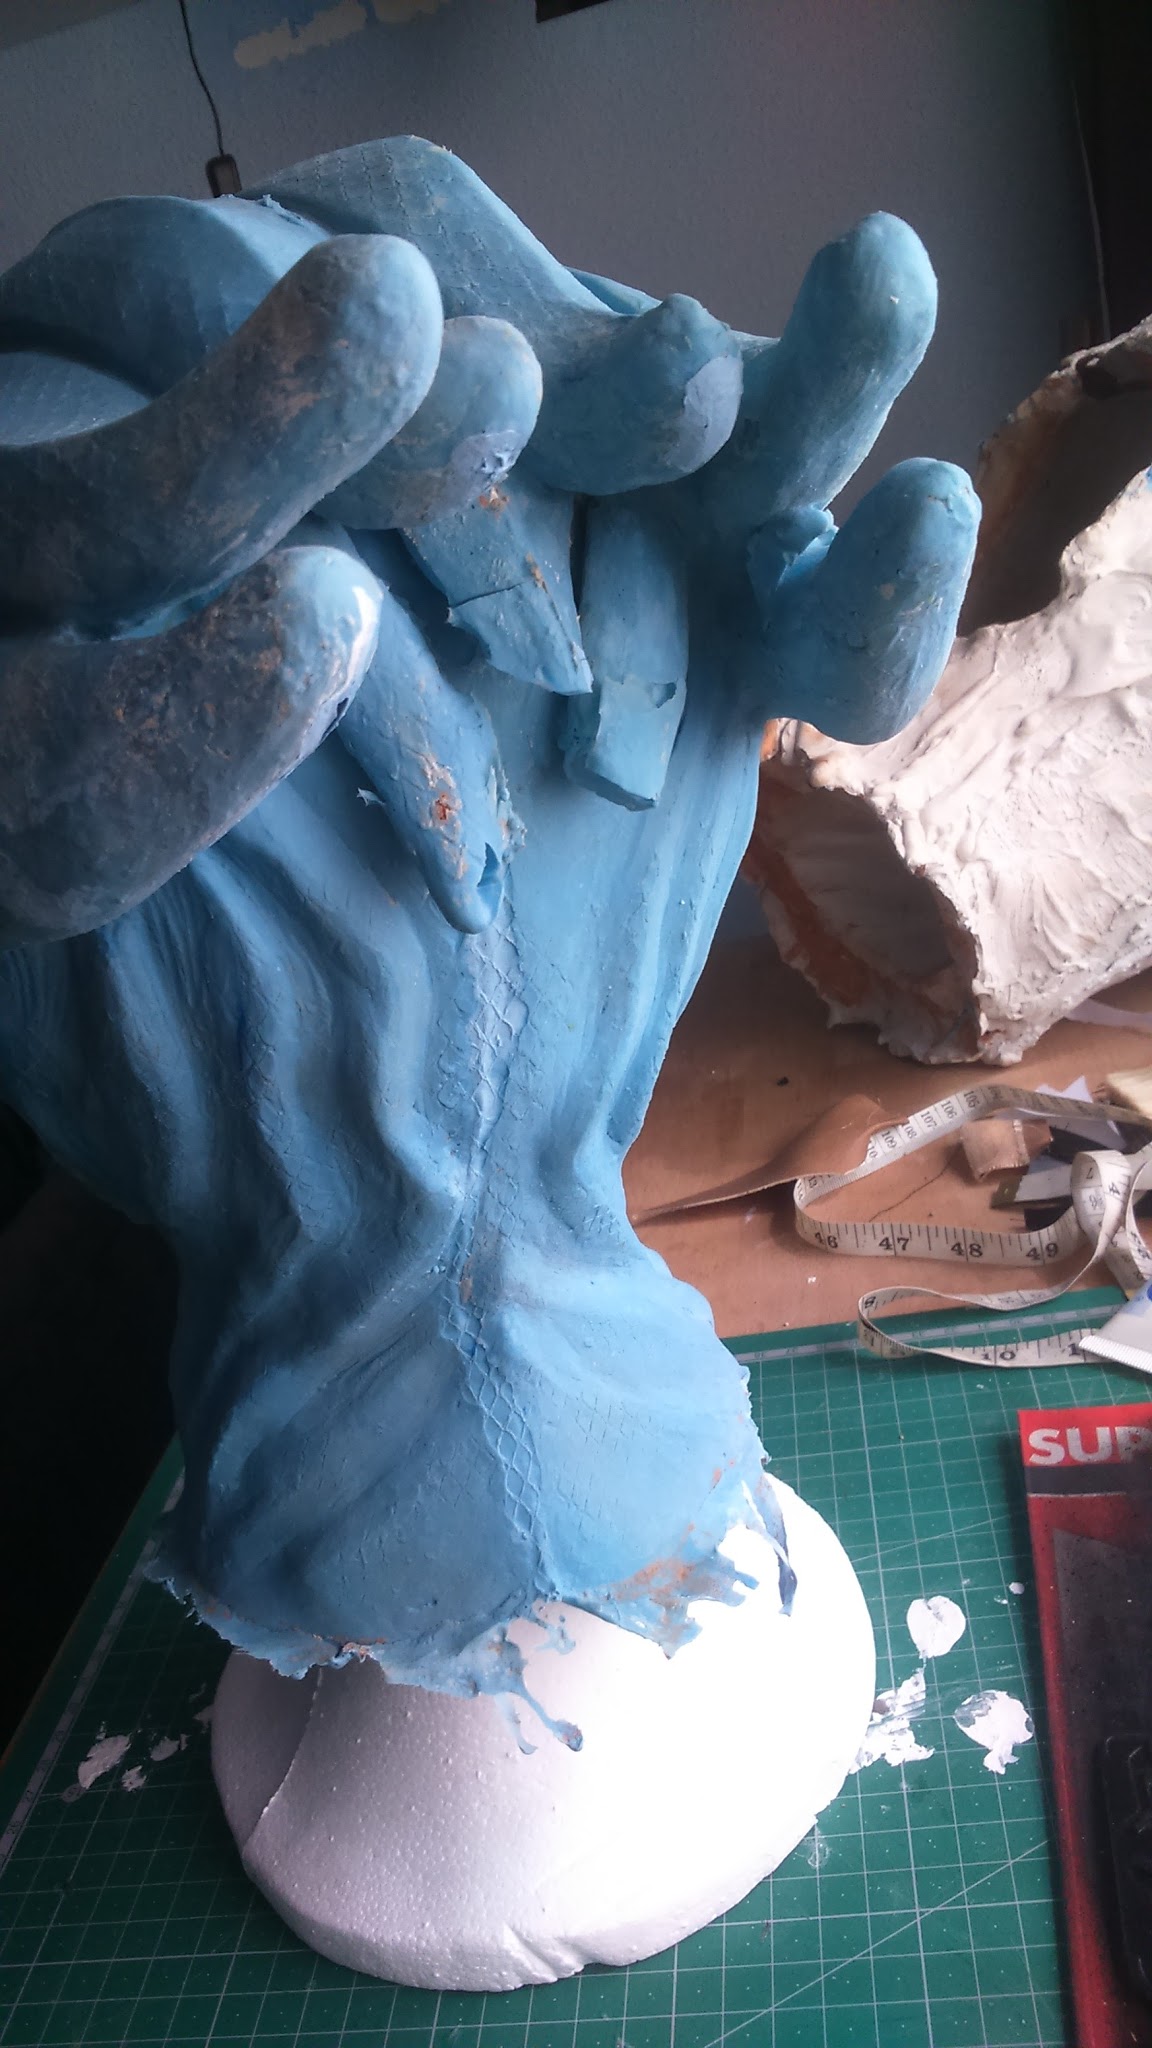
Once latex was dry, I pulled it out and I got a nice little asari head.
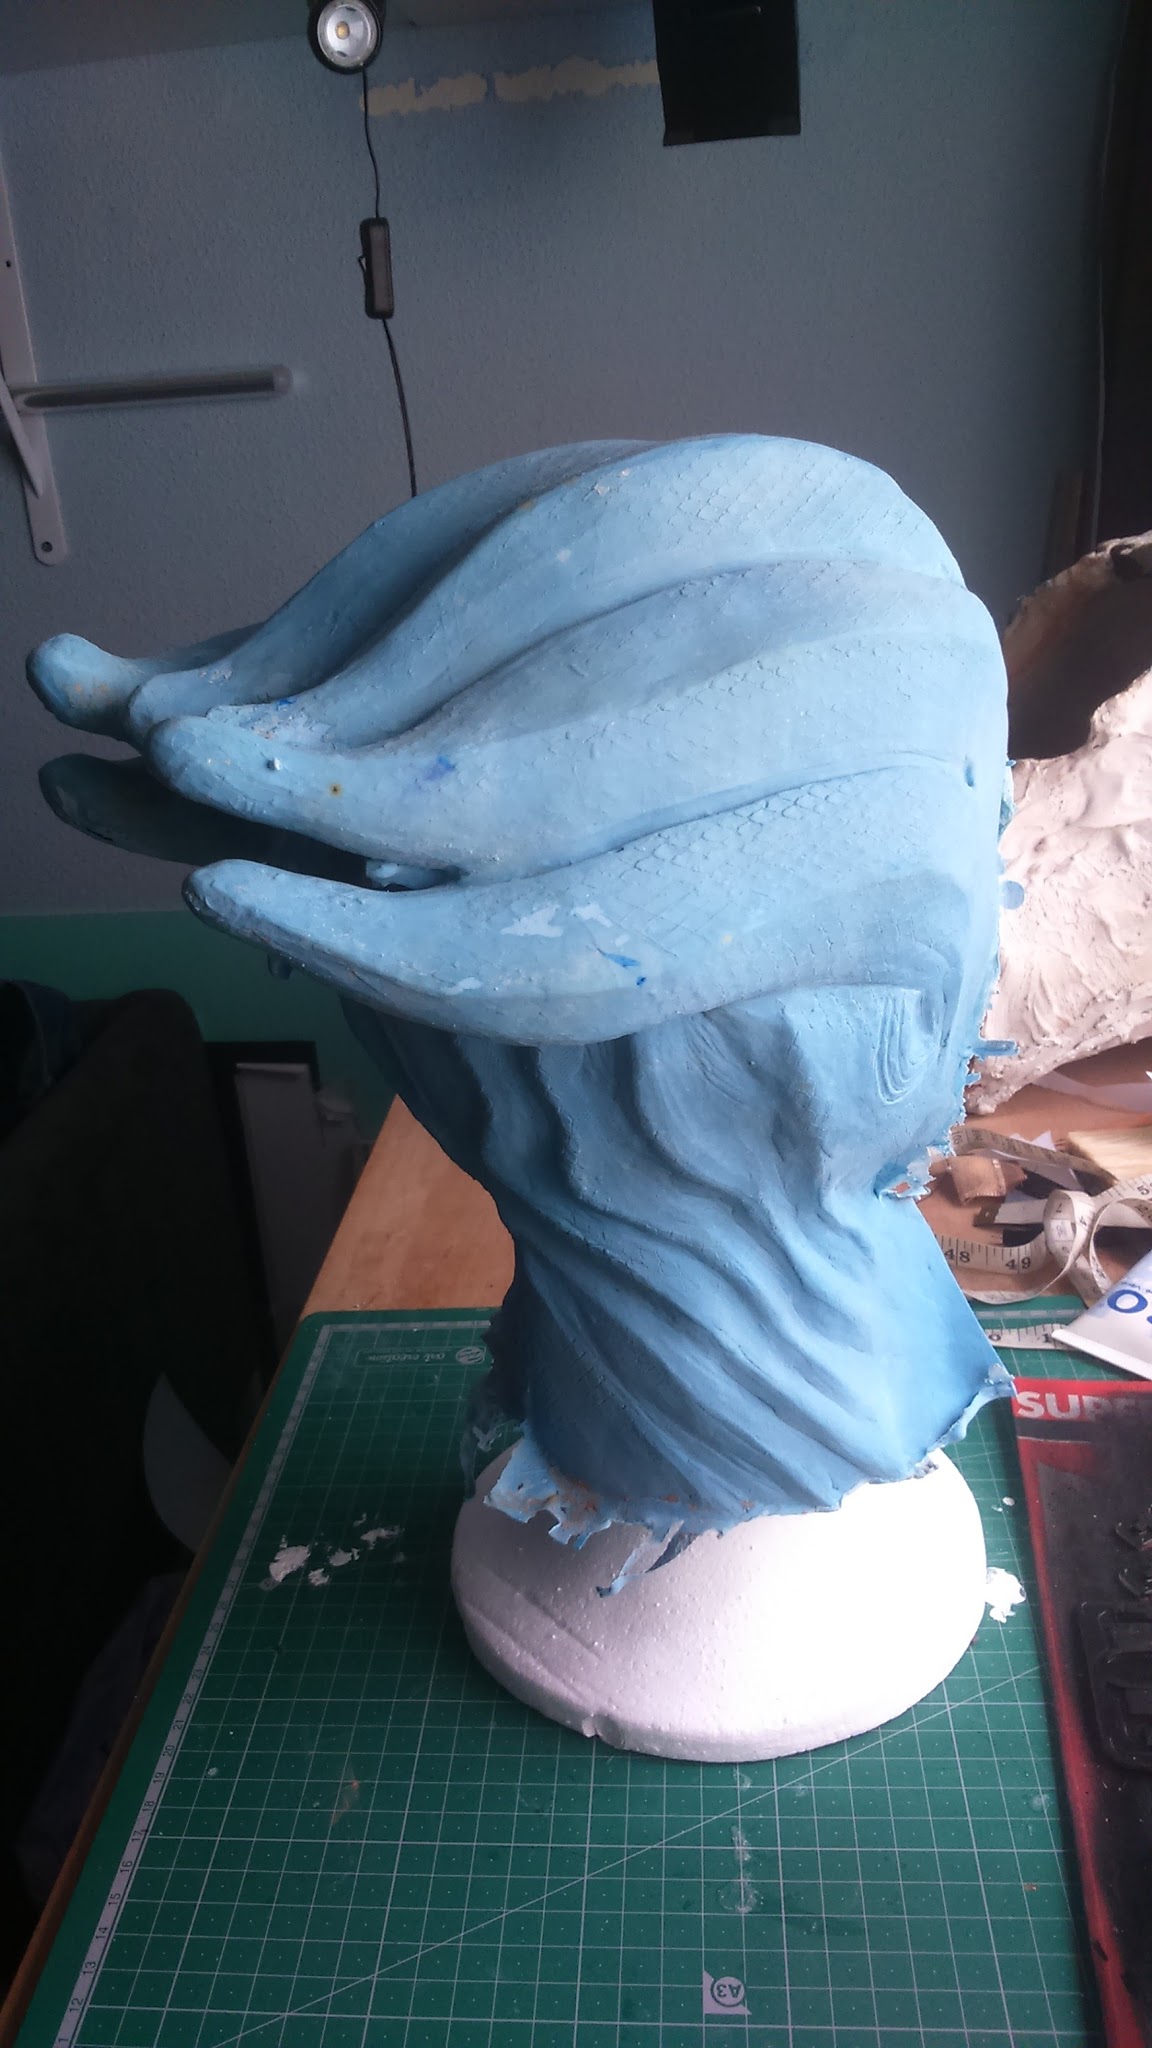
The nape tentacles came out broken, I think I should have let the first layers a little longer, but I think it has an easy solution like putting some flexible clay or something like that. It’s no big deal. The prosthesis looks good on my head and I just have to clean up the edges.
And that’s all! I’ll tell you how I painted it in my next tutorial.
Thanks for reading and, as always, feel free to comment down below or on my social media.


