
Hi there! Today I want to talk about how I made my SWTOR
Shae Vizla armor. I don’t have step by step pictures because I didn’t remember
to take them each time I made some progress. Anyway, I’d like to write about
the materials, tools and techniques I used to put everything together in case
it’s inspiring for you.
 |
| James Ku |
First of all, I made the armor patterns. I like making
patterns for armors the same way I do them for clothing. I mainly like making
chestpieces this way. For the rest of pieces, I wrapped parts of my body in
duct tape and used the resulting shapes as a base for their armor parts.


Once I made the patterns, I drew them on 10mm thickness
craft foam and, in some cases such as the gauntlets, I used 3mm PVC foam (all
the white pieces are PVC foam). I first made the chestpiece using a cheap foam
from the hardware store that had some relieves on the back, so I found it
difficult to glue some fasteners. The rest of the armor is made using a high
density and flat on both sides eva foam from Suministros Cosplay and it worked
super nicely. They have a high quality foam that requires less effort in
preparing it for painting and gives it more durability.

I cut all the pieces using my heat knife and I also used
several heads to carve relieves such as the belt lines, holes, etc.


To give it volume and relief, I used different thicknesses foam
(mainly 2, 5 and 10mm) depending on the design. I glued the smallest parts with
cianocrylate and the bigger ones using contact cement. I made a stupid mistake
while making this armor: I first glued everything together, then I applied heat
to seal the material so, while heating everything, some parts got slightly
warped and I had to fix them and glue some edges again. So from now on I’ll
heat seal the foam before even cutting it to make sure they’ll eventually keep
their shape.

I used epoxi glue to attach the zippers to my leg armors.
This glue is fantastic to join fabrics and foam. It also works pretty well joining
foam, but it takes long to cure, so it’s not very practical.
I also sanded some edges and relieves.

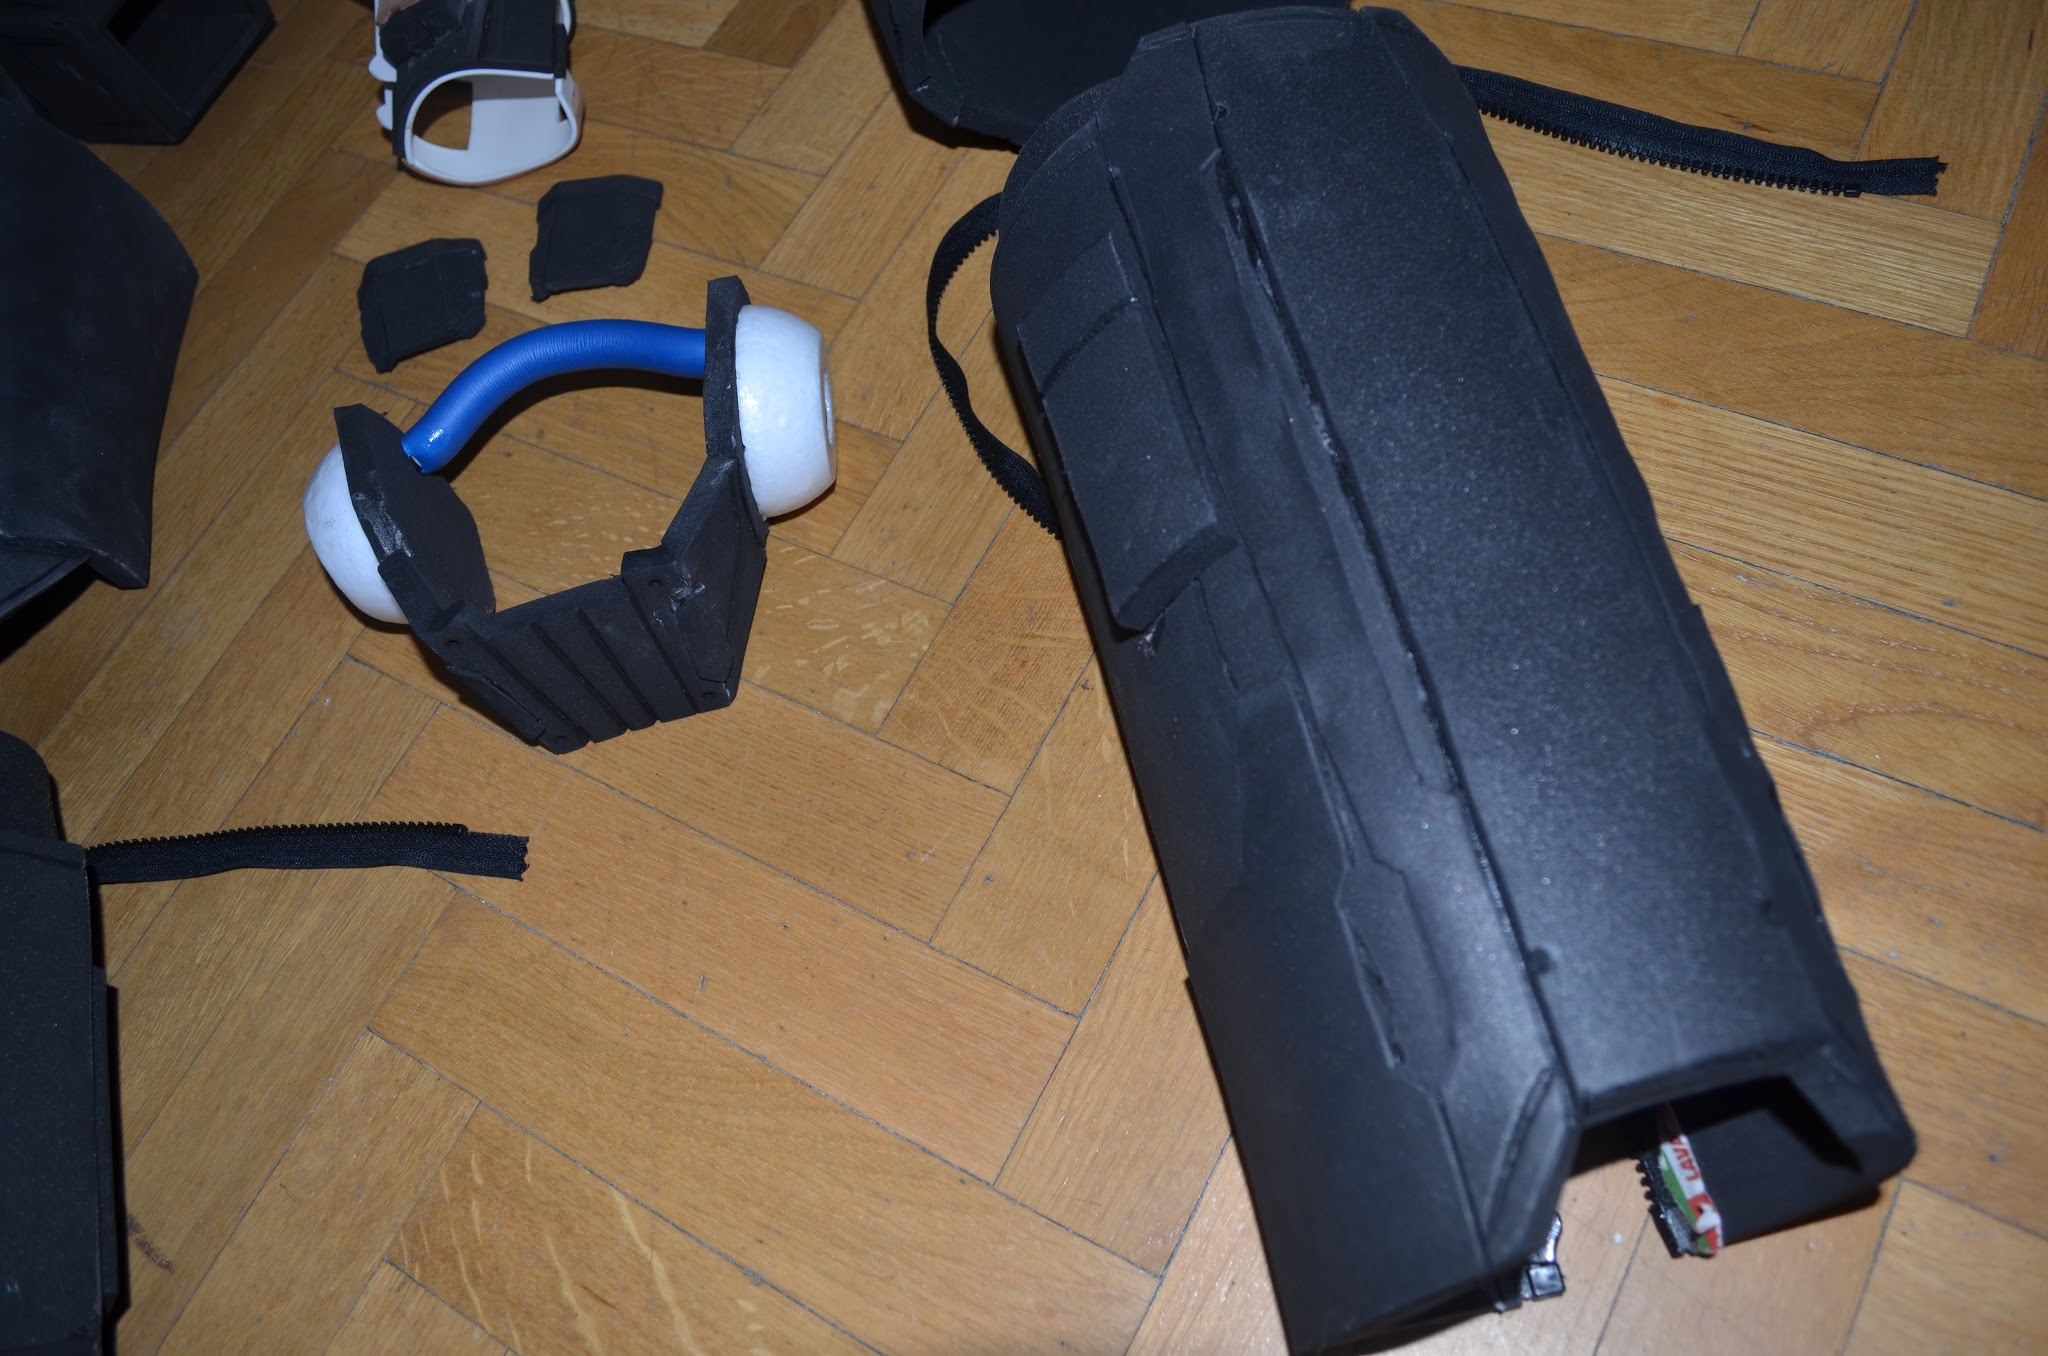

I also used acrylic filler and sanded it in some parts of the armor. Those white blobs in some parts are filled wit it.

Once I put the armor together, I primed it using Plasti-dip.
This prpoduct sticks wonderfully to eva foam and, as every primer, it homogenizes
the surface and prepares it to be painted.


I must say Plasti-dip is not perfect for everything. We
primed the Boba Fett helmet (made of urethane resin) and armor (PVC foam) with
it and, after masking some parts with tape to apint them, it was difficult for
us to pull it off without peeling the Plasti-dip layer. It’s ok, Plati-dip is
made for that, but you have to take it in account if you’re willing to mask it
in some surfaces. It worked perfectly on craft foam. I even scratched a little
to see if it peeled off, but it didn’t. Anyway, it’s good to know.

Well, after priming it was painting time! I used my airbrush
for that purpose. I finally learnt to use it correctly and it works wonders.
The advantages of the airbrush are that it paints evenly and you avoid those
horrible brush veins. Plus, it’s more precise than spray papinting, it doesn’t
smell and you have control over the color mixing. It’s a highly recommendable
tool.
I first applied a couple silver layers but I didn’t like how
it looked, so I repainted the whole armor in gunmetal color. I don’t regret the
first silver layer beccause it gave a nce base for the darker one. If I’d left
the armor black, it wouldn’t had get that realistic metallic effect. I also
painted the red and golden details.


To finish it, I distressed the armor using the dry brush
technique, applying the light silver original tone with a little loaded brush
focusing on the outer edges and protrudings. I love this technique, it’s really
easy to apply and so effective. The important thing here is using the silver
tone even if you’re weathering other kind of metals such as gold or copper, asn
adding rust and dirt on the inner corners and holes. Anyway, I didn’t add rust
to this armor because I didn’t see it in the model. I just painted some reddish
rust on the thigh armors.


And this is how I made it! Hope you found this useful. I’ll
talk about the helmet, clothes and electronics on this costume in my upcoming
entries.

Feel free to ask me anything in the comments or contact me
through twitter or facebook.
Thanks for reading!


