
Hey! Today I’m going to talk about my stick!! Yay!, well, Rey’s staff in fact. (In spanish the joke has way more sense, haha)
This staff has been more difficult to make than I initially thought because it has lots of little details that were discovered as I made progress with its construction.

Without further ado, I’ll start this tutorial.
I used a cheap PVC pipe as a base for this prop, craft foam and PVC foam for its details. First of all, I printed a natural size model to have as a reference and I cut the pipe to get the right length.

Then I started making the biggest ornaments and I must say they were kind of difficult to make for me. I ended up looking for the unfolded cone frustum mathematical formula because I couldn’t find a better way to make them. I made each flat piece, I copied them on craft foam and I made the polyhedrons. I added a base to each one, I made a hole and I put them in place.

The rest of the ornaments were easier to make as they were flat relieves. I made them by cutting foam strips, adapting them to the pipe and glueing them all over the staff. I also used the heat knife to make bas-relieves, I added some little elements such as the buttons on the belts and some more resistant PVC foam parts (the white ones).
After glueing all its elements, I smoothed the prop out using some acryllic filler, then I sanded it.


To make the fluted parts I thought about textured craft foam, but I couldn’t find the one that I wanted, so I ended up rolling up a thin cord. I like the result.
Once verything was glued together, I primed the staff using my beloved Plasti Dip.
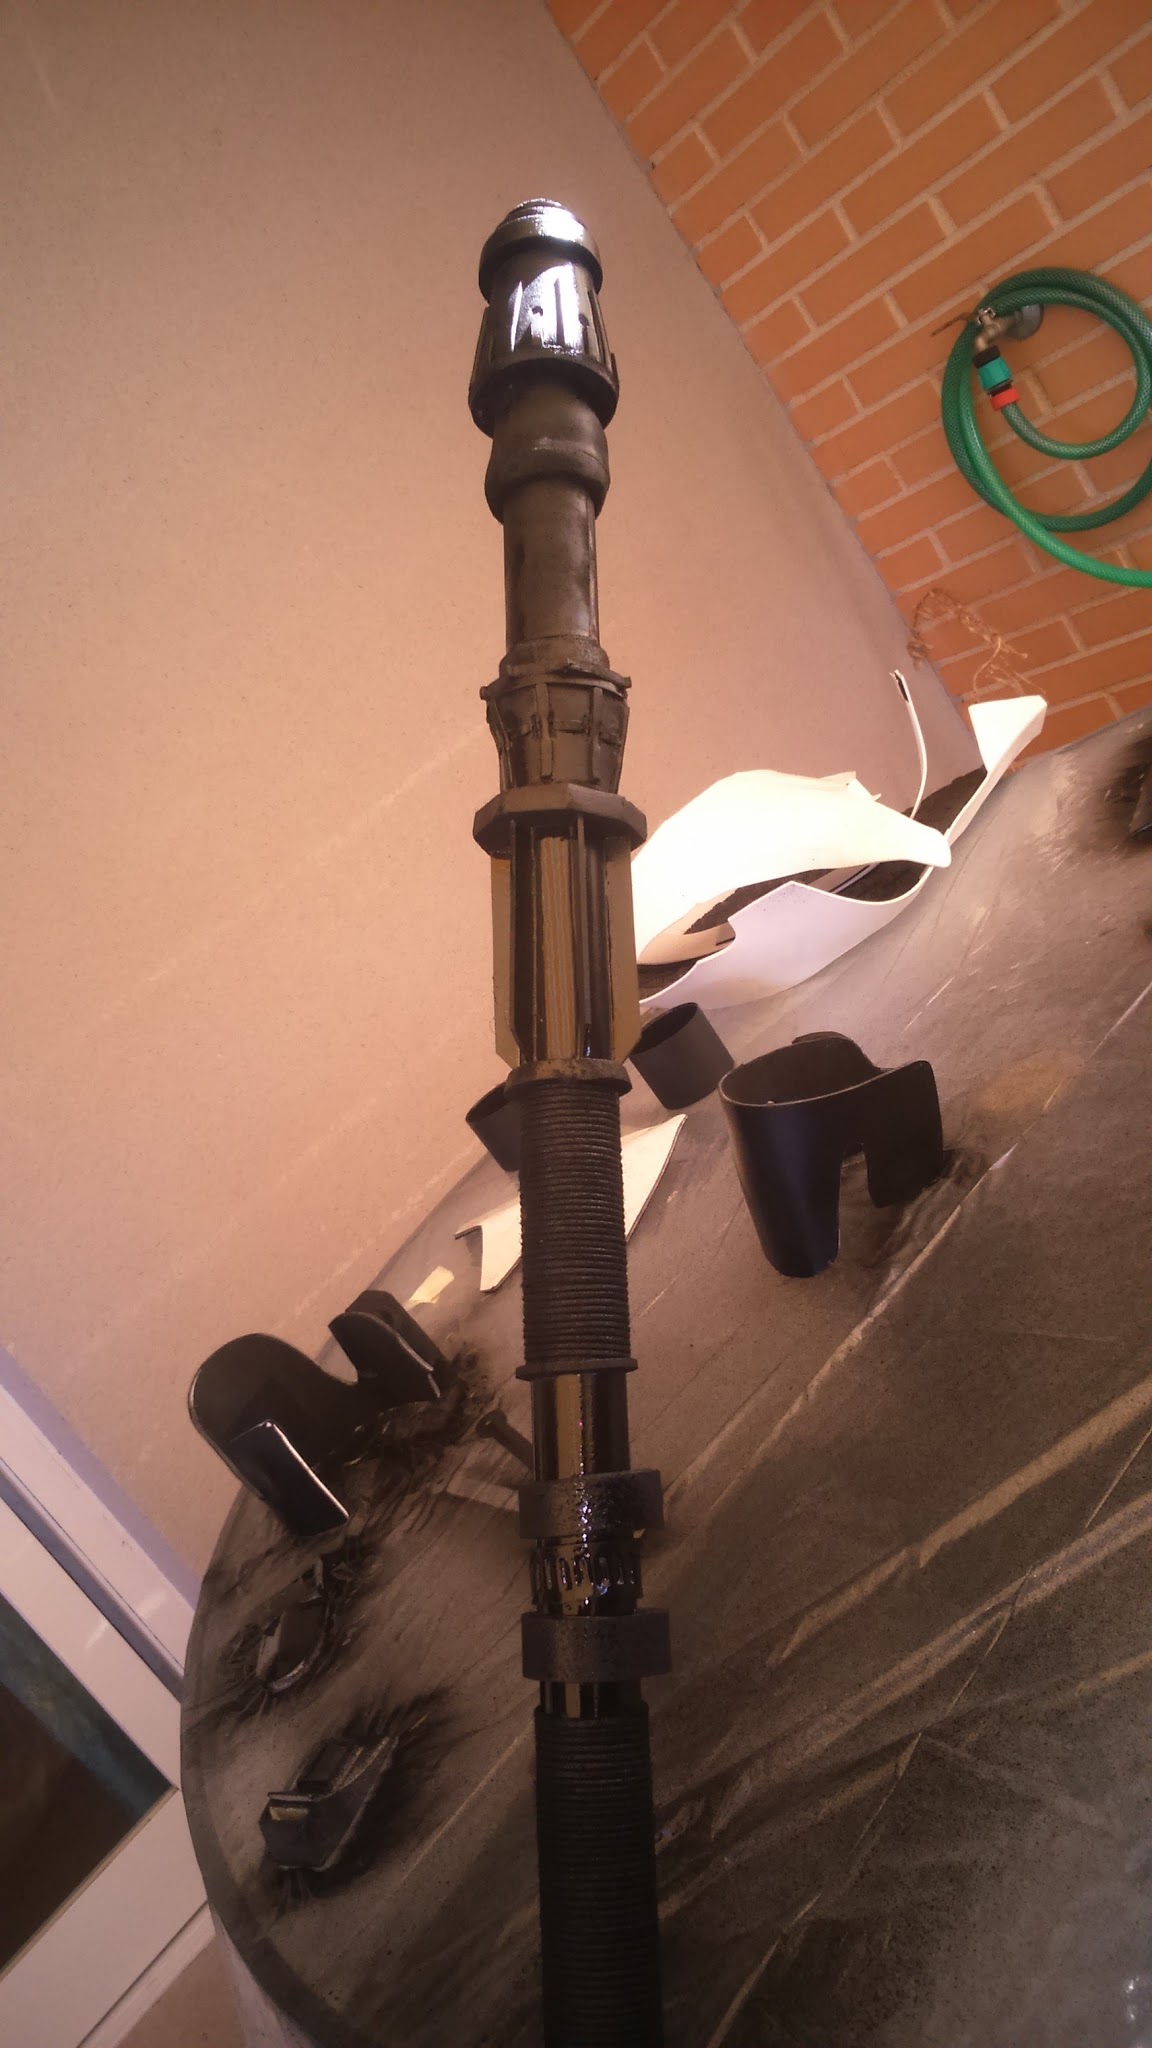 |
| Boba Fett armor parts in the background. |
And here comes my favourite moment: Painting! I’m very happy with my panting work because maybe the staff doesn’t look very accurate, but I think I gave it a pretty realistic rusty look. I love it! I used acrylic paints and I want to thank my airbrush for letting me down like ten minutes after starting using it. I ended up using regular brushes and I’m eventually happy with it.
First I applied a layer of a black and gunmetal paint mixture and, after that, I gave it some rusty colours and distressed the edges with some silver paint.. It looked nice just that way.

But, to complete this look and make it more realistic, I bought a real rust paint. These paints come in two parts: one metallic base that is applied first and the rapid rust component that is applied after the first one (wheen it’s still wet). I a few minutes, you get a wonderful and believable rust effect. It’s amazing!!

As you can see, maybe I maybe put too much rust, but the result is so realistic that i don’t mind. In fact, I like it that way.


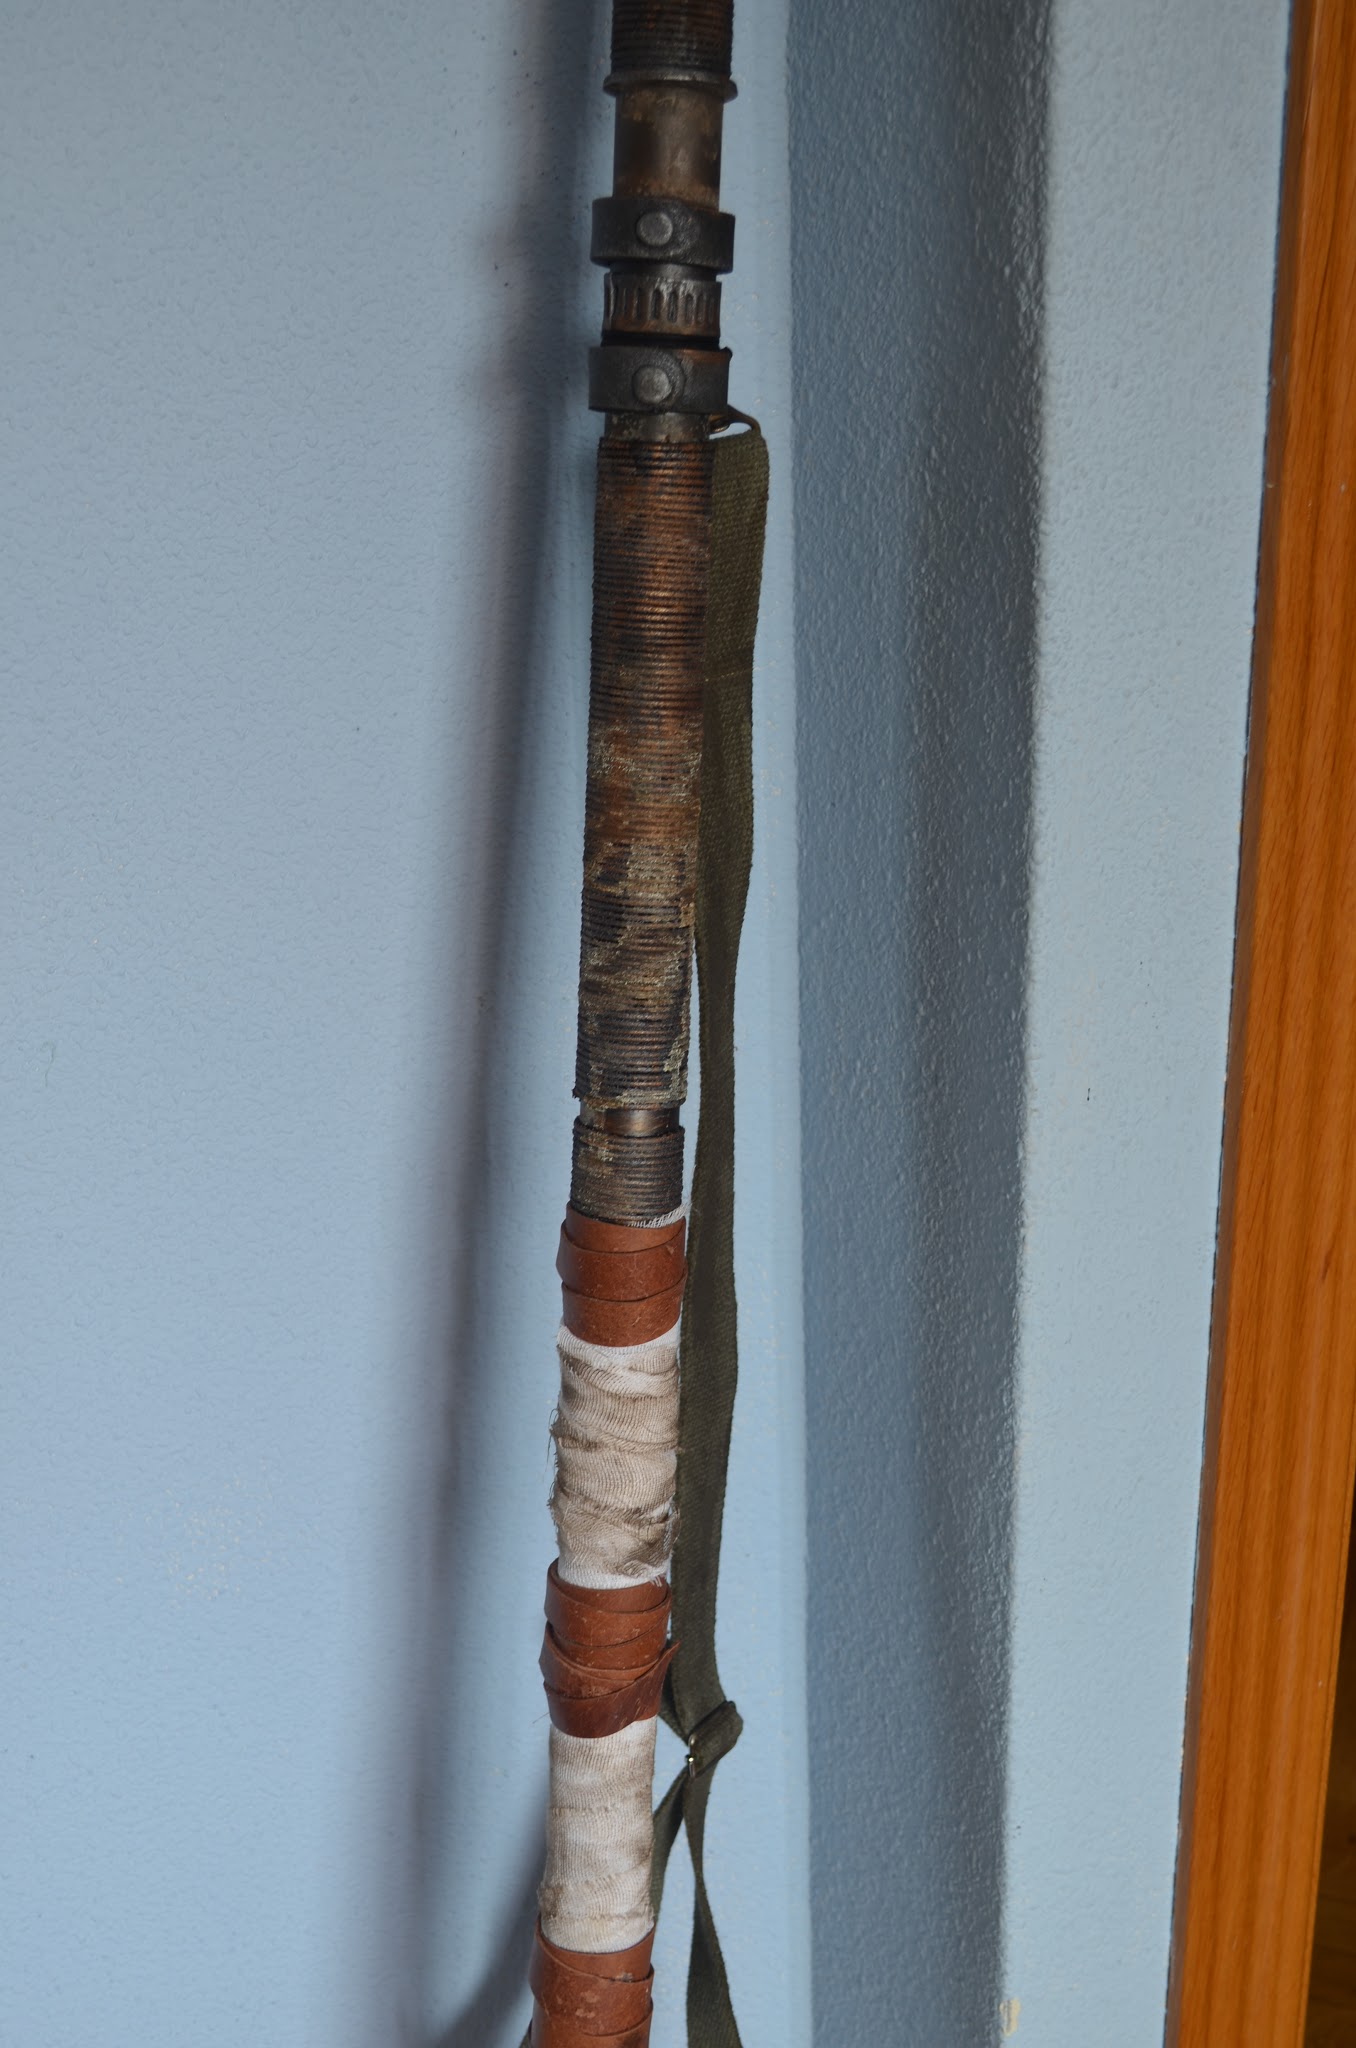
After painting and weathering, I only had to glue the bandages and leather strips and to add the khaki belt.


 |
| Sleepy dog. |
And that’s all!! Hope you liked this litttle tutorial and I hope you got some ideas to make your own props.
As always, feel free to comment and don’t forget to follow me on my social media!


