Hi
everybody! Today I want to talk about my brand new Rey costume, from Star Wars
The Force Awakens. Those who follow me on my social media have suffered my
bipolarity attacks regarding my decision of making or not making this costume,
as I’m kind of reluctant to make movie costumes
because I’m scared of reproducing
real people’s looks and I feel like a potato in comparison with them. I’m a
fucking potato compared with Daisy Ridley, plisu; but, well, I eventually made
it. I found some perfect fabrics for her costume and I ended up making it quite
happily overcoming my insecurities. Yay for me.

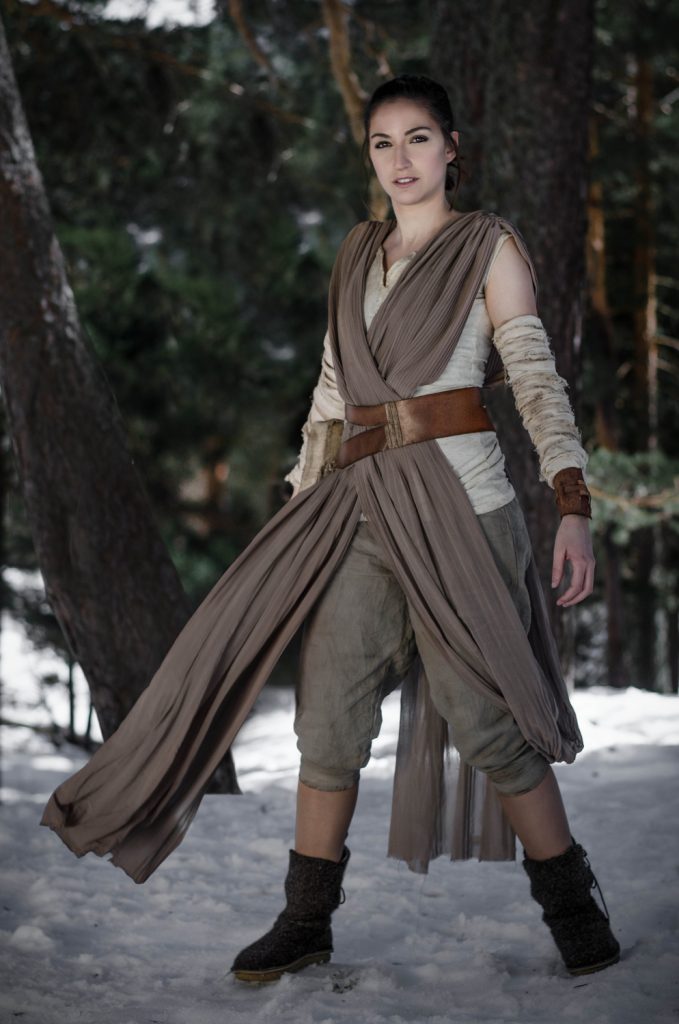
This entry
is not going to be the typical tutorial
explaining how I put everything together because Rey’s clothes are pretty
simple and it’s not worth at this point to explain how I made a top, a pair of pants
and some hanging fabrics. However, this cosplay has some interesting details,
ideas and tricks I’d like to share with you such as the materials and the
distressing process.


Before making this outfit, I read about its manufacturing for the movie, the materialand color choice, to get an idea of what I needed to reproduce it with certain
degree of accuracy. As you may already
know, in this movie they used dark colors and synthetic materials for the
imperial guys and sandy tones and natural fabrics for the rebels/resistance.
Luckily for
all of us, there’s a thread in TRPF incredibly detailed with references,
explanations, and even patterns, to reproduce Rey’s clothes and accessories. I
haven’t used the exact fabrics from their list, but you can check it out in
case you want to be super accurate. I looked for some fabrics, but some of them
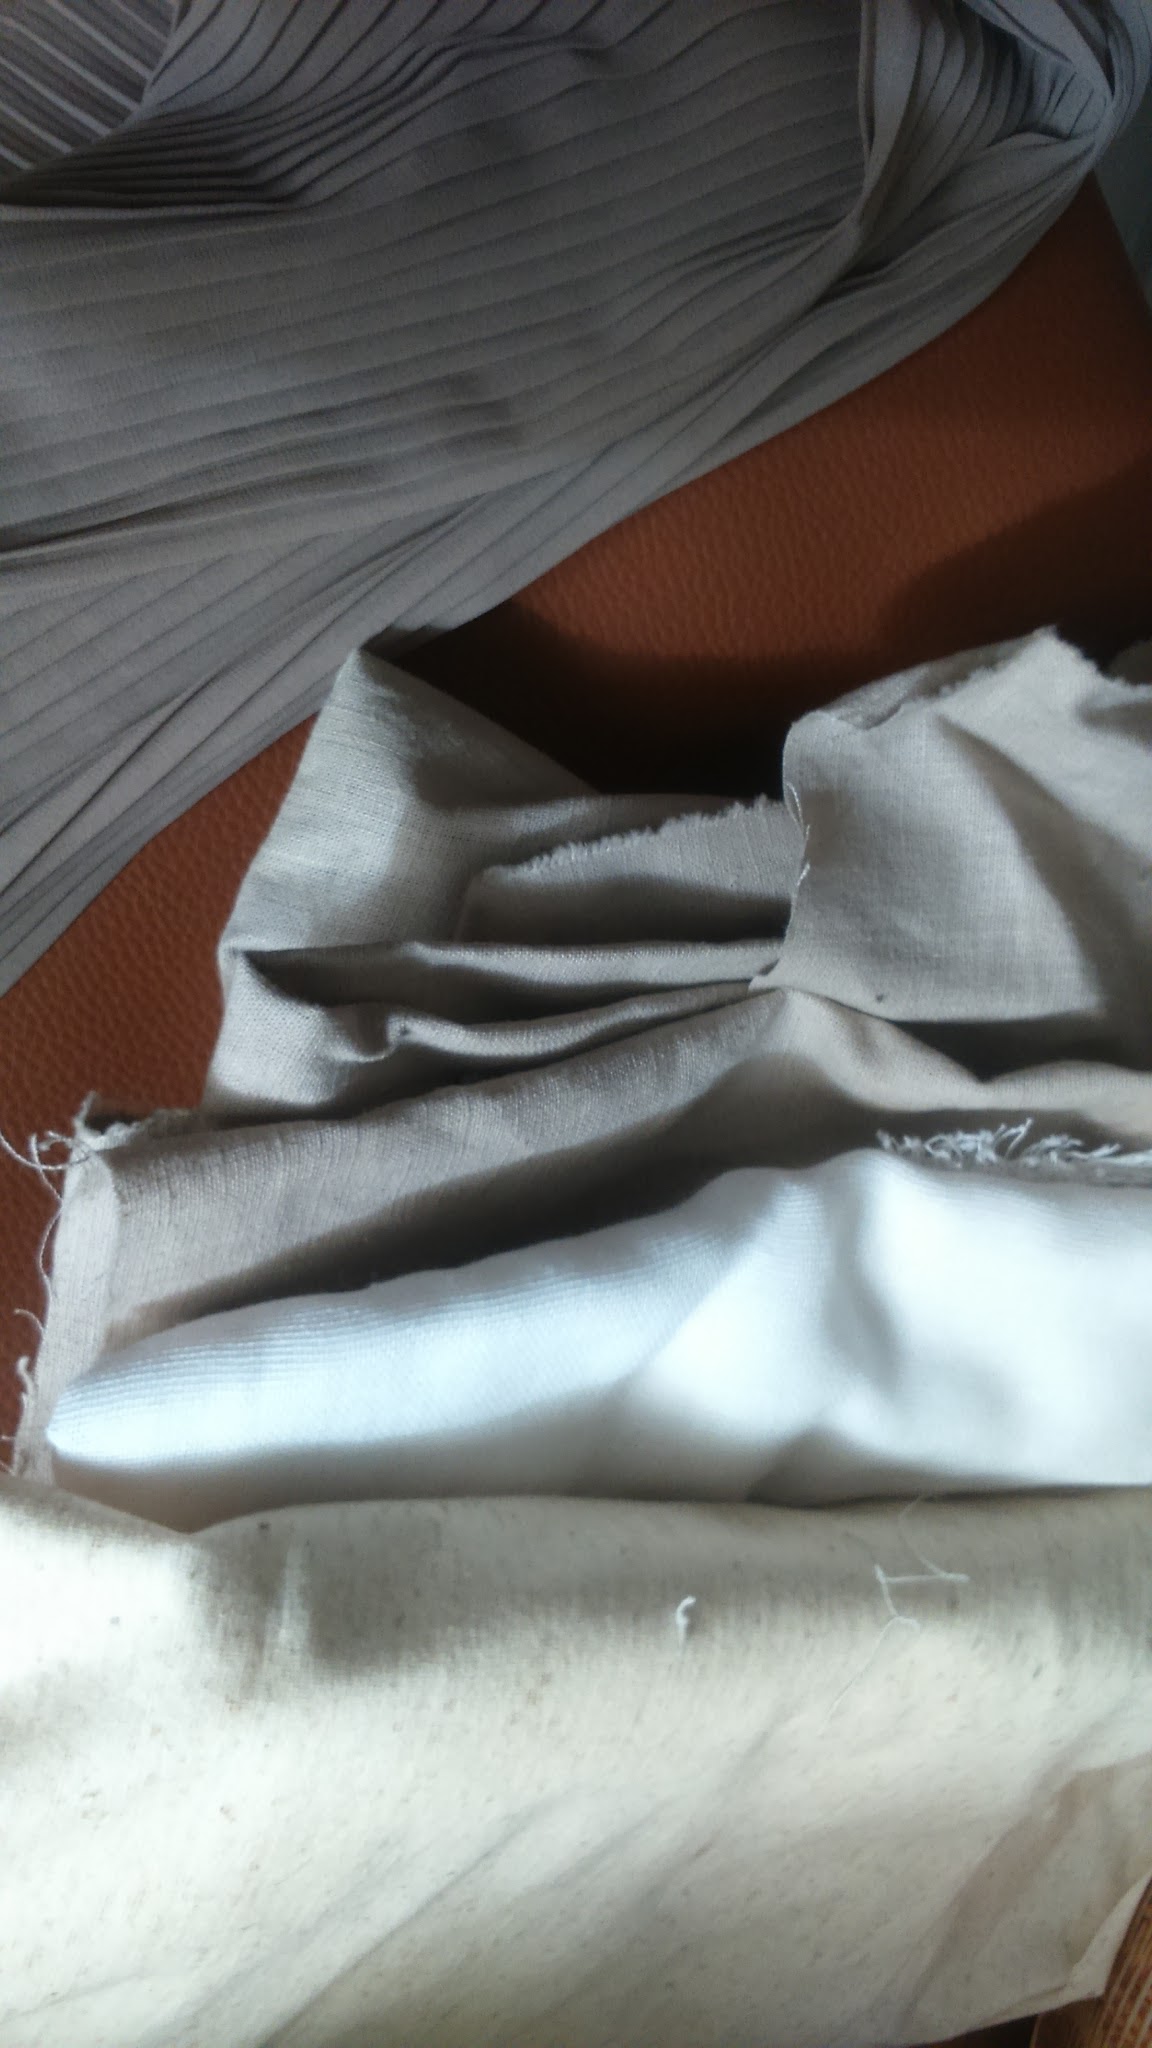
had to be ordered from abroad and I felt lazy to do that. So my choice was:
– – Raw
white knitted cotton for the top.
– – Grey
linen for the pants.
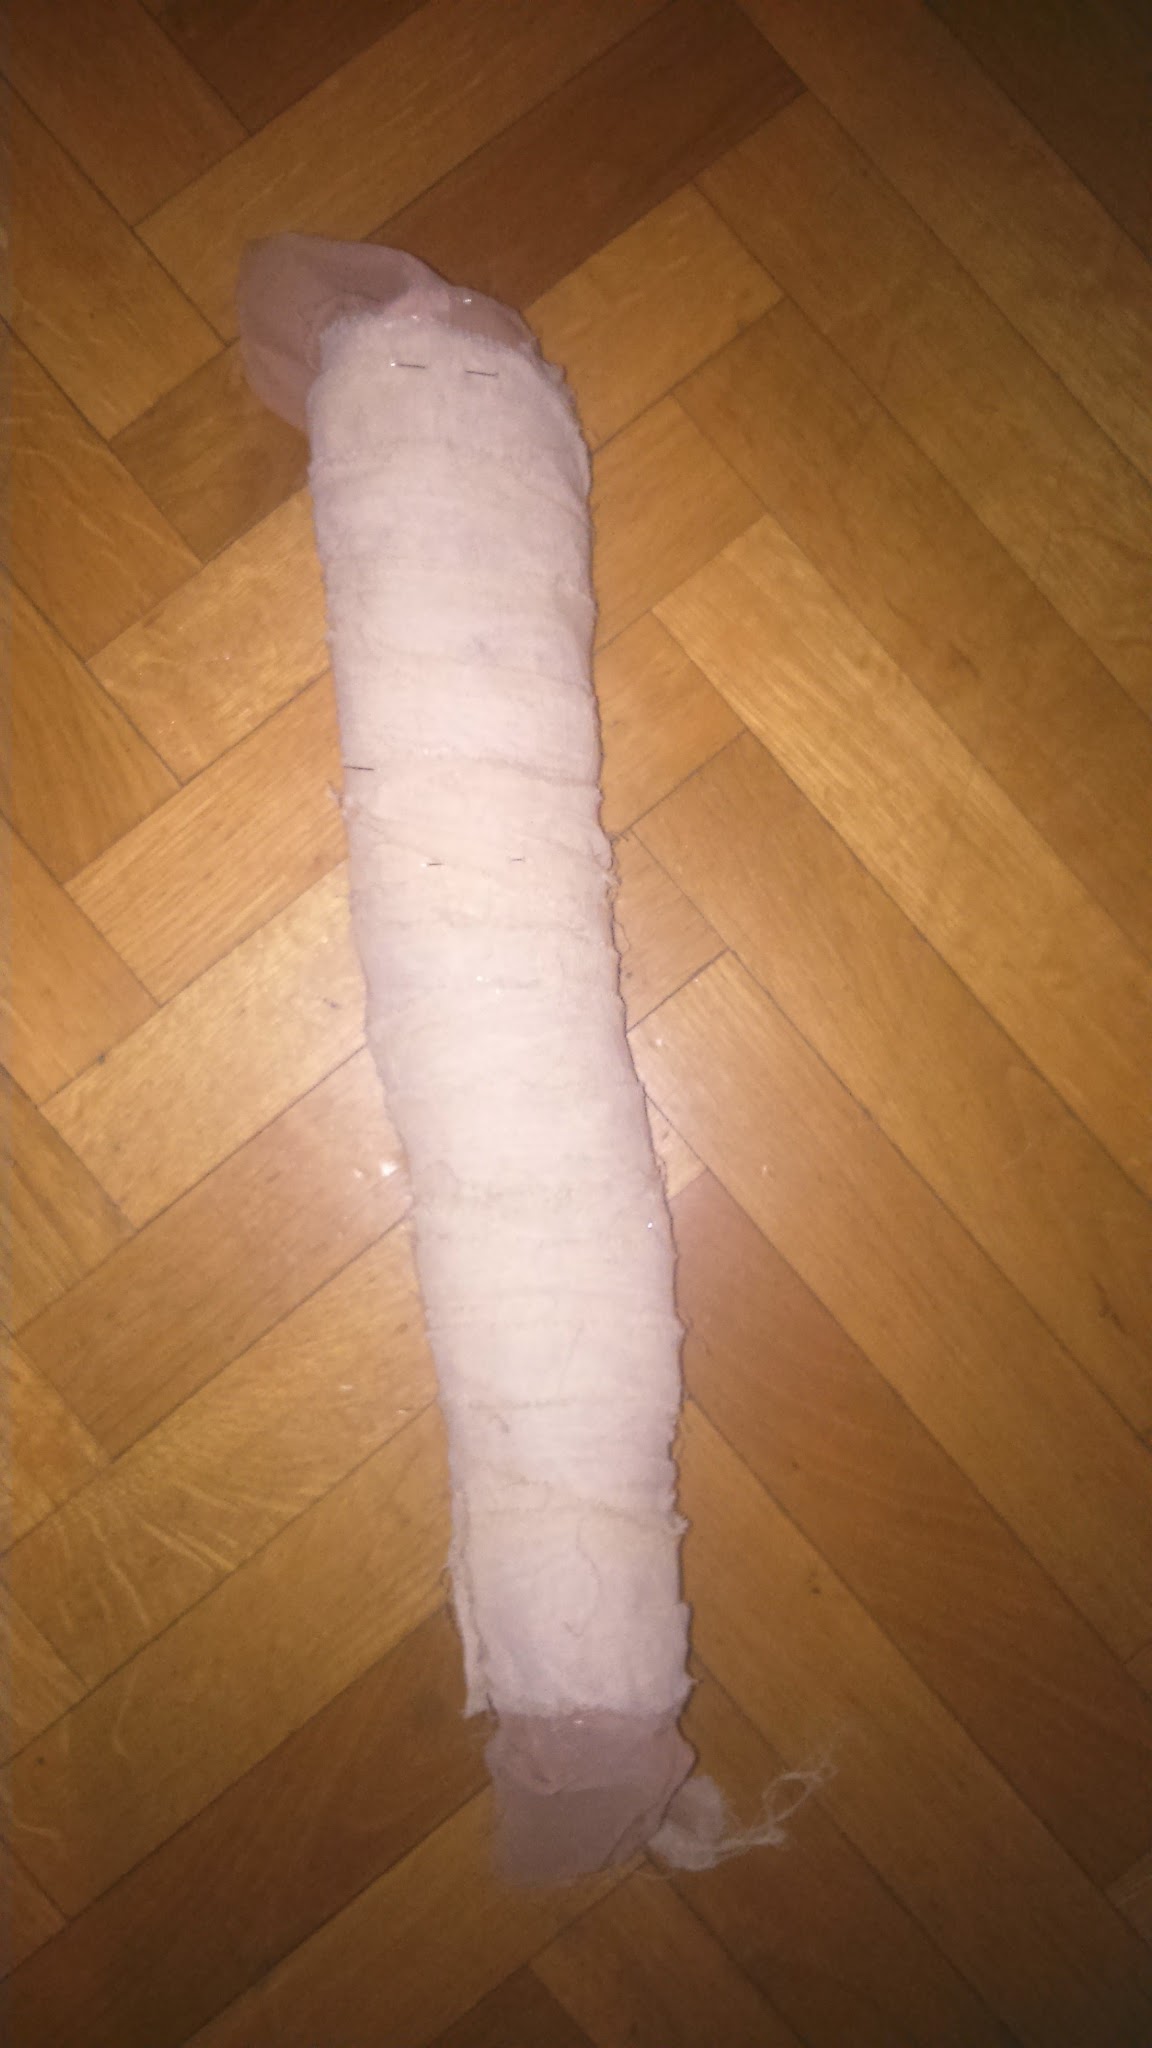
– – White
gauze for the bandages around the arms.
– – Canvas
for her pouch.
– – Beige
pleated praga gauze for the hanging clothes.
– – Leather
for the belt and wristband.
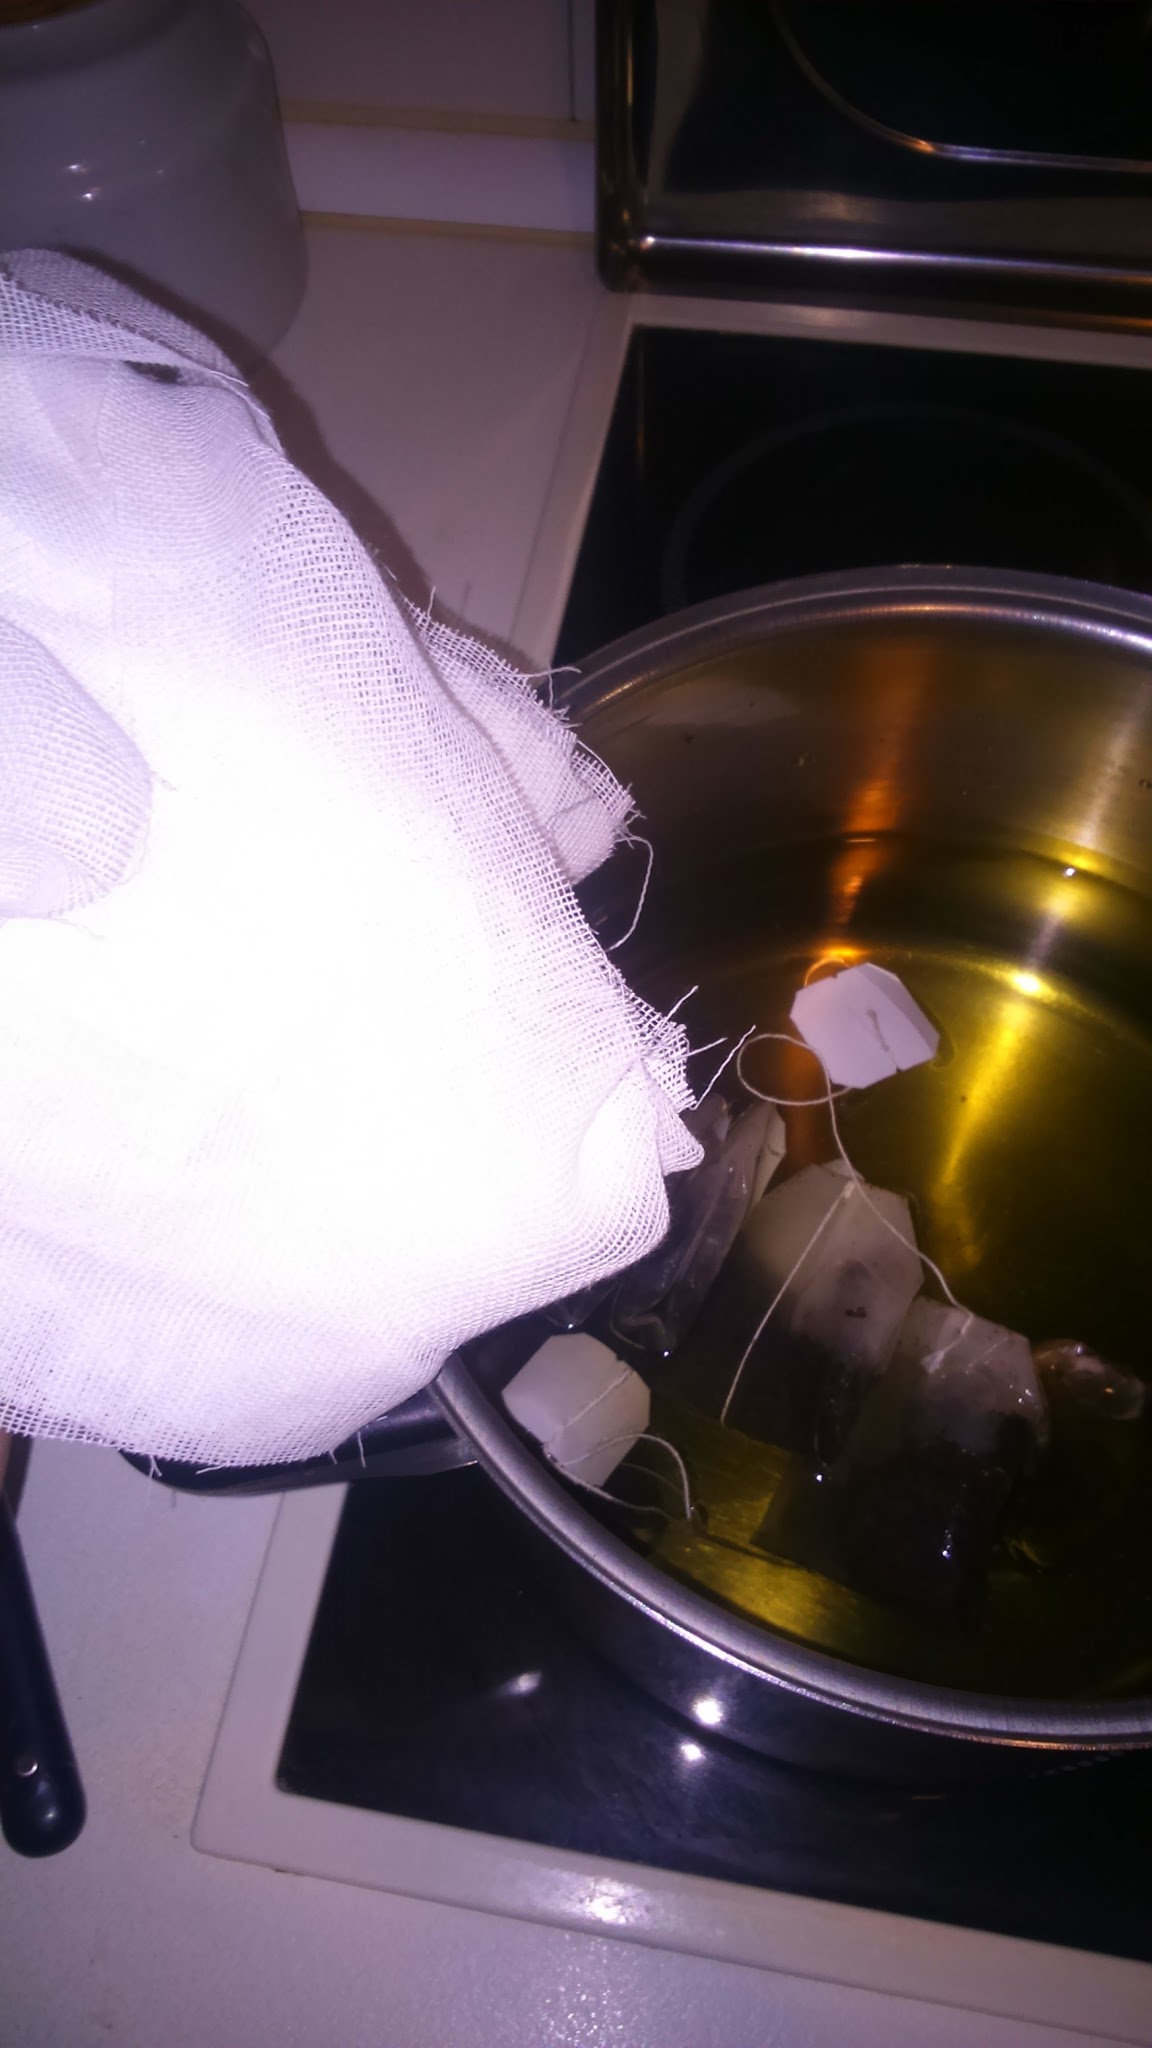
Once I put
together the basic clothes, I proceeded to treat them: I dyed the grey pants
and the gauze bandages using black tea to give them a yellower/dirty tone. Dying
using tea is really simple, you just have to boil water, add some tea bags,
remove from the heat and immerse the clothes for a couple hours to make them
get the color. I’m really happy with the result. My pants got an earthy
brownish tone that combines fantastically with the tones of the top and hanging
gauze and the bandages got a yellowy tone, so they look weathered and used.
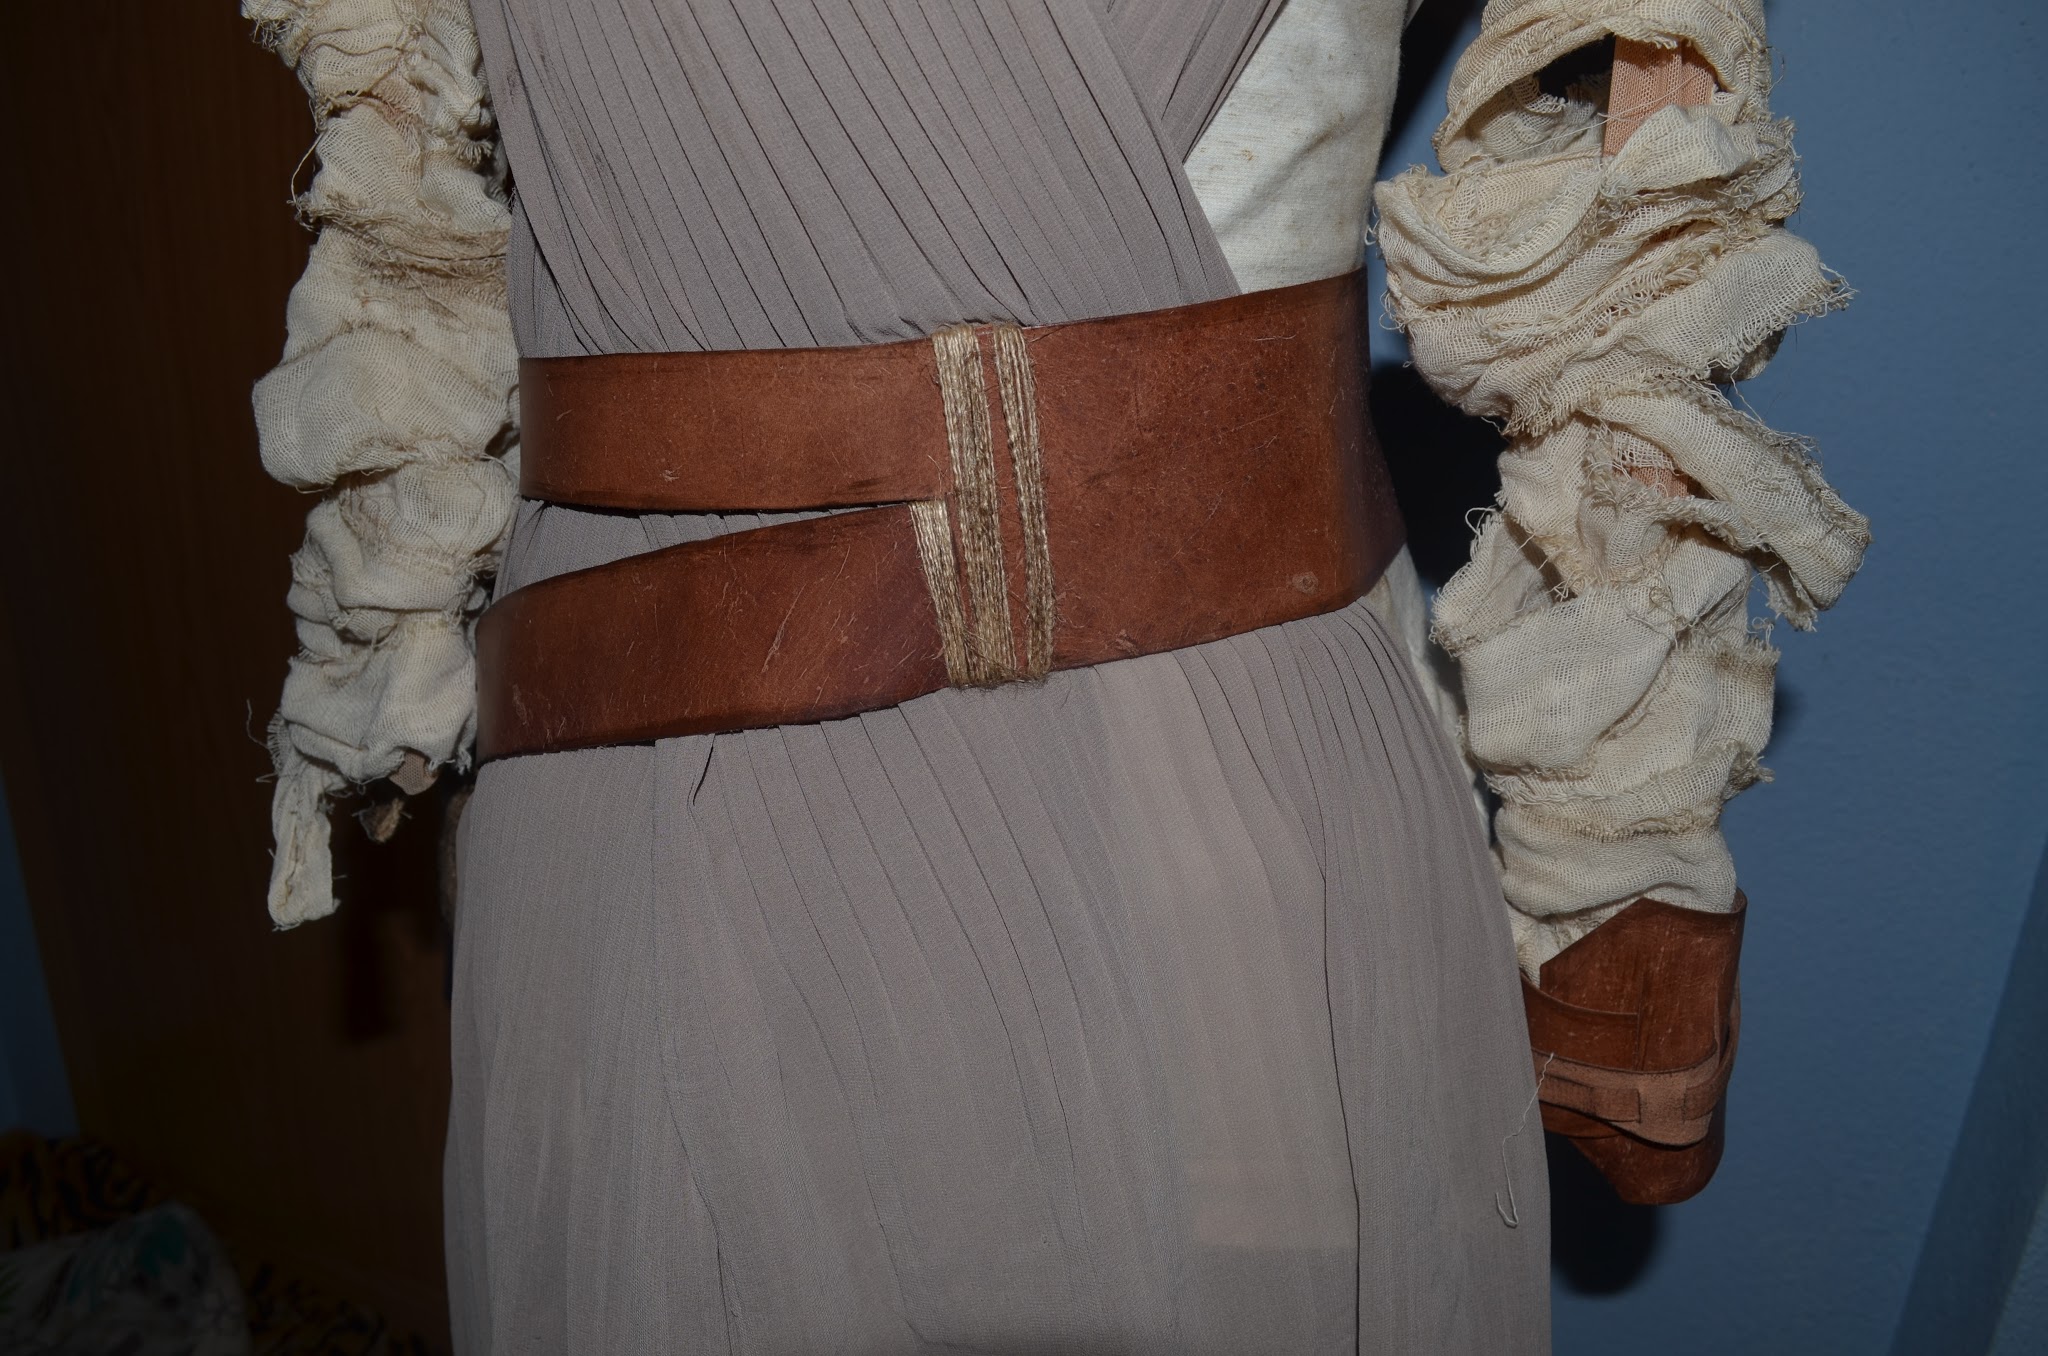
After this
tea bath, I took asphalt/bitumen of
Judea and I made everything look dirtier by applying it with a brush lightly
loaded patting on the fabrics, emphasizing specially on the collar, sleeves,
bottom of the trousers and top and edges
of the bandages. I also distressed the pouch this way, using different amounts
of asphalt in different places to make it look dirtier than the clothes. I also
applied it on the edges of the belt and wristband. And I applied a very light
touch on the plisee gauze fabric too, but I had some other special plans for
that material.


My plan for
the plisee gauze was ironing and sanding. If you pay attention to the design,
the clothes hanging crossed down from the shoulders look plisee on their upper
part but, as they get to the floor, they become flatter and more weathered. So
I ironed from the waist down and, to make that weathered effect, I distressed
them by sanding till they looked good for me.

As you can
see, distressing this costume is really easy and it makes it look credible. I
know it’s sad to “ruin” our costumes, but I’m becoming more used to weather my
clothes to make them look more authentic. Try it at home!! Furthermore, it
happens the same than with makeup: flashlights make everything look flatter and
smoother, so don’t be afraid to apply a lot, because it’ll look fine in
pictures eventually.


The only
special thing I did in this costume is making a pair of flesh-coloured spandex
sleeves and I rolled up and sewed the bandages on them to avoid them falling
every five minutes. I made a crappy copy of my arm using tape and crumpled
paper to make it easier for me to roll them up. After making my firt photoshoot
wearing them I think I have to remake them and sew them better, because they
looked messy.


The boots
are bought!! Aaaaaaaahh, you heretic cosplayer!! Yes, they’re a pair of Po-ZuPiper V dark brown boots that is the same brand and model Rey wears on screen,
ihihihihihi. They’re pretty wearable IRL though.


Taking the
chance, I’d also like to talk about makeup. I’m usually pretty scared of making
natural looks because I think they’re very difficult to achieve as you have to
do your makeup and make it look like you’re not wearing it and, besides that,
you have to try to emulate the character’s features. Tricky thing. Here you can
read an explanation on her make up for the movie.
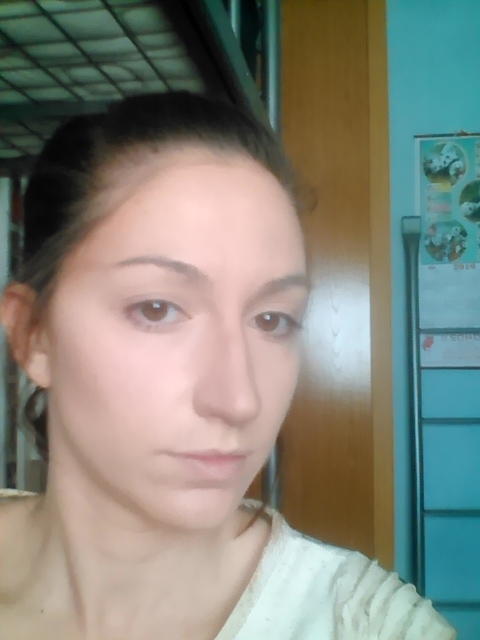
I used the
contouring technique for the first time in my life for this costume. Contouring
consists on creating volumes on your face by applying shadows (dark tones) and
highlights (light tones) on some specific places. I highly recommend you to
look for it on youtube. There are plenty of contouring tutorials and I’m sure
you’ll understand them better than my explanation here.
The regularcontouring consists on highlighting the forehead, cheekbones, eyebrow bones,
nose and chin and darkening on the sides of the forehead, under the cheekbones
and the jawline. This is the basic contouring that allows you to define these
features and make them pop to look more beautiful.
Rey has an
oval face, with a strong jawline and temples and high and angled cheeckbones.
To emulate these features, I applied the basic contouring plus some shadows on
the temples, high under my cheekbones and a line under my chin
to make it look straighter. And, to make my cheekbones pop, I applied a
highlighter very high on them.


Conturing
makes miracles! I recently discovered how to change my nose shape, that is
naturally hocked and long. I don’t have any problem with it in my real life, I
think it suits my face, but it’s sometimes annoying for cosplaying as most
characters have small straight noses (designers, please, hoocked noses are also
beautiful). The thing is you can conceal your nose and even emulate different
shapes by using highlights and shadows. For Rey’s characterization, I tried to create
the illusion of a shorter and straighter
nose by applying shadows on the sides, specially on my septum bumps, and under
my nose, around my nostrils and a little upper. Then I applied a light color
line vertically in the center of my nose
and I highlighted the tip just a little bit higher than my natural one.
I also applied a light color on the sides near my cheeks to match their tone.
This is crazy!! And, as I said before, you can find plenty of interesting
contouring tutorials on youtube.
Once I did
my contoruing, I concealed it conscientiously and I applied translucent powder
to set the makeup. Check out that, at this step, I’m wearing primer, color
correction (green for the blemishes, beige for my panda eyes, etc), base, and
contouring. I’m wearing about two kilos of makeup and I haven’t even started
with the actual look.

To finish
up, I changed the shape of my eyebrows by filling and defining them using a
dark brown eye shadow, I put my mascara, I used some rosy blush and a rosy lip balm.
As you can tell, I have to make a huge process to get this simple and natural
look. When I have better media resources, I’d like to do a videotutorial on this makeup.

I know I
still don’t look like her but, at least, I feel I get the look and I’m happy with that.
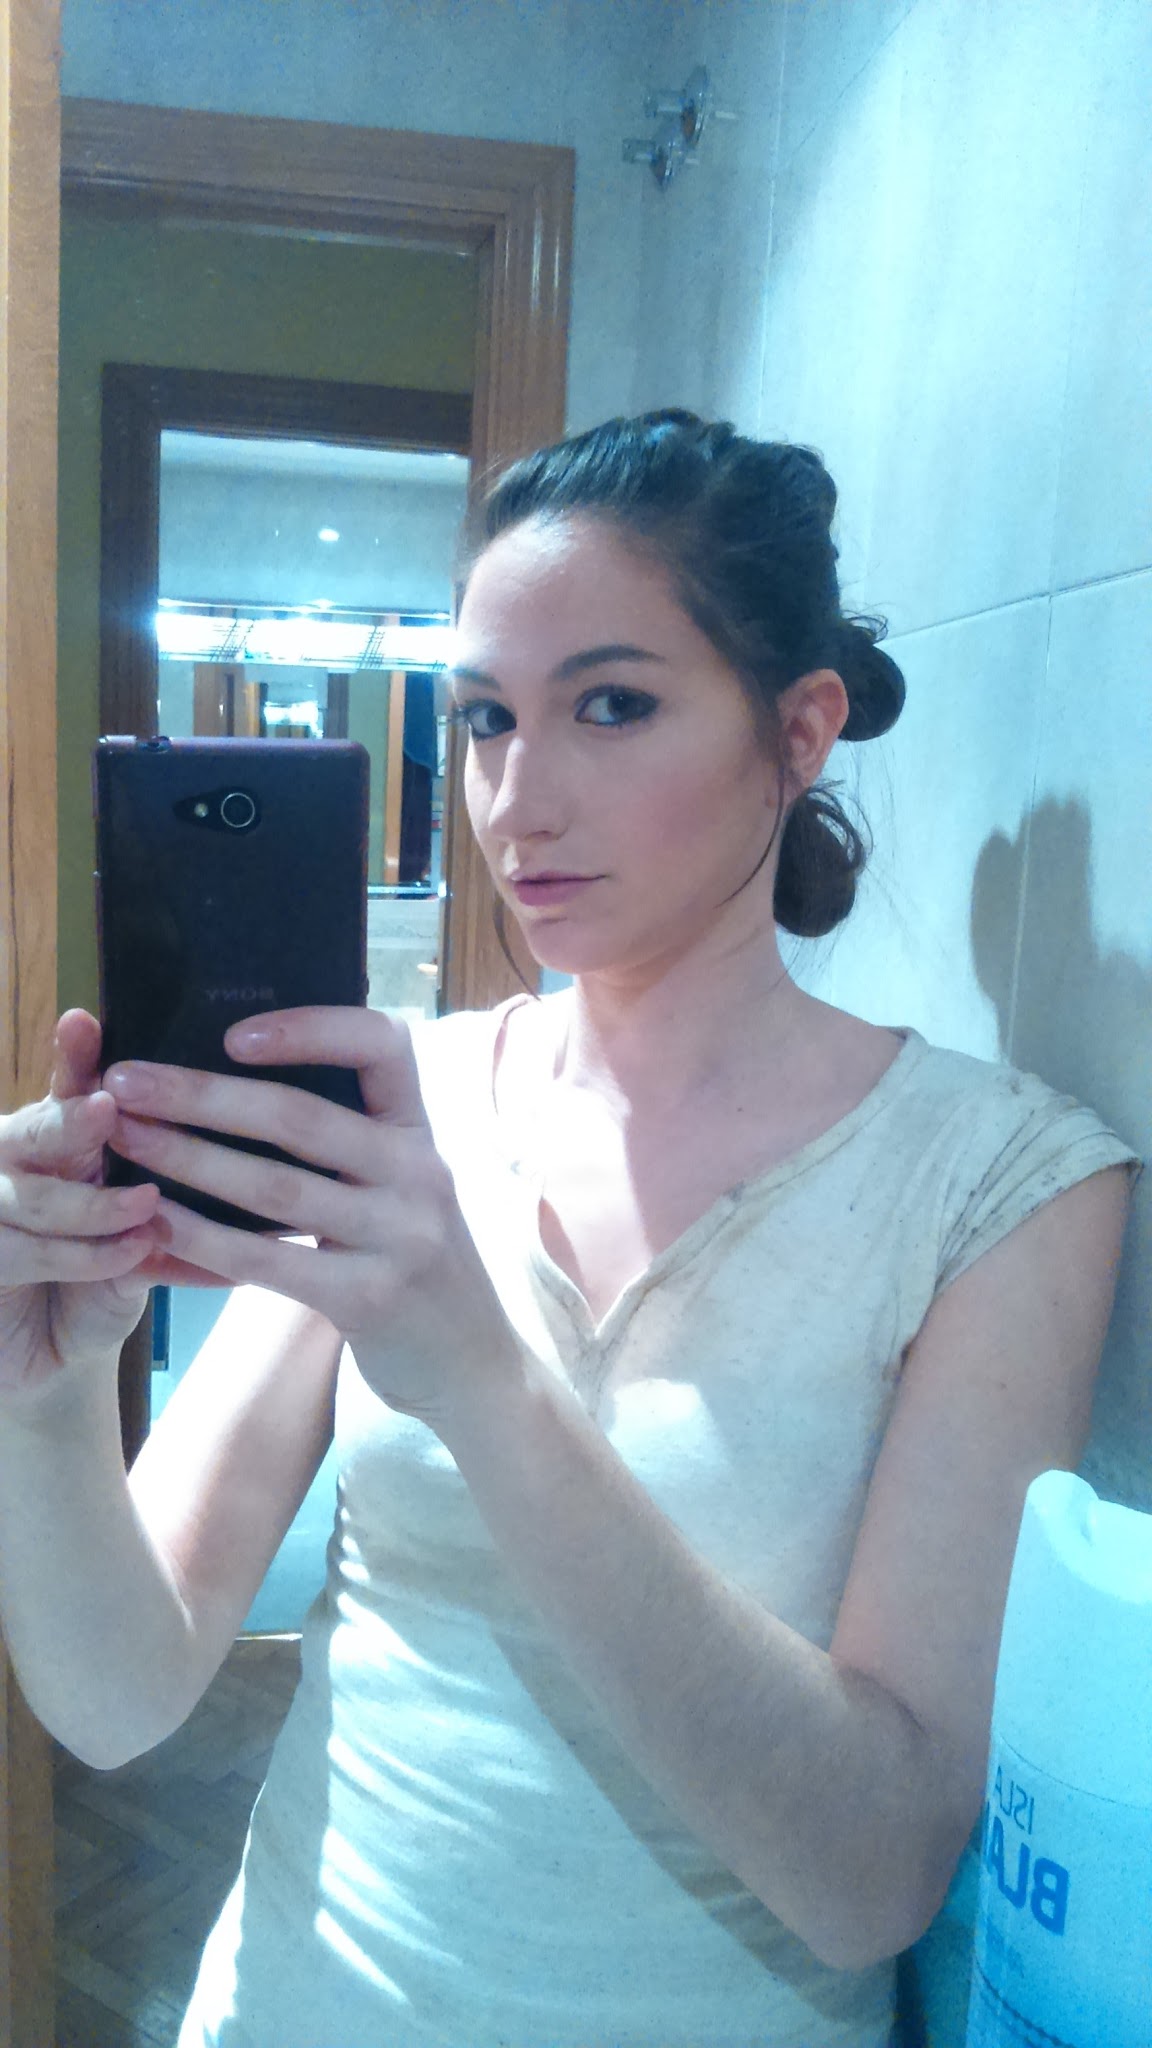
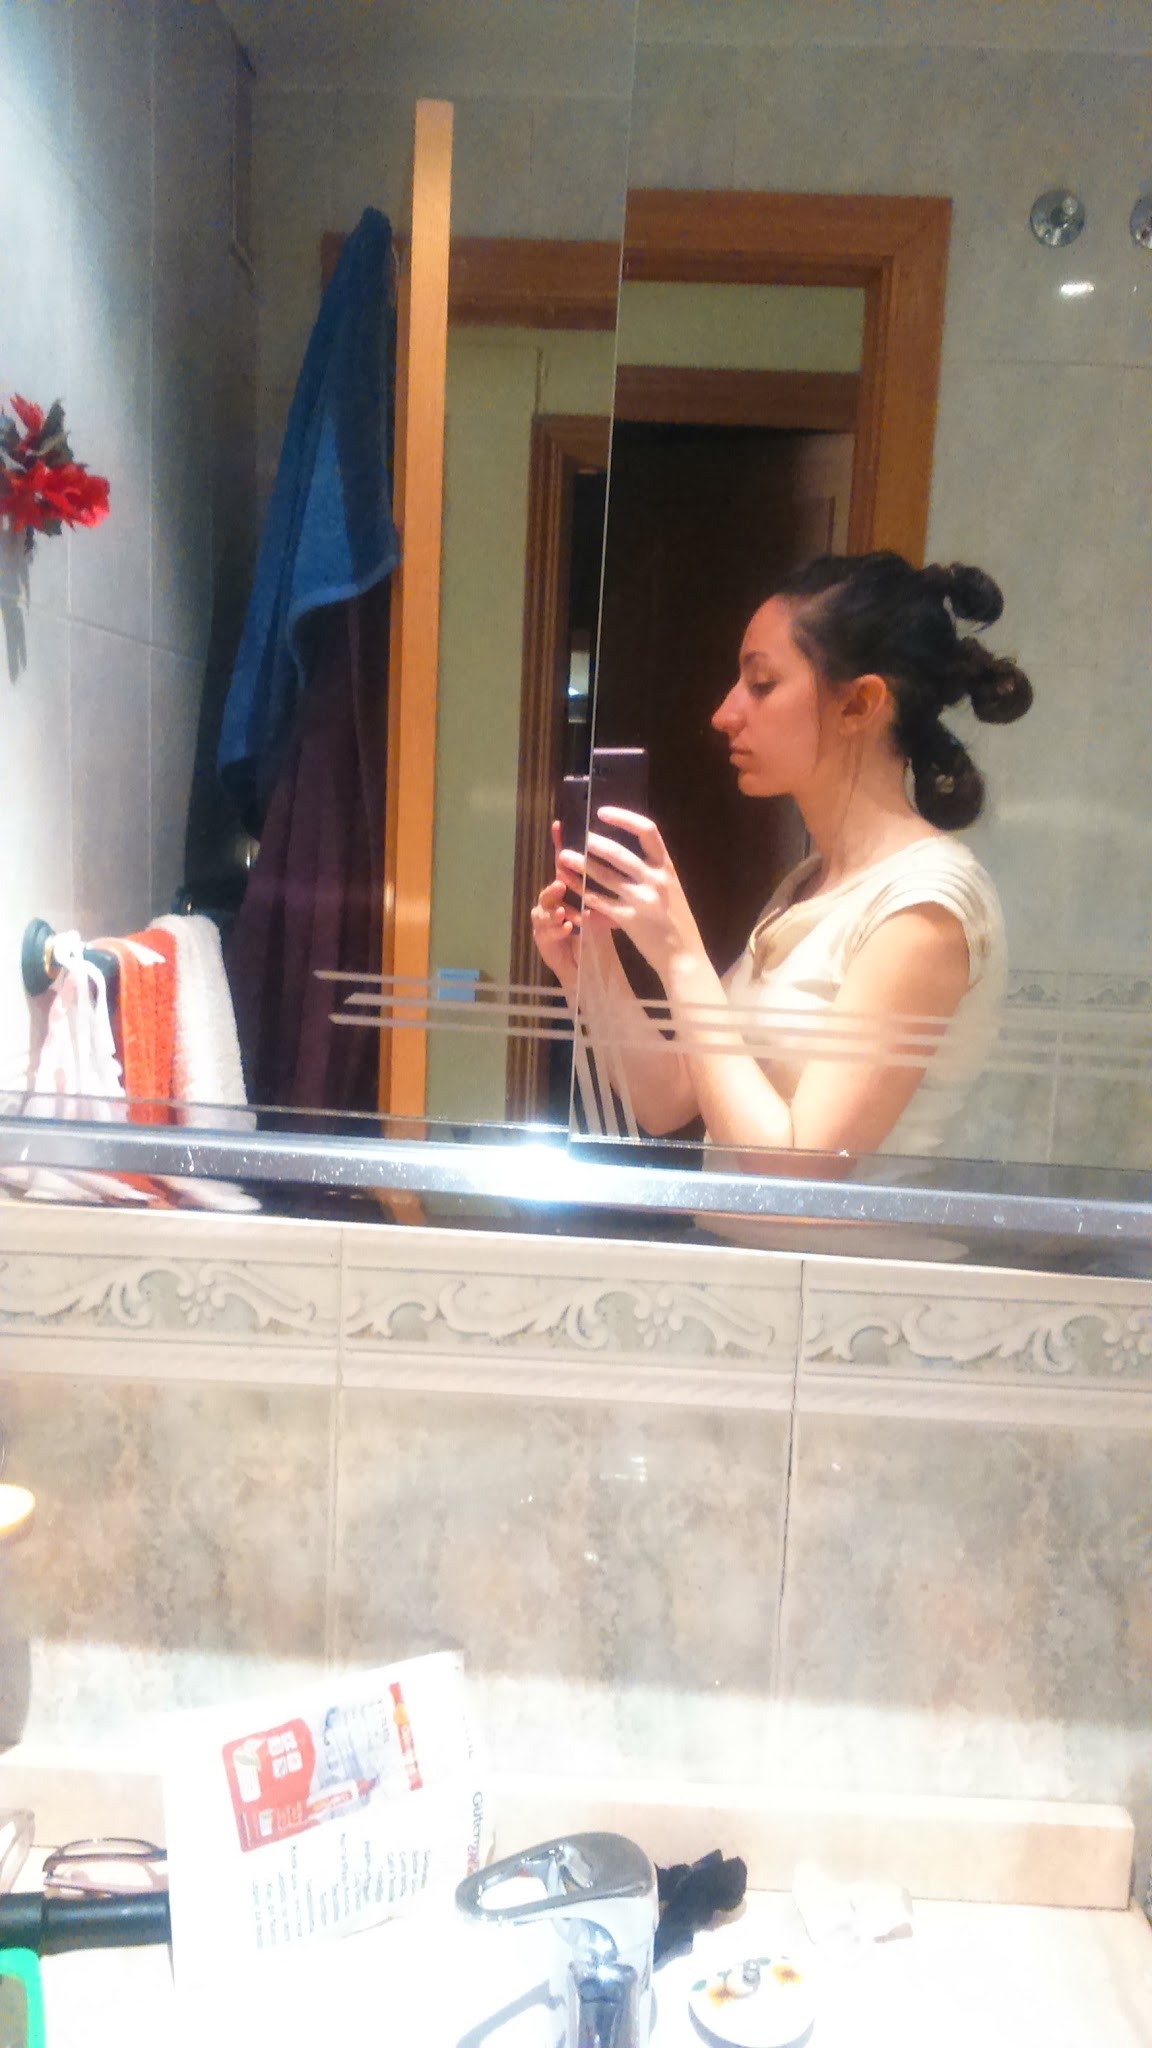
And last
but not least, I want to talk about her hairstyle. Luckily for me, I have brown
hair and its length is pretty decent for this look, but I haven’t got enough
volume to make three accurate buns (the only natural one is the upper bun). So
I took a fake ponytail I had at home and made two weft lines sewn to a brown
ribbon. This way I can attach them to a couple ridiculous tails and make them
look decent and fuller.

And that’s all! Hope this post was useful for you guys. As always, feel free to
write some comments down below and follow me on my social media, specially on Tsu, where I’m uploading all my stuff lately.
See ya!!


