WARNING: LONG POST
Hi again and welcome back to my photography tutorial series! Today I’m going to talk about some little tricks you can use to make the cosplayer pop and make a good looking and harmonious picture.
As you may already know, I’m not an expert, but I want to show you the premises I take in account to decide how I take and edit my pictures and why I do so. My aim with cosplay photography is to guide all the attention to the cosplayer and, to achieve that, there are several resources that helps us guide the eye trough the picture and make it appealing and easy to understand.
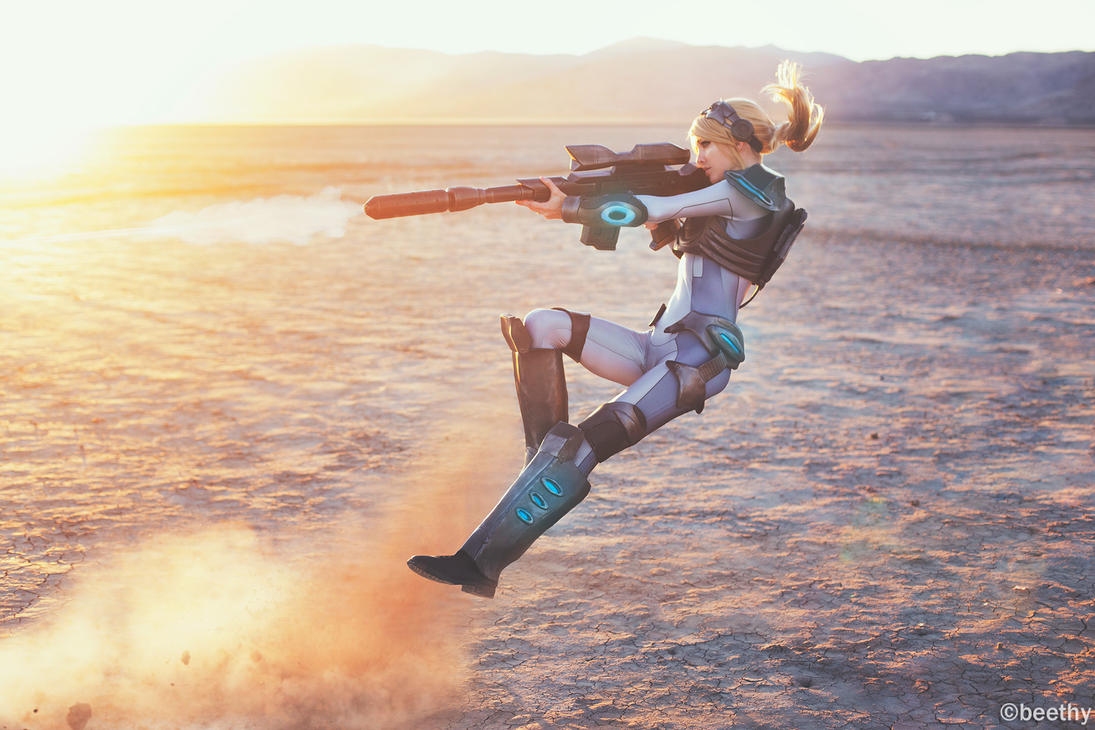 |
| Cosplayer: Lyz BrickleyPhotographer: Beethy |
I’m sure you’ve stumbled upon cosplay (or other subject) pictures that are uncomfortable to see or to understand. There are difficult pictures to watch indeed! And that happens when the photographer doesn’t know how to give clear information, to give a meaning to the picture and to avoid distracting elements. That’s because, just as other media, photography is about sending a message and, as every message, the clearer the better.
 |
| Cosplayer: ShappiPhotographer: Studio Zahora |
So the first lesson is knowing how, due to cultural and biological factors, our brain tends to focus on:
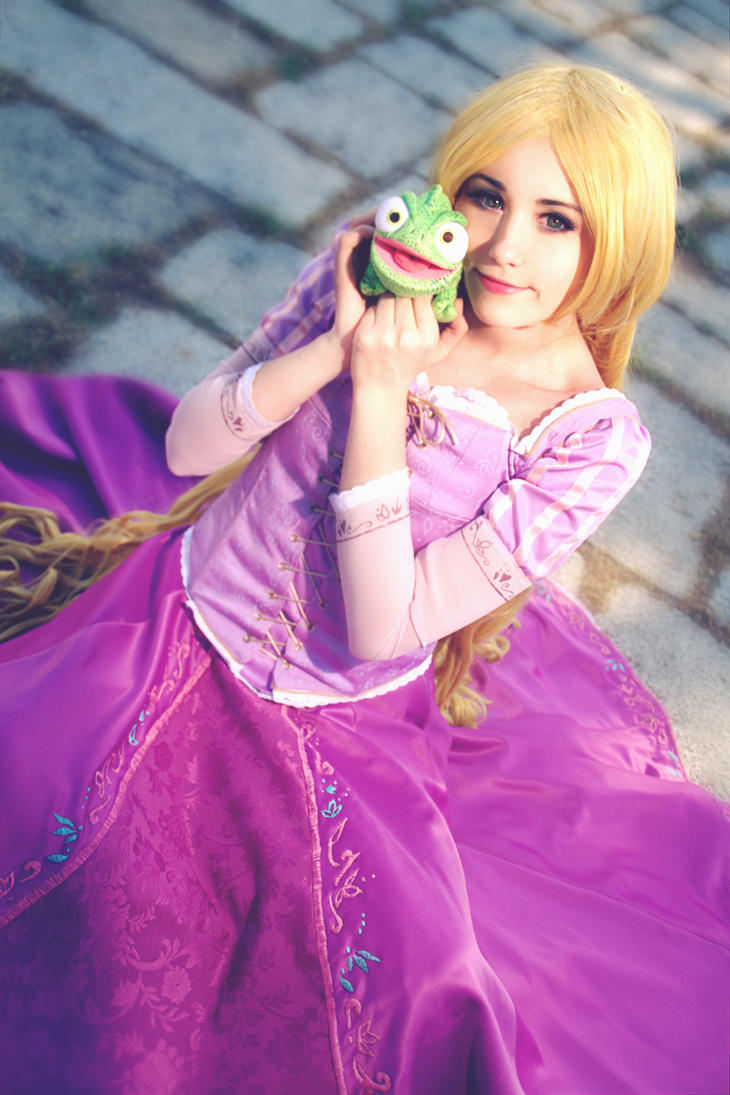
– What you know
Sounds silly, but that’s how it works. Our brain tends to focus on everyday, recognizable and easy to process elements. Human faces, ordinary objects, animals… things with a known shape that look familiar to us. If you don’t believe me, just check out this image and see how the more you look at it, the weirder it gets.

– The brightest part of the picture
If you want to make something pop in your pictures, just illuminate it more than the rest of the elements. The eye will always move to the brightest part of the picture.
You can either brighten the cosplayer or darken the background to make your subject stand out.
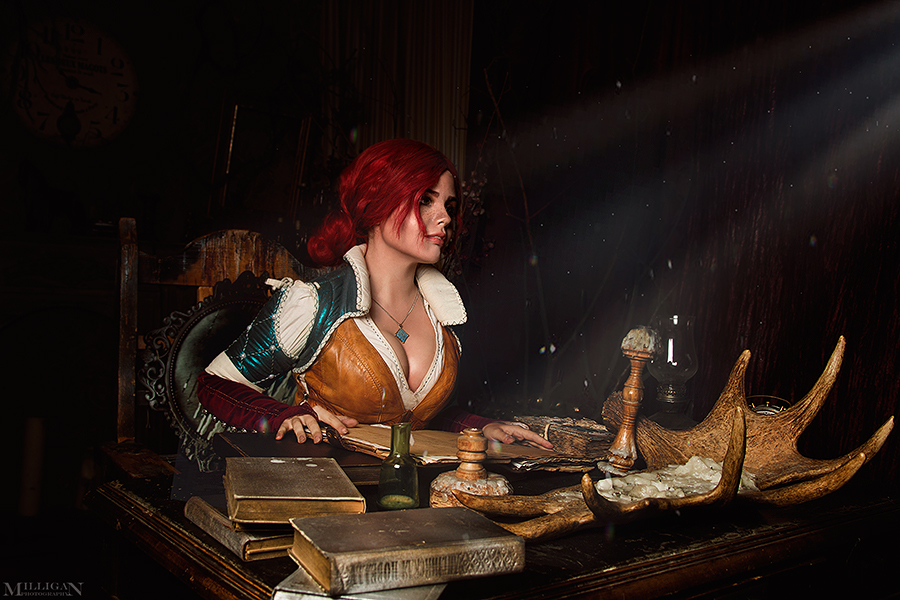 |
| Cosplayer: Fenix FatalistPhotographer: MilliganVick |
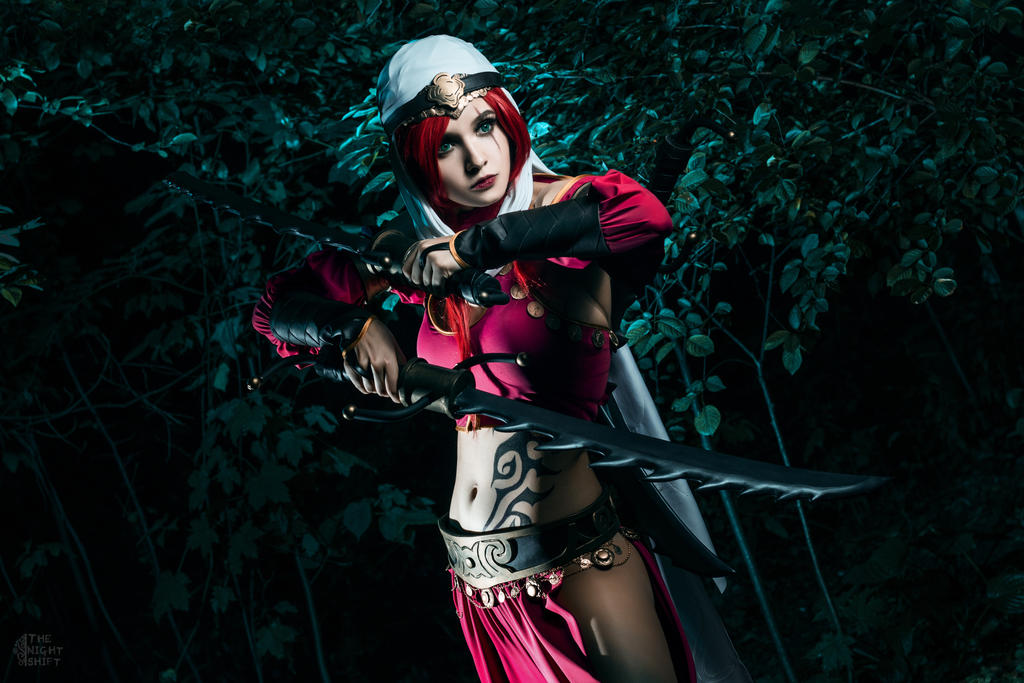 |
| Cosplayer: Anna LehtinenPhotographer: The Night Shift |
– Vignetting
Vignetting is rooting in giving brightness to the subject and it consists in subtly darkening the picture from the edges to the center of attention. There are sliders in Lightroom to get this effect, but I prefer making it “by hand” on Photoshop because this way I have more control on the areas I want to darken.
I usually do this step at the end of my editing process by creating a transparent layer in soft light mode over the finished picture and painting with a black brush or using another dark color that fits the scene.
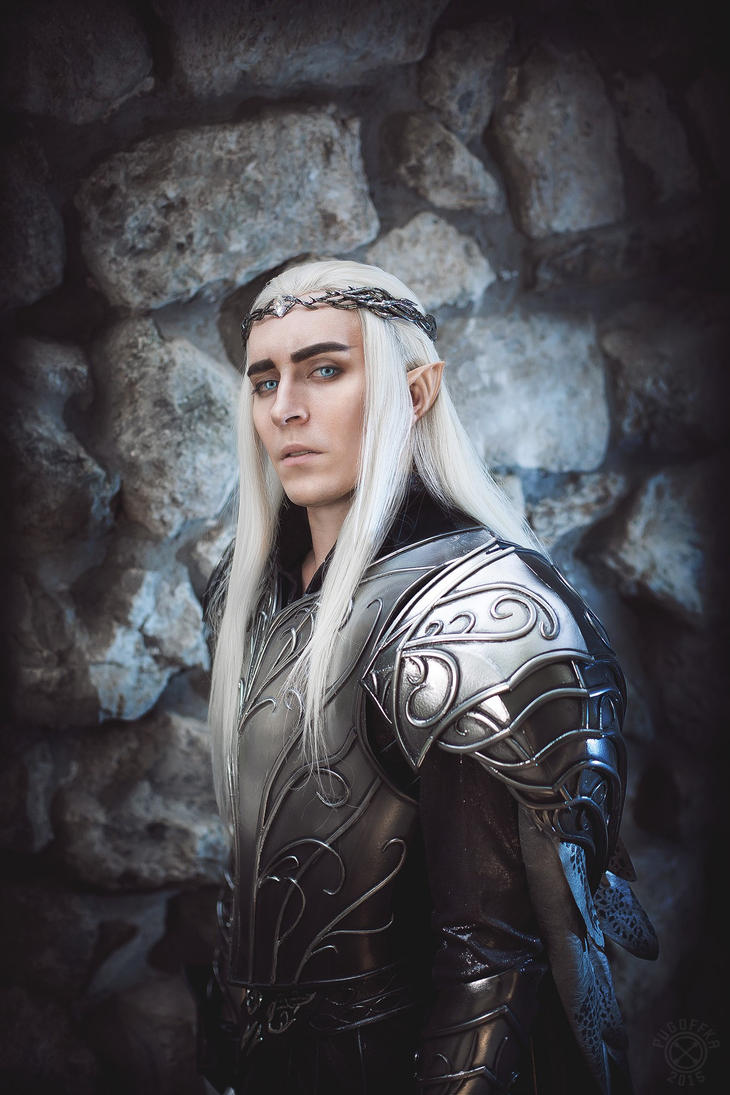 |
| Cosplayer: TheIdeaFixPhotographer: Pugoffka |
 |
| Cosplayer: SumyunaPhotographer: me (Nebulaluben) |
– The area with more contrast
An object rich in contrasts is going to be more atractive to the eyes than an indefinite element with no specific structure. The brain likes to focus on what it understands and contrast usually gives a lot of information, so that area is going to be comfortable to look at and, as a result, it will be proccessed quicker compared to the rest of the image.
 |
| Cosplayer: SenedyPhotograher: Anton Timofeev |
– The best focused part
Looking at something blurred is uncomfortable so the eye will automatically tend to look for the best focused part. In fact, this is a highly used resource on Instagram, with that blur you can put around the subject.
The blurred parts are also important and they’ll give environment information, but all the protagonism is going to focus on the correctly focused cosplayer. And you don’t have to achieve an exagerated blur to focus the attention, a subtle effect will be enough to guide the eye.
If you’re taking a portrait, a close-up picture, you have to focus on the eyes of your model. Always! Their gaze must catch all the attention. If you focus othe parts of their face, the picture will automatically loose all its strength. (Unless you want to focus on other interesting elements on their face).
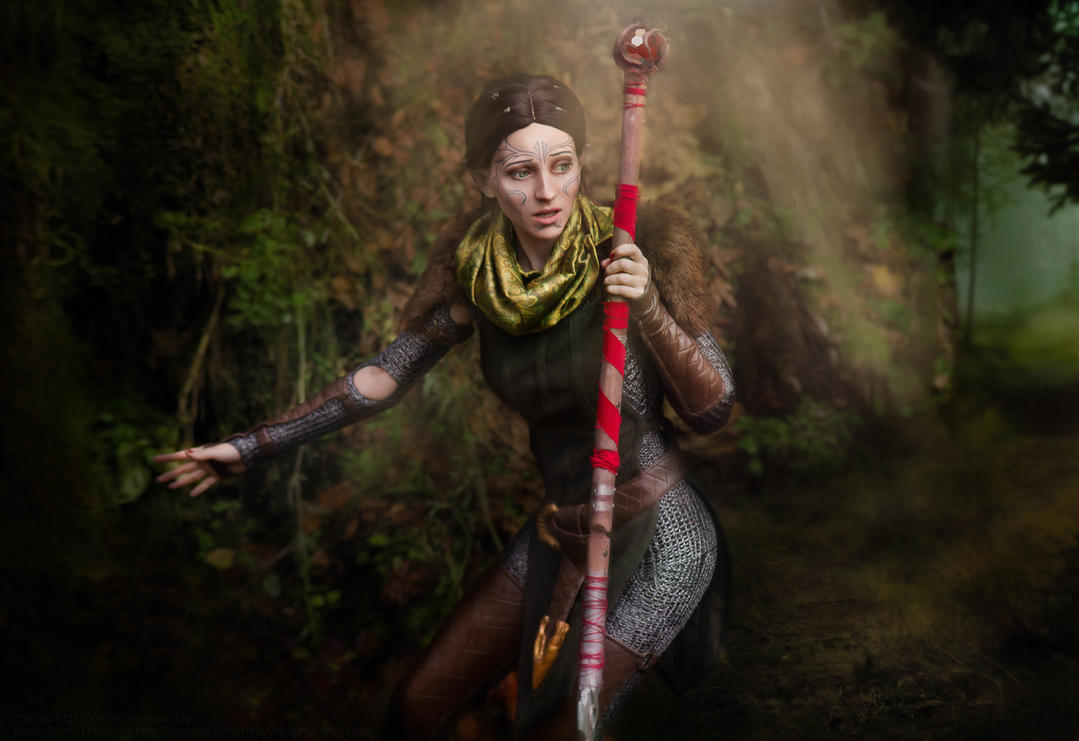 |
| Photographer: RayneRg |
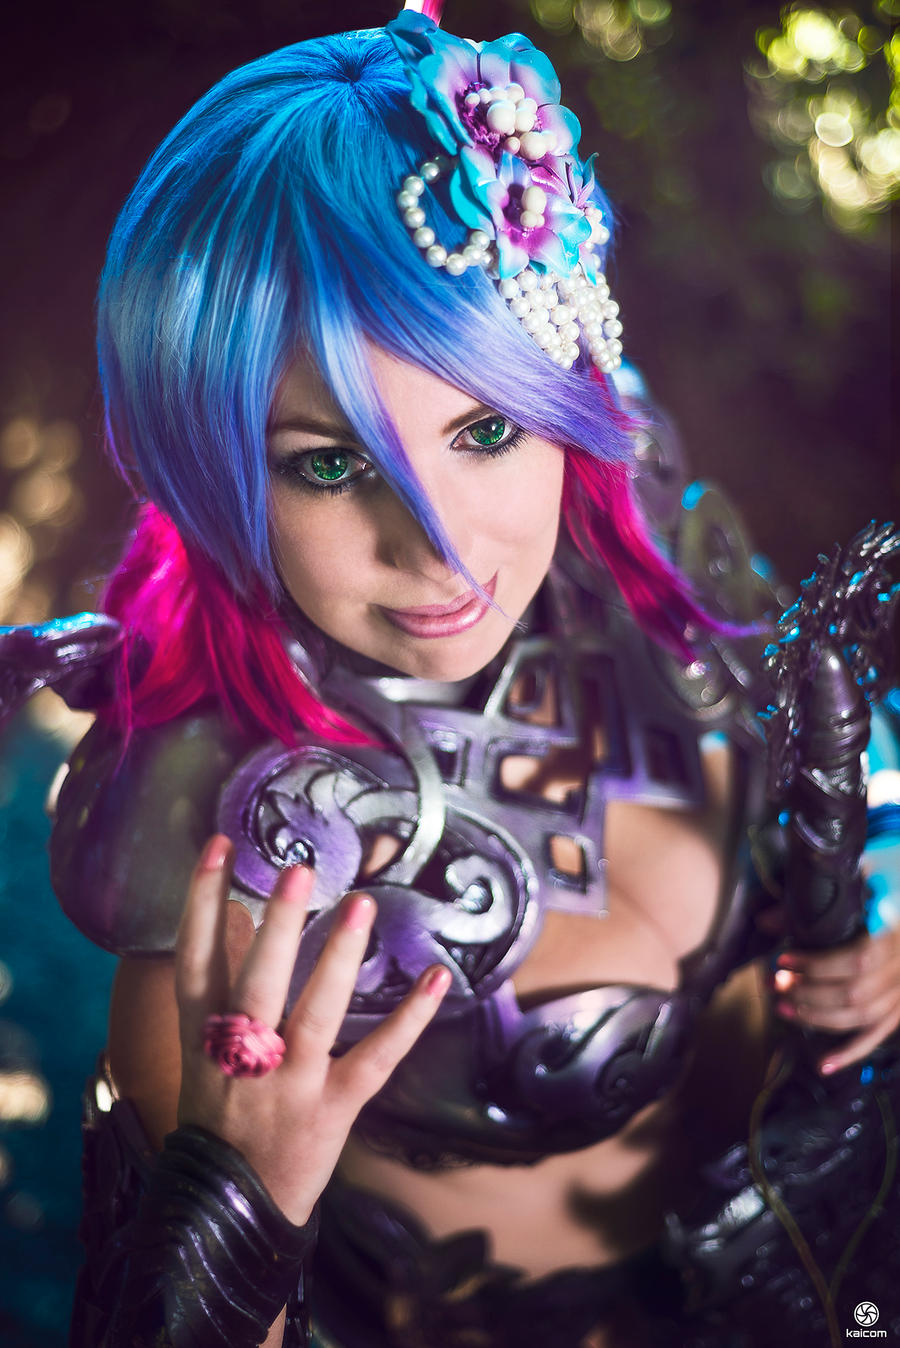 |
| Cosplayer: ShokoPhotographer: Kaicom |
– The most saturated part
Another interesting trick to generate a point of attention is to dessaturate the background just a little bit around the cosplayer. Or you can even slightly saturate their make up, clothing or eye color to separate the subject chromatically from the background.
But there’s an exception: Never ever saturate their skin. The skin color is made of reds and yellows, so saturating it will make the model look like a tomato. If you have any doubt, don’t touch the skin.
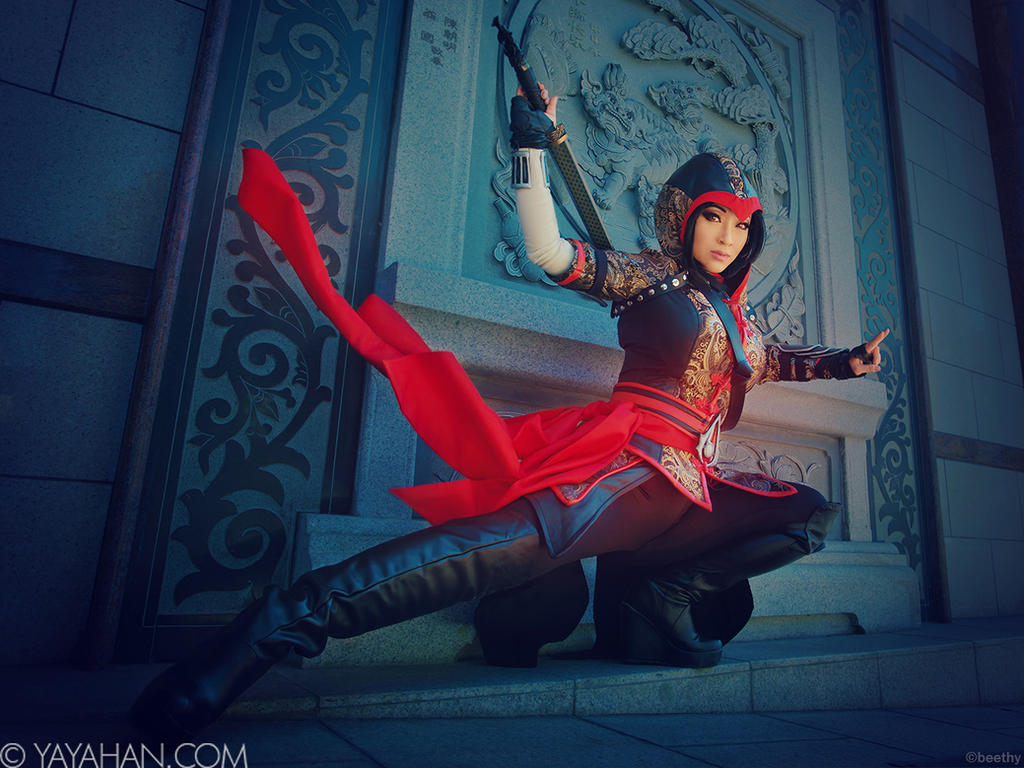 |
| Cosplayer: Yaya HanPhotographer: Beethy |
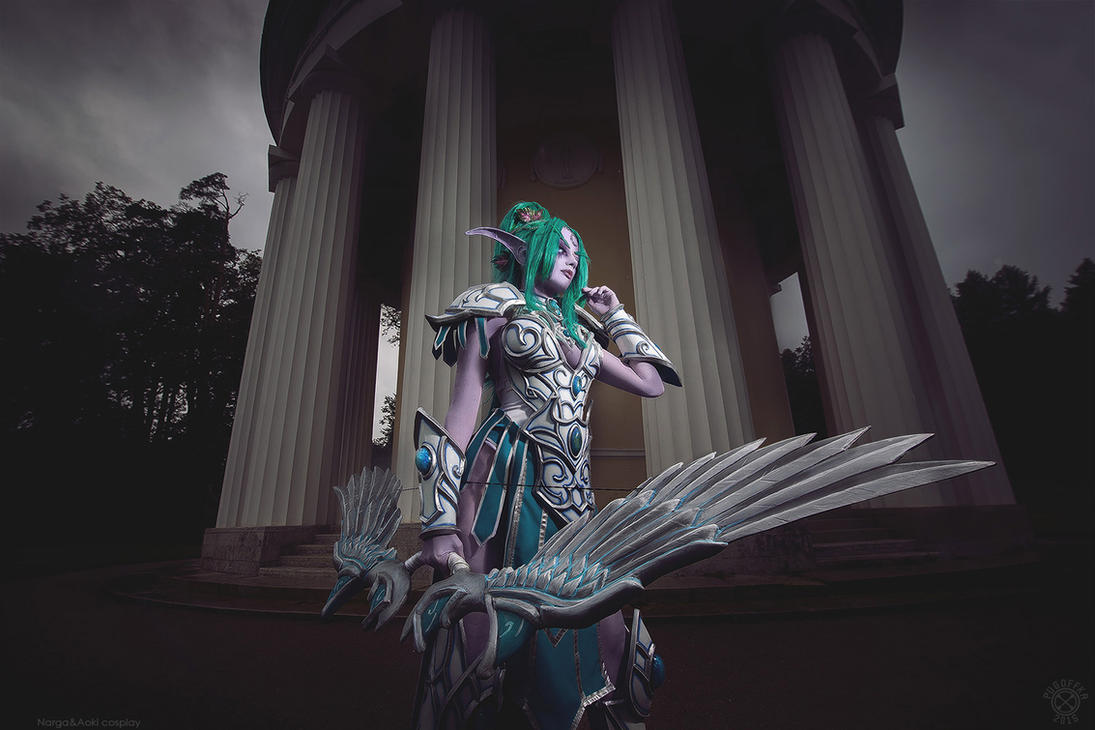 |
| Cosplayer: Narga-LifestreamPhotography: Pugoffka |
– Frame and composition
There are entire books written on this subject, so I’m going to be very concrete and mention it in a very basic way so you can search if you’re interested on it. Frame and composition refer to the geometric connection between th elements of an image, the visual weight that exists between the objects in a picture. This gives sense, balance and consistance to the scene. Disposing elements in a way or another can make a huge difference and make your picture look good or mediocre.
There is a huge variety of composition schemes and the most basic one is the rule of the thirds. This rule consists on placing the point of attention in the intersections of those imaginary thirds. It’s a photography 101 rule, but I use it a lot and it actually works.
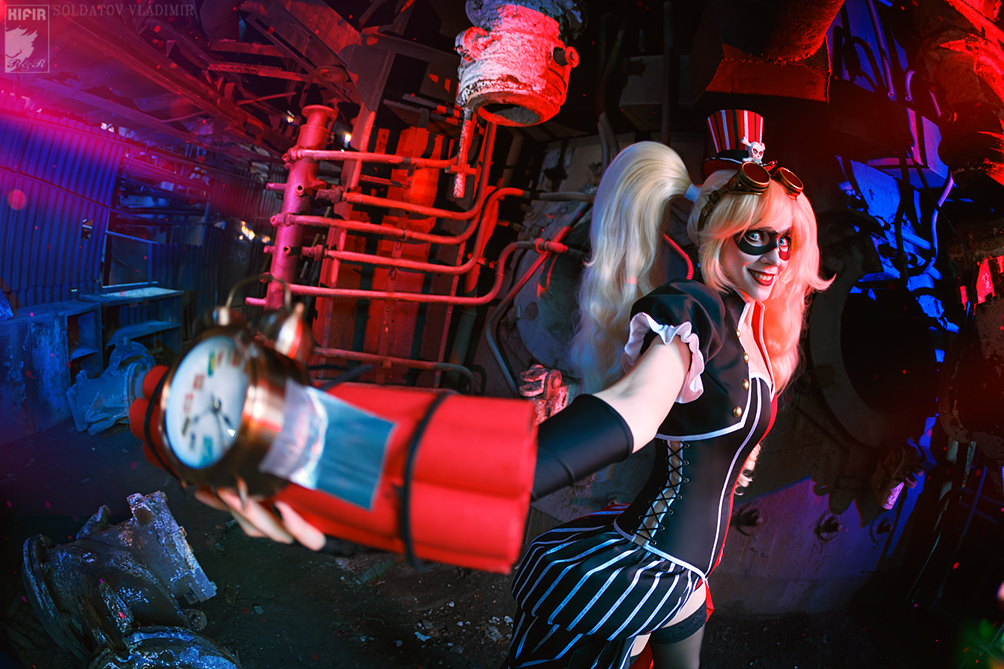 |
| Cosplayer: Ryoko-demonPhotographer: Kifir |
 |
| Cosplayer: Daraya-craftsPhotographer: Pugoffka |
______________________________________________________
Moreover, there are other resources that are not specificly used to point the attention, but they’re used to give balance, evoke feels or a mixture of them three. These are:
– From left to right
Western people like us are used to read texts from left to right and from top to bottom, so our sight is trained to scan in that direction. Using the resources I mentioned before you can drive the eyes of the vierwer in other directions. But it’s interesting to know that we’re gonna read the picture in first instance and by default the same way we scan a text.
You can apply this to put surprises in your pictures. For instance, by putting a discordant element at the right of the photograph. As we start scanning from the left side, we’ll find the surprising object at the end of our scanning. If you make it other way, you can loose that effect.
 |
| Cosplayer: ZiharkPhotographer: El Niño Mutante |
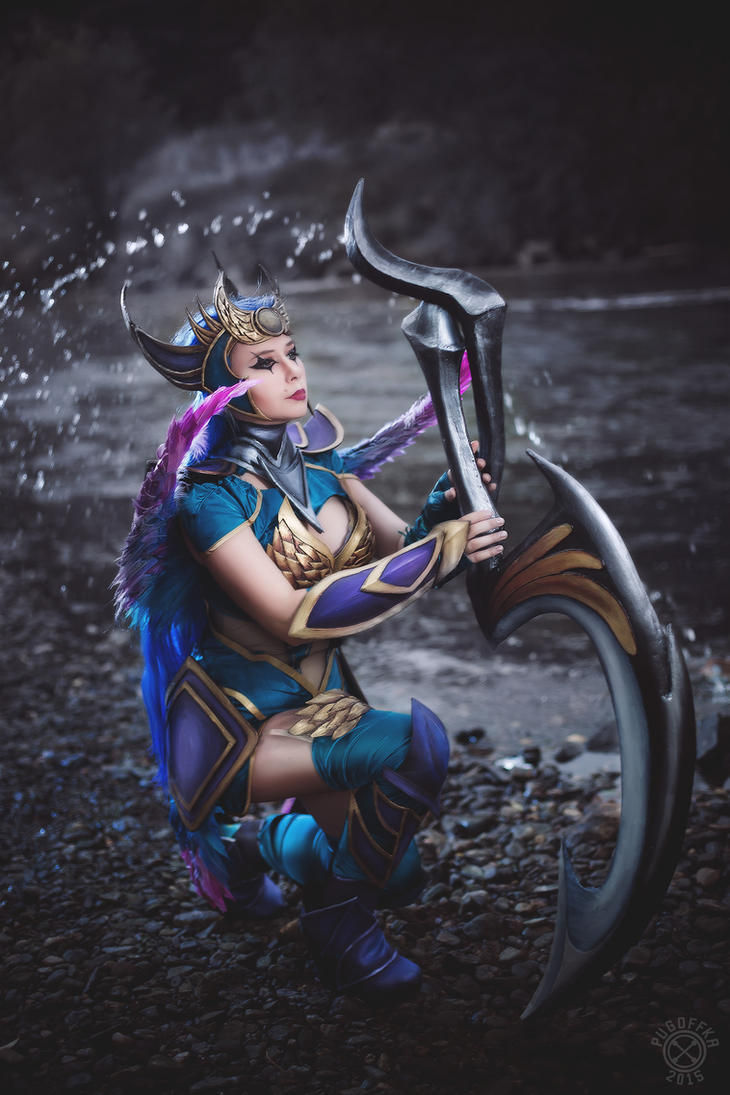
– Symmetry and patterns
Brain finds symmetry very satisfying, so a photography with symmetric elements will be pleasant to look at. Knowing this, you can also use assymetry to generate discomfort or instability feels.
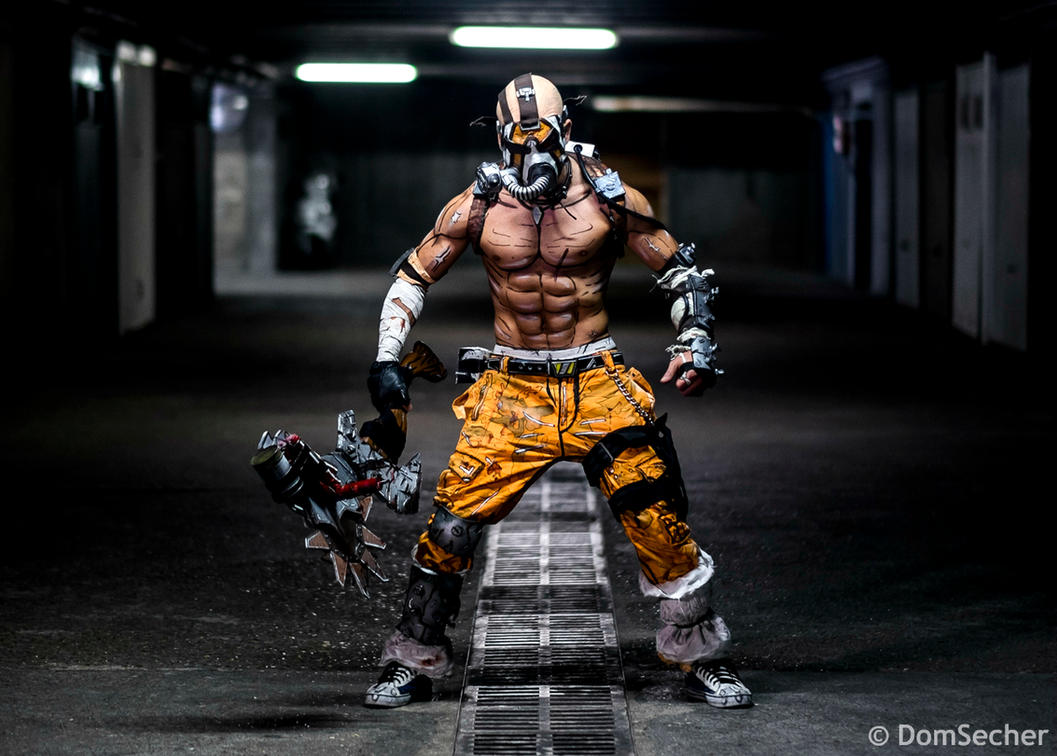 |
| Cosplayer: Leon ChiroPhotographer: Dominique Secher |
 |
| Cosplayer: Agness BlanvradicaPhotographer: Pugoffka |
 |
| Cosplayers: Nemu013 and Narga-LifestreamPhotographer: MakKsTOBI |
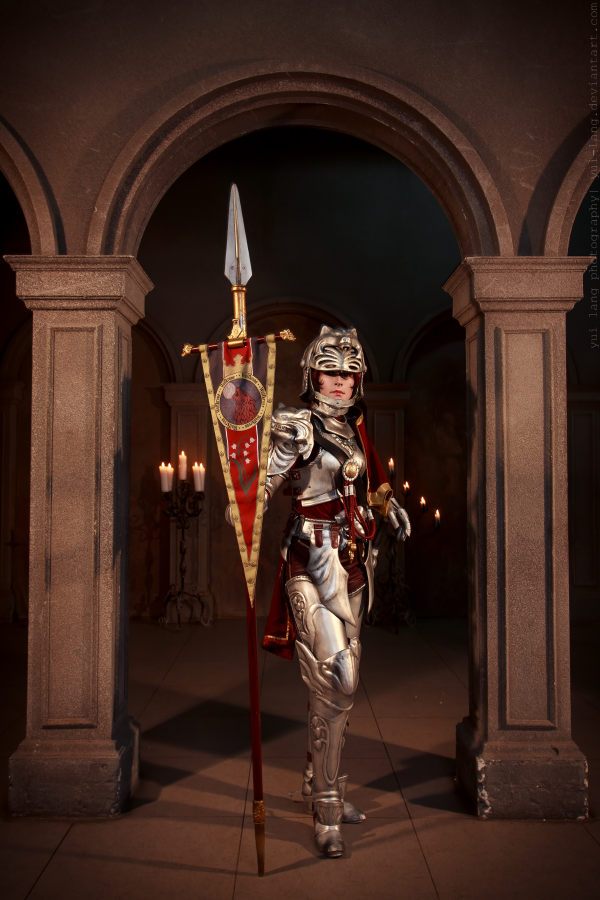
– Lines
Using linear elements, such as vanishing building lines, tracks, paths, roads, branches, rivers or even create our own by using simple atrezzo elements creates a sense of direction with those lines pointing at your subject or sustaining them. For instance, the cosplayer at the end of a corridor, a rope, etc will be reinforced by these elements that work like pointing arrows.
 |
| Cosplayer: LalaPhotographer: SKYline |
 |
| Cosplayer: UsagitxoPhotographer: Olga Díaz |
– Framing
Framing your subject with surrounding elements also helps understanding which is the main motif of the picture.
 |
| Cosplayer: ElenaLeetahPhotographer: Yui-Lang |
 |
| Cosplayer: Ringo-donoPhotographer: Anton Timofeev |
– Horizon lines
A correctly located horizon line can give a lot of sense to a picture. Depending on the point you consider more interesting – things in the sky or things on the ground – you can decide where to locate it.
It is said that an interesting horizon line will appear at the upper or lower third of the picture. Here we have to forget about simmetry and think about visual weight and which part of our picture we want to make more appealing.
We also tend to psicologically translate oblique horizons in a different way depending on its direction. If it starts at the bottom left of the picture and goes up to the right corner at the top, gives an effect of safety, dynamism, stability… the image will look strong. But, on the contrary, if the line goes from the top left corner to the bottom right one, it gives a feeling of falling and instability.
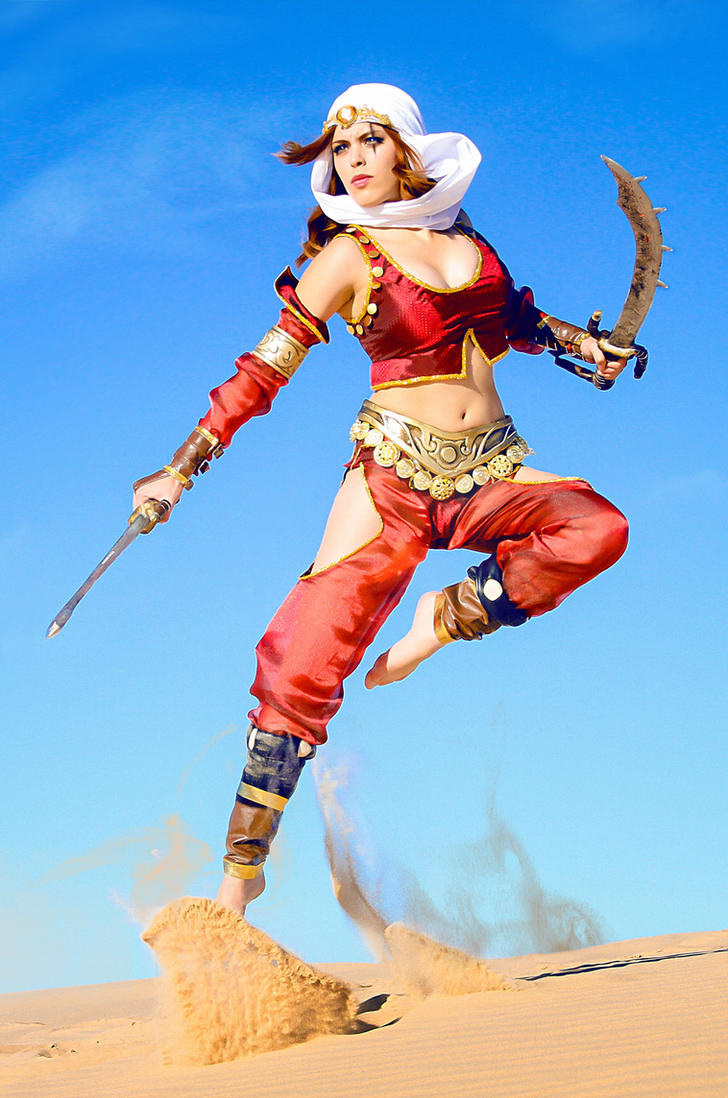 |
| Cosplayer: NadyasonikaPhotographer: Ignacio Mendoza |
 |
| Cosplayer: SaePhotographer: SKYline |
– The gazing direction and empty spaces
Gazing and space in a picture are two complementary elements we must have in account to make a balanced composition.
In one hand, the model’s gaze gives a lot of information of where we want the viewer to look at. And, in the other, that space where the cosplayer is looking at is interesting to our viewers as it gives information about their situation and surroundings.
You can alter this balance if you want to give your pictures a sense of fear or tension by directing the model’s gaze close to the edge of the picture and leaving a lot of empty space behind them, out of their sight. Or even placing discomforting elements behind them.
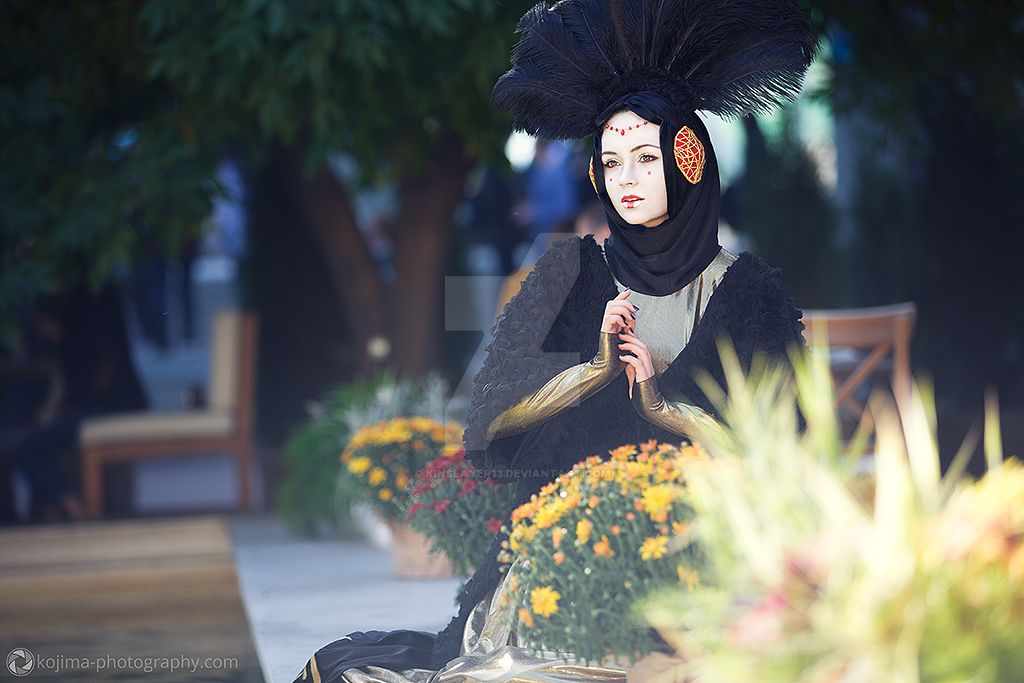 |
| Cosplayer: Gabriel AdlerPhotographer: KingslayeR13 |
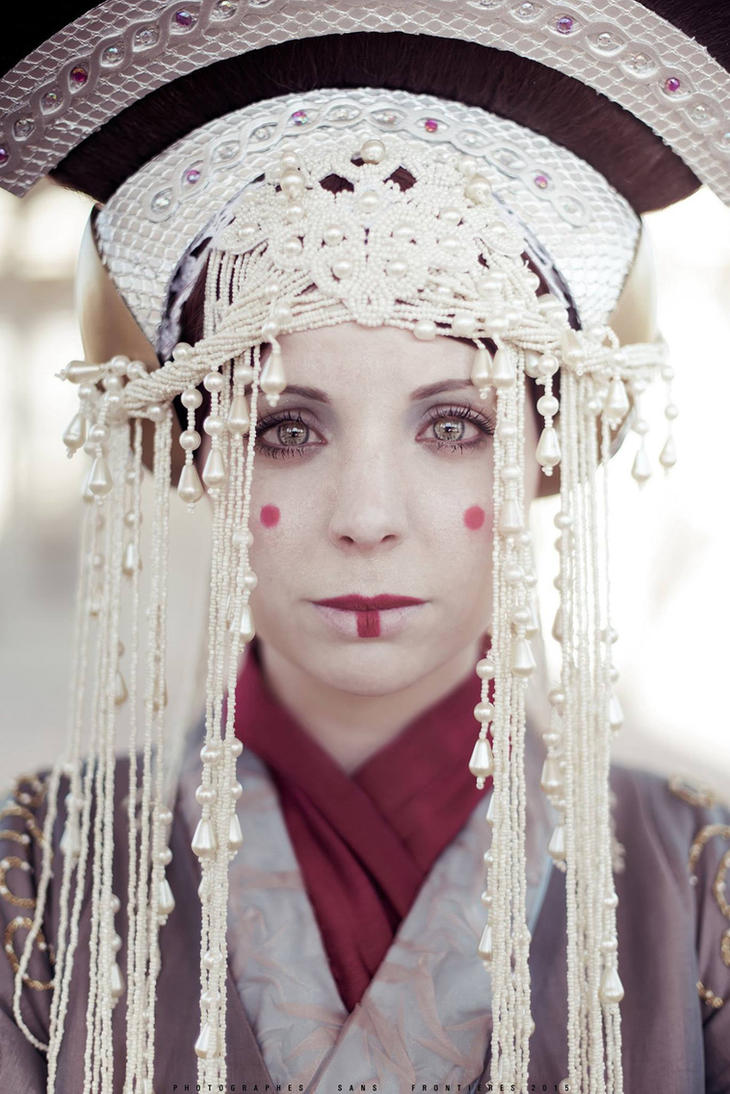
– Different kinds of shots, shooting angles and focal lengths
This is another subject I’ll just briefly mention as you can read entire books about it.
In one hand, the shot consists on how much detail we want to show in our pictures. From a long shot or a full body shot to a medium or an extremely close shot. Depending on the elements we’re interested in showing, we will choose our framing length. For example, if we want to focus our attention on the cosplayer’s characterization, we will use a close-up shot or even a extremely close one. However, if we want the whole costume to appear in our picture, we will use a longer frame. It’s just a matter of how much information we want to give and how much detail we want to show.
 |
| Cosplayer: ThecristalshoePhotographer: Fernando Brischetto |
 |
| Cosplayer: IvyPhotographer: Peck |
 |
| Cosplayer: CalssaraPhotographer: Dizzy Monogatari |
 |
| Cosplayer: ShappiPhotographer and edition: BHMT and edylisation |
.
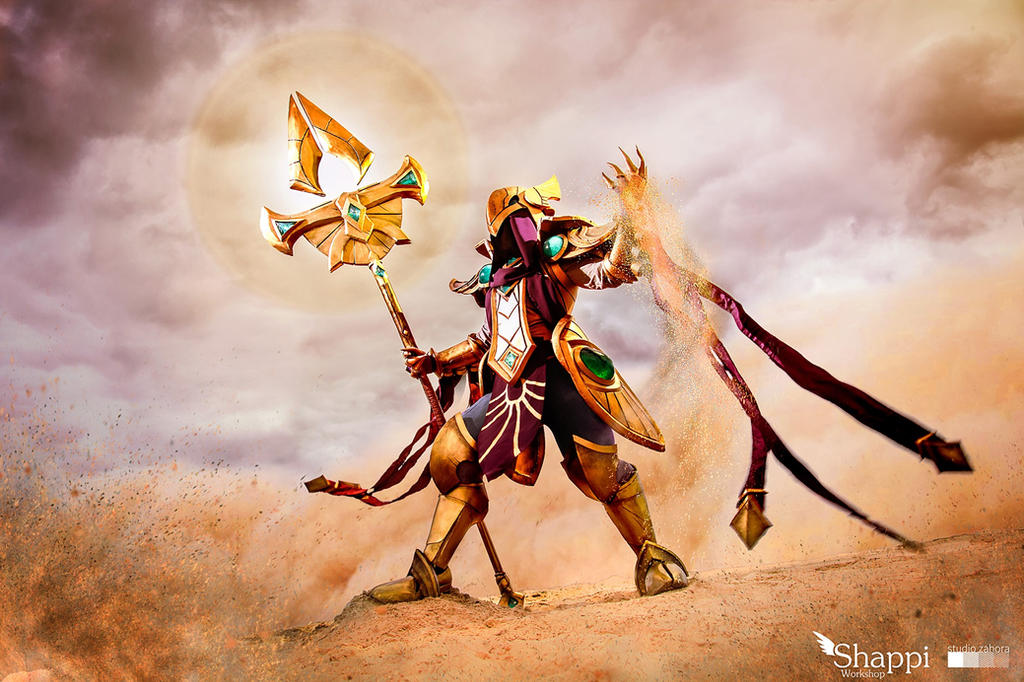
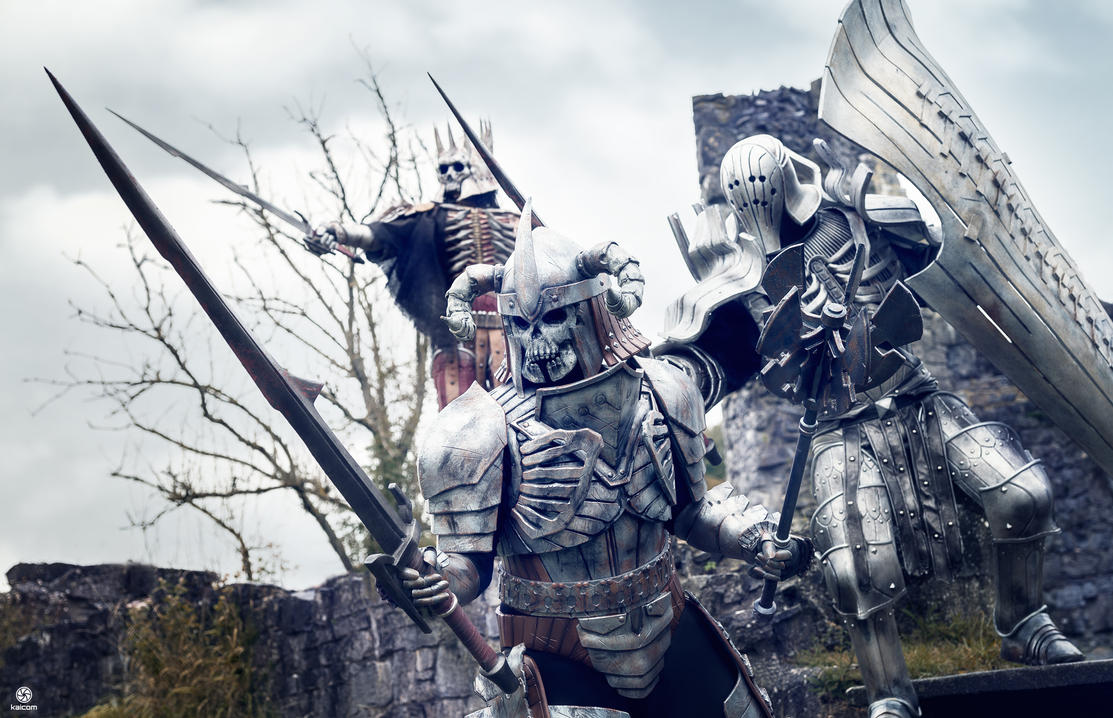
The shooting angle is the position or heigth of the camera in relation to the model. The eye-level angle is the angle we will normally see an object and it doesn’t give any special point of view on our subject, it gives a sense of objectivity. Then you can use the high angle, that generates a sense of vulnerability or weakness in the subject. If your character is weak, corny or something like that, this can be your angle of choice.
And the low angle is the most used one and the coolest because it makes the cosplayer look majestic, confident and strong. It gives the picture a sense of superiority and generates an epic look.
 |
| Cosplayer: NunnalyPhotographer: SKYline |
 |
| Cosplayers: League of ReplicaPhotographer: Kaicom |
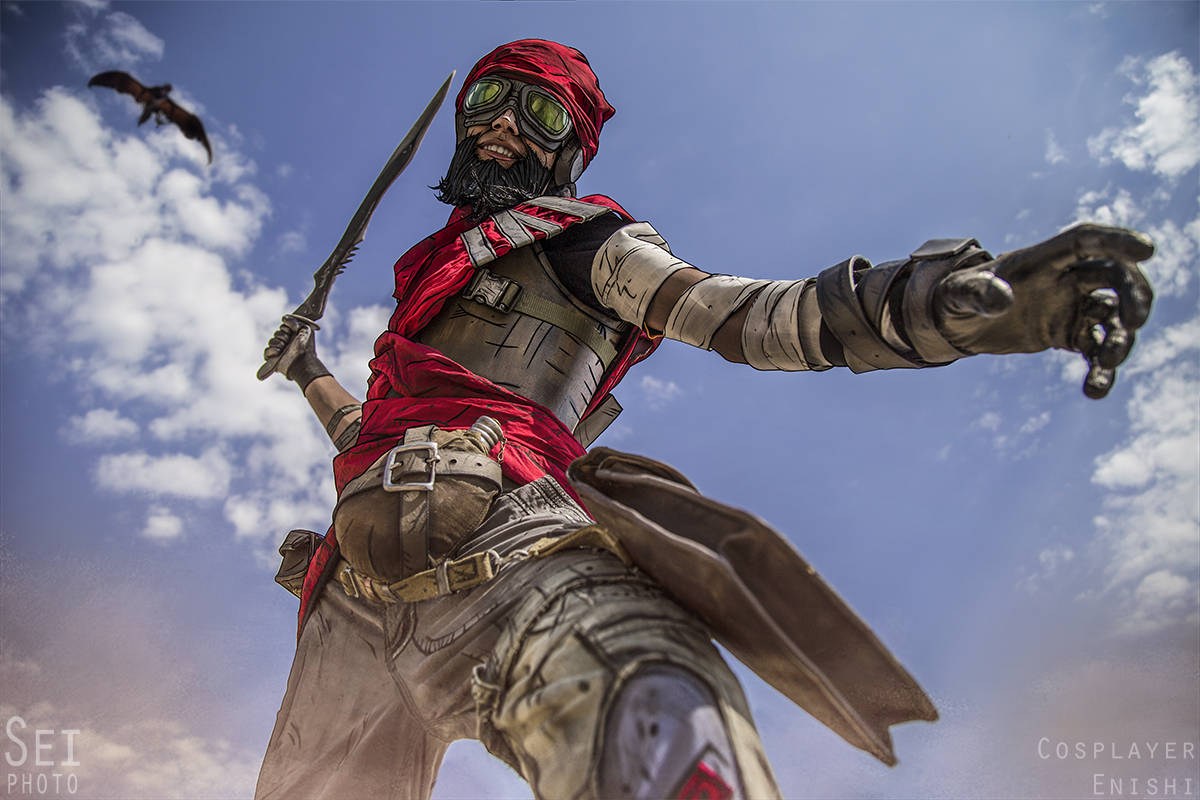 |
| Cosplayer: EnishiRyuuodzinPhotographer: Nana Hikari |
Focal length, briefly explained, is the distance in millimeters between the sensor and a thing called the optical center of the lens. Focal length varies depending on the lens you’re using and choosing between one or another will give the image different appearances. This is intimiately related to the visión angle of the shot.

You can find lenses from wide-angle to telephoto lens. The normal lens, the one that reproduces the scene in a similar way to the human eye ranges from 25 to 65mm and the effect it creates is the same as taking an eye-sight height picture, that is objectivity.
The wider the lens (lower millimeter formats between 8 and 25mm) the wider the scene. This lens allows more of the scene to be included in the picture, it emphasizes the distance between objects and creates a very interesting distorsion I particularly like very, very much. It contributes to create dinamysm. The depth of field with these lenses is huge so all the elements in the scene appear focused.
On the other hand, if we choose a telephoto lens (from 65mm on) the scene will look narrower, the elements of the picture will look close and compact and the depth of field will be reduced which means the surrounding elements will appear blurred. Telephoto lenses are usually used in portrait photography as they compact the facial features and make them look smoother.

 |
| Cosplayer: Me (Nebulaluben)Photographer: Pugoffka |
 |
| Cosplayer: Lady AngelusPhotographer: Darkon Lore |
Lenses are not only chosen in relation with their angle but with their brightness too, that is to say the diameter of the maximum opening of the diafragm. The brighter the more expensive and the more possibilities to expose the picture it brings.
 |
| Source. |
 |
| Source. |
 |
| Source. |
– Removal of distracting elements
Sometimes we can’t control all the elements on scene. Maybe we’re in a beautiful location but there’s a sign in the background, an ugly building, people etc. Don’t hesitate and remove them with Photoshop. It doesn’t matter if they can’t be eliminated in real life, it’s our picture and we can make the most of it.
I think the best example I have is the statue’s butt removal in this picture because it was higly distracting.
So, that’s the drill, though the element belongs to an architectural ensemble, just modify it if it doesn’t fit your idea.
 |
| Raw Picture |
 |
| Cosplayer: SumyunaPhotographer: Me (Nebulaluben) |
____________________________________________________________
You don’t have to take these resources in account 100% of the time, but it’s important for you to know them in order to be capable of identifying what’s wrong with your pictures. You’ll eventually use them automatically without noticing. It’s a matter of practice.
I’ll talk about the light in photography in other moment because that would be super long to explain.
And that’s a wrap! Long post is long, but I hope you’ve learnt stuff.
_________________________________________________
If you’re one of the cosplayers or photographers I’ve mentioned in this entry and you don’t want your work to be showcased here, just tell me via email (nebulalubencosplay@gmail.com) and I’ll gladly erase it right away.


