Hey everybody! This is going to be the first of a couple of tutorials about the construction of my Commander Shepard armor from Mass Effect 3.
 |
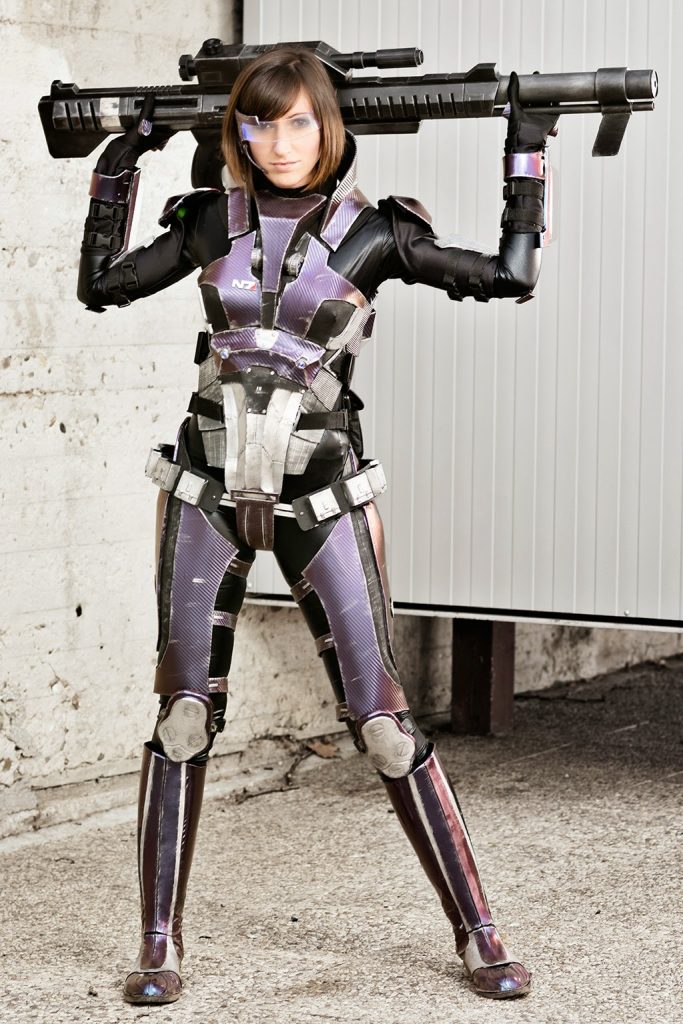
| Picture by Jesús Clares, Black Widow sniper rifle prop by Skullopathy. |
This is the costume I’ve been more afraid to screw up in my entire life. That’s why I’ve been procrastinatig its construction for so long. As you may already know, Mass Effect is a very important game for me and I wanted to make something decent.
I started making this costume around the middle of 2013 and I’ve been building it between costumes (I made the Garrus armor during this time), very carefuly, trying to learn new techniques and calmly to make it the best way possible. Despite all that, during the last stages of this project, I’ve found some stupid errors I made that I’ll take in account when I make following armors. As always, I never stop learning!
I chose the custom armor my Shepard wears ingame:
– Sentry interface.
– Chest: Arsenal de Armax.
– Shoulders: Ariake Technologies.
– Arms: Ariake Technologies.
– Legs: Rosenkov Materials.
I apologize for the bad quality of the reference images. I played Mass Effect 3 on my Xbox360 and I don’t know how to make screenshots from my console.

Let’s start!
The materials I used for this costume are 90 %craft foam , PVC foam and polystyrene. I glued most of the parts using CA glue (Super glue) and contact cement but the polystirene, that was glued using wood glue as it melts if you use other kind of glue.
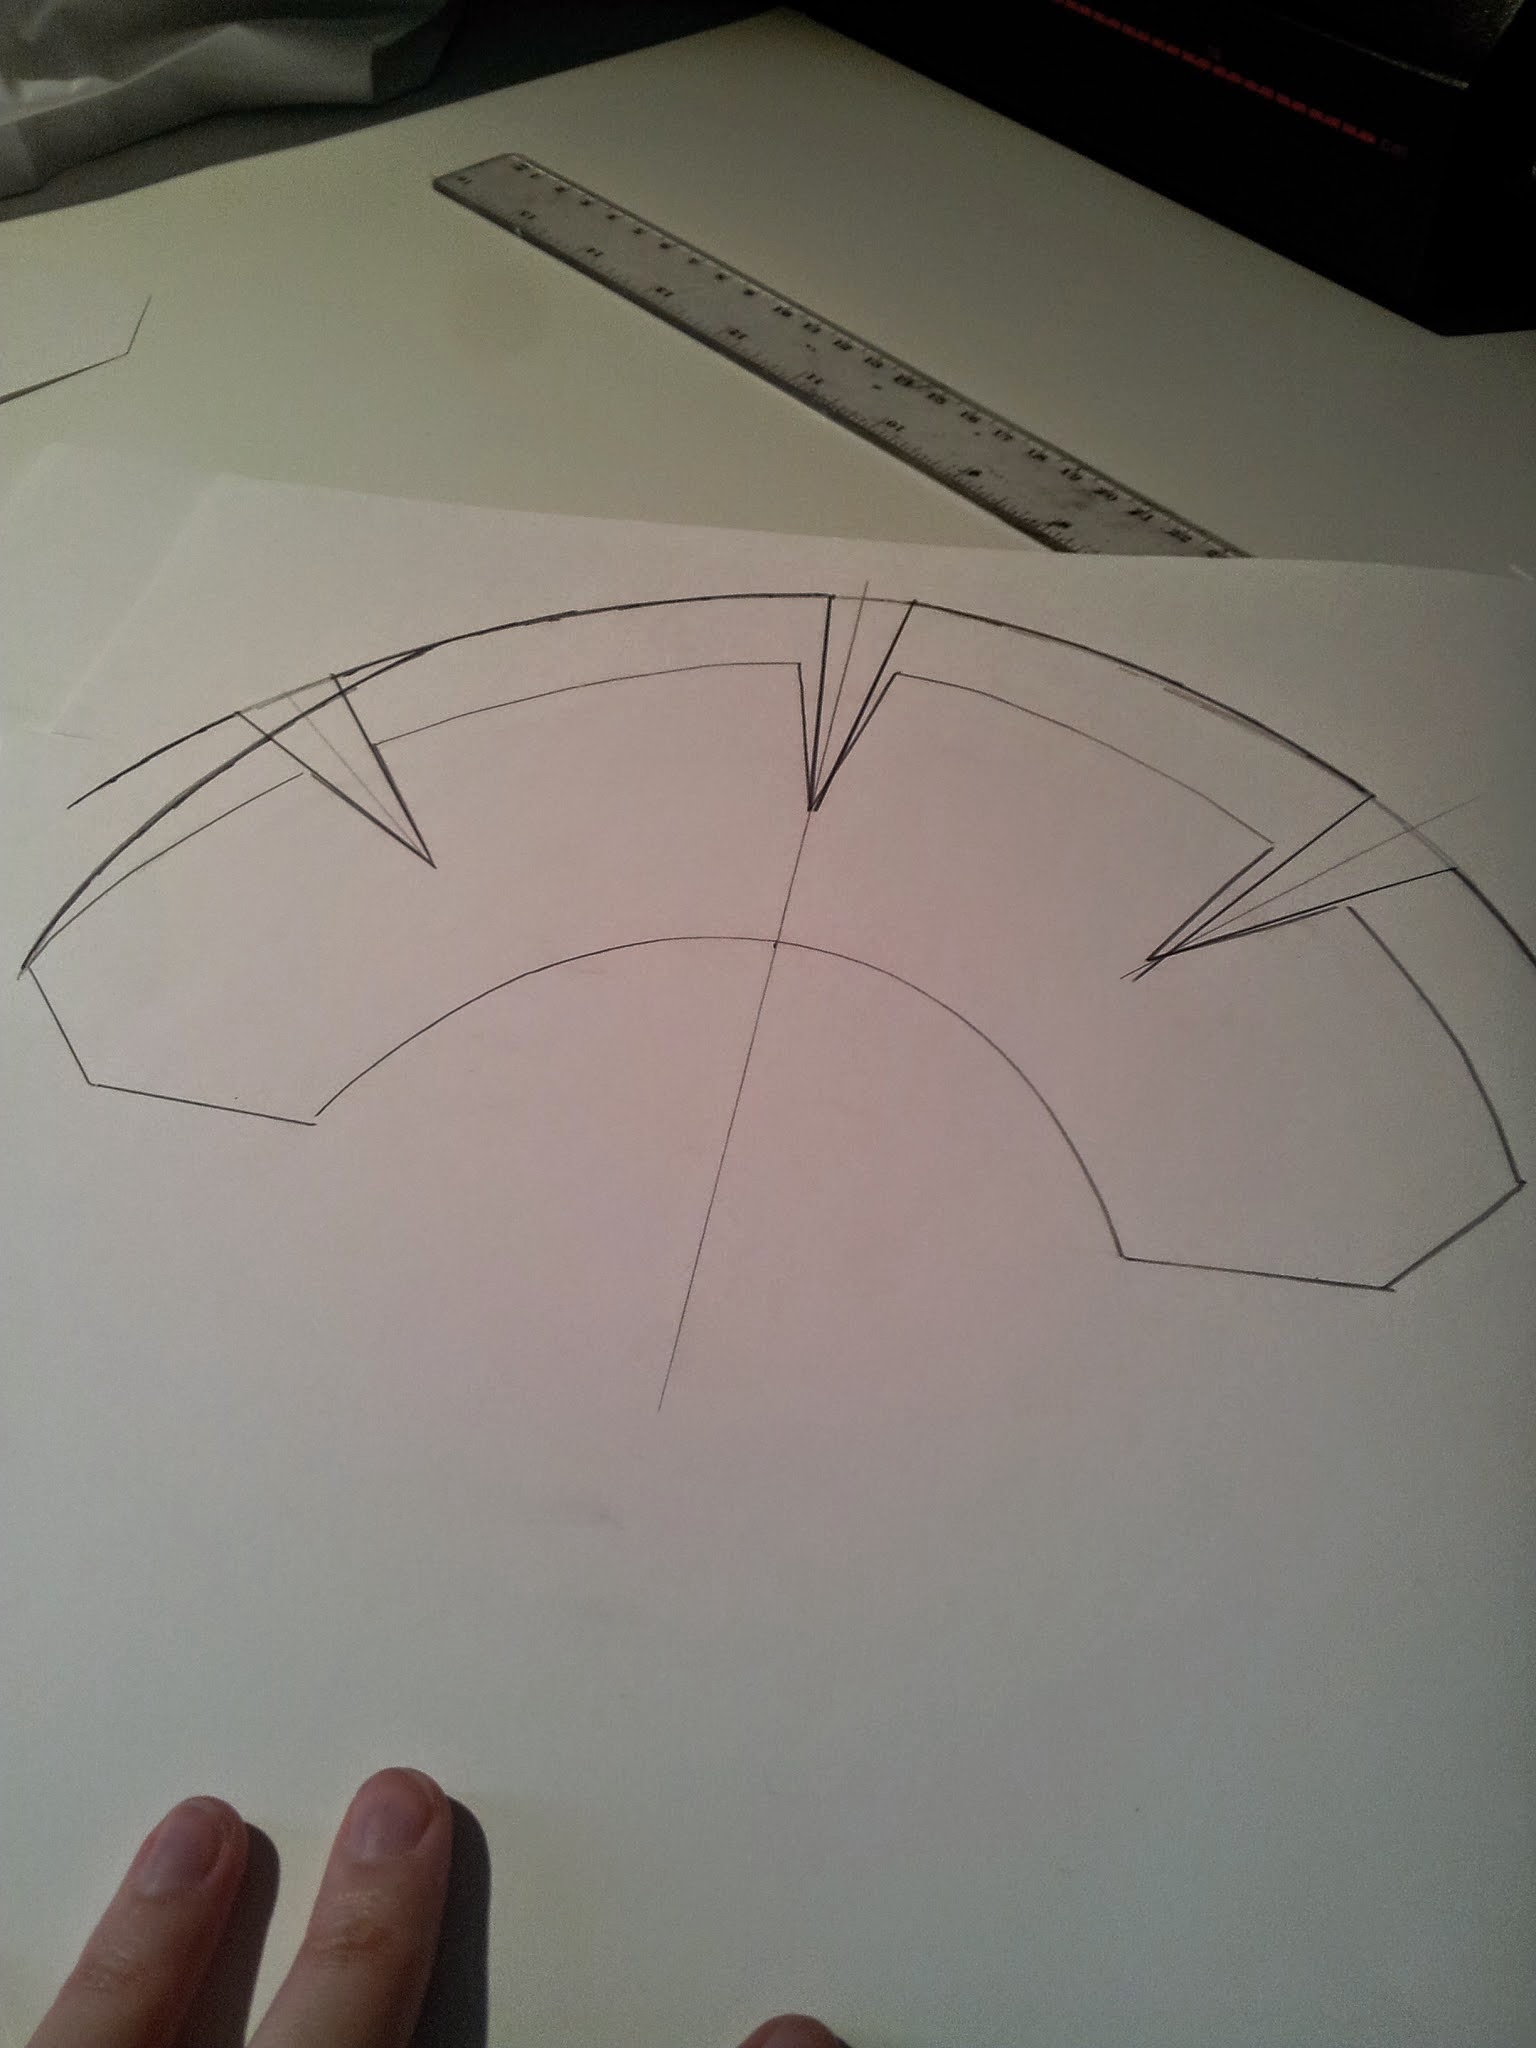
I first made a little blueprint of all the torso pieces proportional to my body shape.

I used plastic wrap and masking tape on my mannequin to get the patterns. I started making the chest pieces.

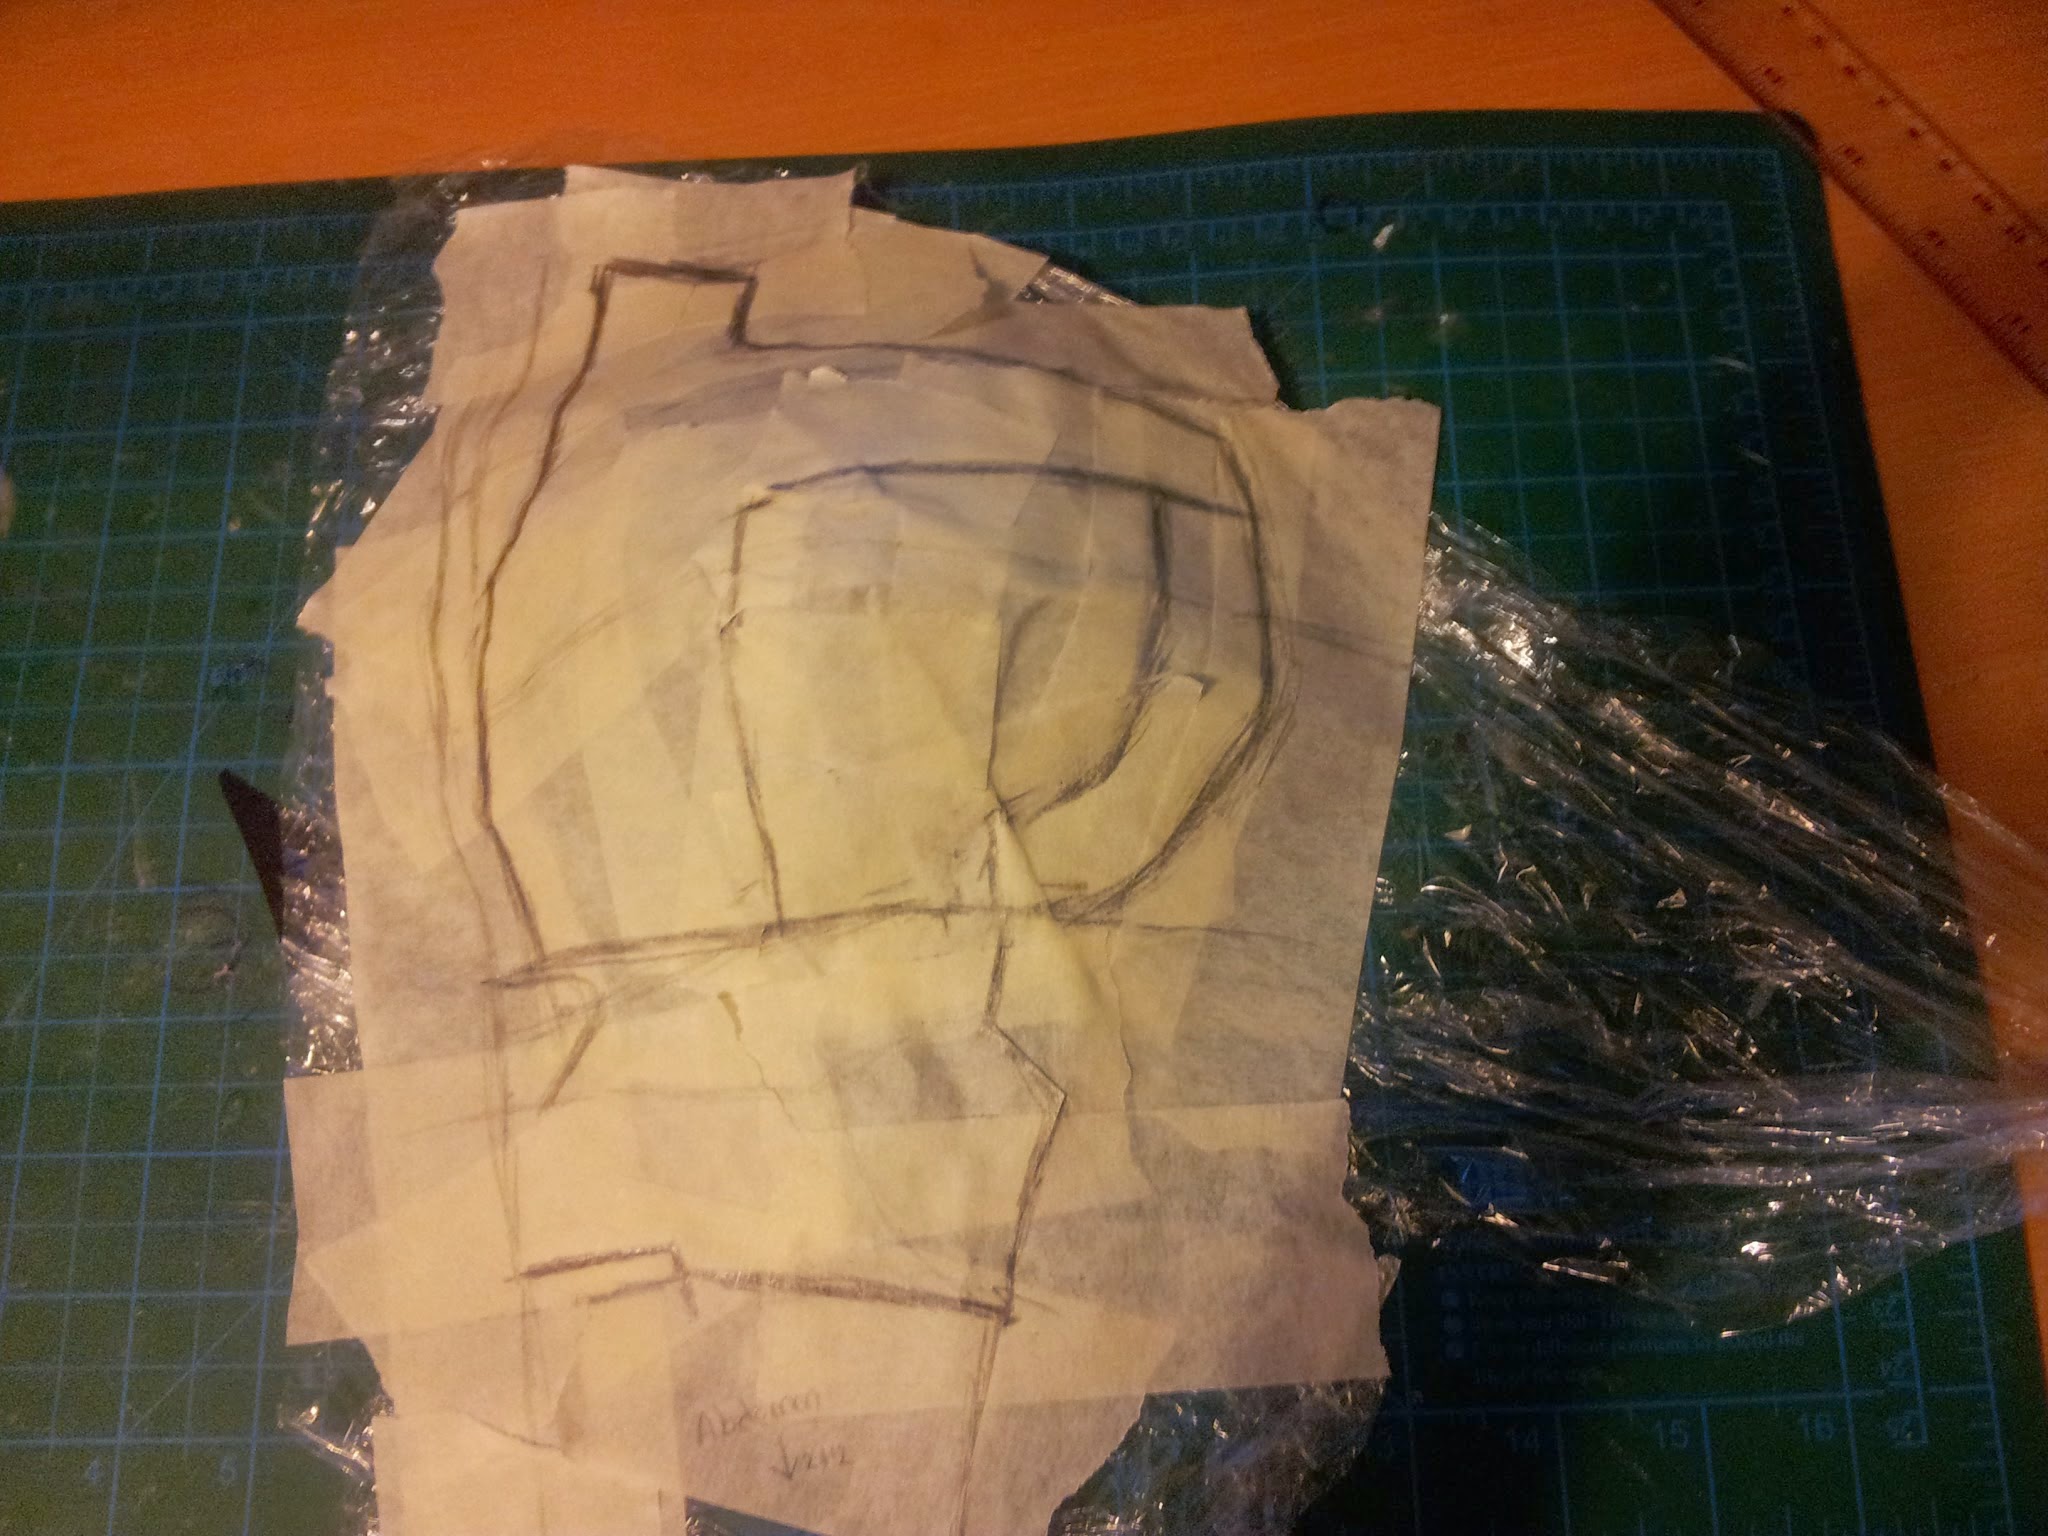

Once I got the shape, I cut the pieces.

I made some cuts where needed to get flat patterns. I this case, I just had to make a dart.
As I’ve already explained several times, the idea is to make flat patterns that make us able to draw them on our material sheet and, once it’s put together, we get the final shape.

Most of the Commander Shepard armors I’ve seen have been made using 1cm thickness yoga matt foam. I’m a very skinny girl, so I thought I’d need thinner sheets as I didn’t want my armor to look bulky on me. That’s why I decided to use 2 and 5mm craft foam sheets for this armor.
Every piece is glued with super glue.


I made the torso pieces calculating my proportions and breaking them down in pieces to get the desired relief. I made several tests in paper until I got the final pieces. Then I drew them on the foam and glued them together.
Here you are a whole file of pictures. I think there’s no need to explain much more for you to see how it’s made.


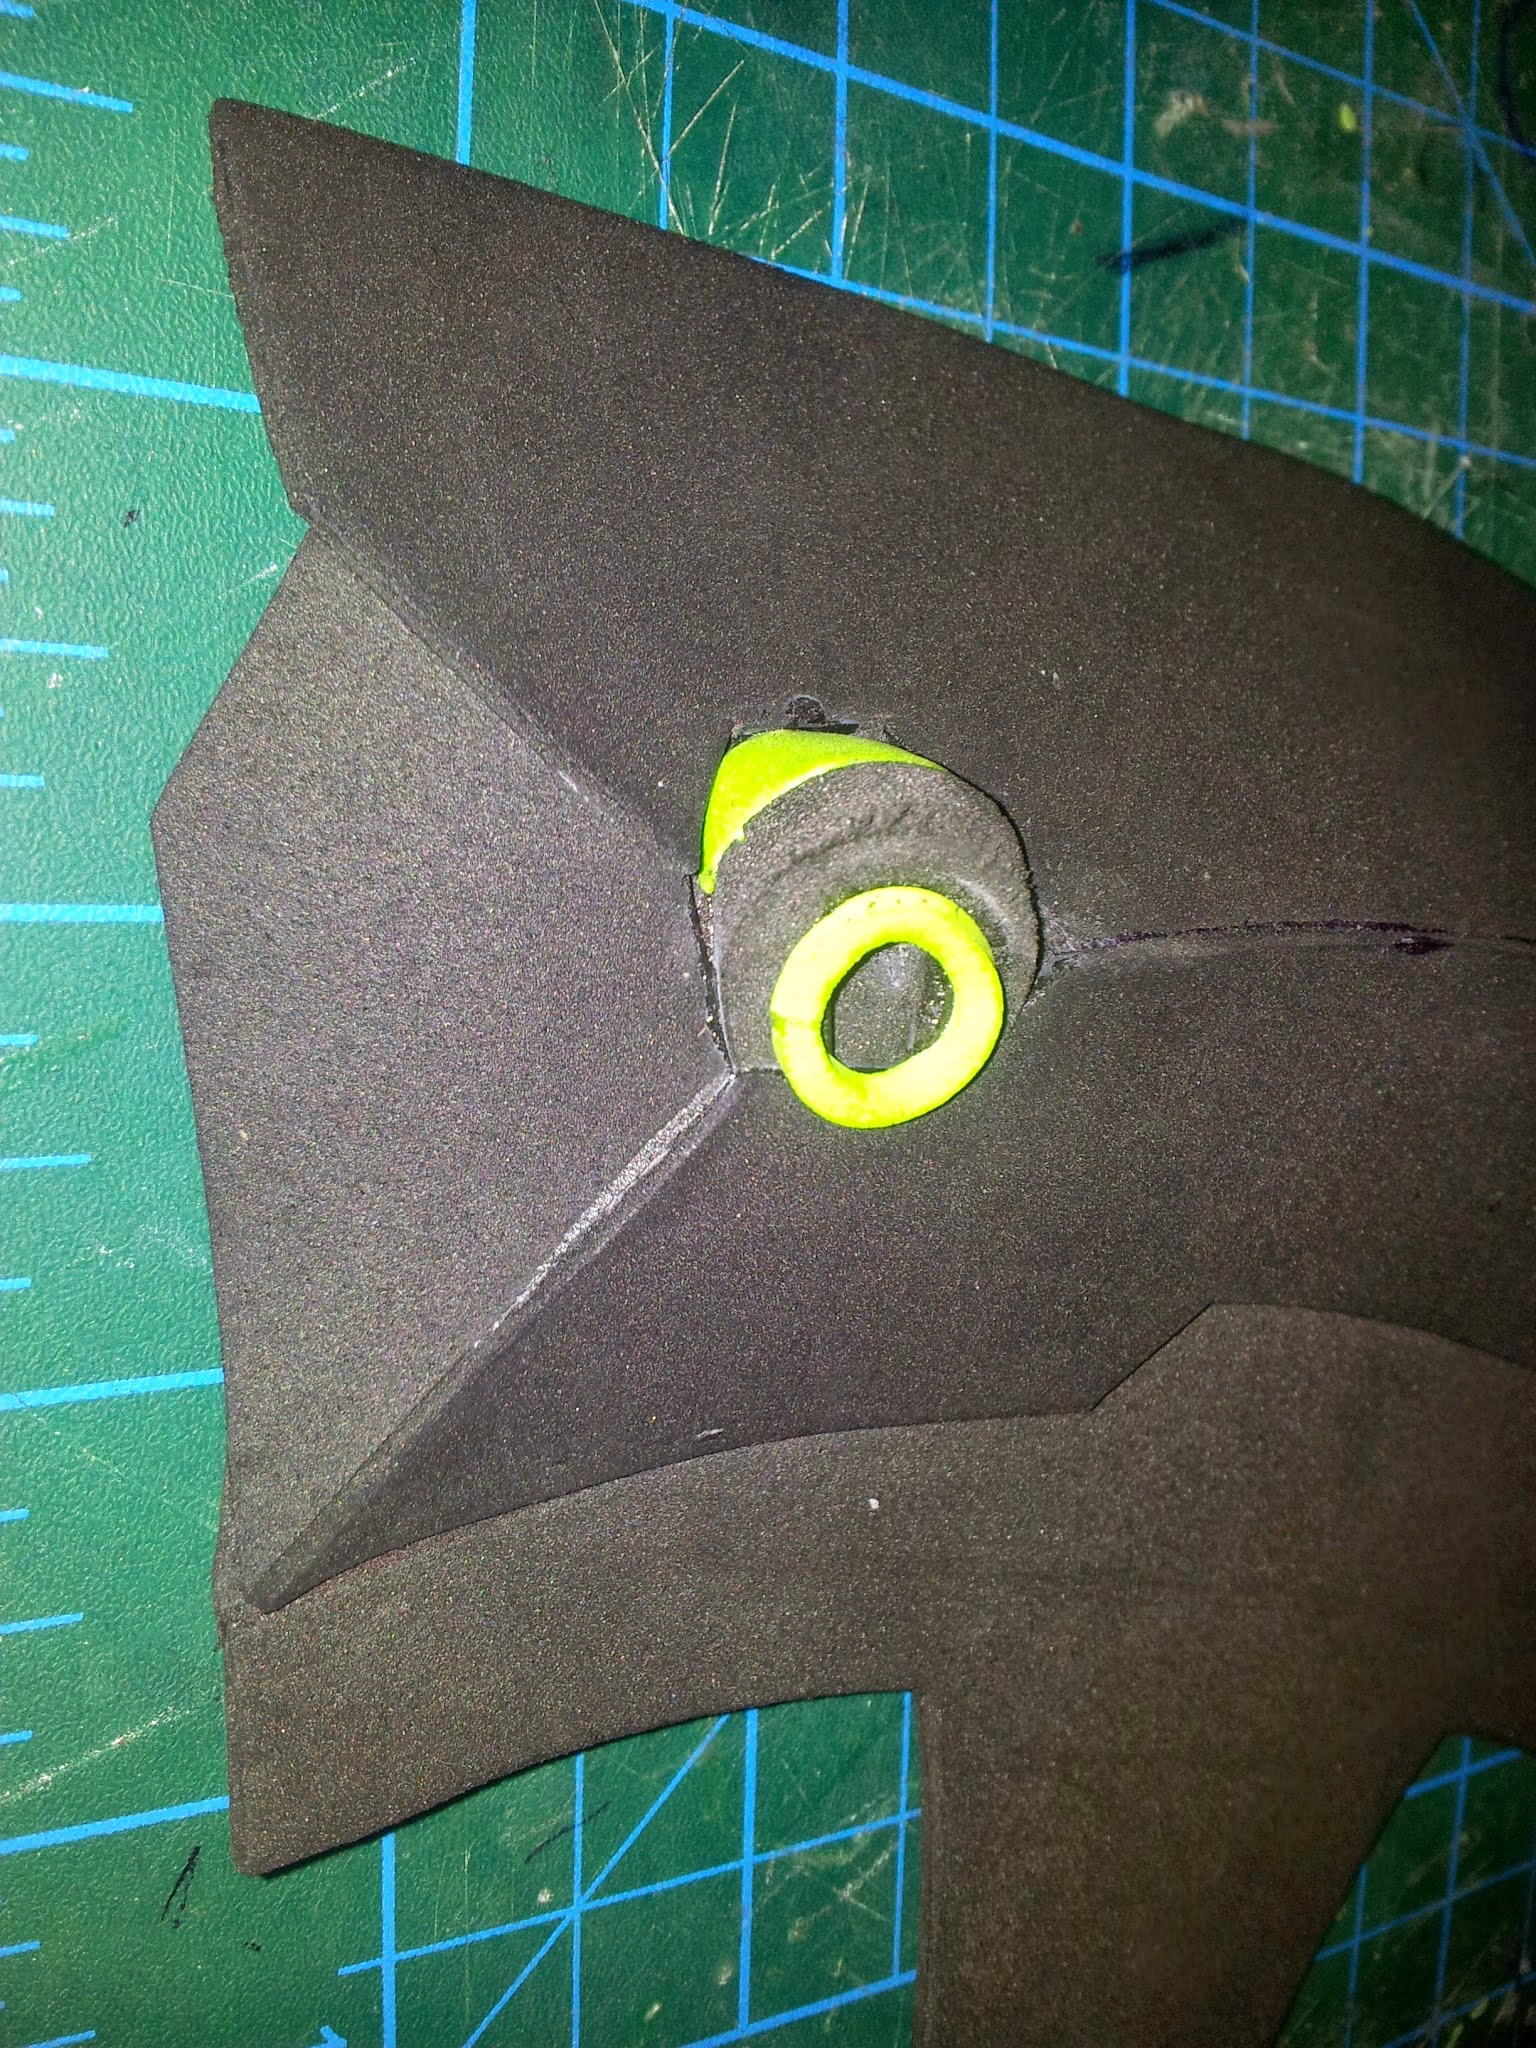
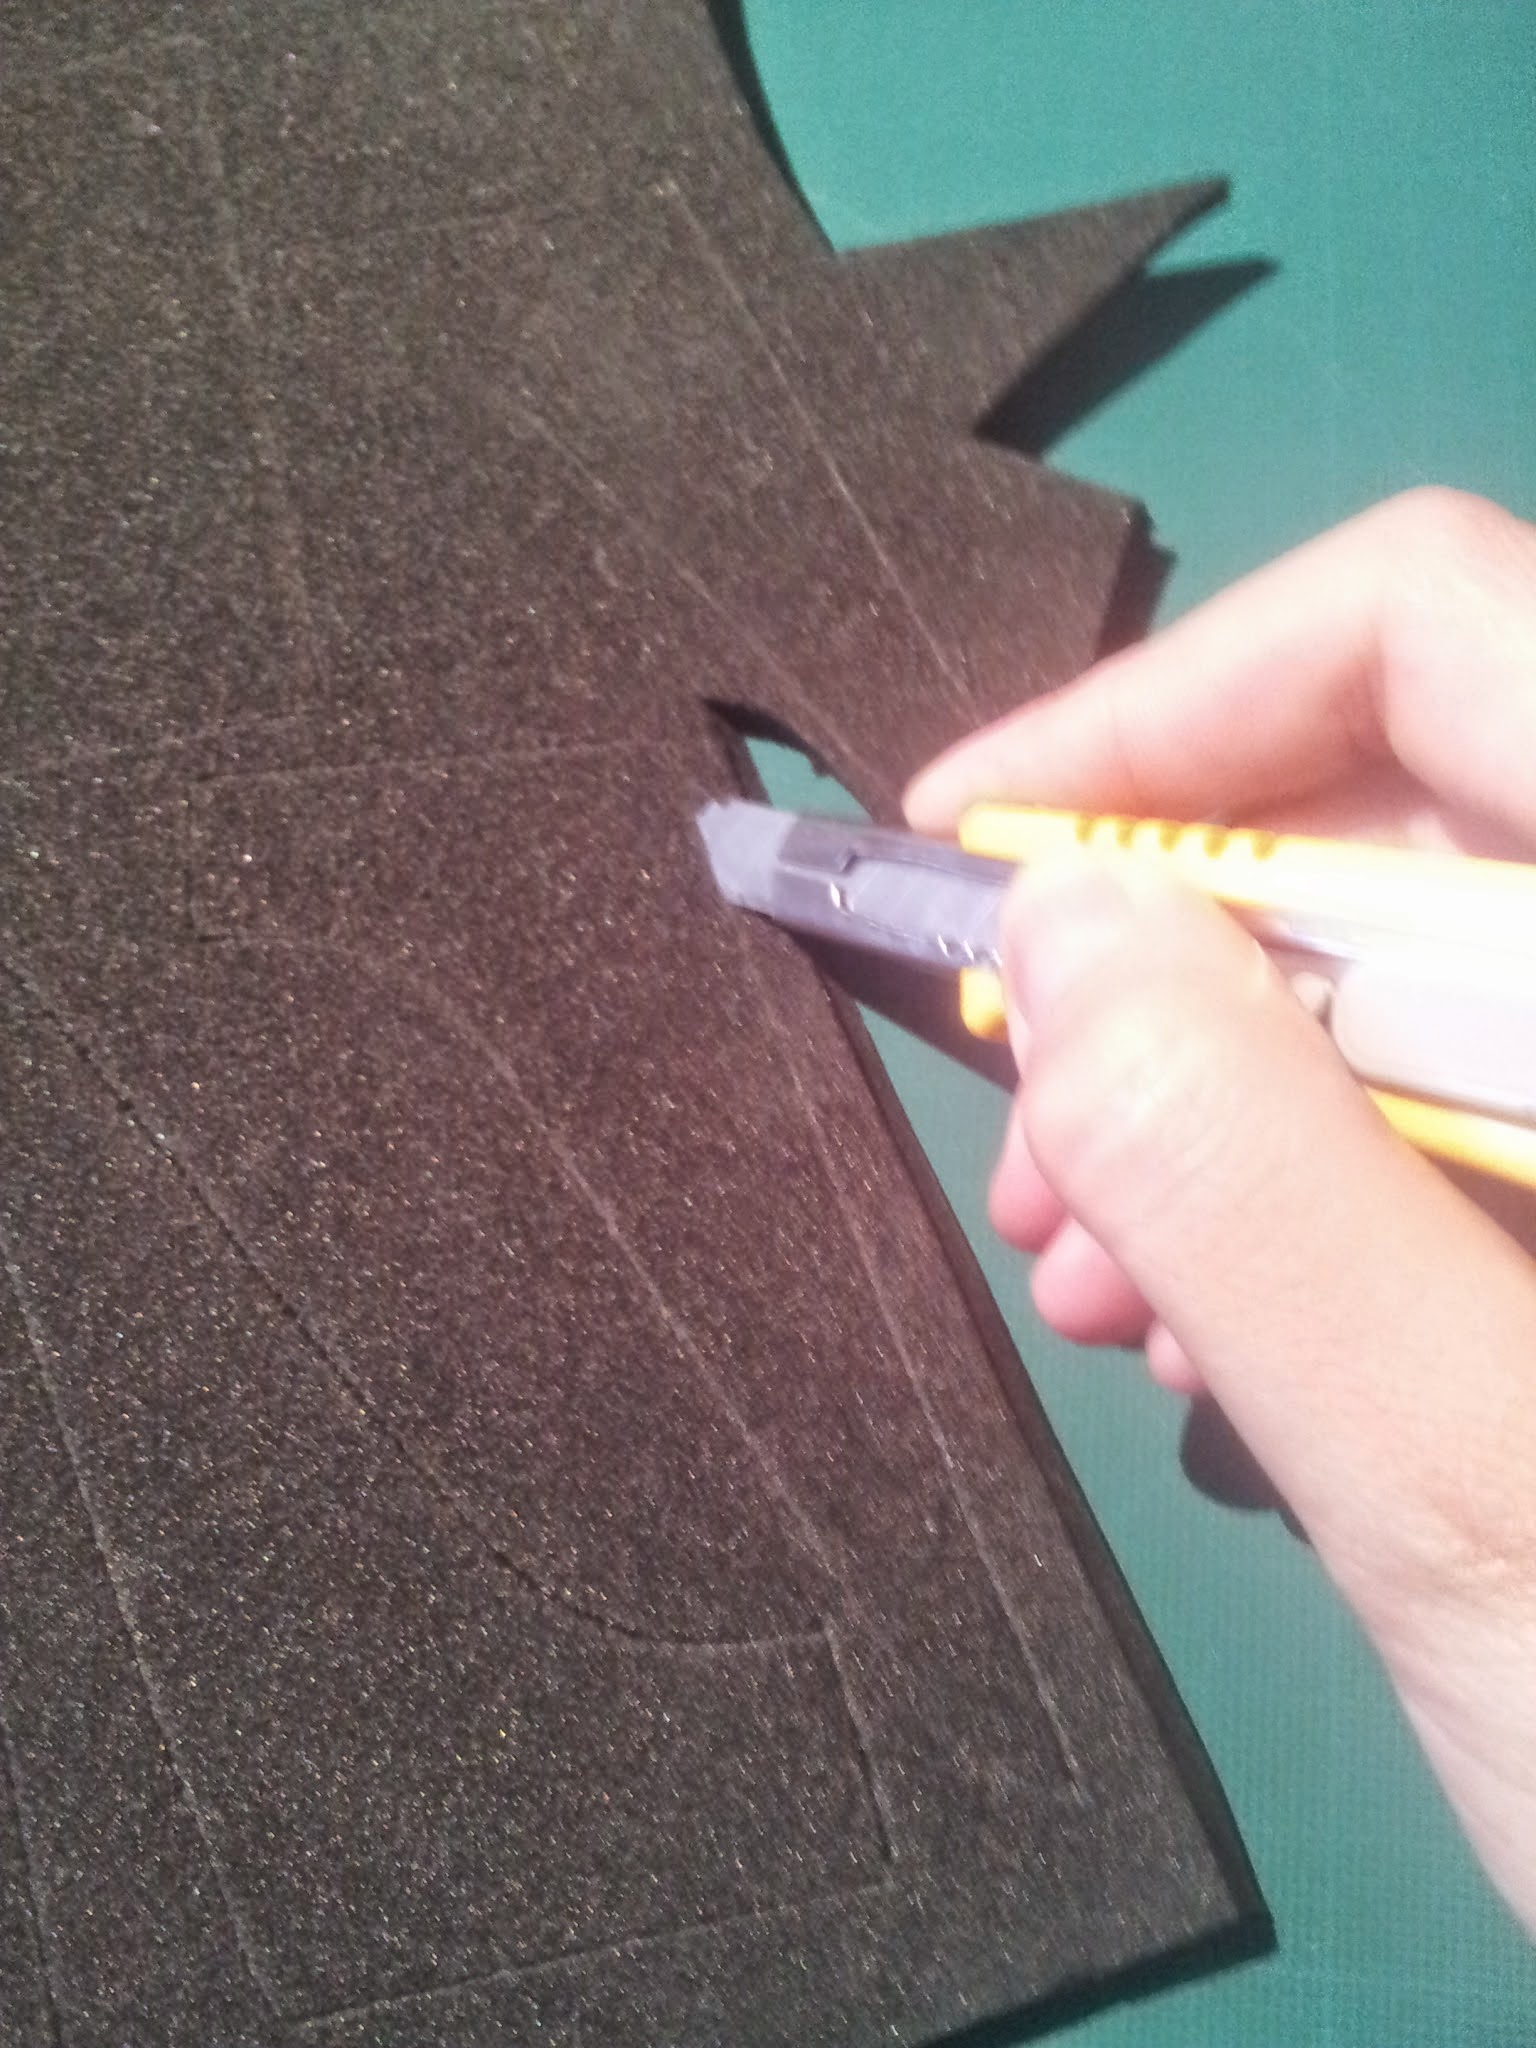
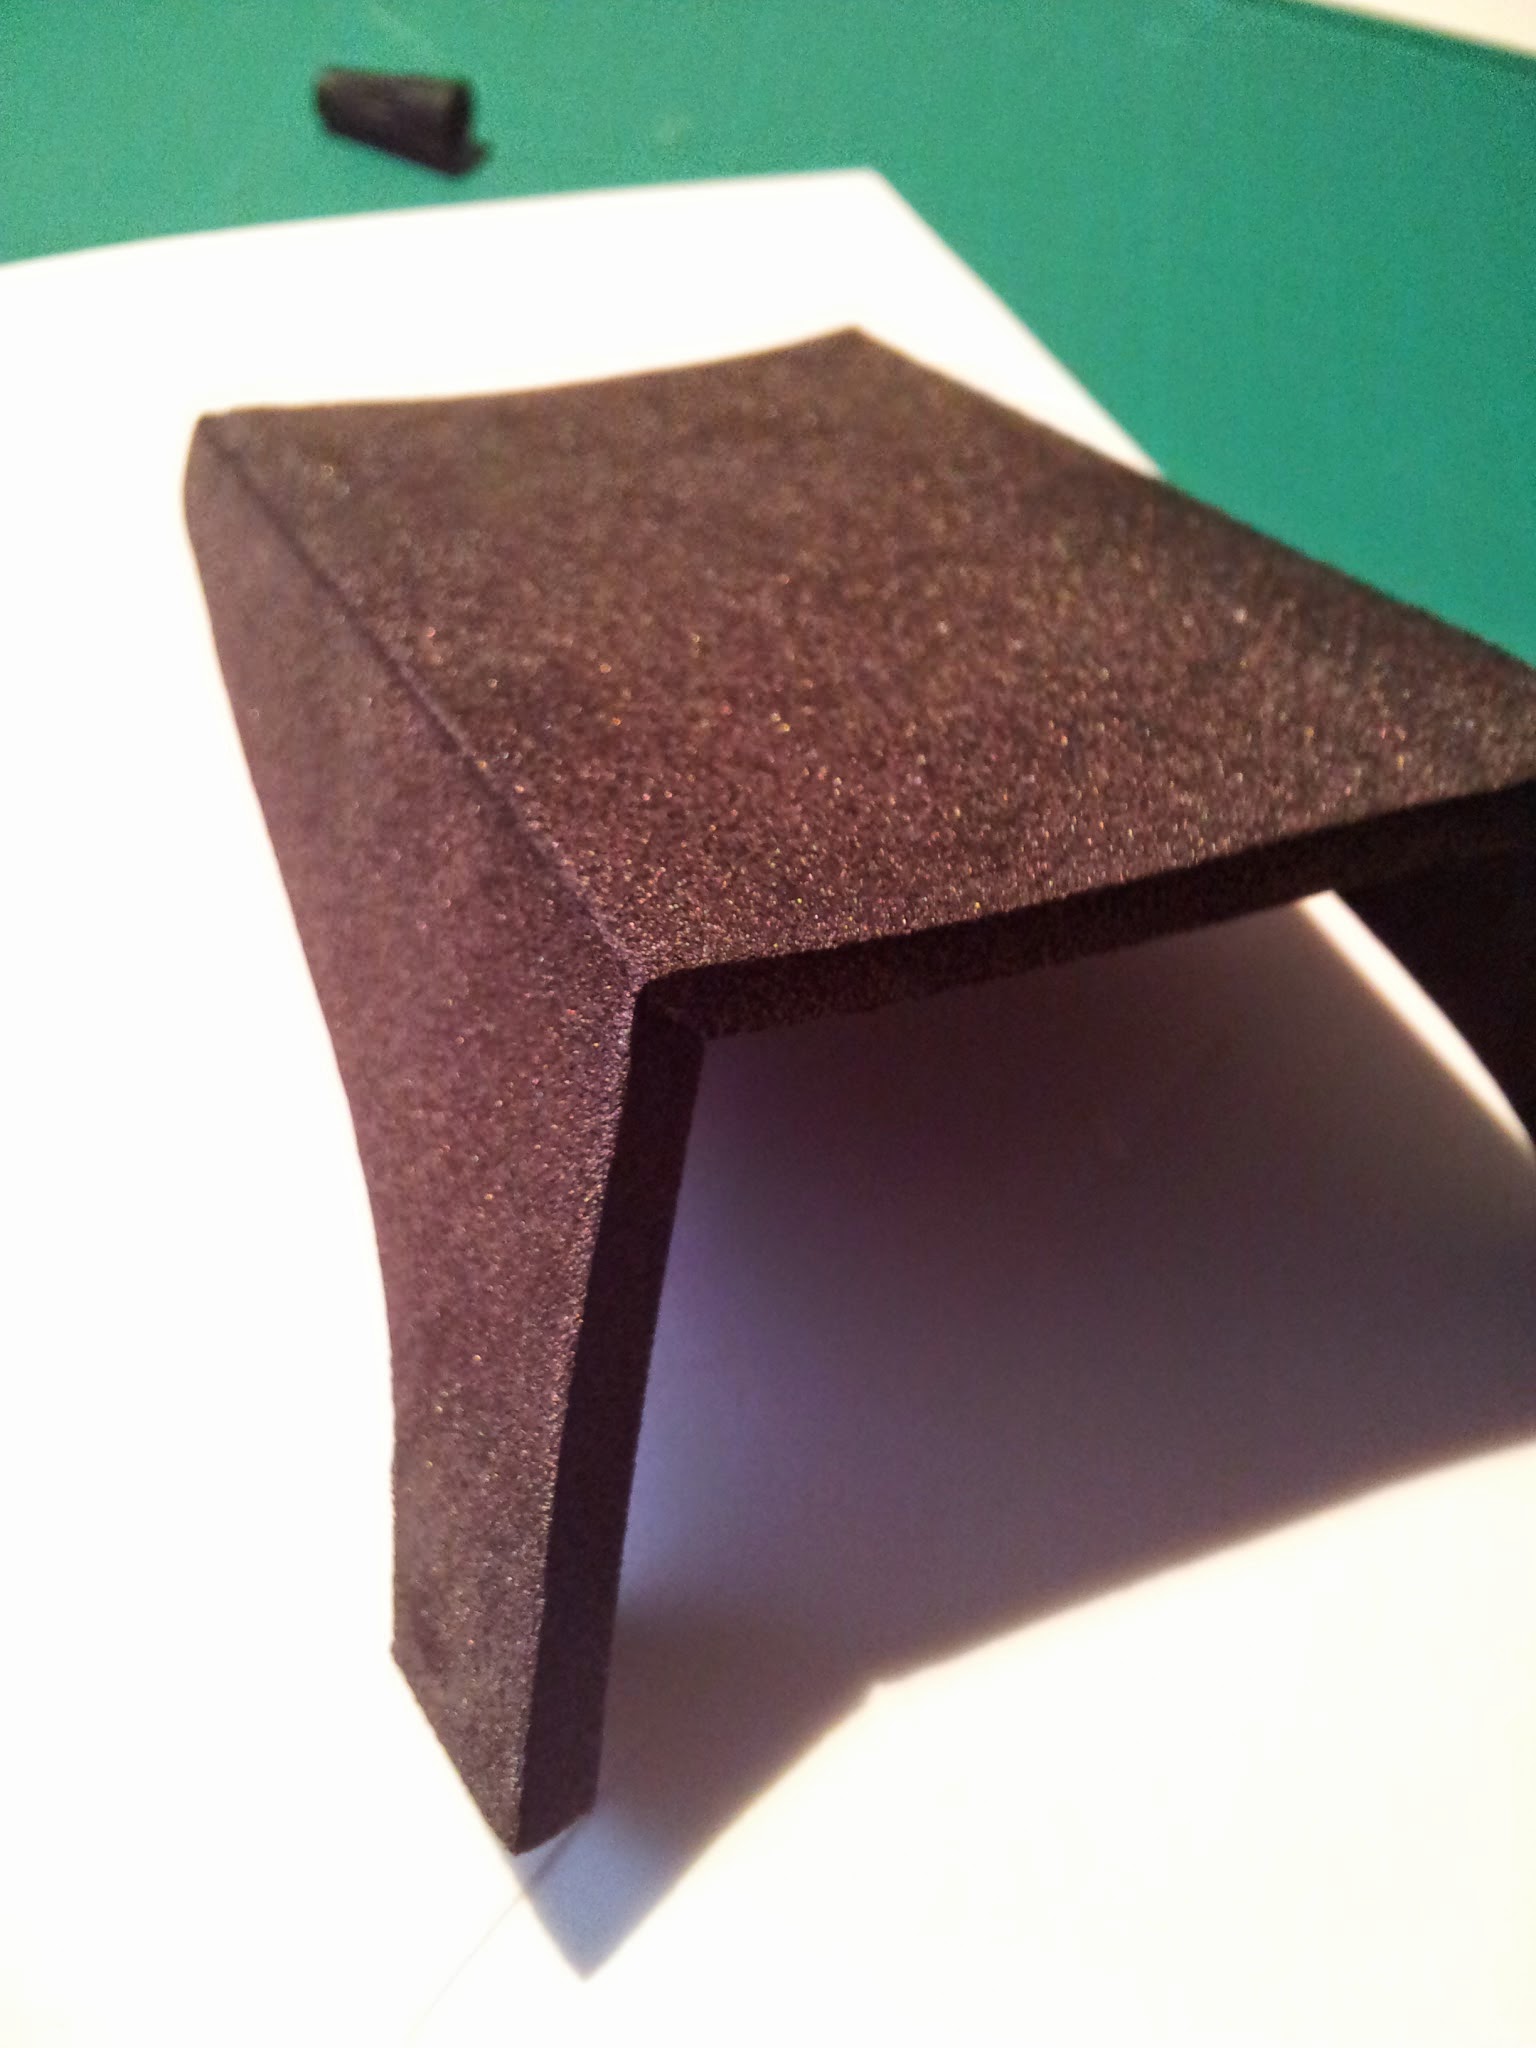
Using a sharp cutter, it’s possible to make bevel edges to create angled pieces. I higly recommend you this technique!


Here I put an extra piece over the angle to make it look smoother.


I followed exactly the same procedure for the back armor.


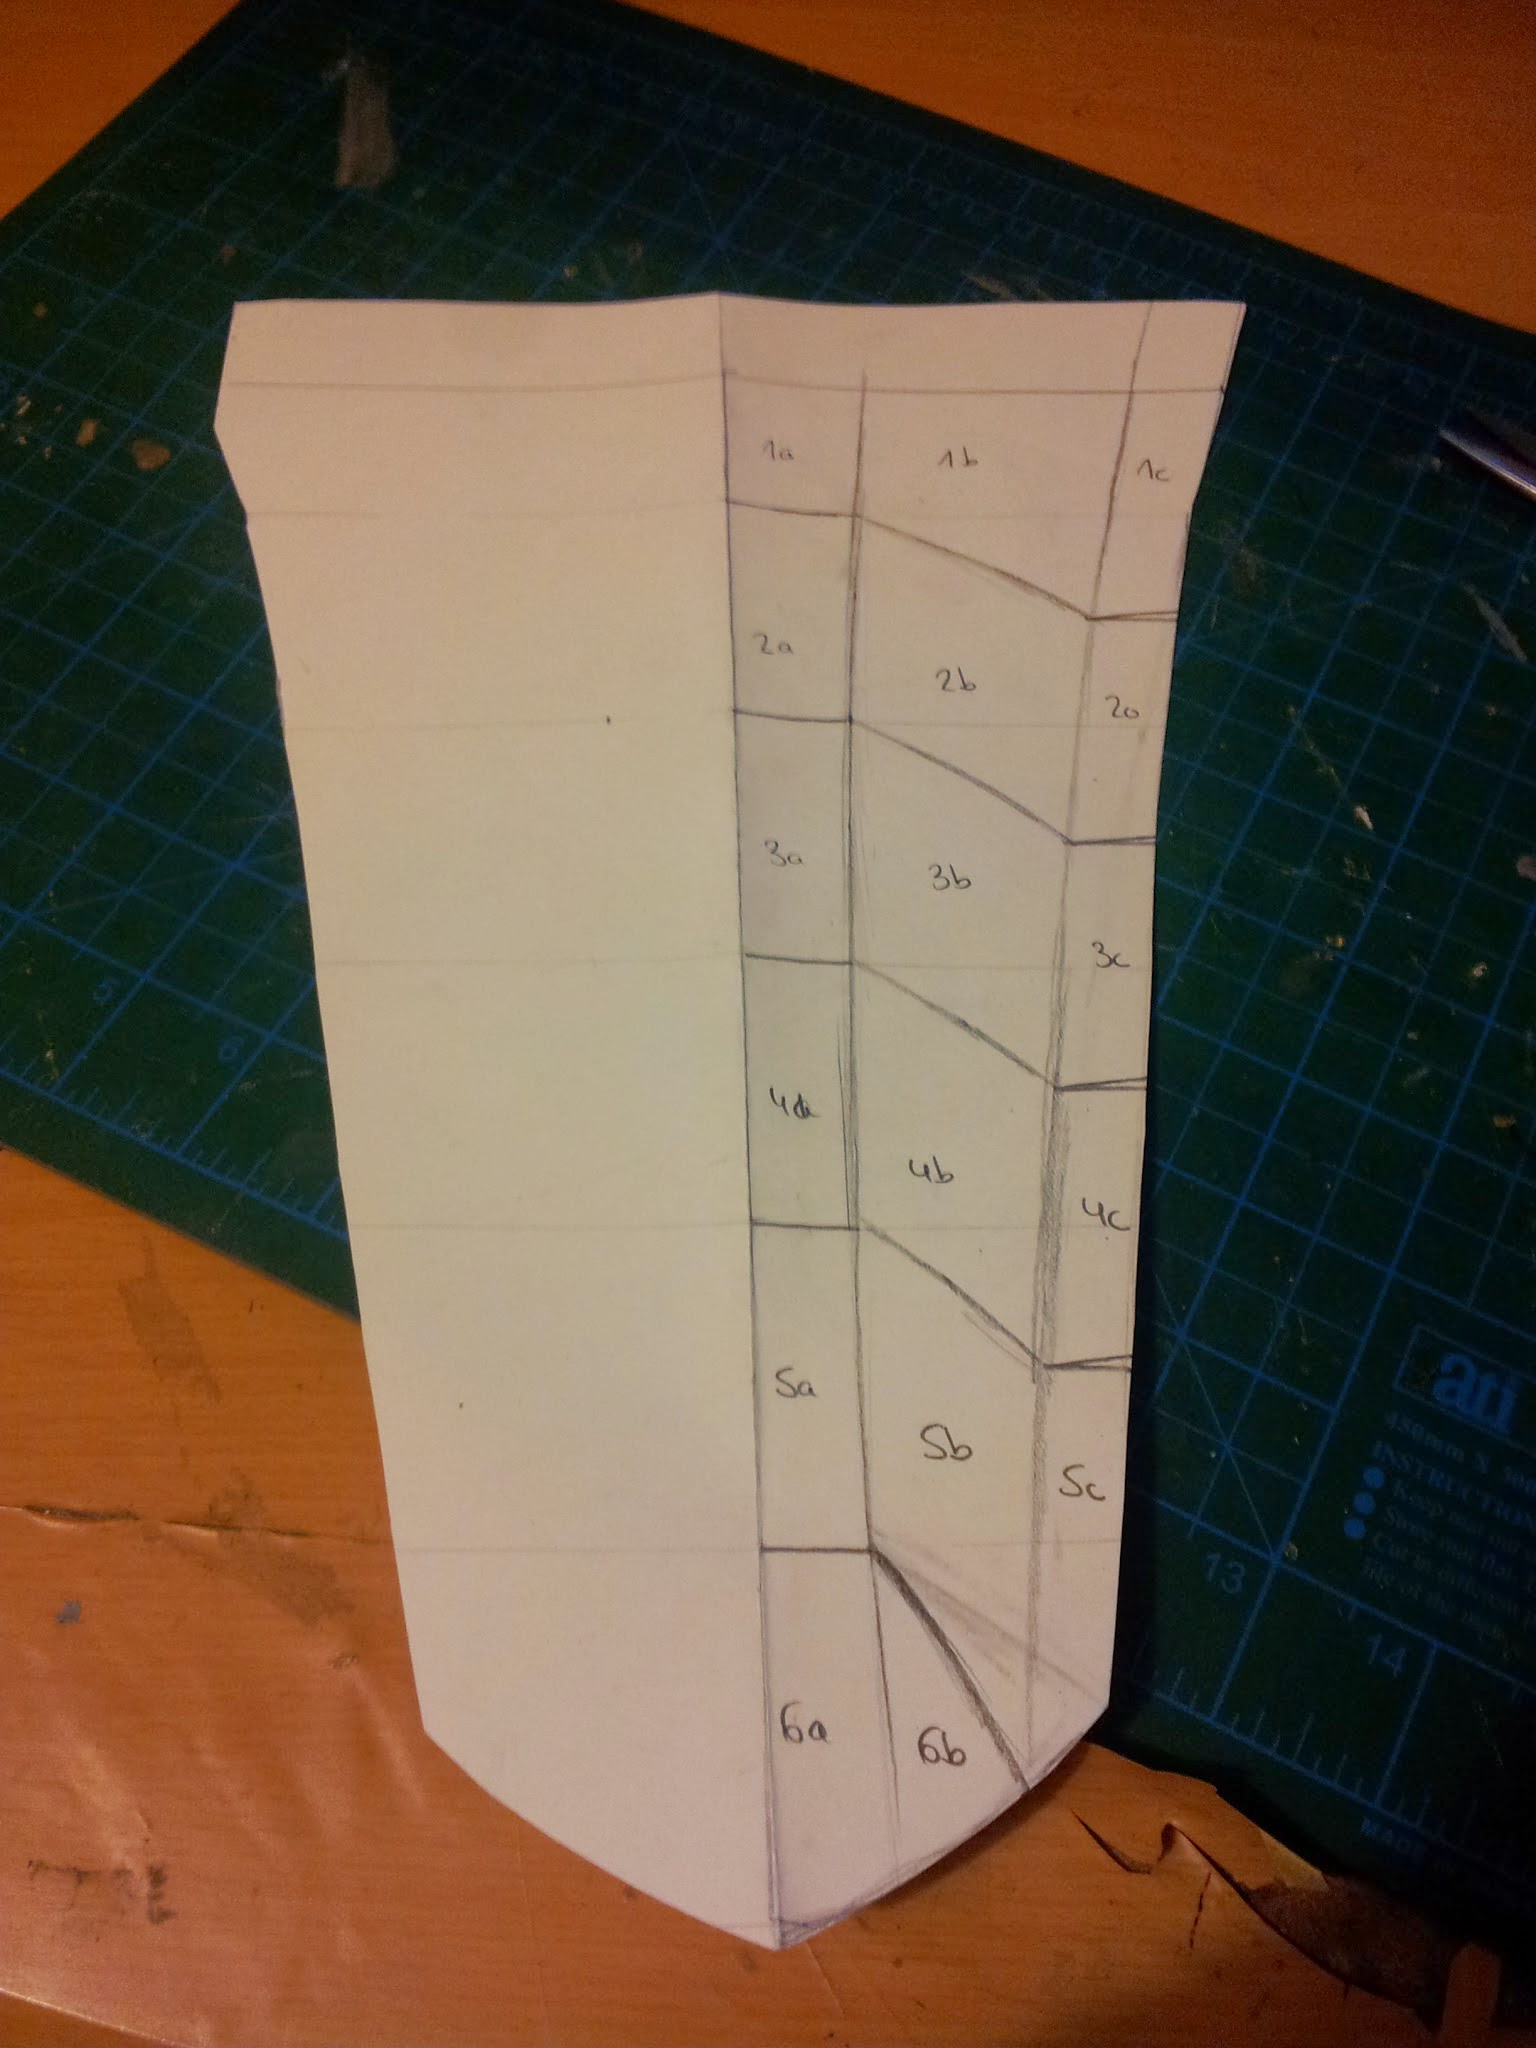


I also made several paper patterns for the arm pieces until I was happy with the result. Then I drew then on the craft foam.


To make the tigh armors, I used 3mm PVC foam because those pieces cover my legs up to the waist and they cover my hip joint. They have to bear my leg movement so I wasn’t sure to use craft foam here as it’s a softer material.
I used the plastic wrap and masking tape technique to get the patterns. I drew all the pieces.

The inner part of these pieces is a combination between different craft foam structures. The blue and red parts are covered with 5mm black foam and then I added the orange foam edges.

 .
.
The white parts are the PVC foam ones. I shaped them with heat. As I said before, it’s noticeable they’re bearing my leg movements. That’s why I tried to use a more durable material here.


View from the inside and from the outside.

The kneepads are thicker pieces, so I used 1cm craft foam this time (yoga matt) and I added the black relief piece made of 5mm foam.
I cut them leaving a little extra edge.


I shaped the edges sanding them with a rotatory tool and I carved the thin relieves pressing with a pen.

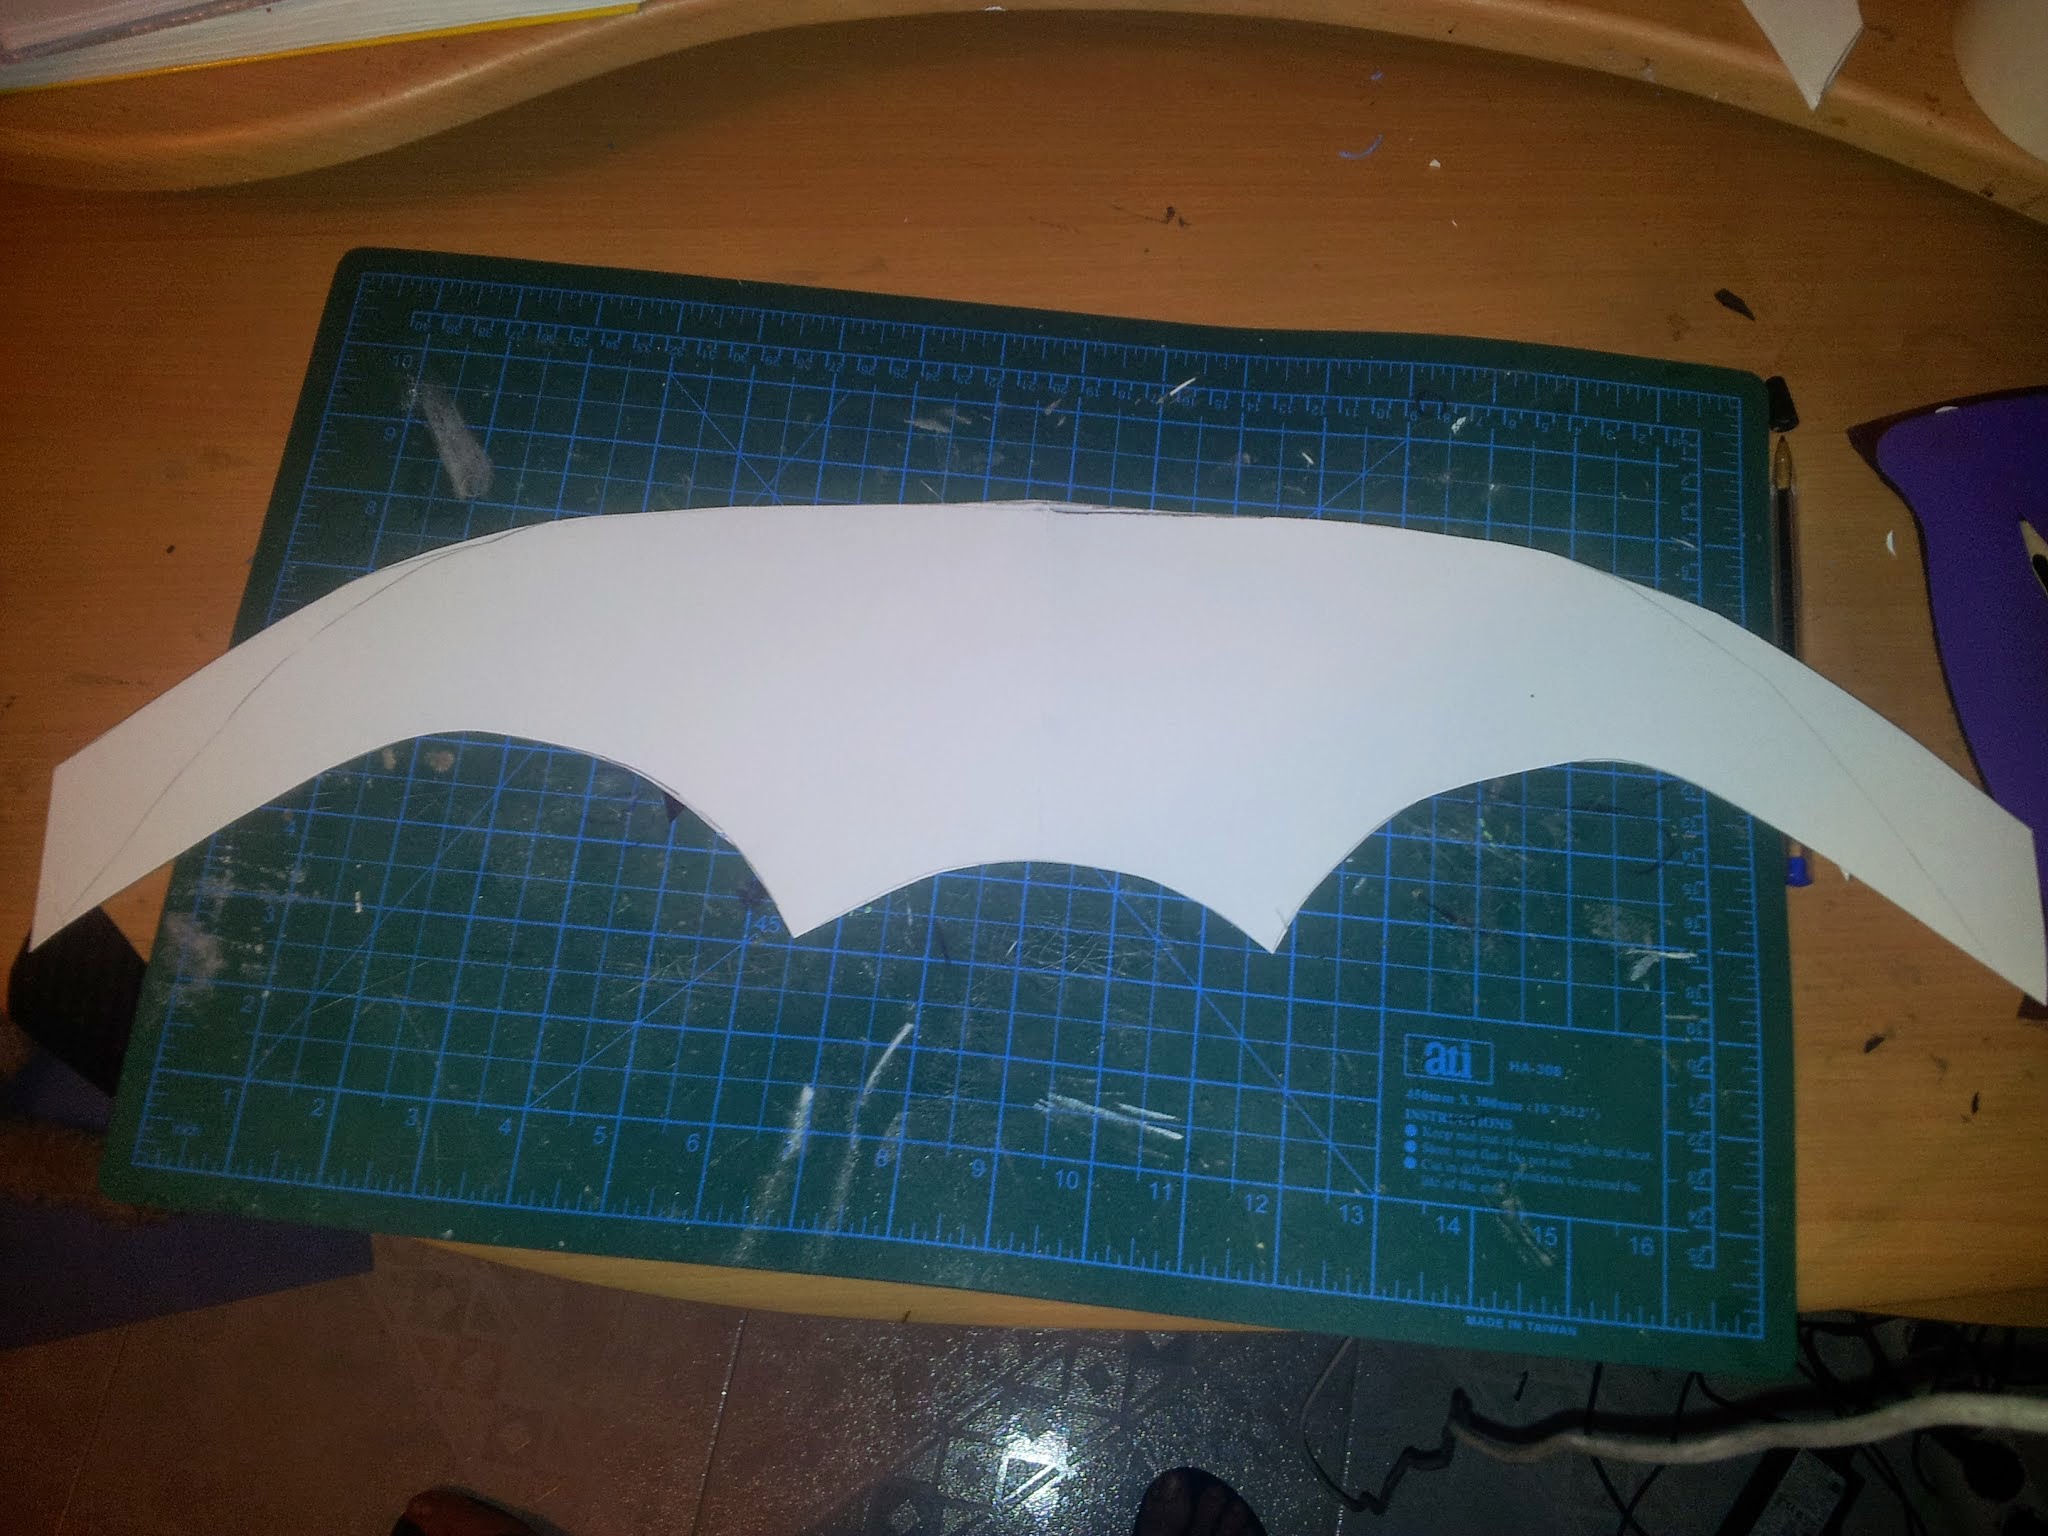
It took me a lot of time and tries to make the neck piece. I made six prototipes until I got the right shape. I also made it using PVC foam because this material keeps its shape way better than the craft foam.


I made this hemispheric back piece using polystyrene. I hollowed it out and made the relieves using a soldering iron. I made a little worbla piece shaped over another little polystyrene ball.

I glued everything together with wood glue. Remember you can only use wood glue when it comes to polystyrene gluing (you can’t use spray paint over it either), so you have to be extra carefull with this material to avoid ruining it.
I softened its surface using filling putty and sanding several times.

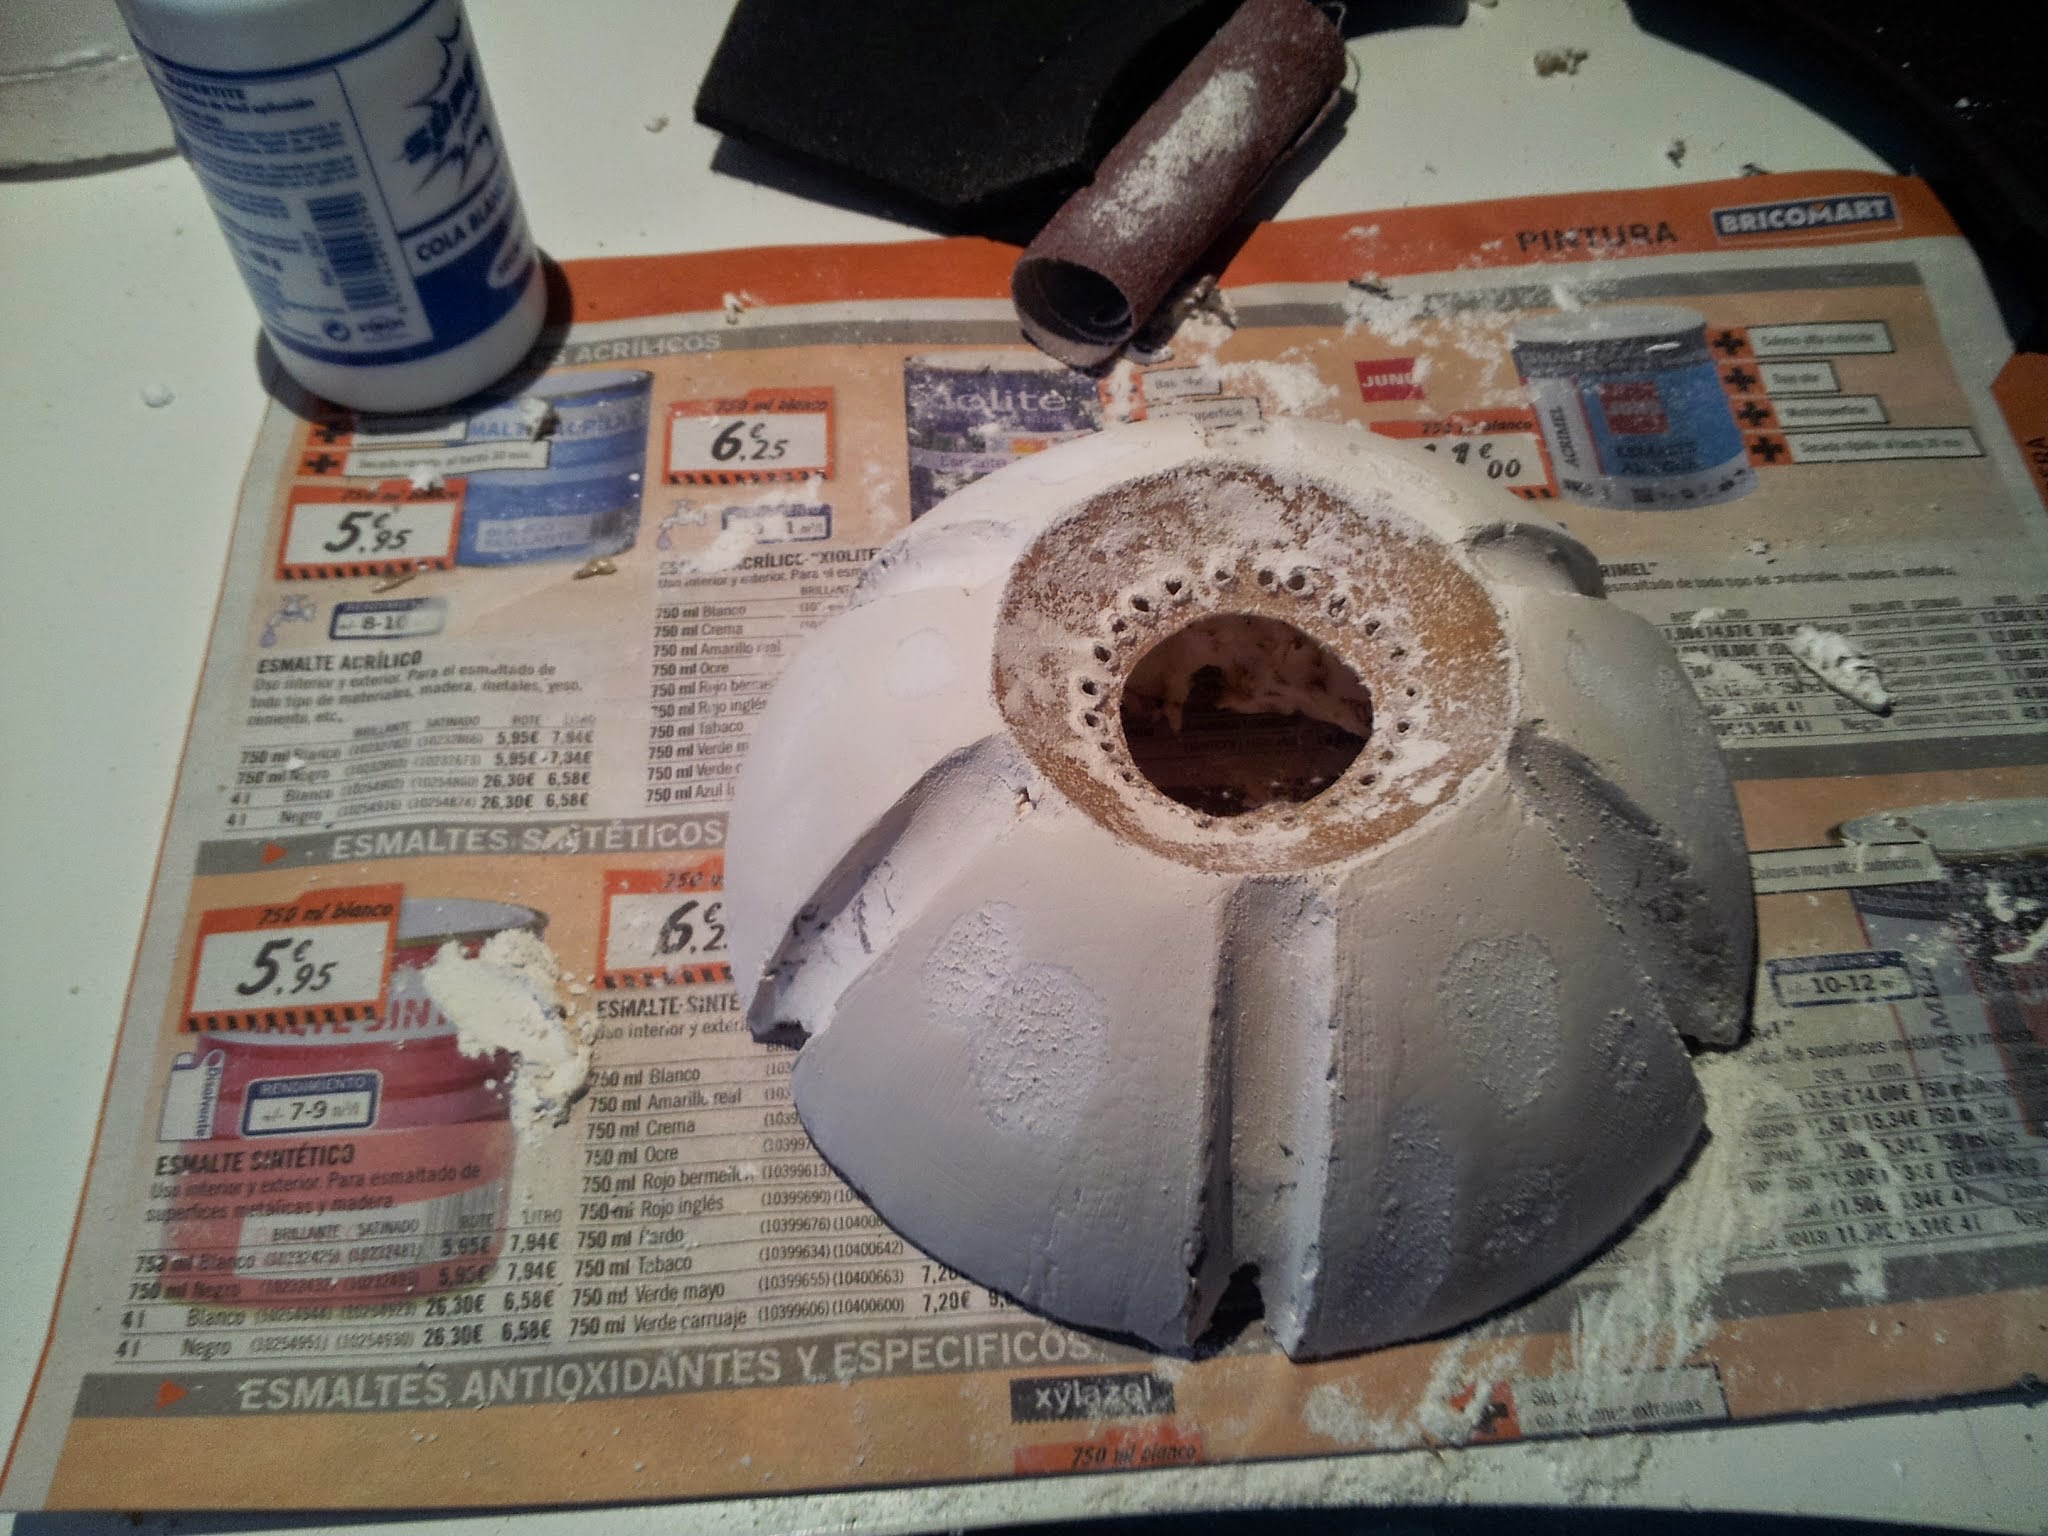


I added the craft foam band and some more little details.


The Sentry Interface is also made using PVC foam and 2mm craft foam for the relieves.


I added a piece of methacrylate molded with heat and a the HUD is a printed transparency I skillfully made with Photoshop. I printed it in several colors to see which one looked better.


The leg armors are wrapped boots. Although you can see them here, I’ll explain how I made them in the next tutorial.
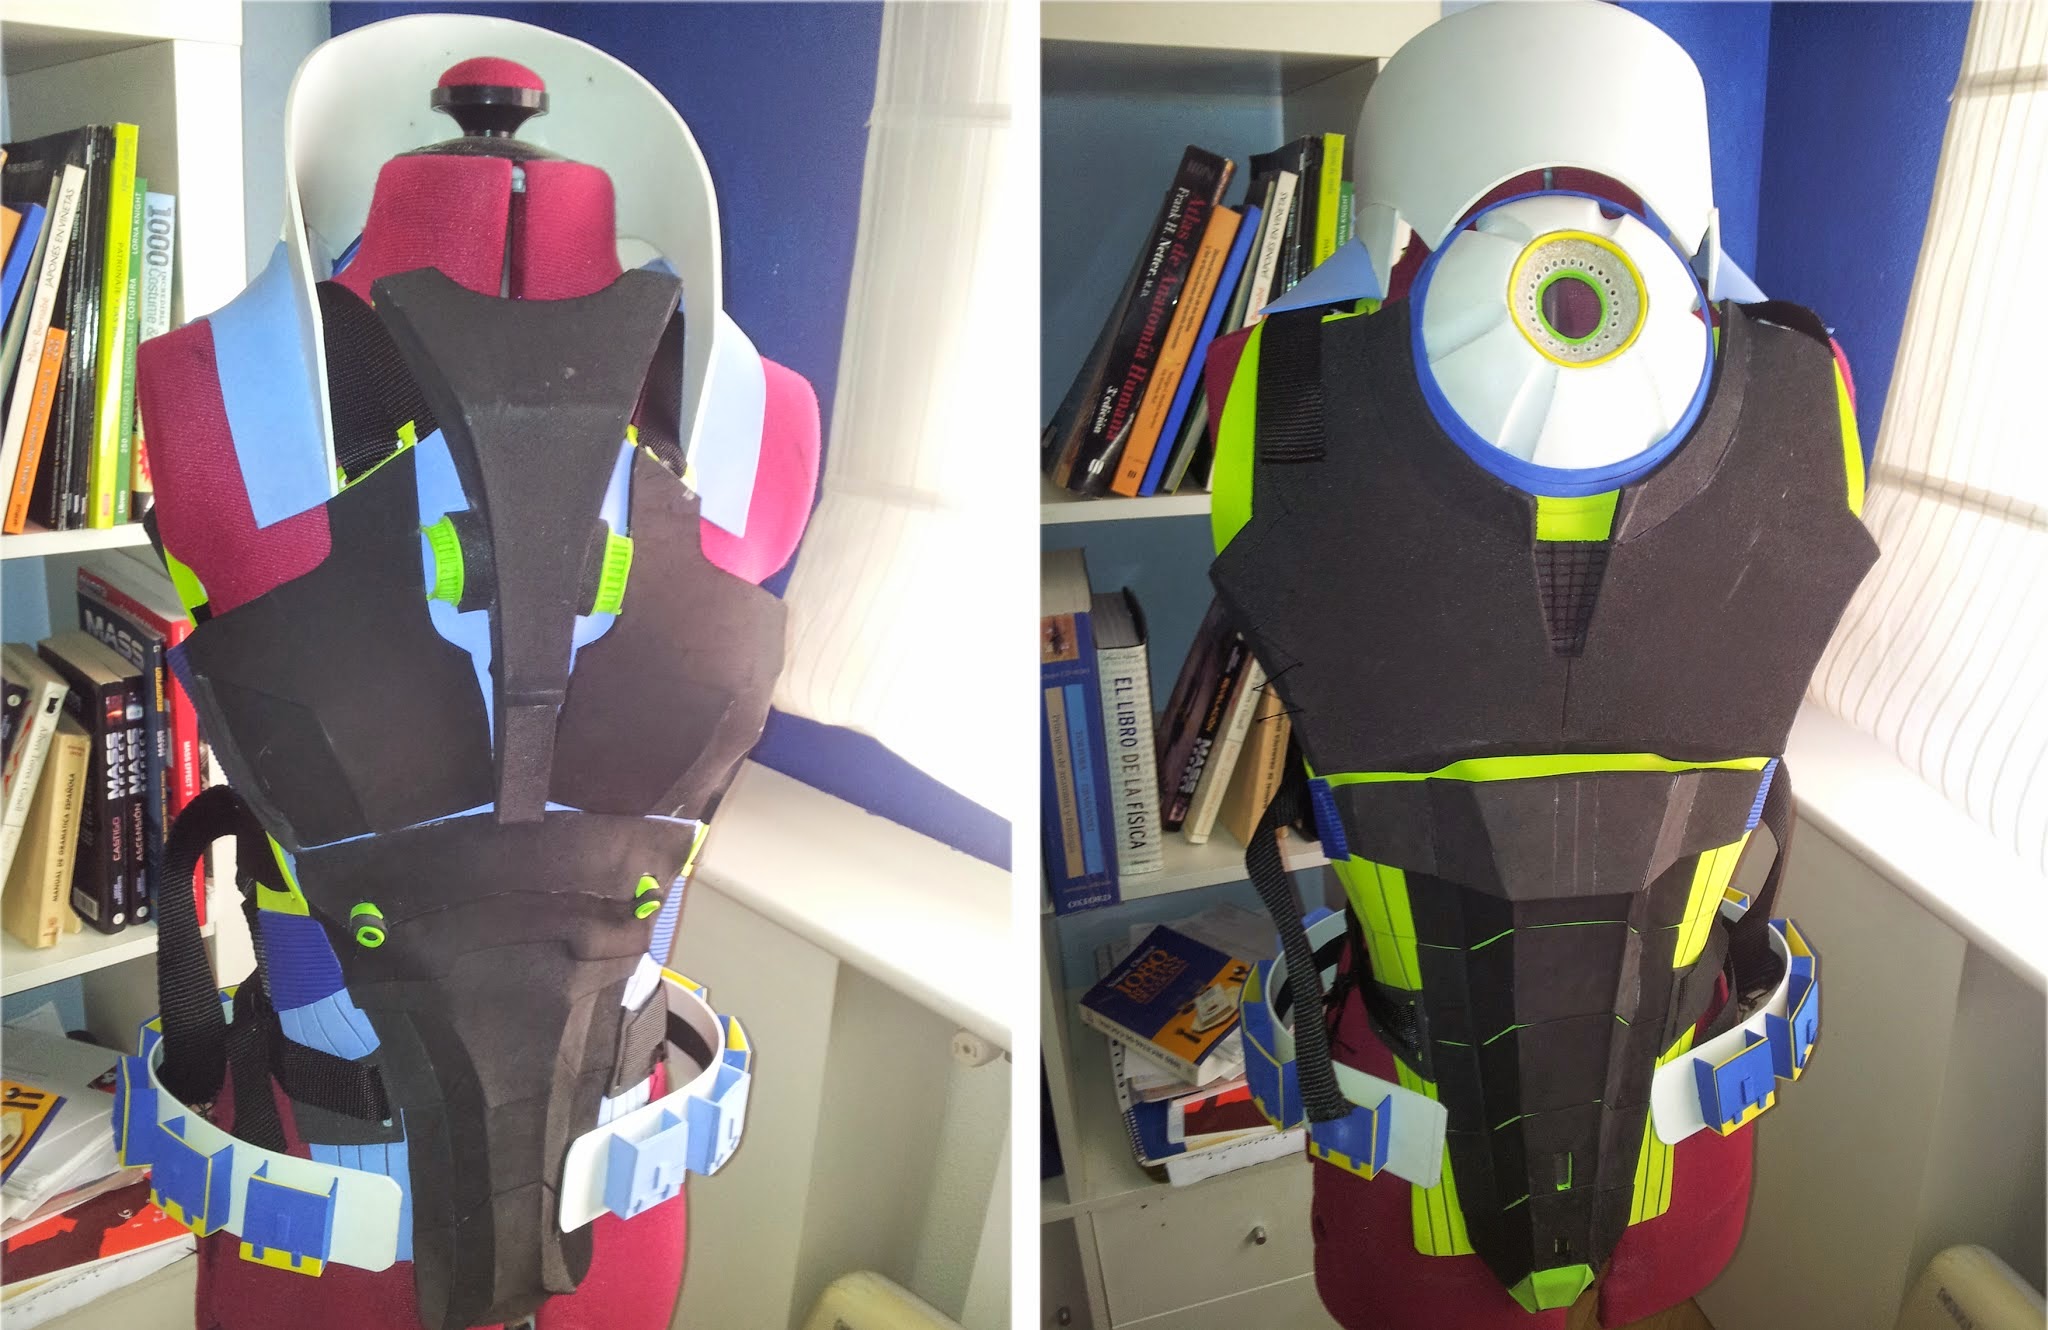
This is the whole armor:

These green shoulder pieces are made to give some structure to the sleeves over the catsuit. I didn’t explain how I made little pieces such as the crotch armor, the belt or the butt pieces, but you know how this works.

Once I finished making the torso pieces, I put them together over a 2mm foam sheet using a lot of super glue.


I used the side protrusions to complete the armor.


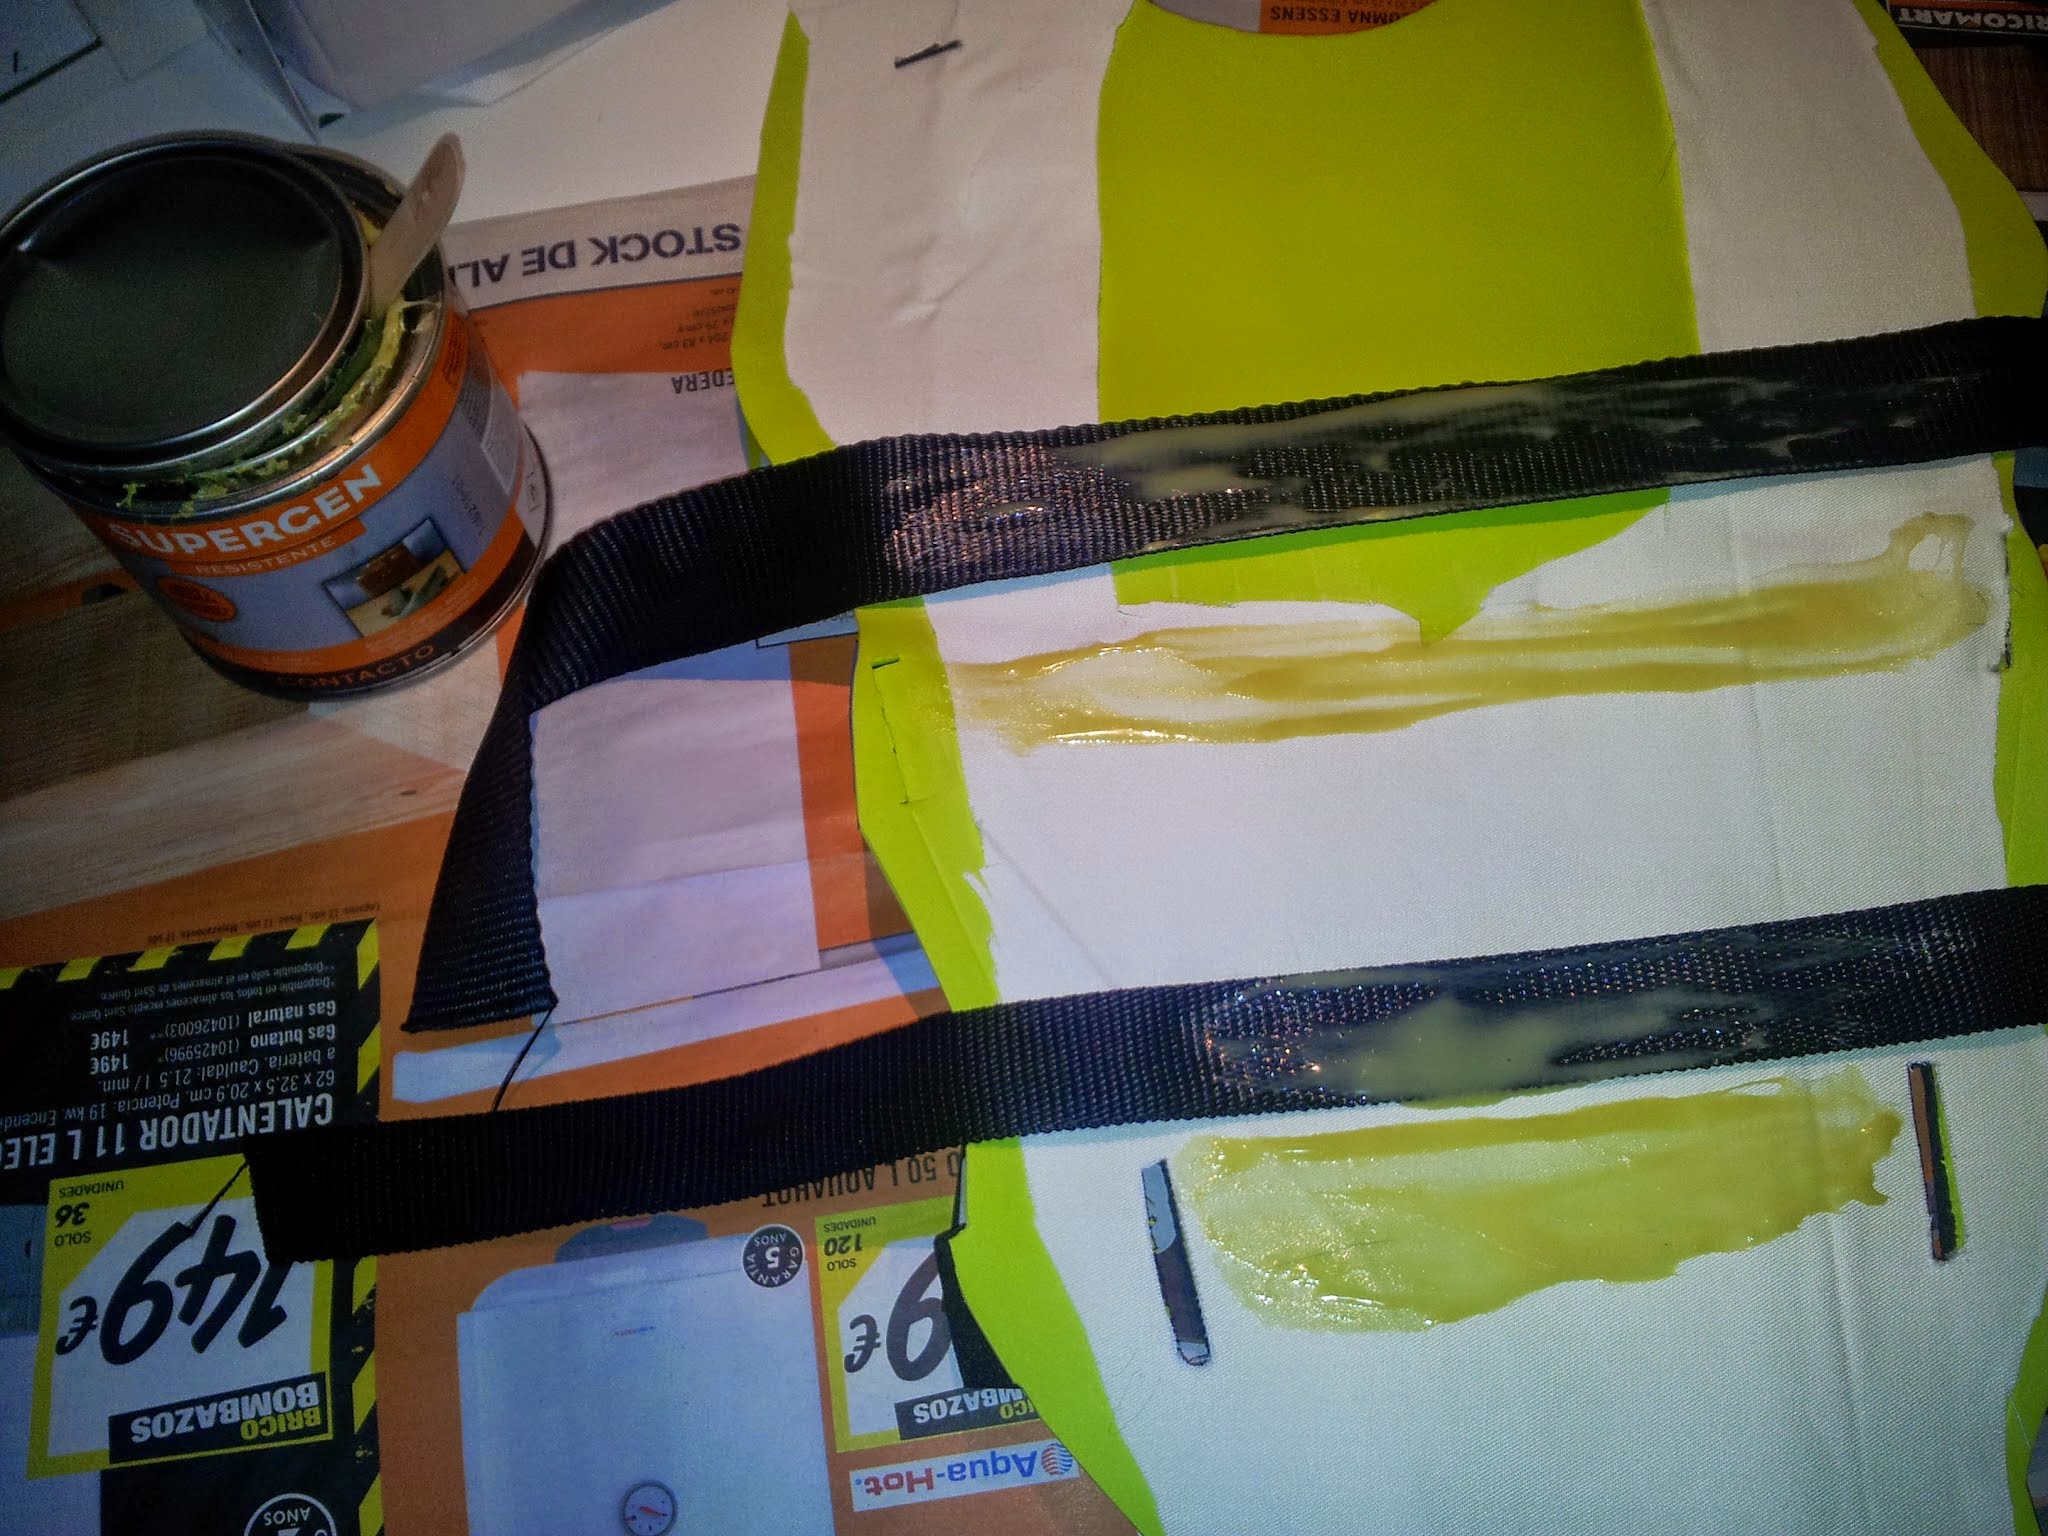
I glued a lot of straps using contact cement inside the armor. This kind of glue works really well with the craft foam. It smells really bad and looks like snot, but it’s miraculous!
Super glue is fine when it comes to little pieces or edges, but if you have to glue big pieces together, then contact cement is the best choice. If you try to pull it up, you’ll ruin the foam before the glued part.
Oh! And that white fabric inside is glued with wood glue to the craft foam and I put it there to avoid the foam tearing off. It’s not really neccesary to do this, but I wanted to make a hardwearing armor, so I added a lot of preventive measures.

And that’s all!! Hope you found this useful.
Remember: craft foam is your friend. Don’t trust that soft appearance, it’s a wonderful material to make armors if you know how to use it.
Thanks for reading! As always, feel free to ask in the comments, twitter, facebook or send me some smoke signals.
My next tutorial will be about how I coated, primed, painted and wrapped this costume.


