Hi everybody and welcome to another Peebee tutorial. Today I’ll explain how I made her trousers that have a lot of pieces and it’s quite difficult to make. But no worries!

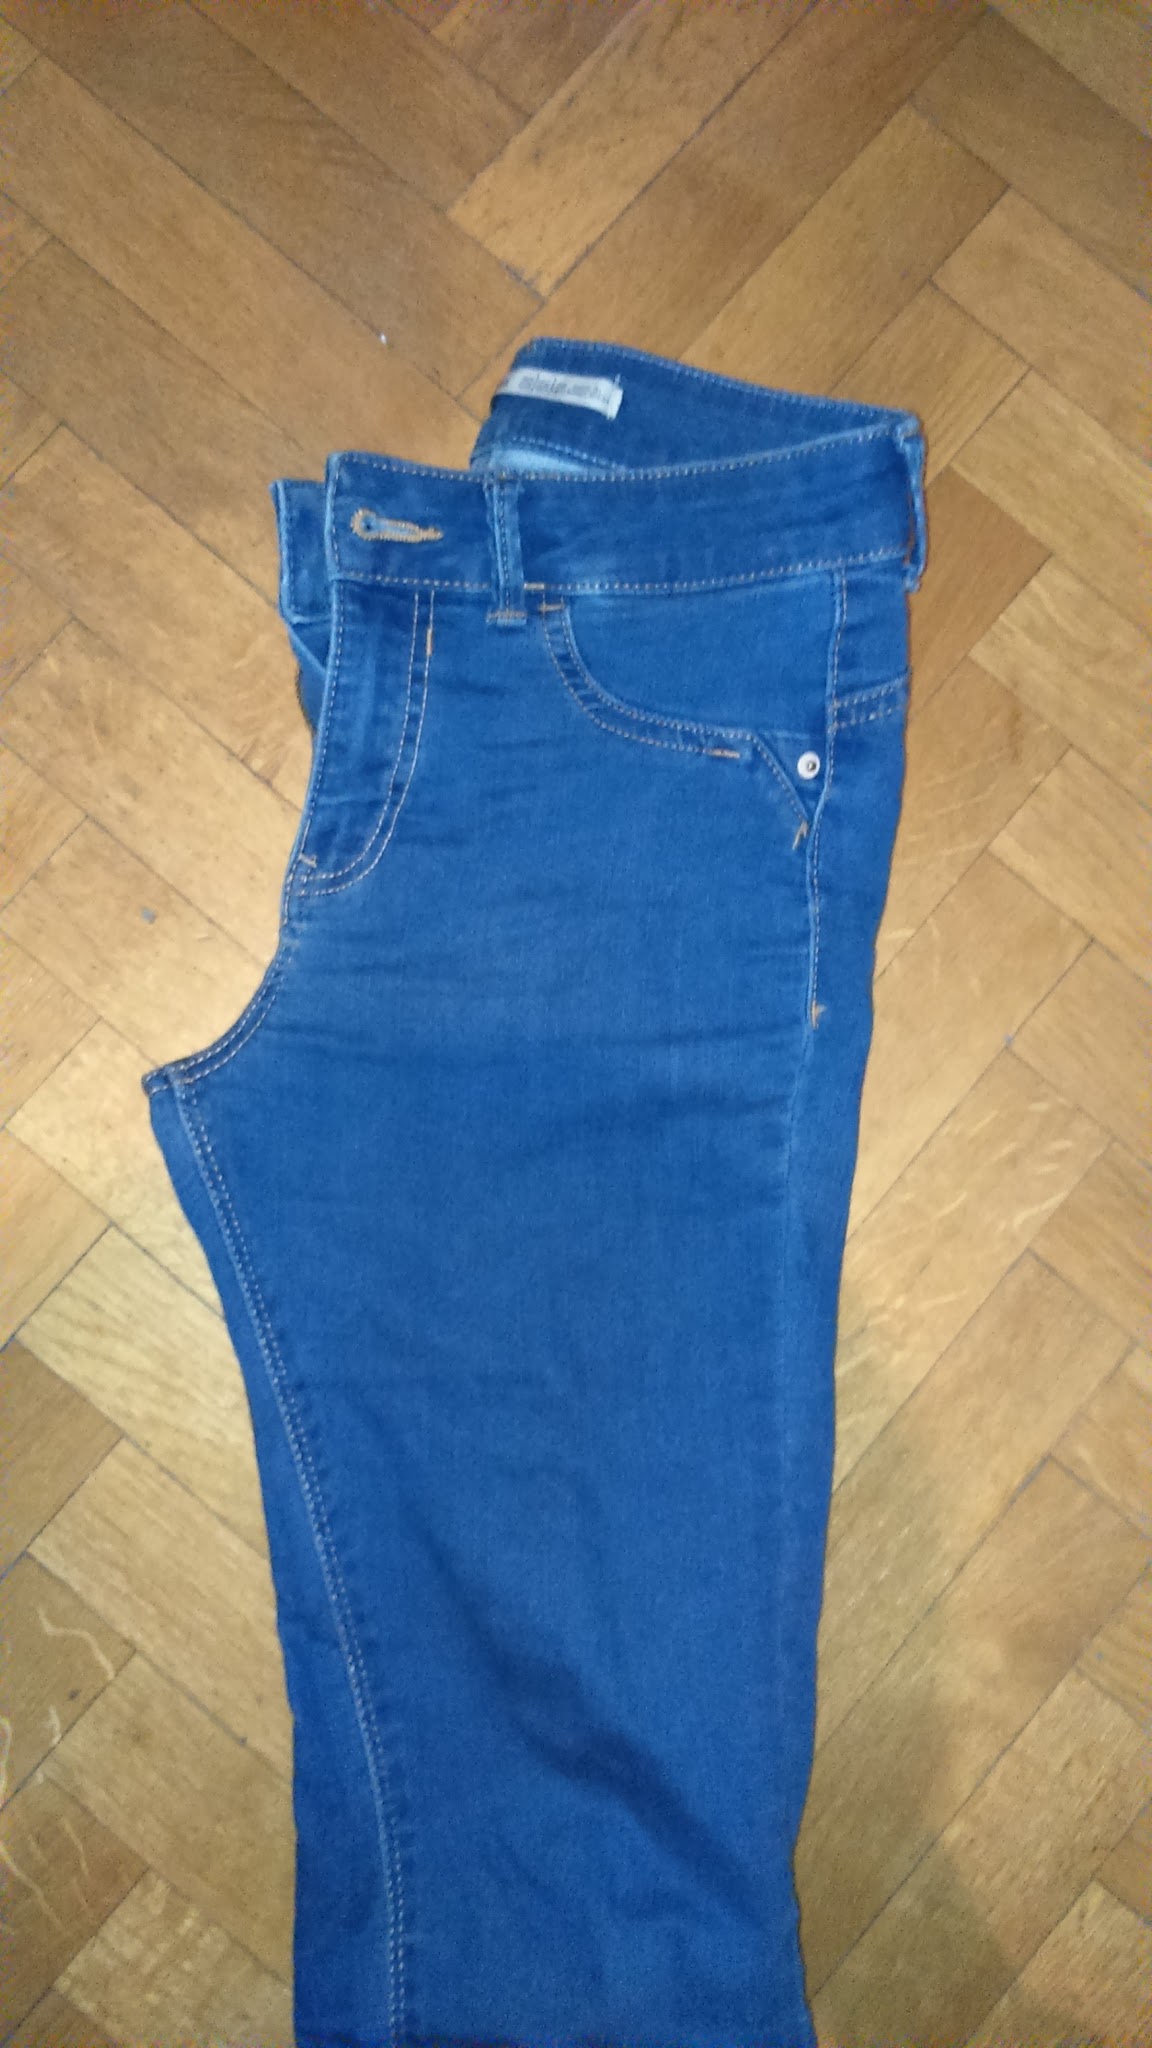
First of all, I made my pattern by copying a pair of pants I had at home. As you may already know, you can make your patterns using a pair of folded pants. I recommend you to make the crotch a Little bigger tan your original pants just in case. It’s much better to narrow them eventually than having to add an extra piece.
Something essential when it comes to make pants is to make the back part a little higher than the front because it’s gonna hold our booty and we need some extra fabric there to avoid showing our crack.
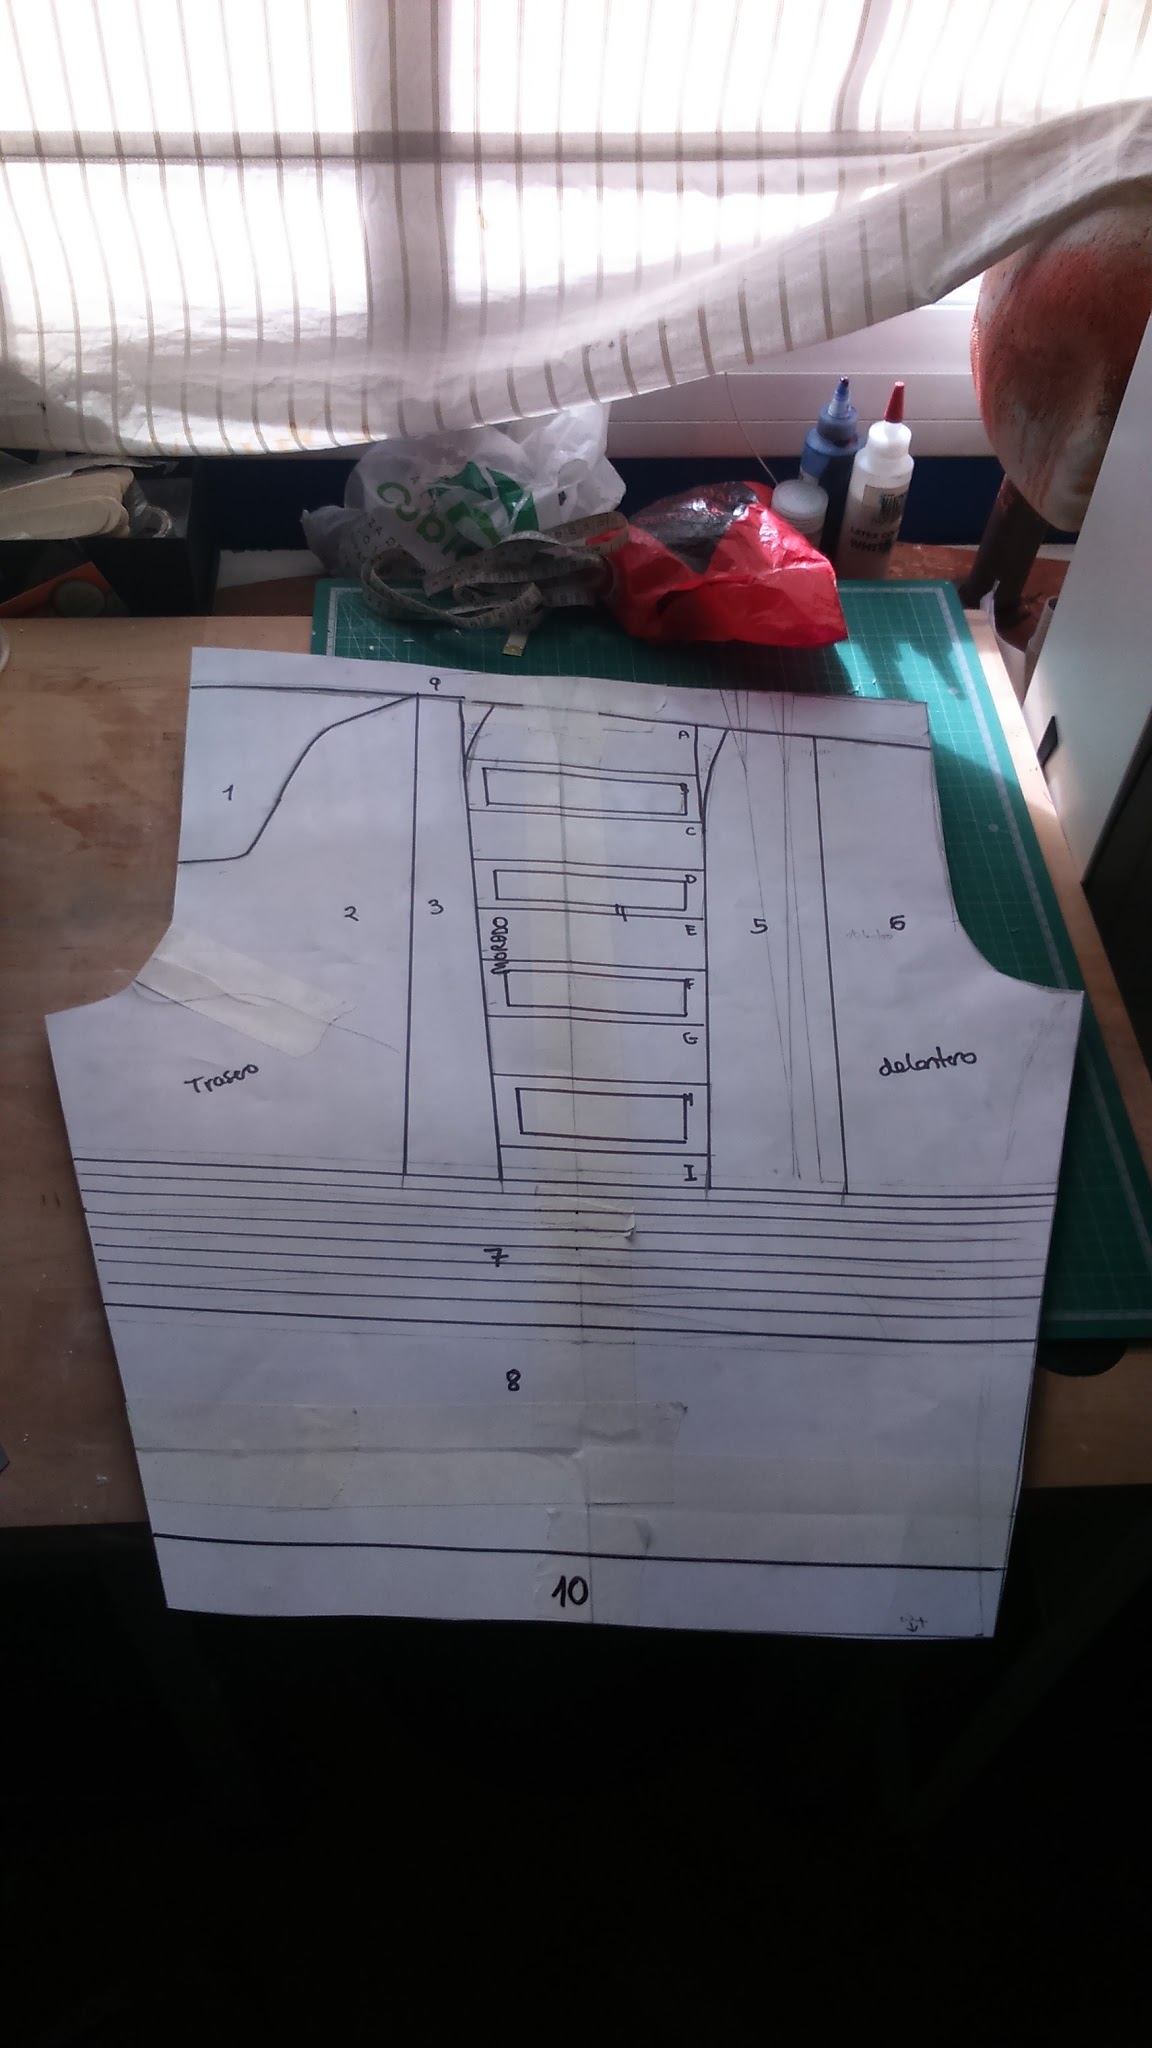
Once I drew the base pattern, I added all the pieces.
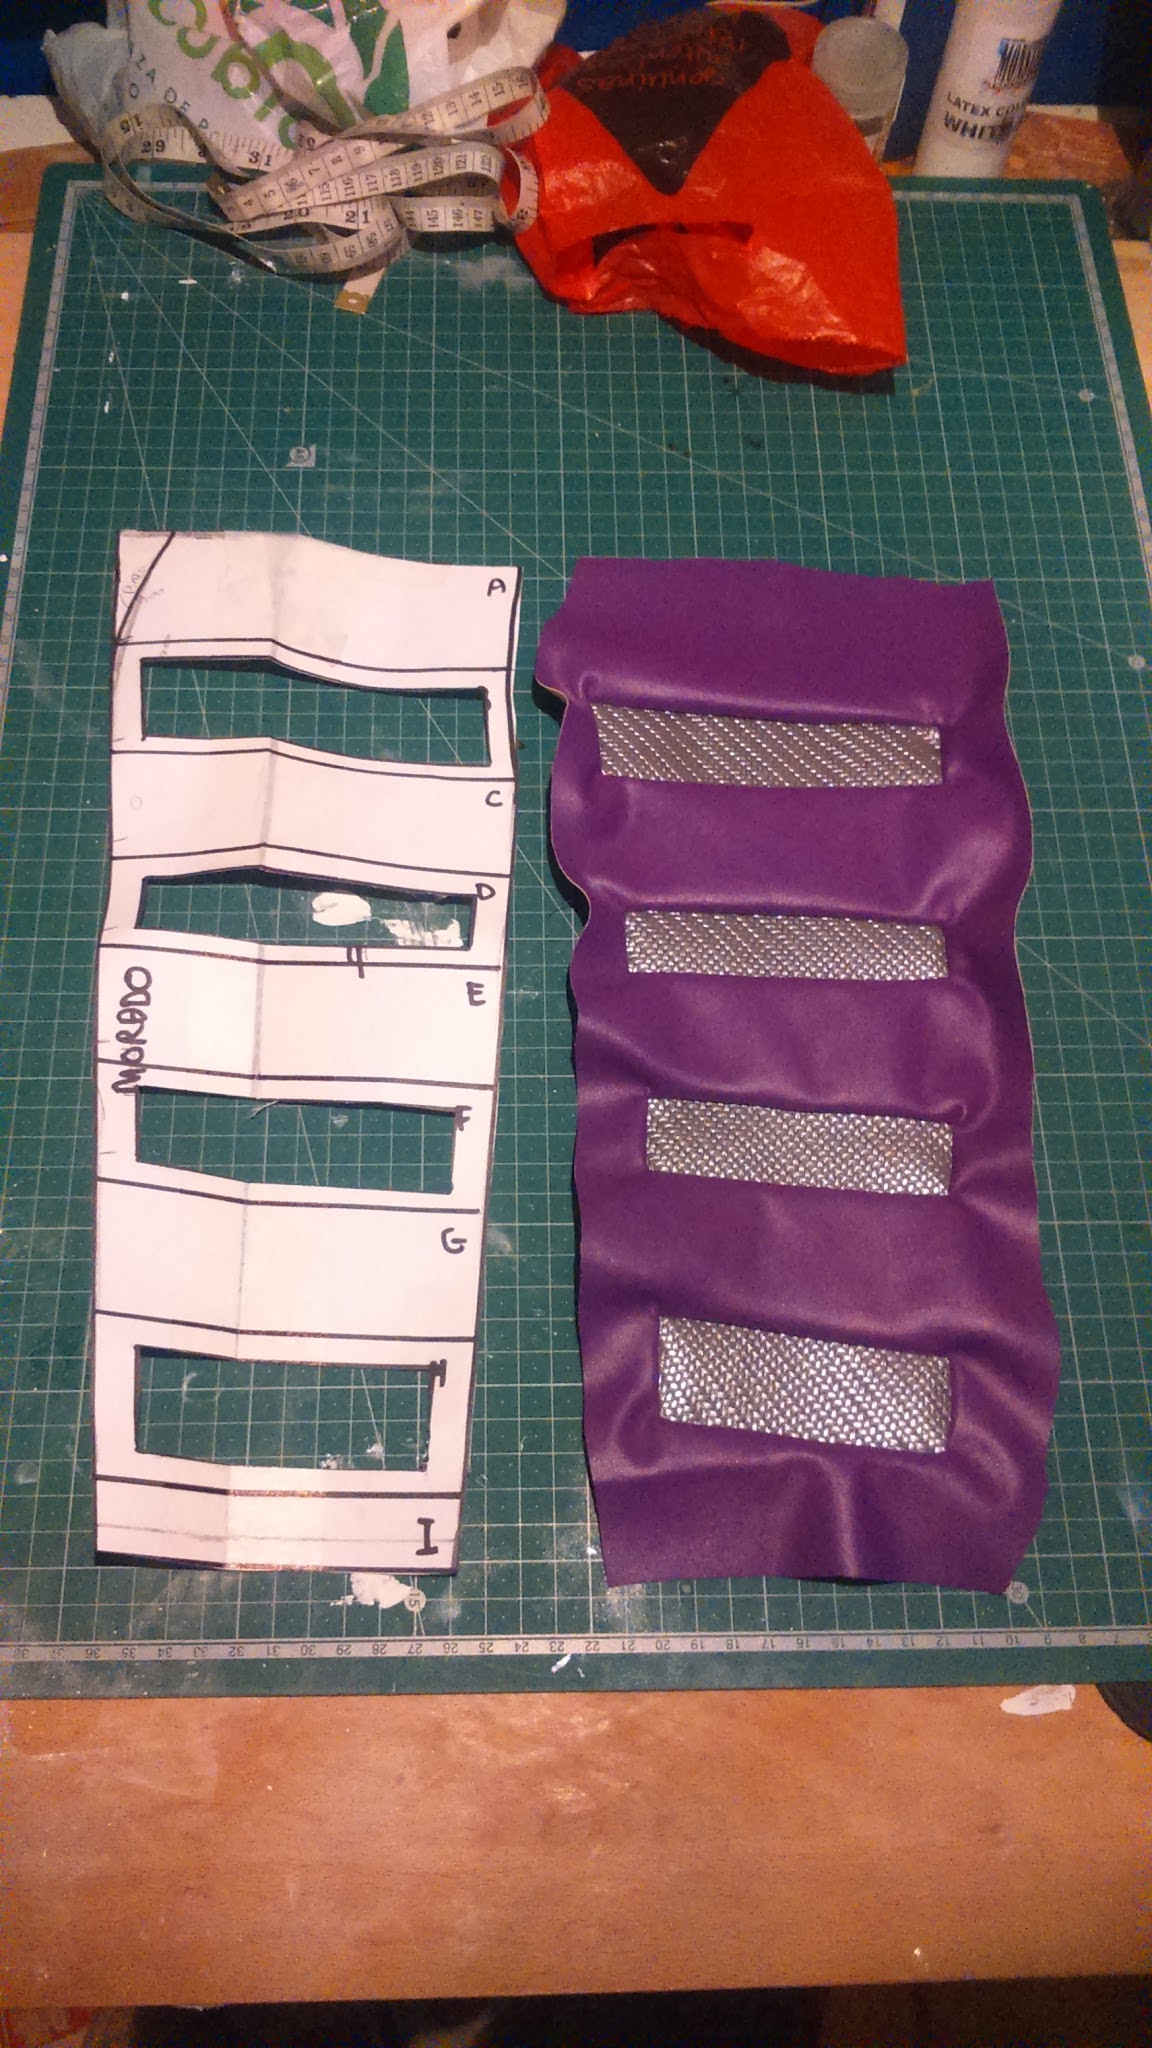
With the pieces drawn, I cut them and drew them on the fabrics. My sewing process this time has no misteries, it’s quite simple. I just put everything together.
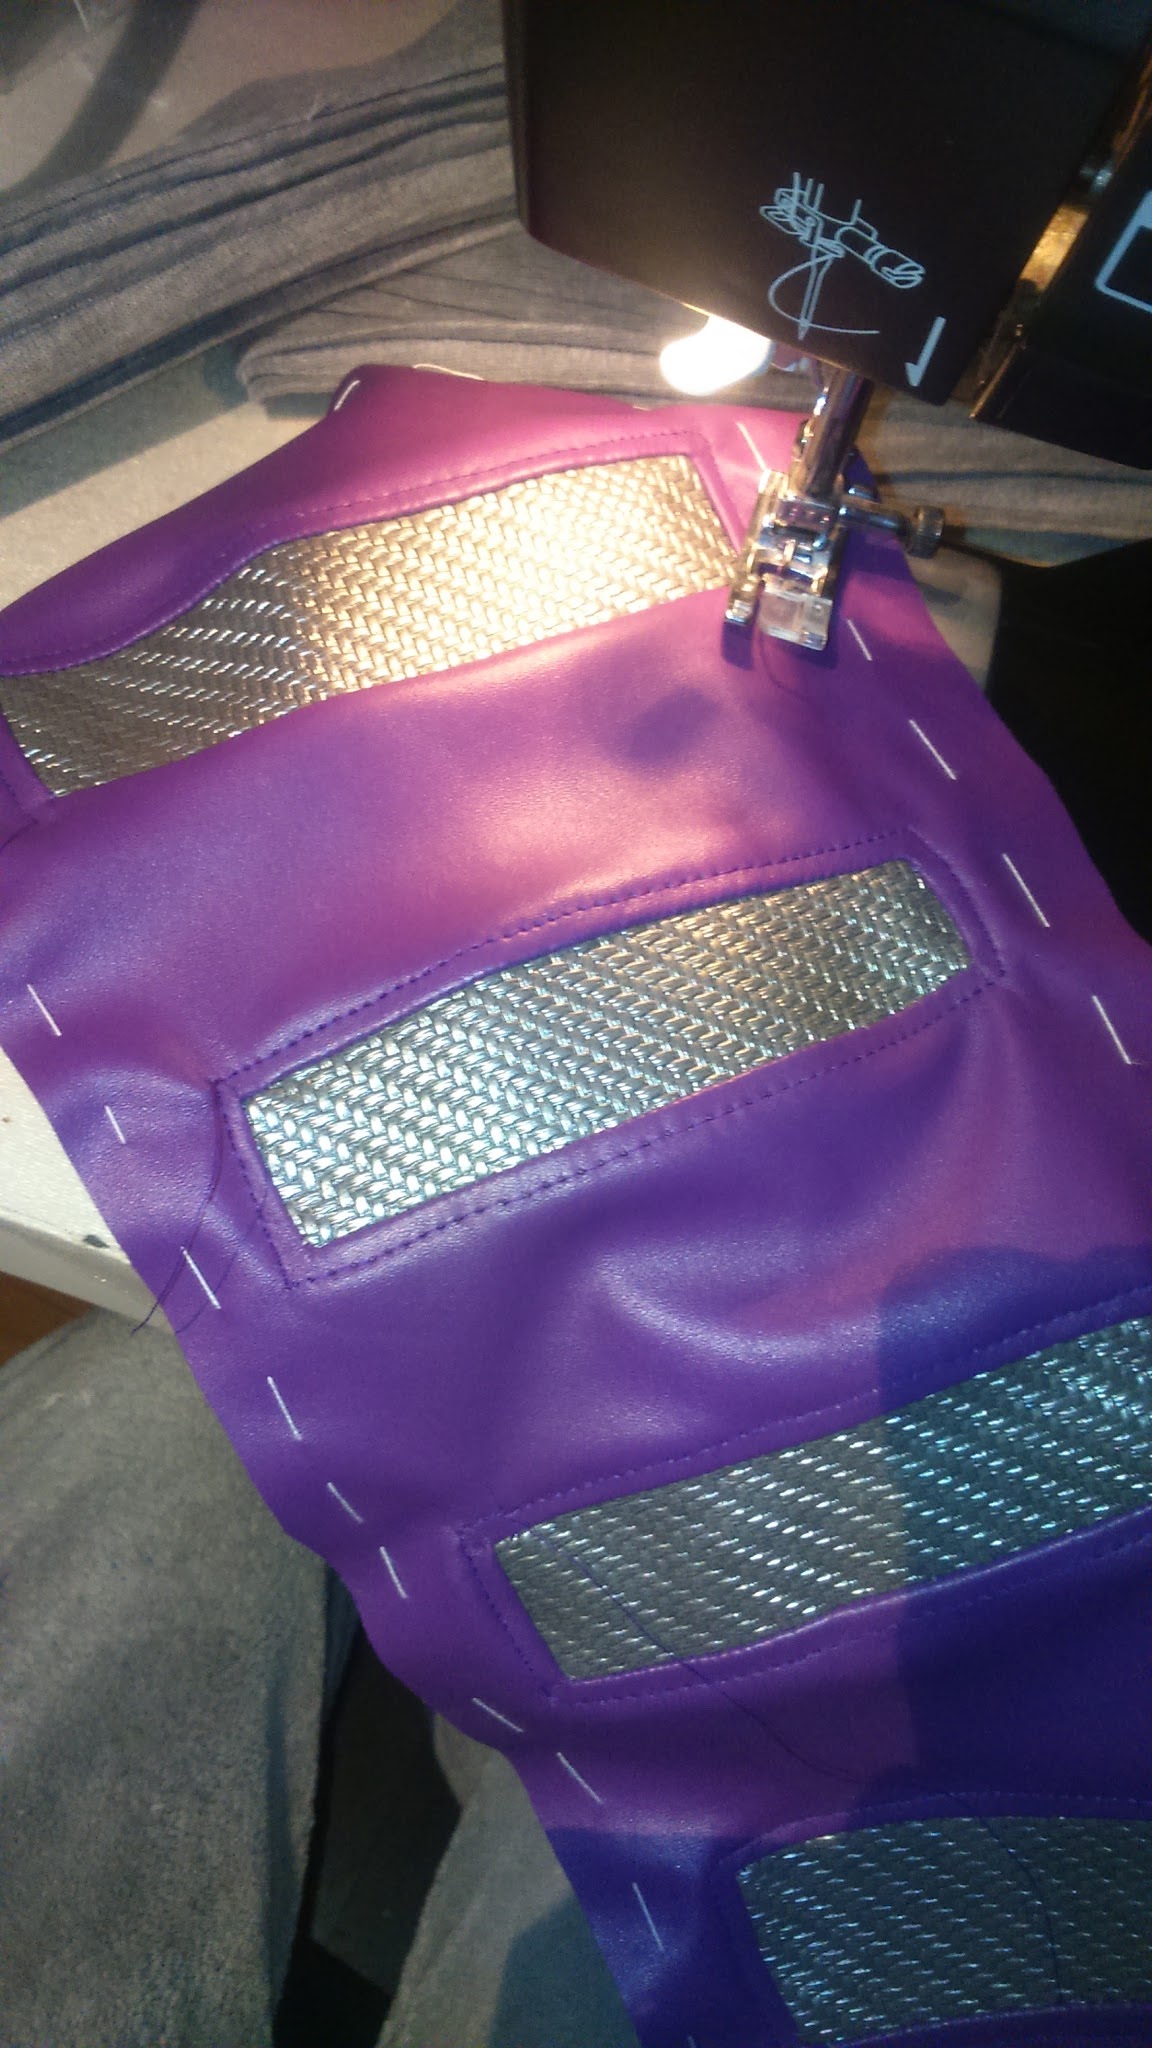
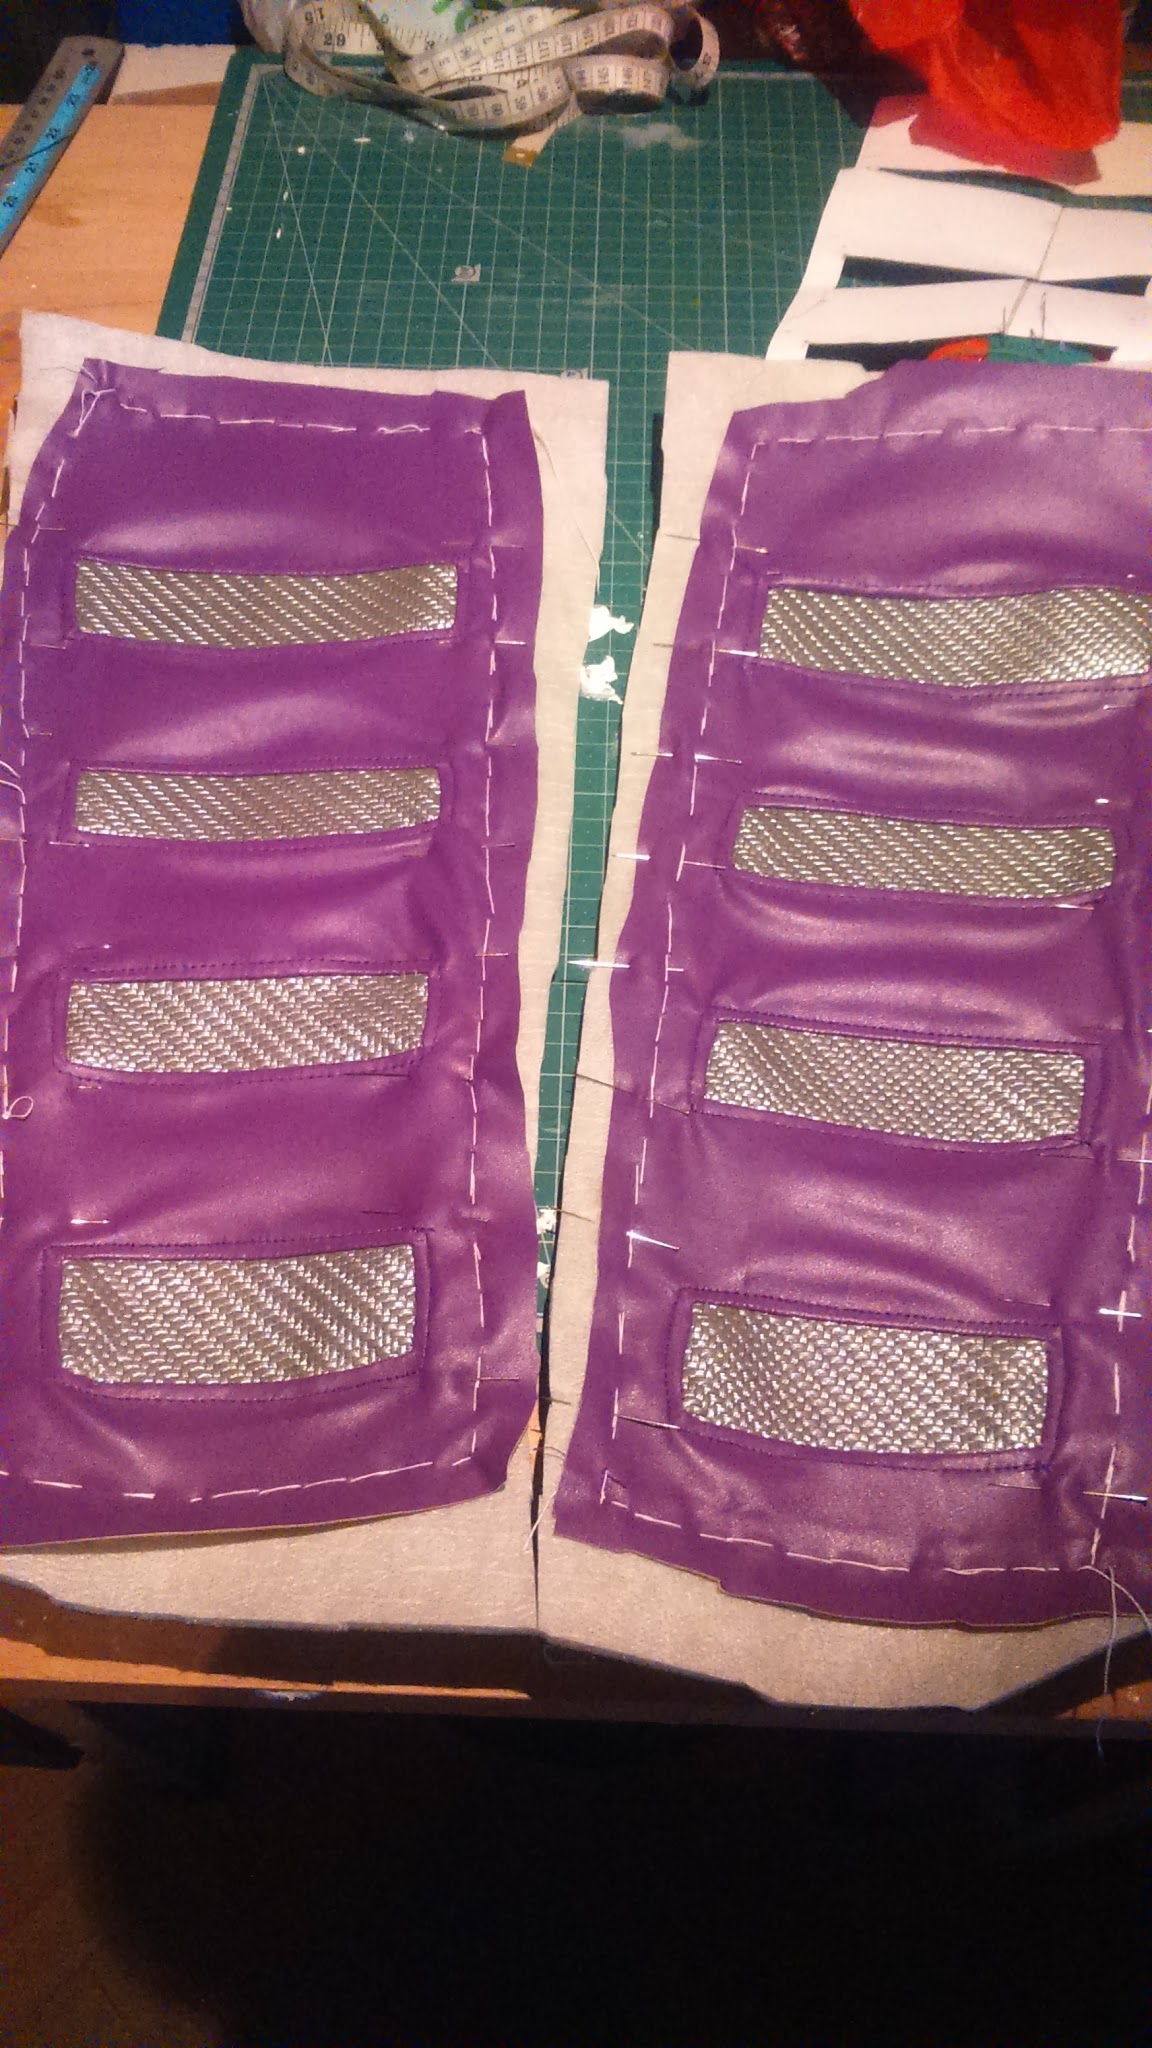
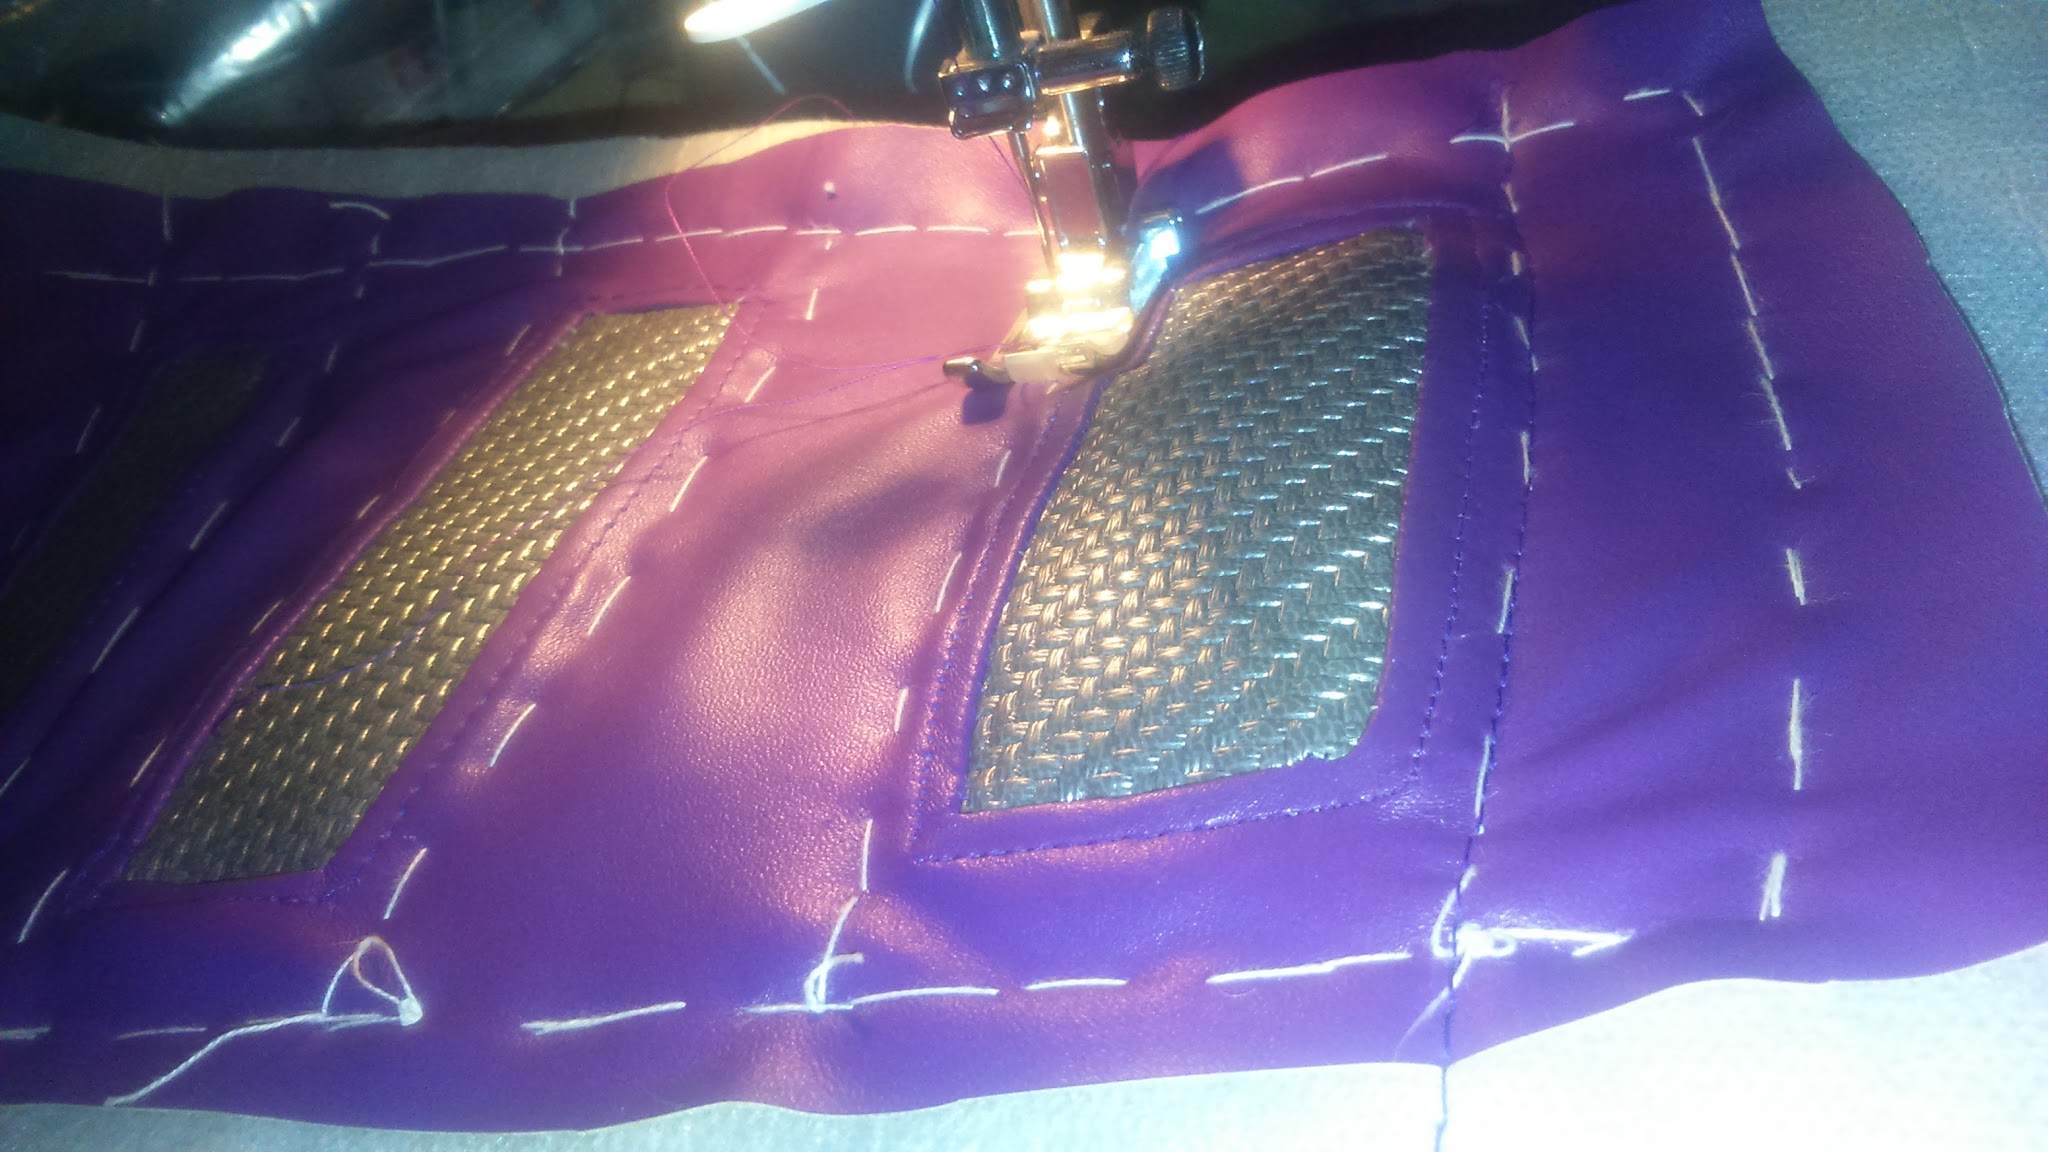
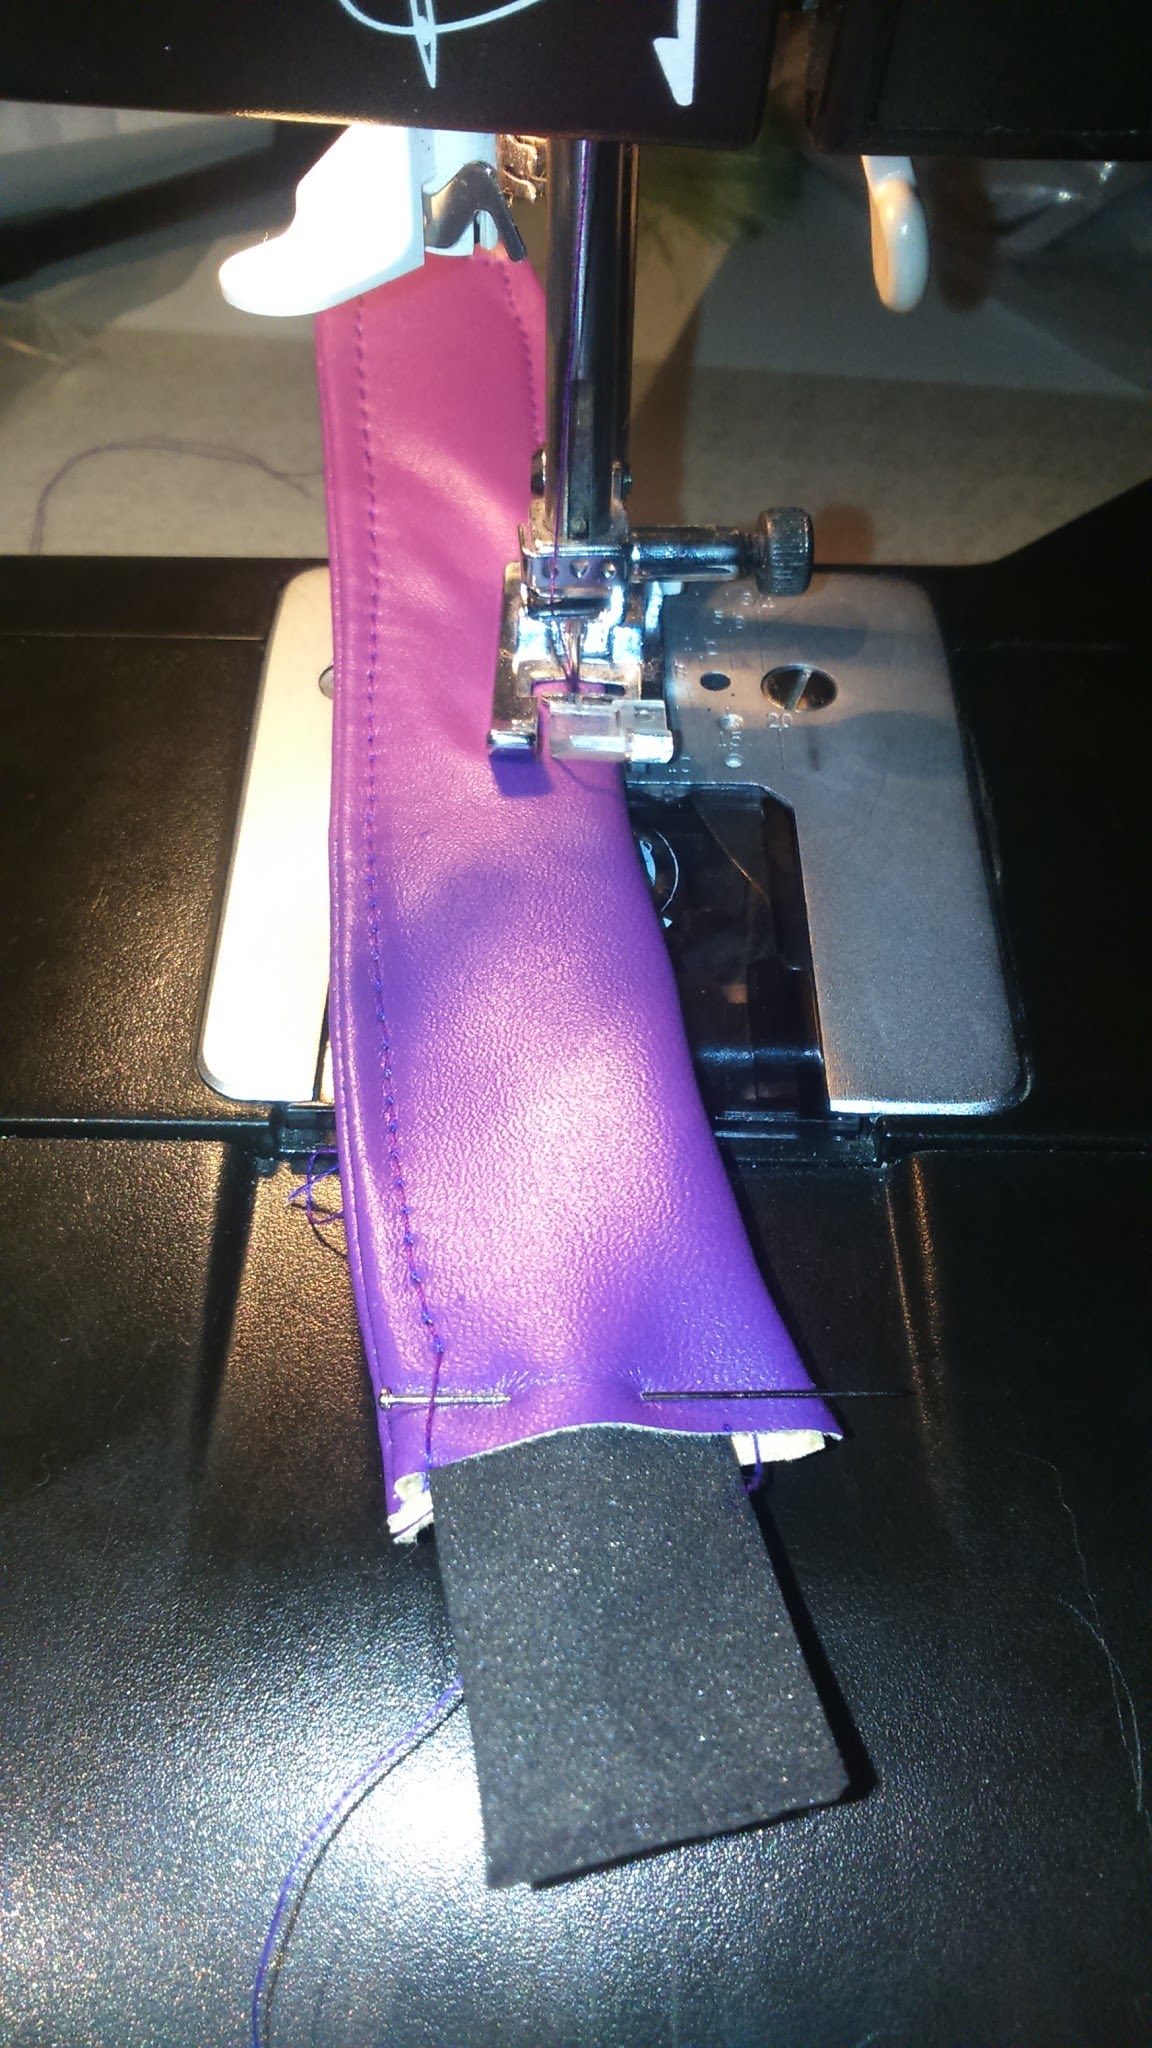
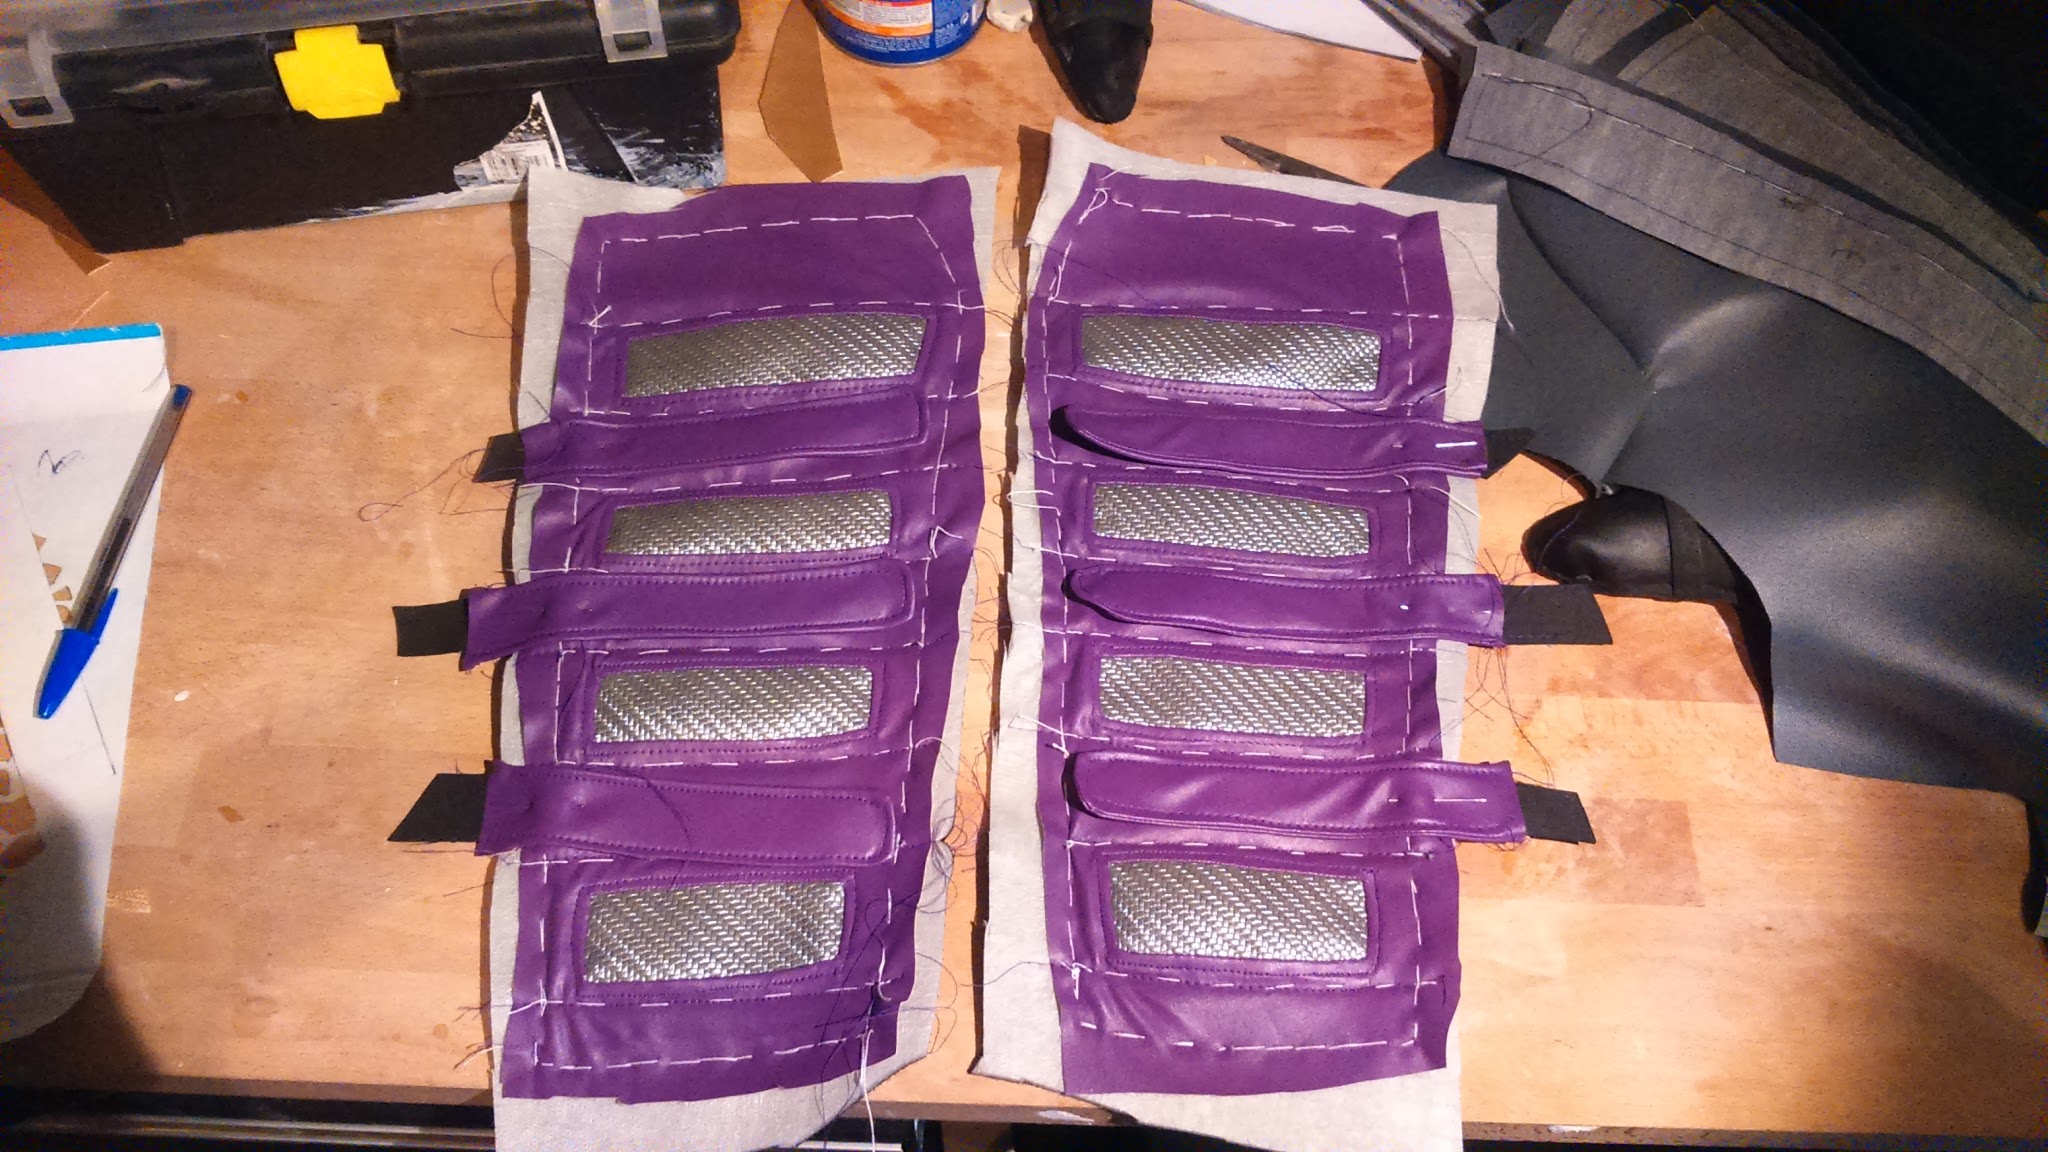
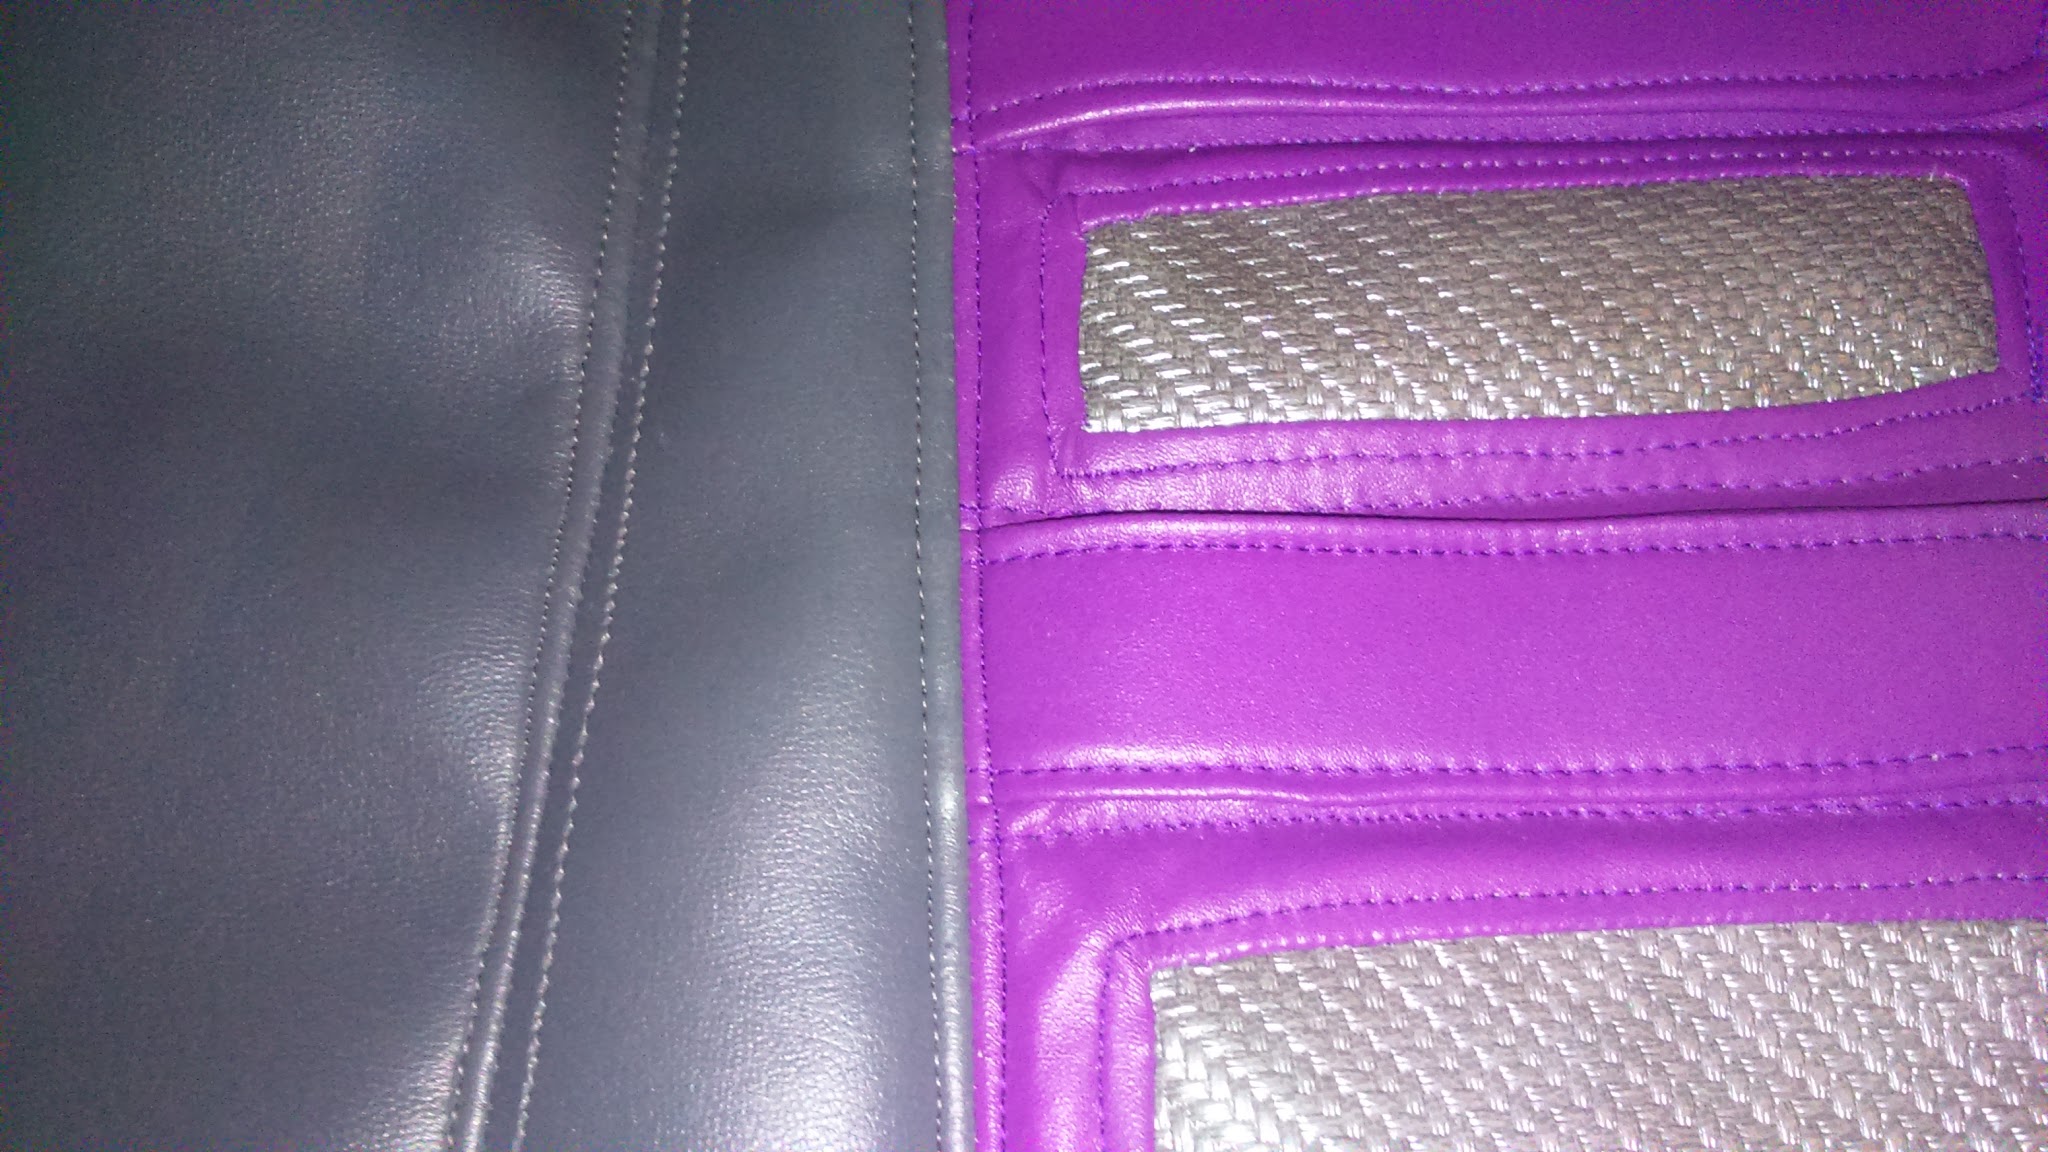
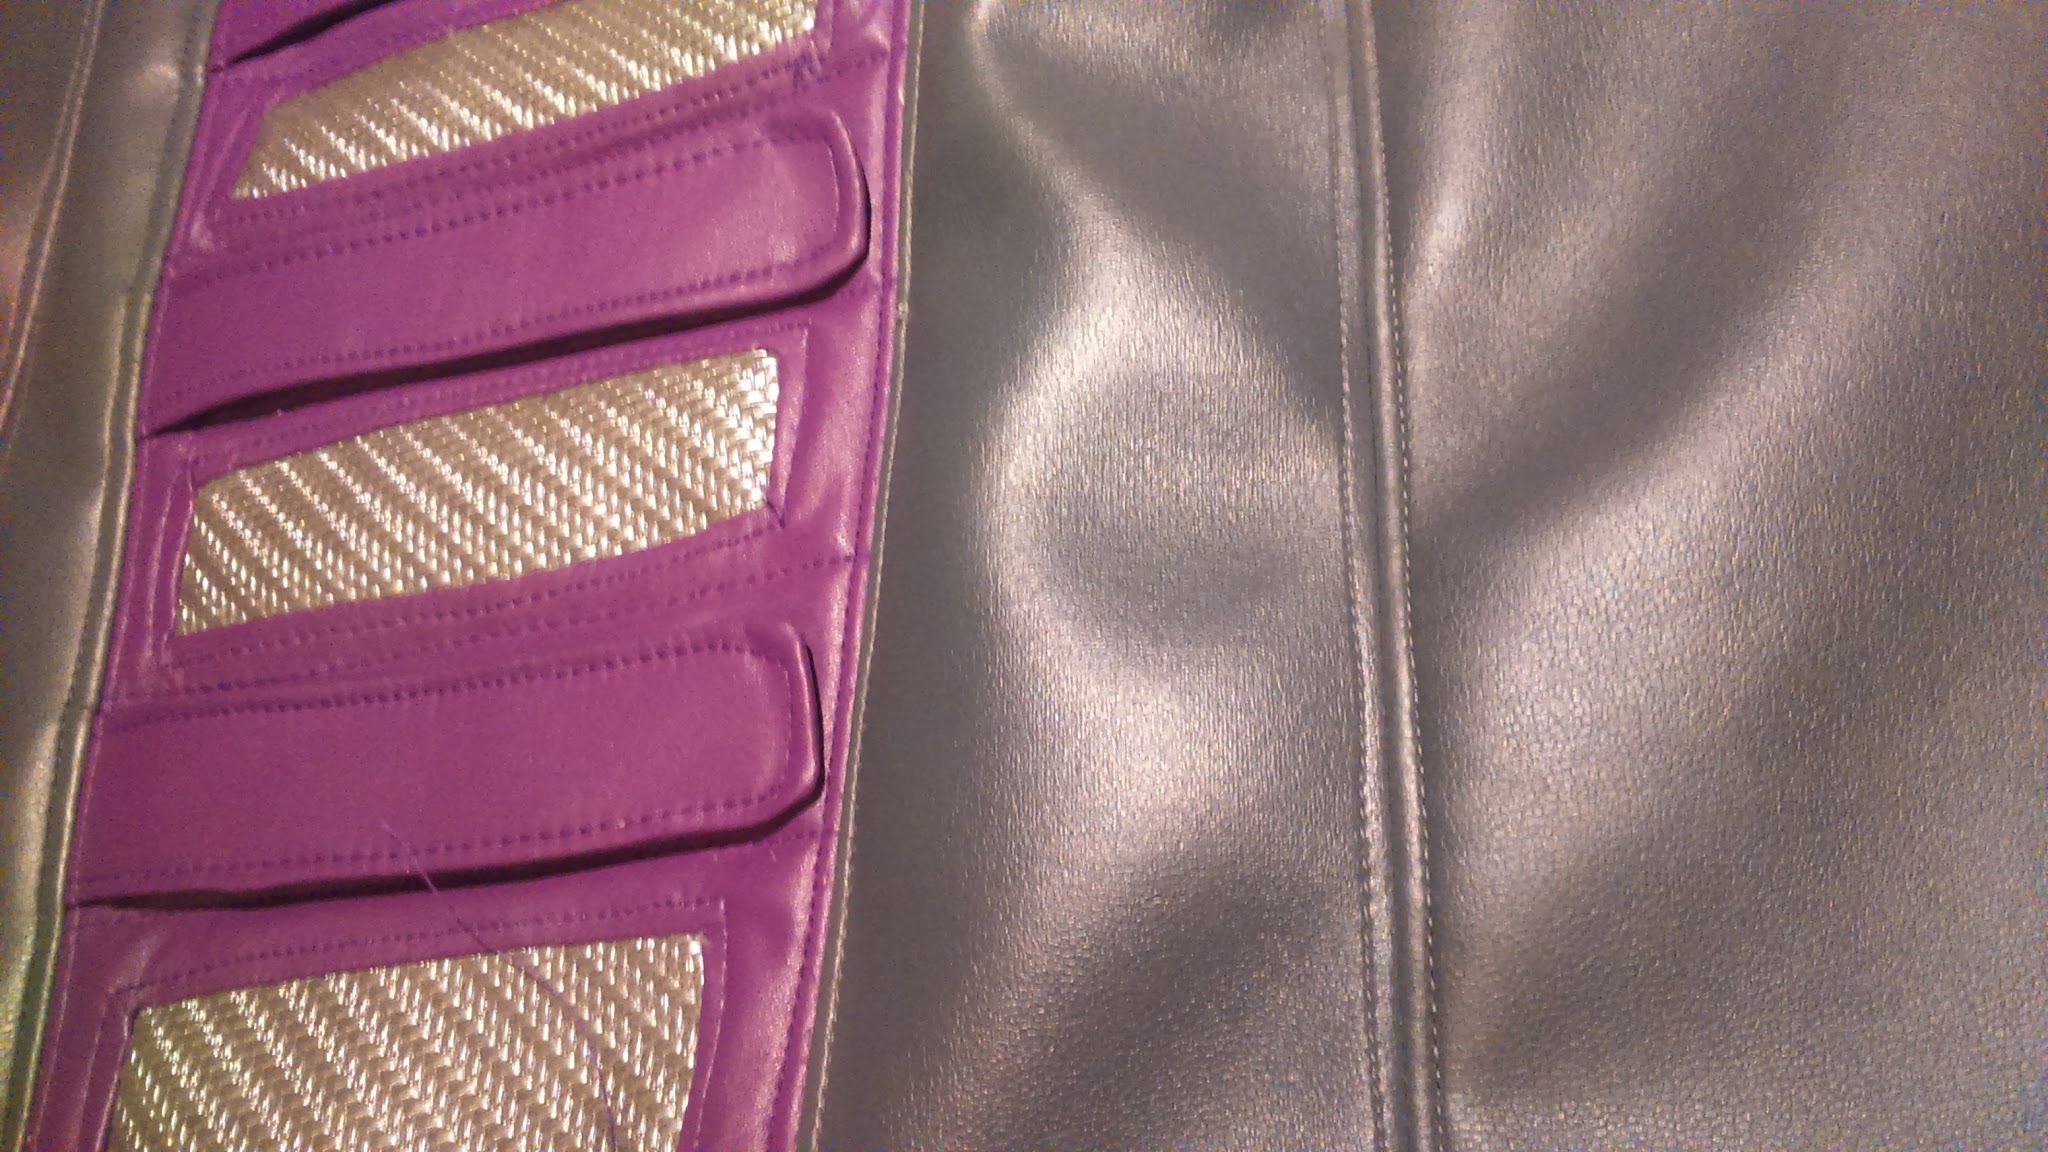
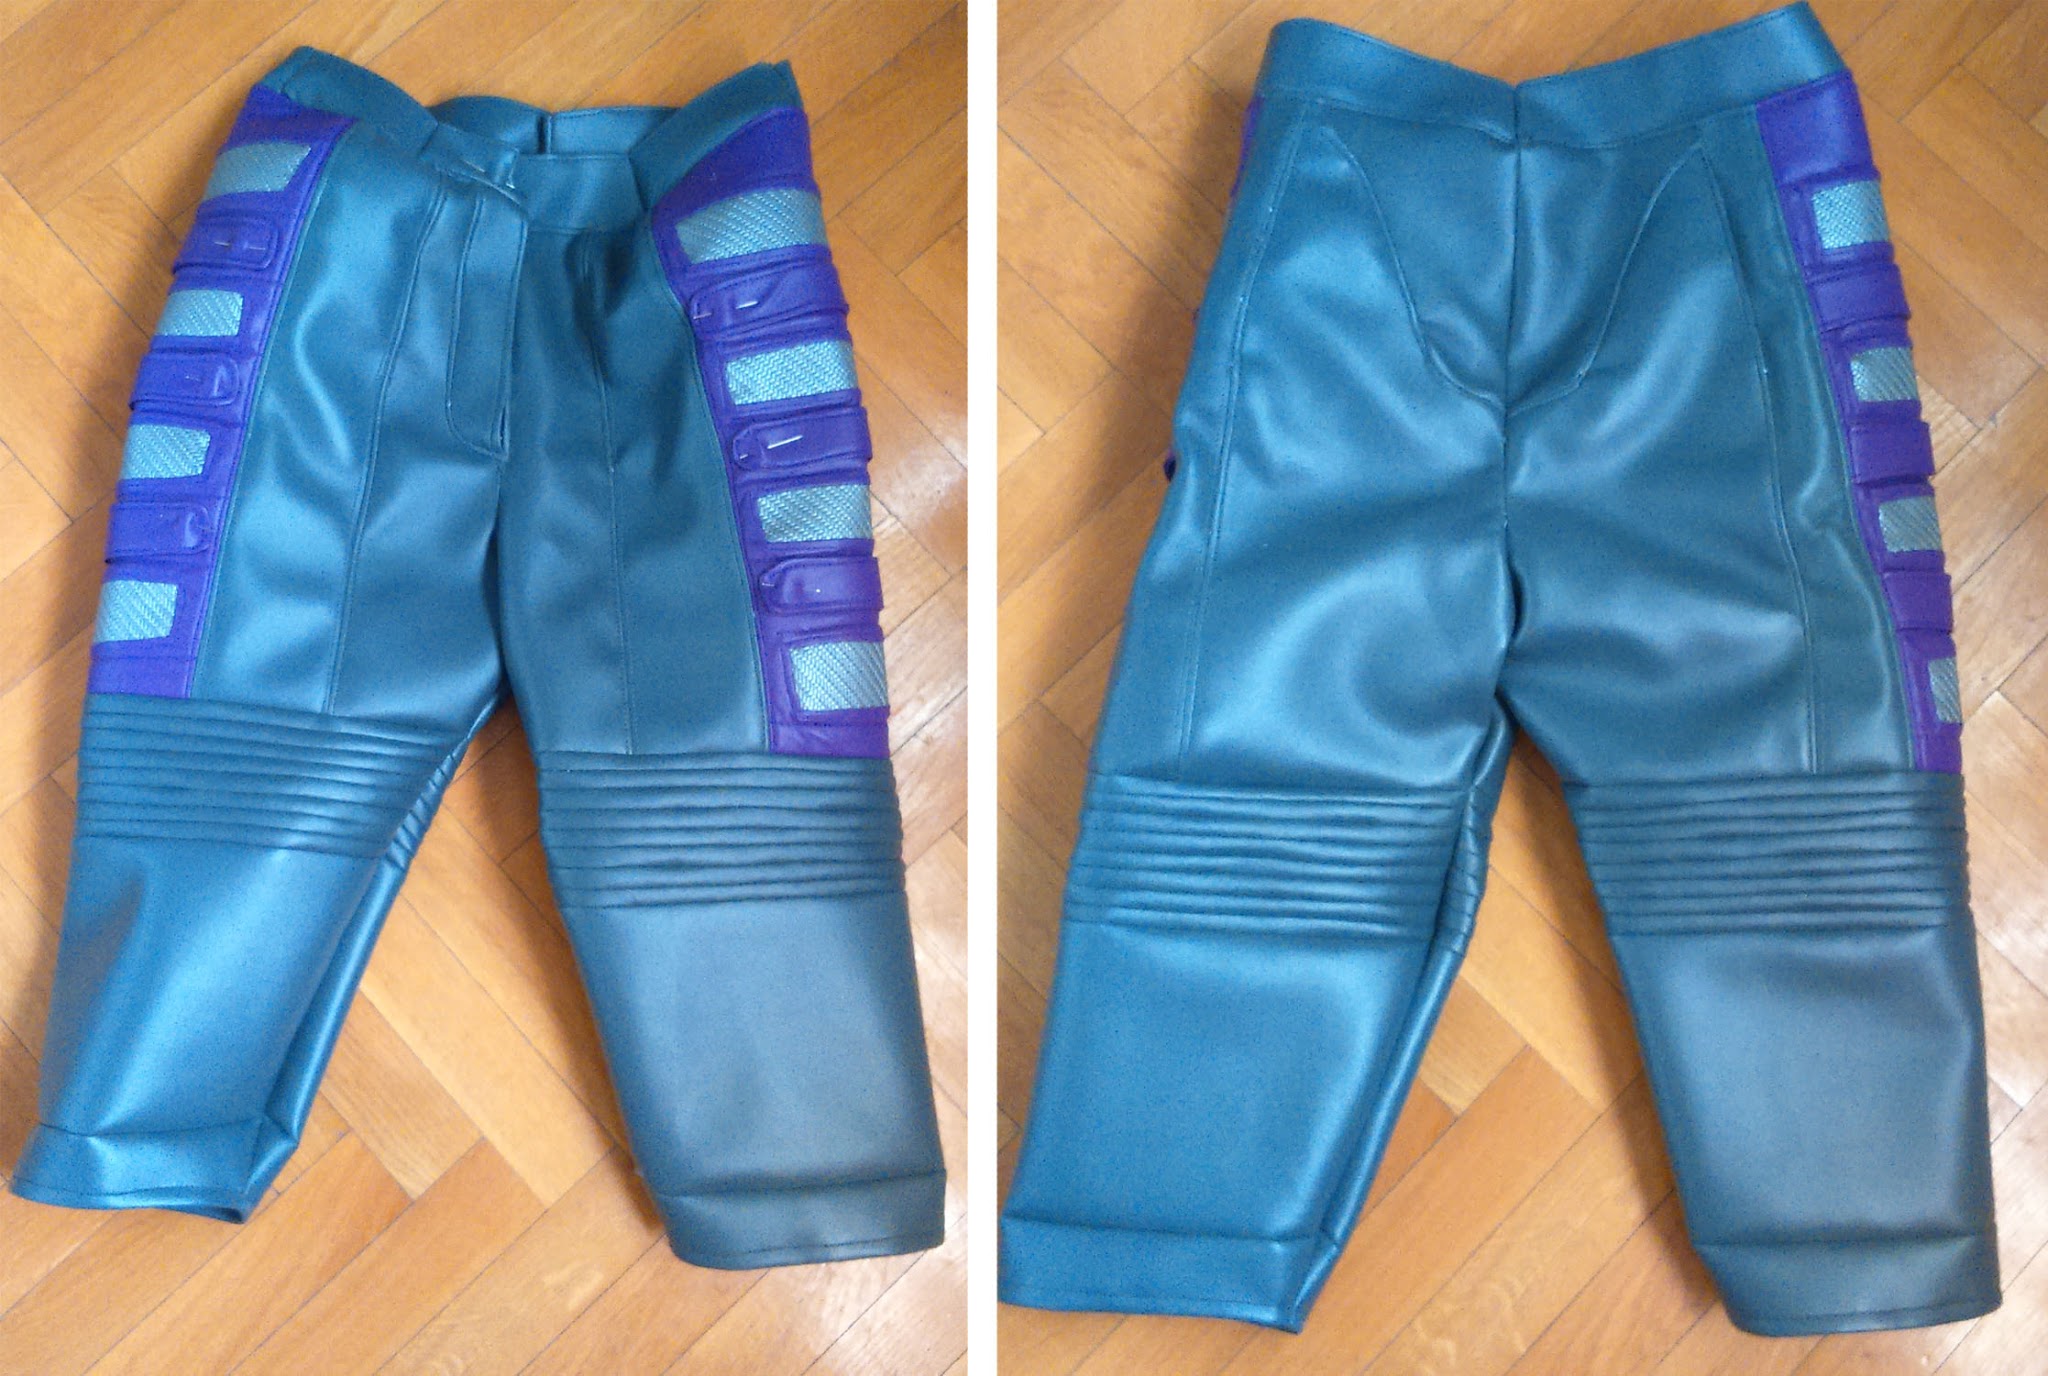
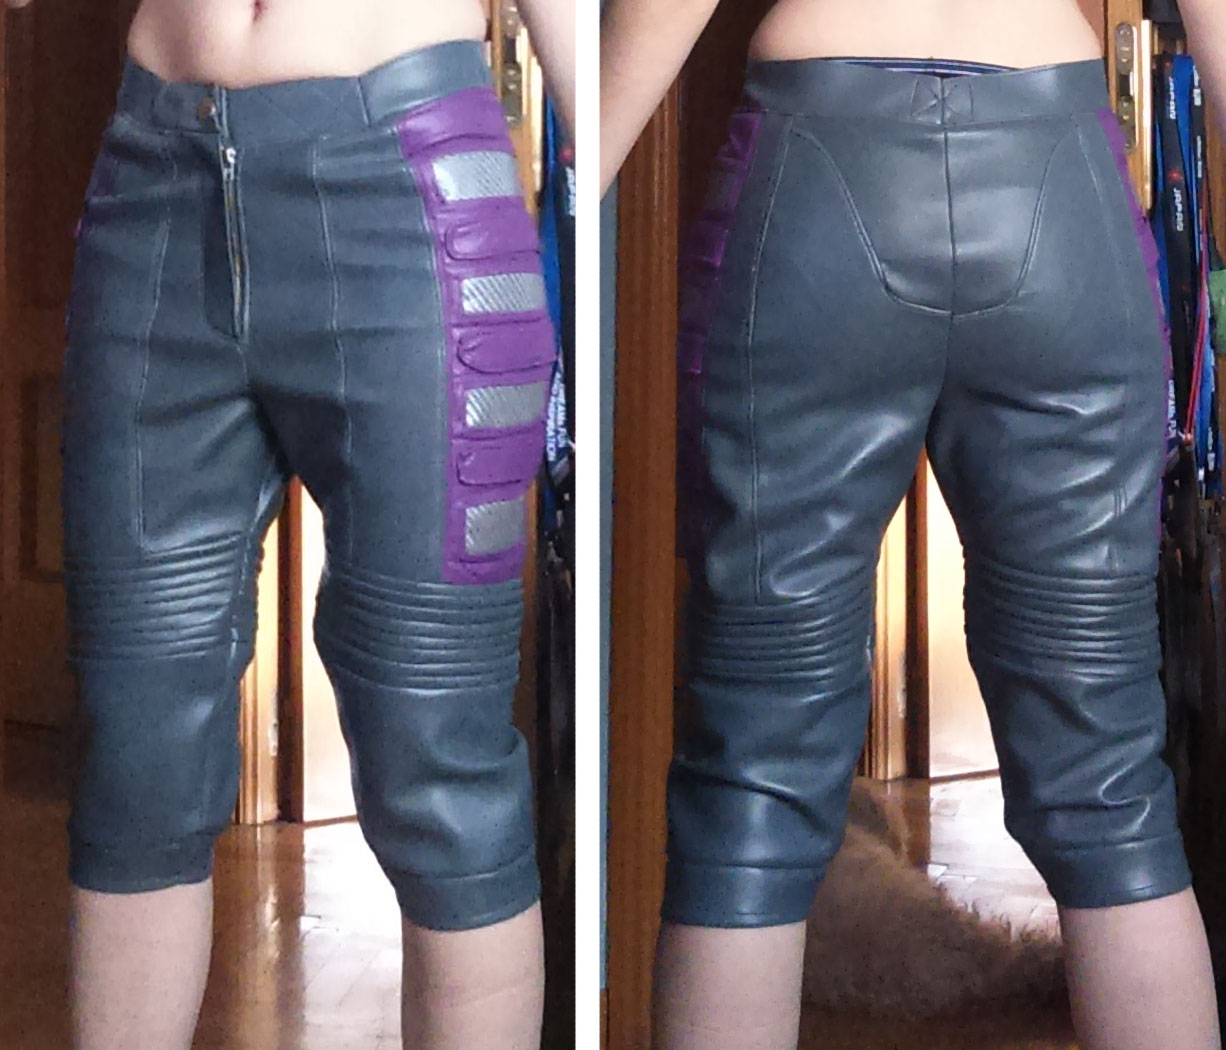
With the purple part I did the same than with the jacket: I sewed the carbon fiber parts into it, then I put foam under everything to pad it. After that I added ornamental seams.

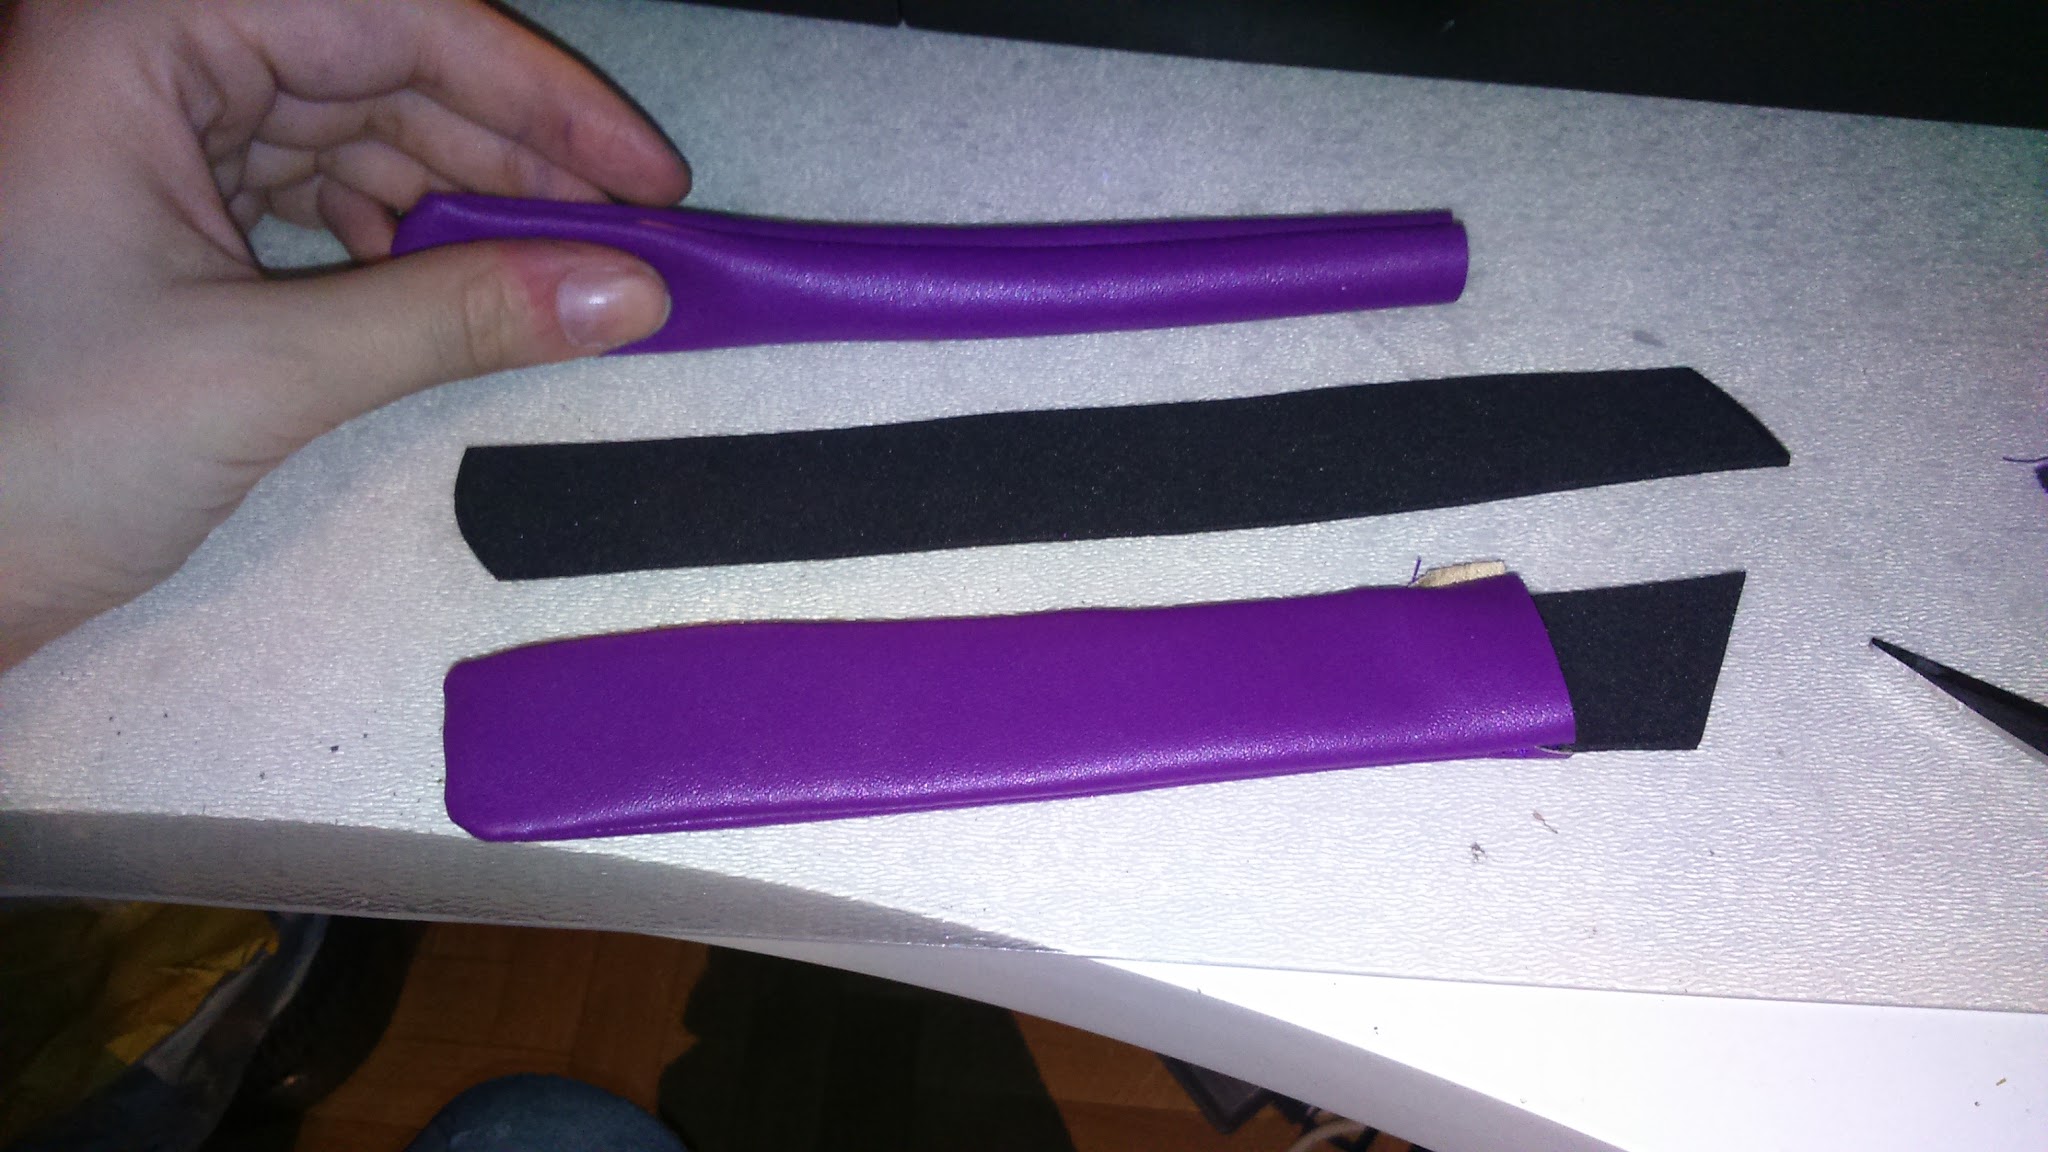
Then I made the belts. I took a piece of purple pleather and I sewed it folded, then I cut them, I fliped them over, I put a piece of thin eva foam inside to give it some thickness and consistency and I added ornamental seams in the edges.
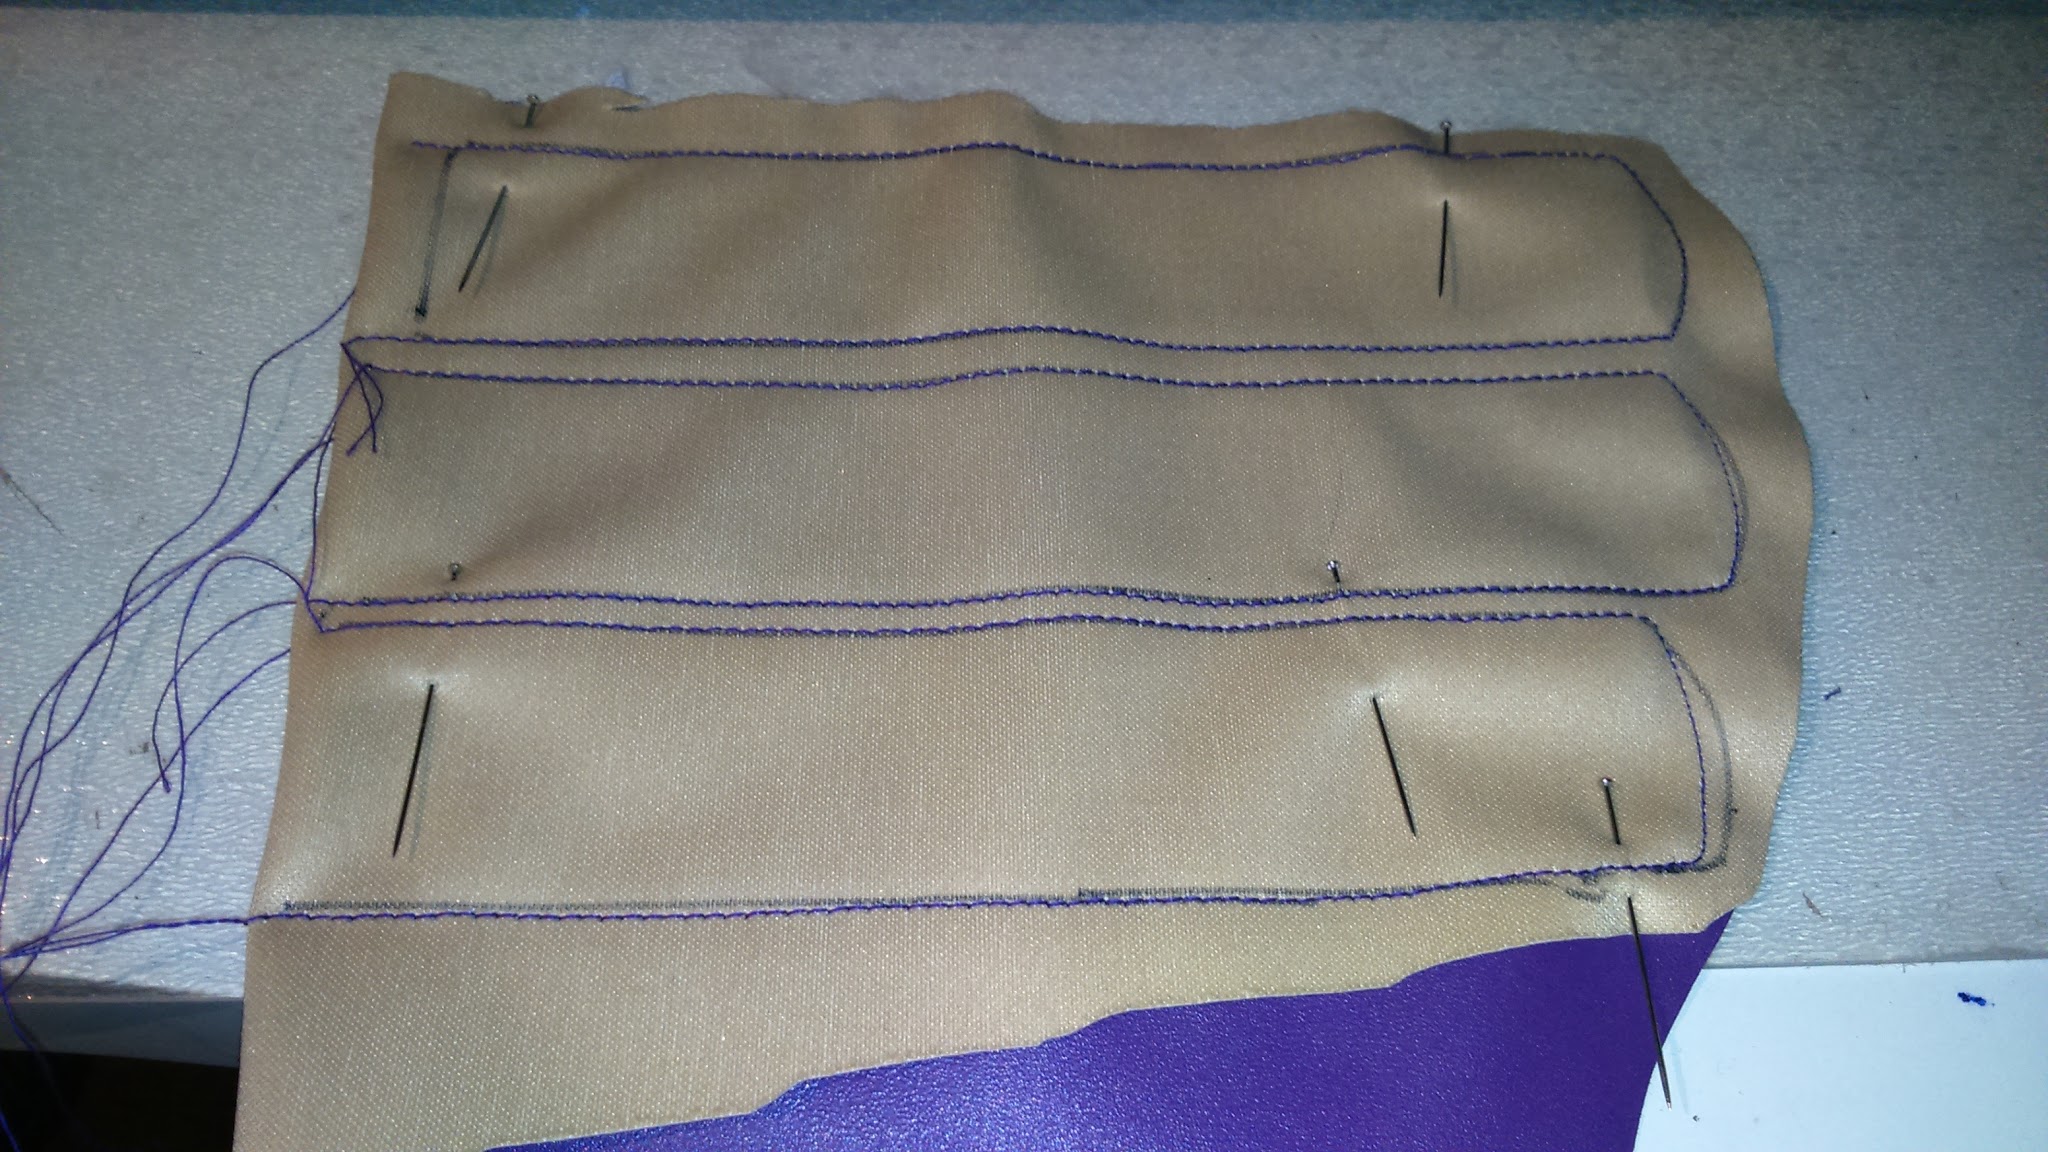
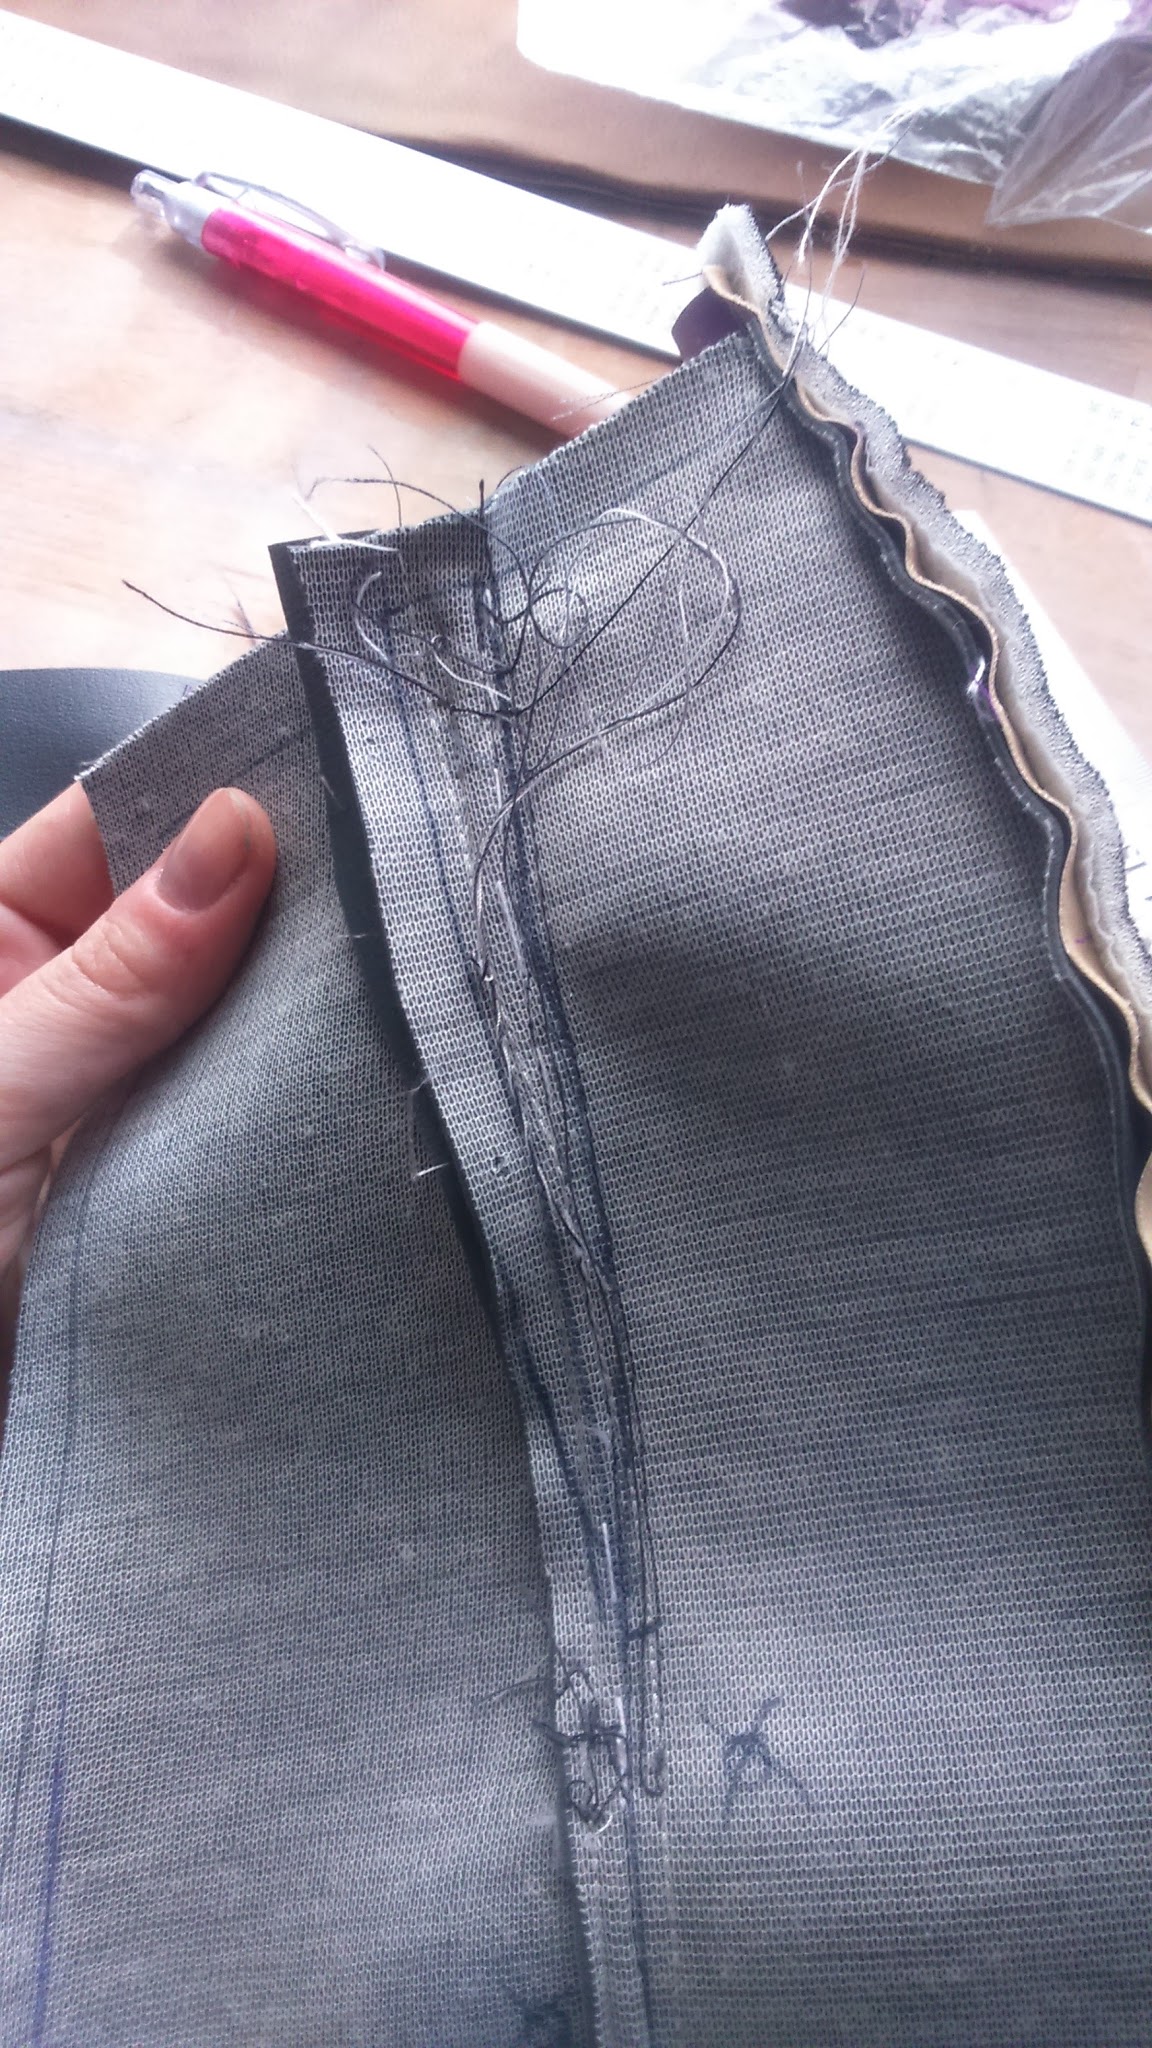
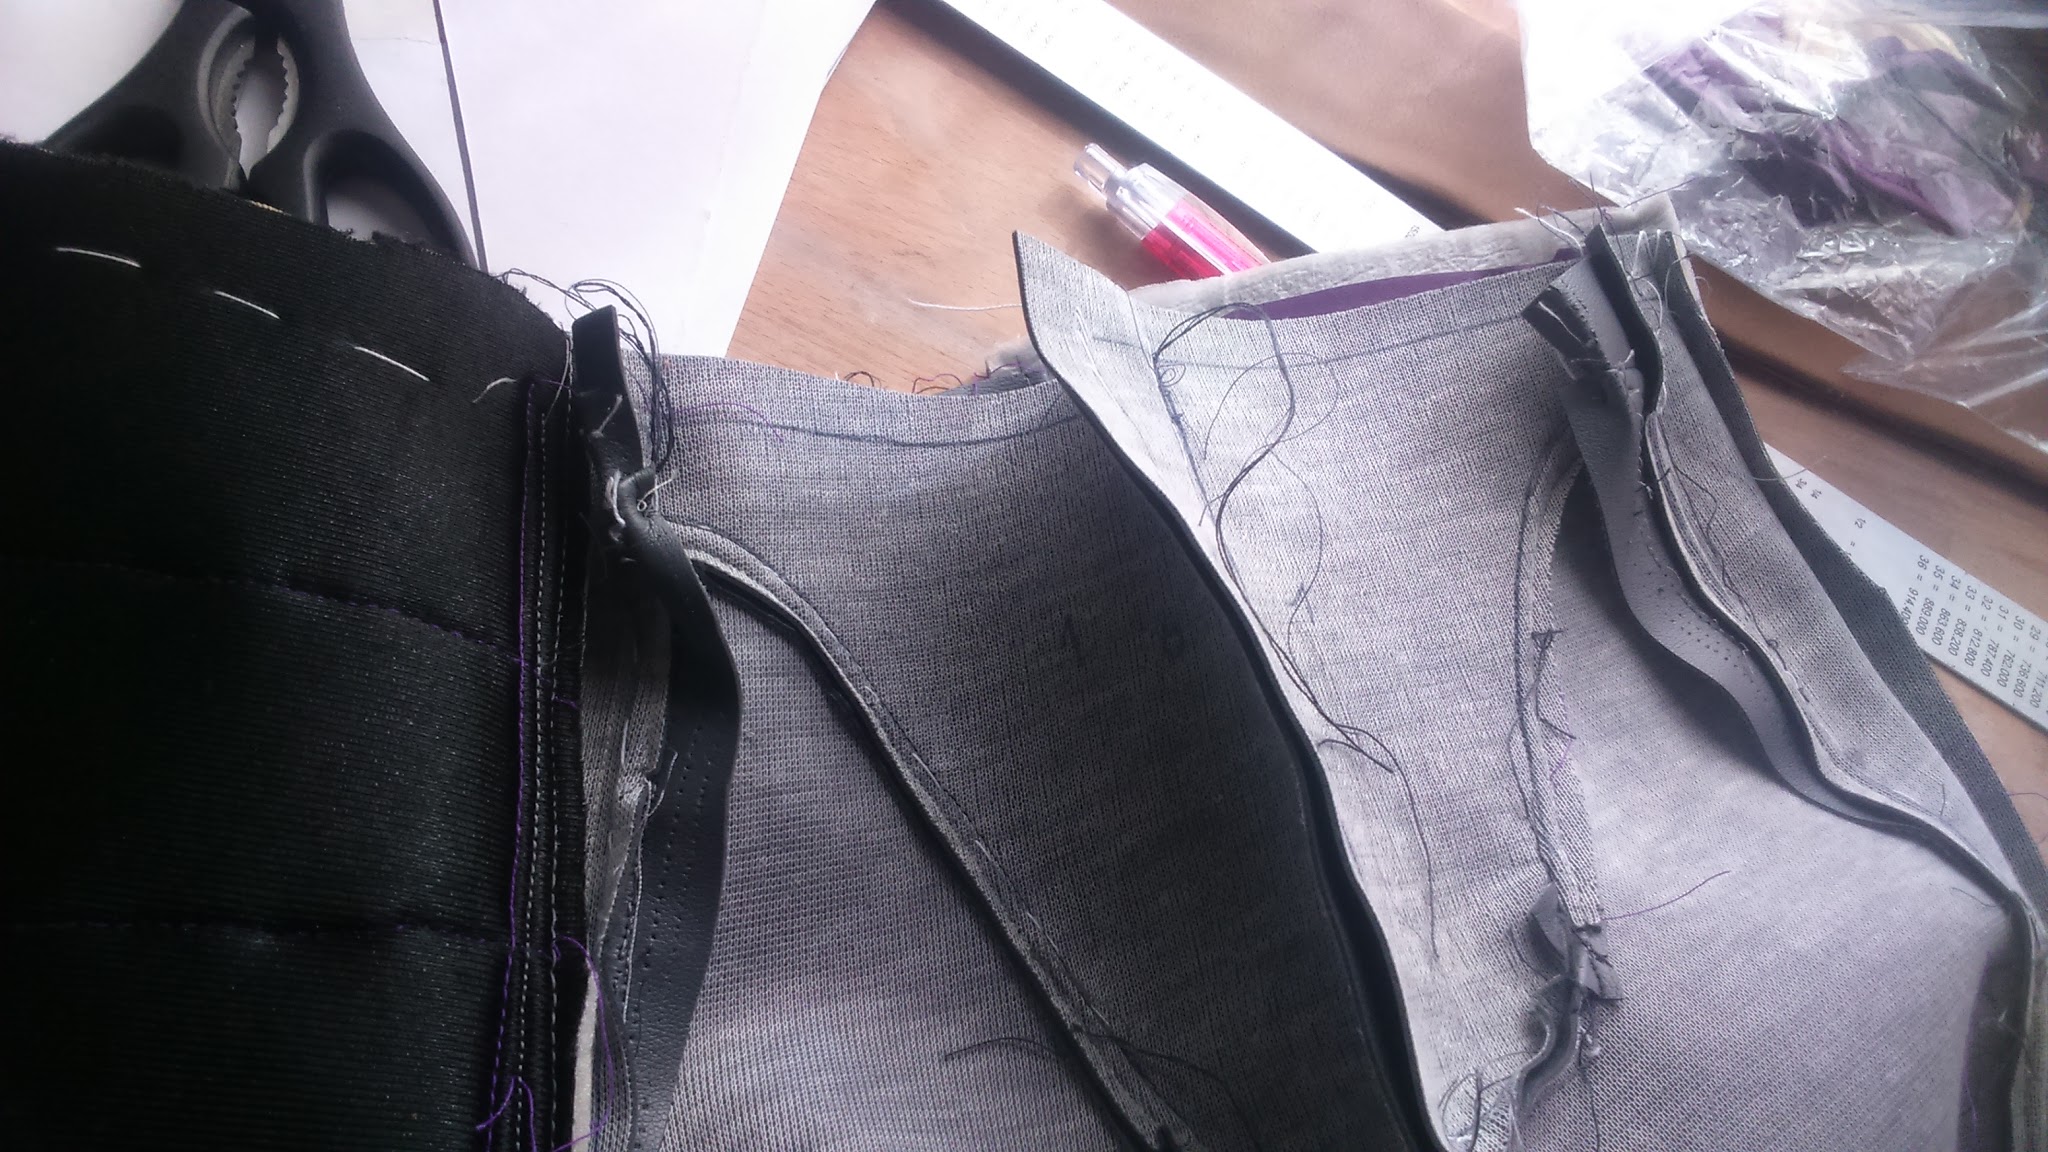
I cut the greay pieces and I sewed them together.
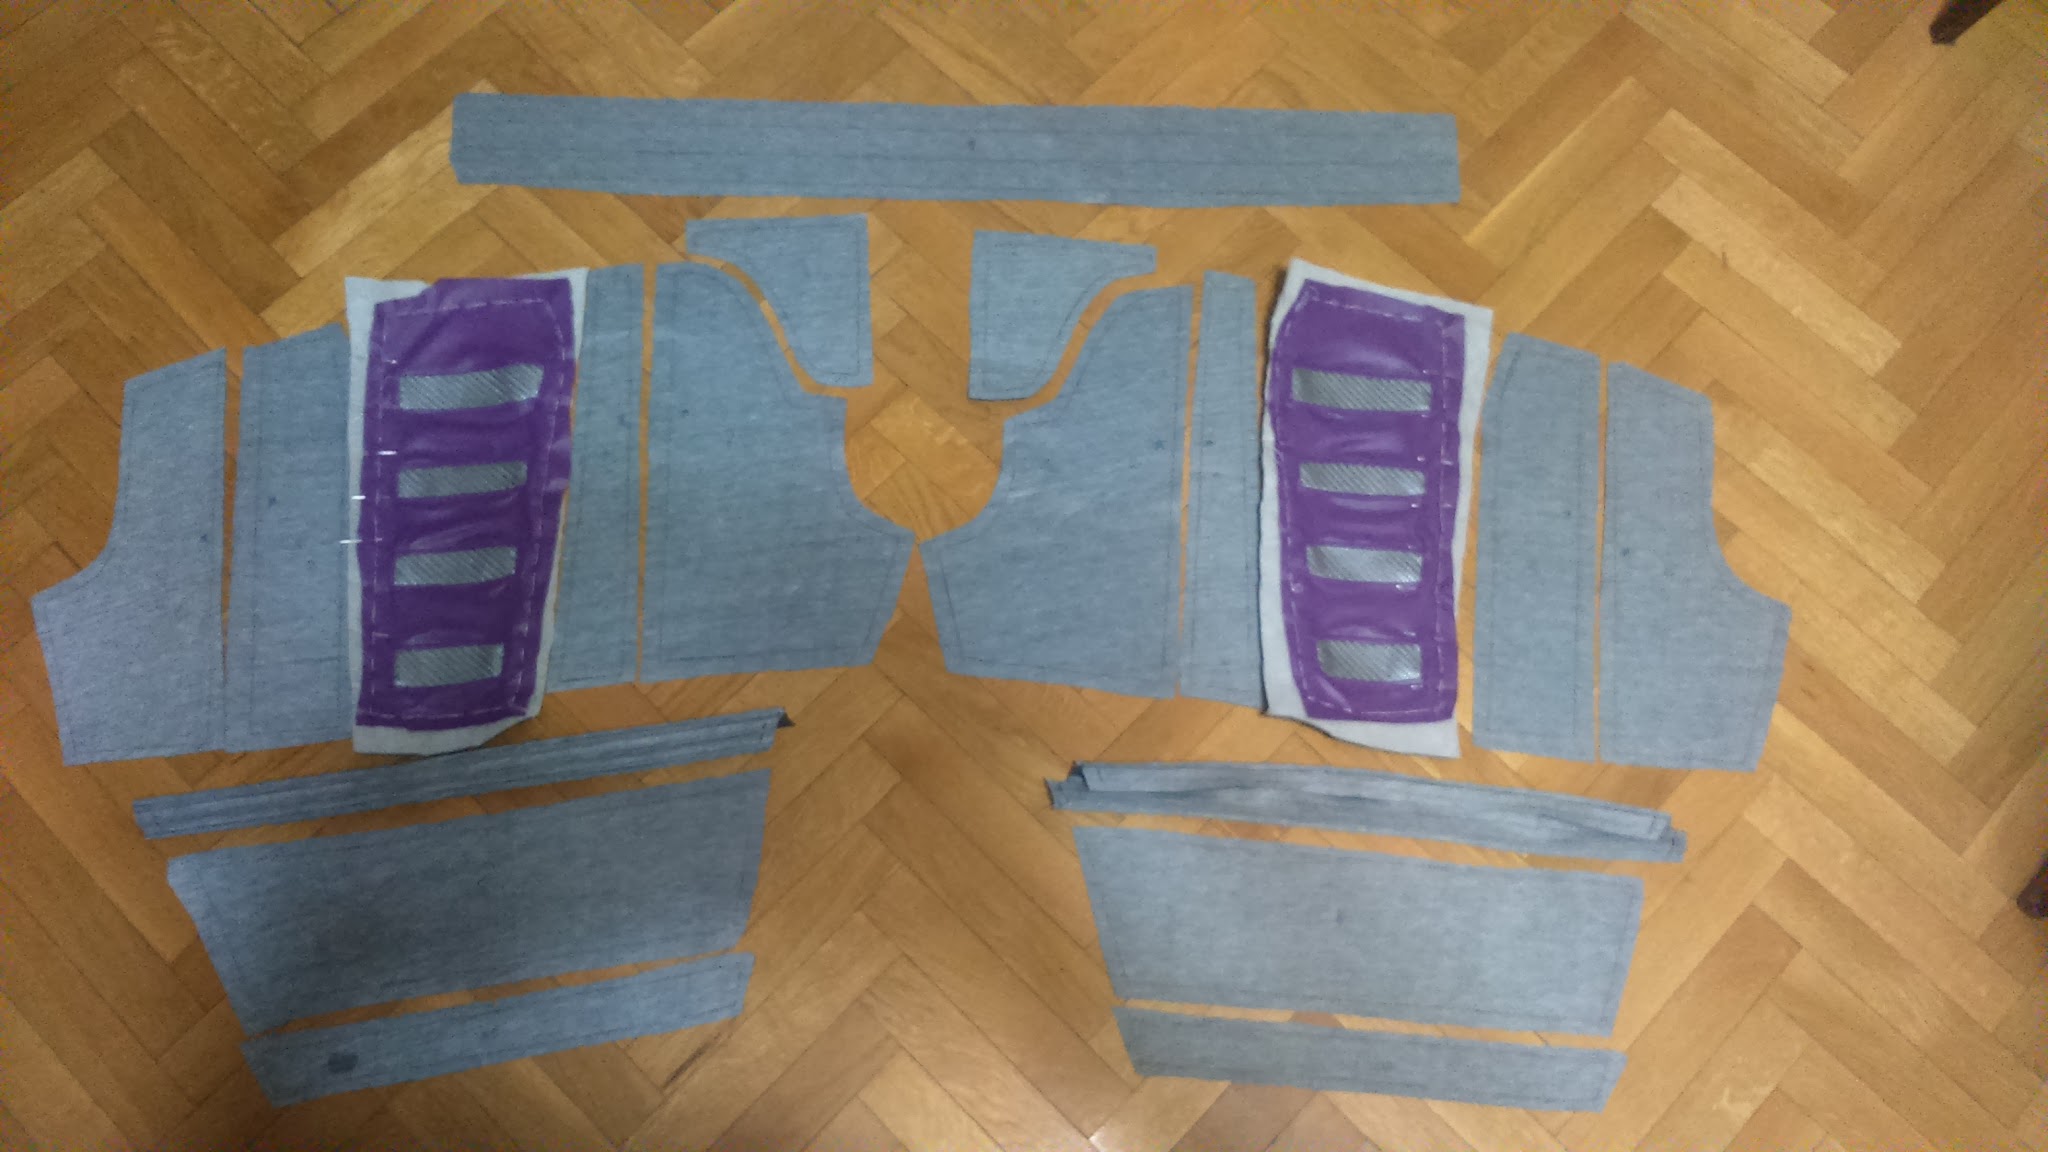
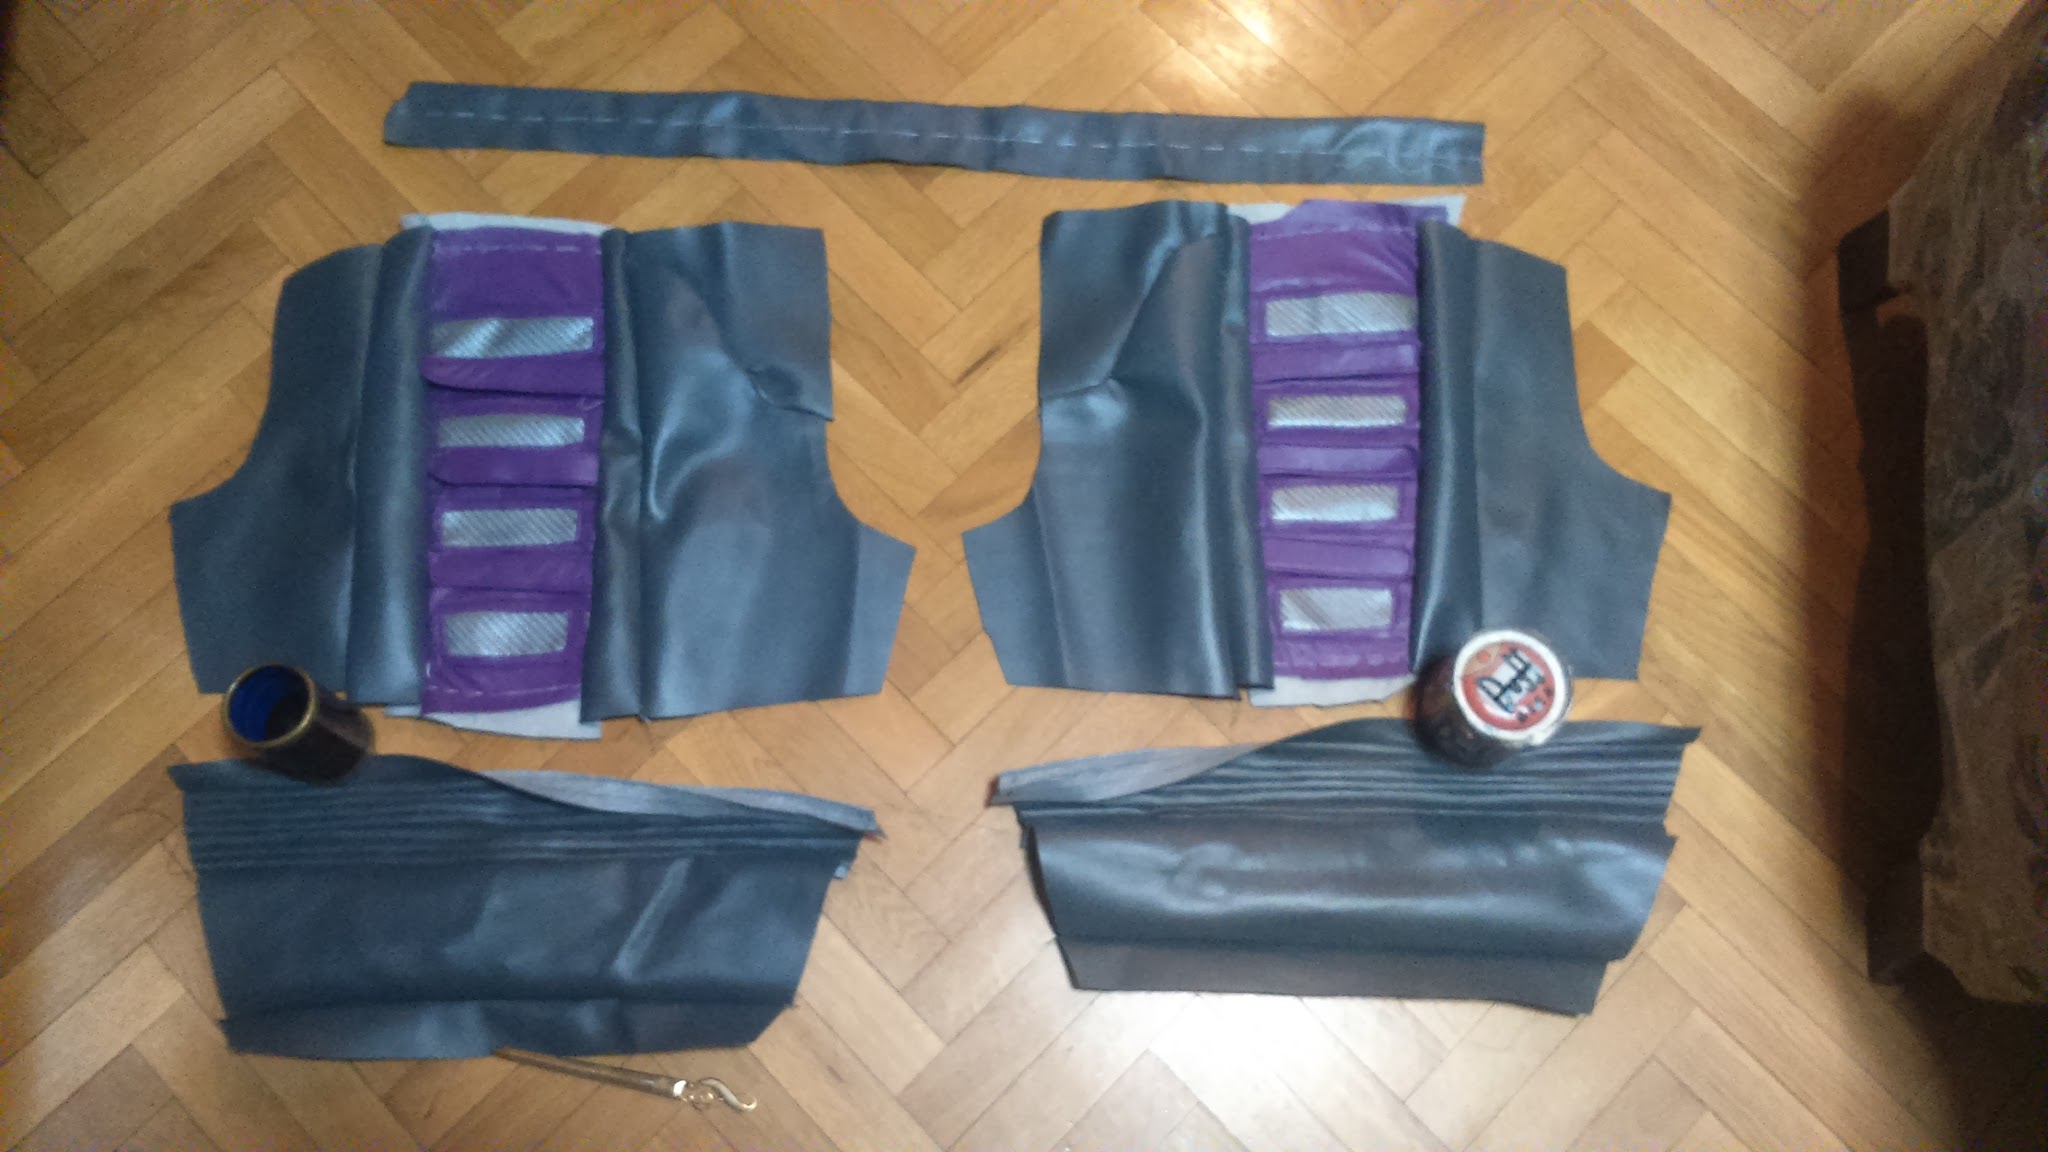
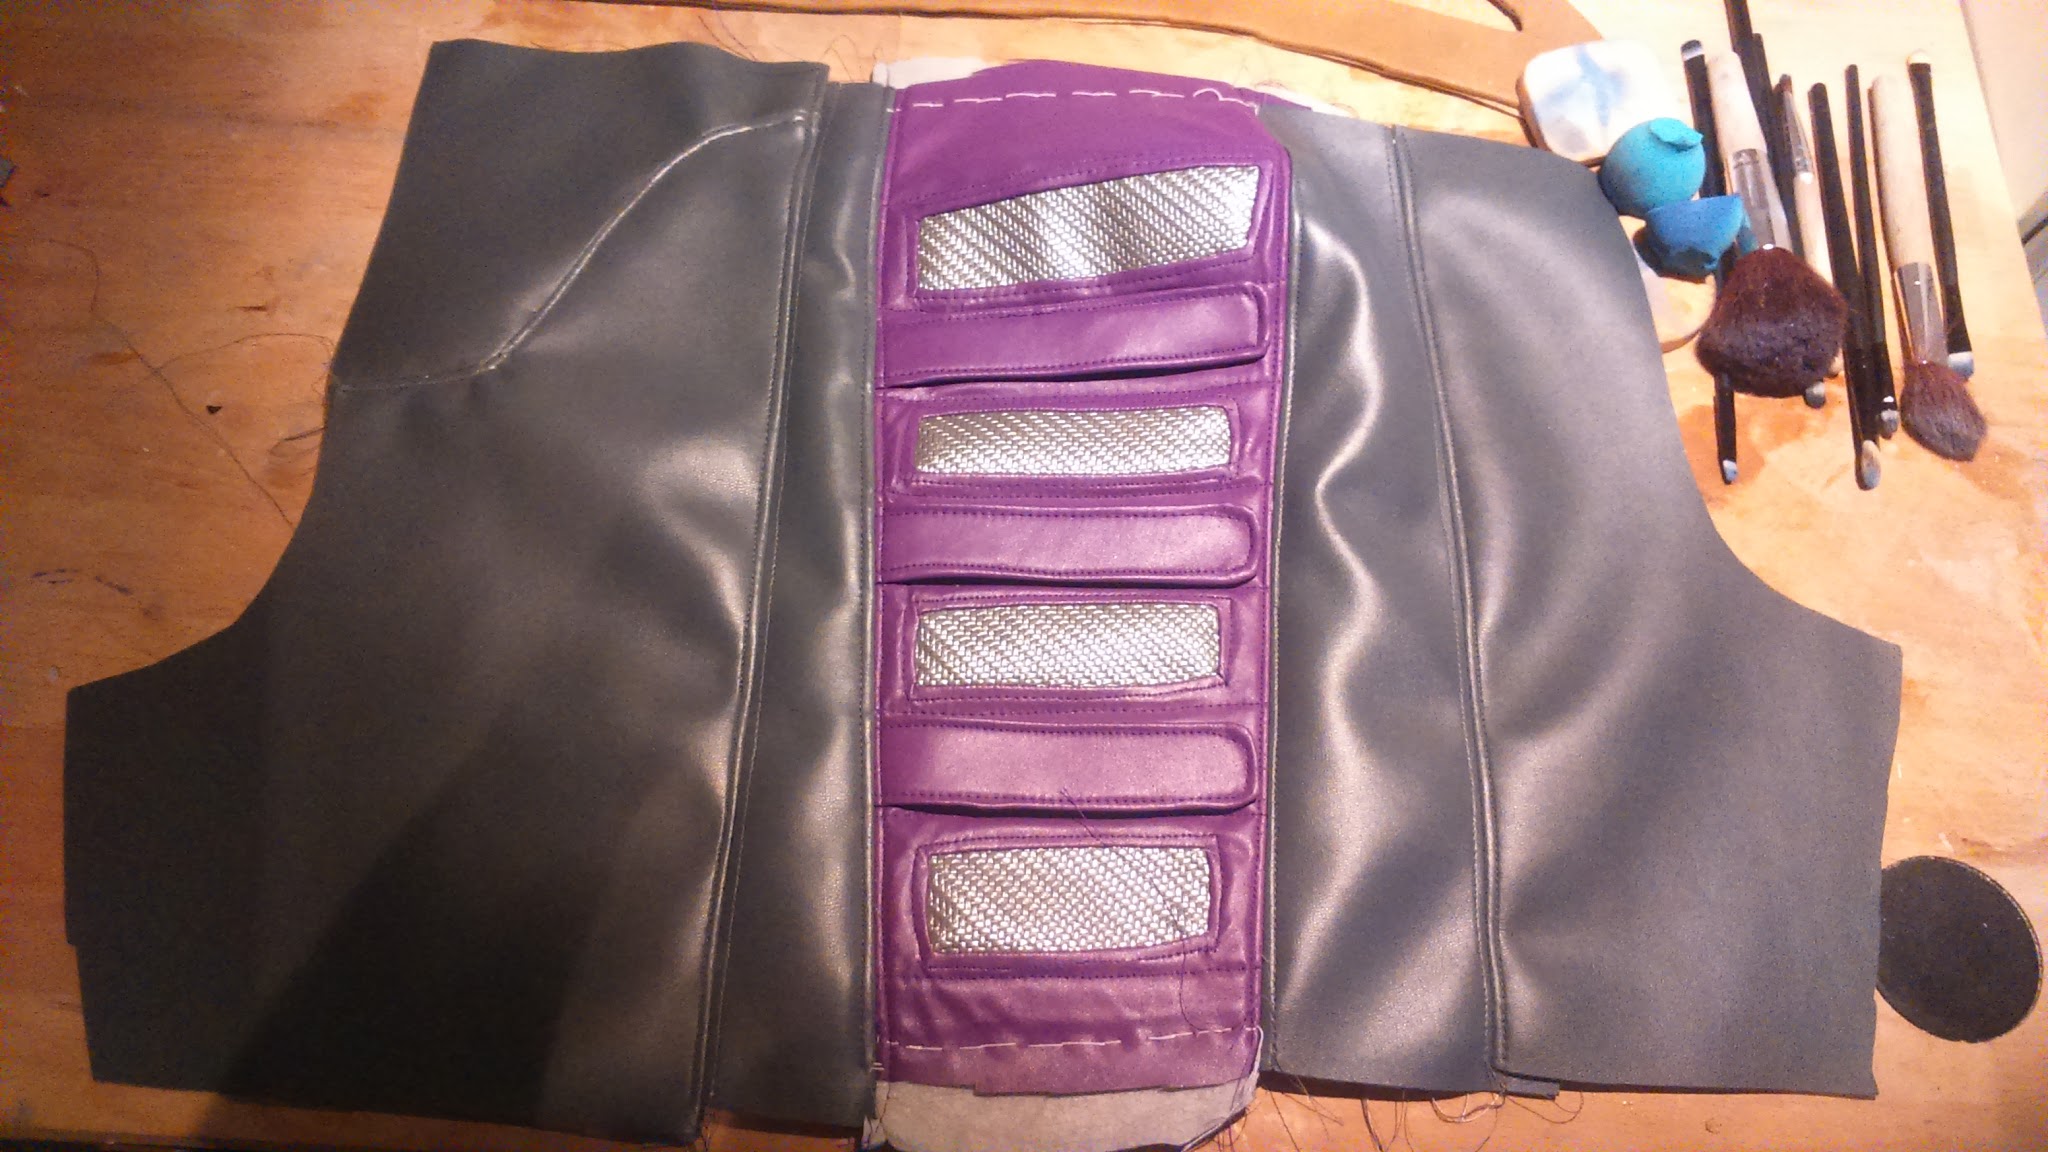
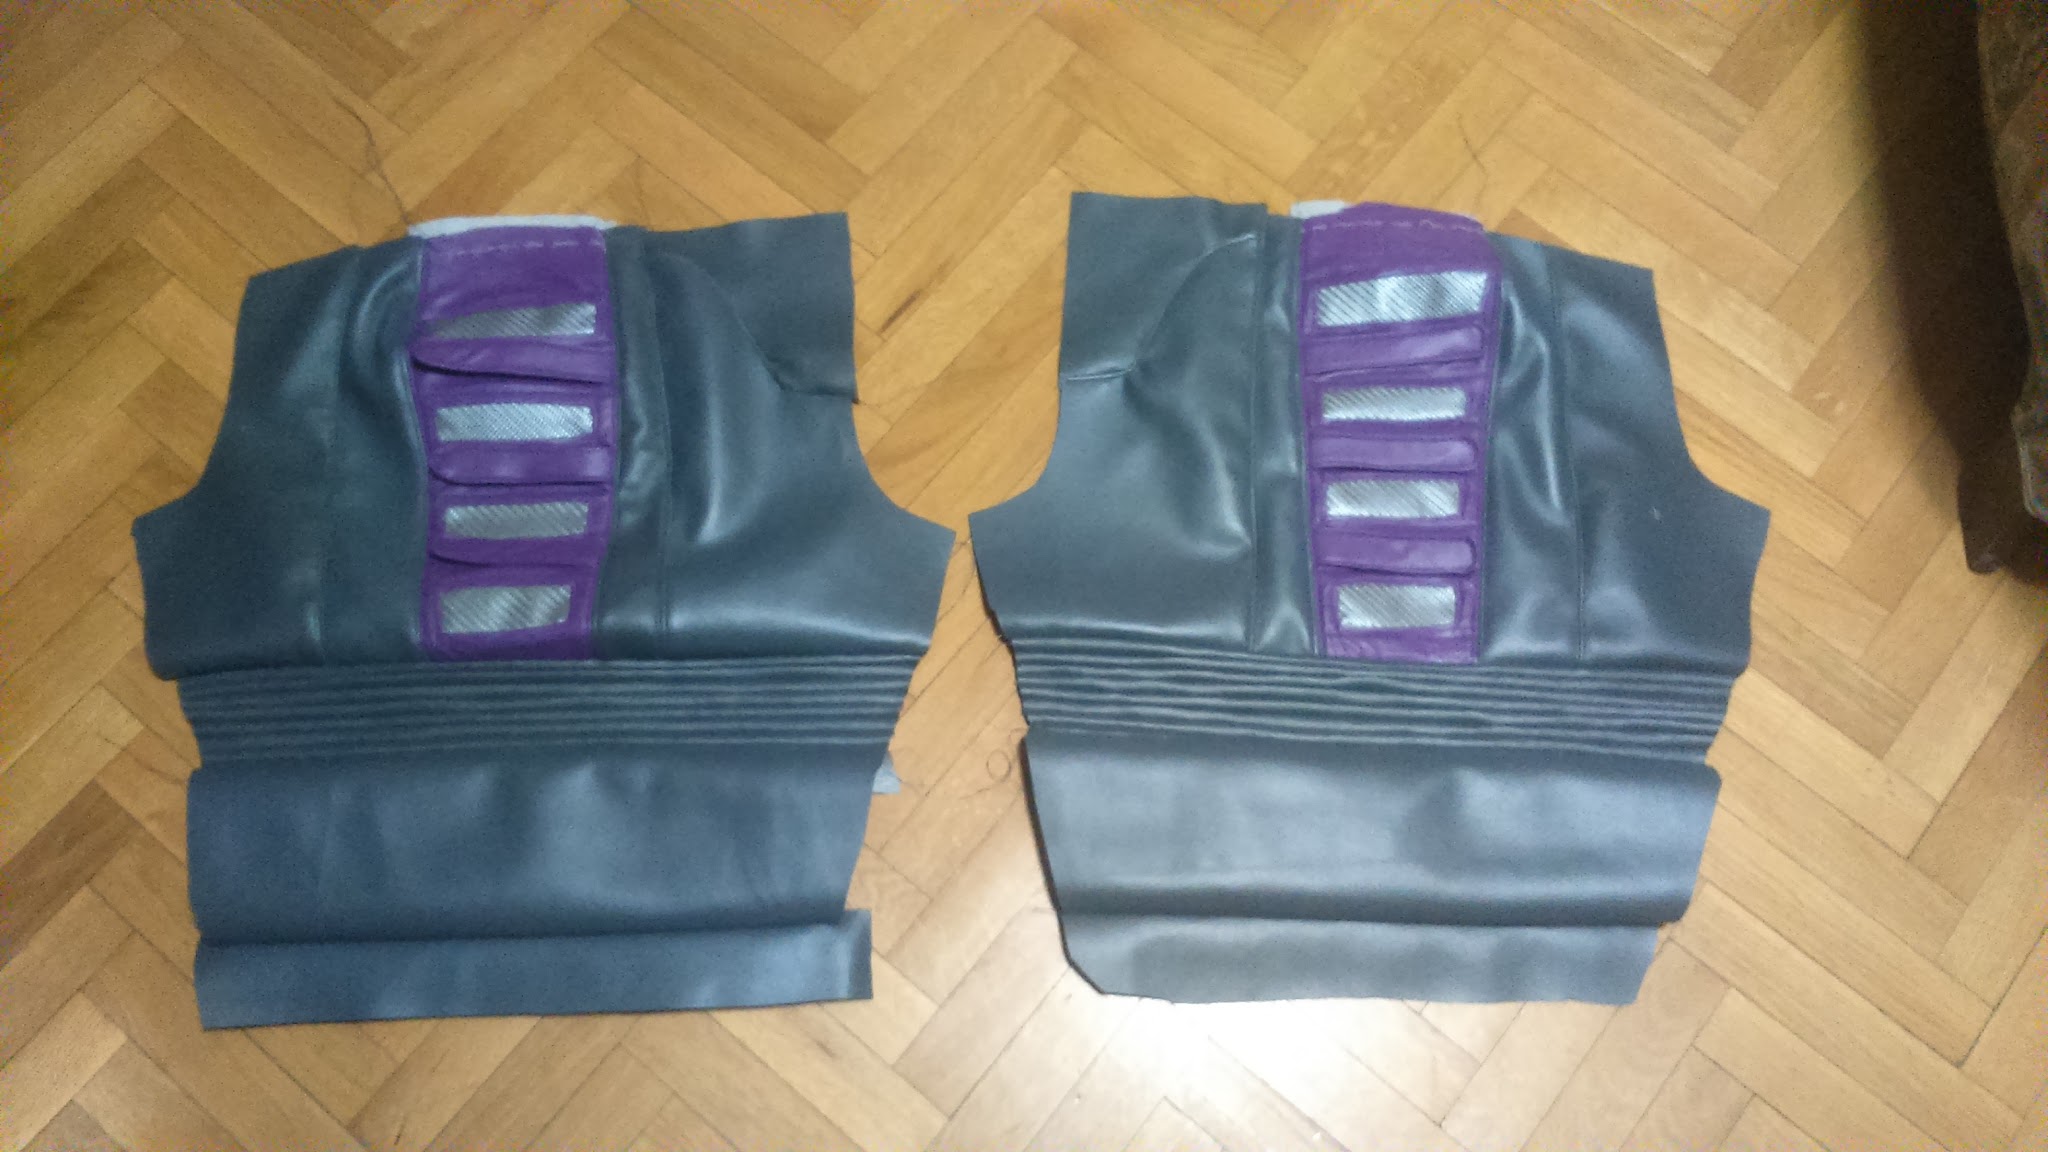
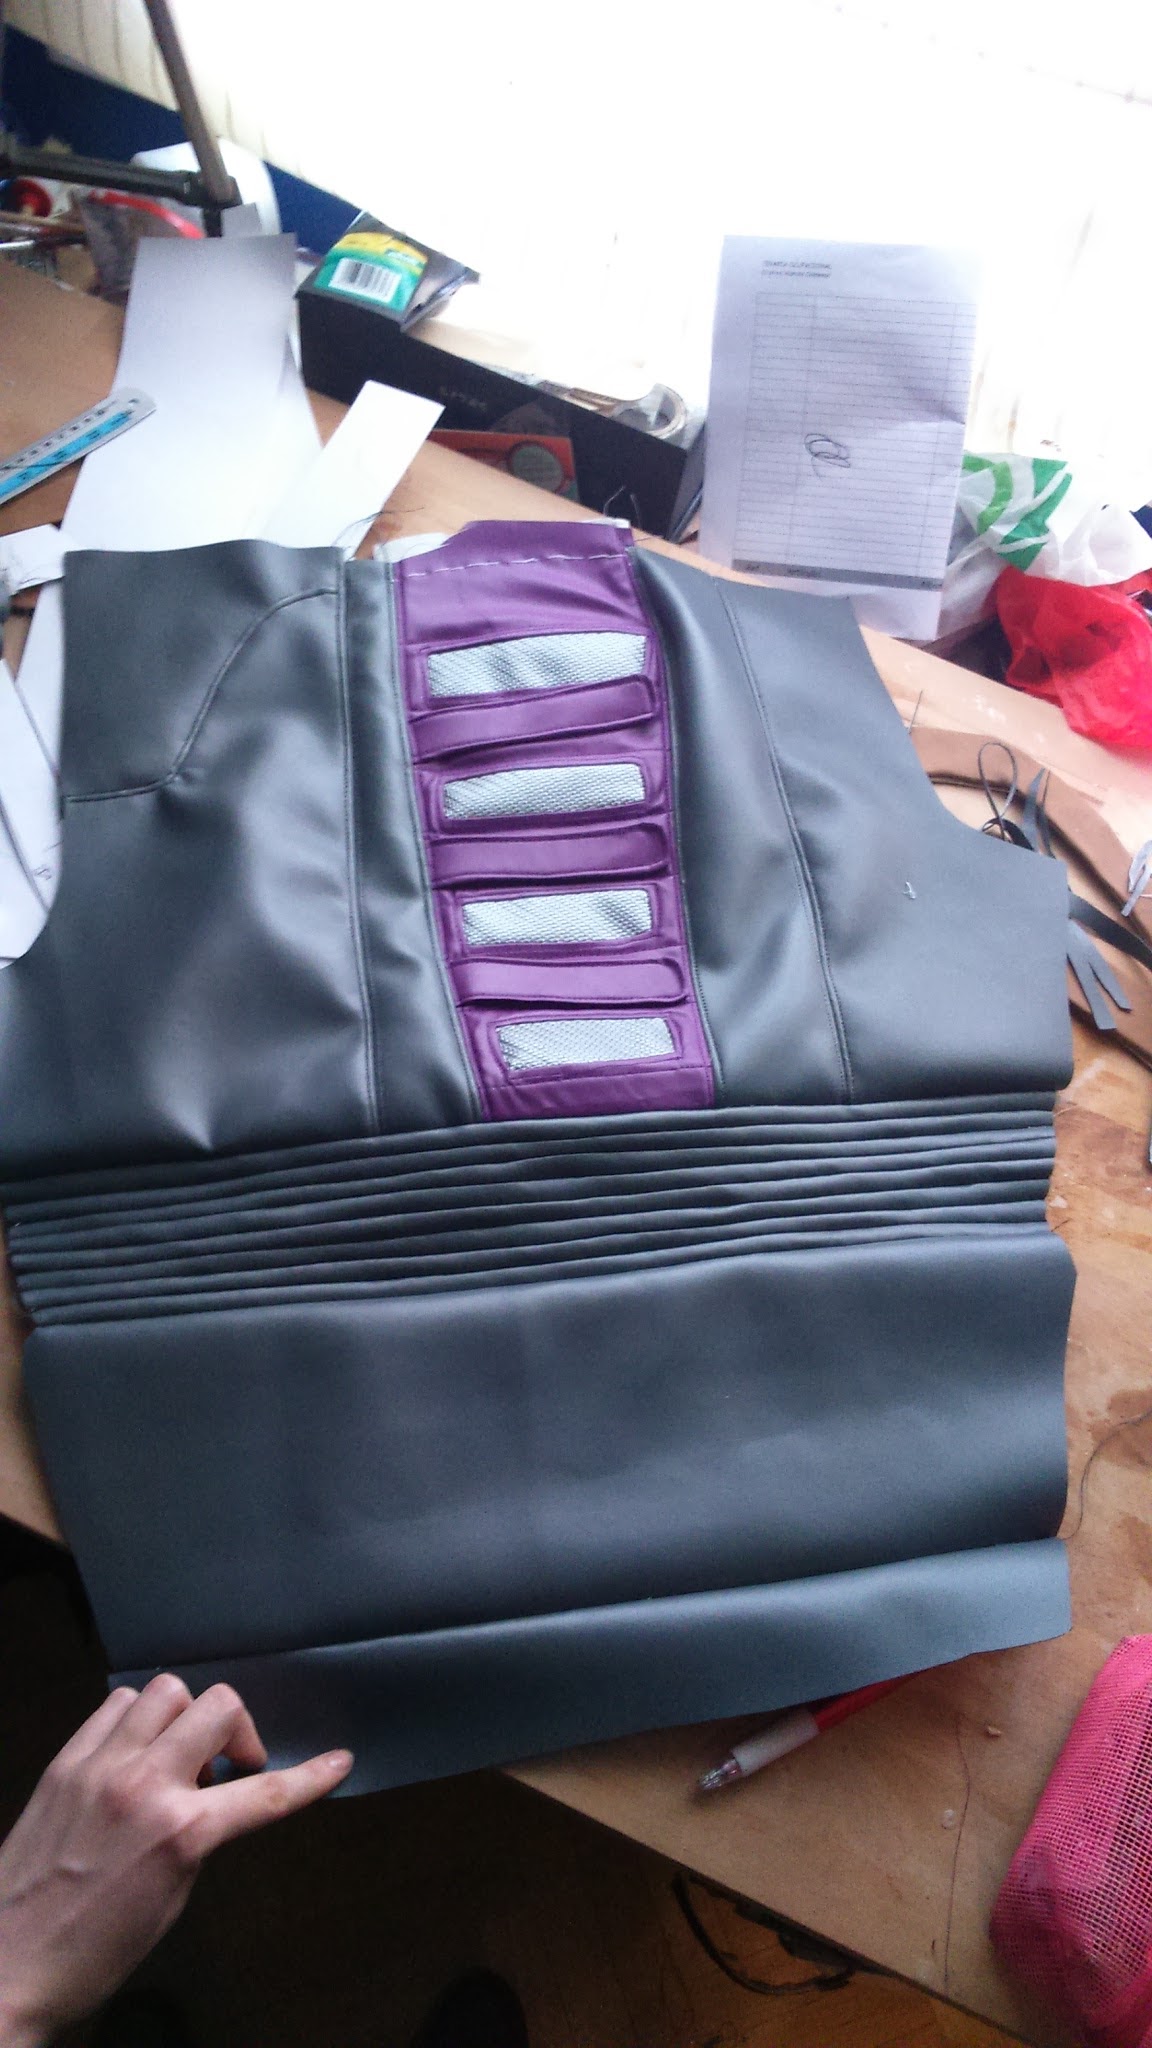
The grooved part is the same grey pleather fabric where I drew lines and I sewed them together to get that effect.

Well, there is something I learnt thanks to my friend Sae and it’s a trick that saved my life during this process: pleather is way easier to machine sew if you spread some moisturizing cream on it. It’s miraculous. Try it at home!
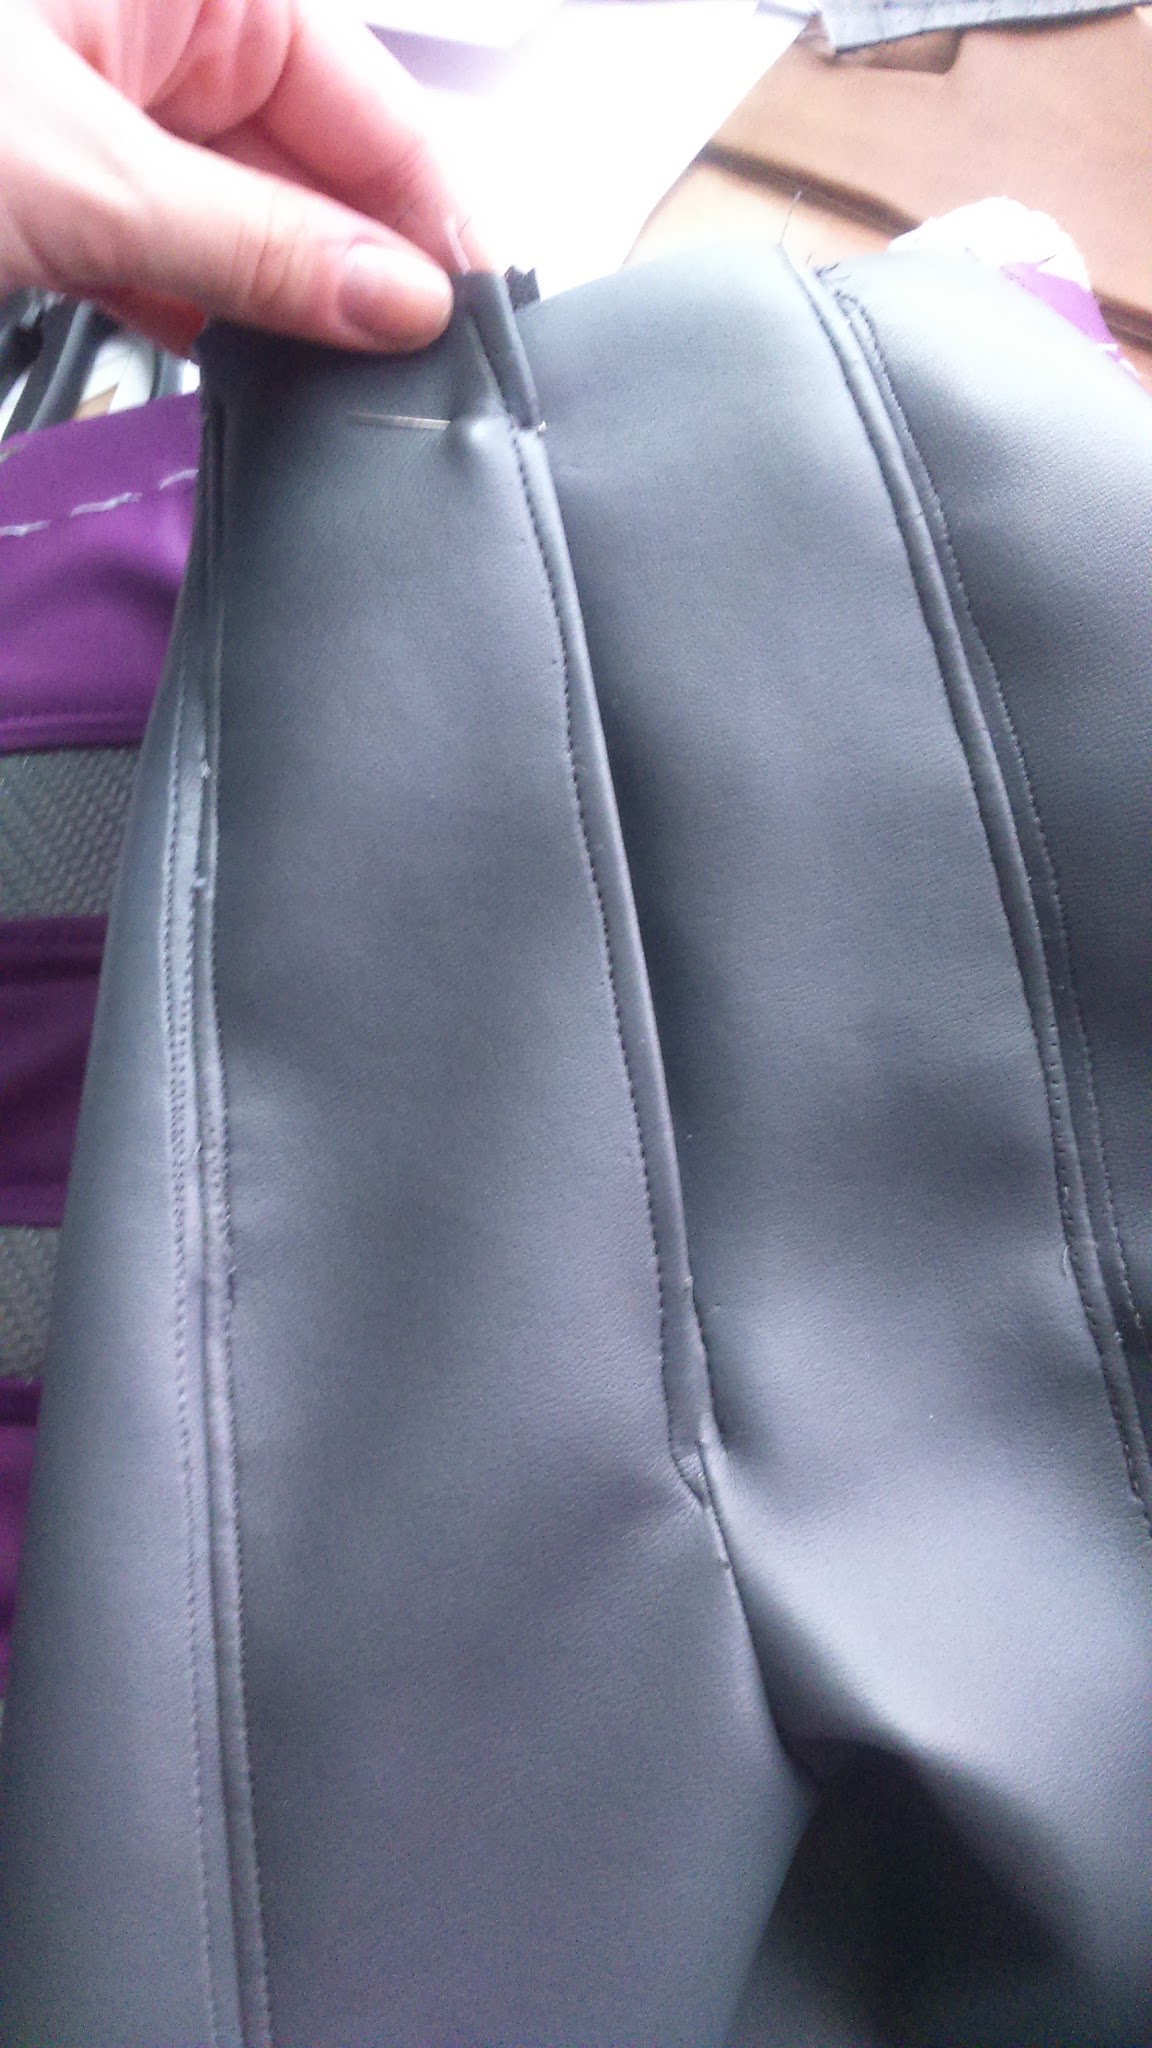
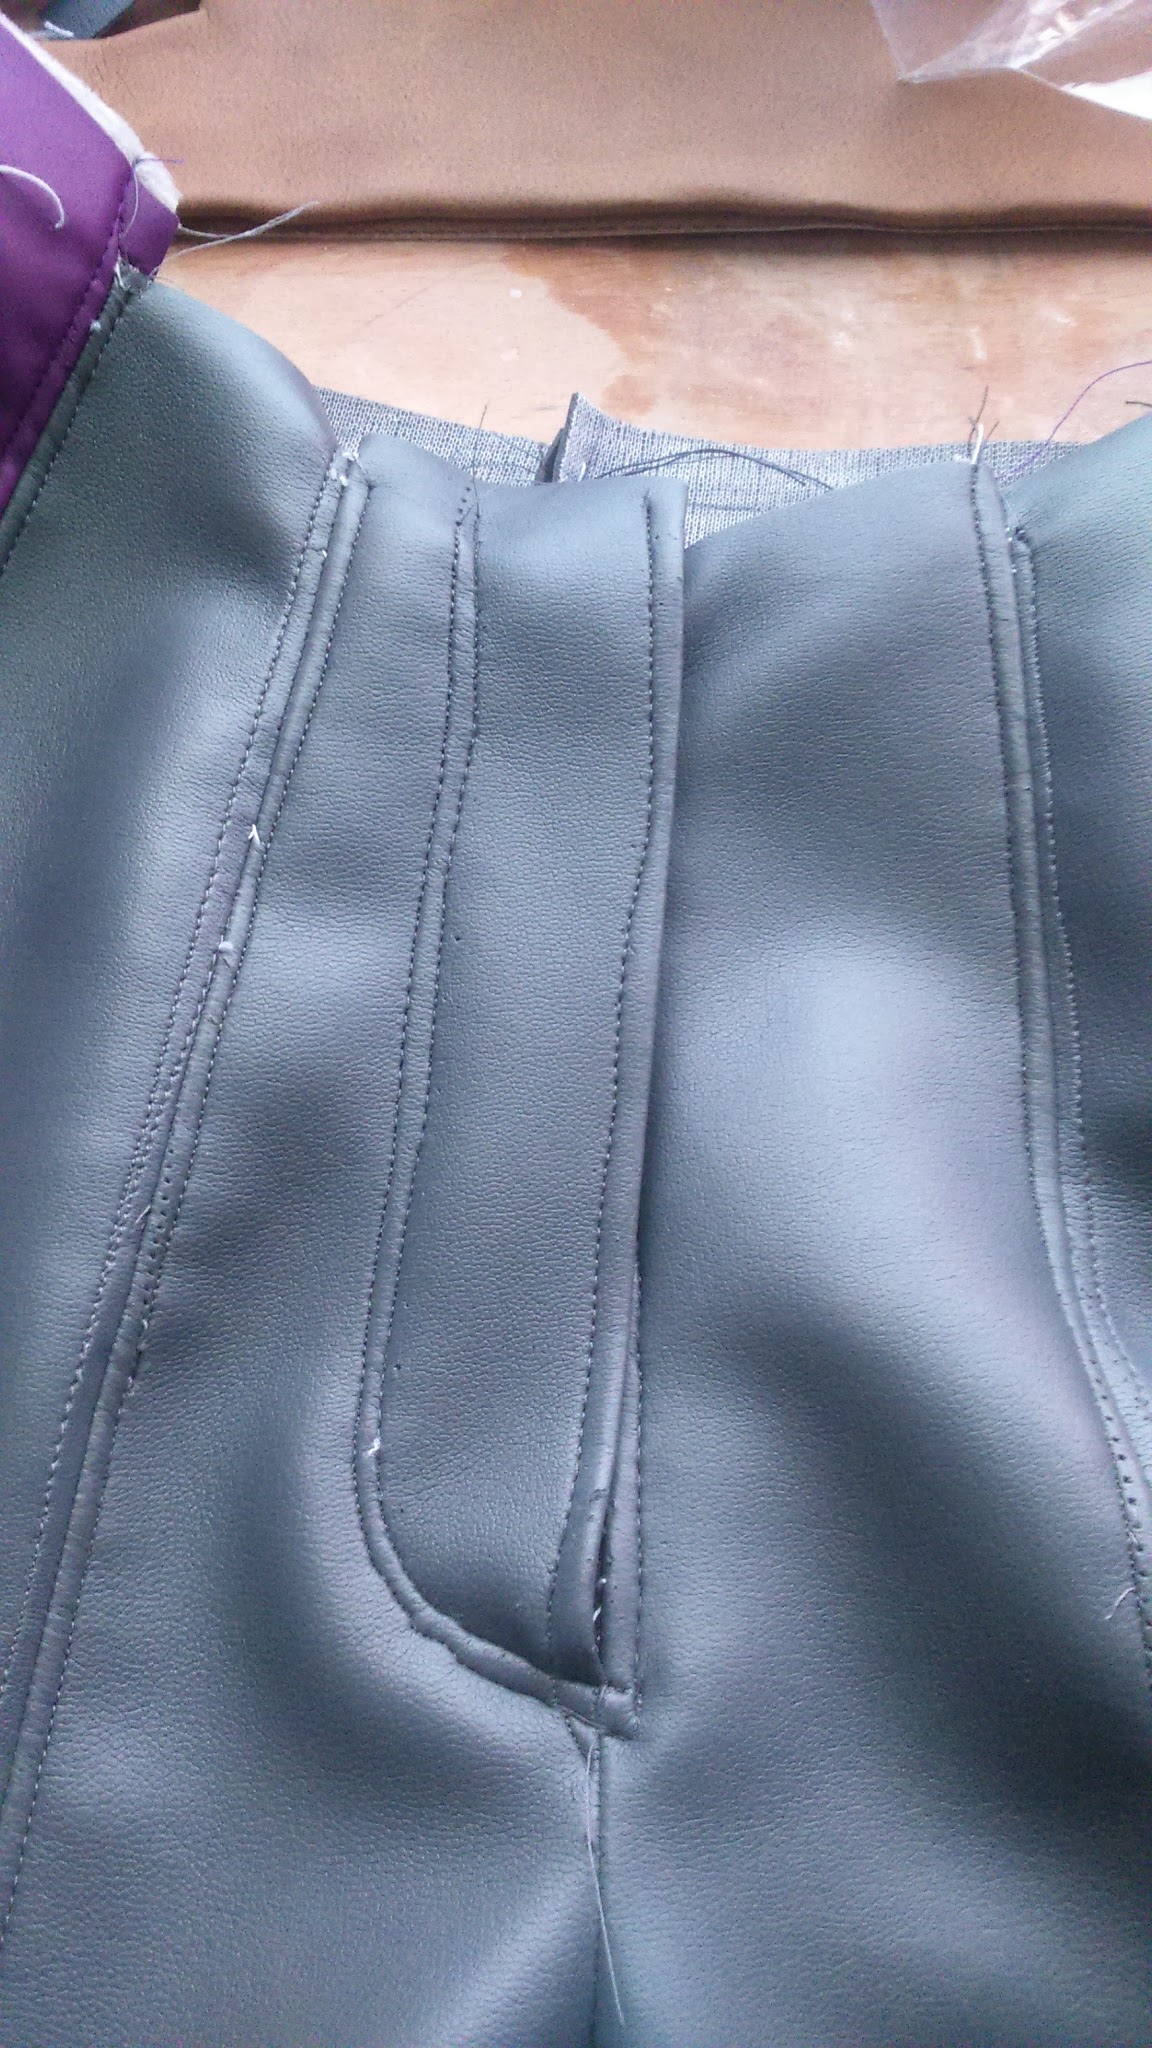
I added some decorative and reinforcement seams between each piece.
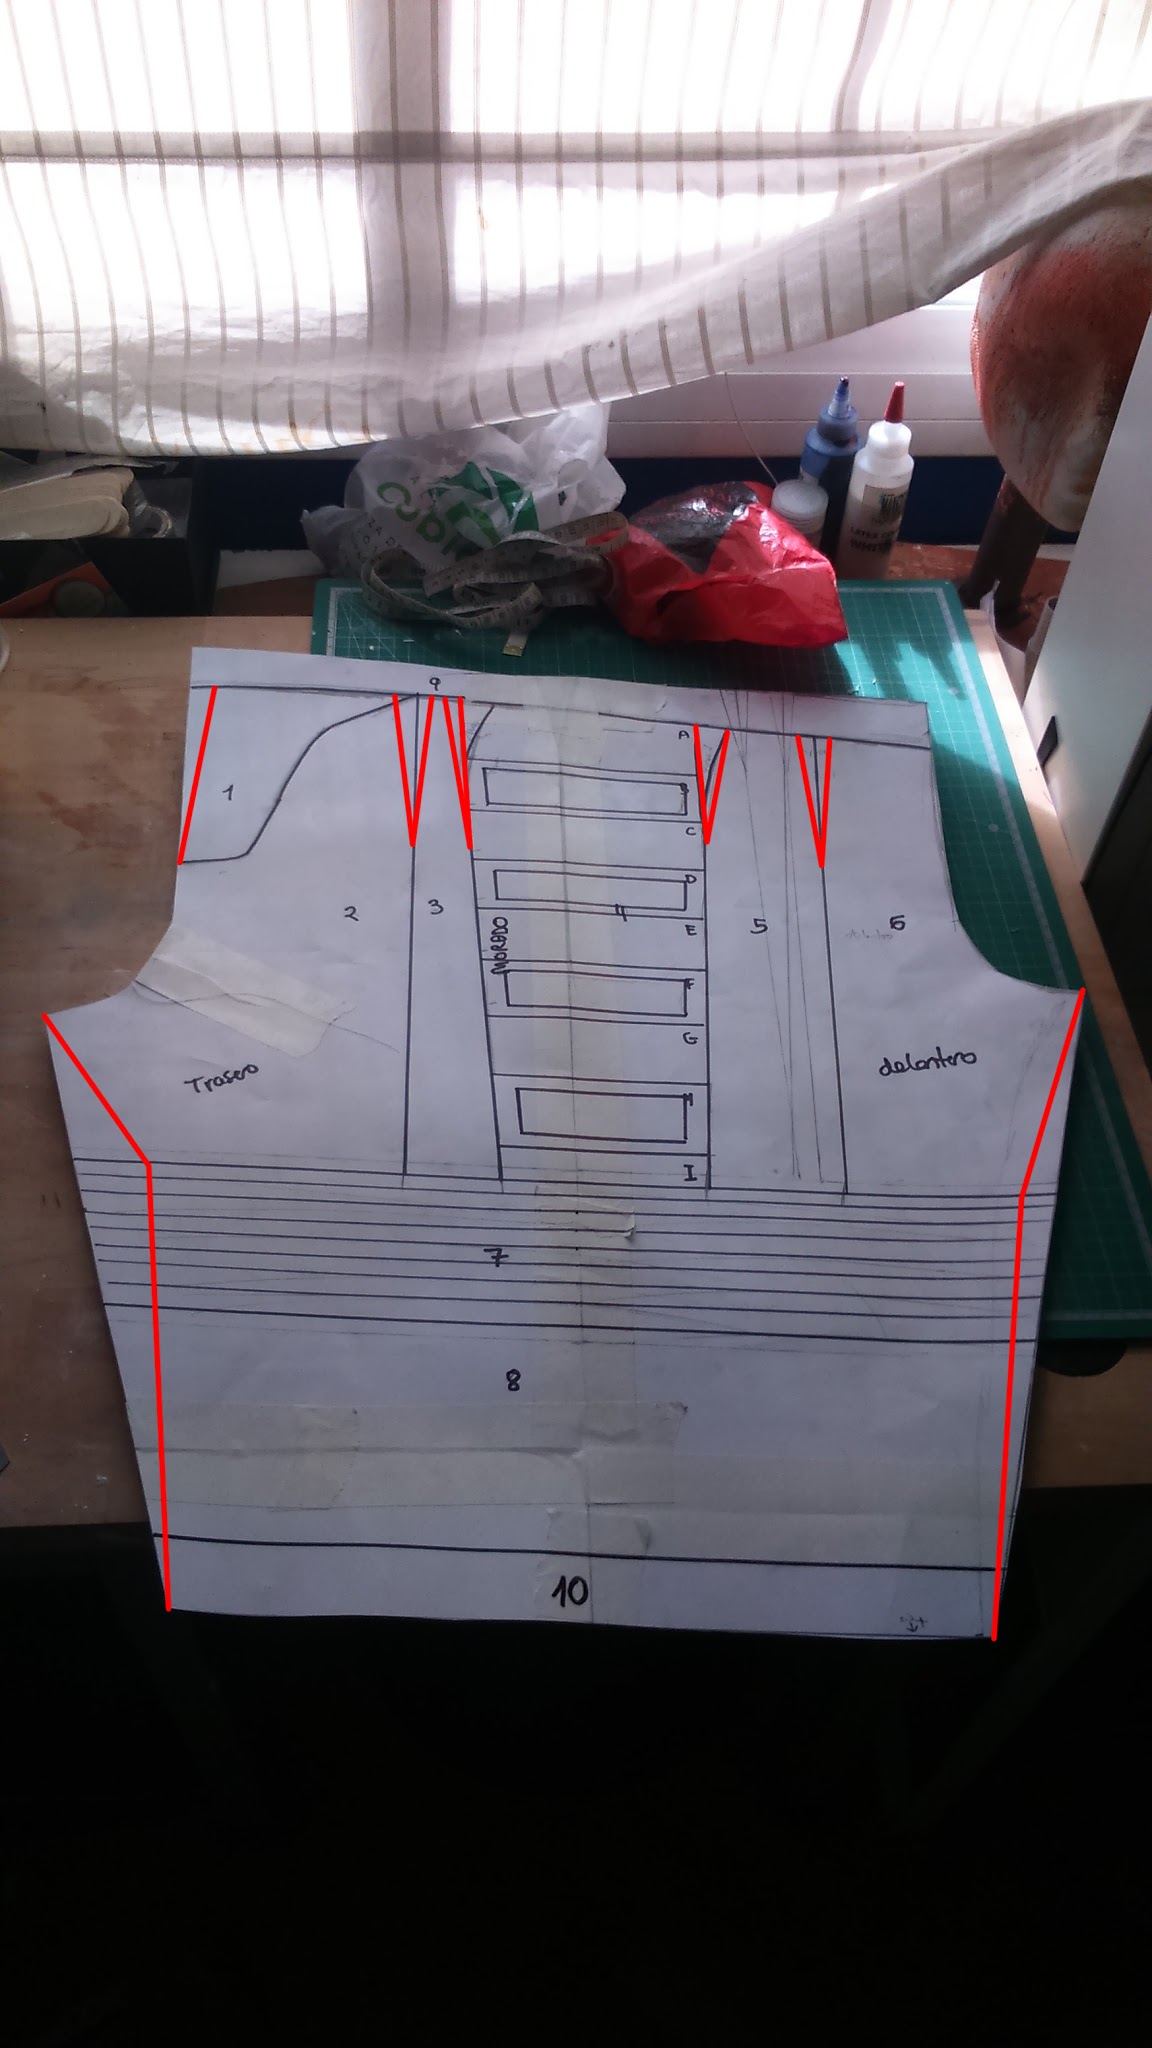
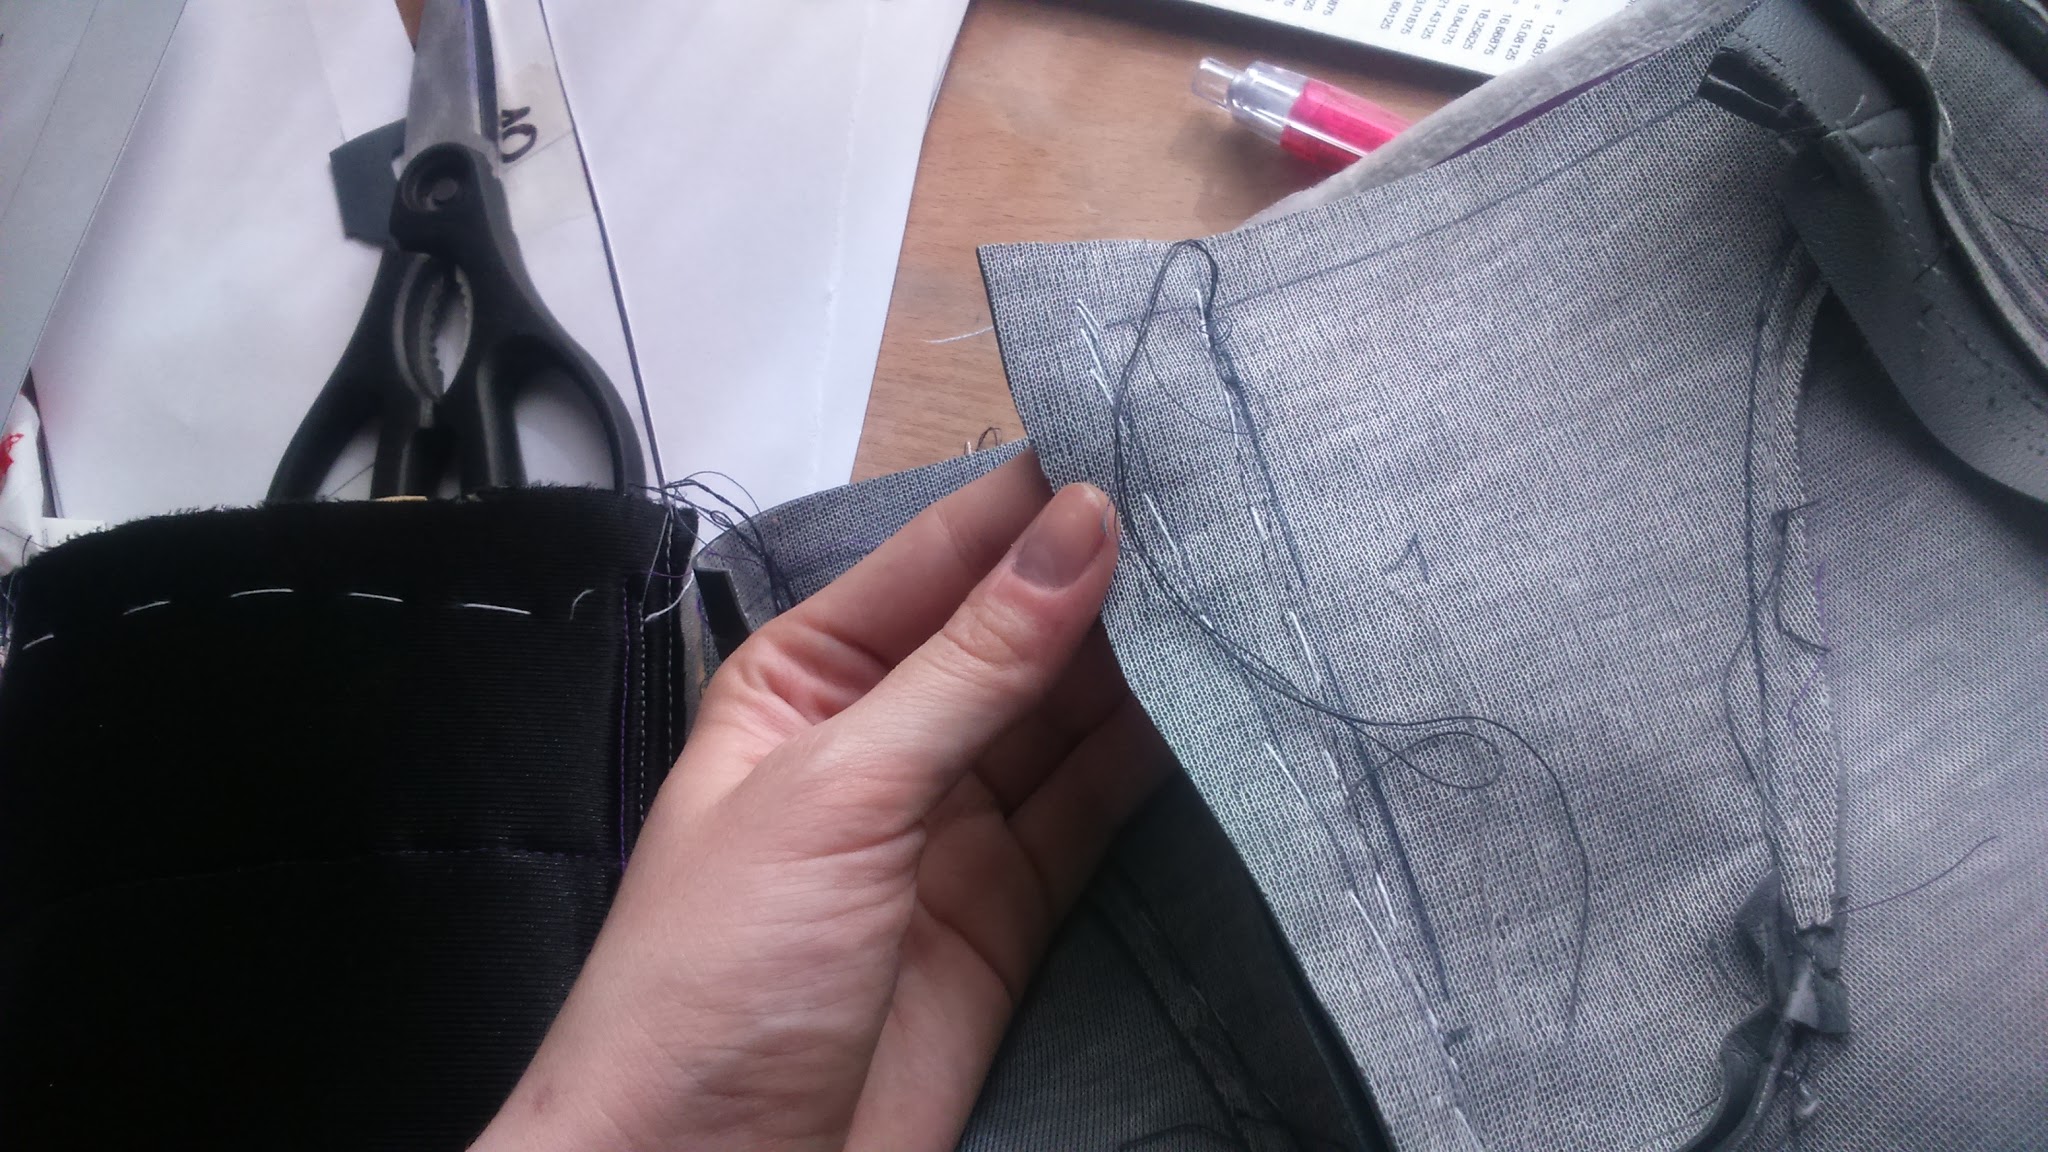
There was a problem I found due to making this pattern copying another pant’s shape to avoid taking my own measurements: I had to add darts because it didn’t fit well, it was big for me. Luckily for me, I could unstitch some pieces and add those darts between them to get a more accurate shape.
The legs also were a little large for me, so I just sewed them a little tighter on their inner part.
Here you are the corrected pattern with red lines.
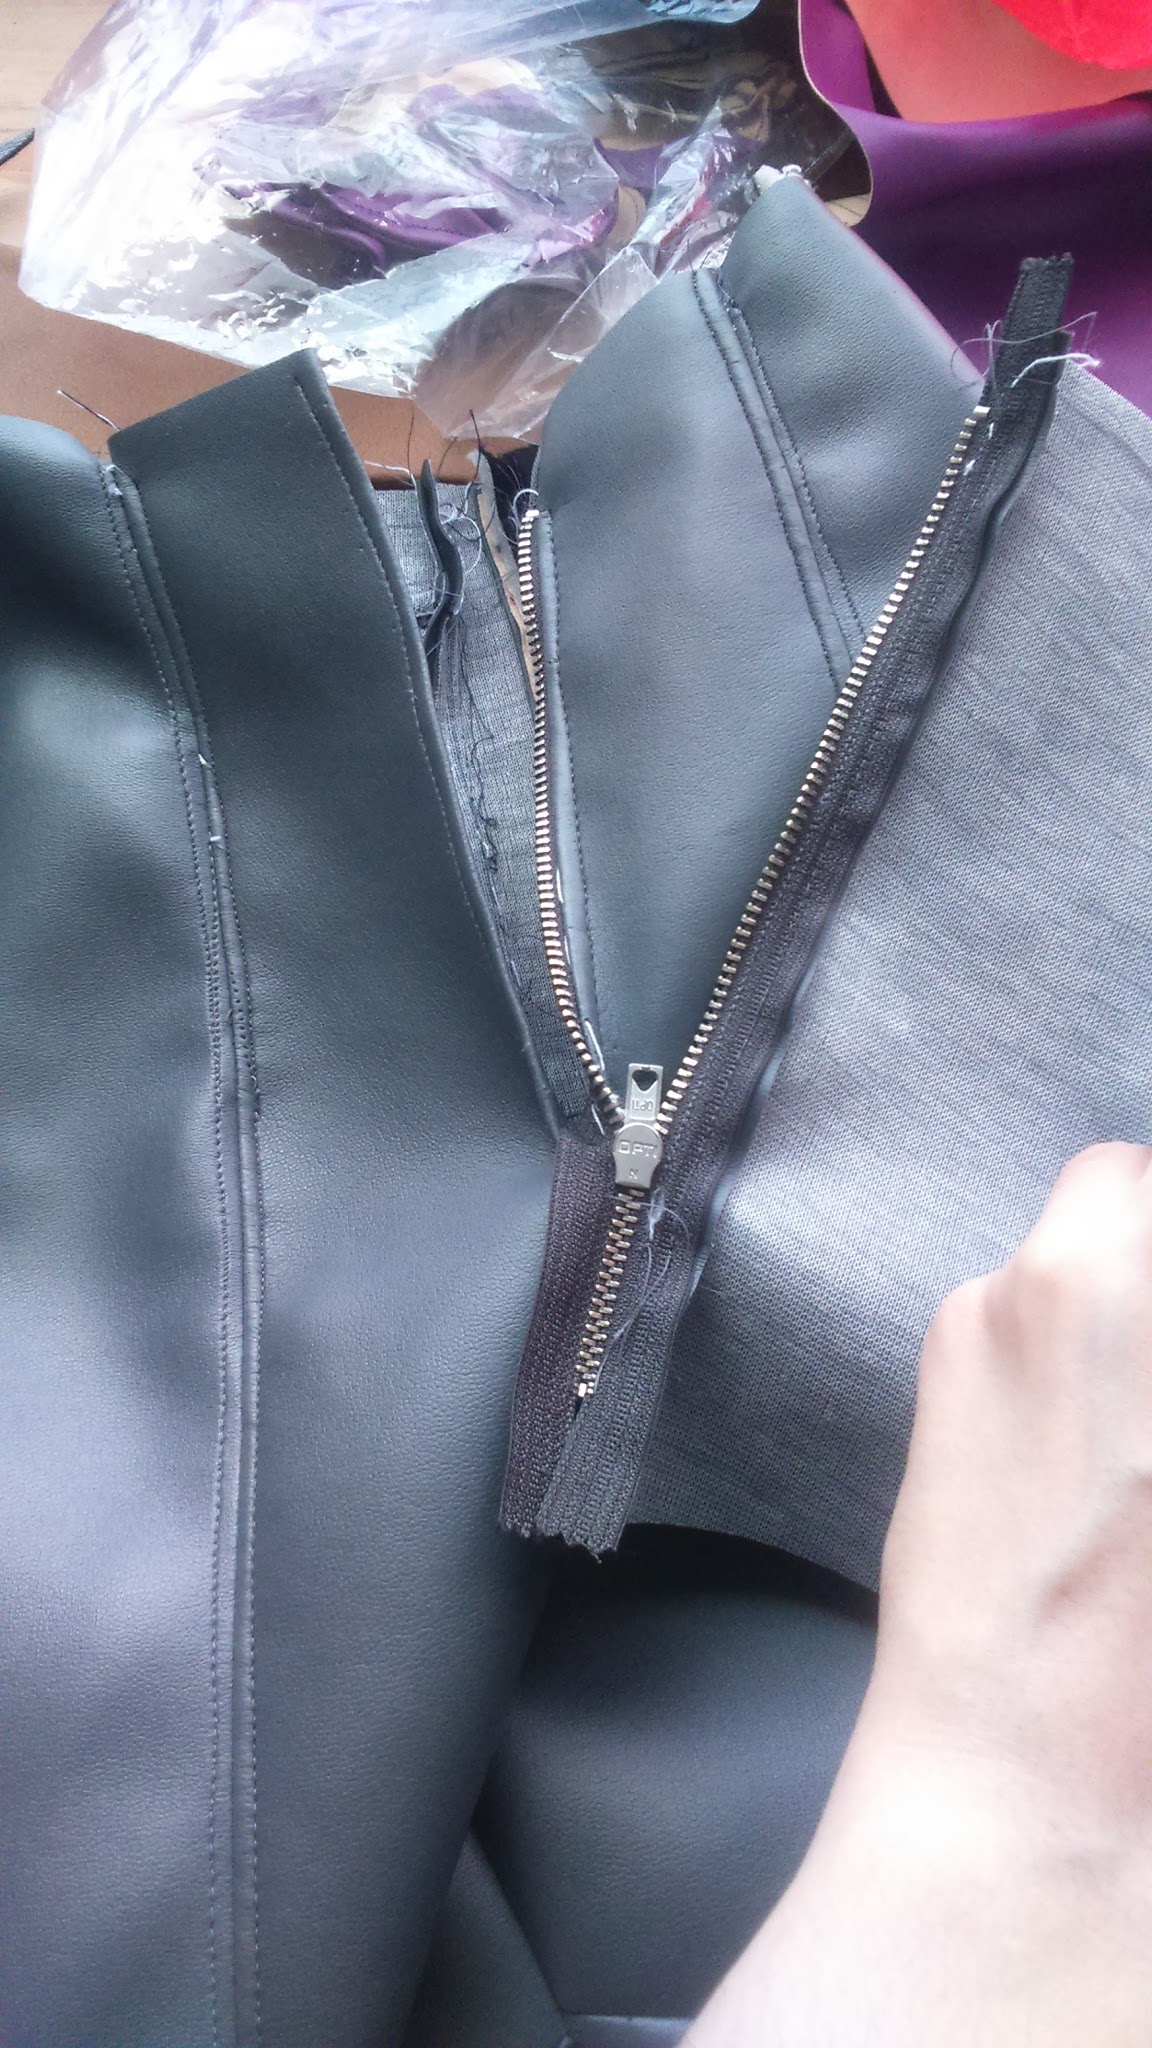
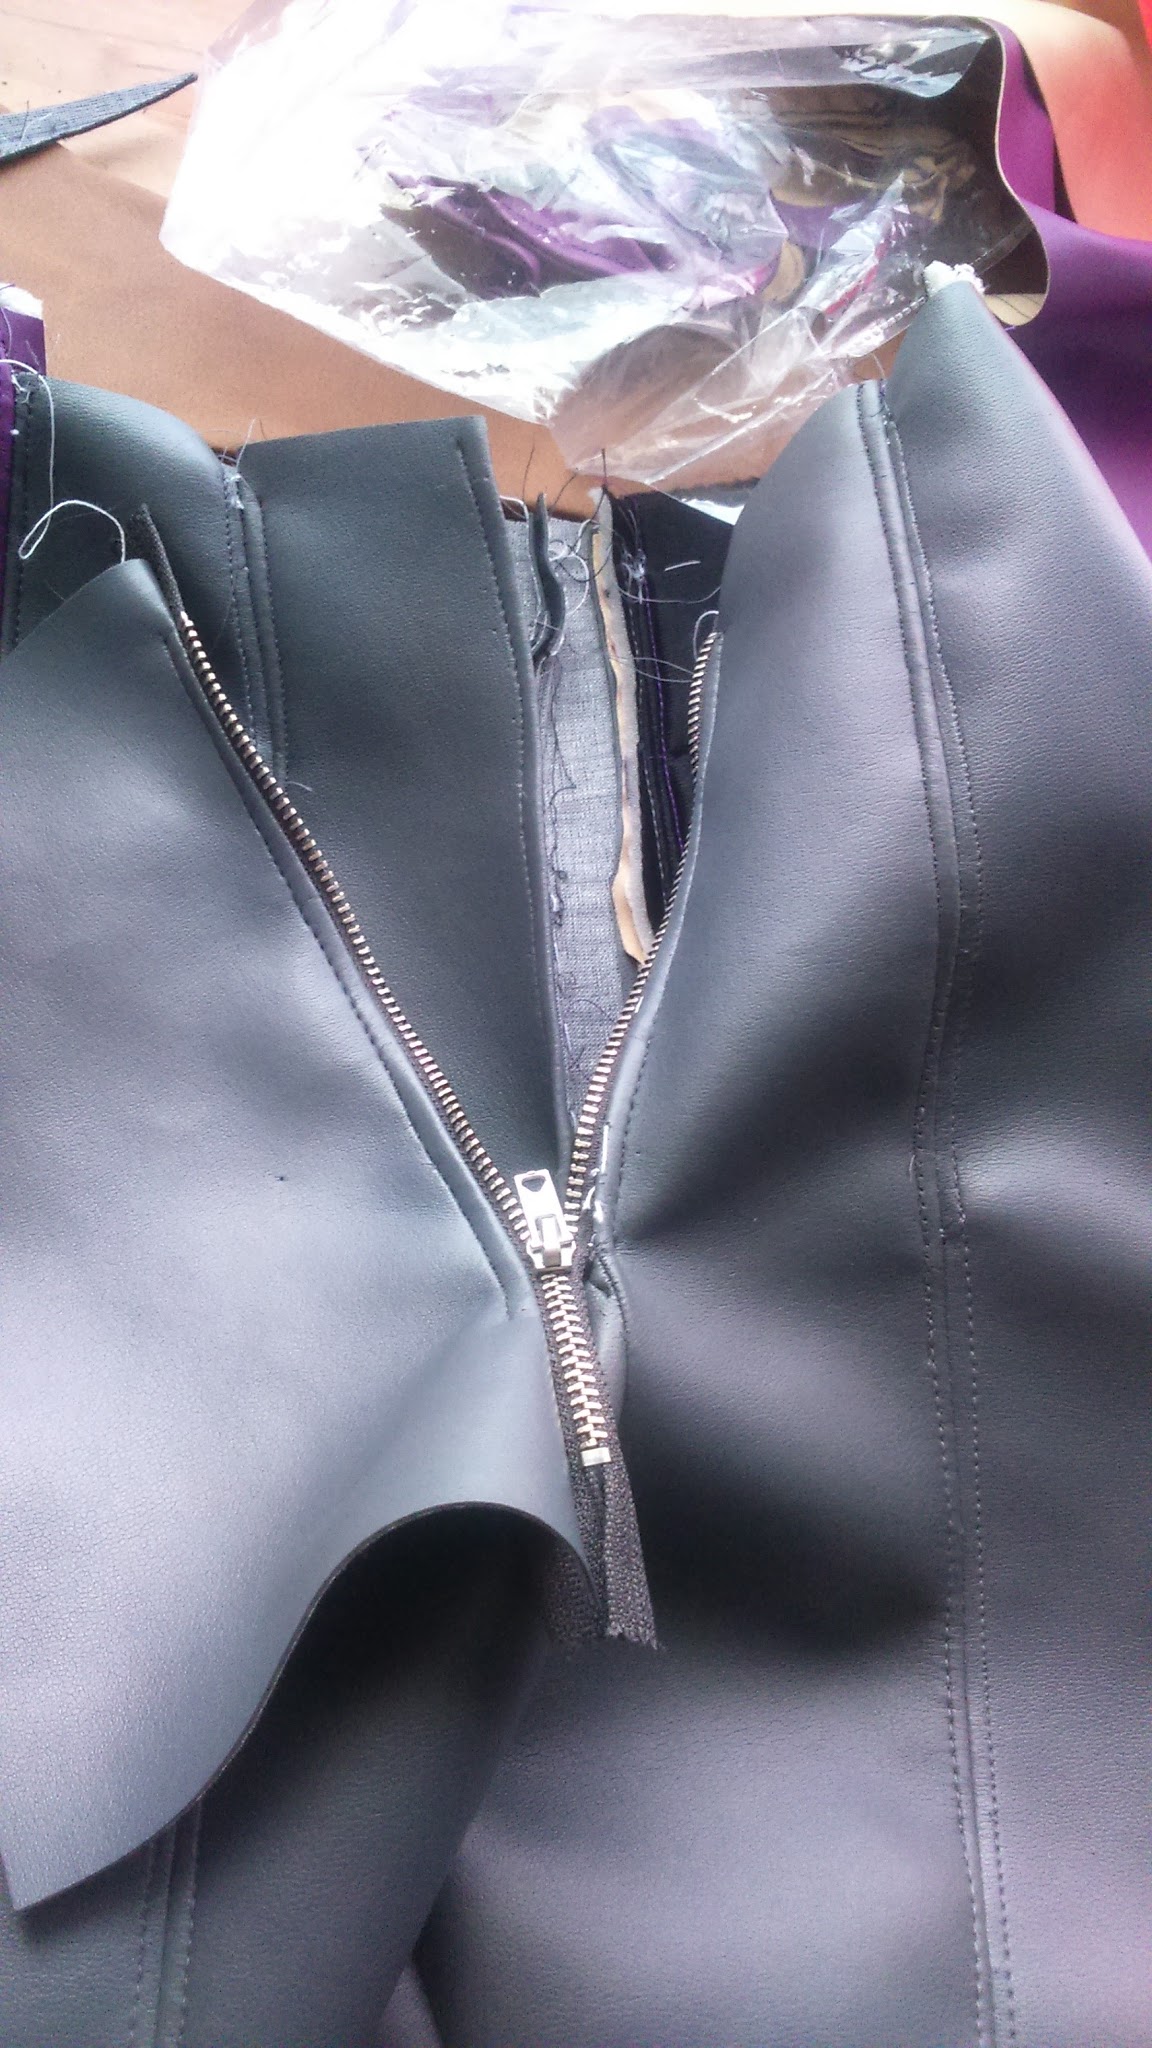
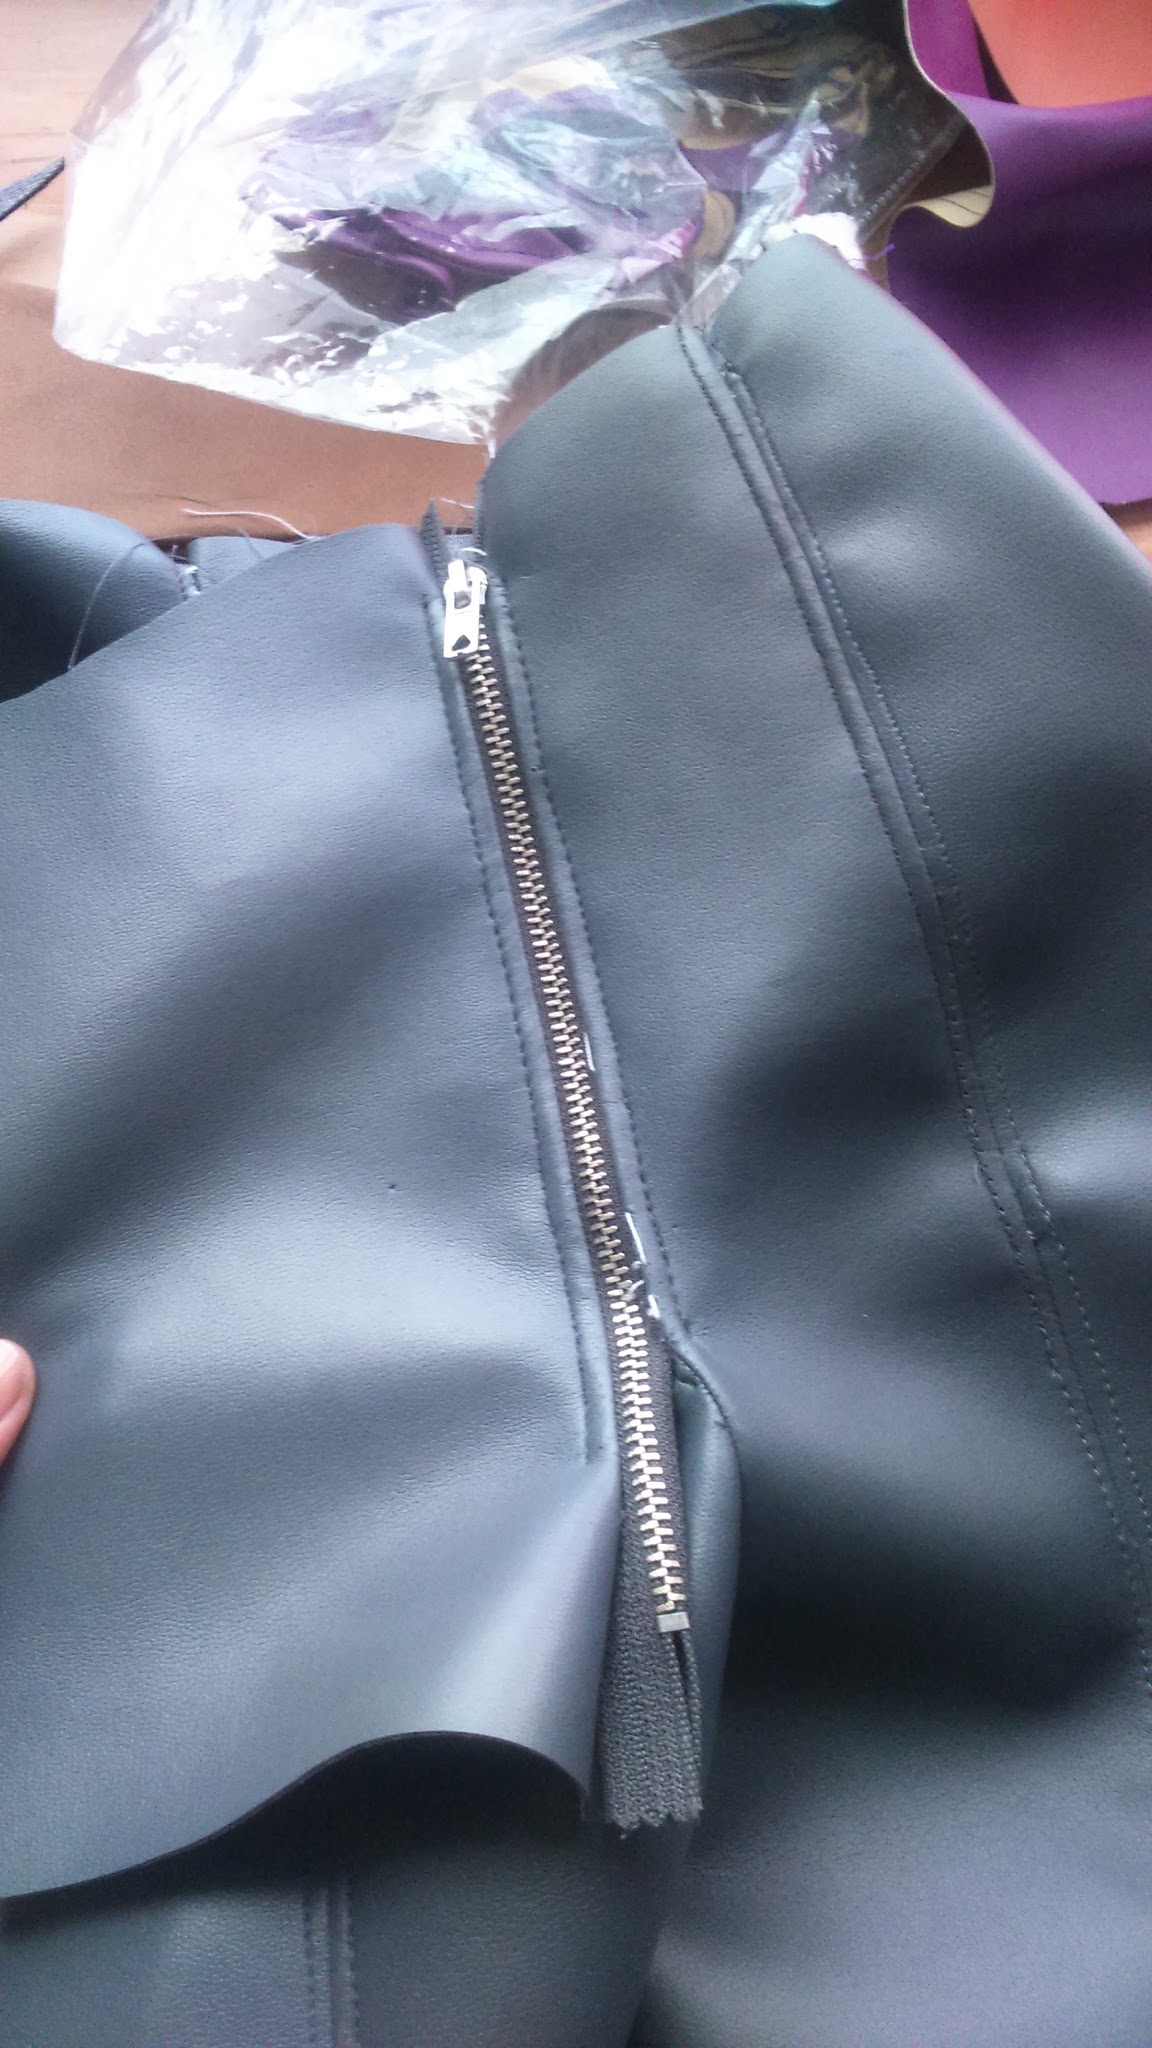
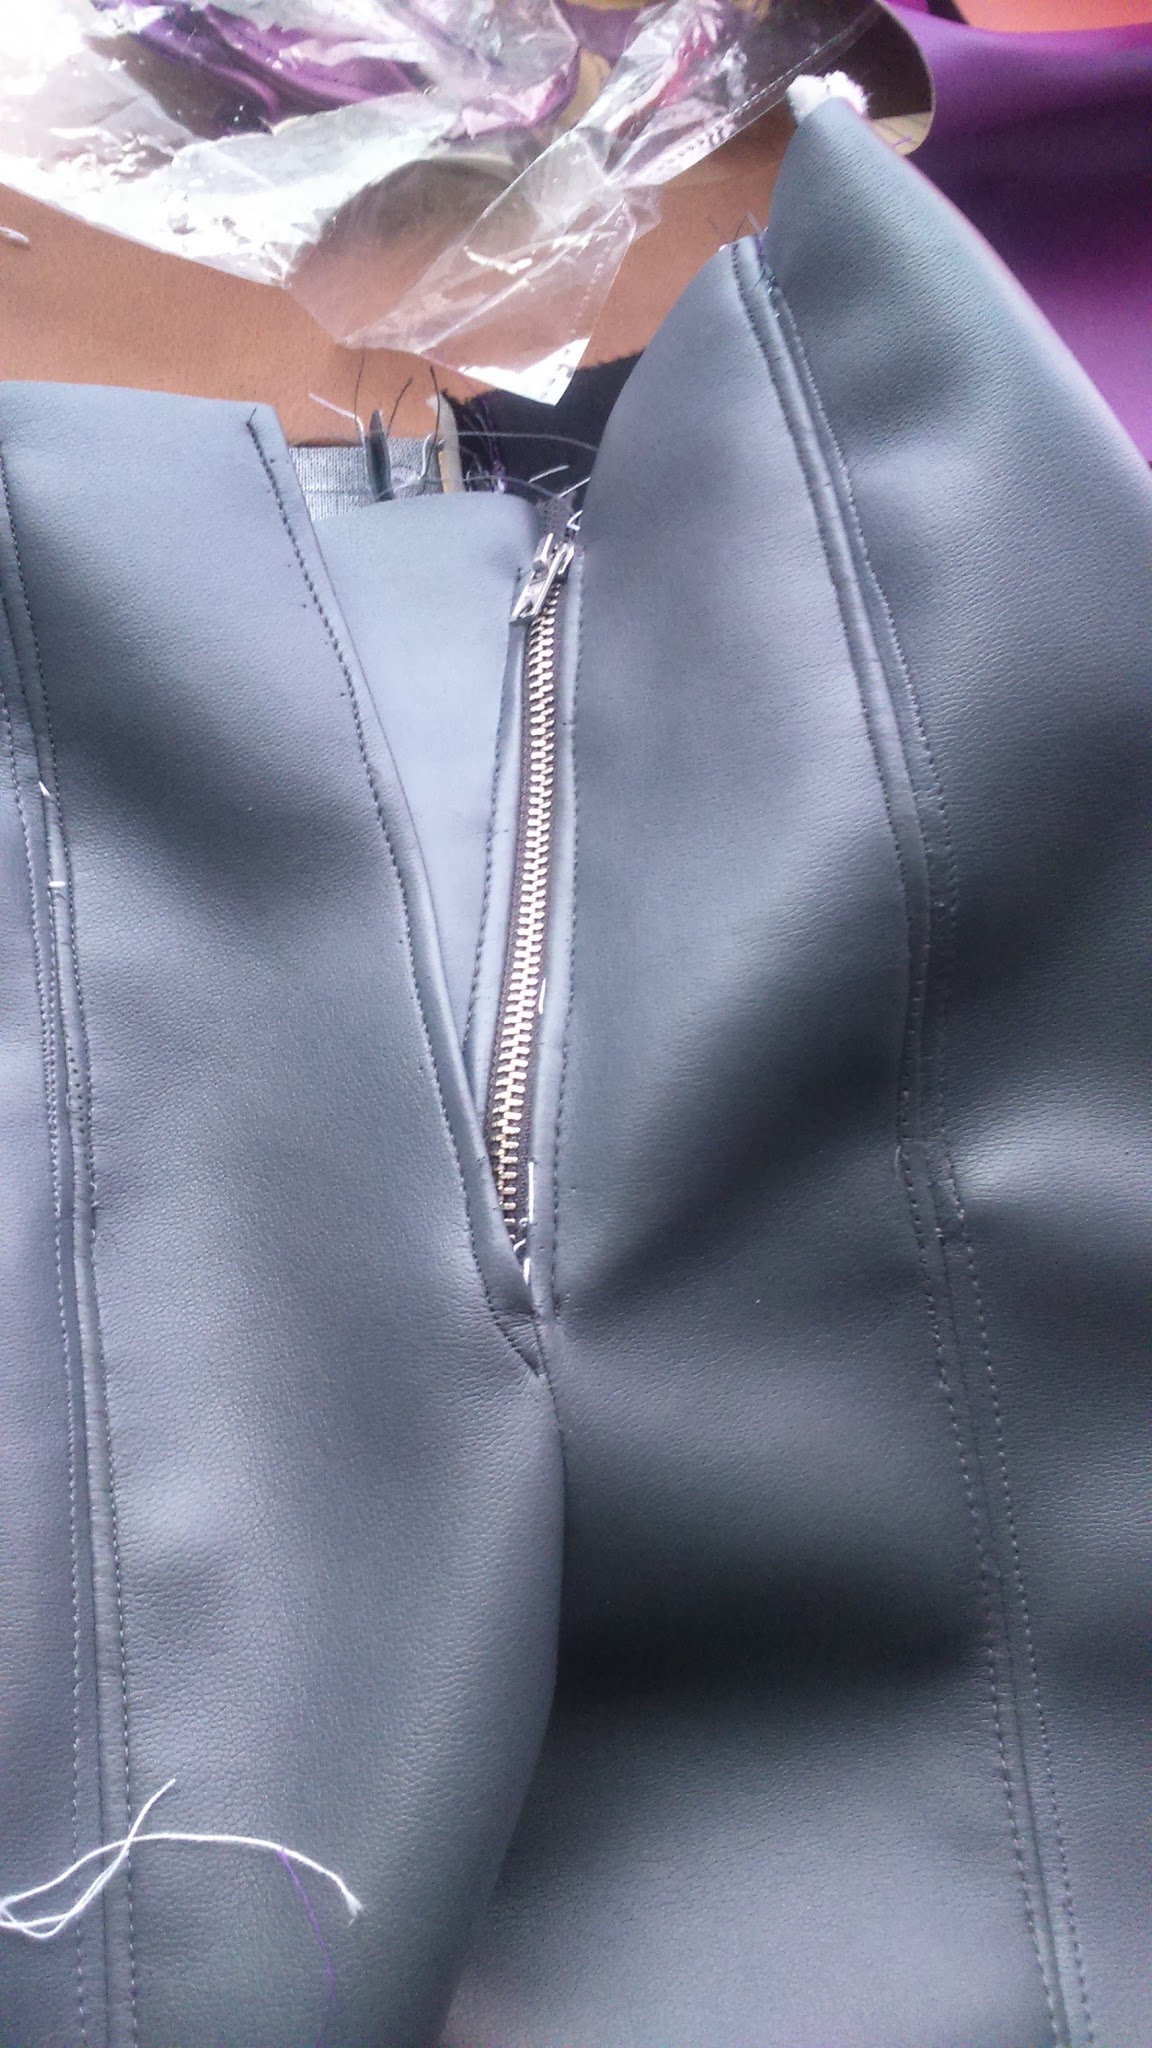
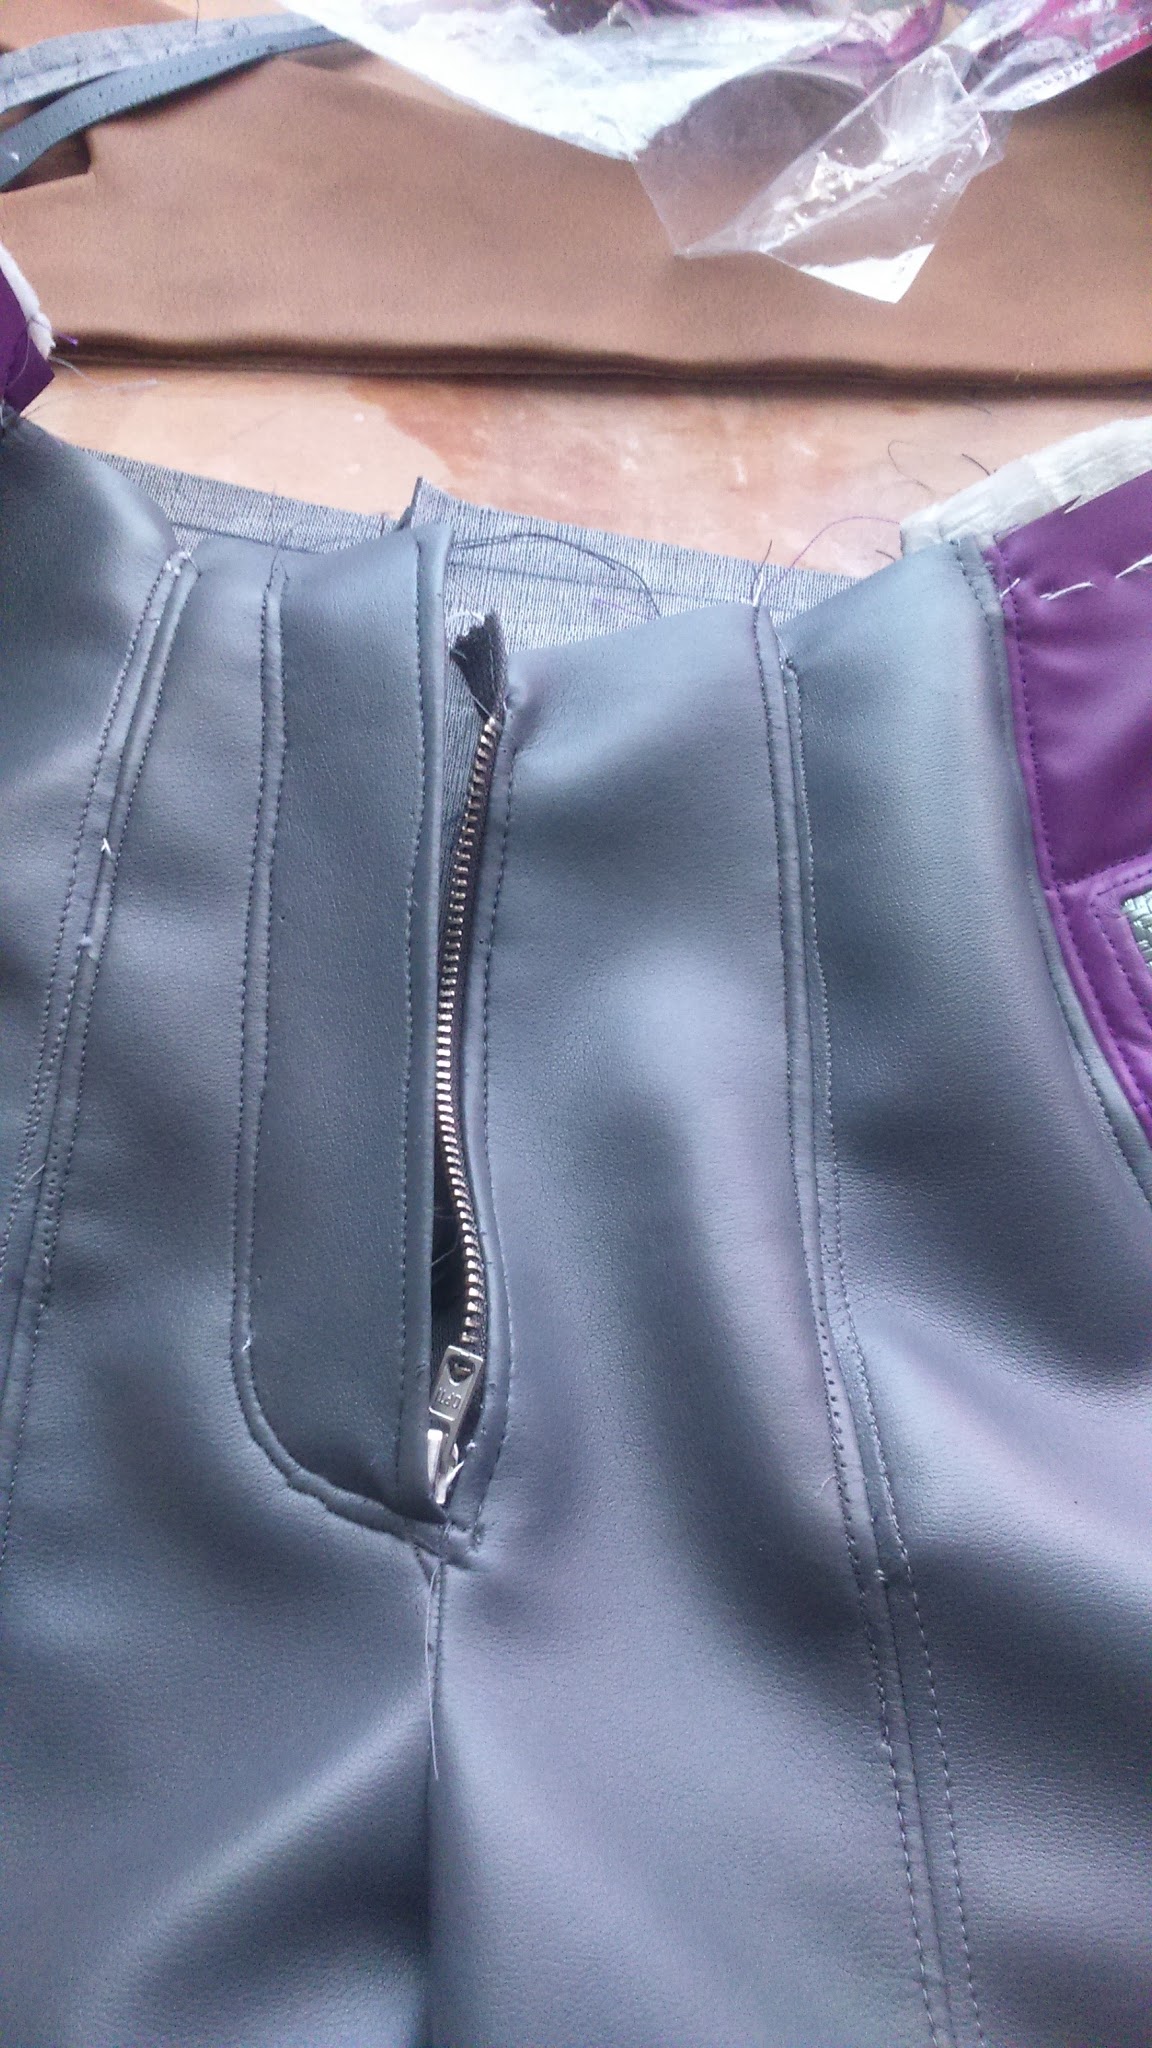
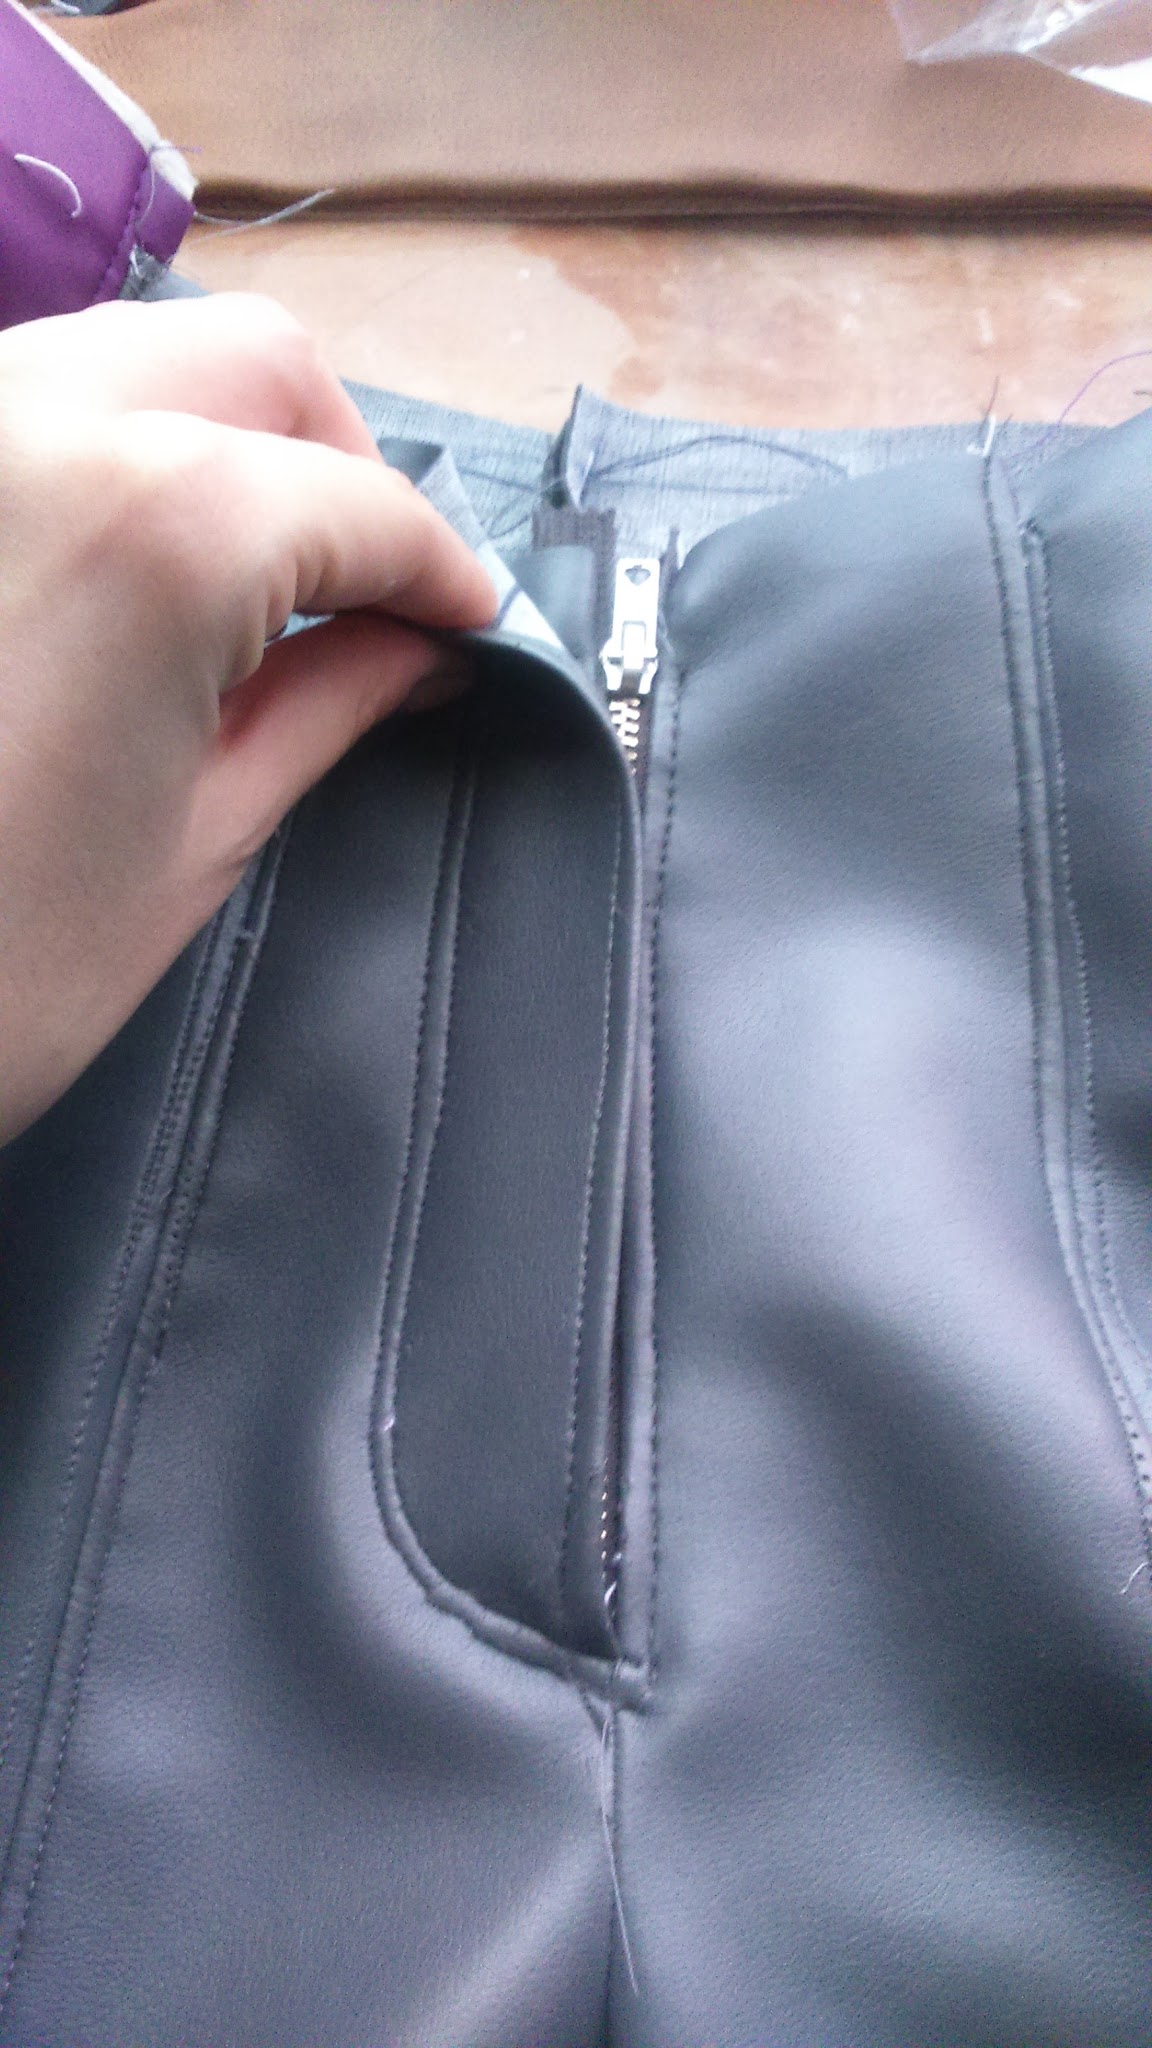
After fixing those seams, I added the fly. I love making flies!! It’s way easier that it appears and it gives a very profesional look. As you can see, you just have to add an extra fabric piece and sew one part of the zipper to it. Then you have to sew the other part of the zipper to the pants. After that you sew the extra piece together with the pants in its correct side and it’s ready!
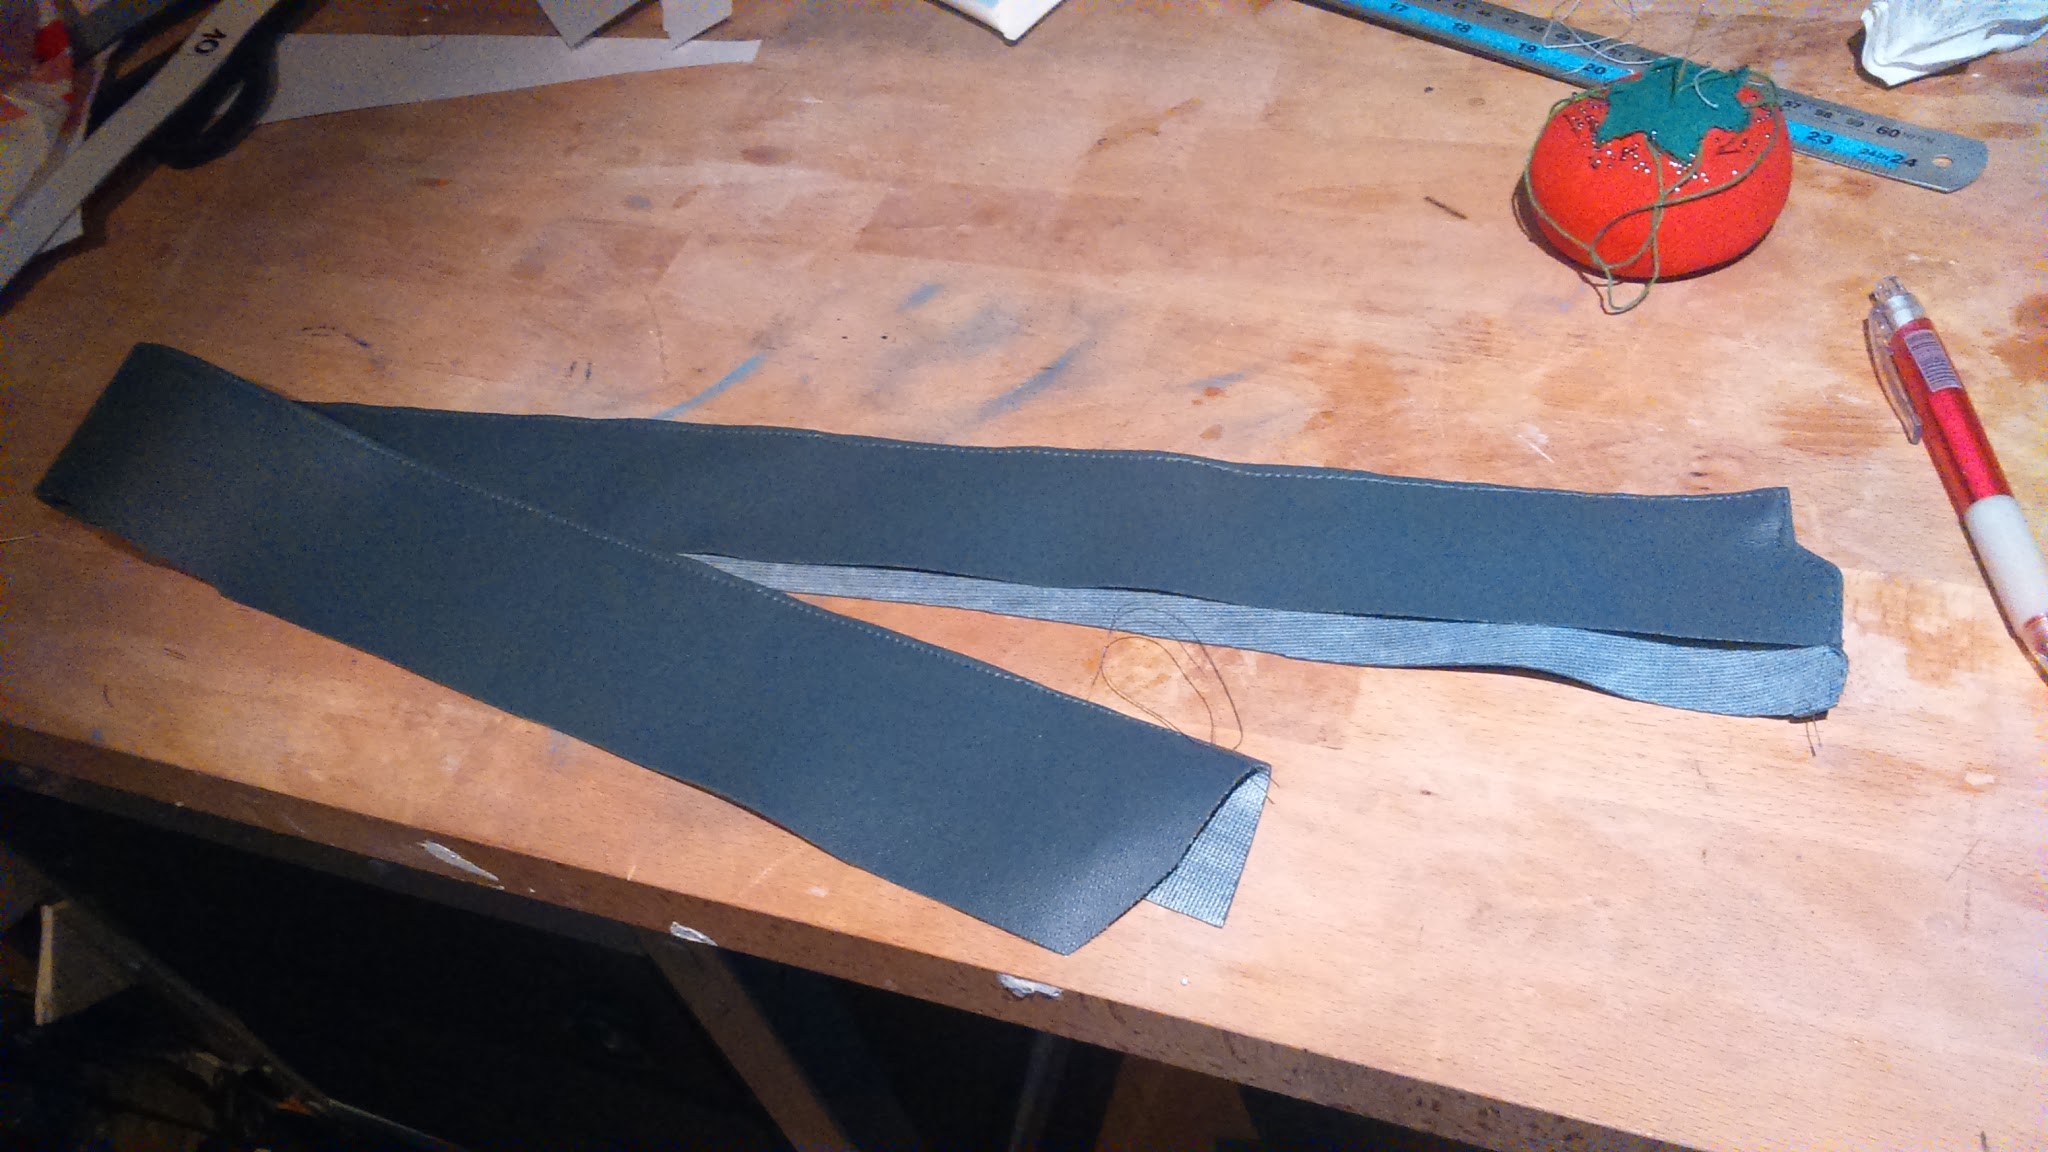
I finally put the waistband, that is a long piece of greay pleather folded in half, and I added the rest of ornamental seams to it. I also had some problems with this piece because I’d have to make it a little rounded to adjust to y shape so, with deep sorrow, I had to add some darts that are not included in the original model. So annoying!!

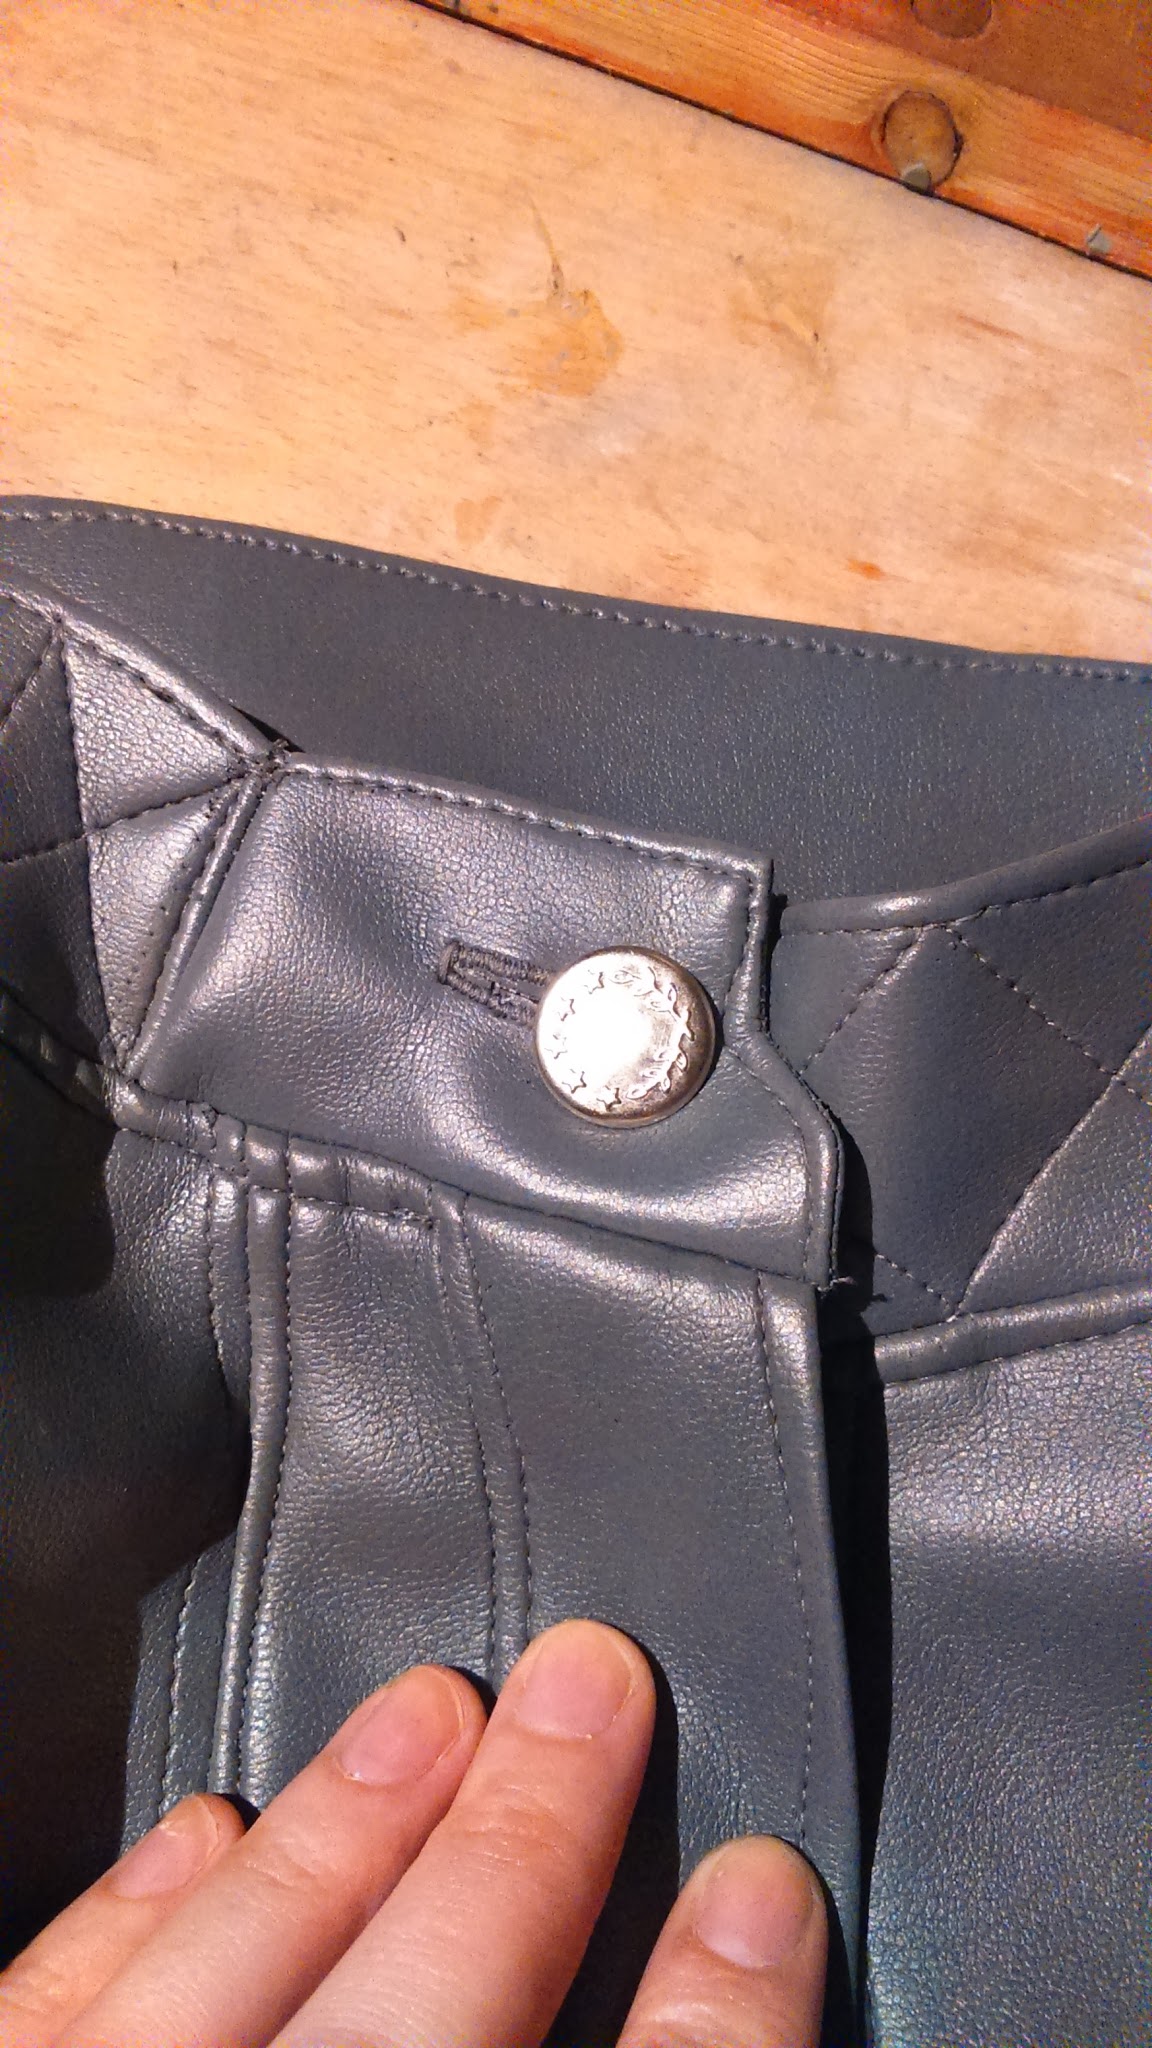
And I finally I added the punch button.

And that’s all! I’m currently working on my asari head sculpt and making belts and buckles so you can expect my next tutorial on some of these subjects.
Thank you so much for reading and feel free to comment below or ask me your questions on my social media.


