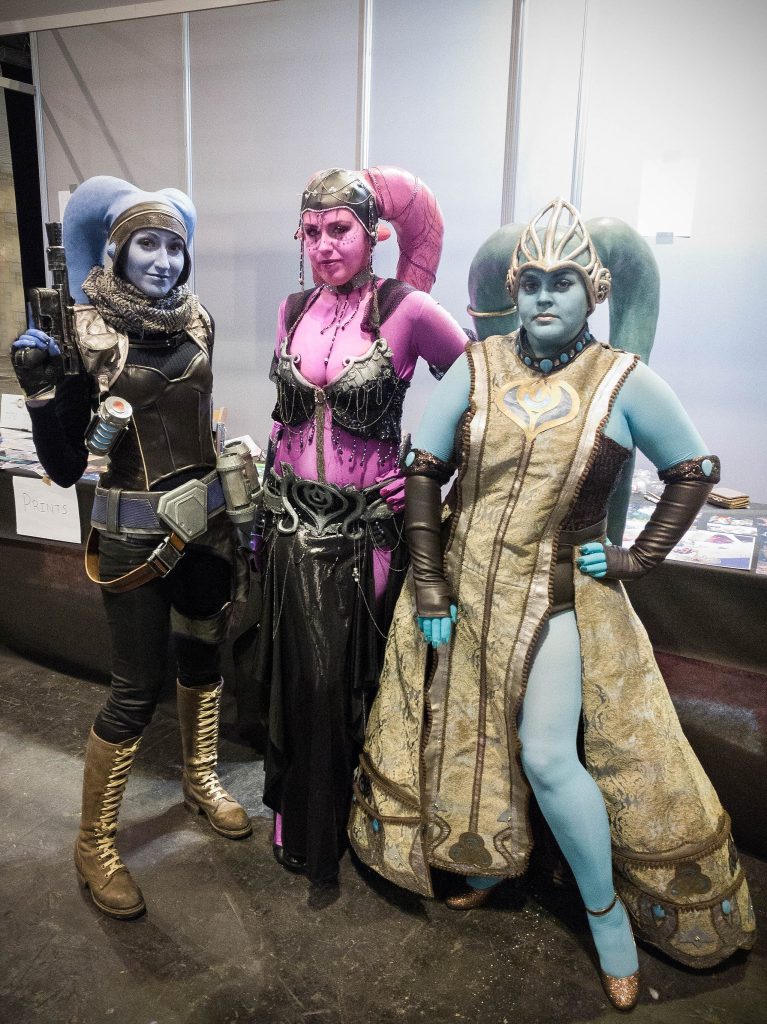
Hi! Yesterday my friends Sae, Sumyuna and I wore our twi’lek costumes for the first time at the Japan Weekend con and we had a blast. Thanks to everyone who passed by to say hi!!
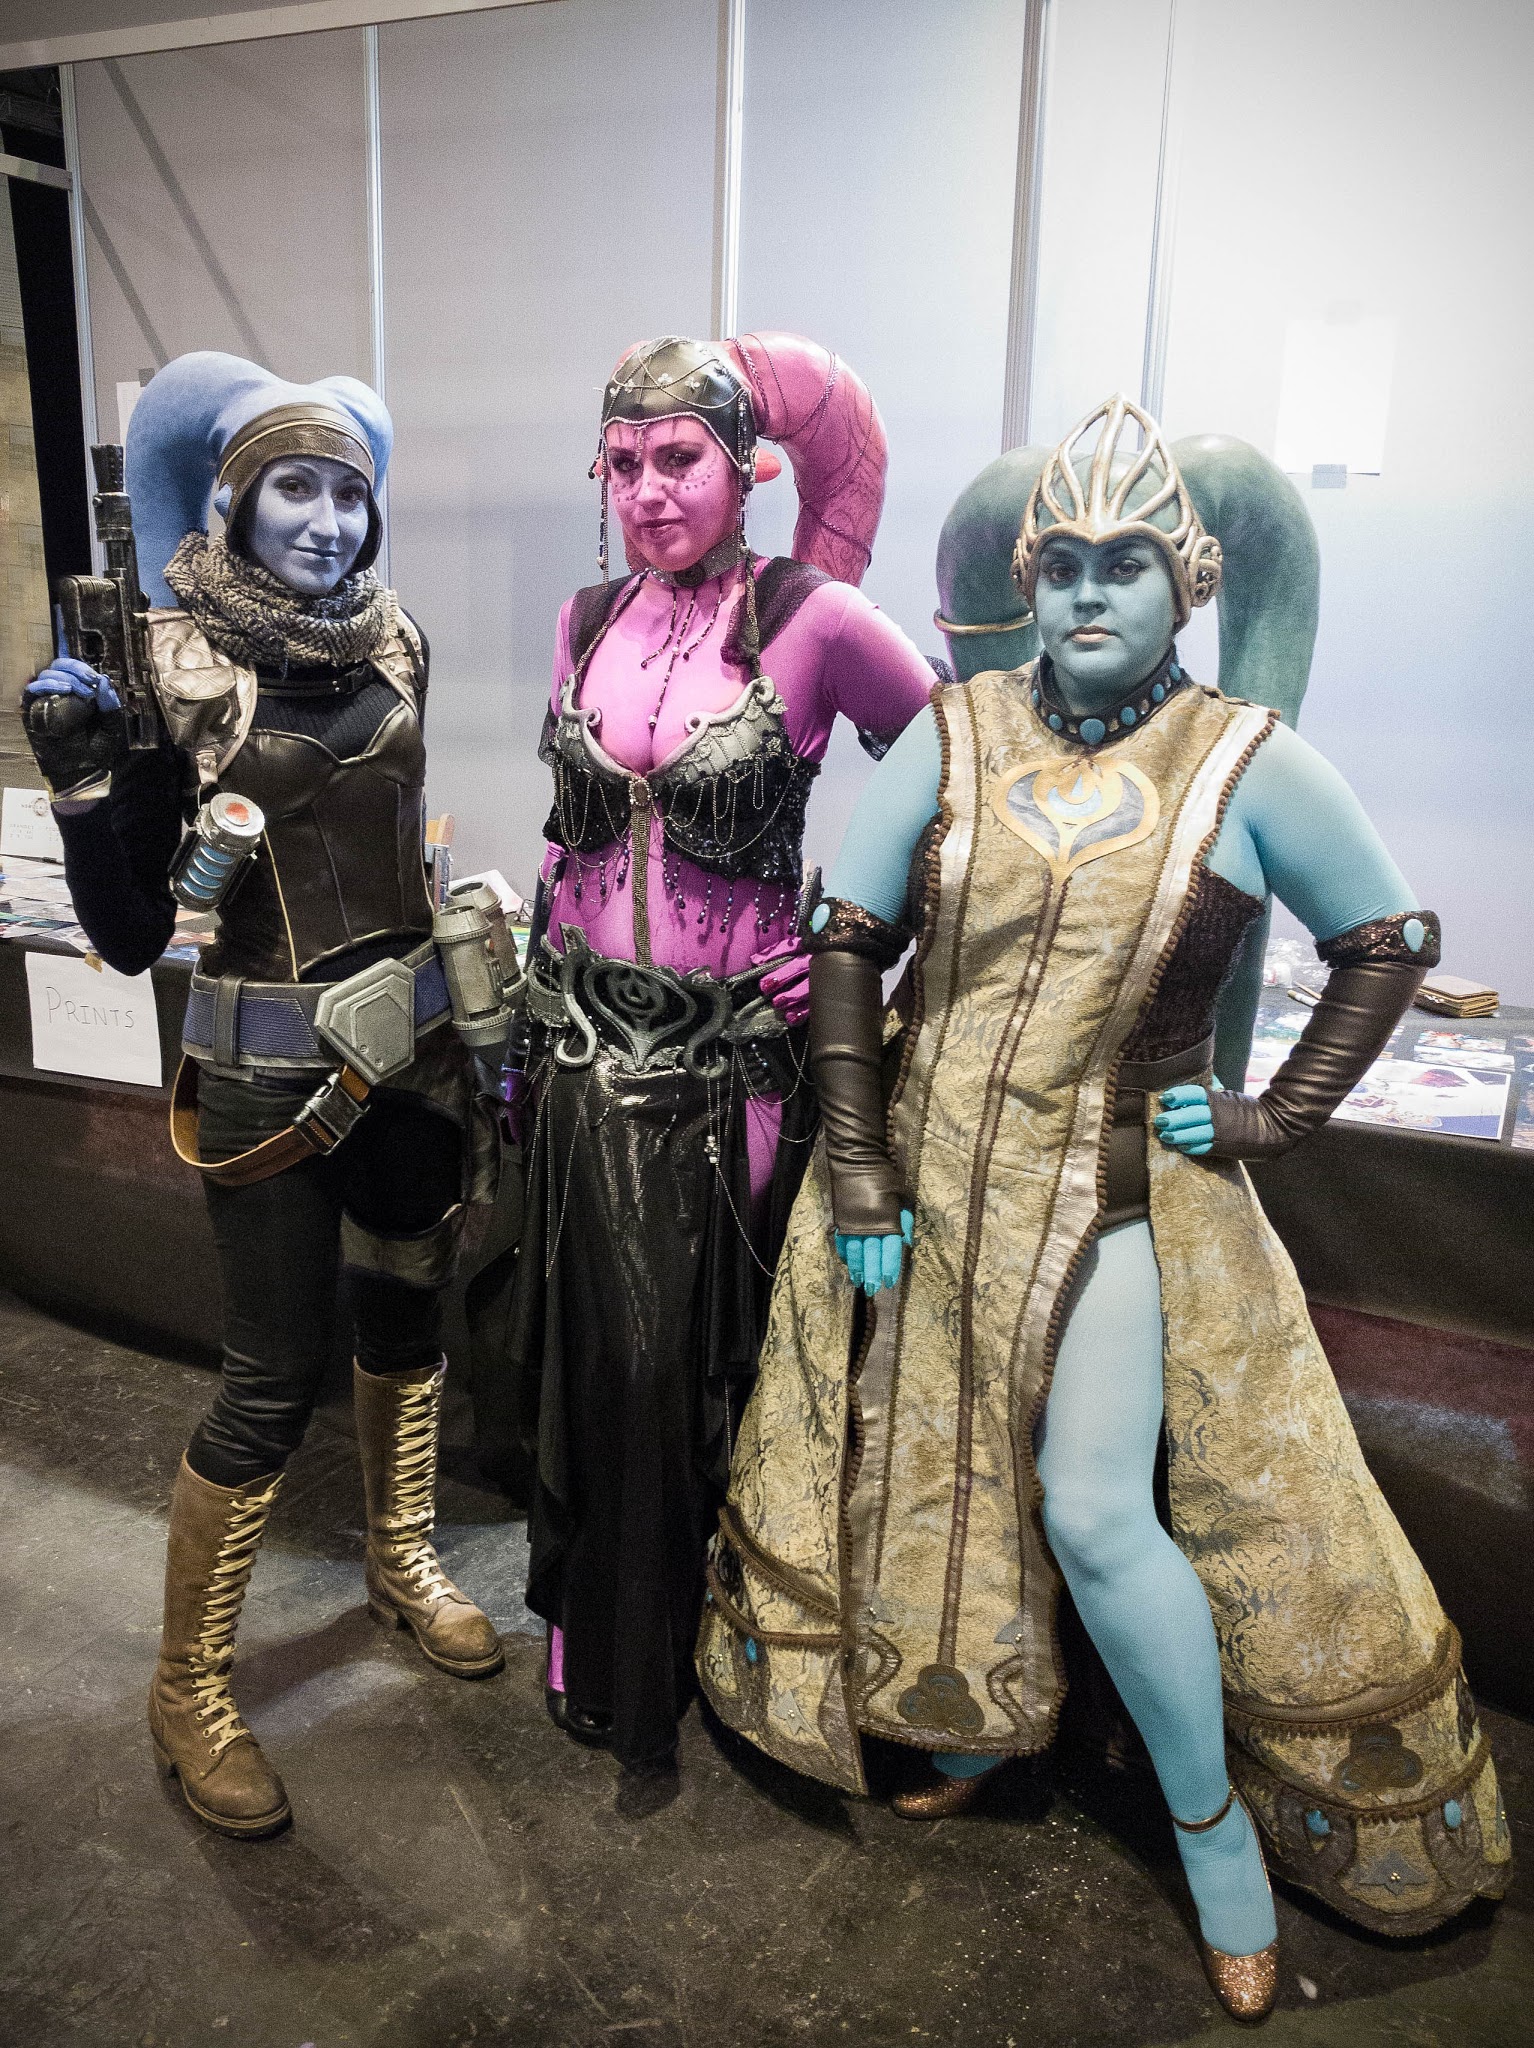 |
| Gracias a Cameko Sam por la foto. |
As these costumes have original designs made by us, I didn’t think about making a tutorial on my outfit, so I didn’t even take pictures of the process. On the other hand, I have a bunch of lekkus making-of pictures that is the important part of the cosplay.
We made a mold for the three of us but as I’m a short and skinny girl with a small head, they ended up being too big for me. So a week before the con I decided to make my own lekkus. I’m a neurotic, I recognize it.
Both headpieces have been made the same way and following this tutorial by Merian’s Closet. So I didn’t do anything very innovative to make these. I’m just trying to explain it to you my way.
Let’s go!
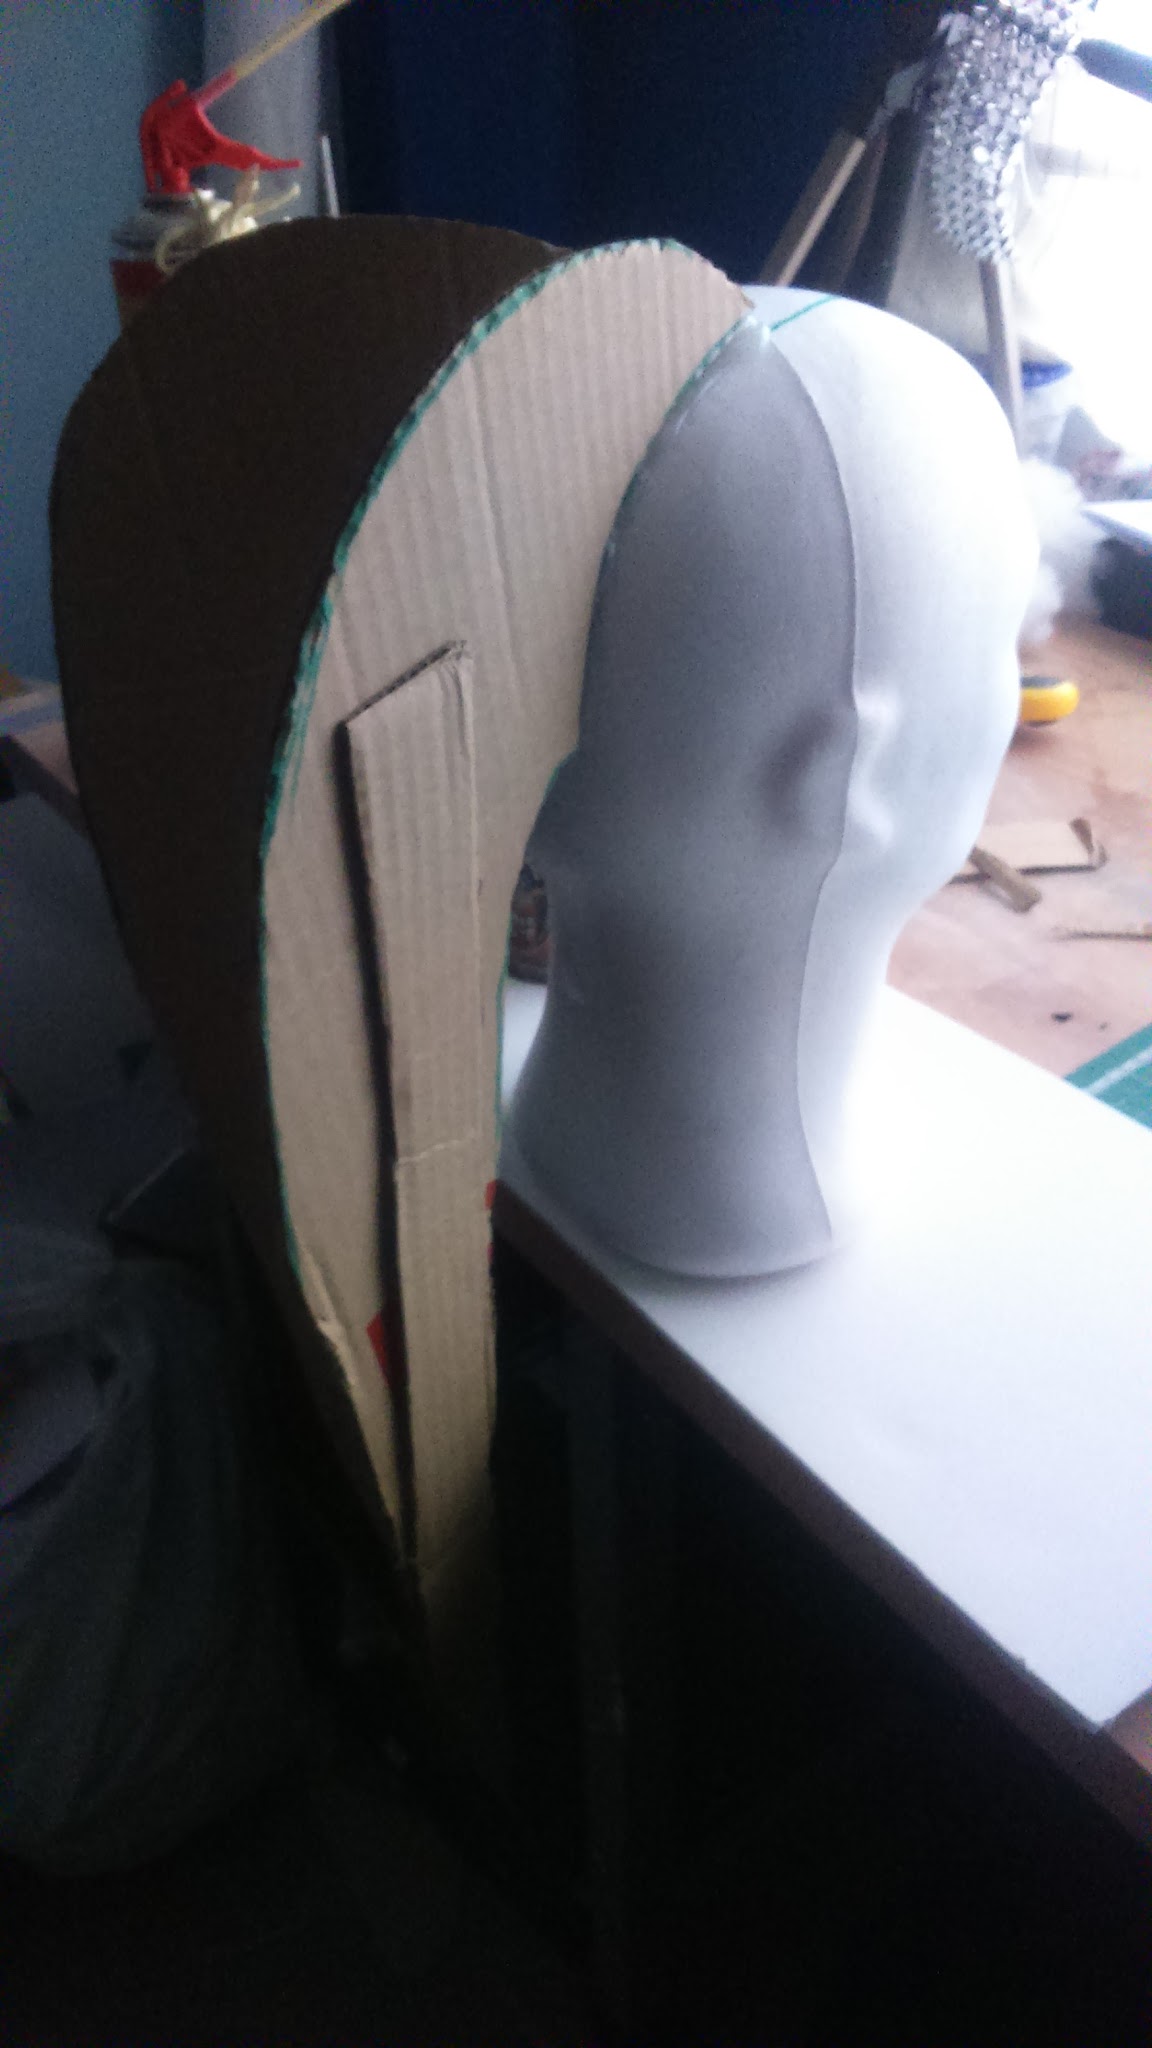
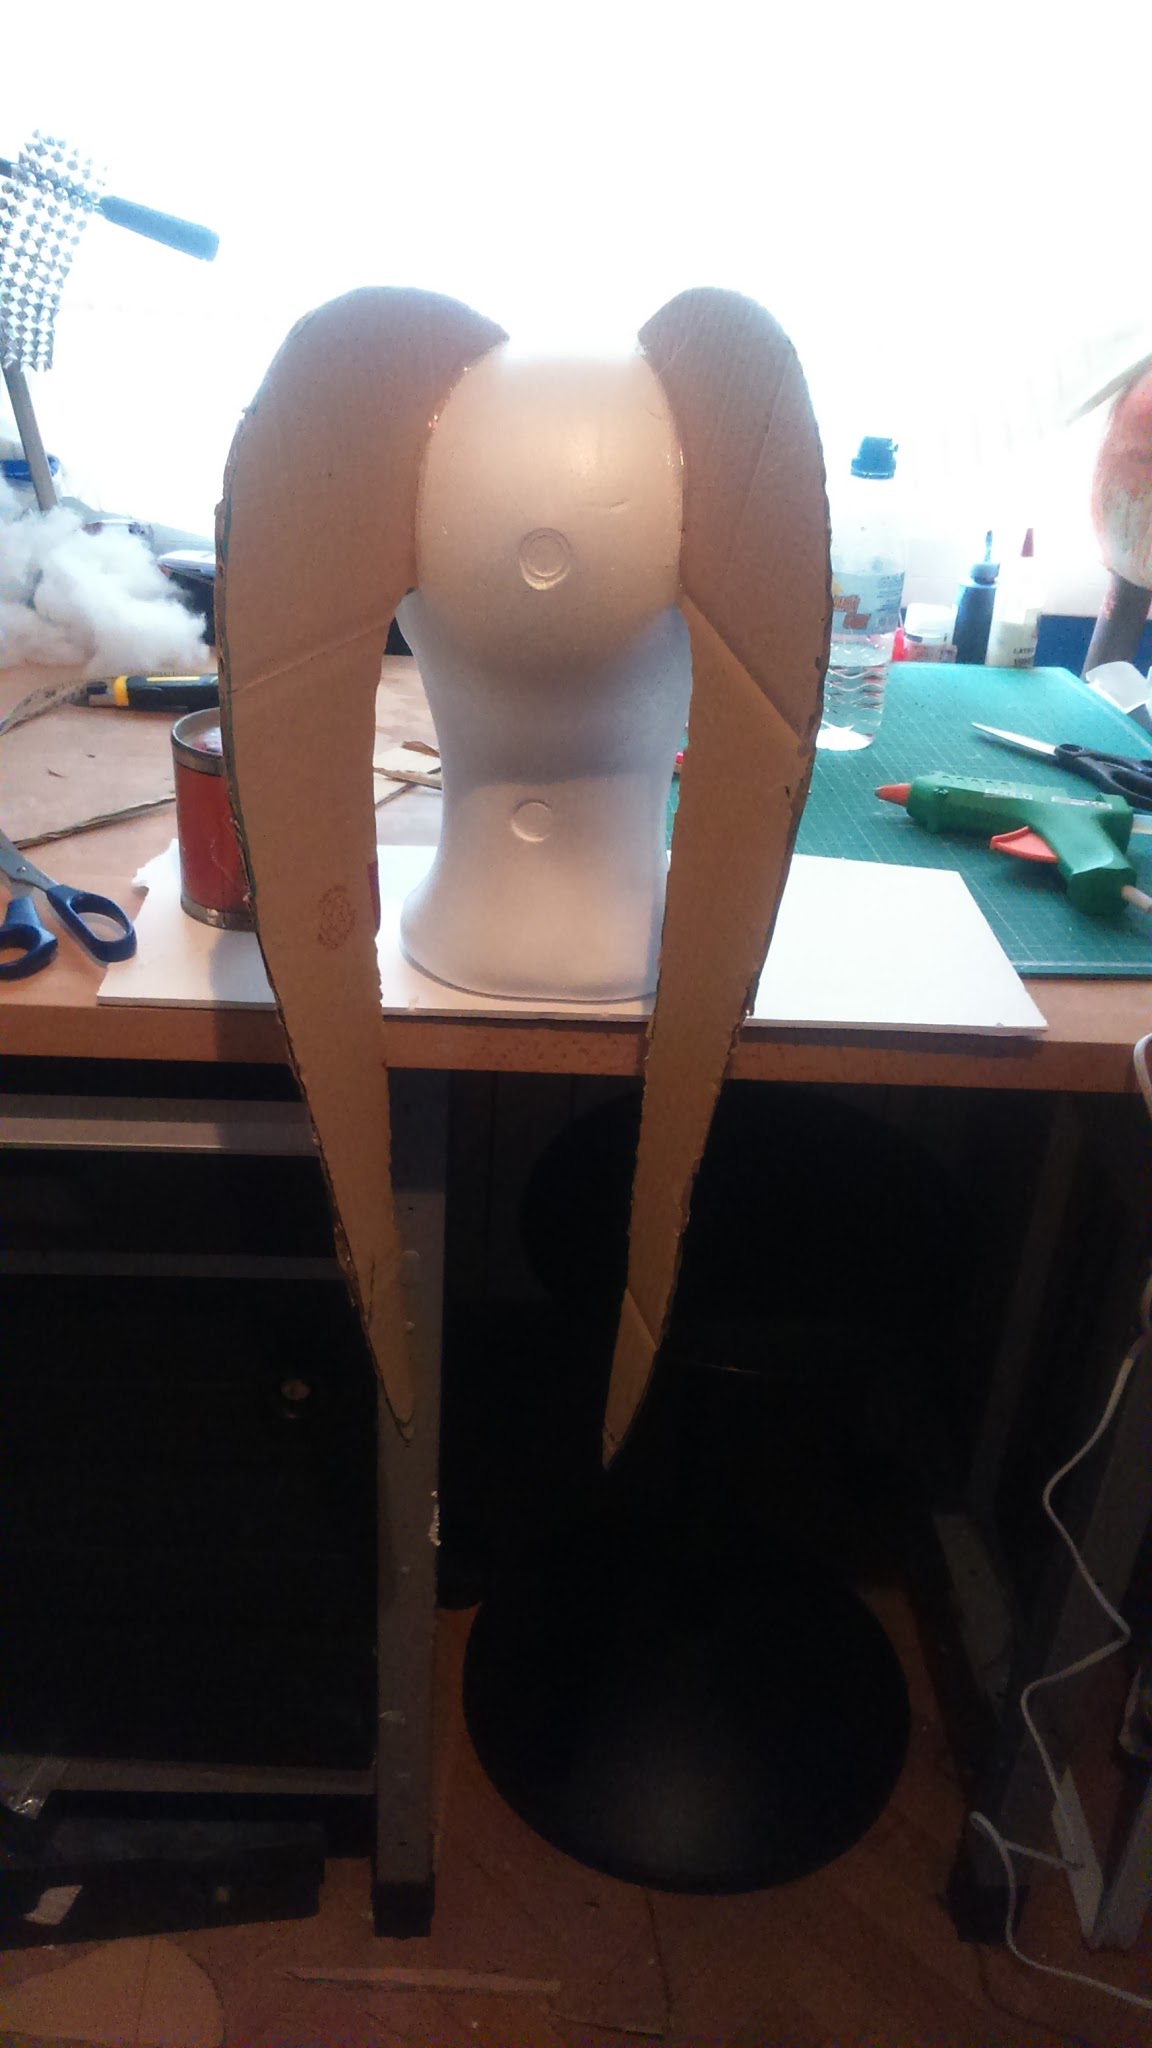
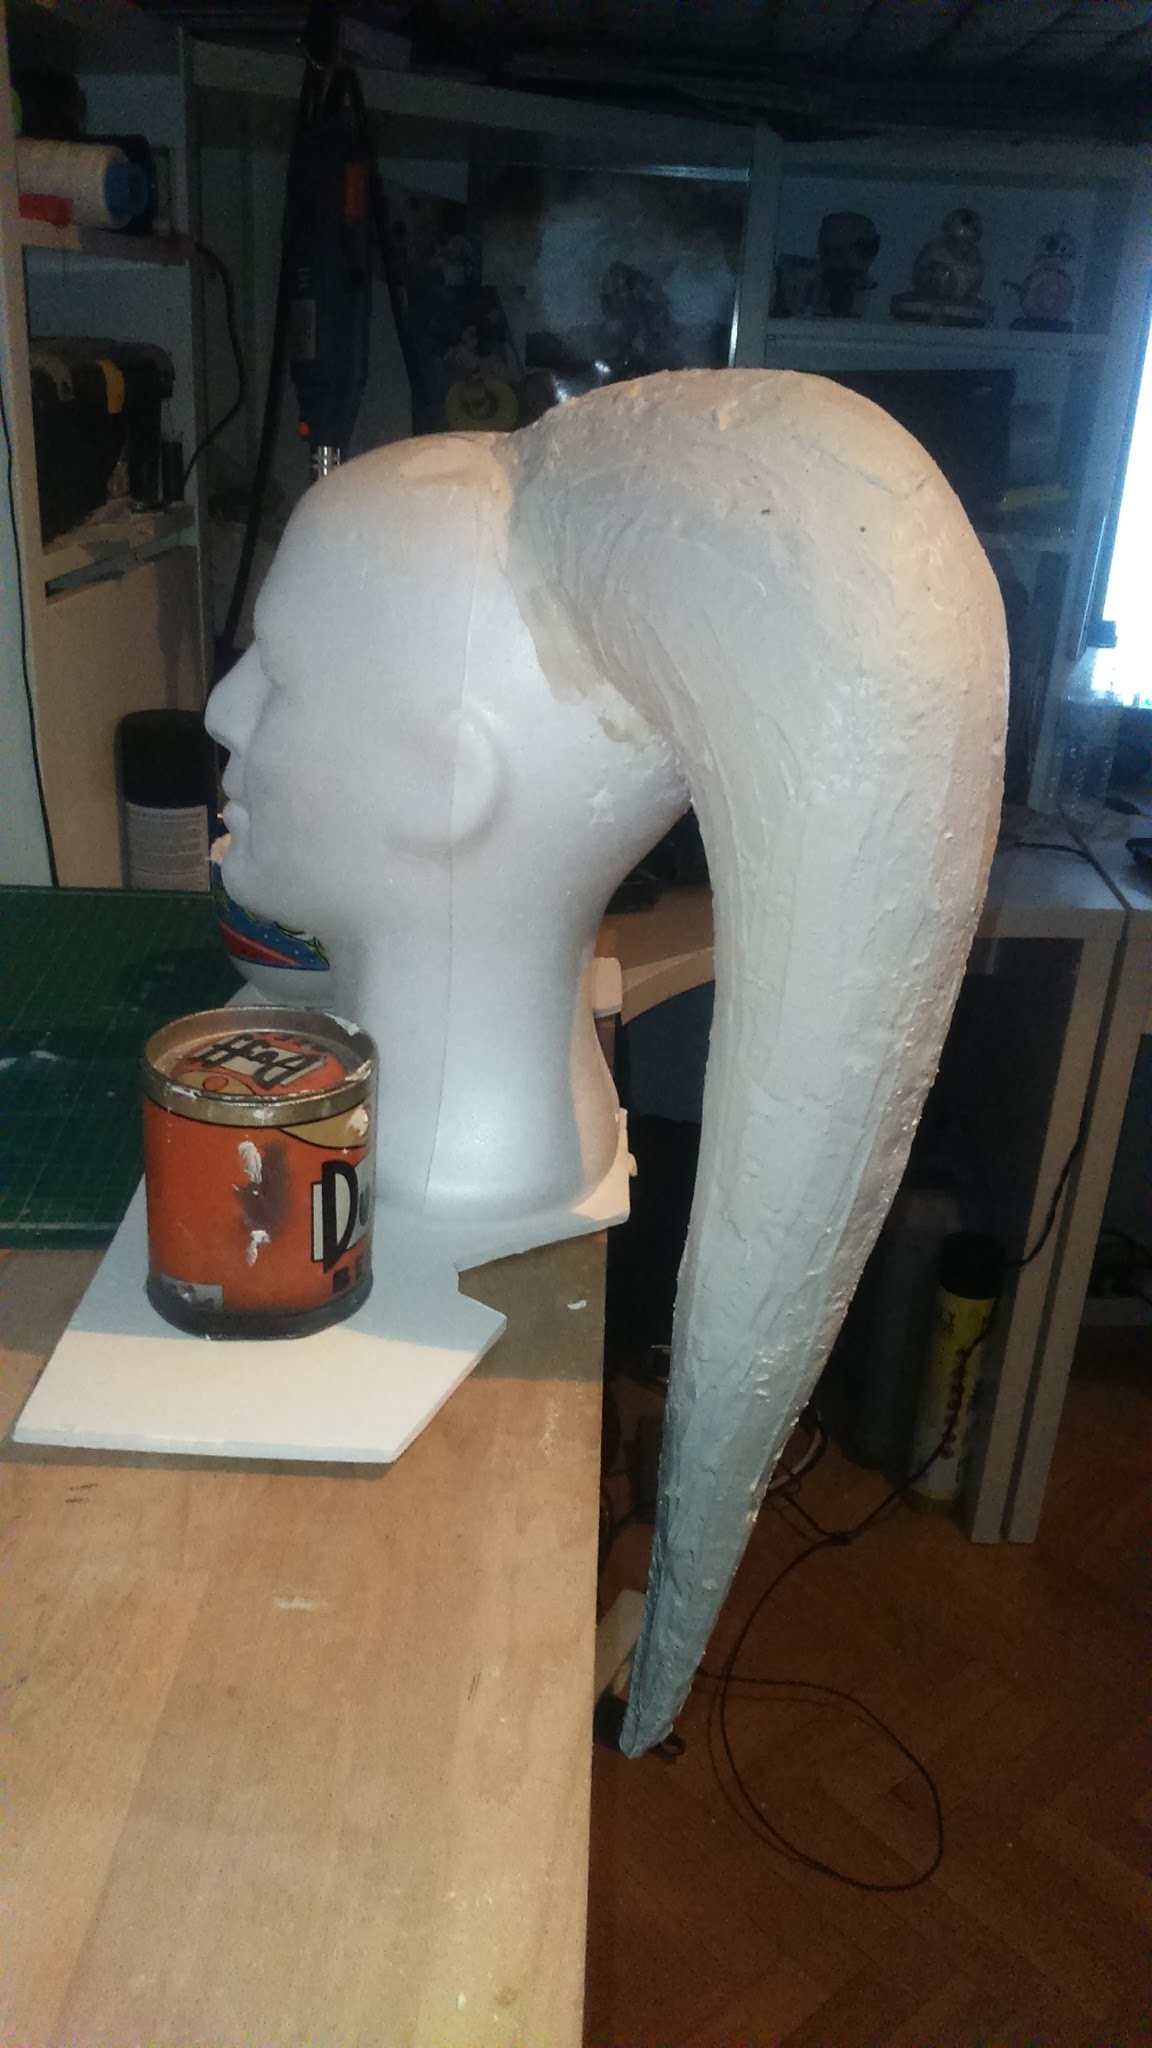
First of all I cut a carboard sheet with the basic lekku shape and I glued them to a mannequin head using hot glue. I made them about 55cm long (22″) becasue I wanted them to reach my waistline.
If you want to secure them to the mannequin head, you can inlay them using a PVC pipe or something similar. At that moment I was in a rush so I didn’t do that.

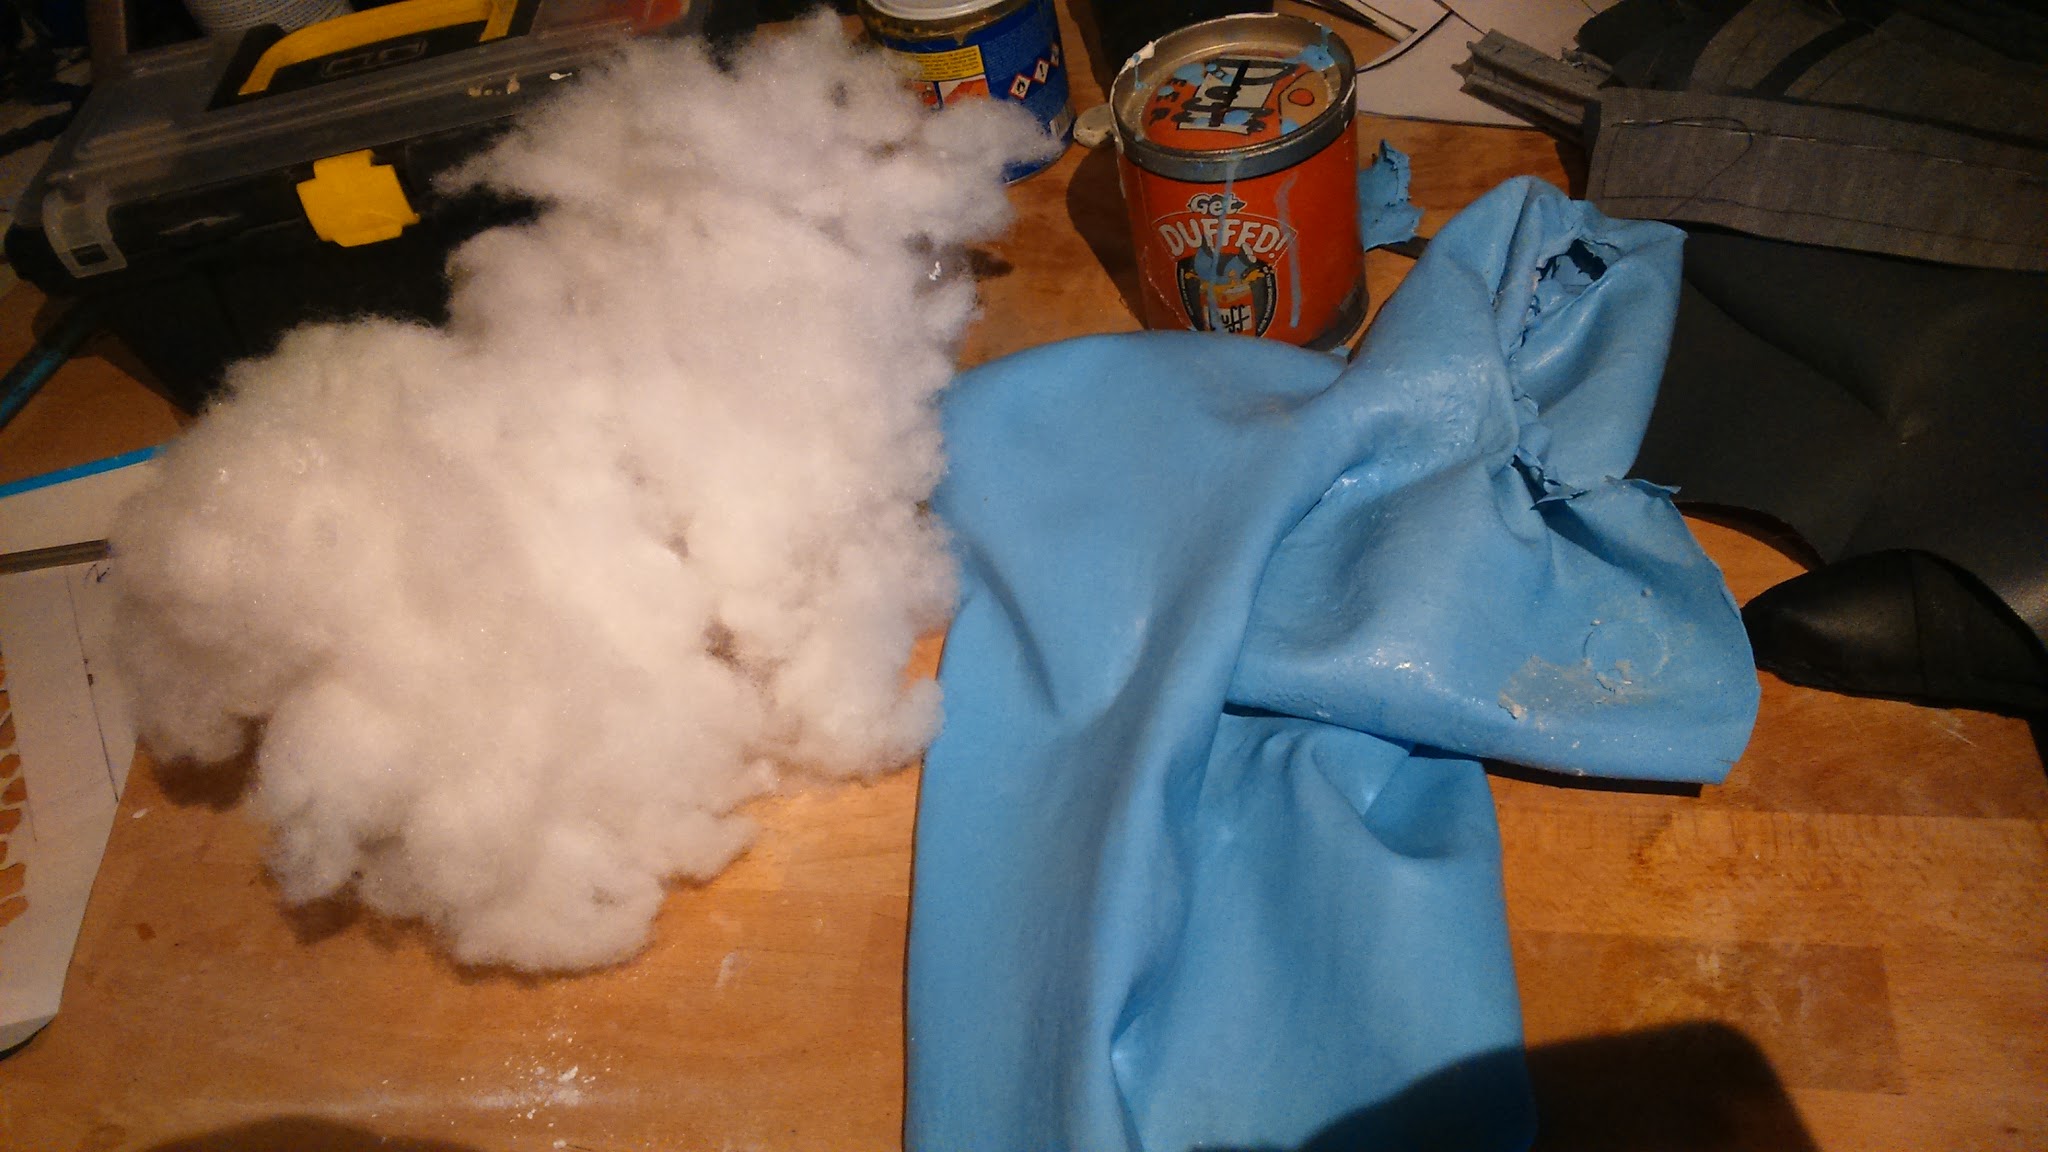
Once the basic cardboard shape was fixed on the mannequin I proceeded to apply expanding foam on it. For this task is reccommendable to have a spray bottle with water to apply it on the surface before putting the foam and also after to stimulate its expansion.
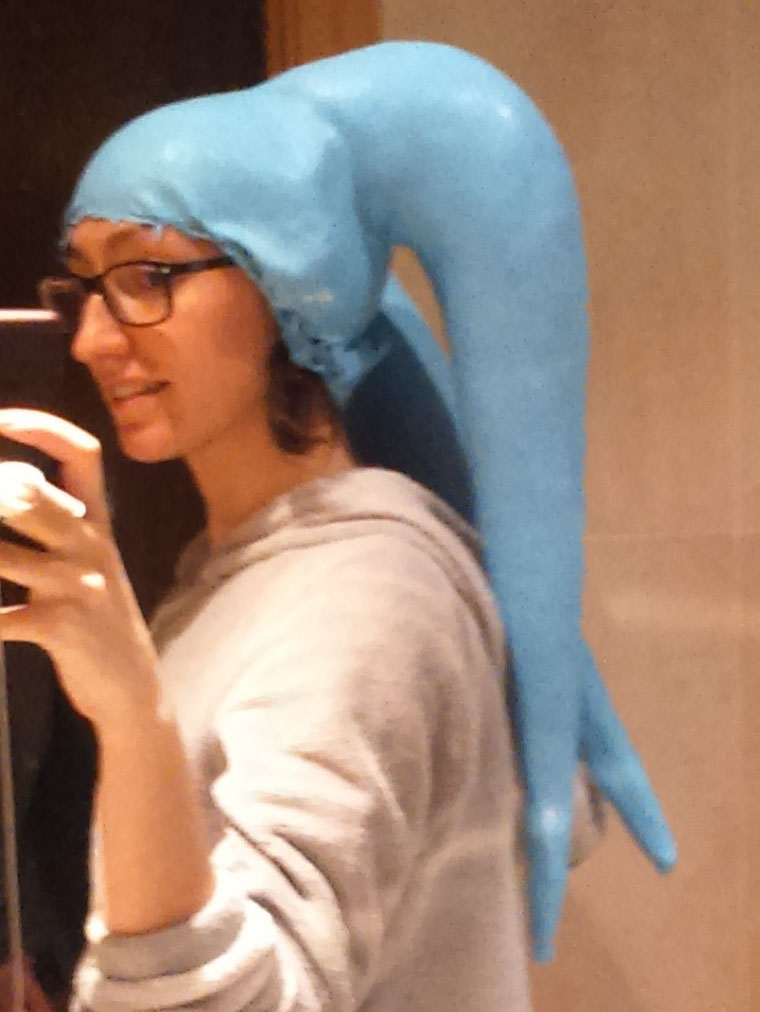
Friendly reminder: don’t touch the foam while it’s wet! Don’t mess it up like this woman.
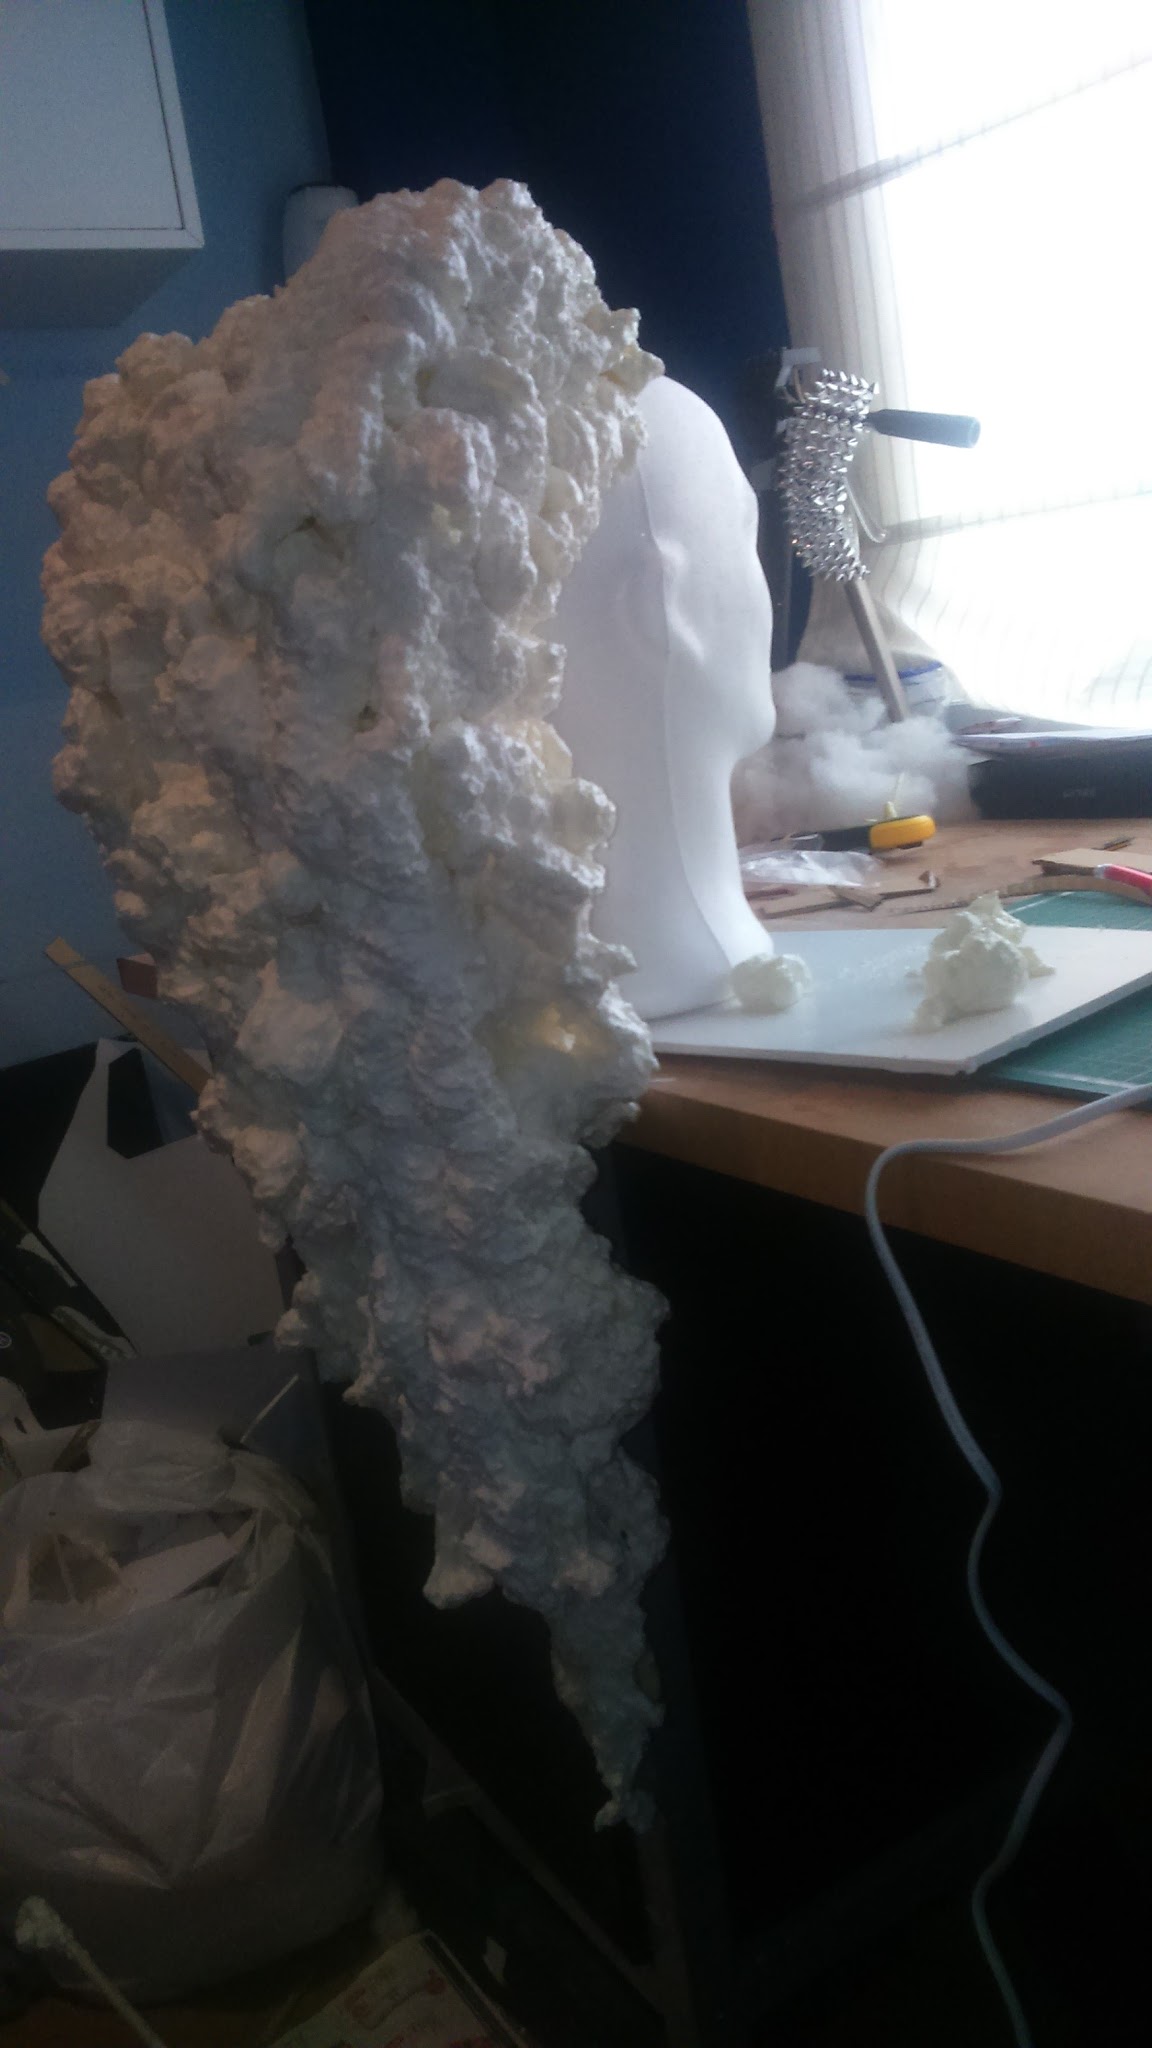
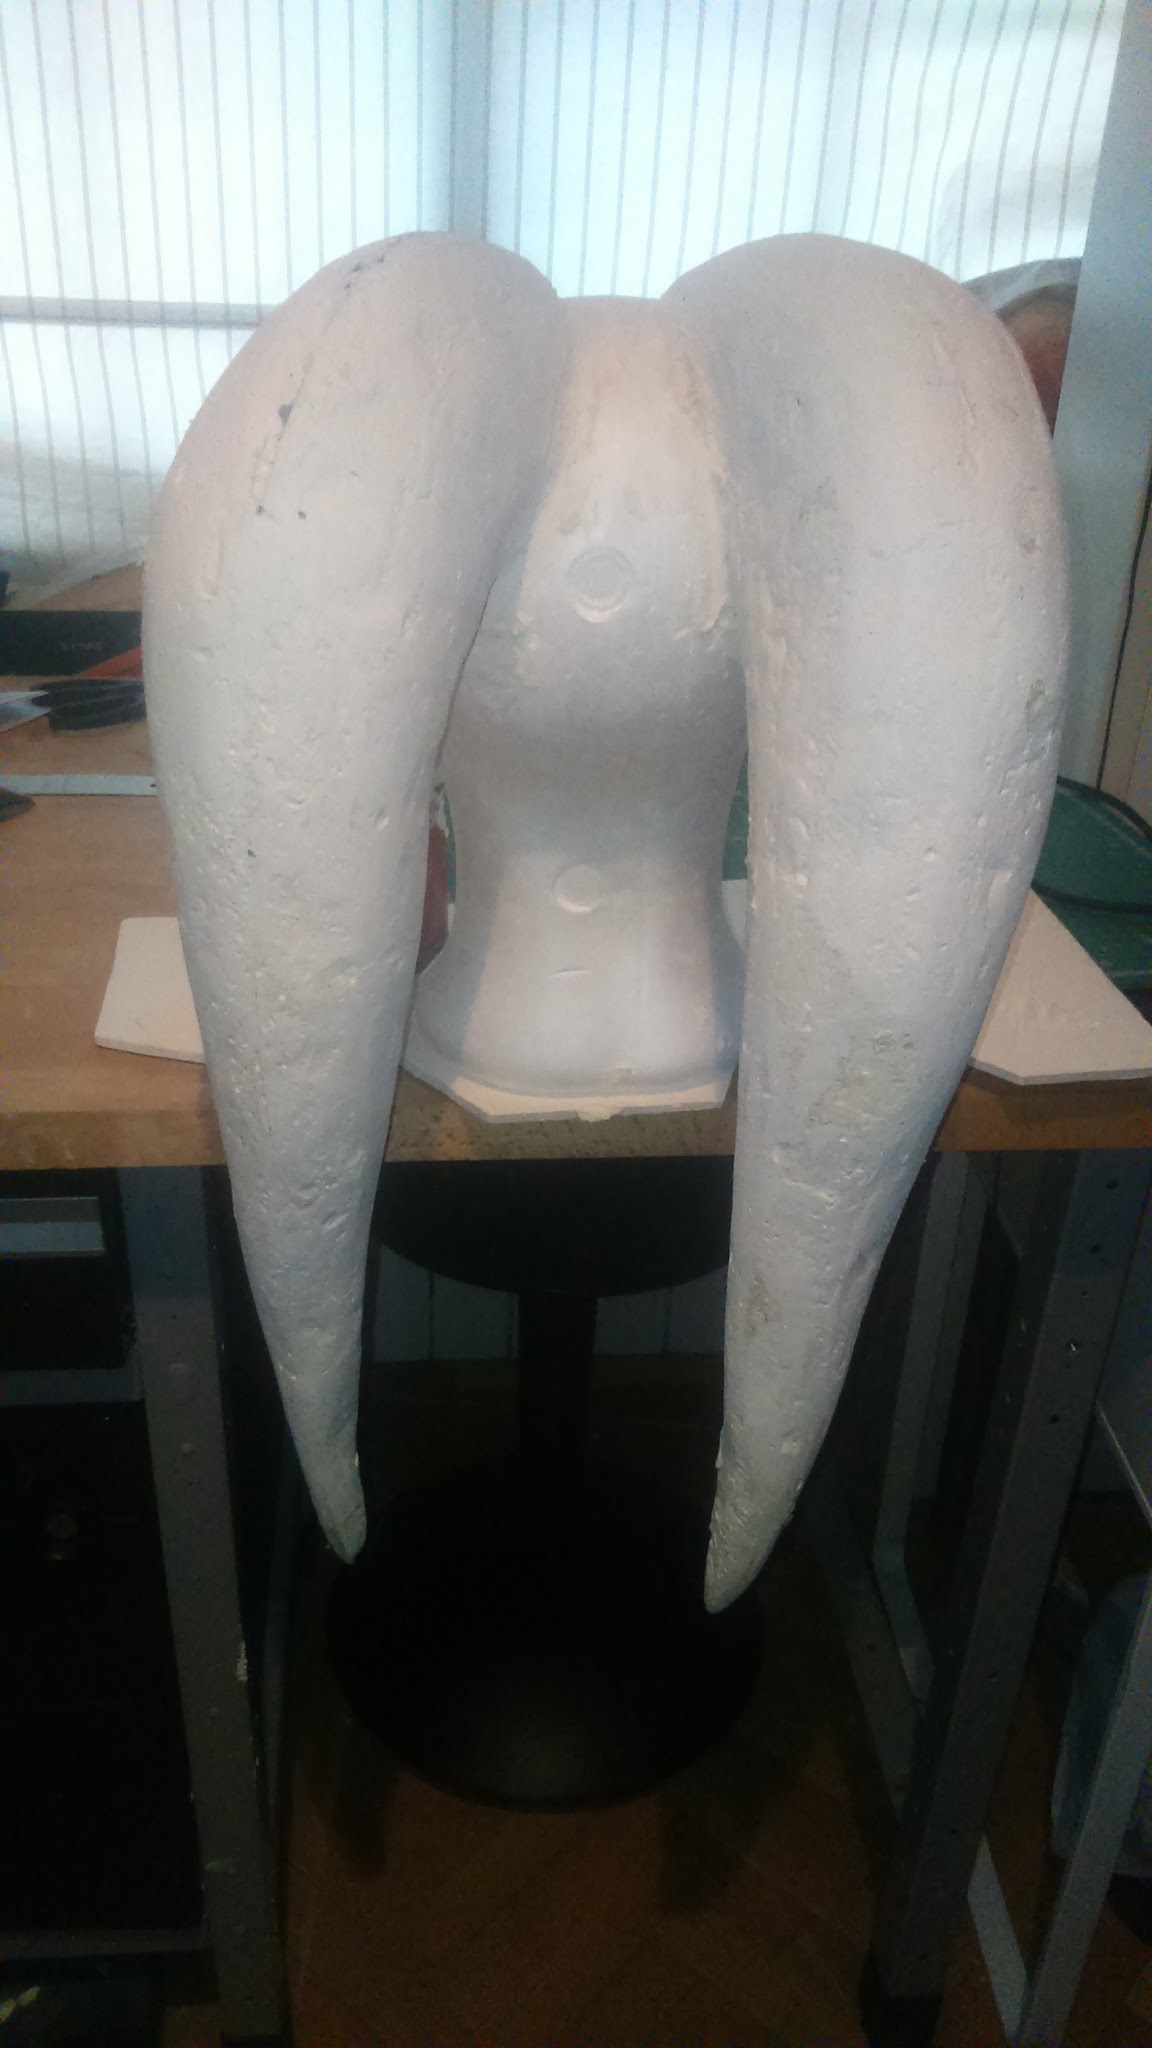
After this first application, I cut the remaining foam trying to get an approximate shape. After that, I applied more foam in order to fill the bigger remaining holes and then I cut it to shape again.
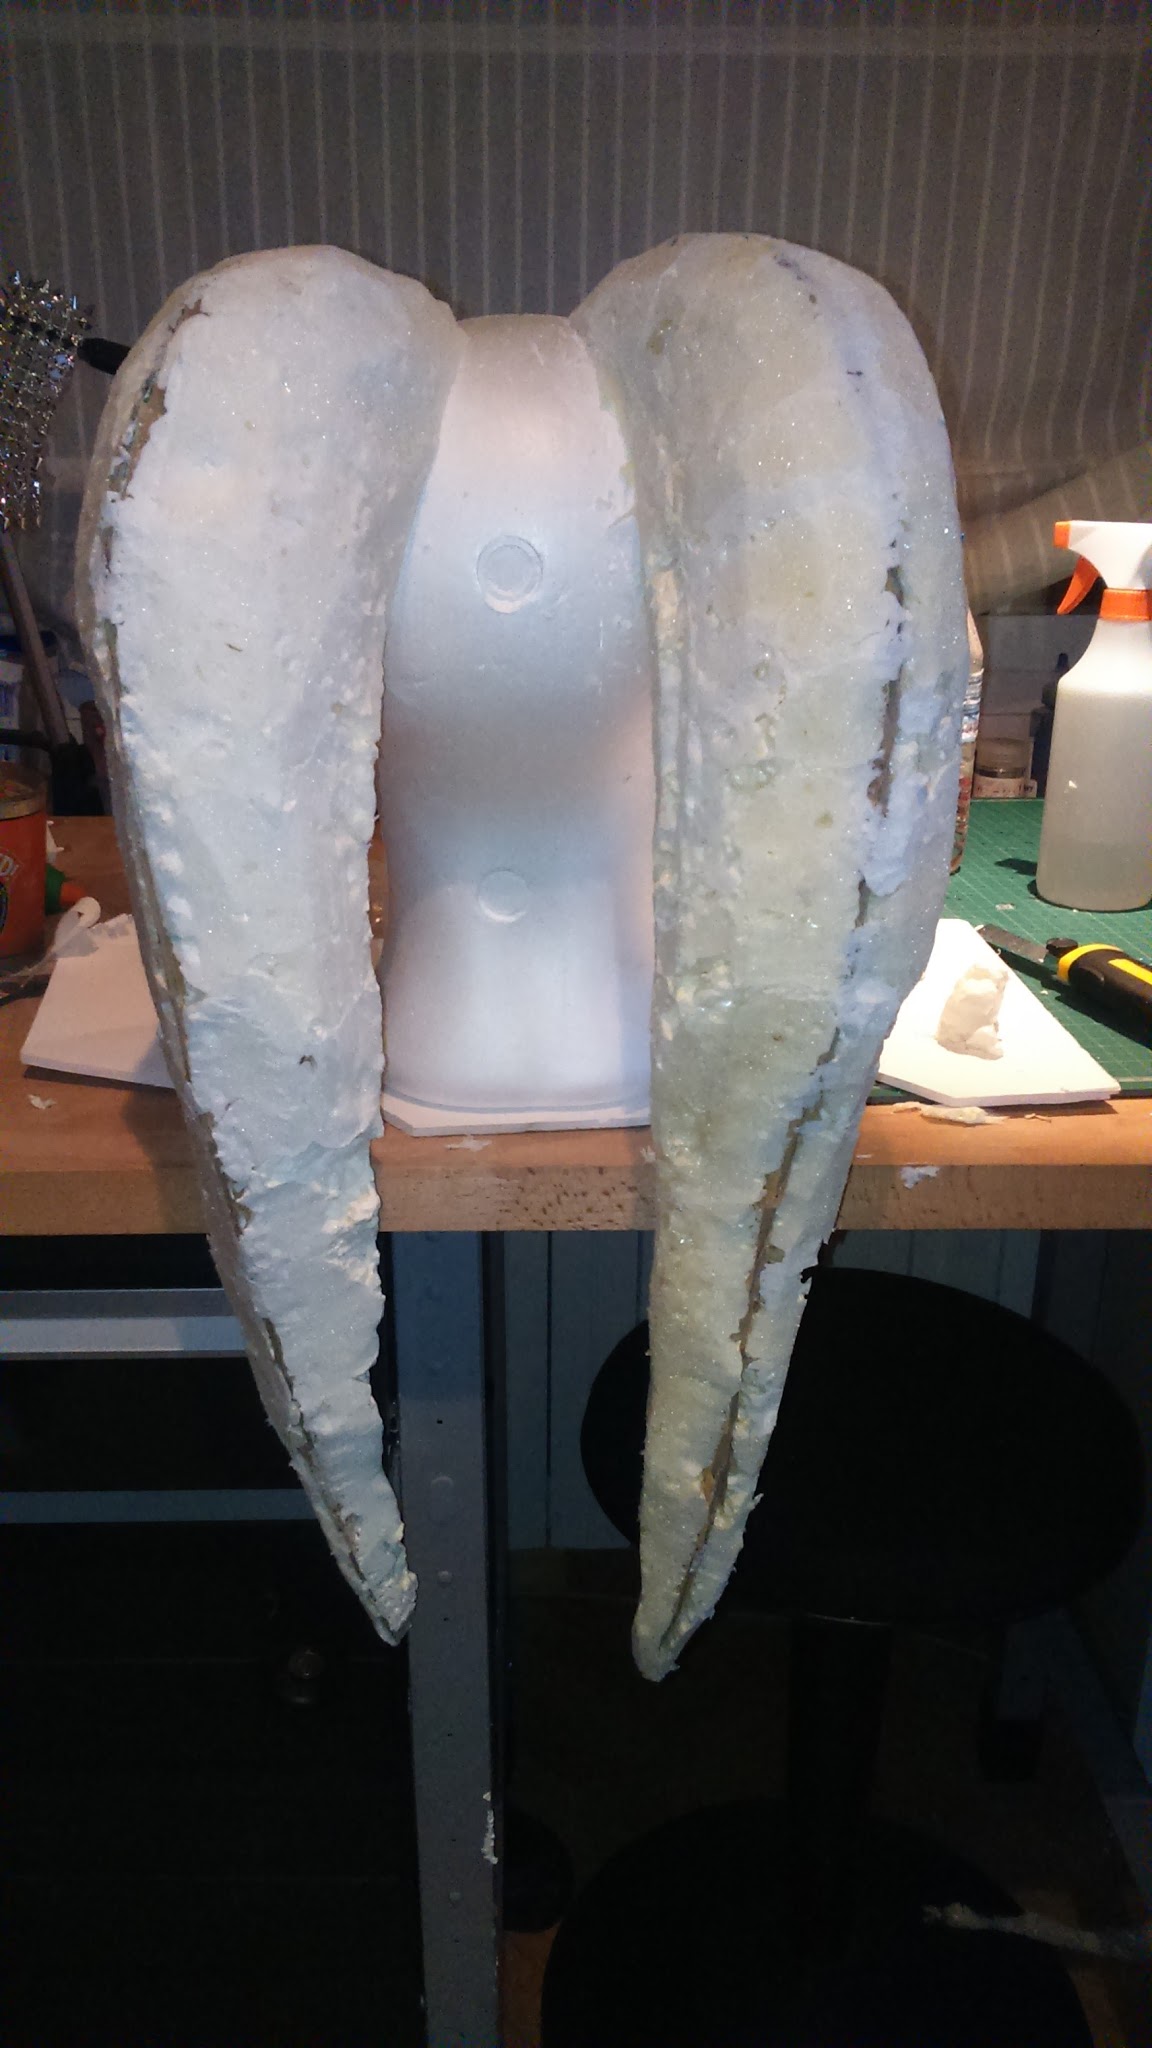
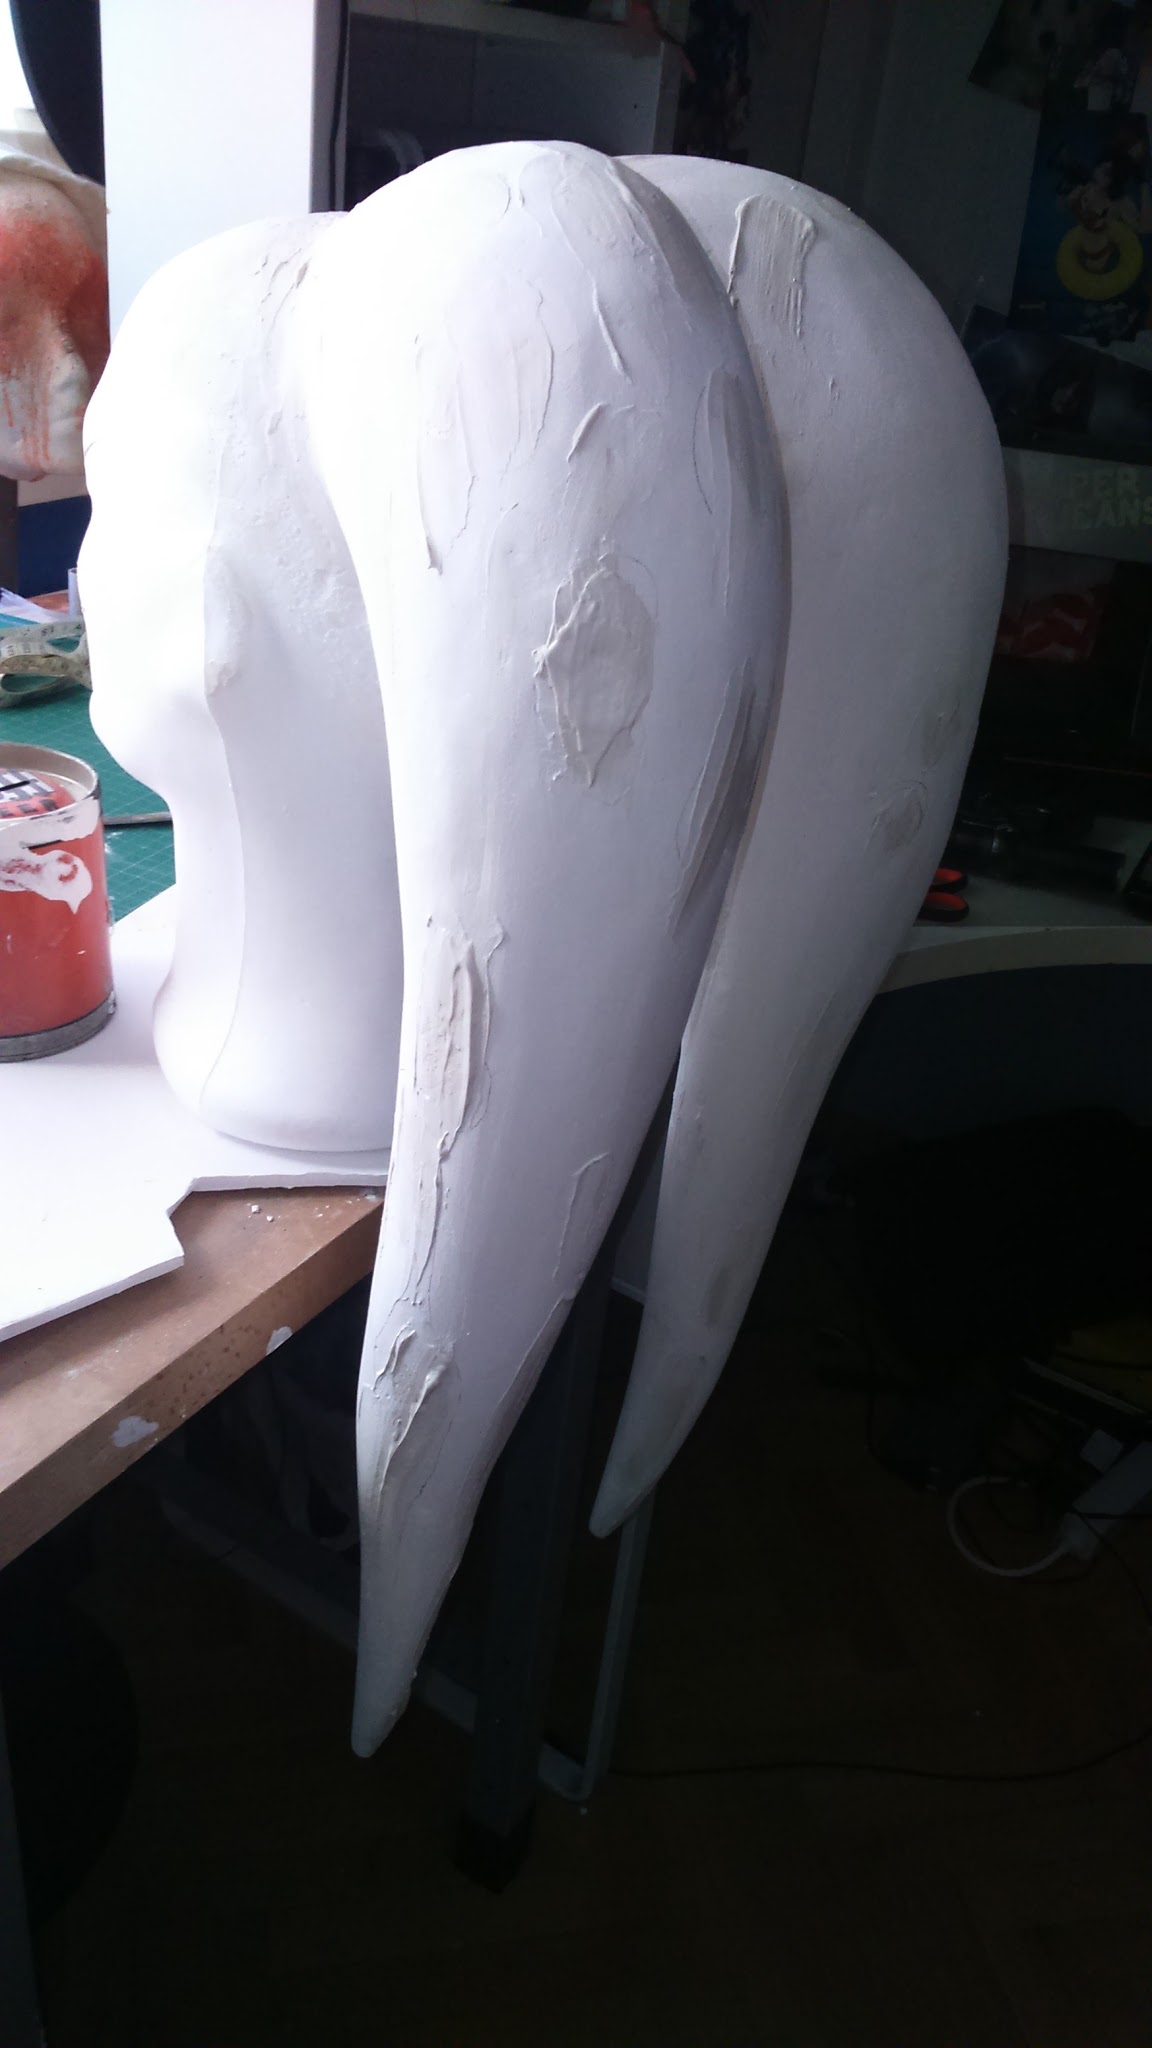
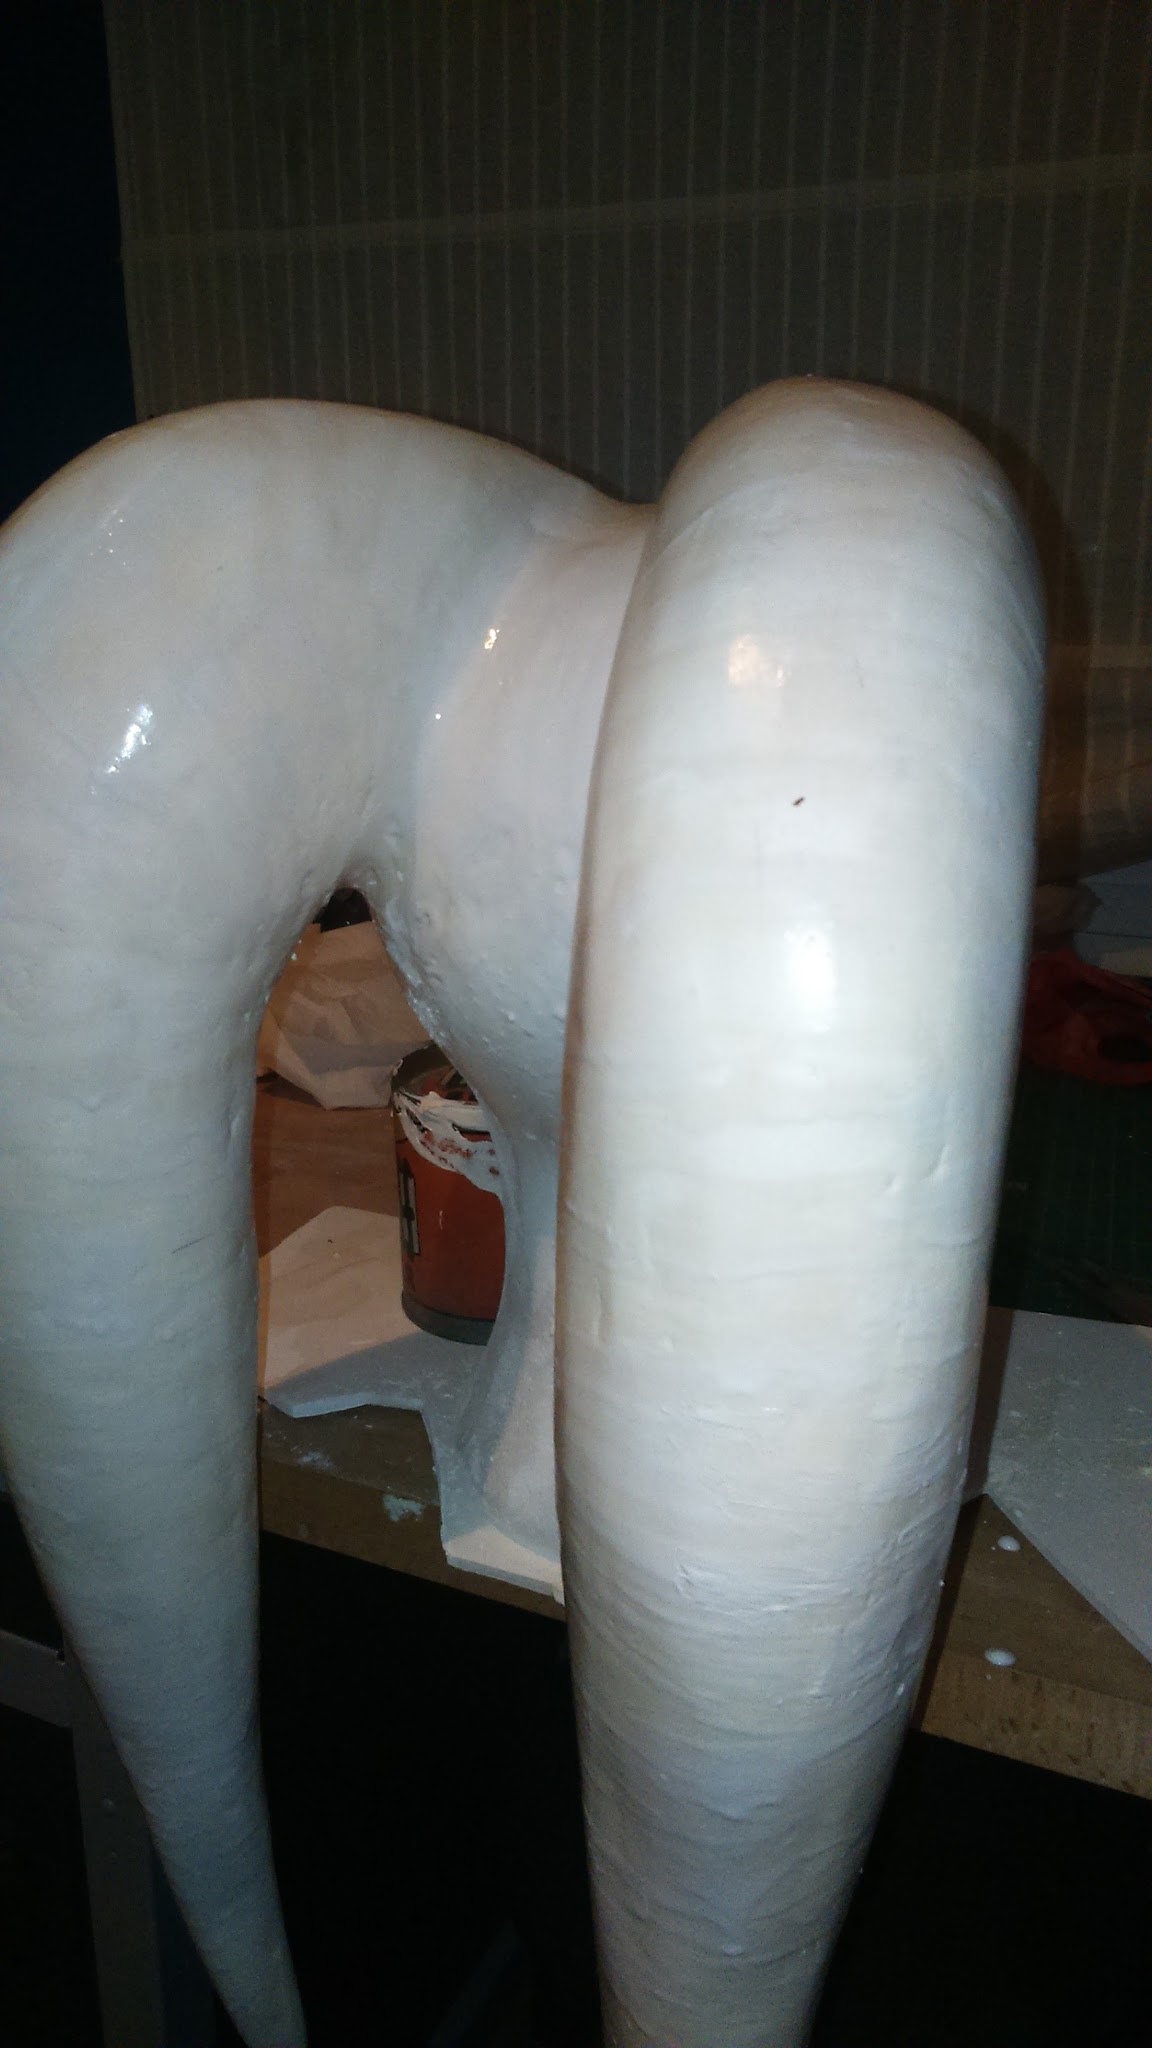
With the shape cut, I sanded the lekkus with a thick sandpaper (40 grid) to round them a little bit and I anointed them with acrylic filler (Aguaplast is the best brand in Spain).
There’s no need to try to get a perfect surface in this step because you’ll have to repeat it a couple times or more. You just have to fill the bigger holes and create a base layer.
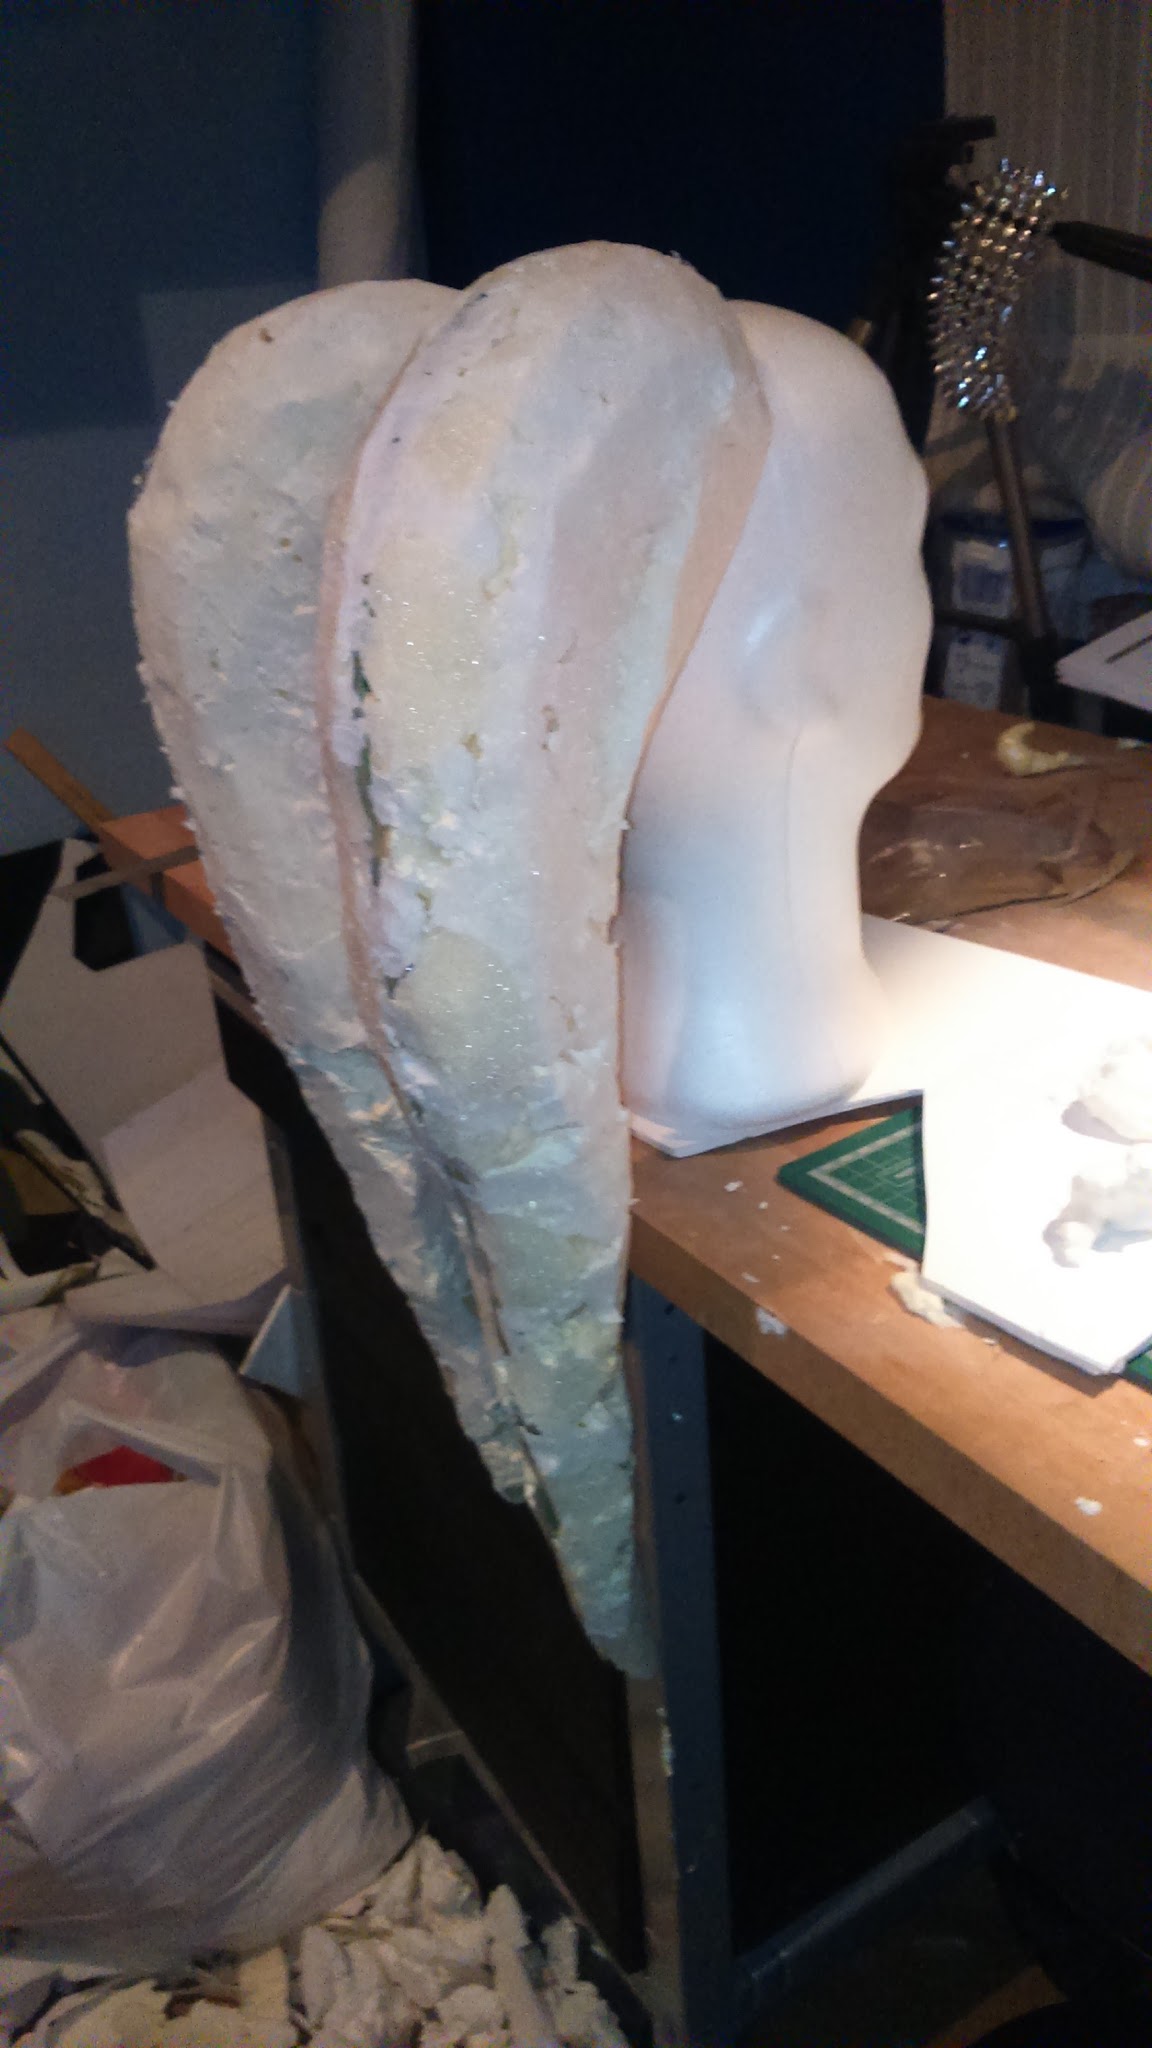
I let it dry overnight and then I sanded it using my sanding machine and my rotary tool as it’s quicker tan sanding by hand. I used a 60 grit sandpaper and I sanded by hand the complicated parts.
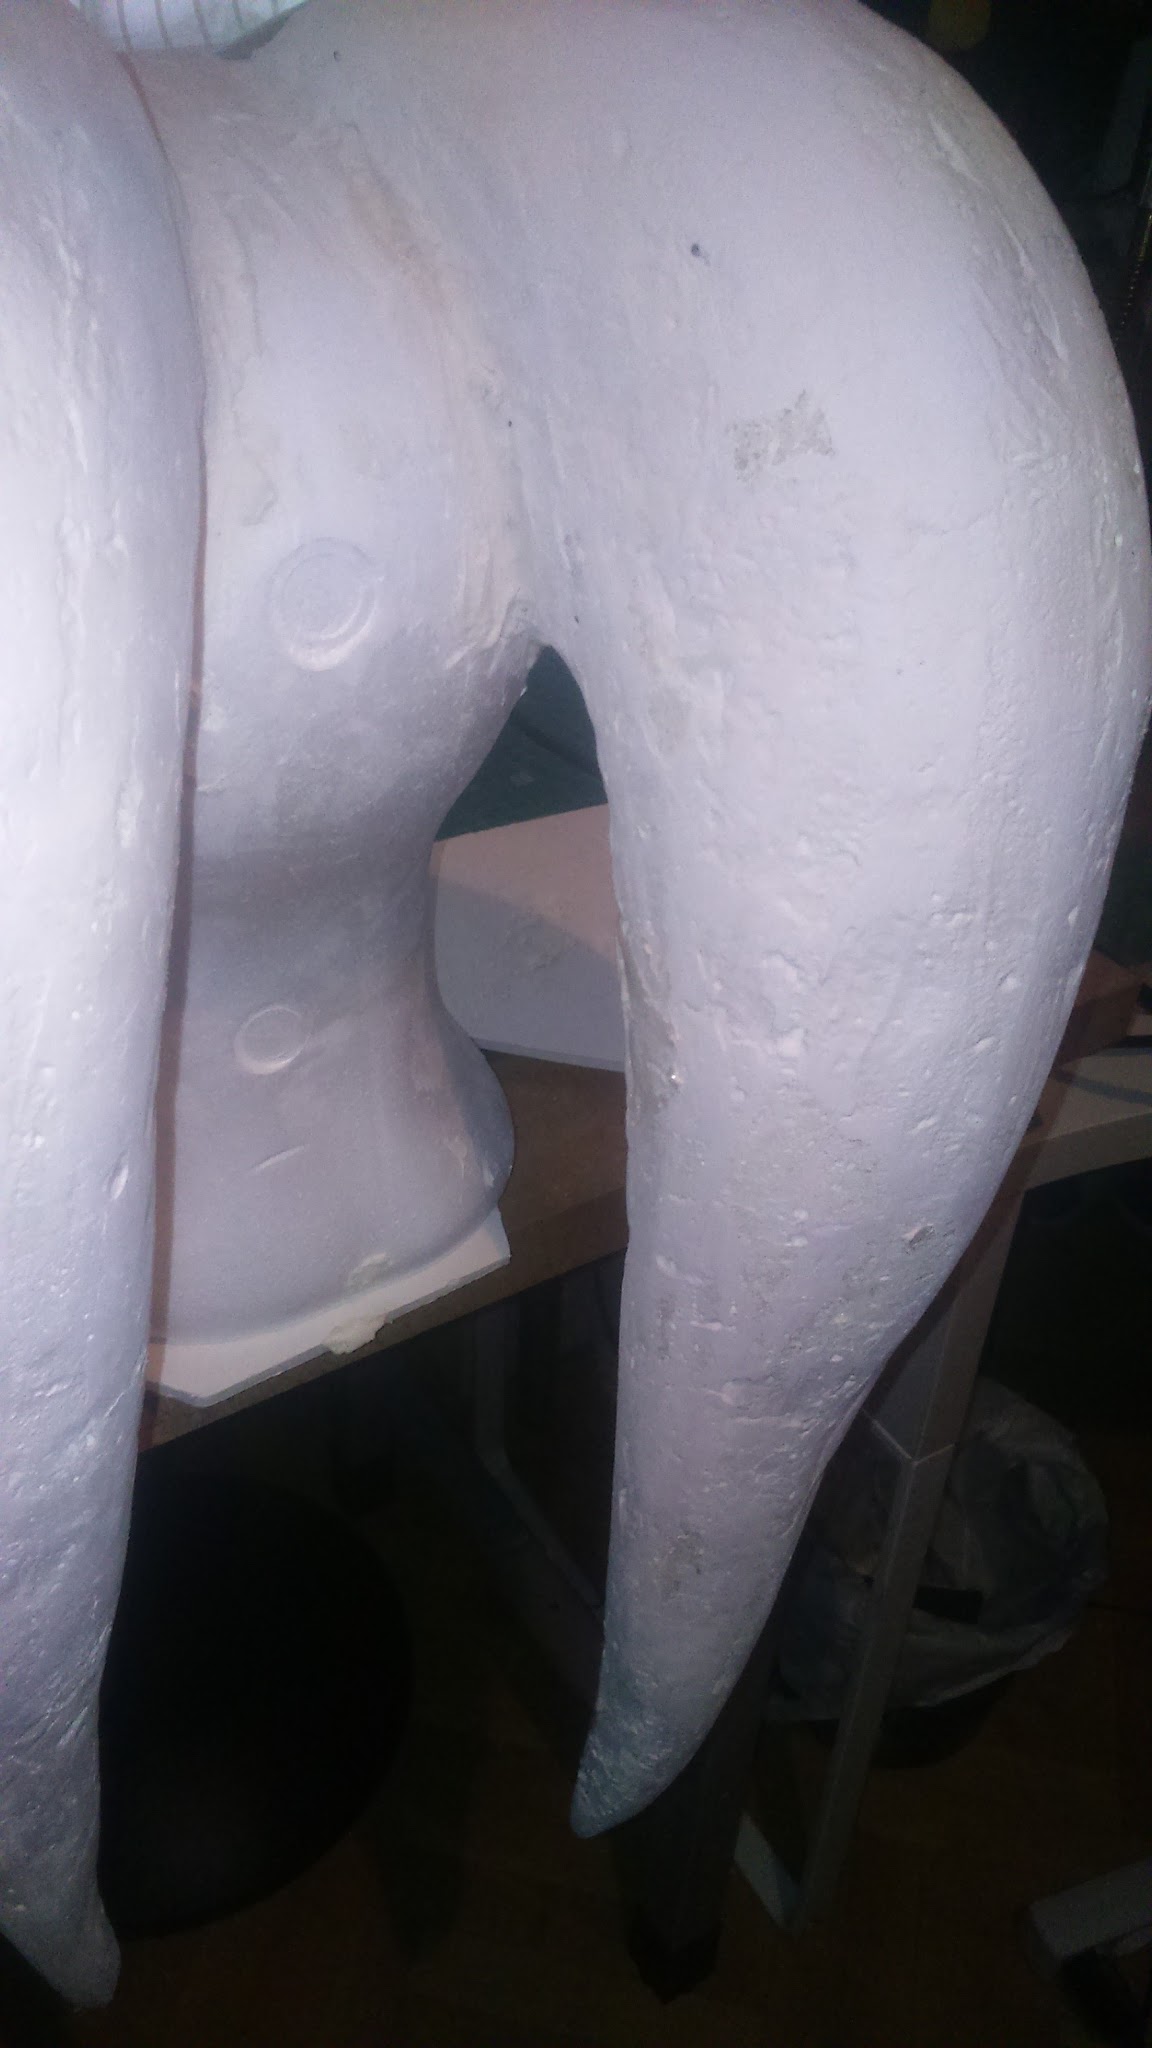
As you can see, the result was far from perfect, so I had to fill, sand and repeat a couple more times.
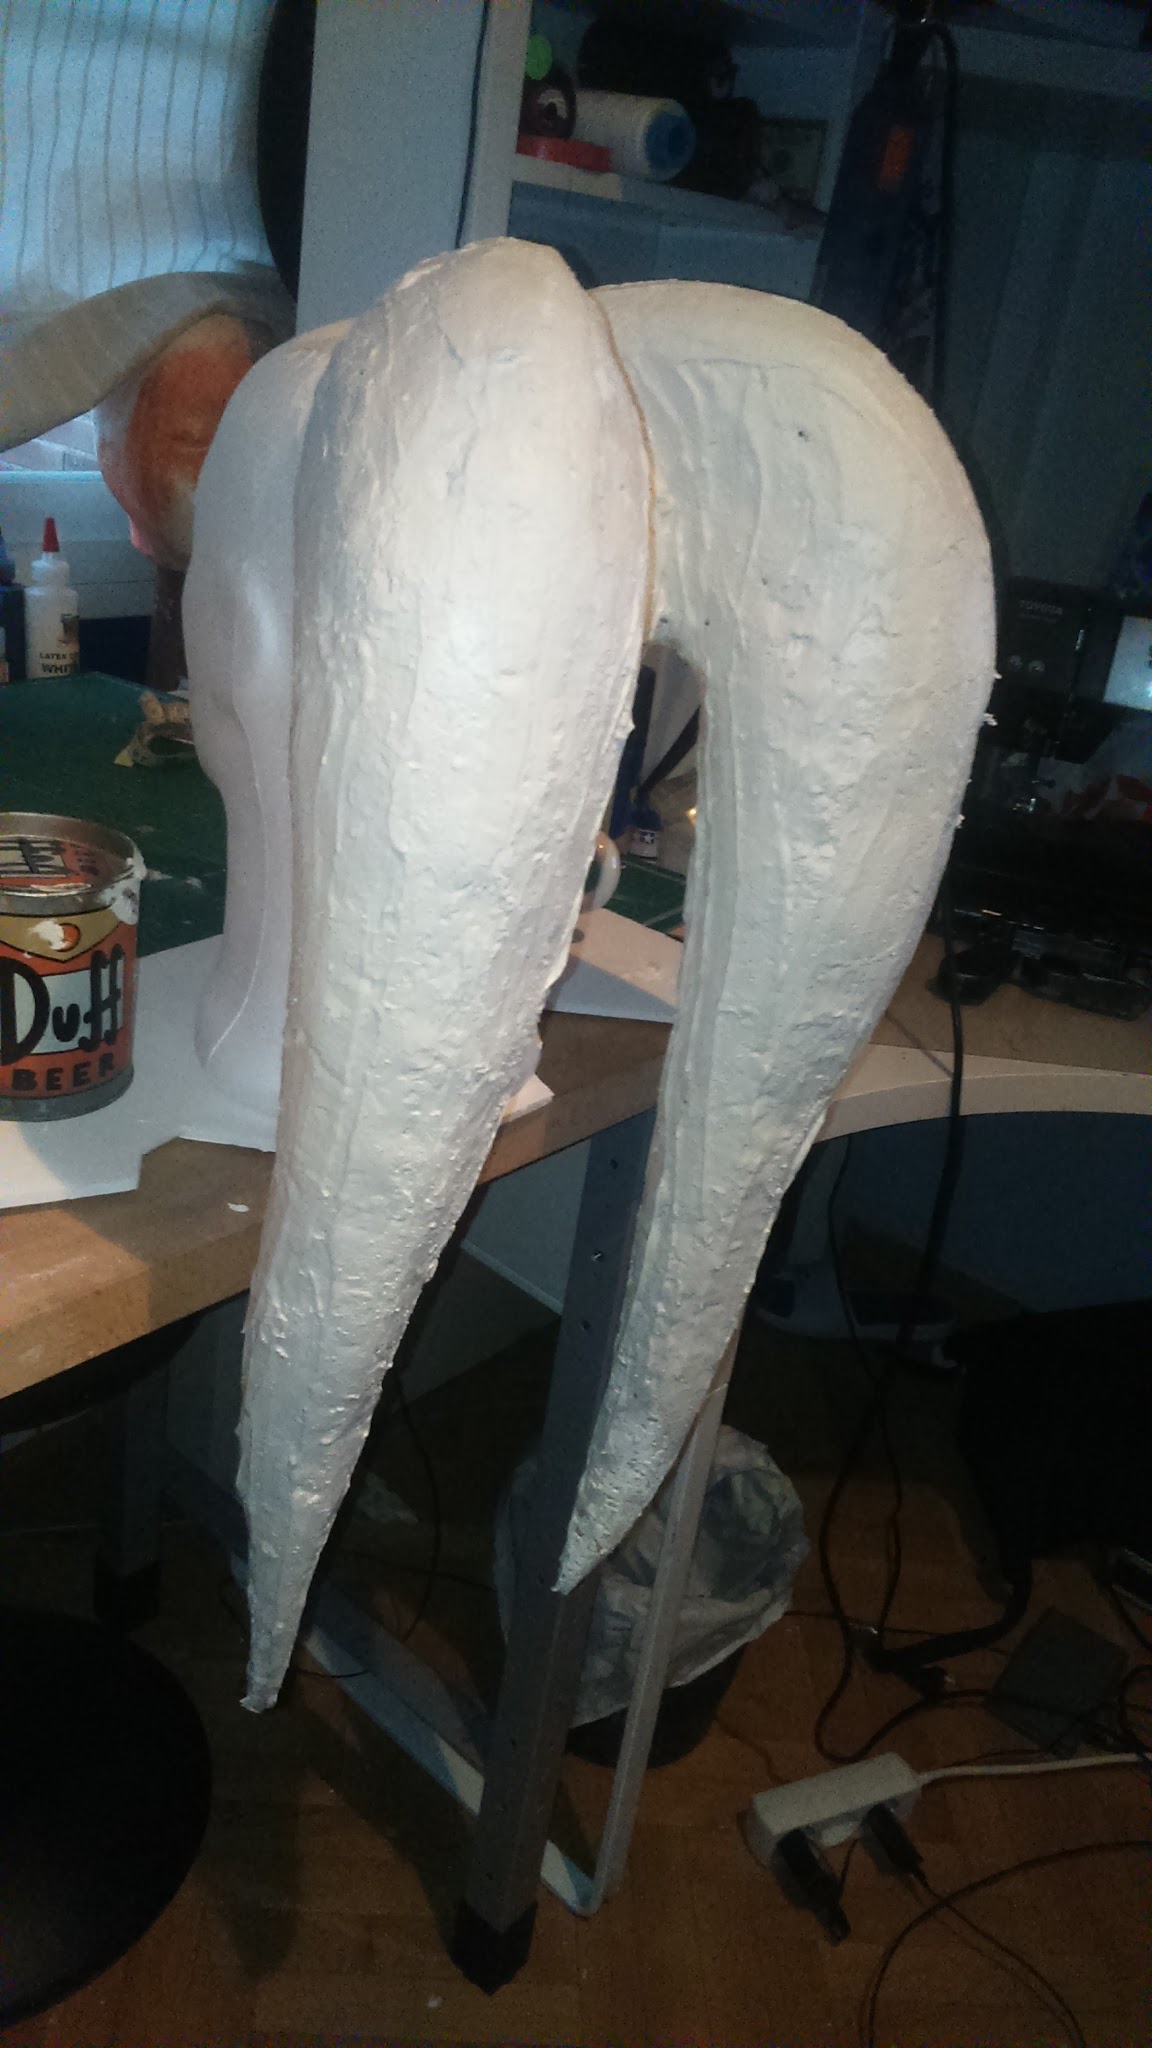
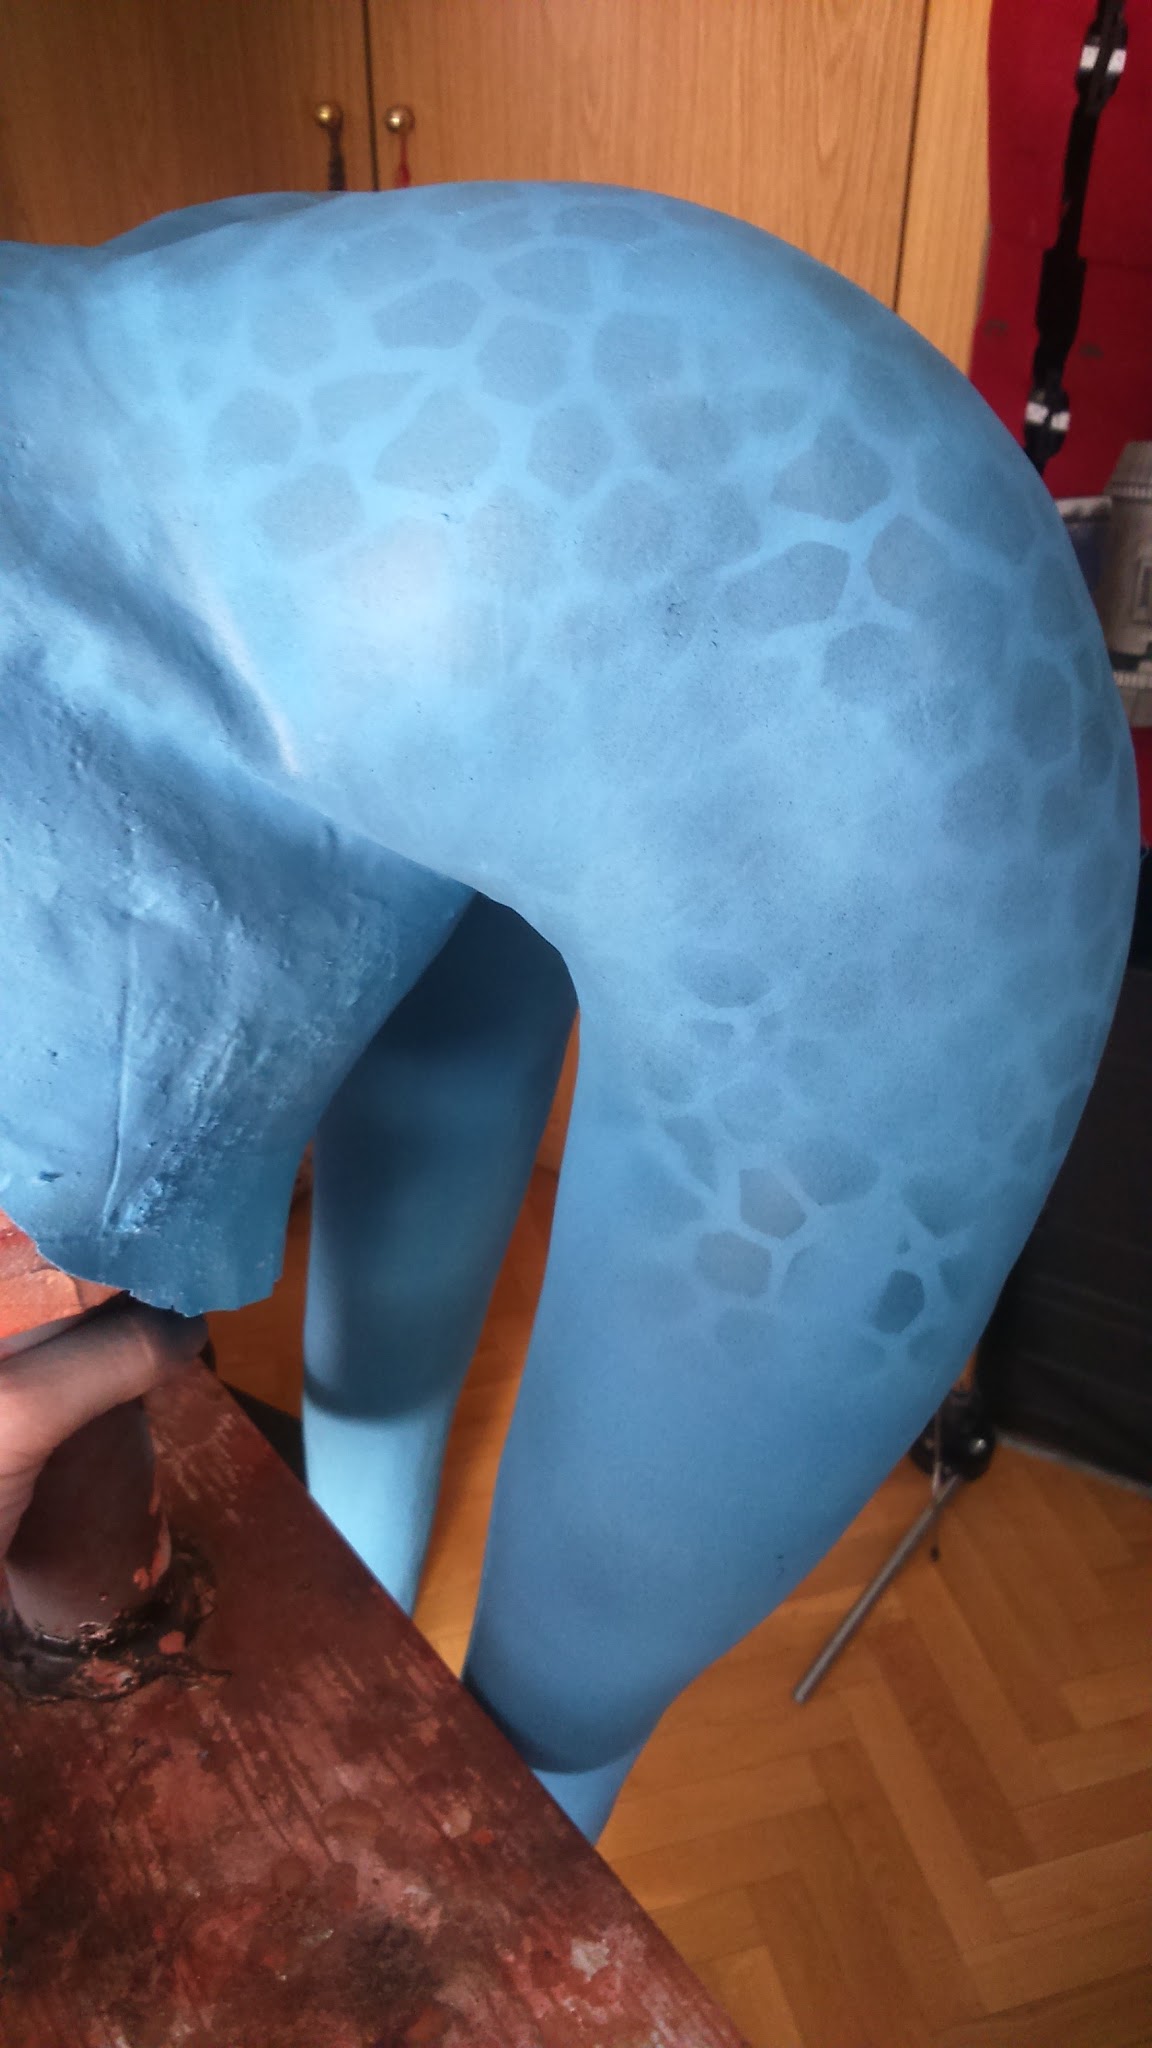
Once I got a more or less even surface without very visible holes, I started adding filler only where needed and sanding it by hand with finer-grained sandpapers. I started by using a 60 grit one, then an 80, a 100 and I finished it with a 150 grit sandaper.
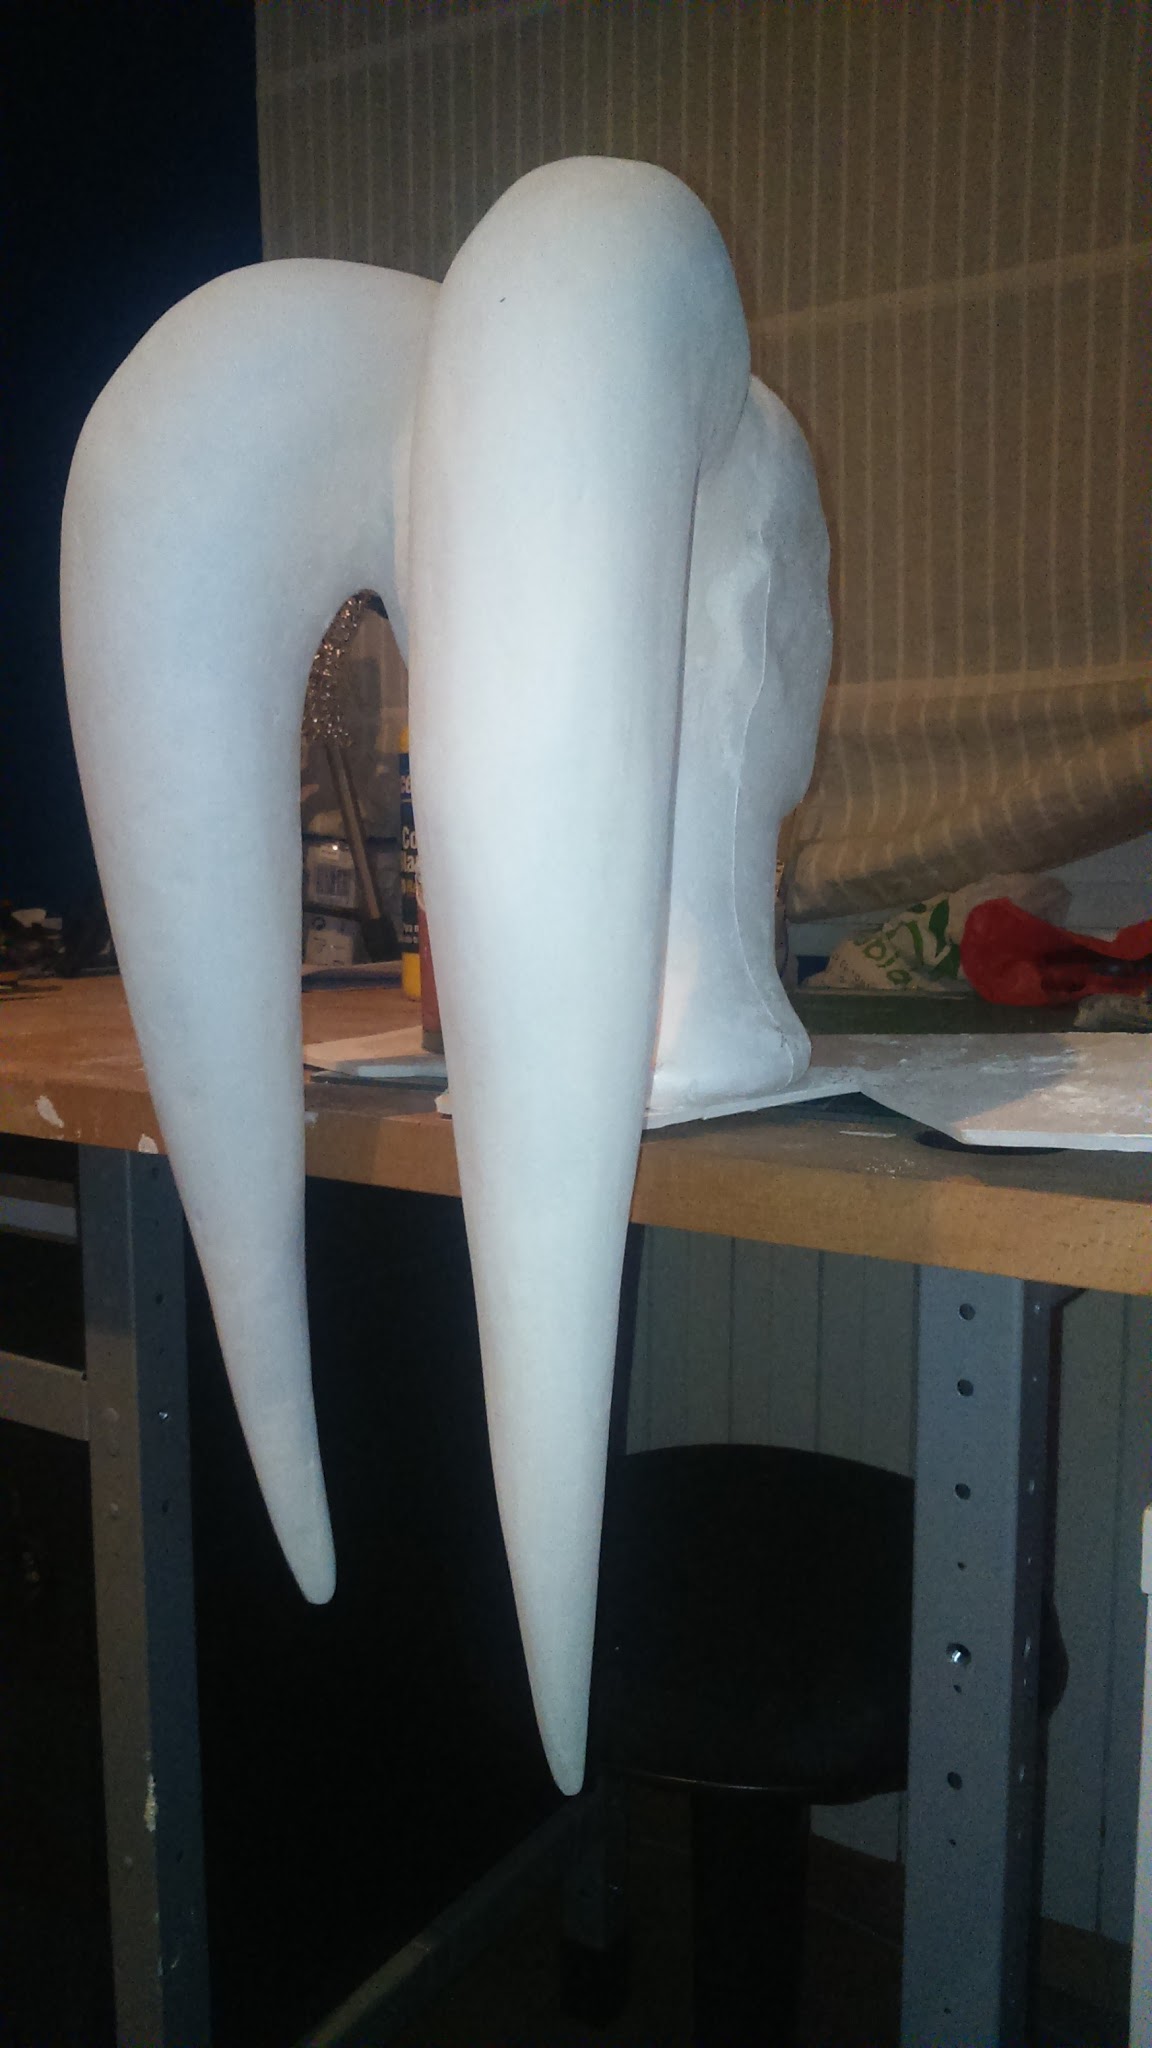
In my experience, getting a perfect surface by filling and sanding is almost impossible or it requires a lot of time and patience. So when it looked more or less homogeneous with few fine imperfections, I applied a couple wood glue layers to fill them and get a sligthly smoother look.
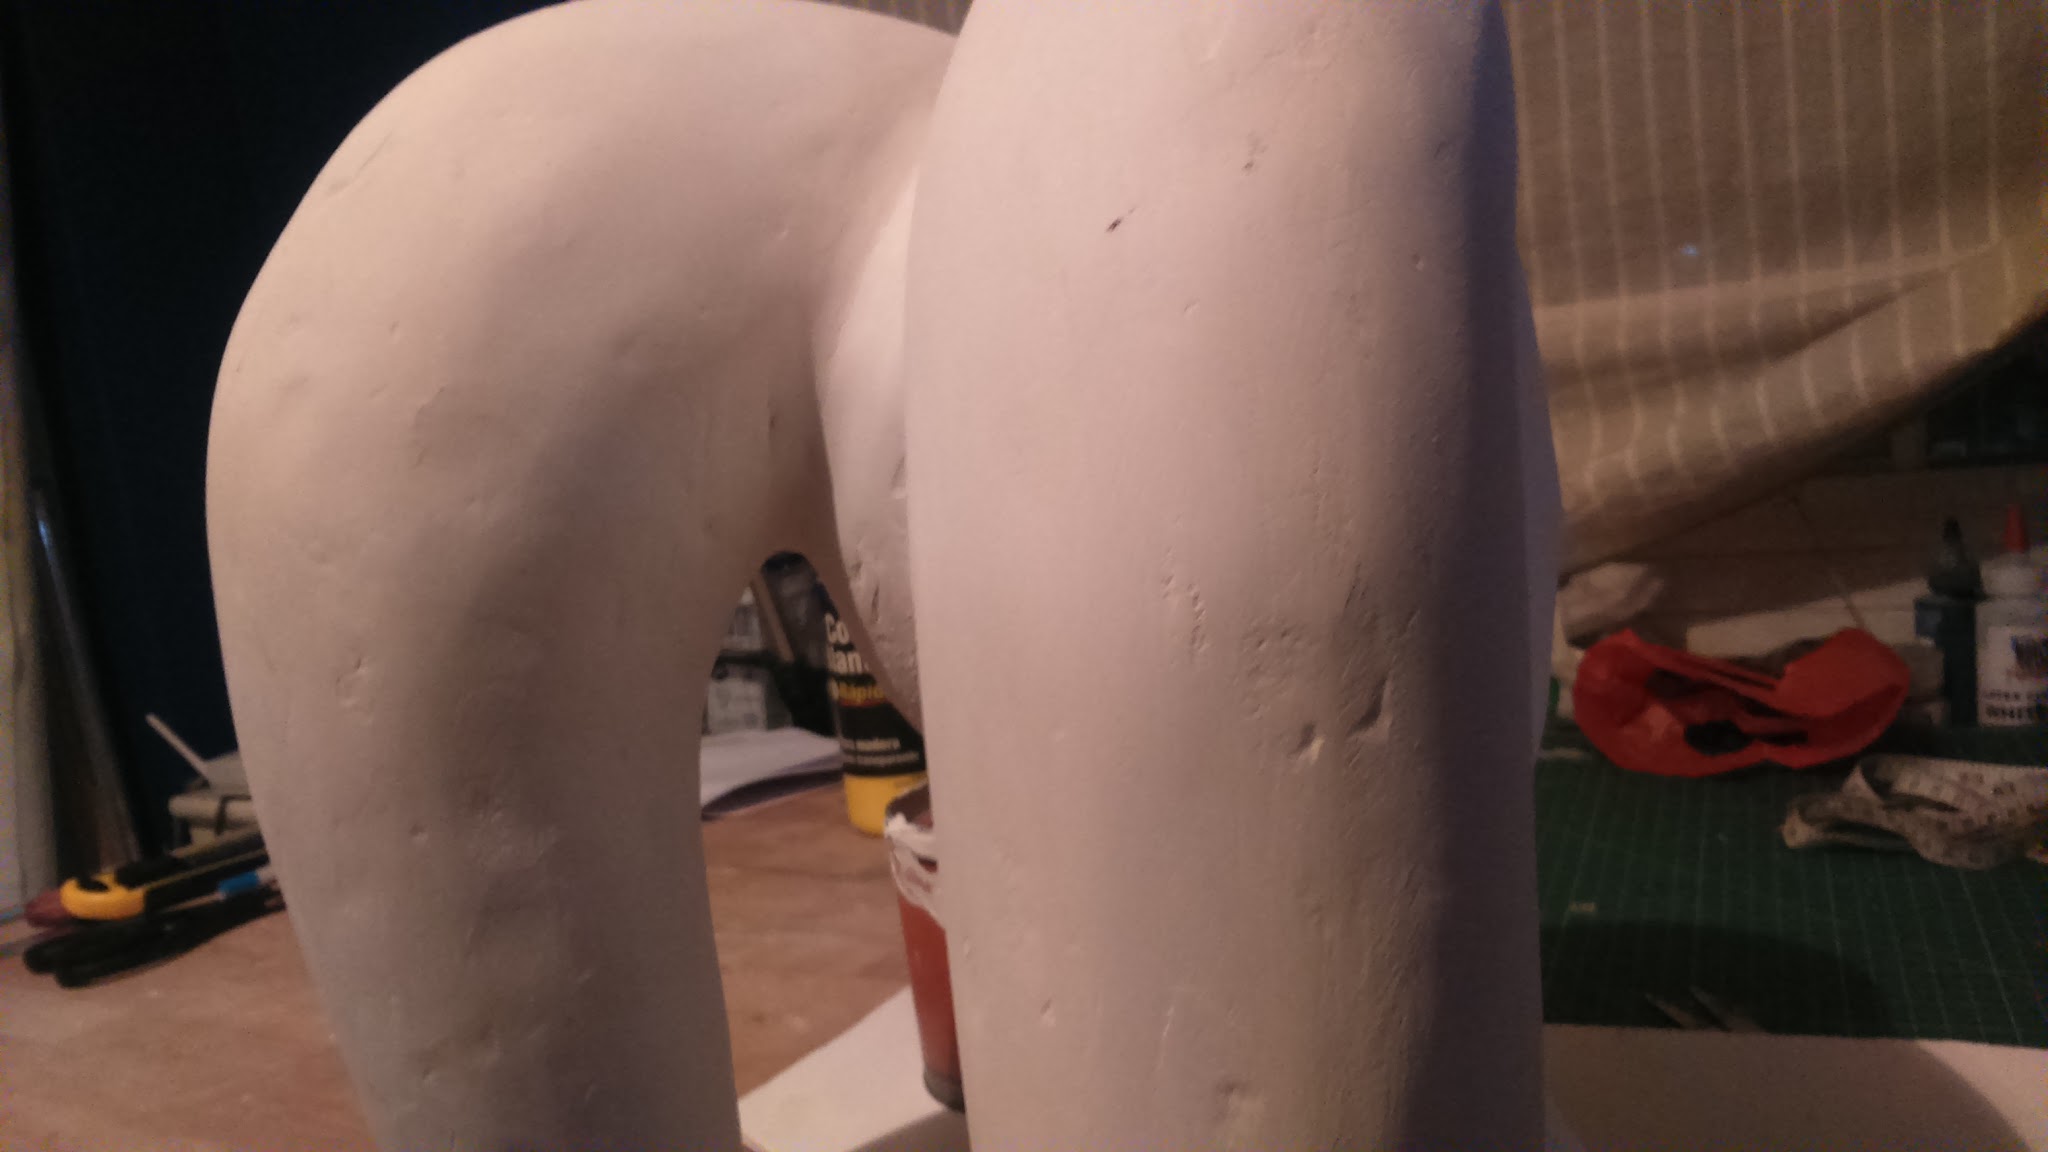
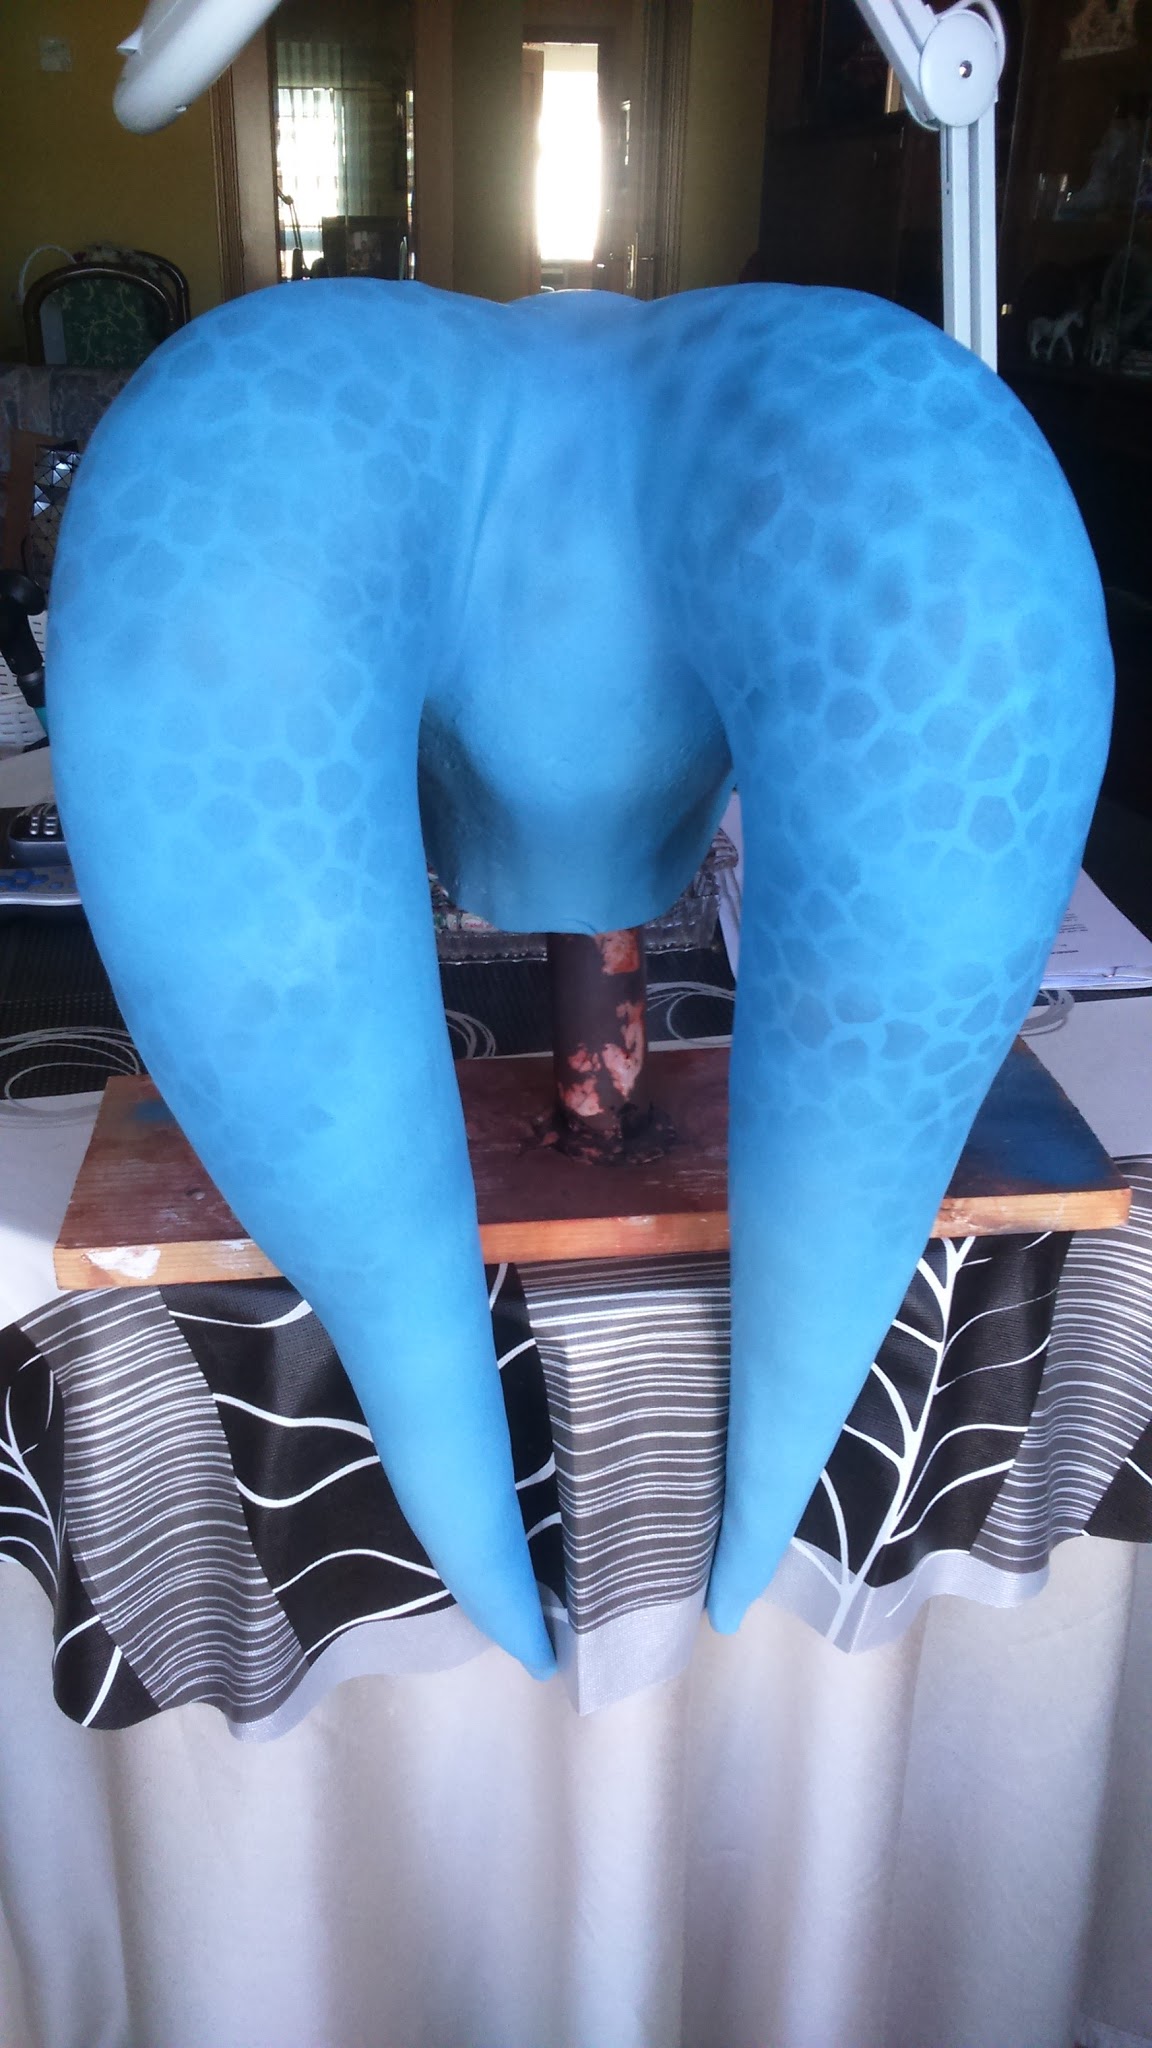
I really don’t mind if my lekkus aren’t perfectly smooth because they’re organic structures, so it wouldn’t be realistic if they looked that way. It would be like Kim Kardashian’s butt twi’lek version. Like if I was a twi’lek with aging and cellullitis acceptance problems.
I’ve always wondered if older twi’leks have cellullitis in their head.
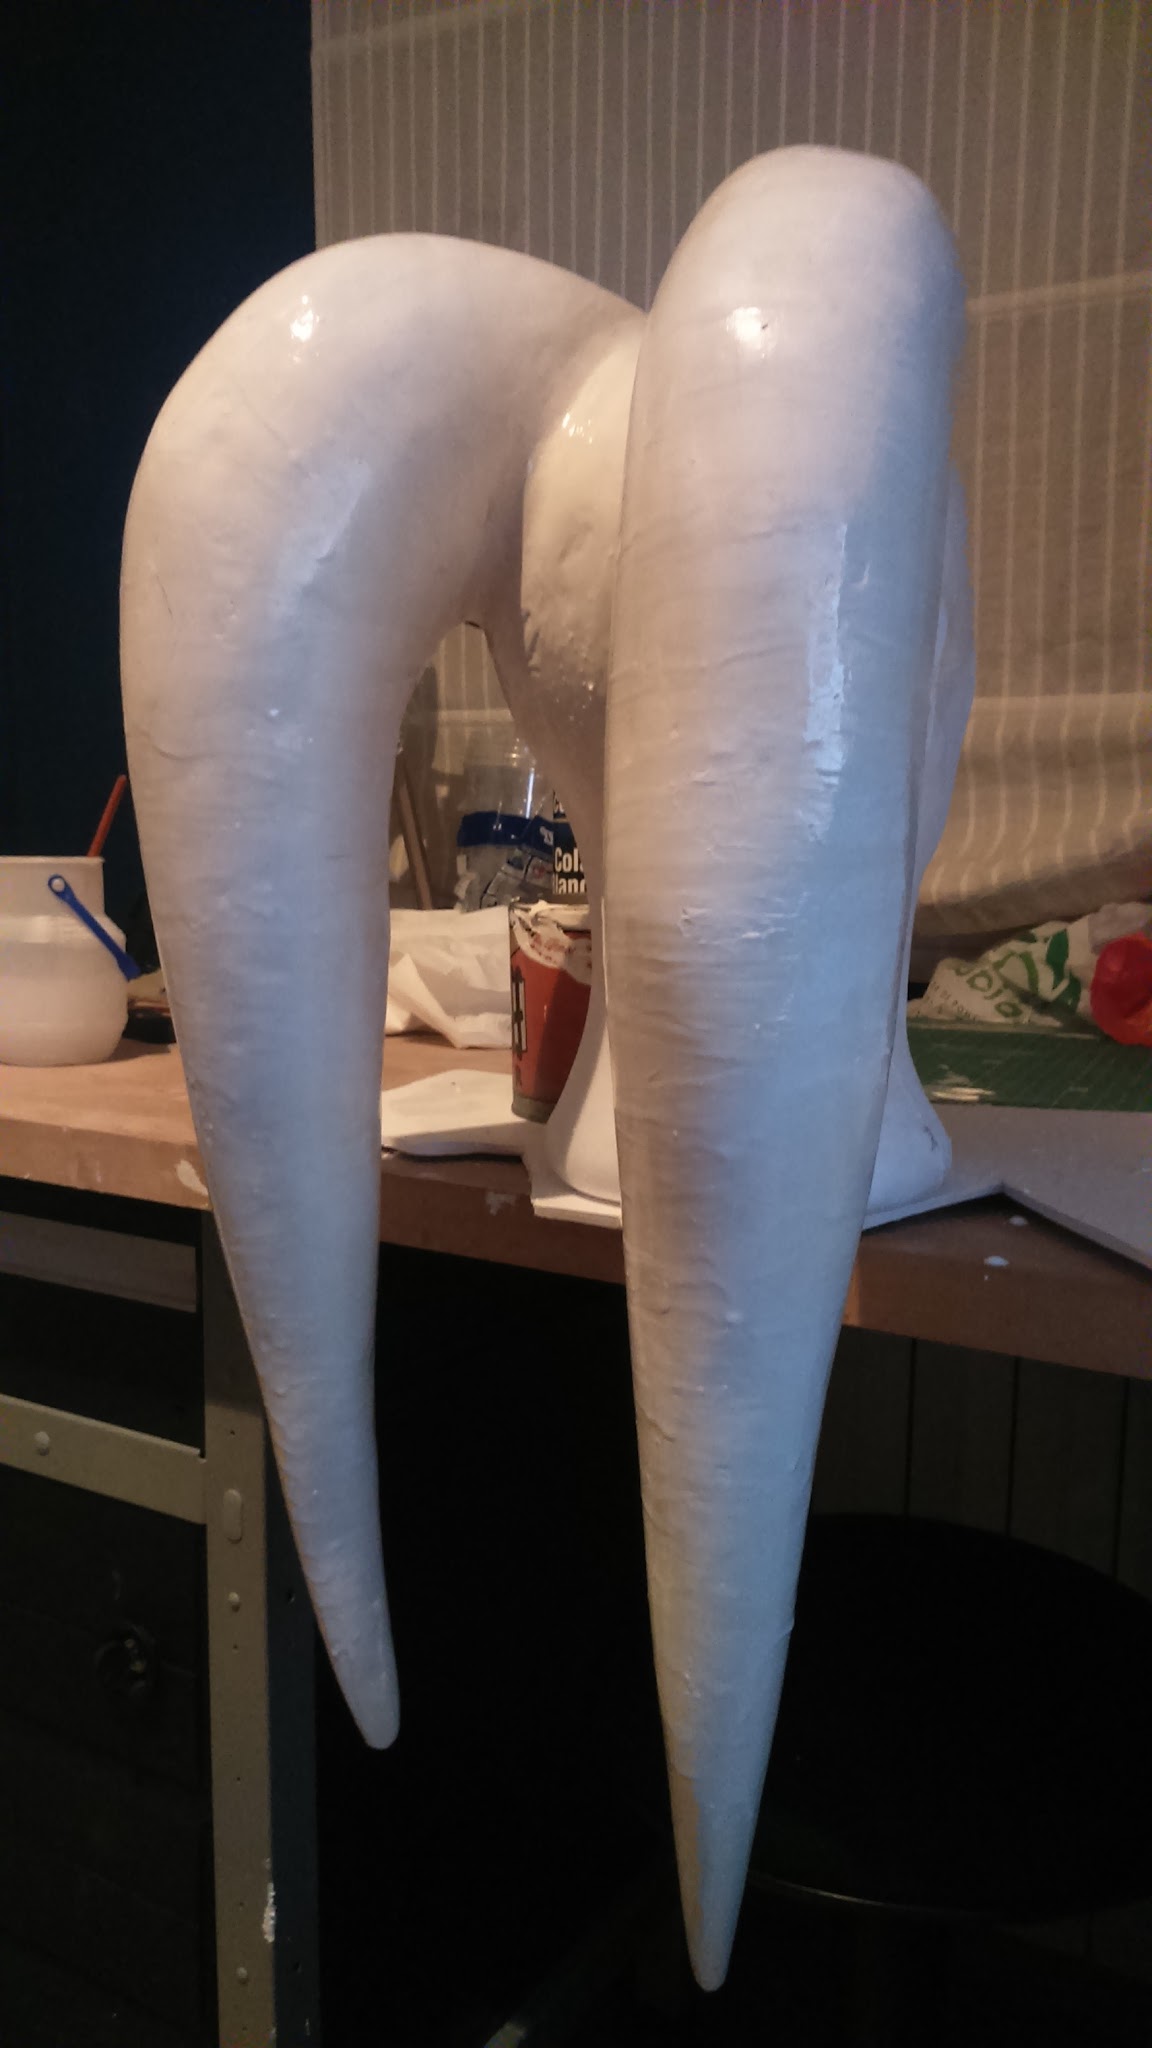
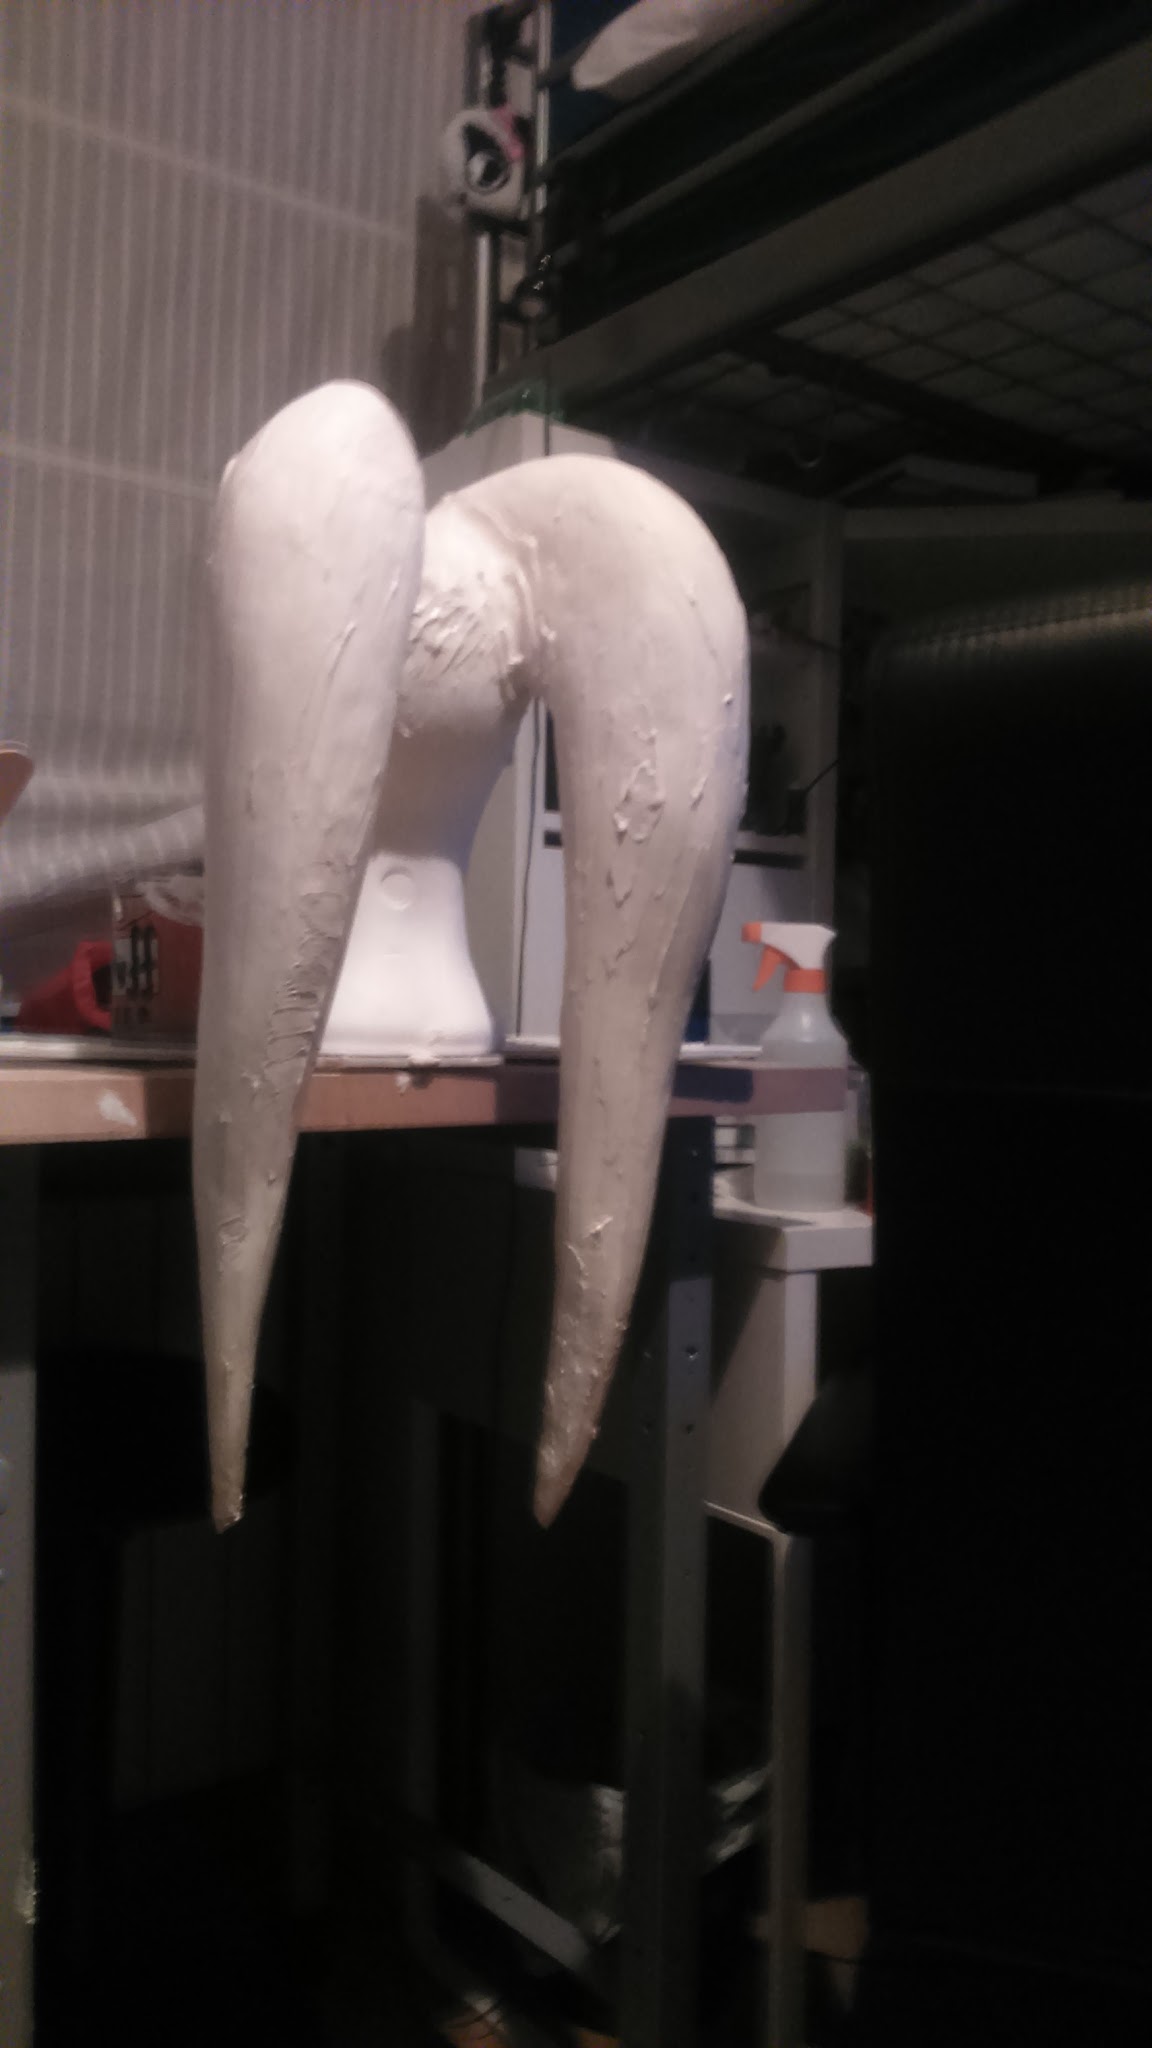
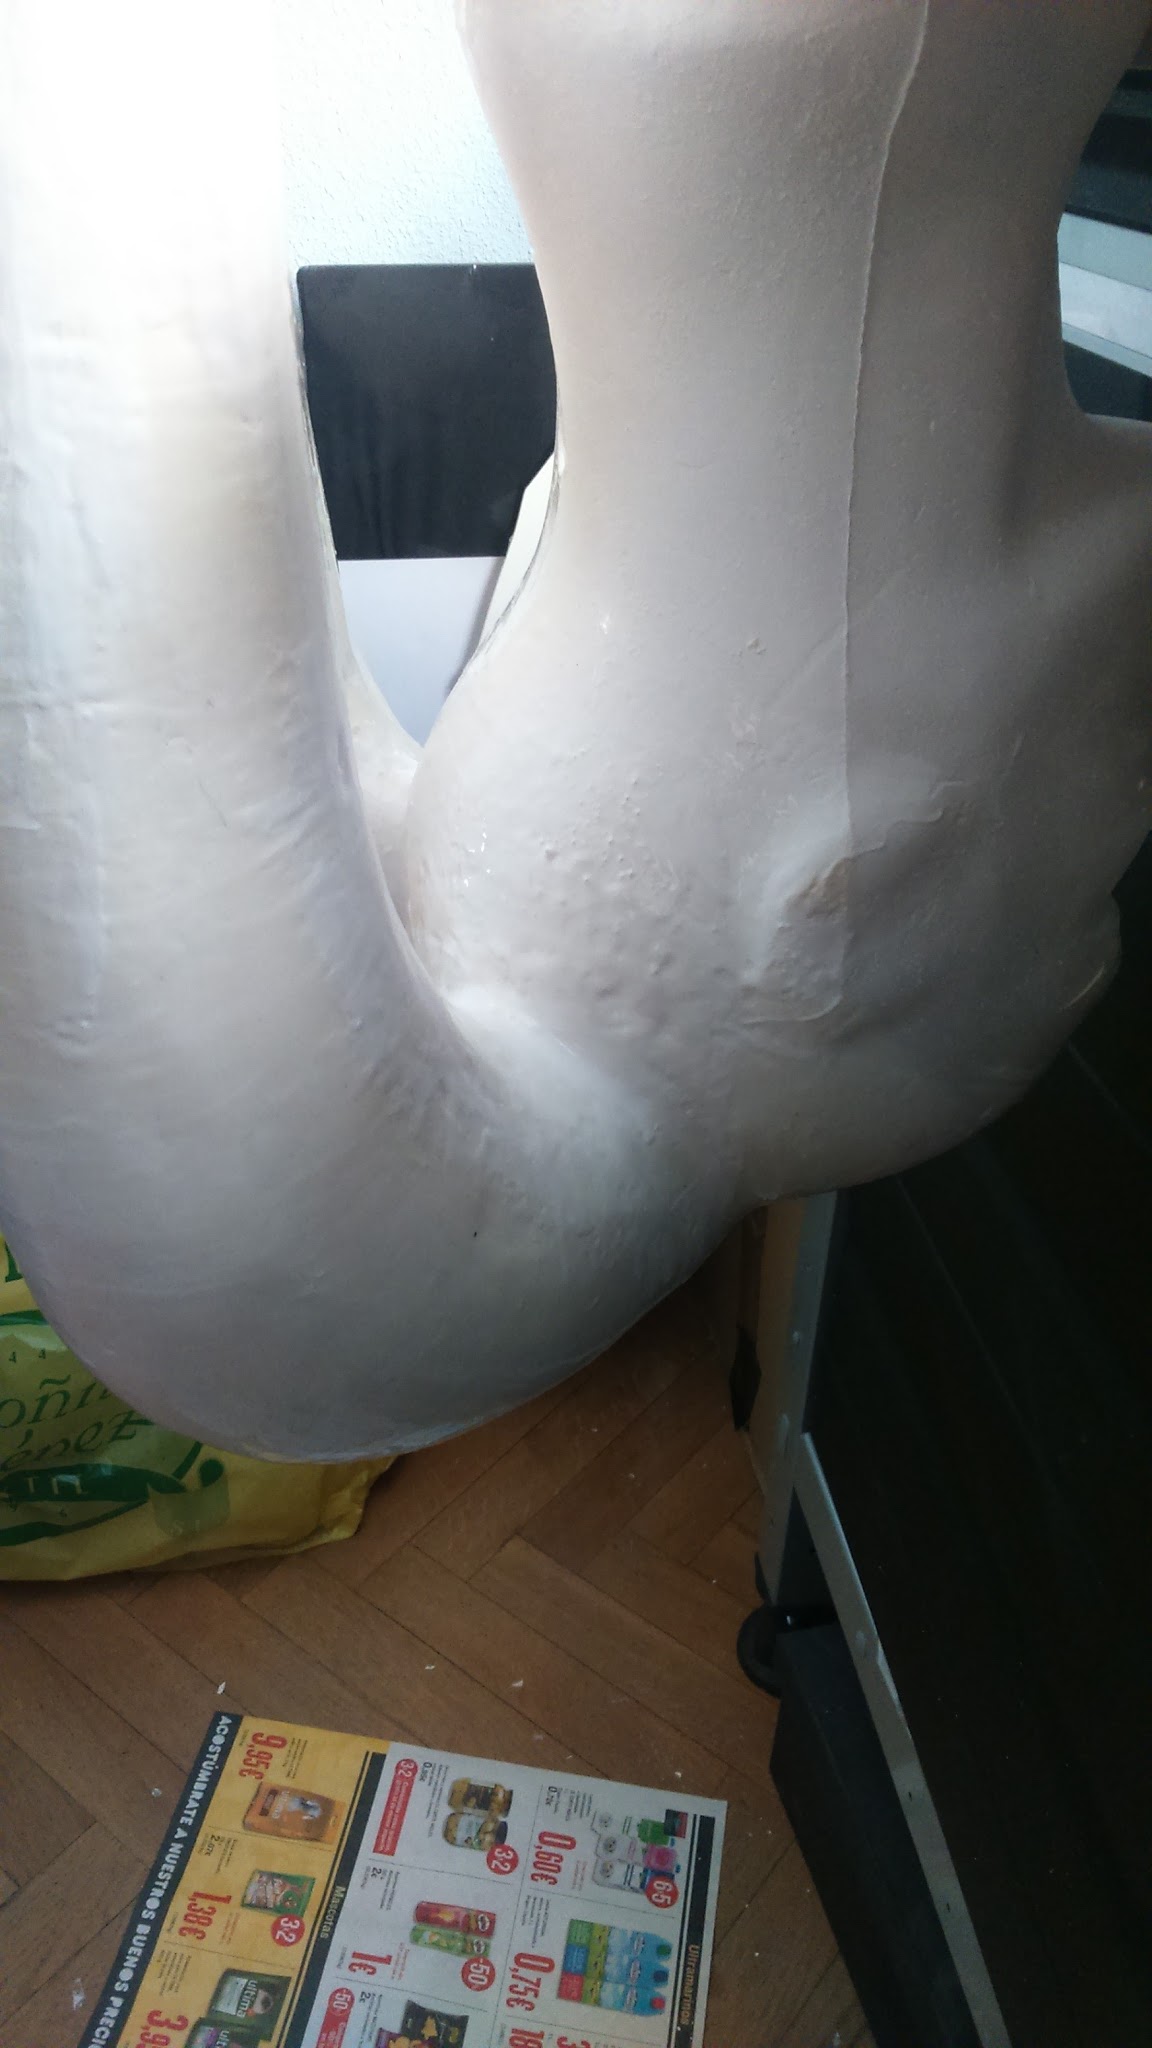
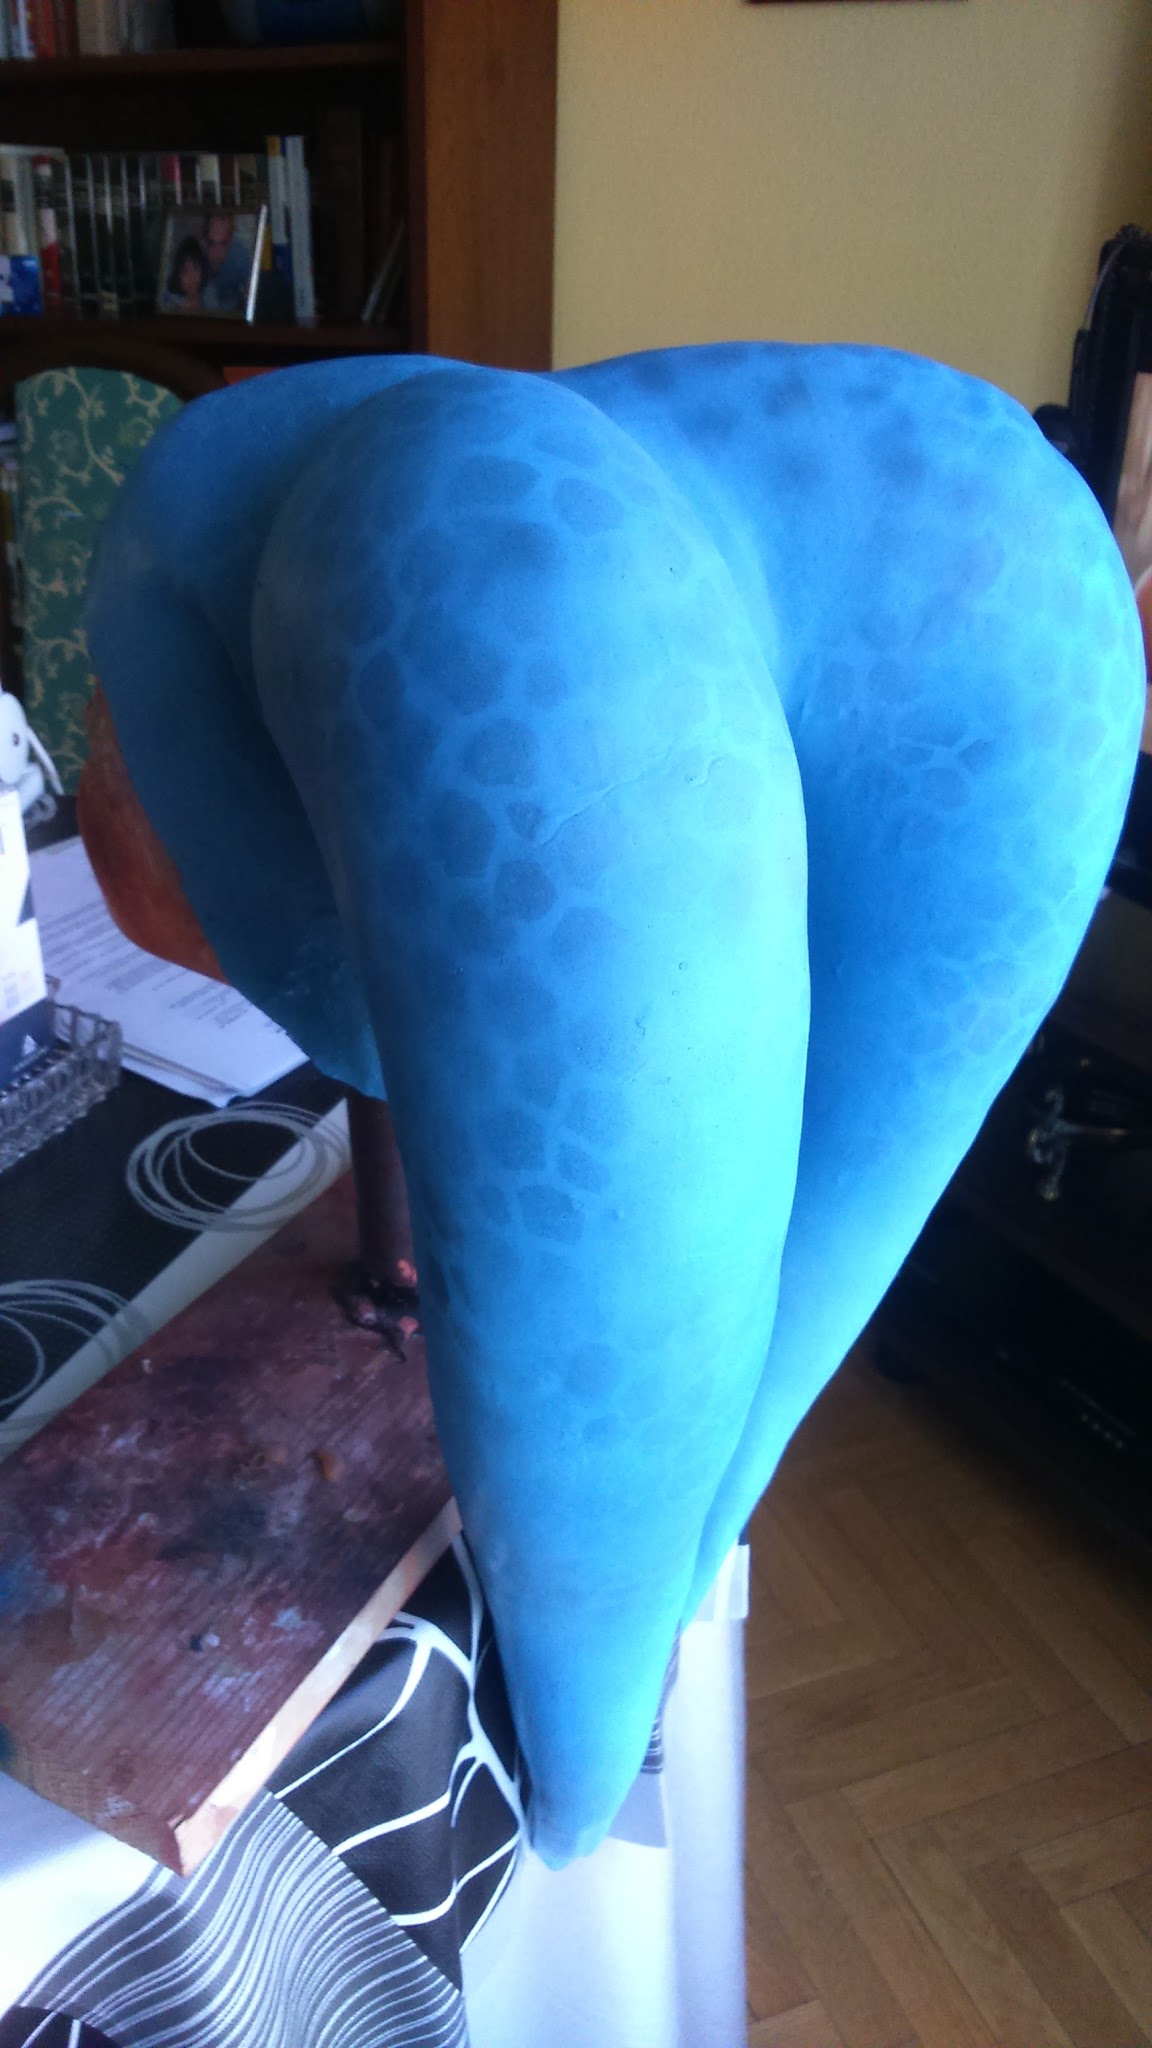
I also applied a final wood glue layer with the lekkus upside down, to let the glue enter the lower nooks and crannies. I let gravity make its work.
The mold was finished and ready to put the latex on. I’ve always been afraid of latex and it turned out to be pretty easy to use. It smells super badly, like ammonia. It’s terrible. So you have to wear gloves and mask and use it in a well ventilated place. With all that, your eyes will drip because that smell penetrates so badly.
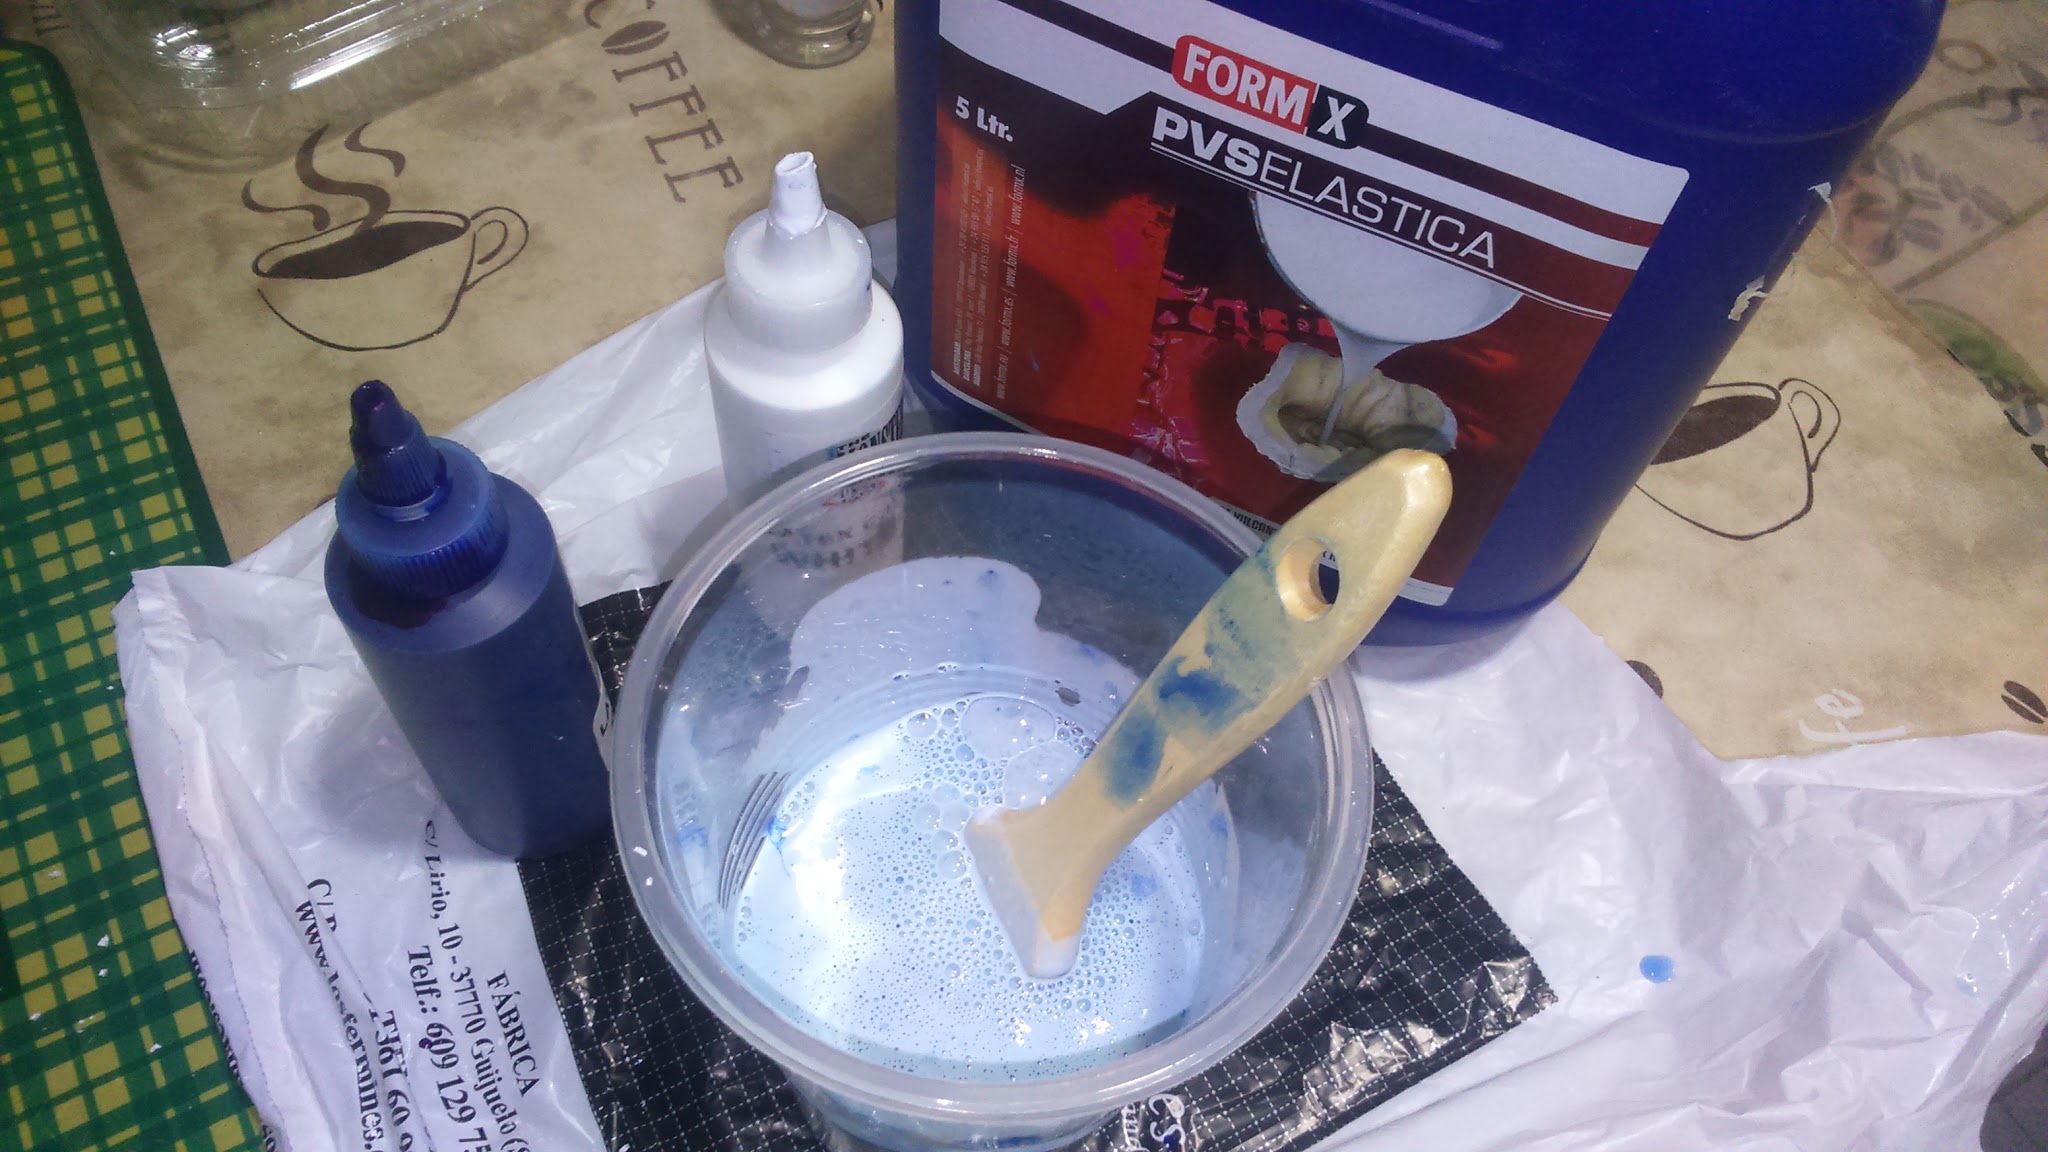
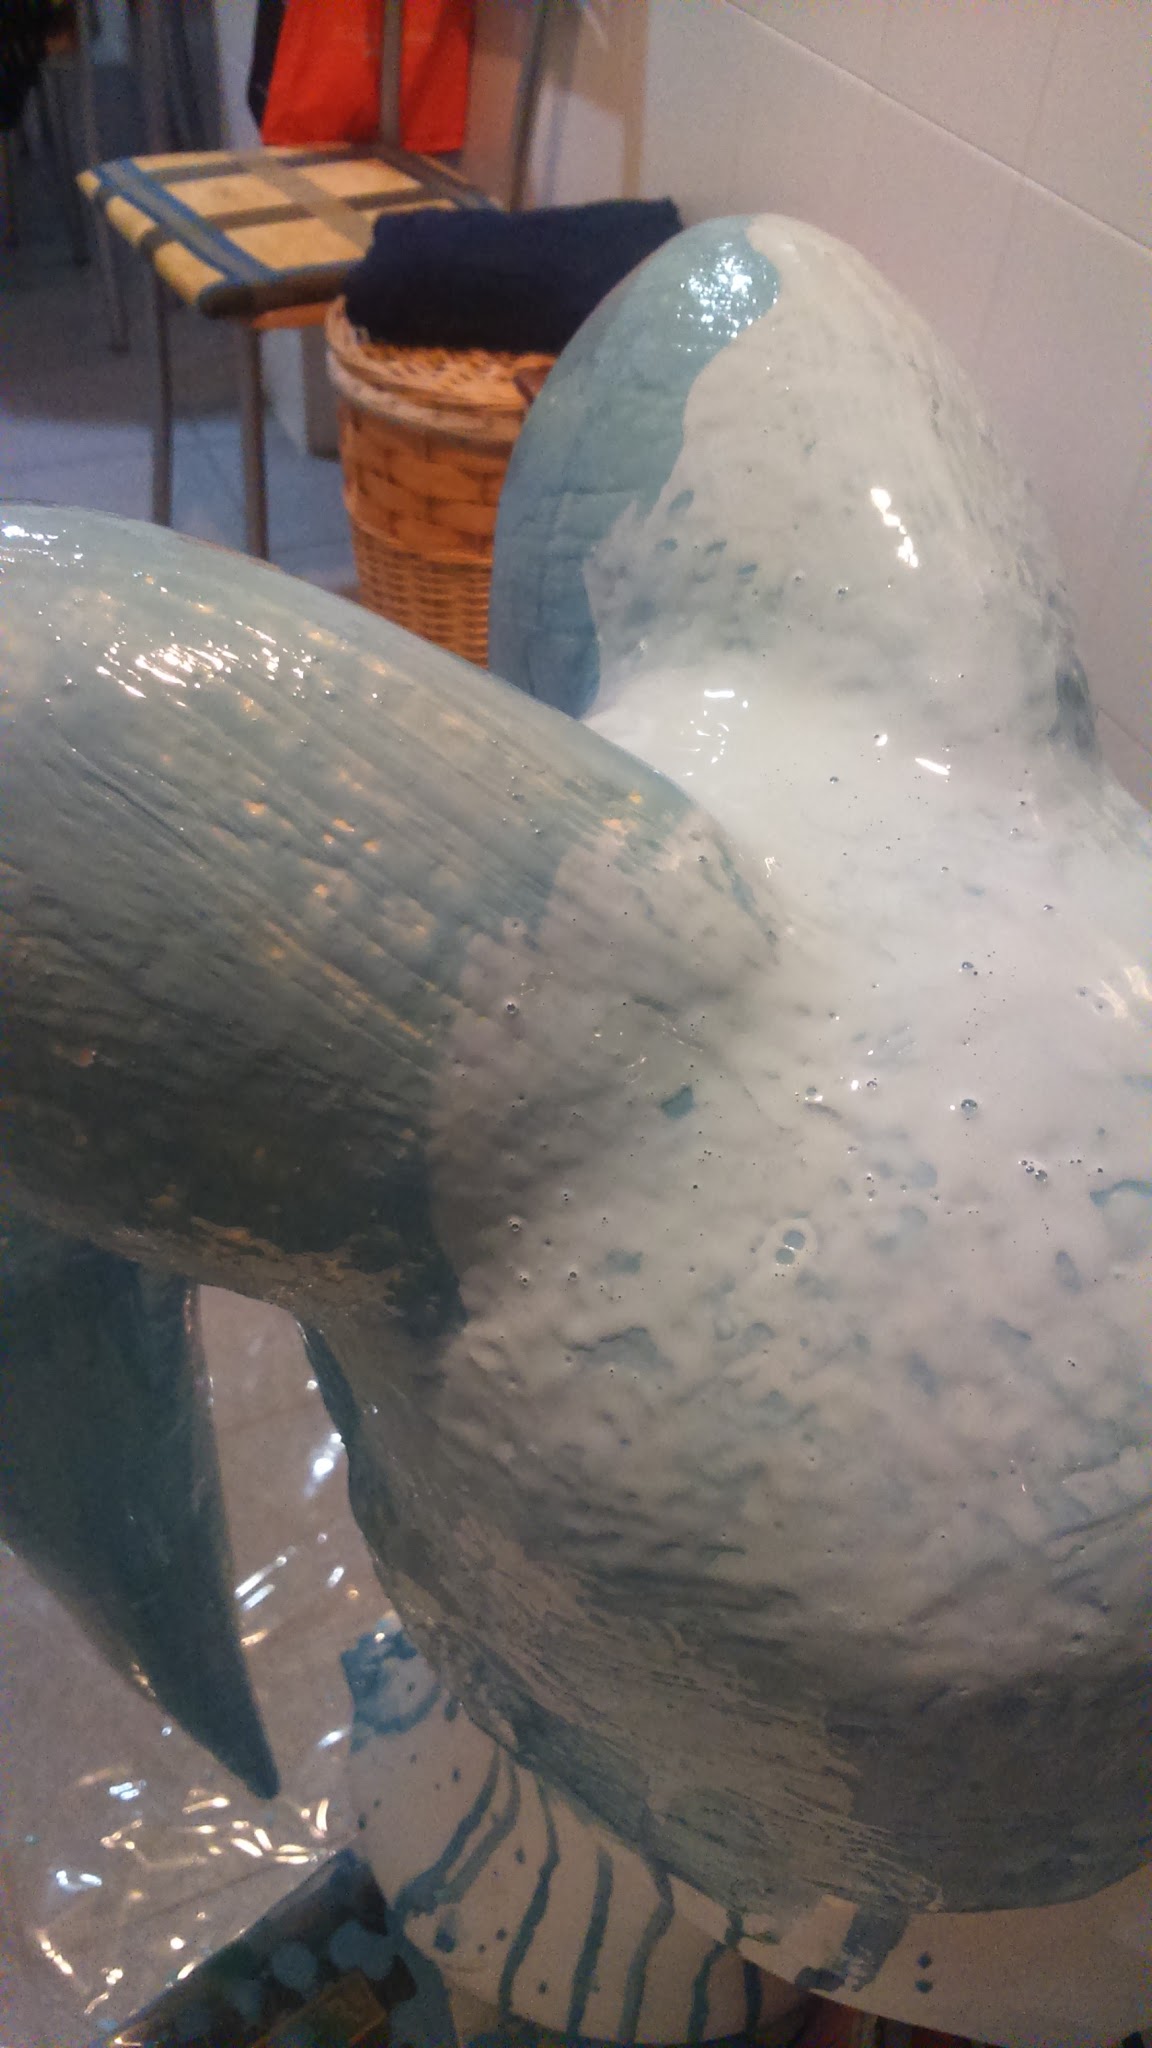
Before coating with latex I sprayed demoldant on the mold to make it easier to take out. Latex needs to be applied without mixing it with other products or anything special and it air dries. I just mixed it with pigments to get that bluish base color though it’s not an essential step.
And here’s another thing you must mind: the pigments look way darker when they’re dry than in the moment you mix them and latex dries in a slightly yellowish color. So have this in account when you prepare the colors.
I started by spreading latex with a brush. The first two layers don’t stick perfectly to the mold, but it doesn’t matter, from there on it will adhere much better. And it’s no big deal if there are visible streaks, the final texture will be the mold one.
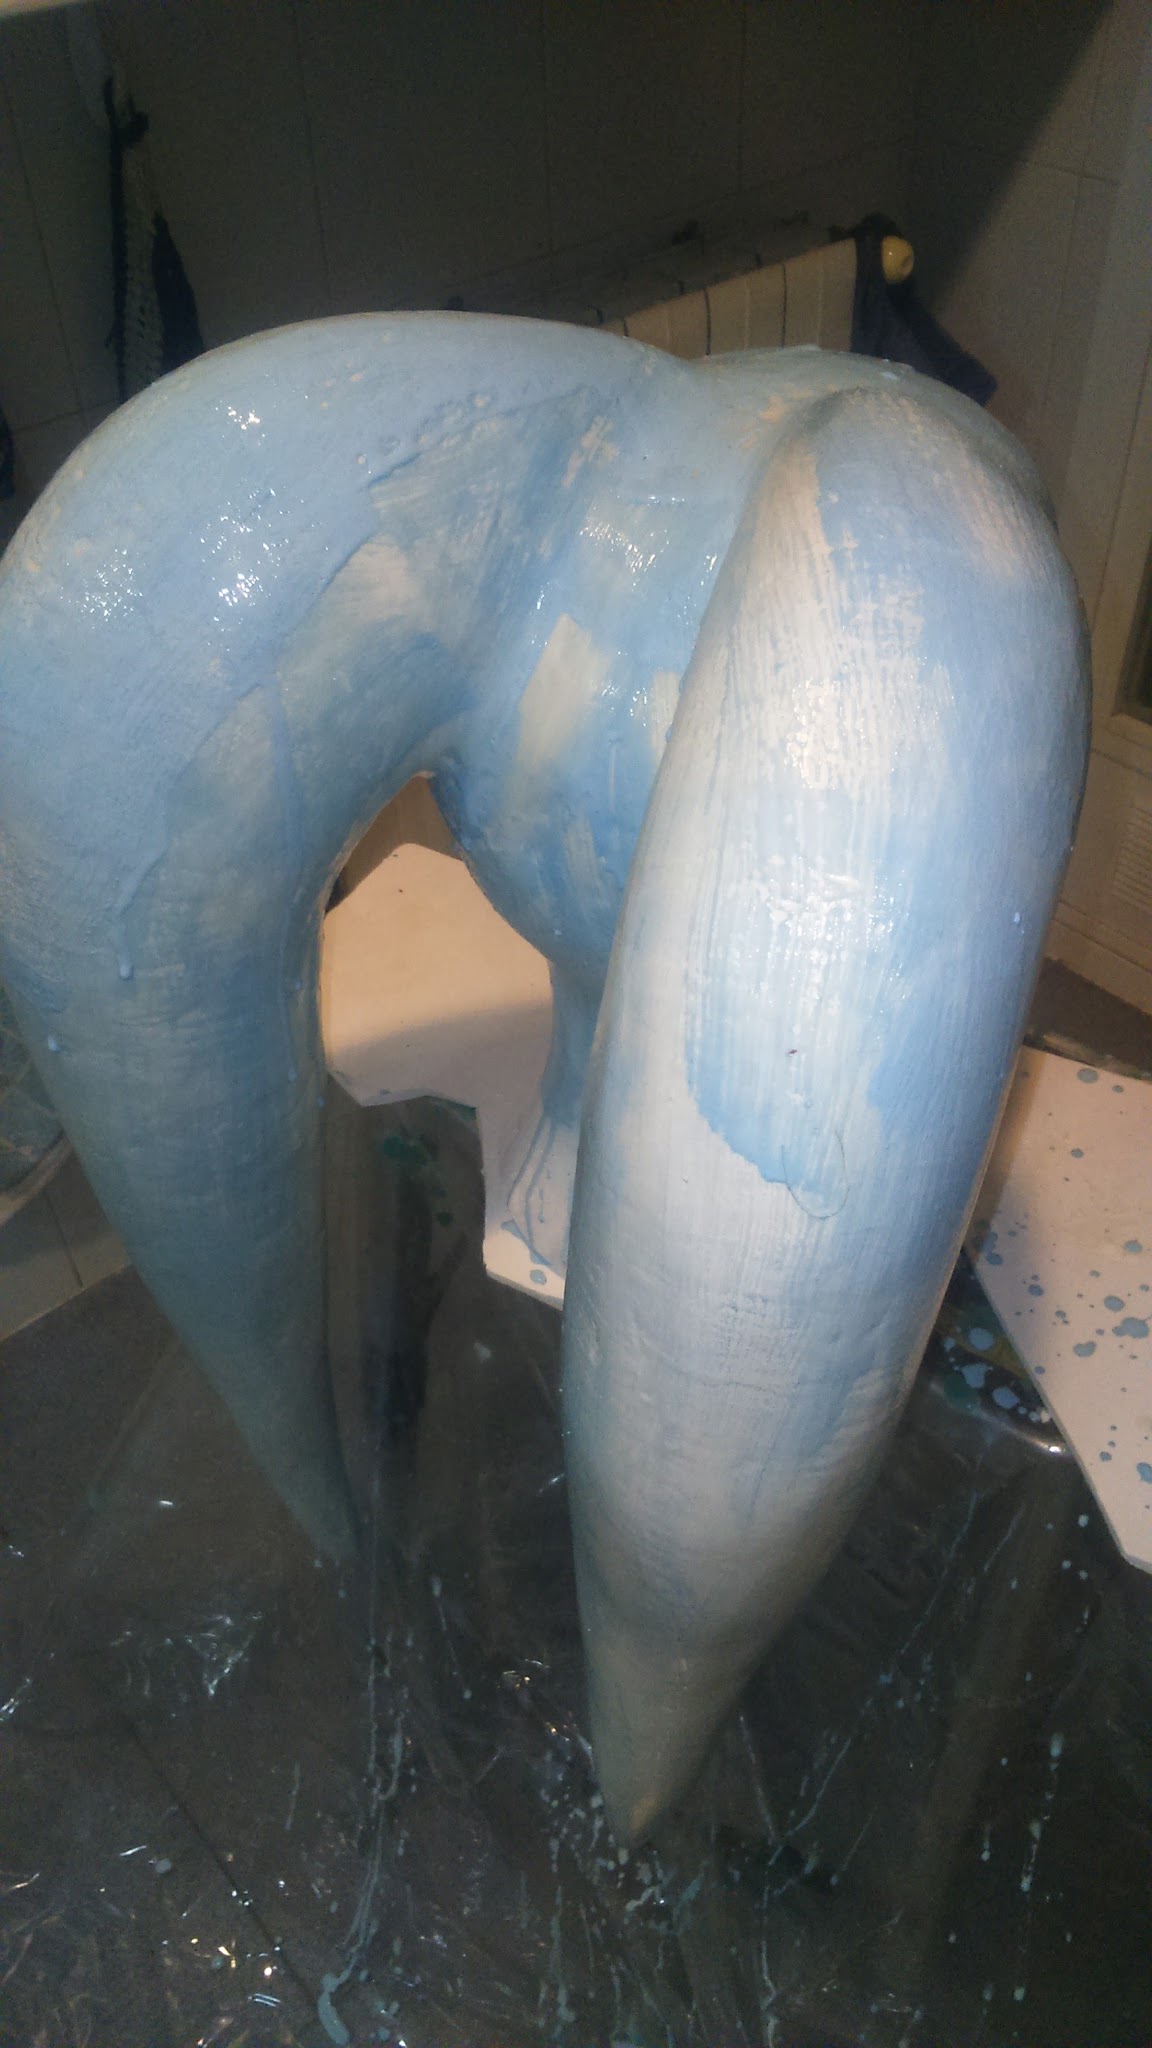
After the first two layers, I applied six more with a very loaded brush and a tapping motion taking the chance that latex sticks really well to itself.
You can see the color difference between the wet and the dry product.
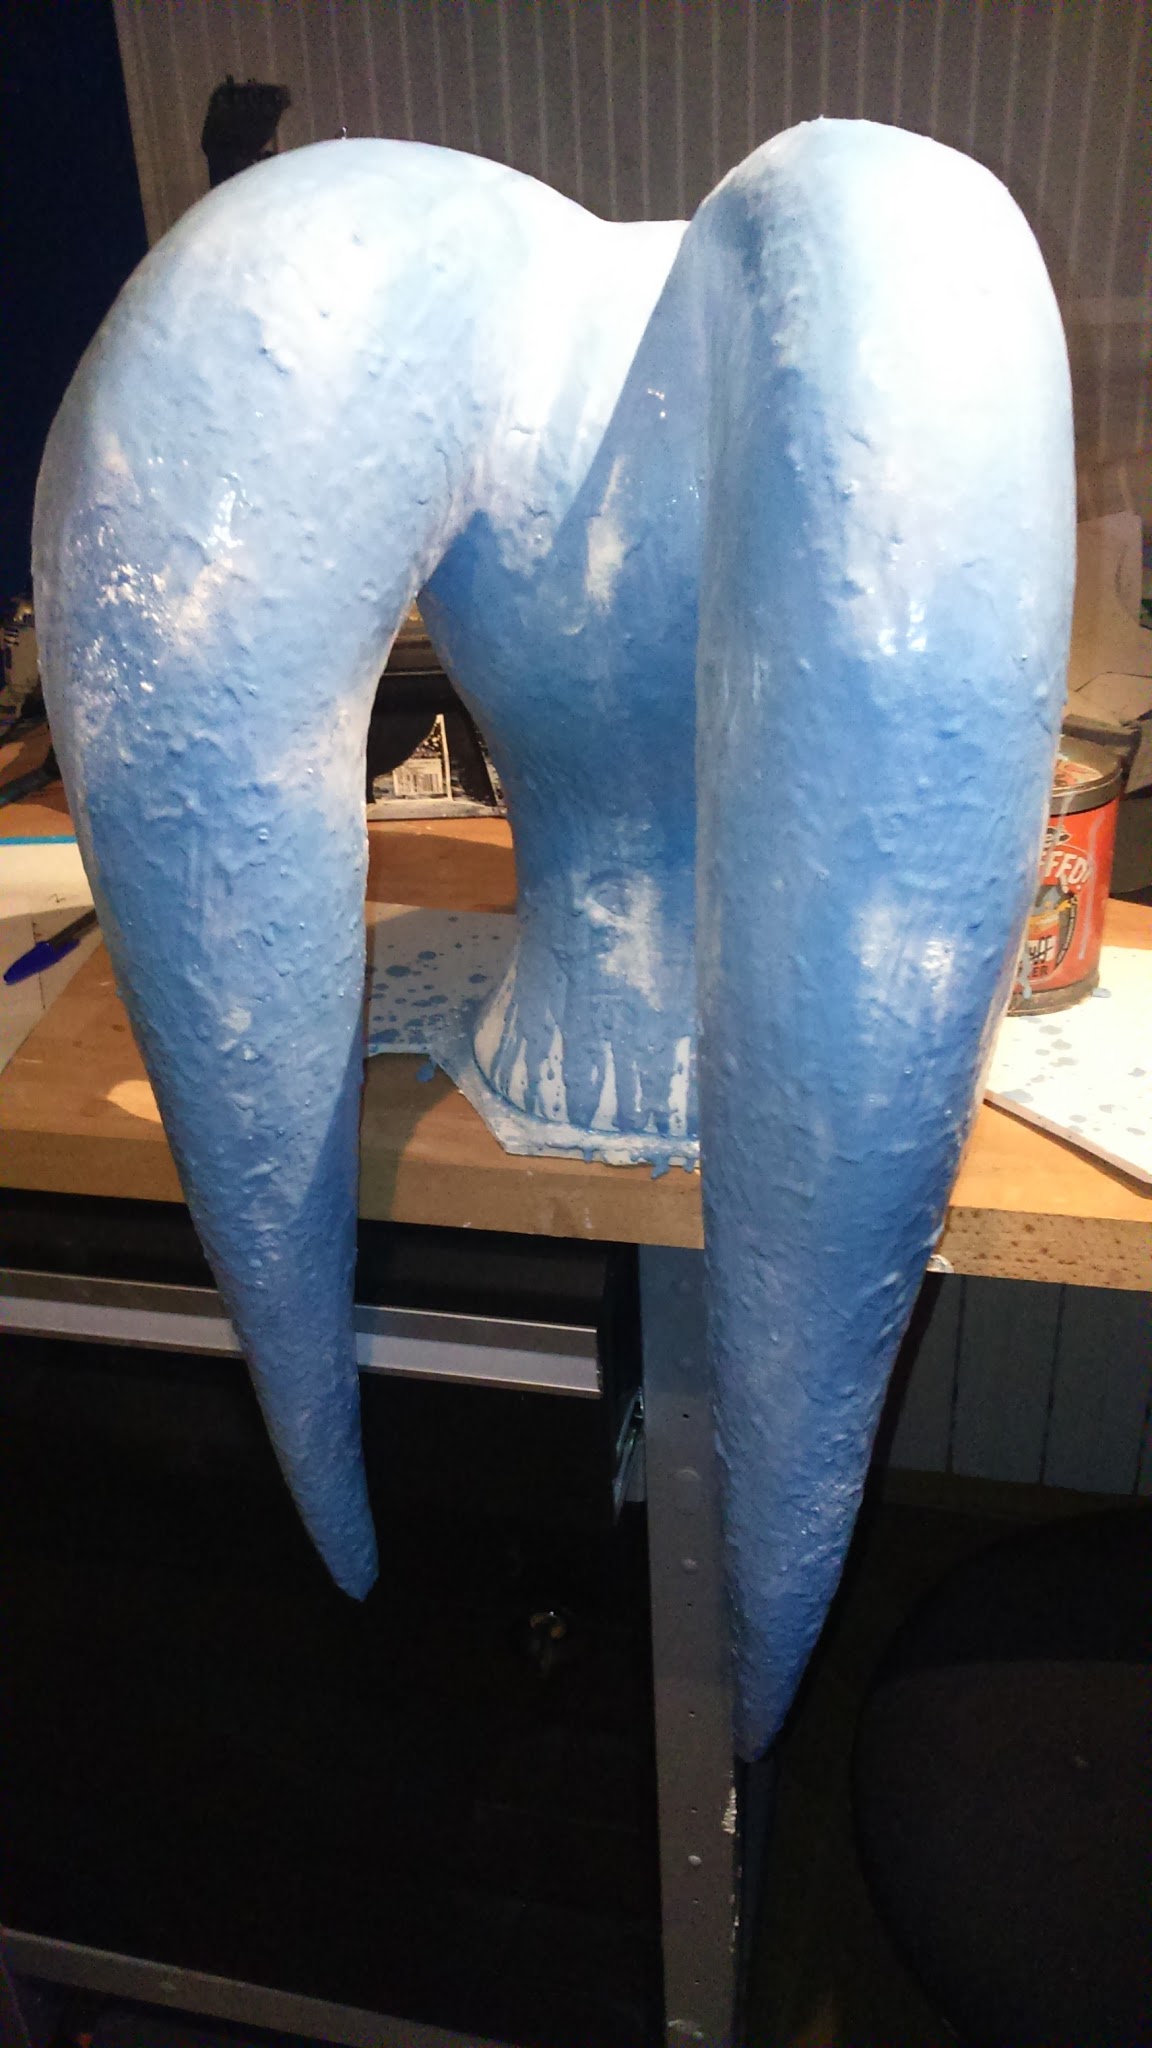
I put eight layers in total leaving one or two hours between each one to let it dry. As I said before, latex air dries and it also dries faster in a hot environment. That’s why, after each layer, I applied heat with a hairdryer and I left it near the radiator.
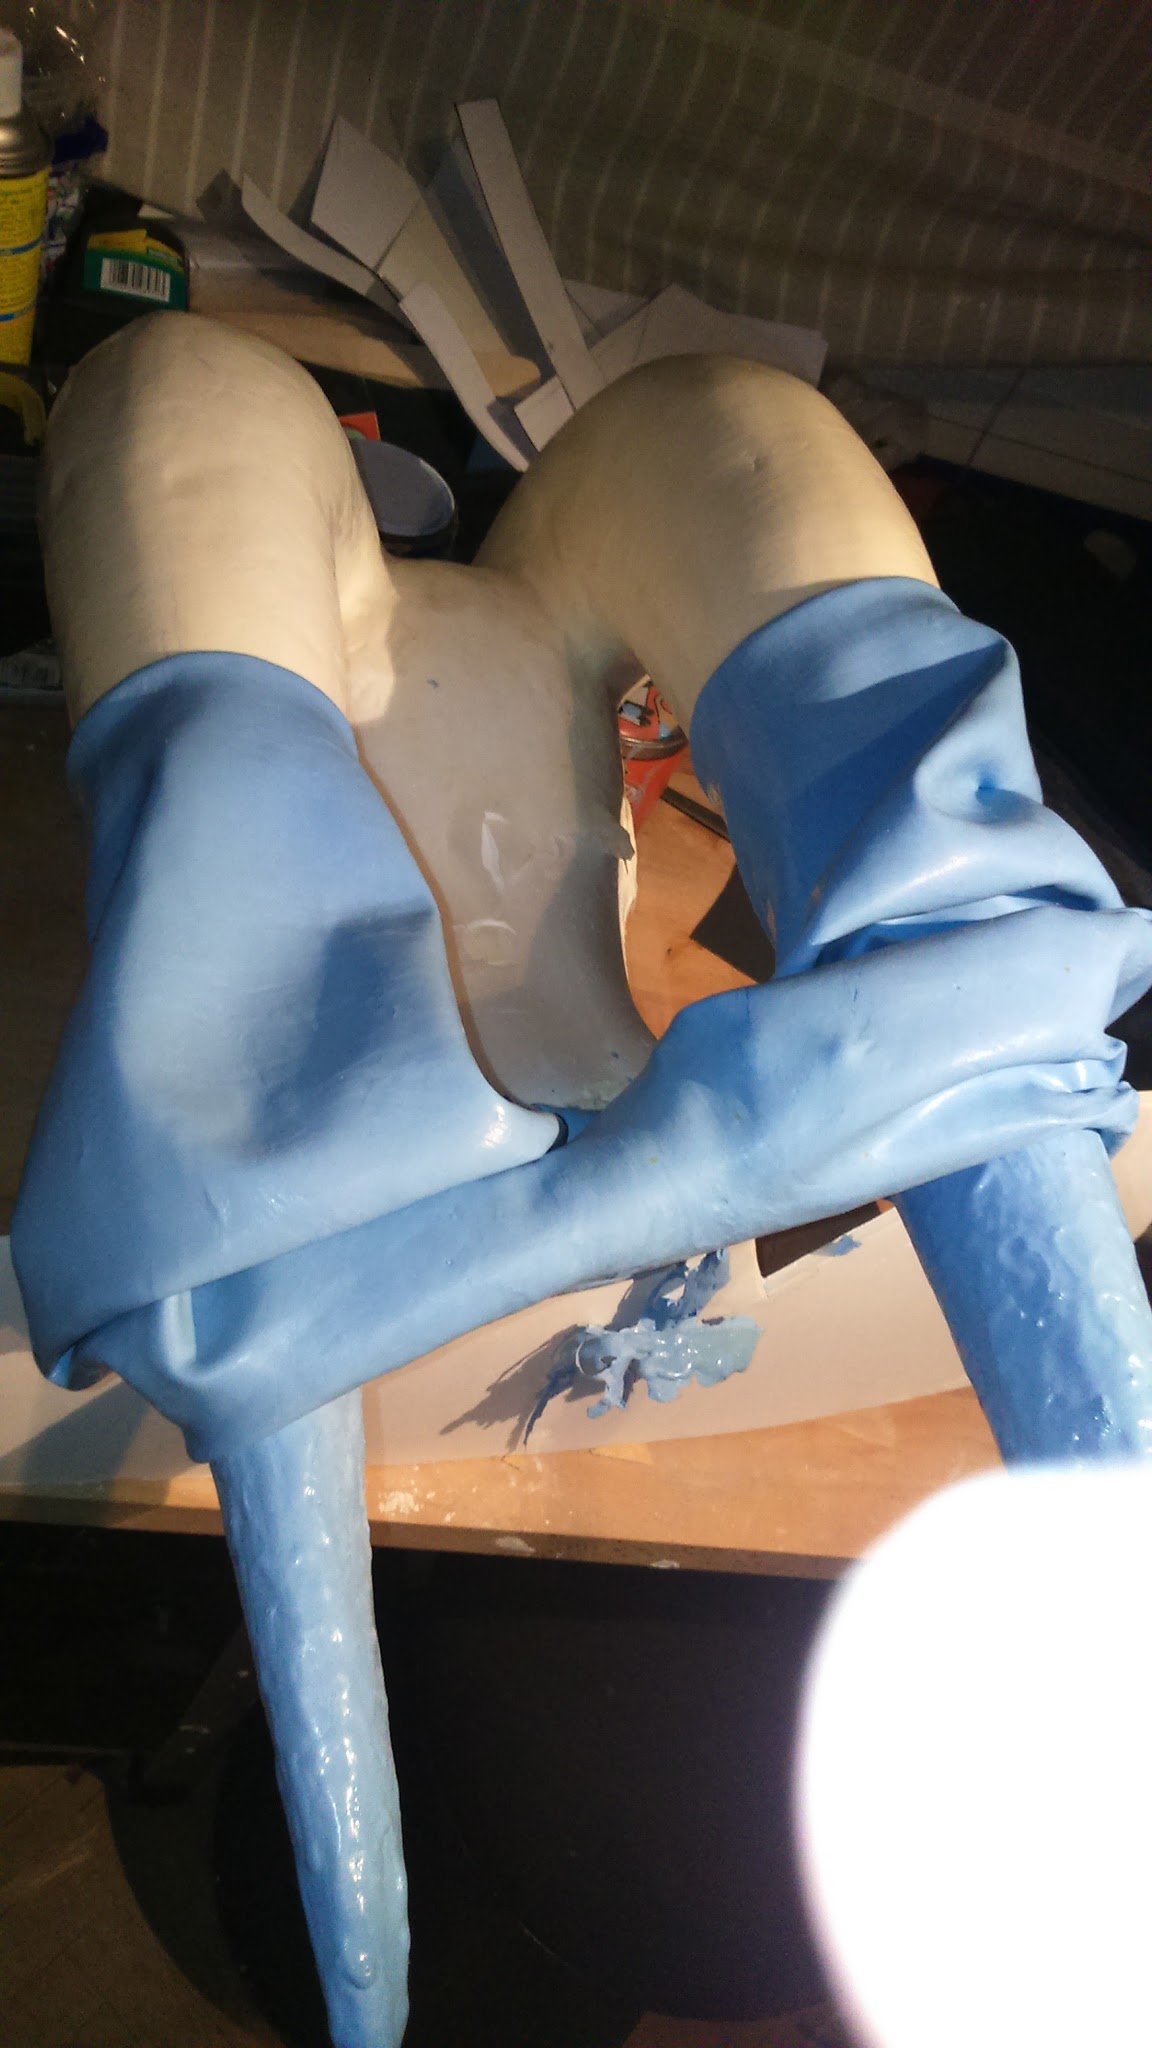
It was time to unmold. To avoid latex stick to itself, I applied talcum powder on its surface. The headpiece was a little hard to unmold, specially where the lekkus grow because the structure is wider there. But it’s just a matter of pulling gently and patience. And I didn’t break this ones!!
I didn’t say this before but you can imagine the visible part of the headpiece is the one that faces the mold. That’s why it’s very important to sand it as smooth as posible and it doesn’t matter if it drips when coating because you’re eventually gonna flip it over.
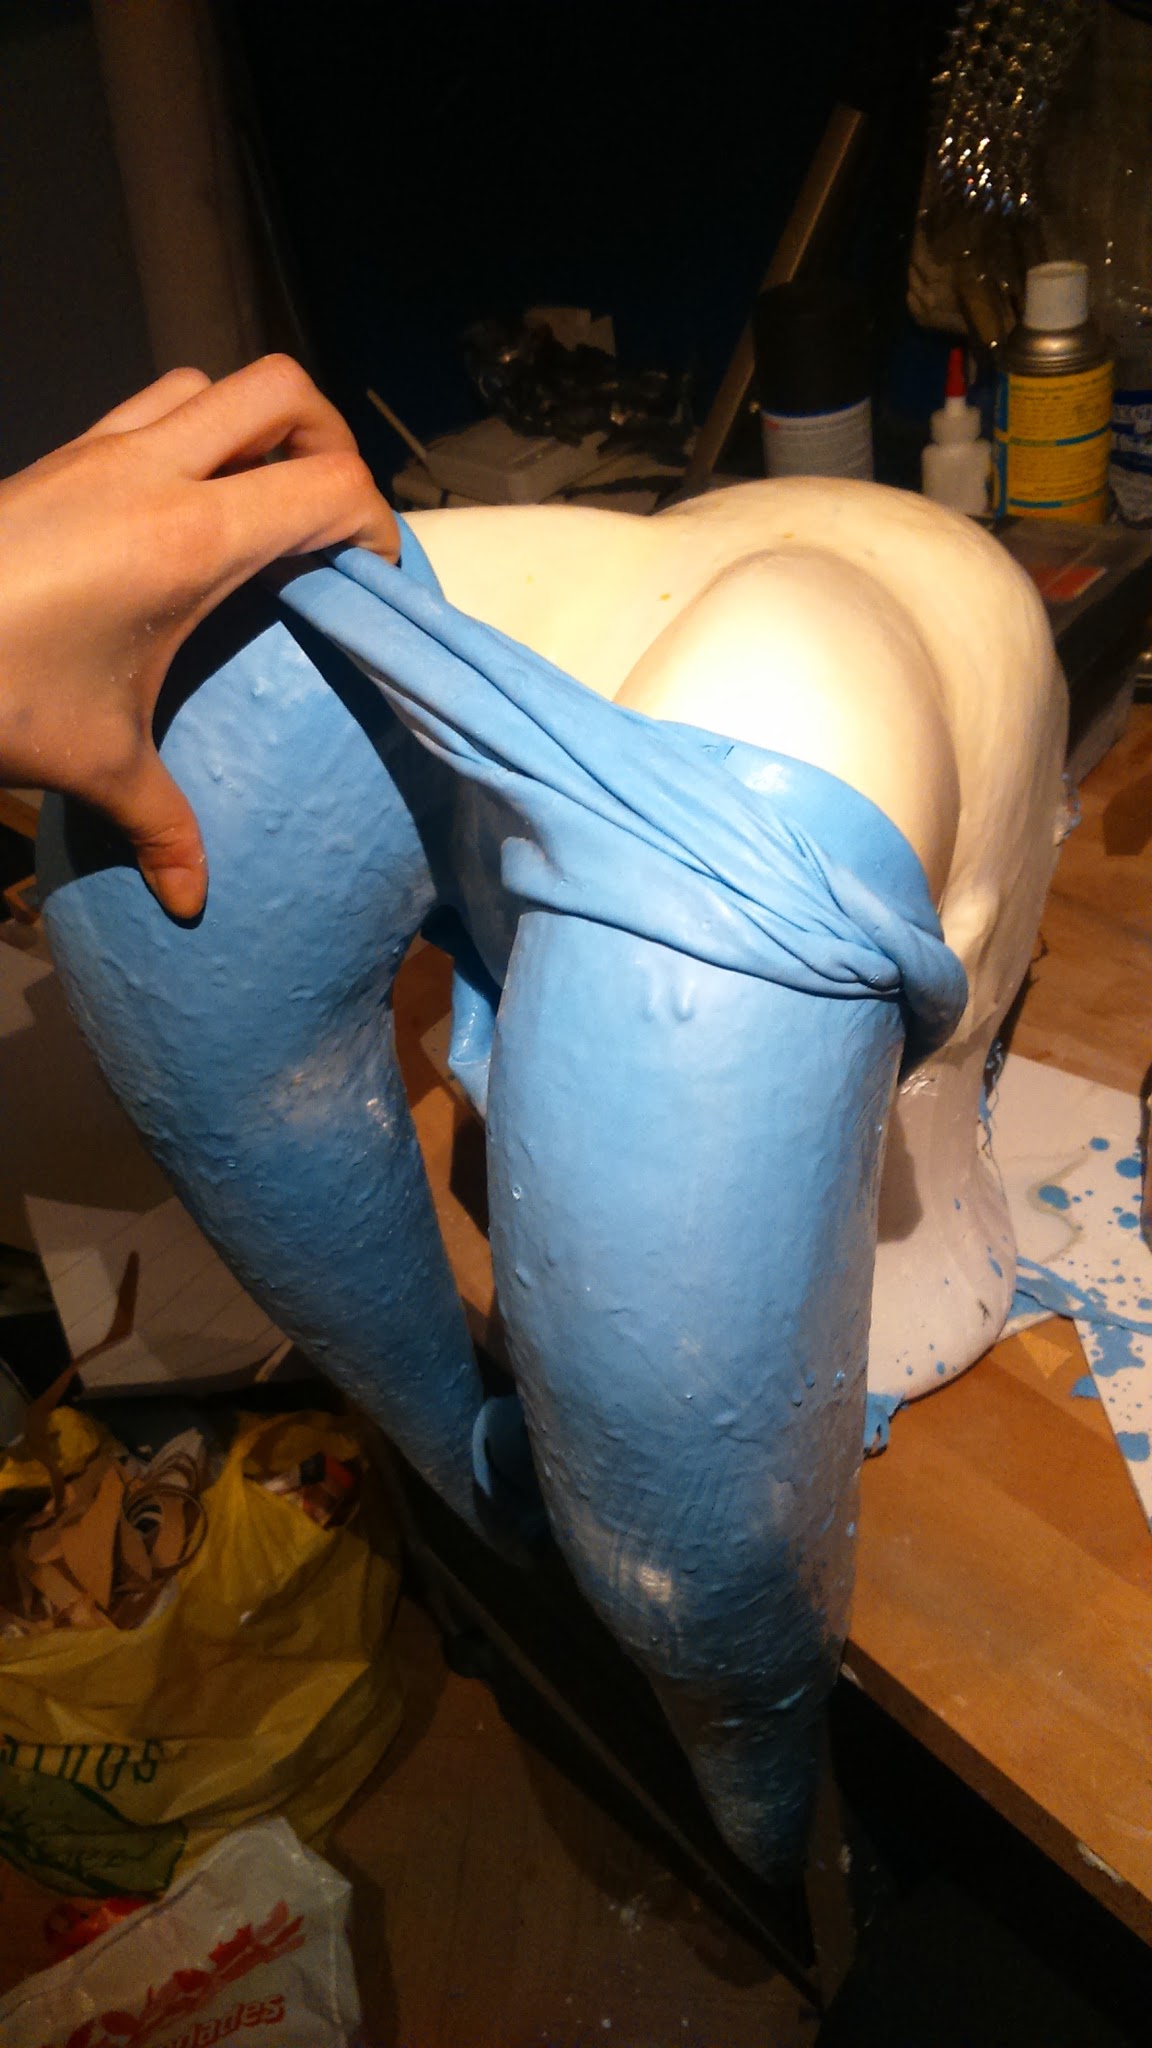 |
| Es como quitar unos pantalones muy apretadosIt’s like taking off a really tight pair of pants. |
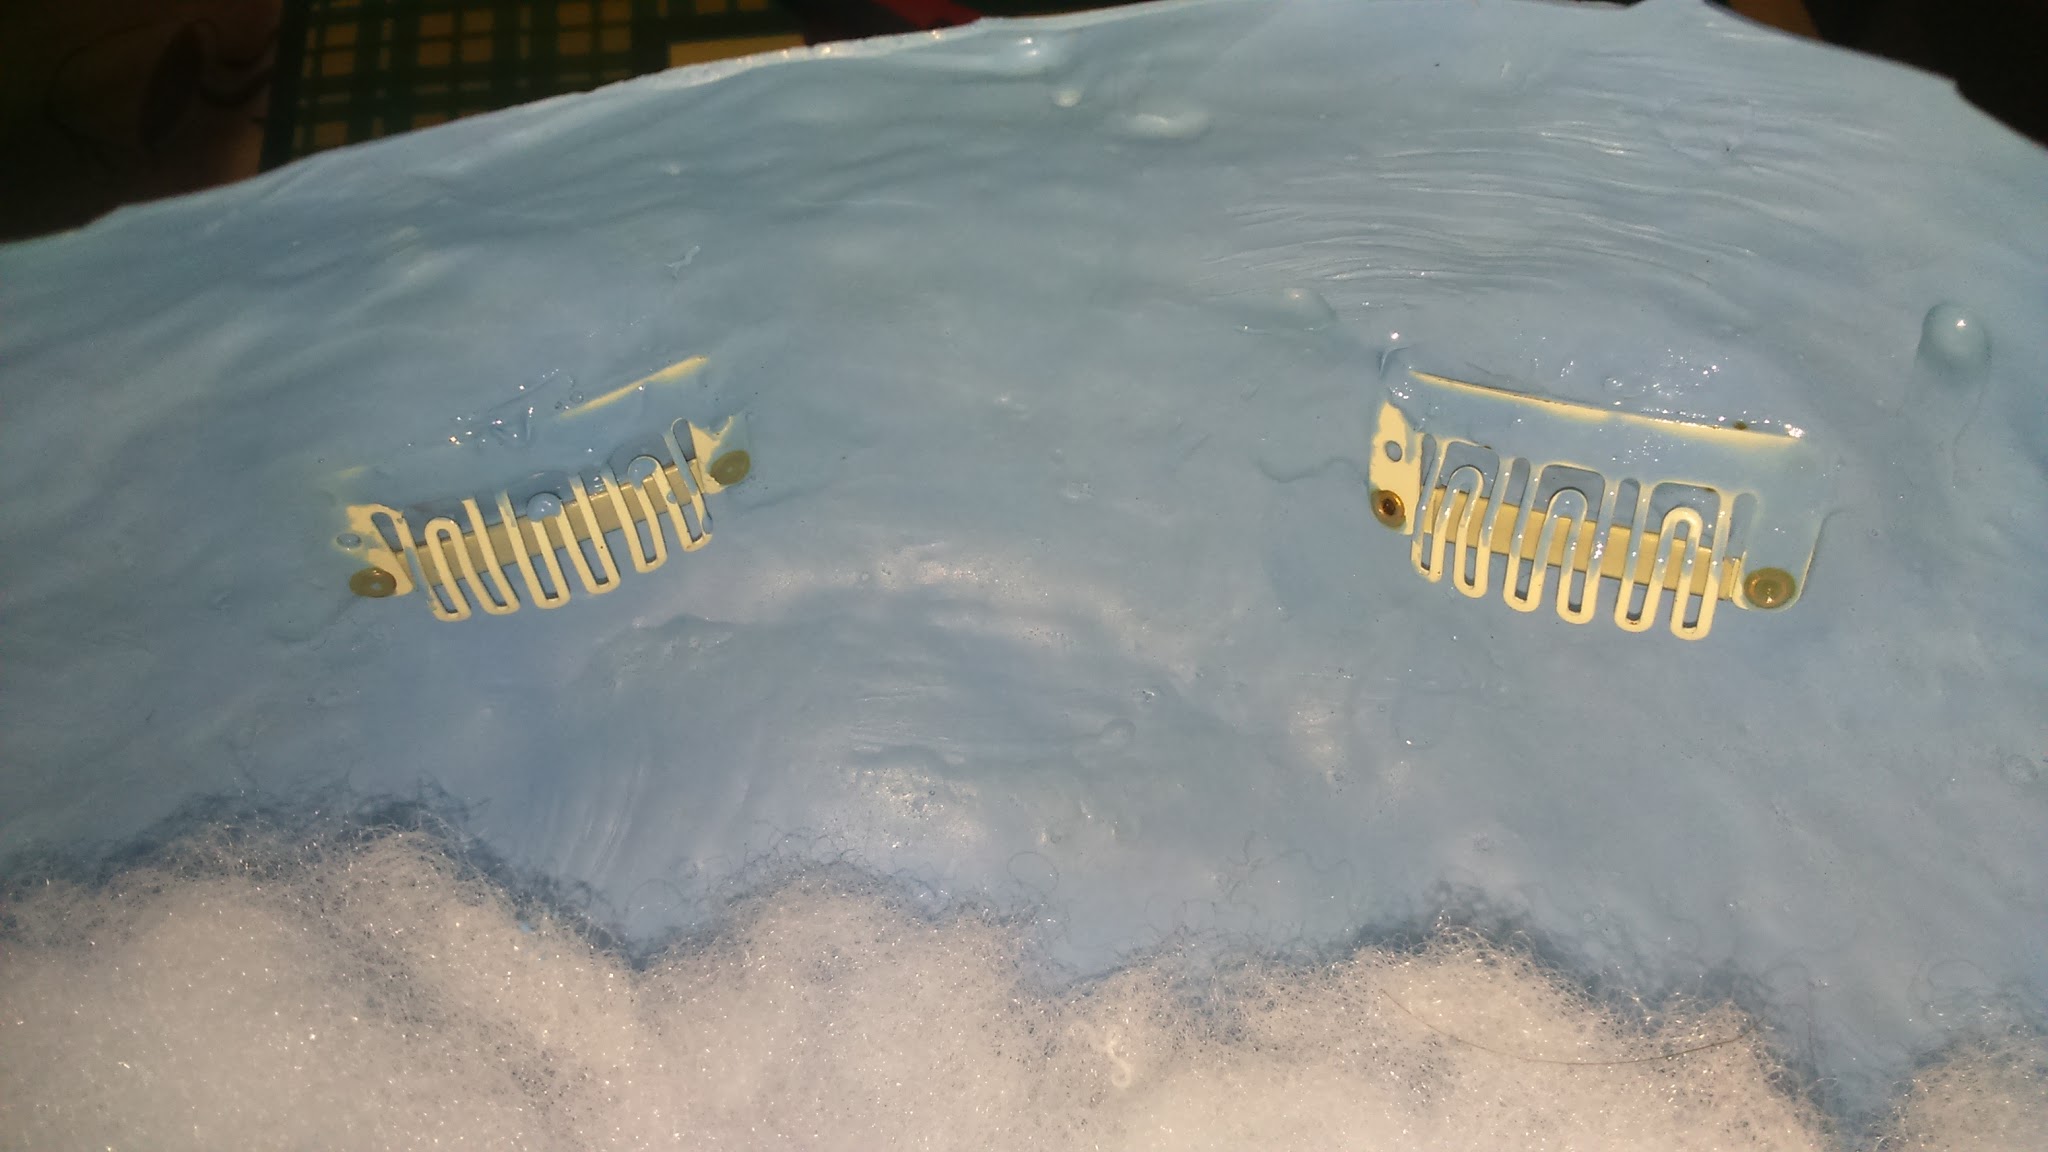
Obviously, I couldn’t leave them all soft and deflated, so I filled them with wadding.
Ta-daaaa!! A nice pair of lekkus.
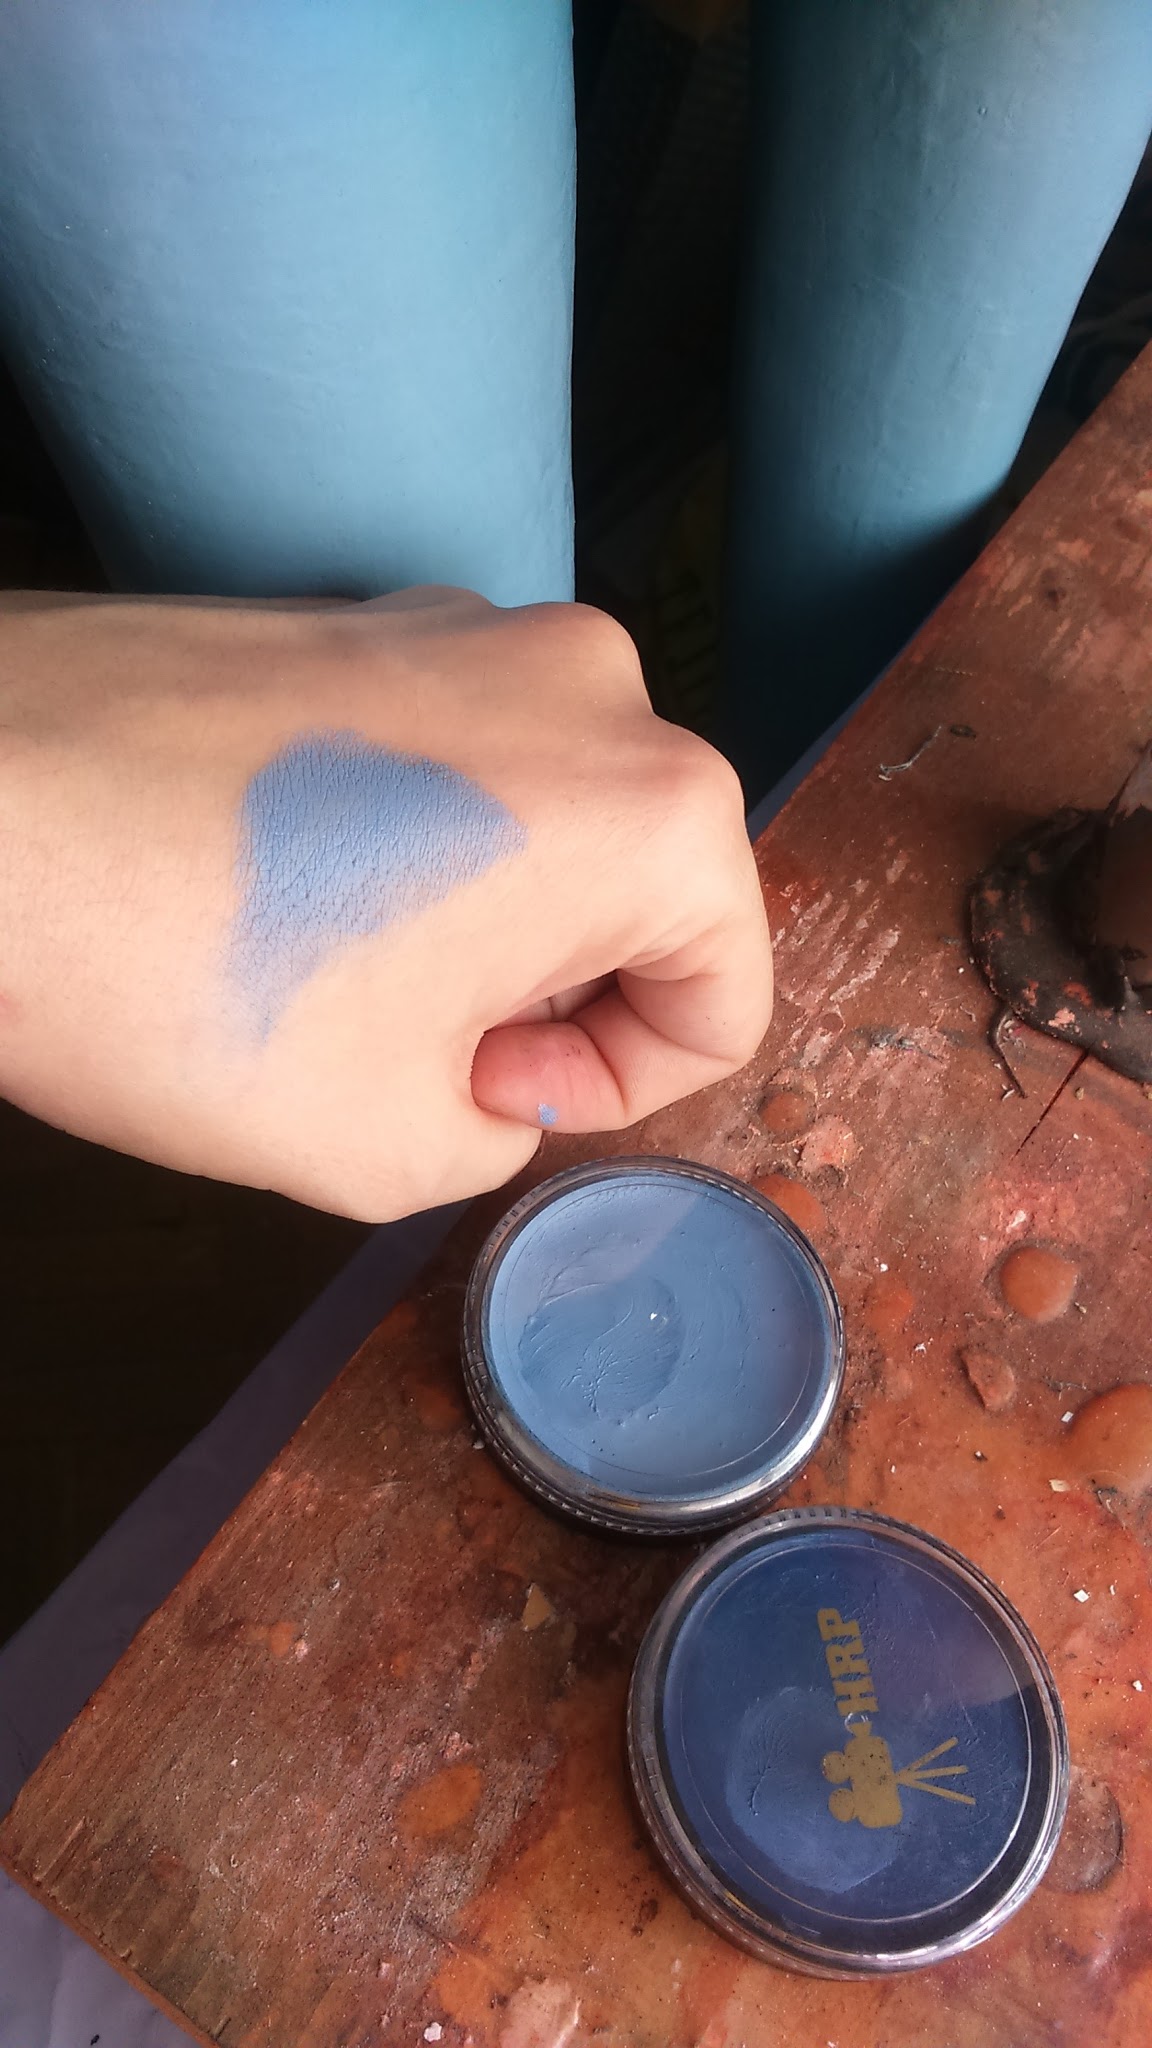
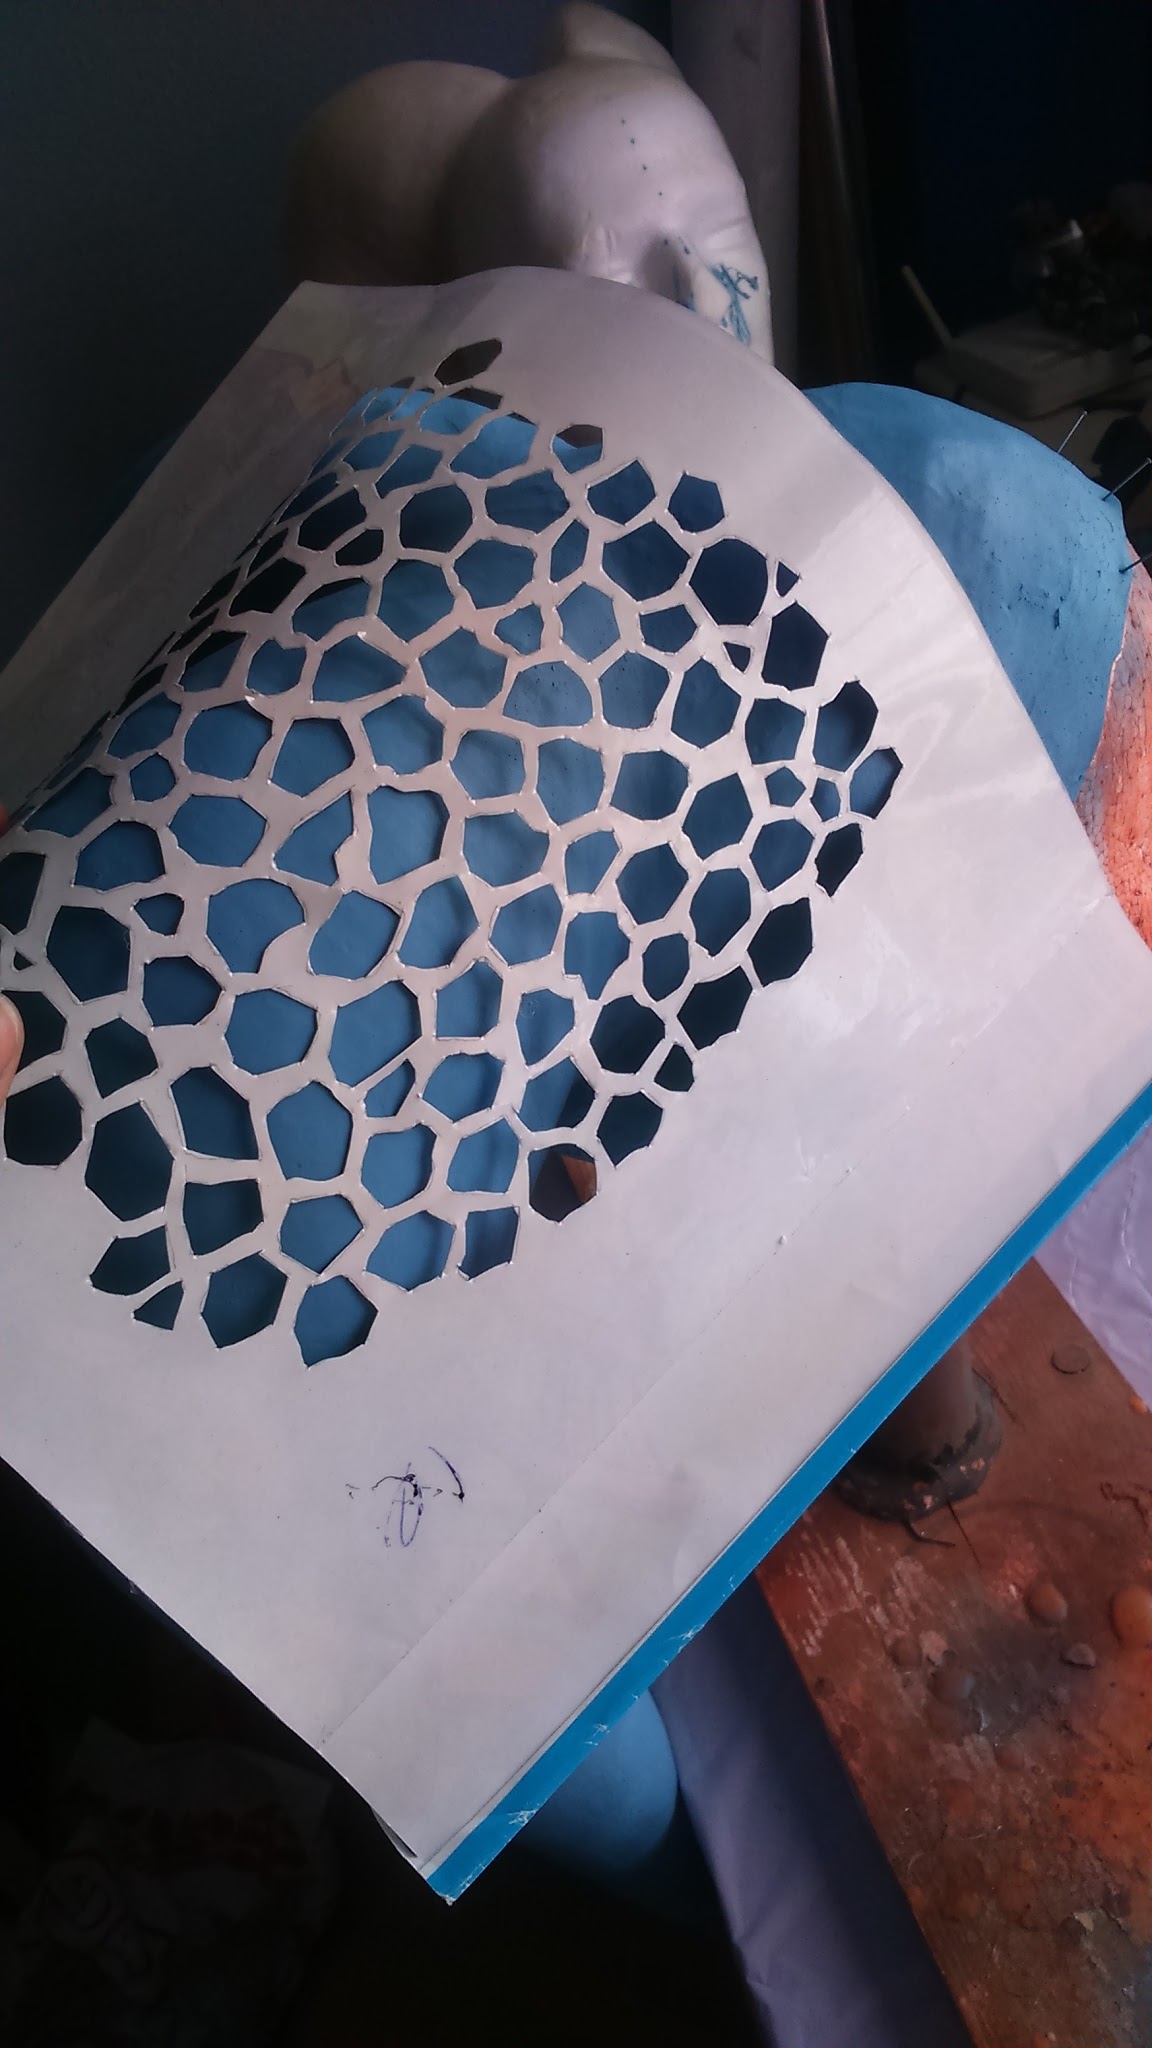
Another good feature of latex is that you can paint it with acrylic paints. I liked the base color, but I wanted to shade them a little bit and add some cool marks on them. For that purpose I used my beloved airbrush and I used my make up color as a reference. I also cut a stencil for the marks.
My favourite airbrush paints are Tamiya acrylics mixed with their X-20A thinner. They work wonders and the pots are really small but they last longer than they appear.
I first painted the base colors. Then I painted the markings in a darker color and I applied a lighter tone on the tips in a lighter tone.

Californian lekkus!
To hold them to my head, I stuck a couple clips with the same latex inside. Don’t do it, it hurts.
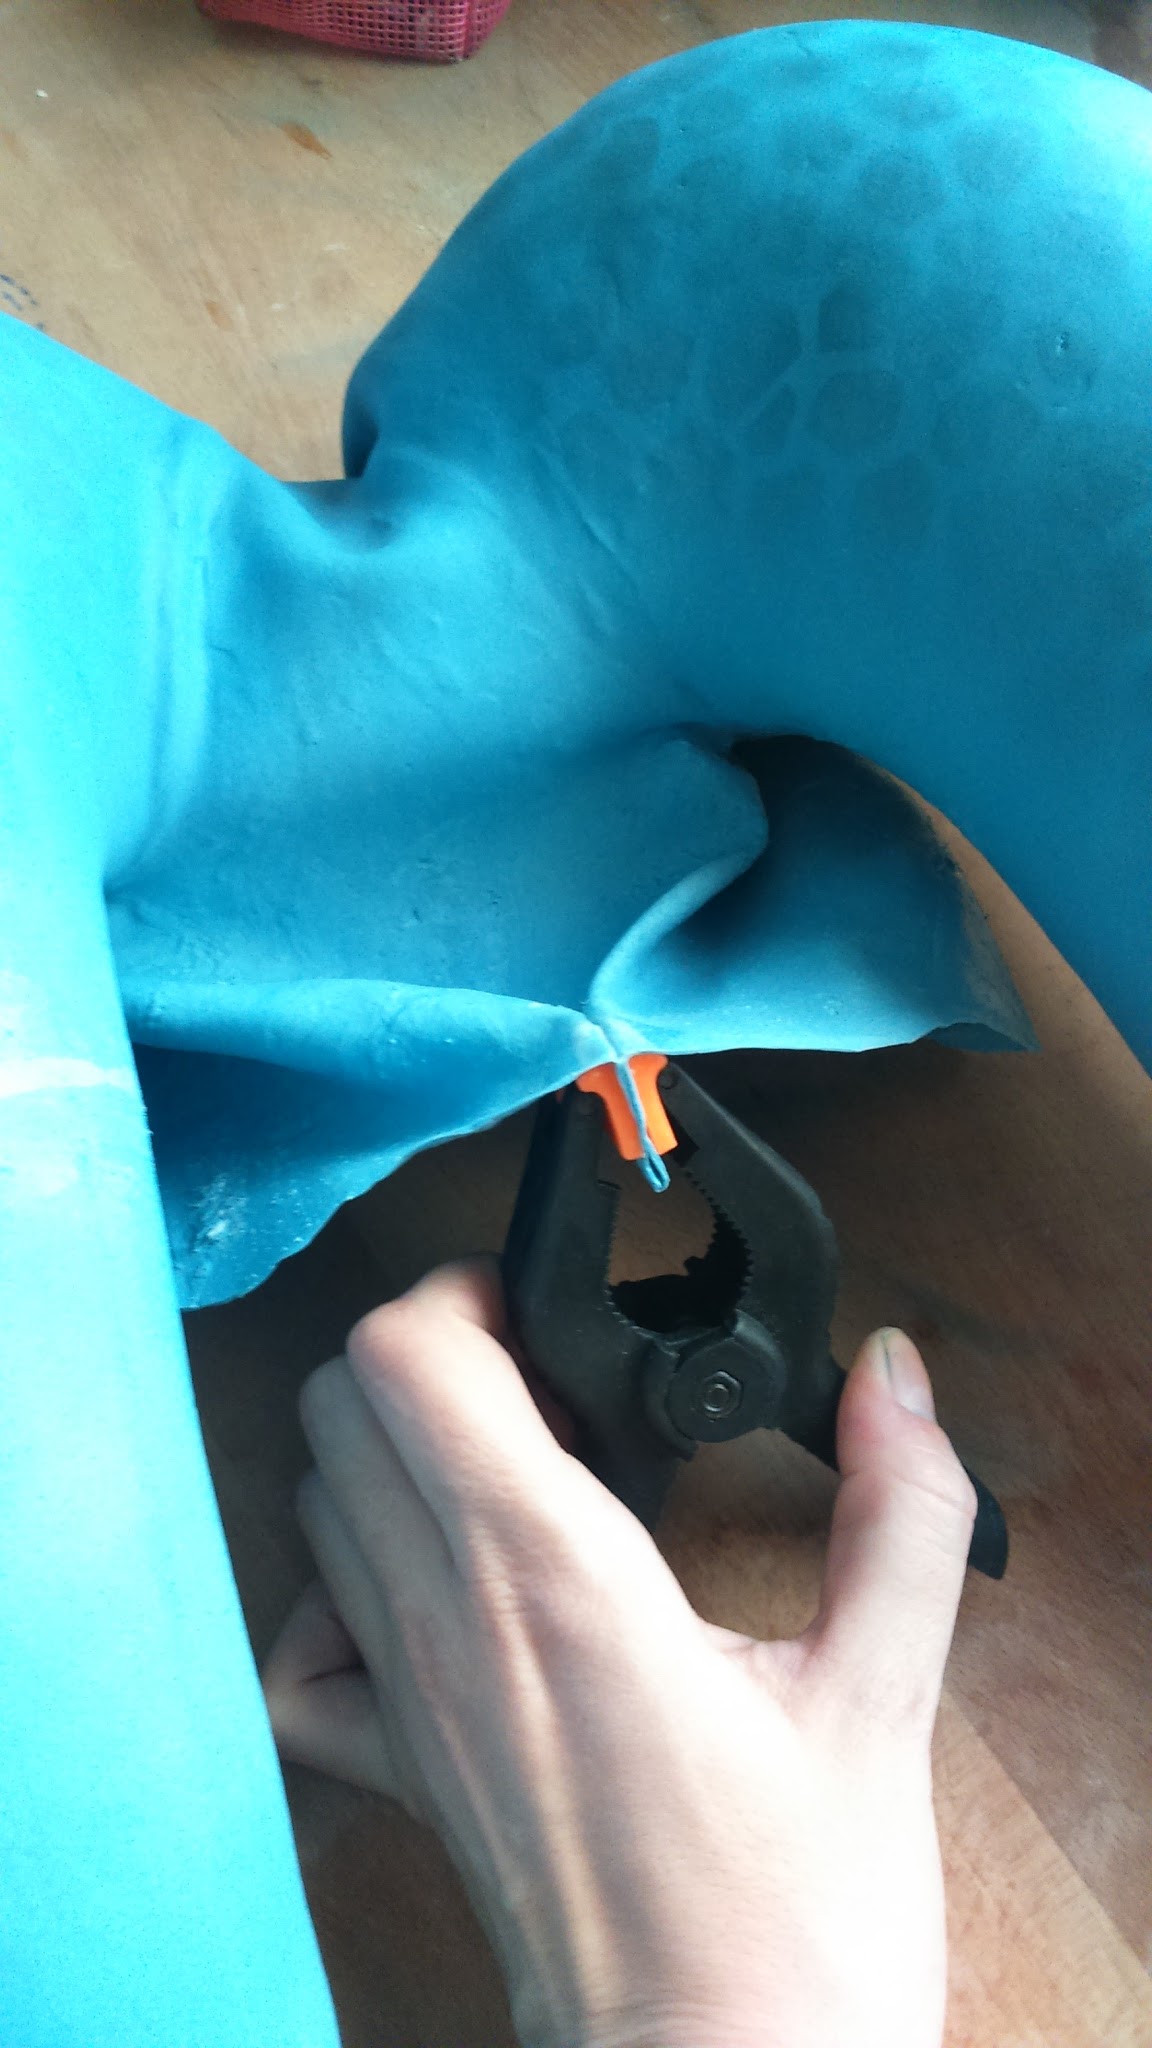
I applied a little bit of fresh latex in the nape part and I bent it to make a dart for the headpiece to fit my tiny head. I let it dry pressing it with a peg.
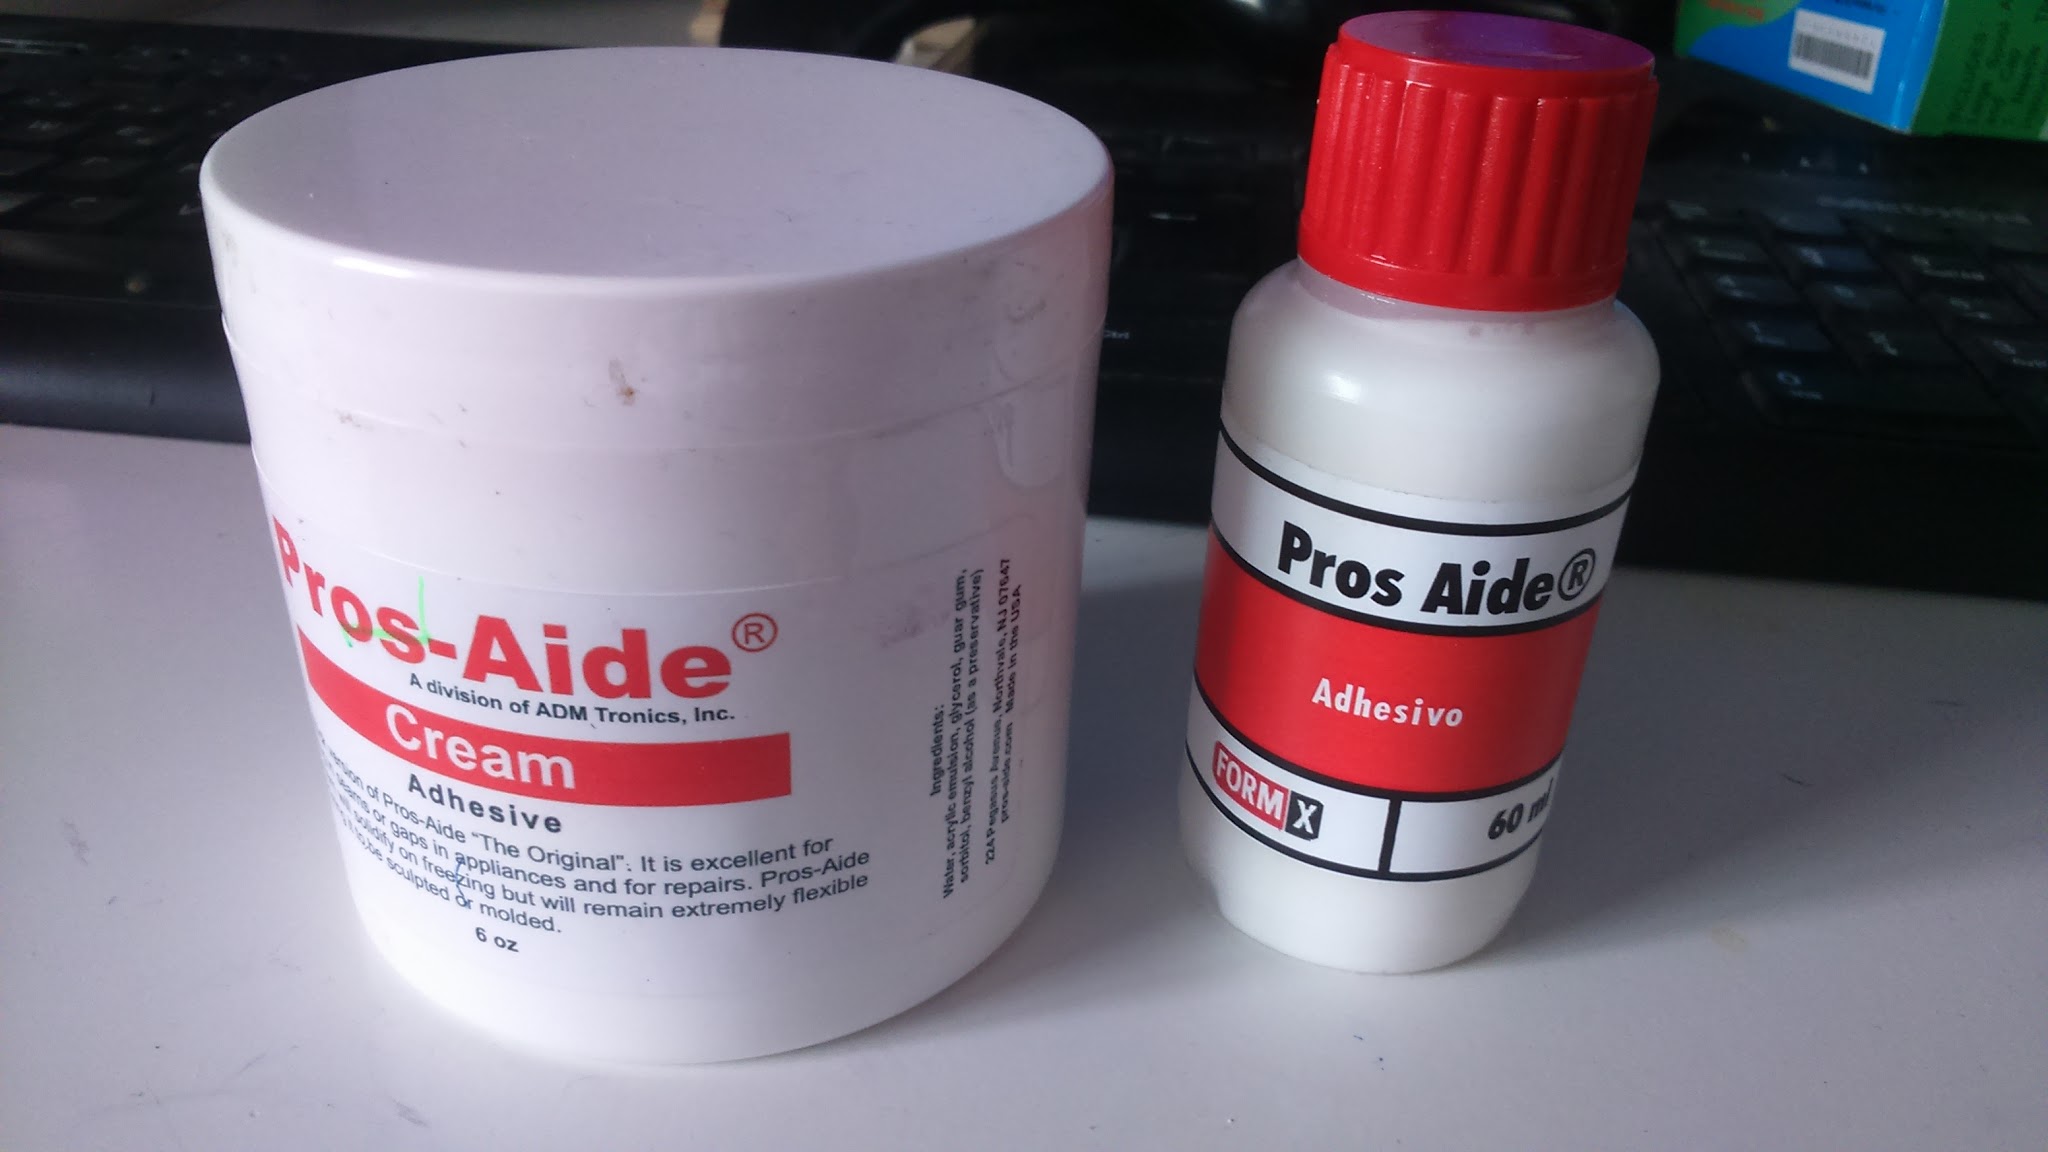
And, to stick them to my forehead, I used Pros-aide, a body art adhesive. They gave me the cream one, that fills the flanges and cracks, and the regular one.
To stick the lekkus to my face I only used the regular one because the edge is covered with the diadem. Guess I’ll use the cream when I put my asari headpiece.
And that’s all!! Hope you find this useful. As always, feel free to comment here or ask me in my social media.

* Some of you have asked me if you can make togruta headpieces with their montrals and stuff using the same techniques. I can’t see why not. You just have to draw the basic volumes in cardboard to have a reference for cutting them. Maybe you’ll eventually have to destroy the mold to take them out, but it’s not imposible.
Thanks for reading!!


