Greetings, people!
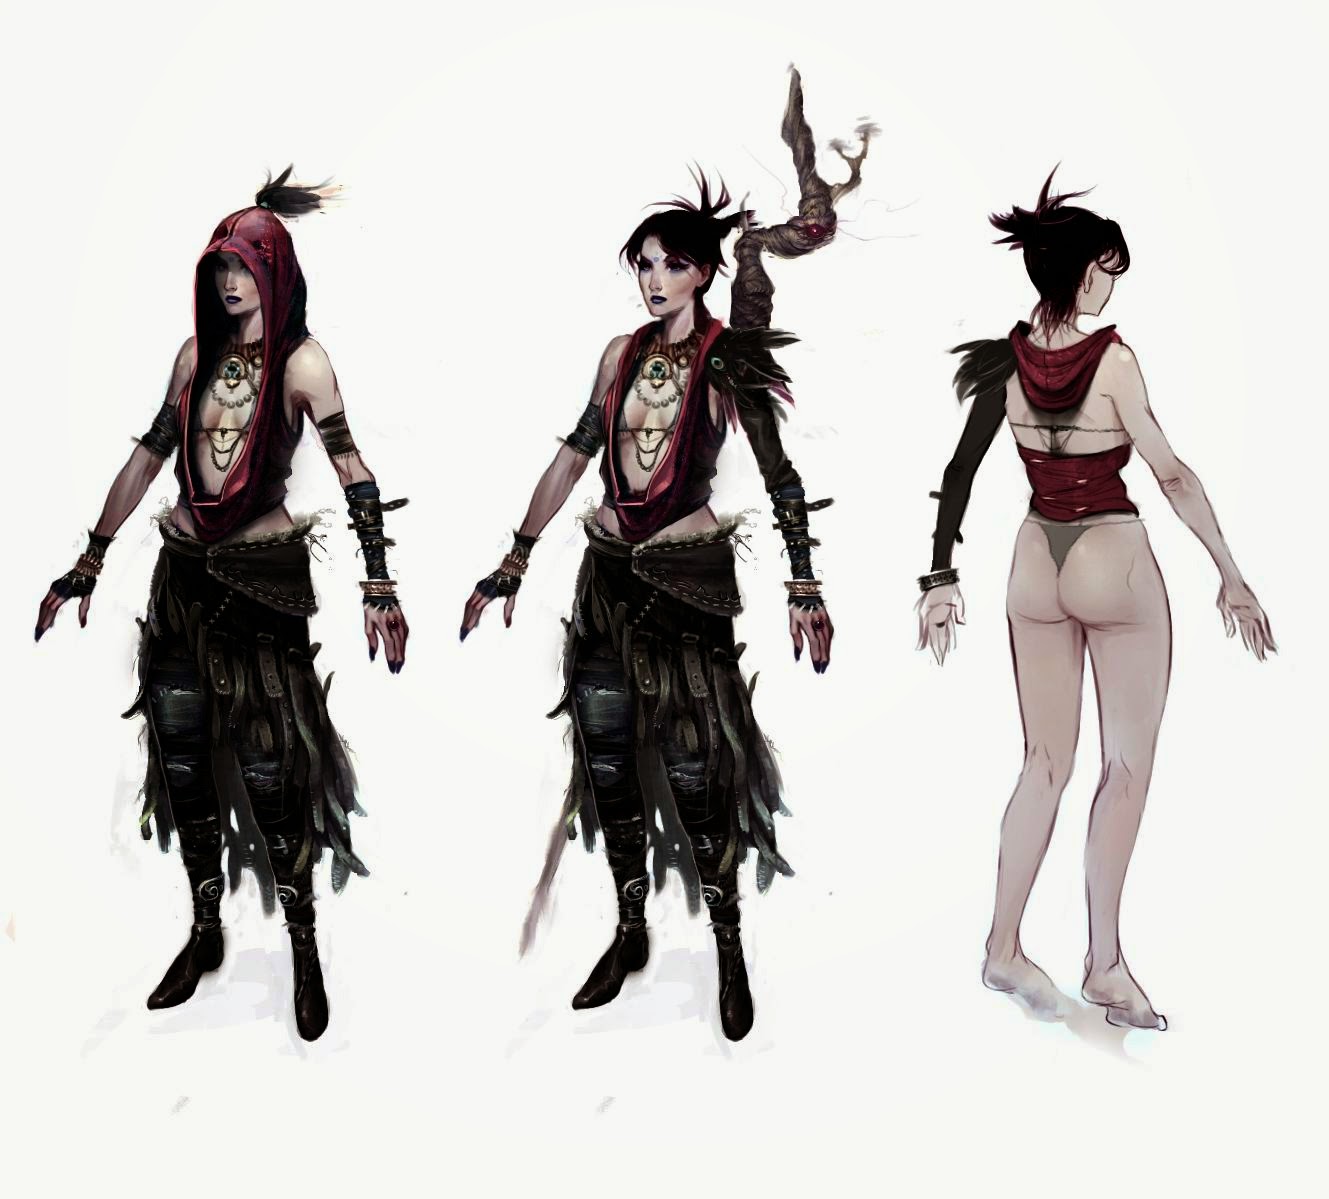
Those of you who follow me on the networks will be aware that soon, at Expomanga (if nothing happens to prevent it), I will premiere my Morrigan cosplay from Dragon Age Origins. I am very excited about this project. It is a design that I have always wanted to do and, furthermore, I am going to be part of a group of wonderful people with whom I really want to have a good time.

Now I just need to beat the game (I love playing the “fake geek”. I would have to take photos of myself licking pads to complete the look), I left it halfway in the extra easy mode a few months ago. The stupid main reason why I haven’t wanted to continue playing, apart from the fact that I’m playing SWTOR like crazy, is because many people have told me that Morrigan is a hateful character. I decided that I didn’t want her personality to influence my decision to do this cosplay because I love this design to stratospheric levels. First I do the cosplay and then, if necessary, I play, I hate her and I set her on fire.
But let’s stop with the justifications and get to the point: that wonderful, draped, burgundy top that doesn’t cover your boobs.
I am used to making tight-fitting clothing items (intriguing and futuristic) so this textile tunic has been a real pattern-making challenge for me and is the part of the cosplay that I am most proud of. The funny thing is that there are one million eight hundred thousand four hundred ninety-seven Morrigan cosplayers on planet Earth and I was not able to find a single tutorial that explained how to make this garment. Well, I’m lying, I did find some, but I didn’t like them.
For me, the challenge was to get this pattern done with a seamless back and hood included and with a reversible lining, which is how it feels like it’s made to me. Call me picky.
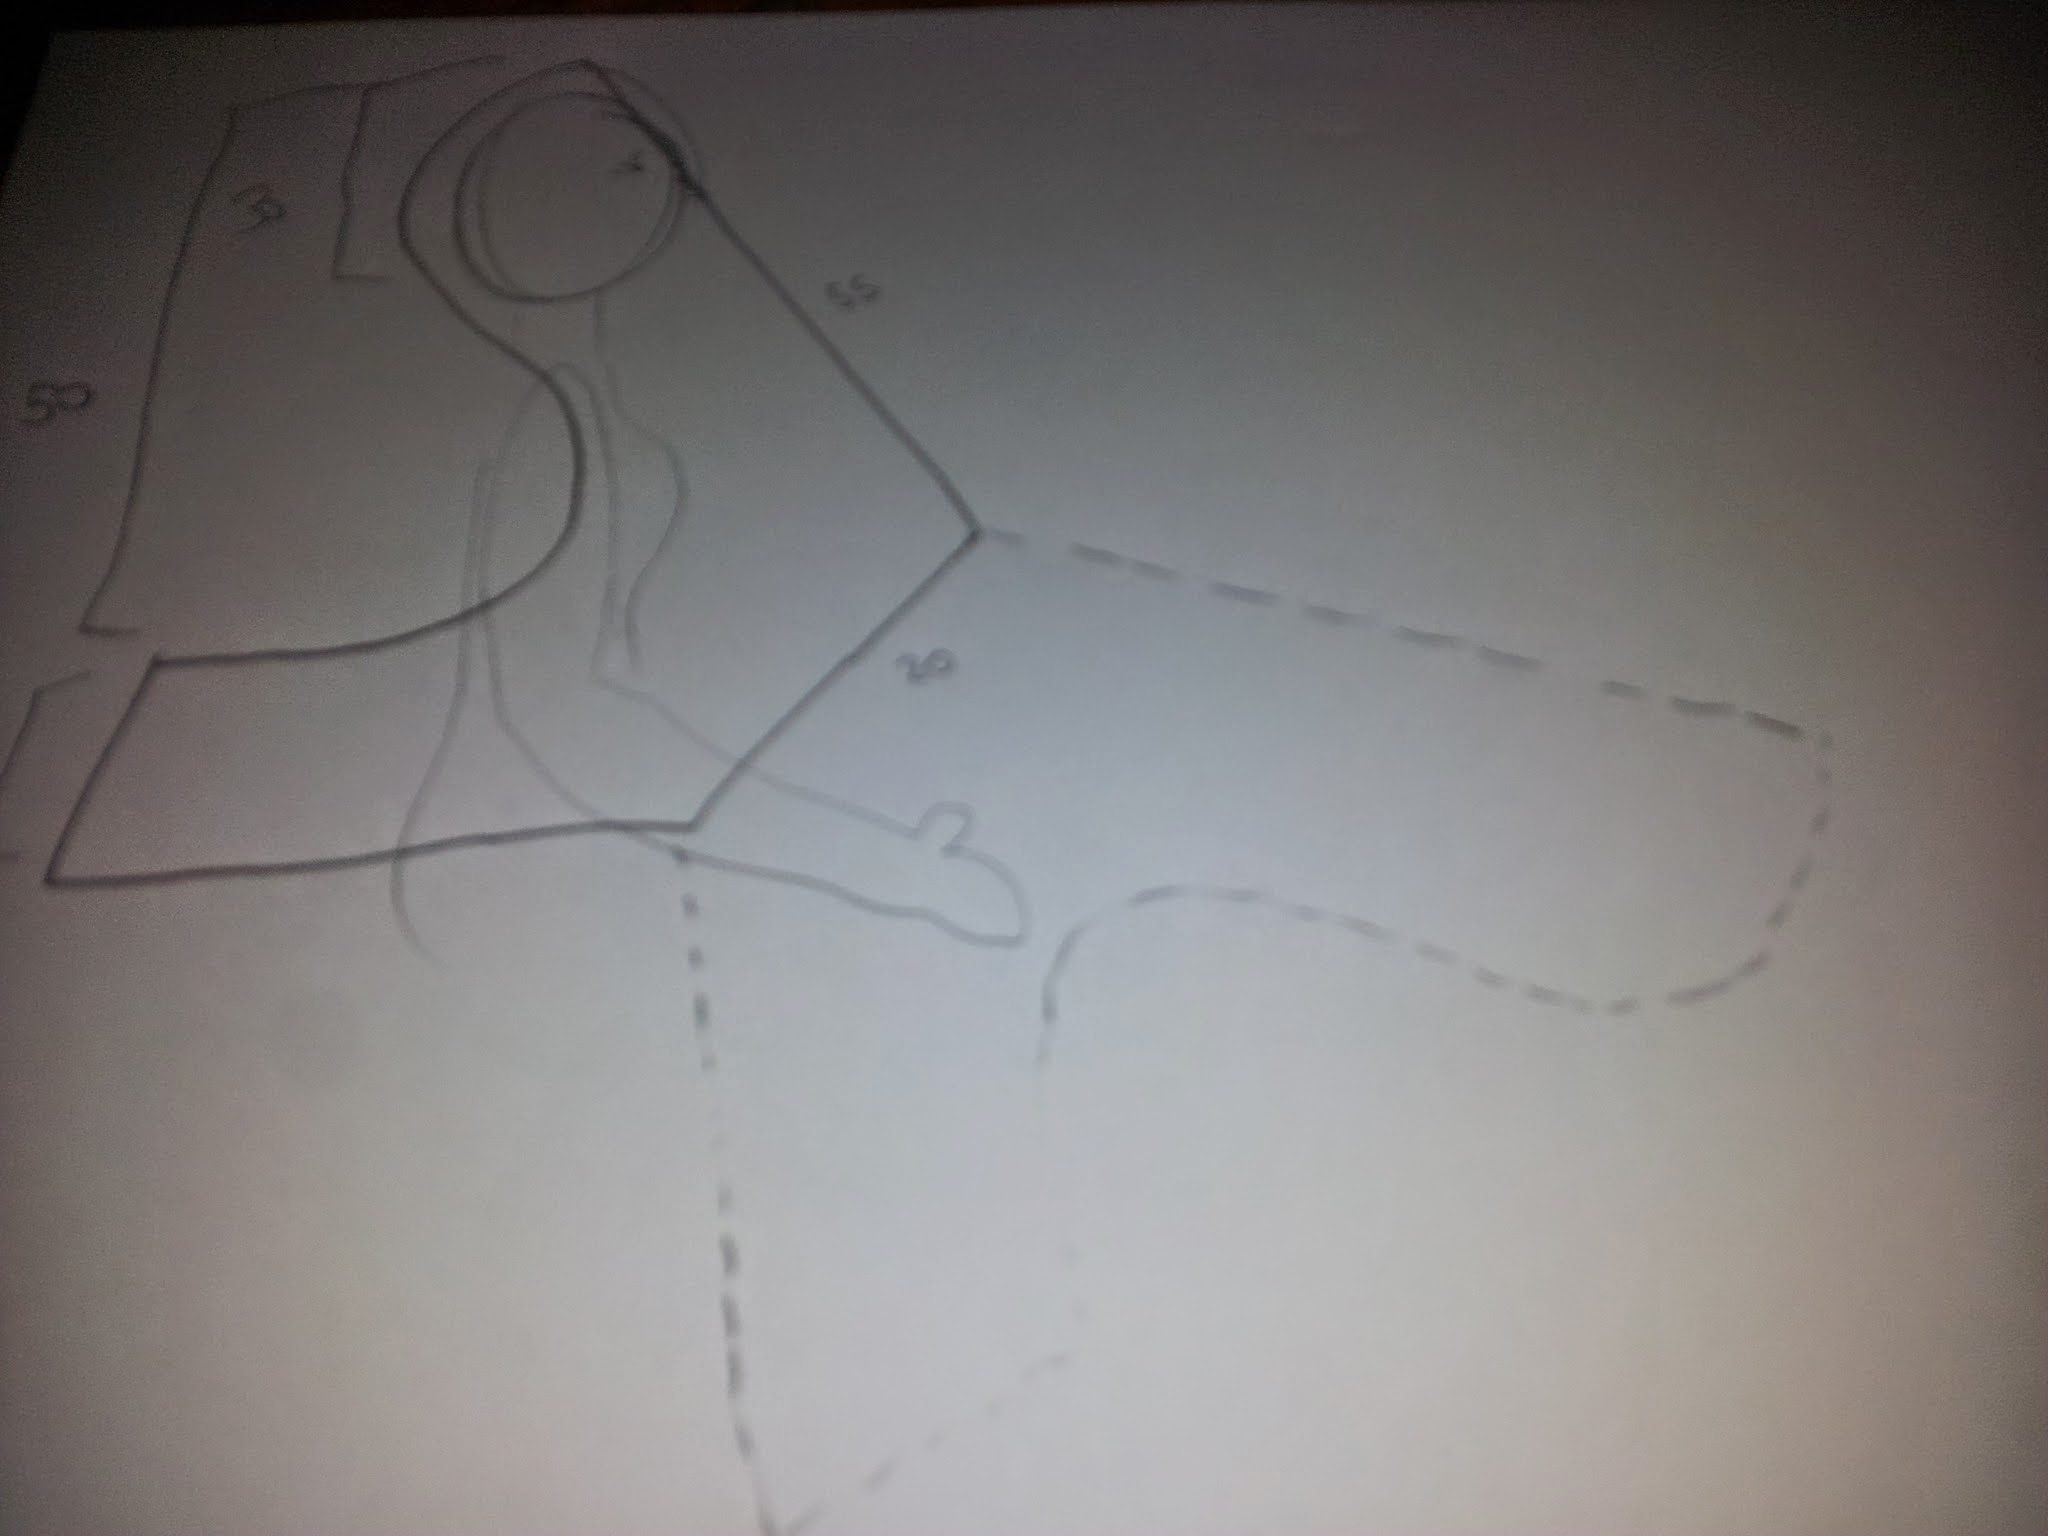
I had to do several tests to get the final design. Here I leave you the first scheme I made, which is a work of art.
As you can see, my idea was that, since the neckline is very pronounced and the draping too, there had to be a significant extra amount of fabric in the front. An extra that, when tight at waist height, gave that effect of being sagging, but without losing support. I drew a diagonal line from the head to approximately the height of the navel (it is the line where it says “55”) a few centimeters in front of it and, from that point, the furthest from the body, I drew another diagonal ( in which it says “20”) to the waist and I kept my measurements unchanged at the lowest part (the horizontal part of the hip).
The hood would be like a normal hood, but open to the belly and integrated, as I said before, without seams. The symmetrical unfolding of the piece (drawn with dashed lines) is made, precisely and once again, to avoid unwanted seams.
As I usually say, this is quite difficult to explain and I hope the photos sufficiently complement the description. It took me a long time to get an idea of how I wanted to do this and I spent a few days frantically thinking about it.
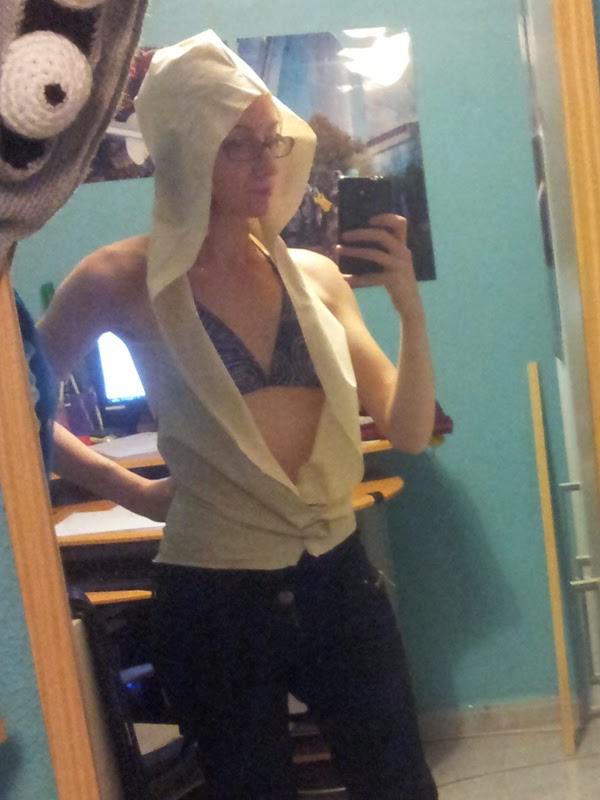
After making the preliminary design, I transferred it to a rough fabric for testing and, after a few attempts and adjustments to the measurements, I managed to get the final pattern.
 |
| One of the first tests that turned out more or less decent. |
 |
| It was fine, but I had excess fabric in front of the chest and hood. |
 |
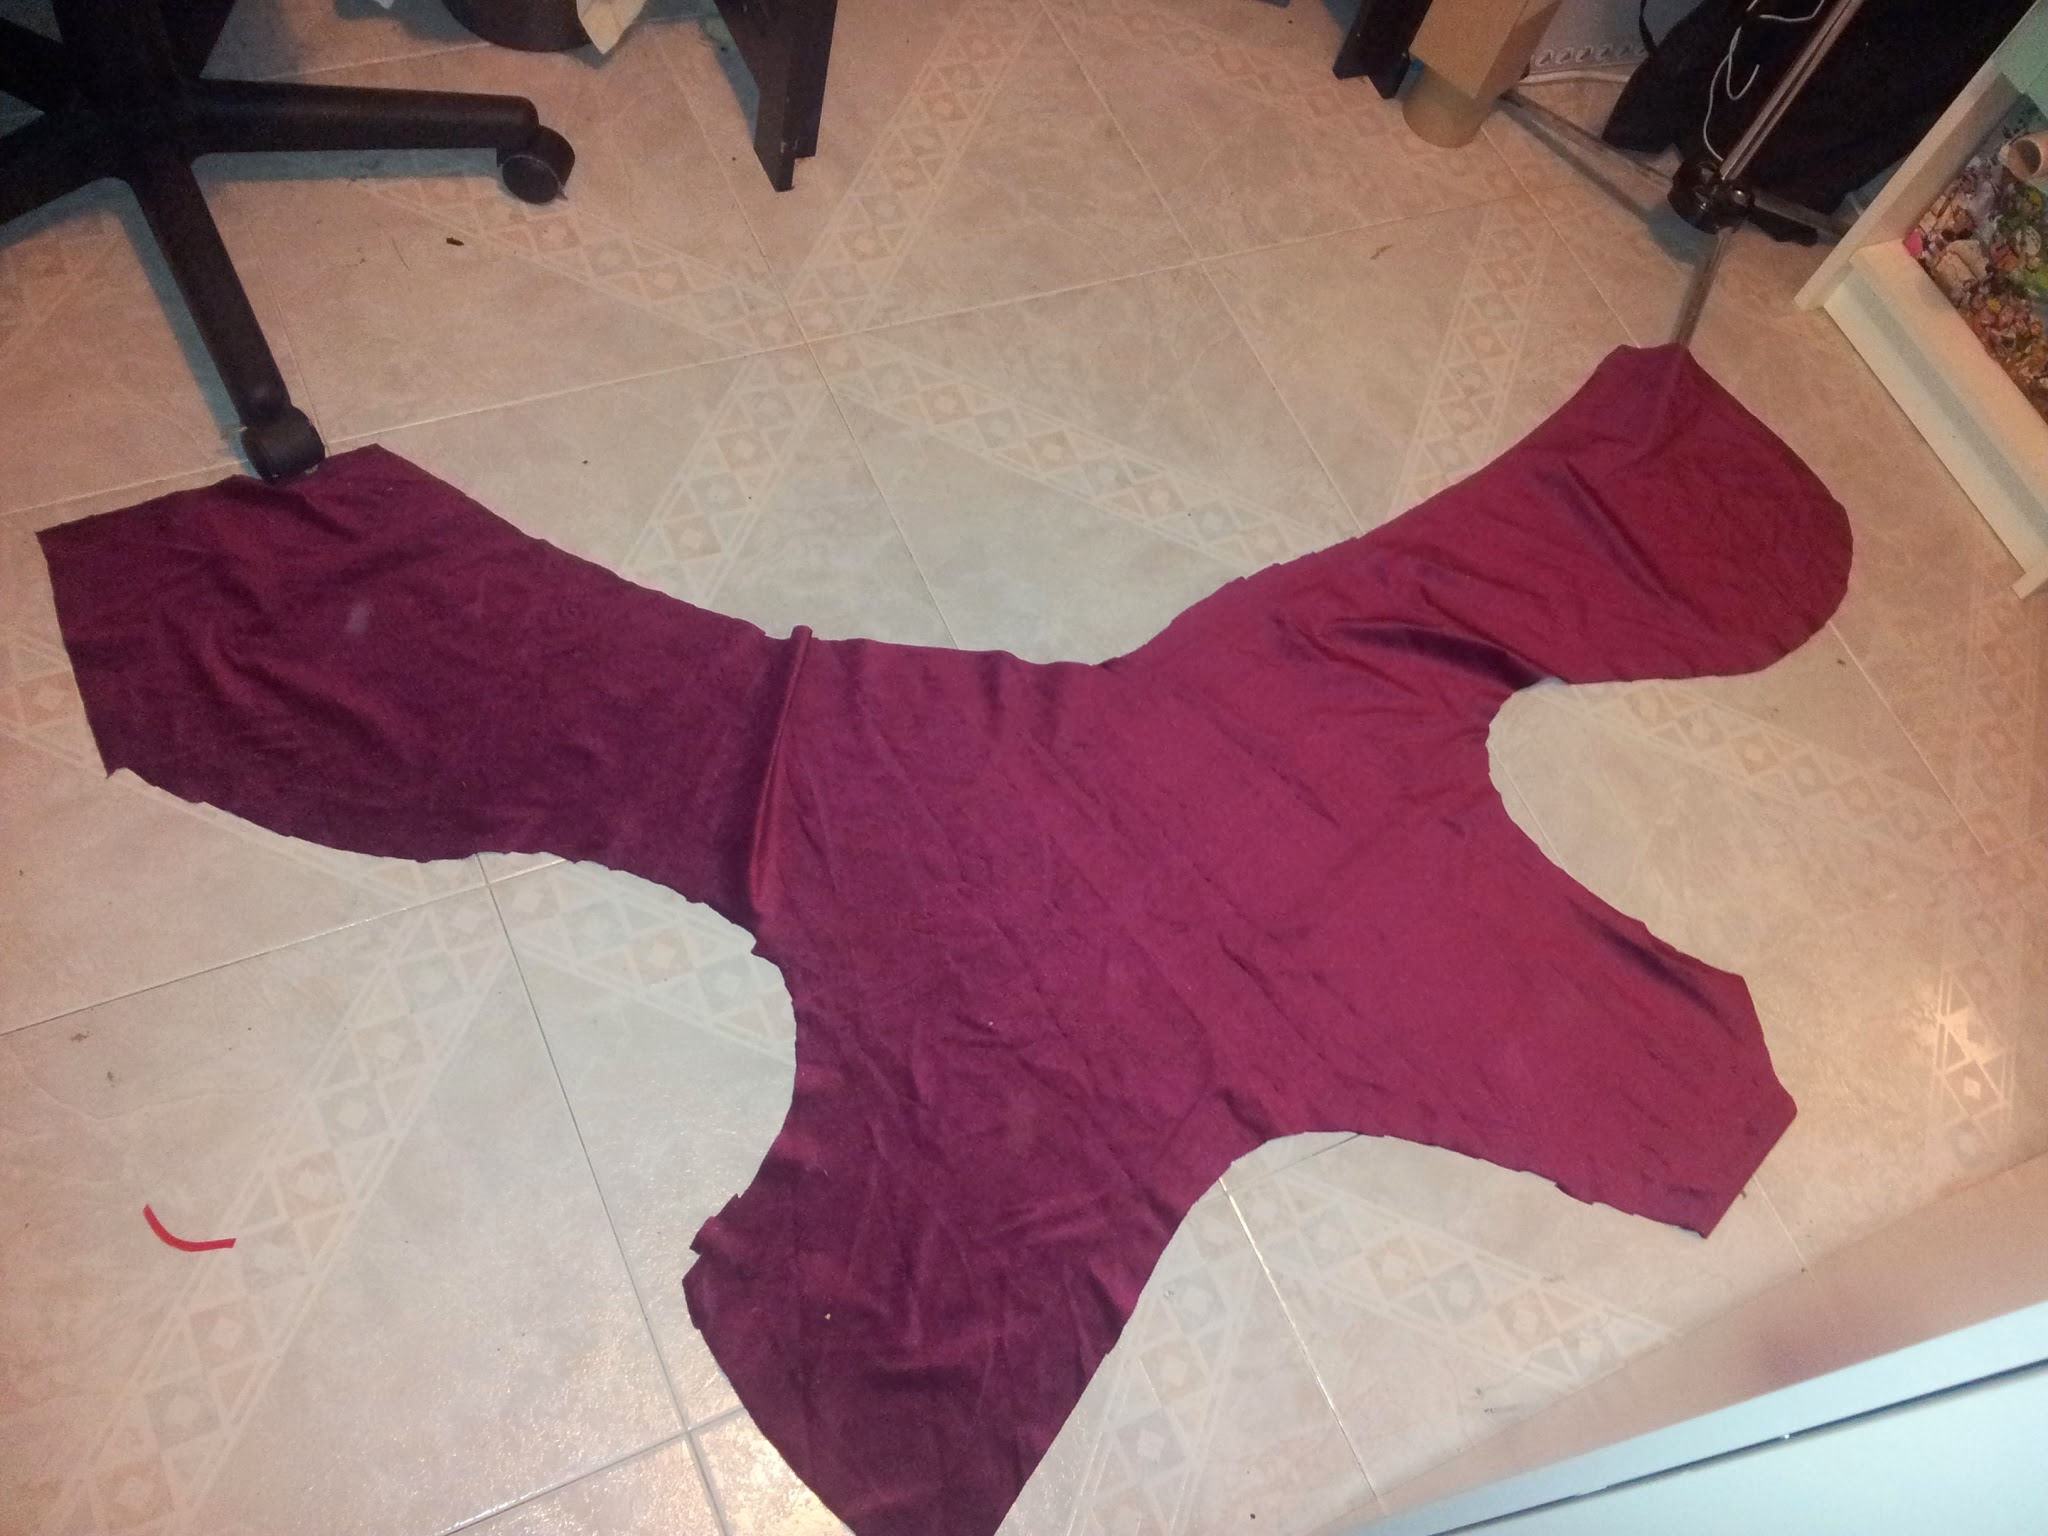
| Ultimate pattern. |
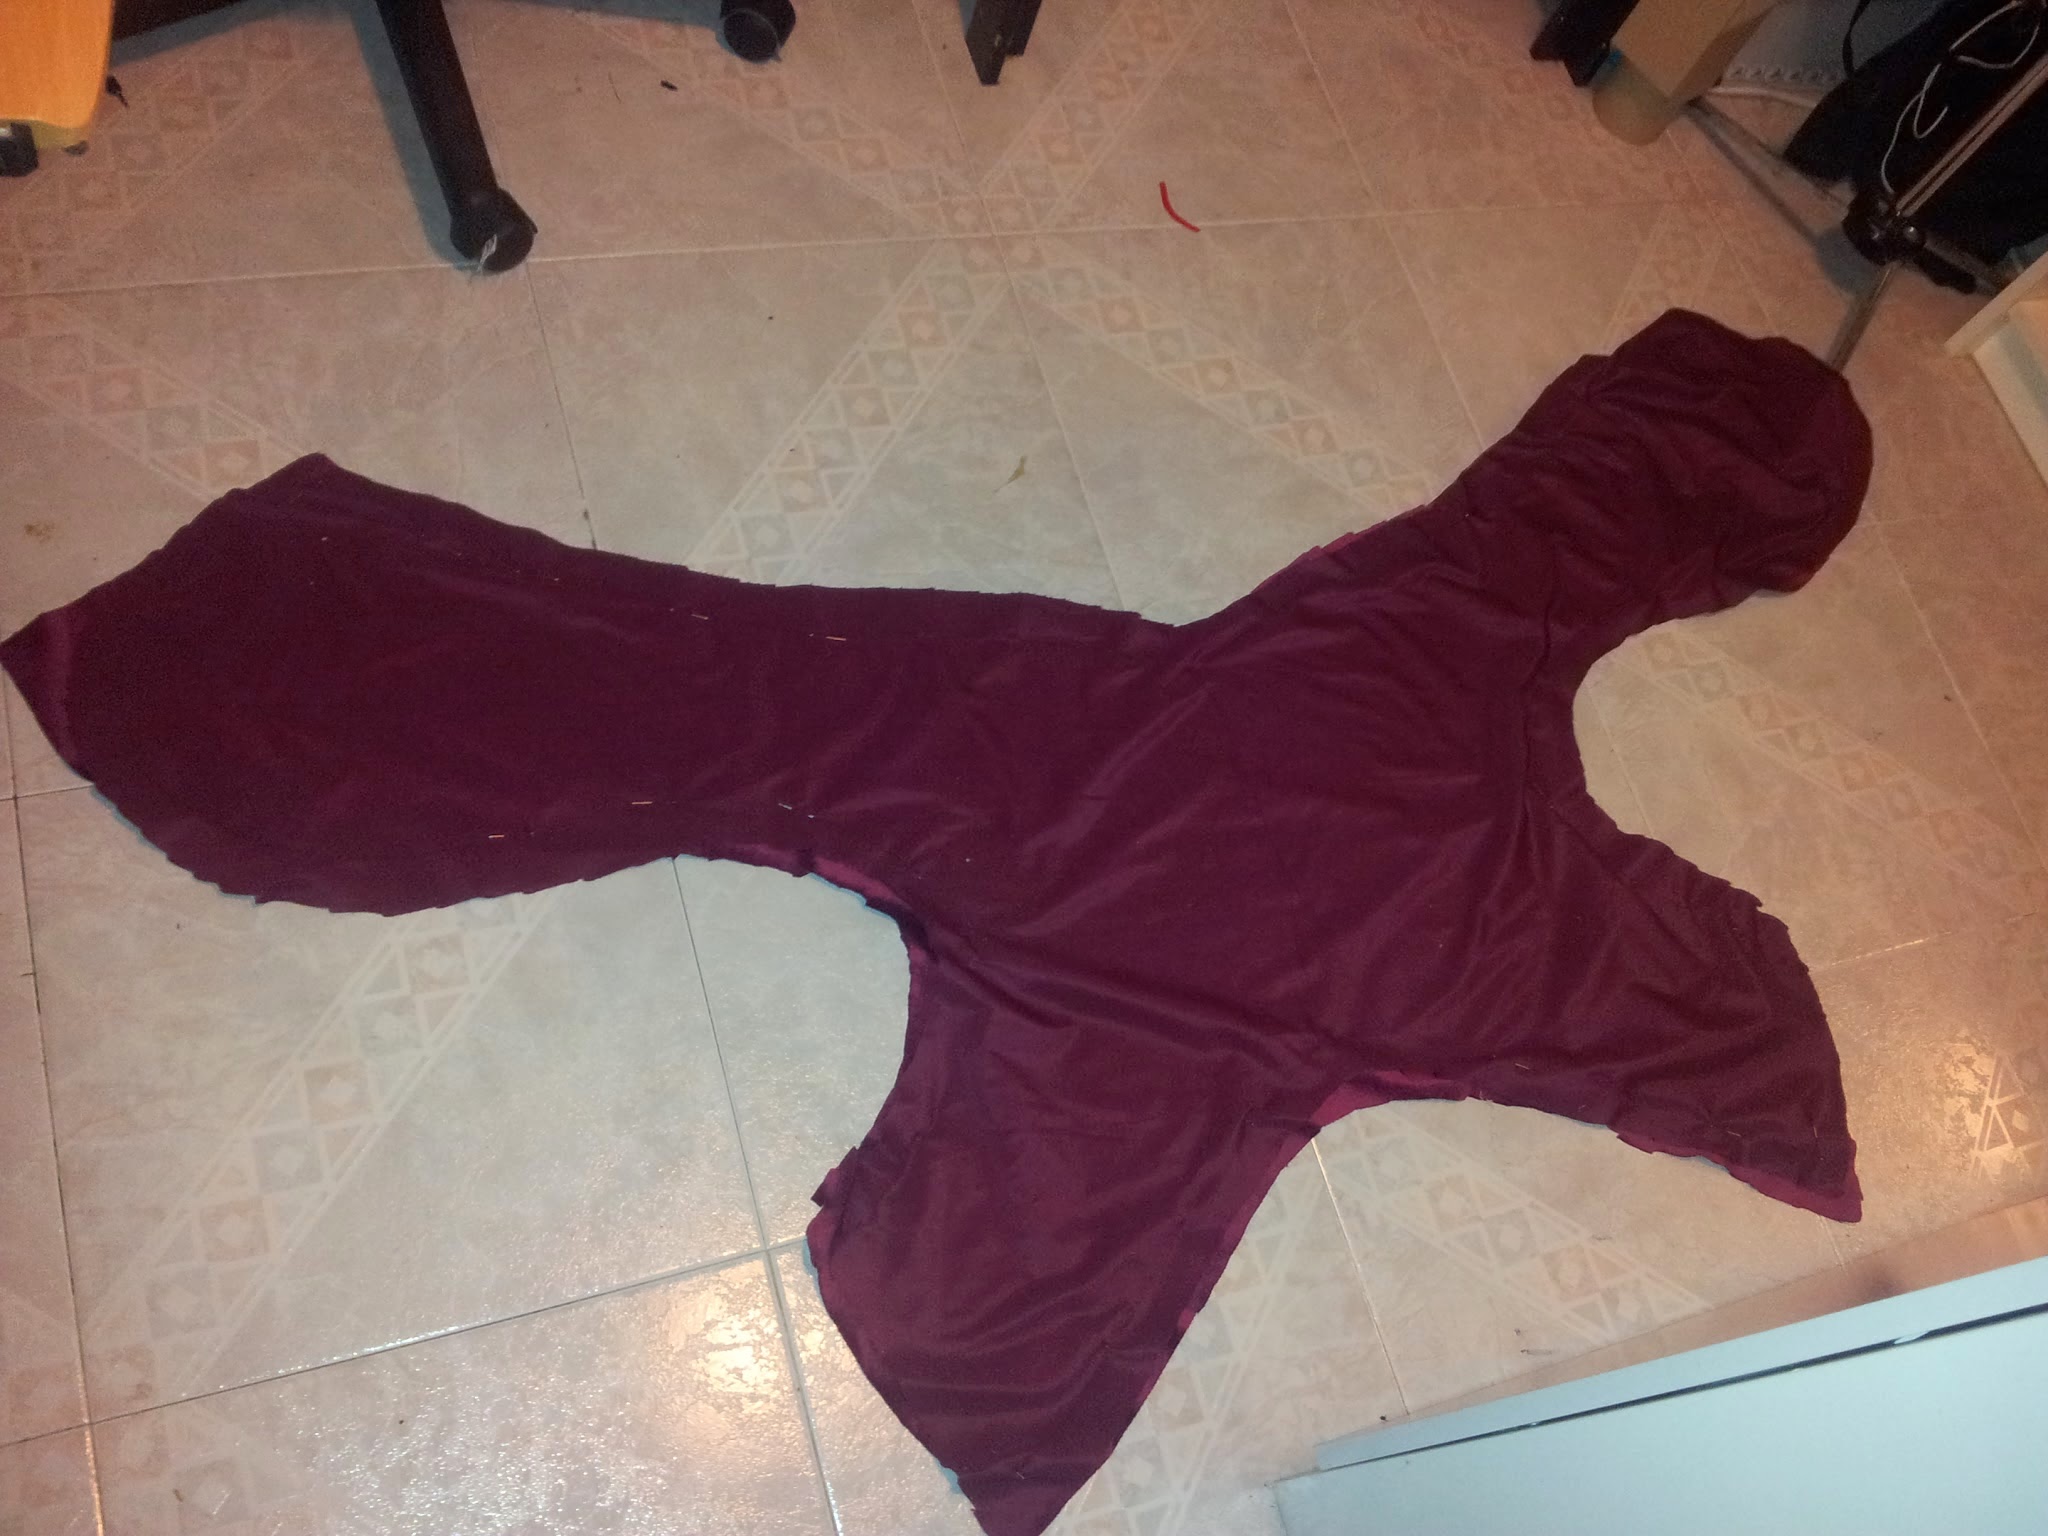
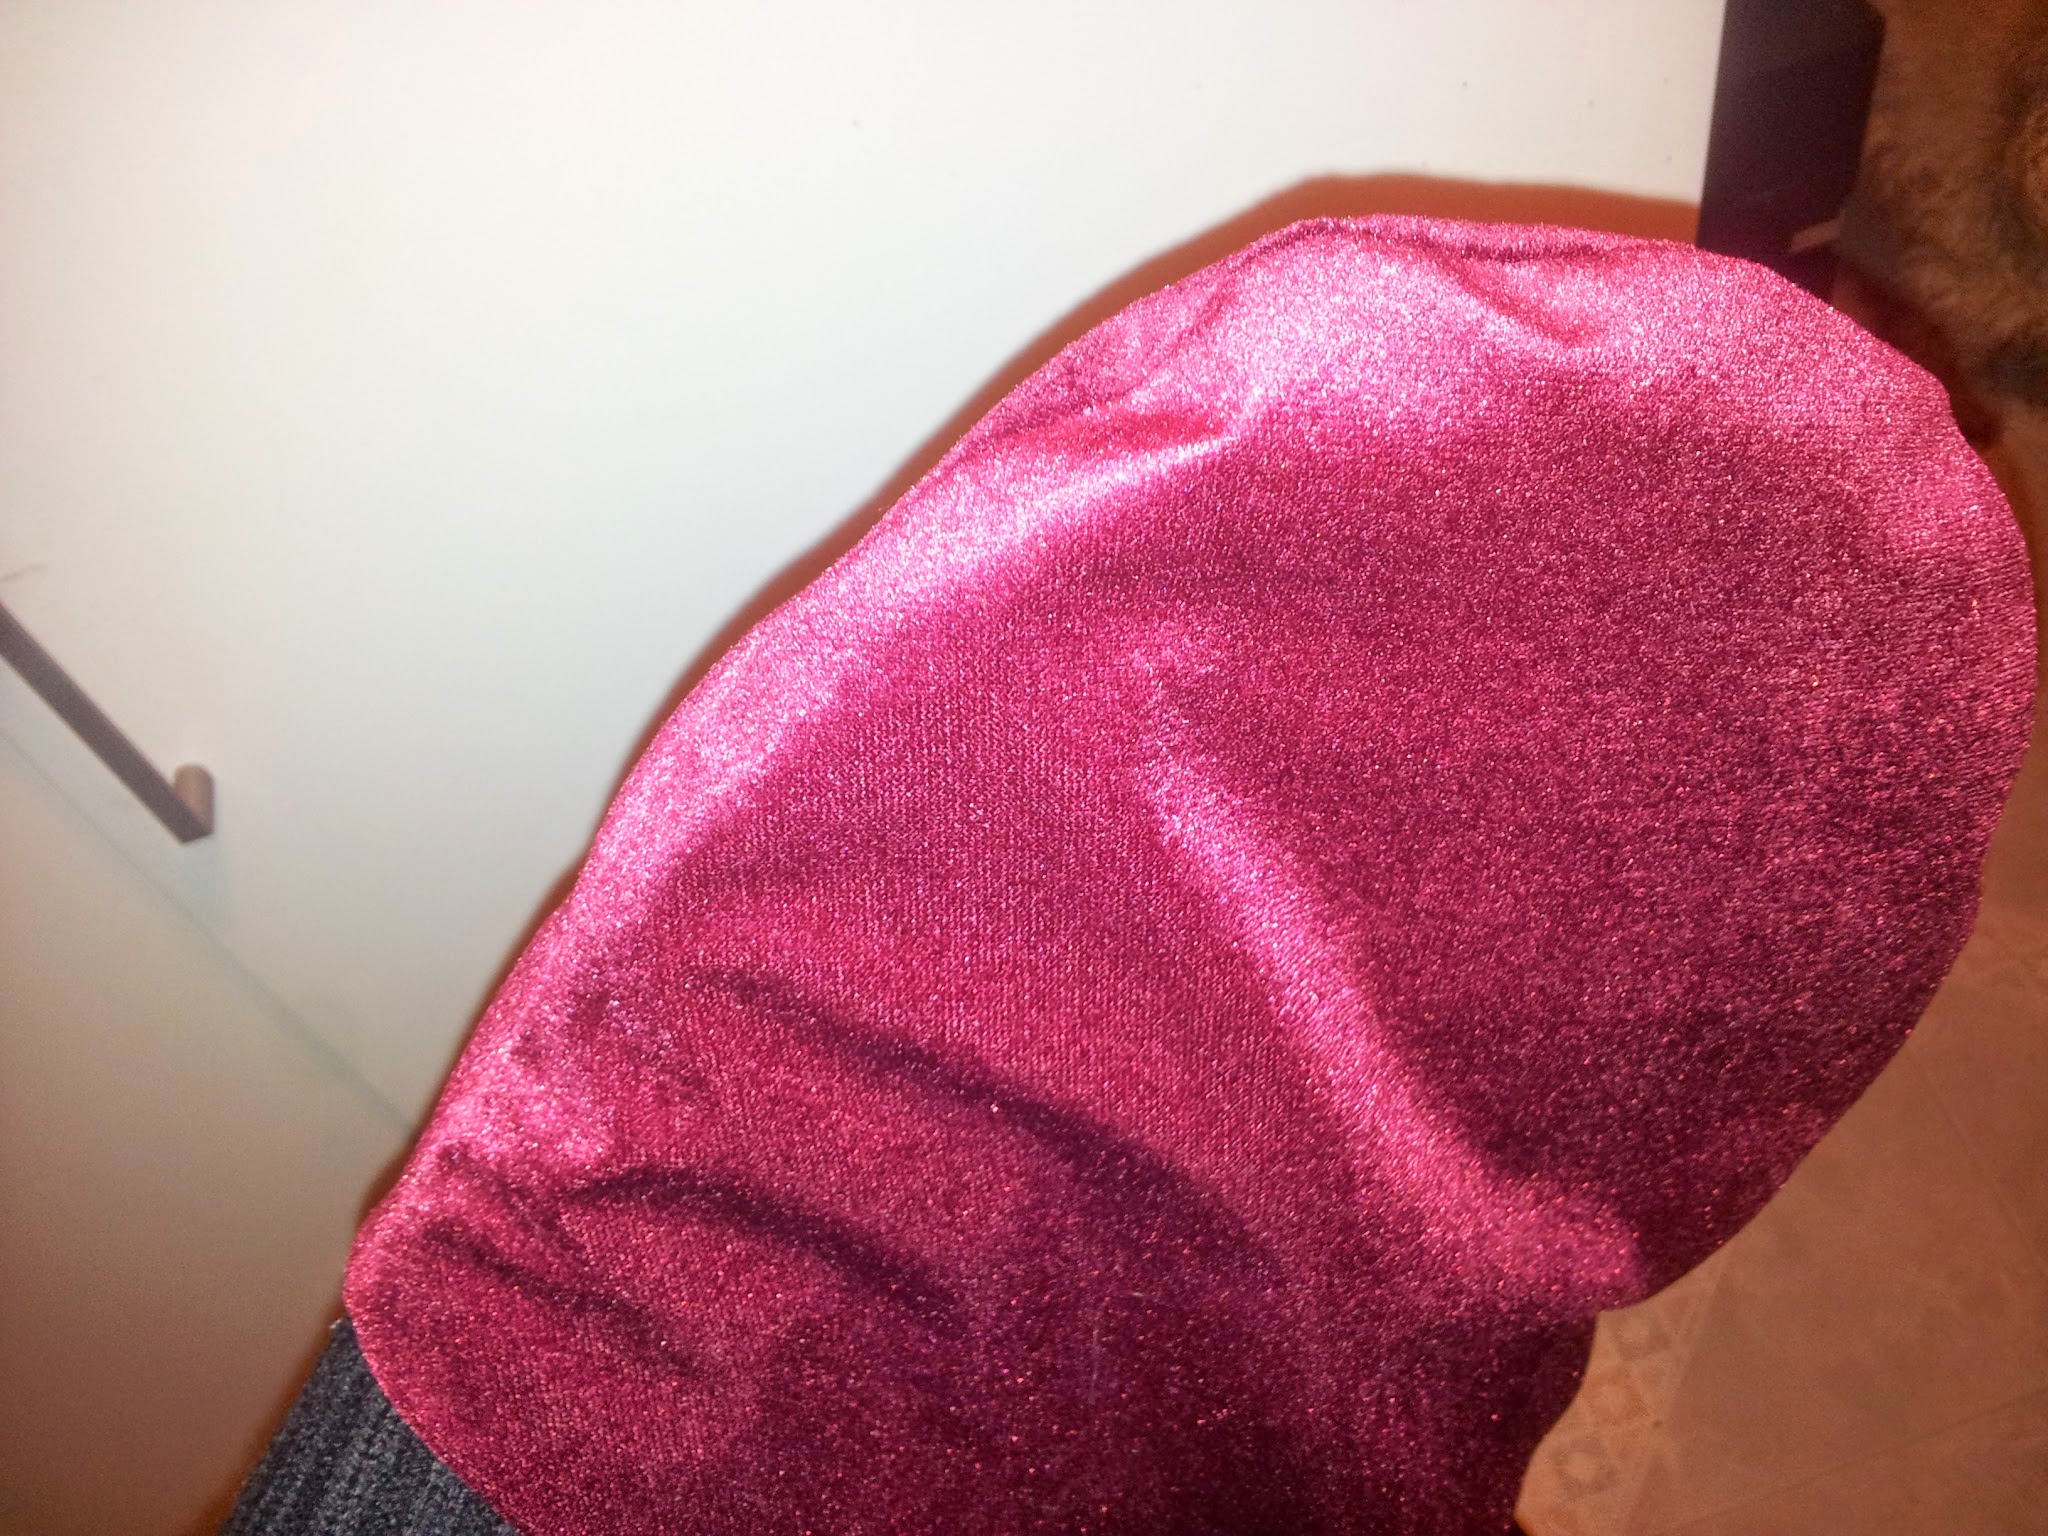
Once I had the final pattern, I transferred it to the fabric I was going to use for the cosplay. A beautiful dark red fine velvet. I would have liked a fabric with more drape, but lycra, for example, didn’t suit me at all for a character in a game with this aesthetic, so I preferred a fabric more in line with the circumstances.
I mirrored the pattern. As with this piece of fabric I made two, one would be the lining and the other the right side.
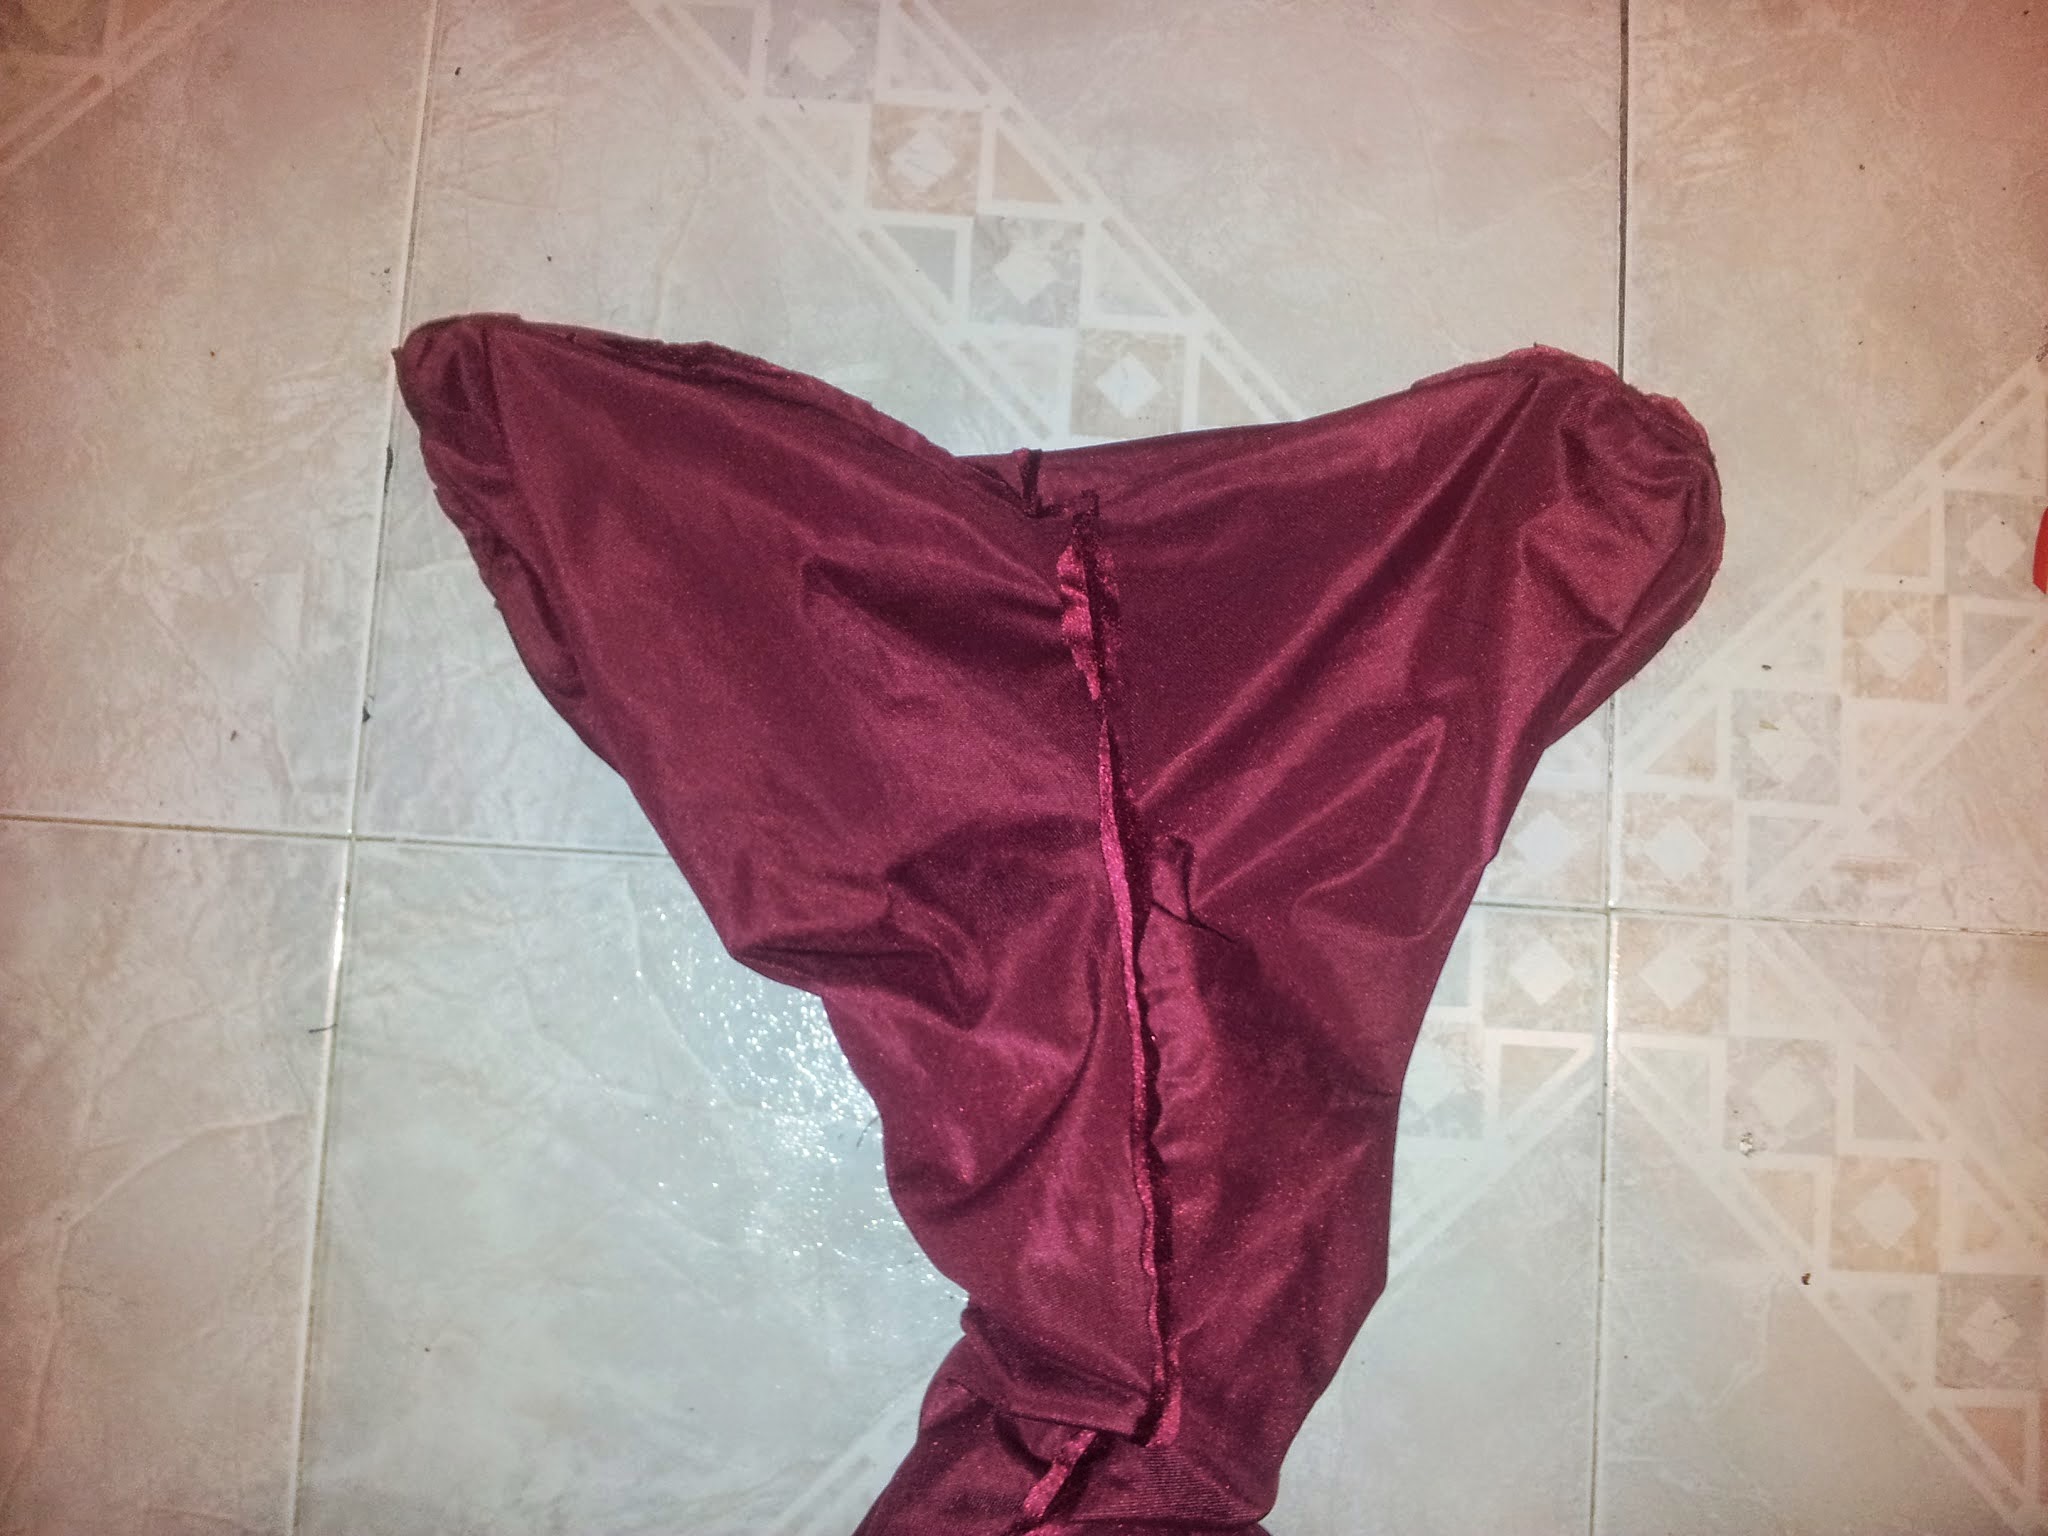
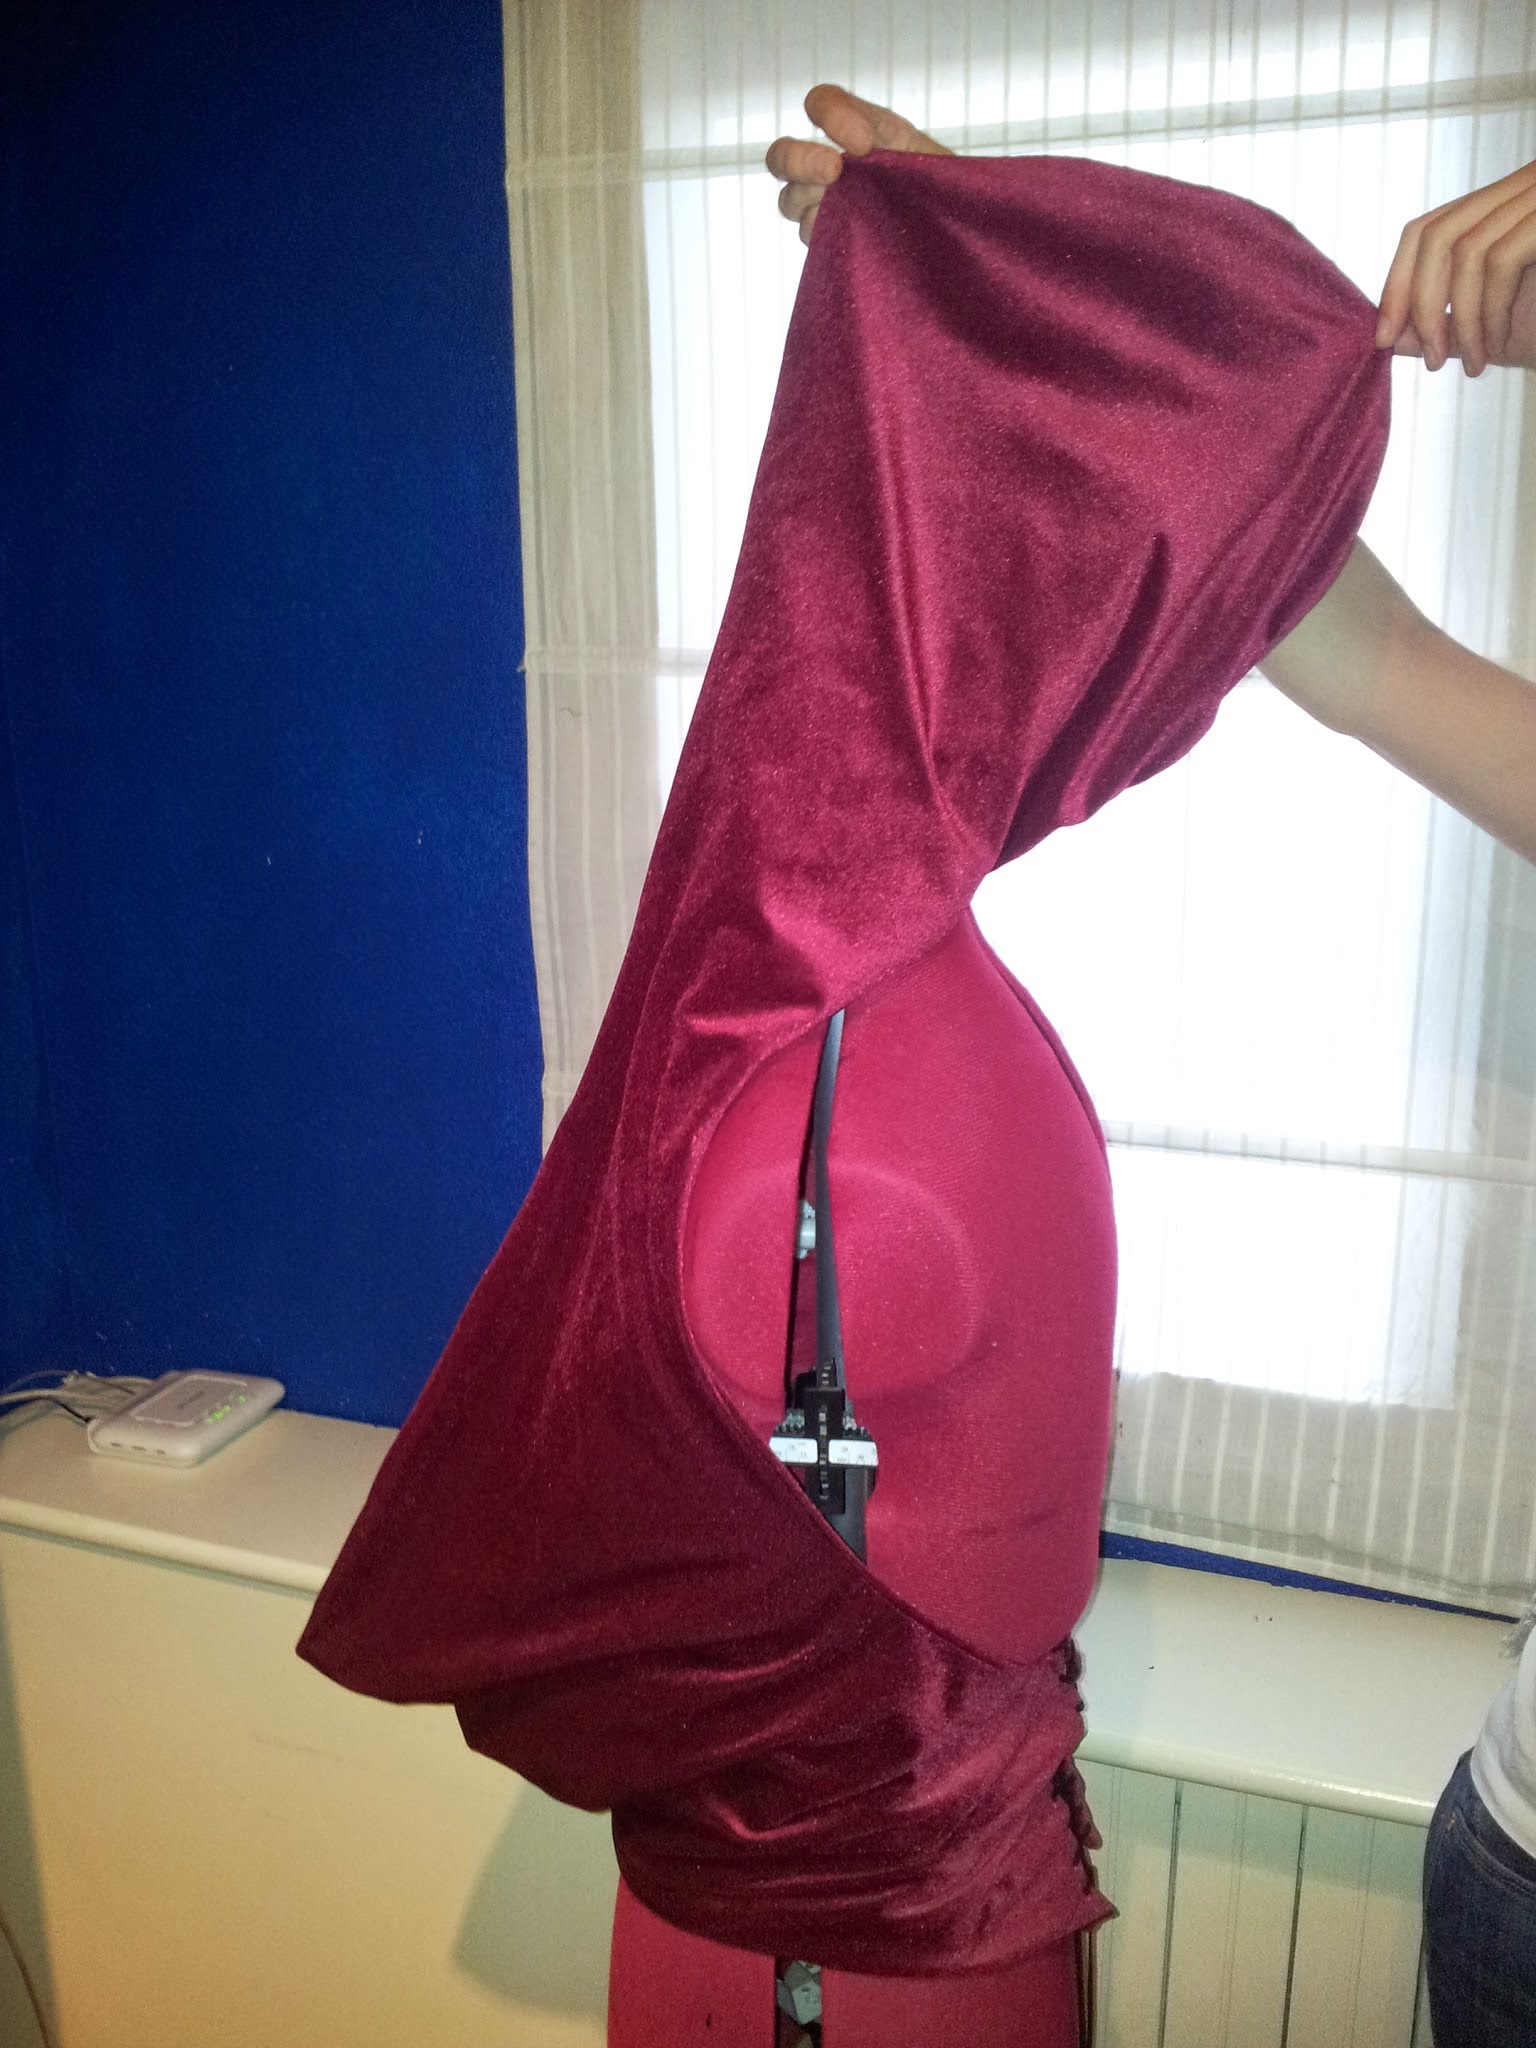
I faced both pieces on the front and sewed them together. I left the part that goes around the head of the hood and the part that joins at the back unsewn. The hood was made in a way that it could be joined together so that the seams on both the inside and the outside were facing inwards, and the back part was made in order to be turned inside out so that the velvet and the seams were visible on the inside as well.
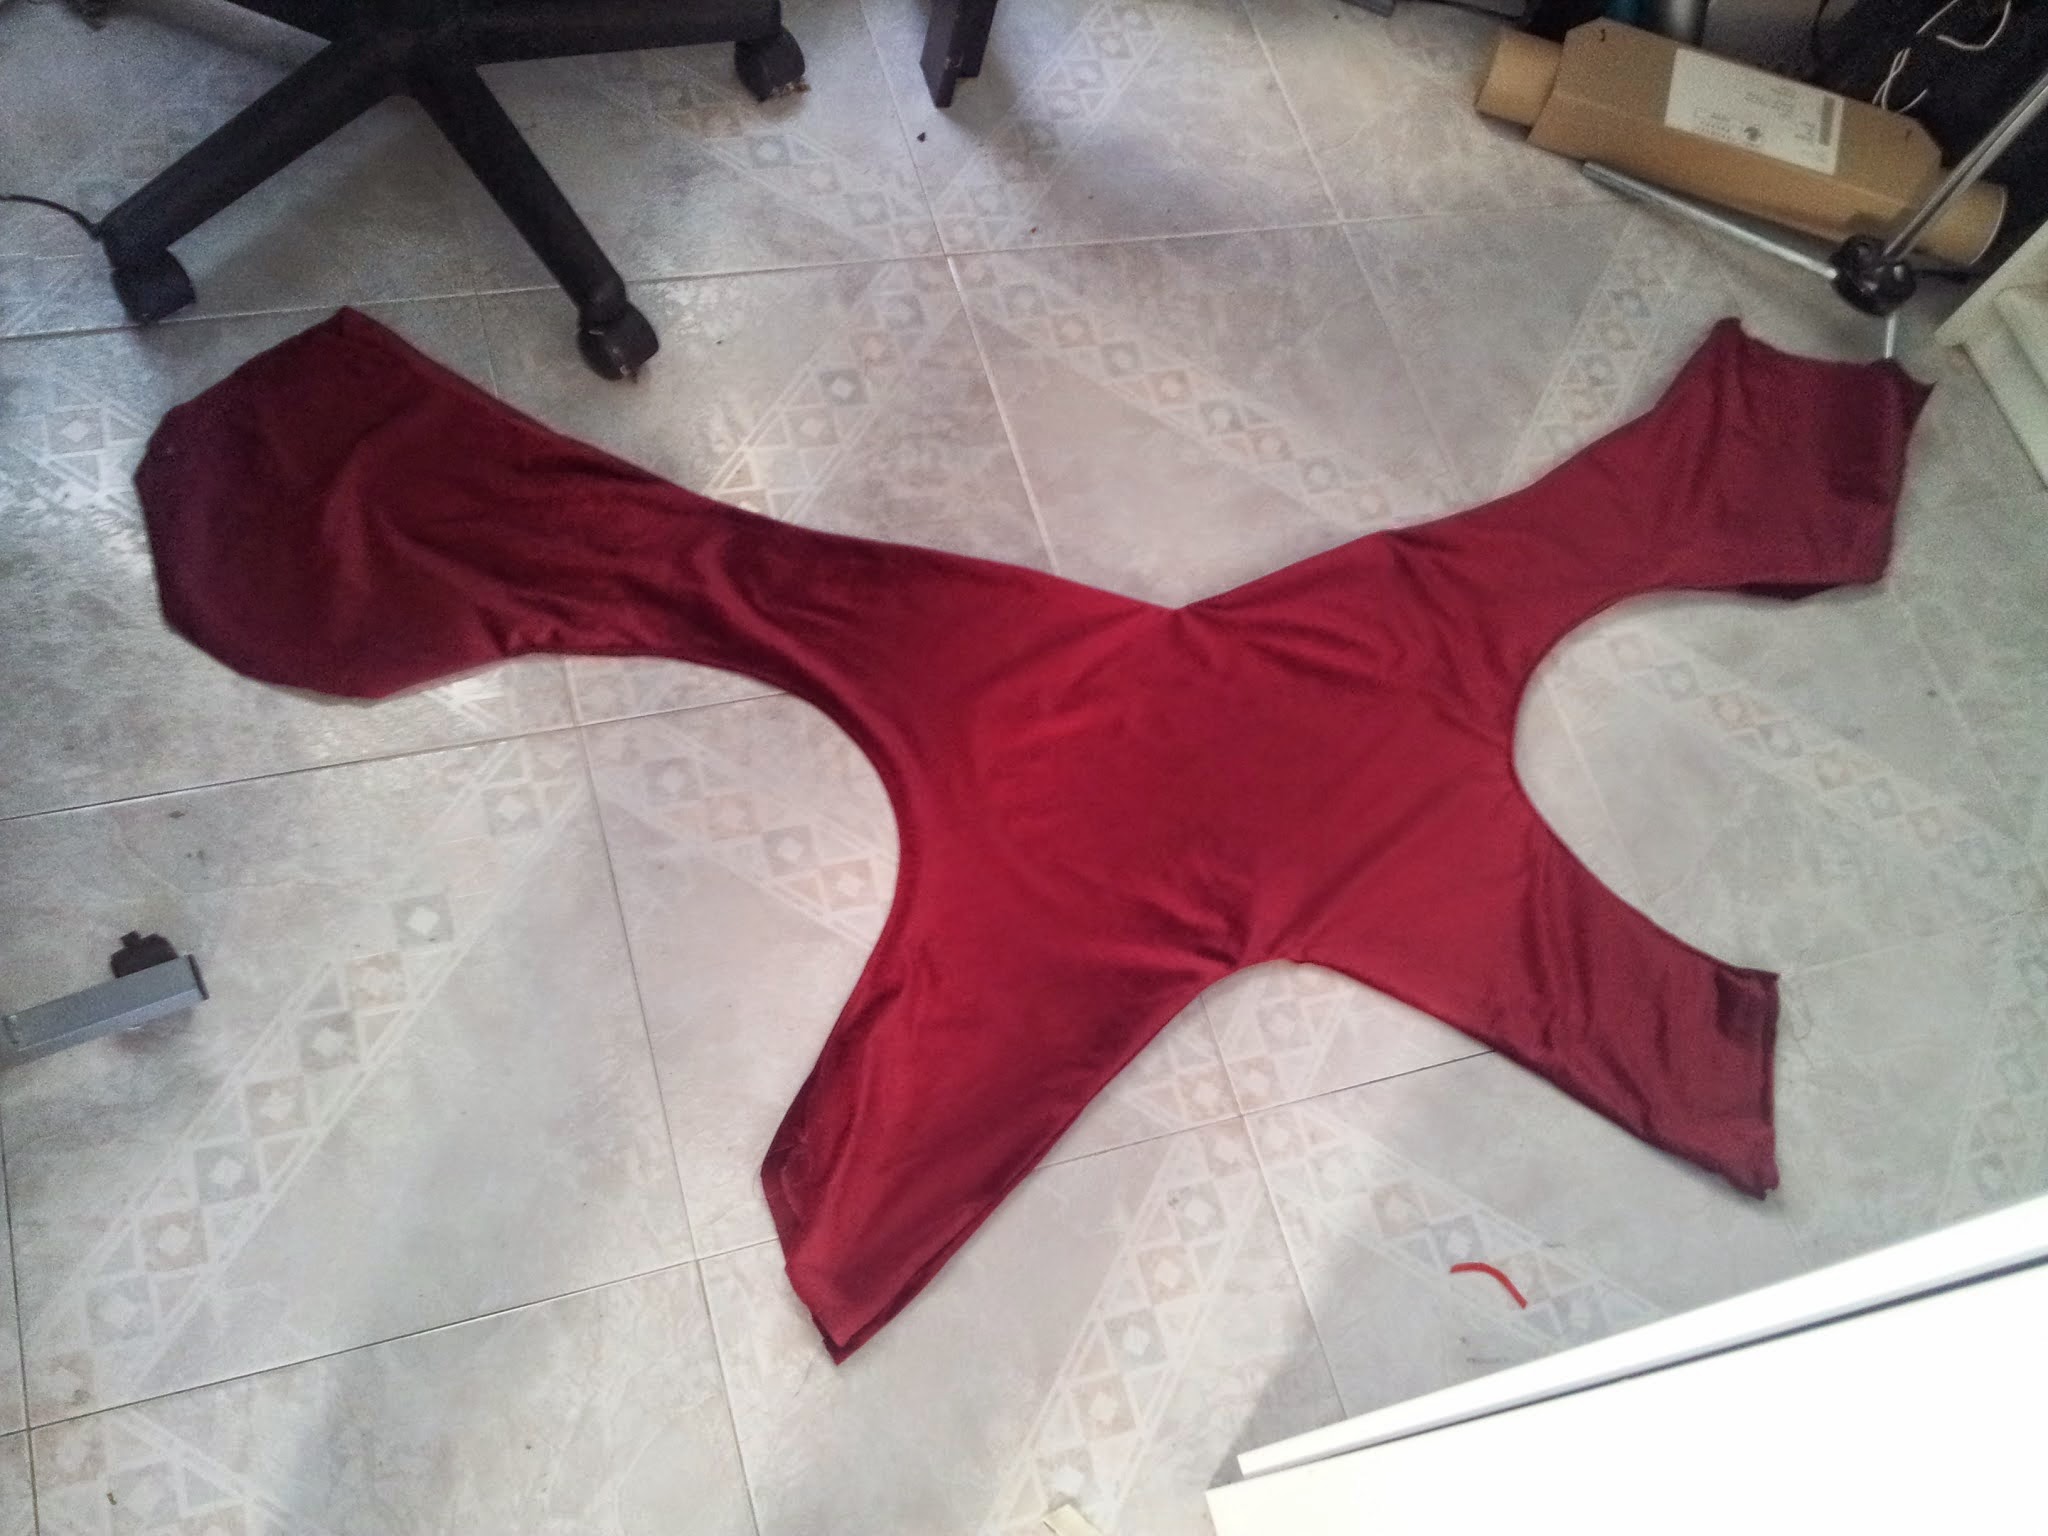
I turned it outside to see how things were going.
I sewed the hood as I said before. With the fabric inside out and joining the parts of it.
 |
| Reverse. |
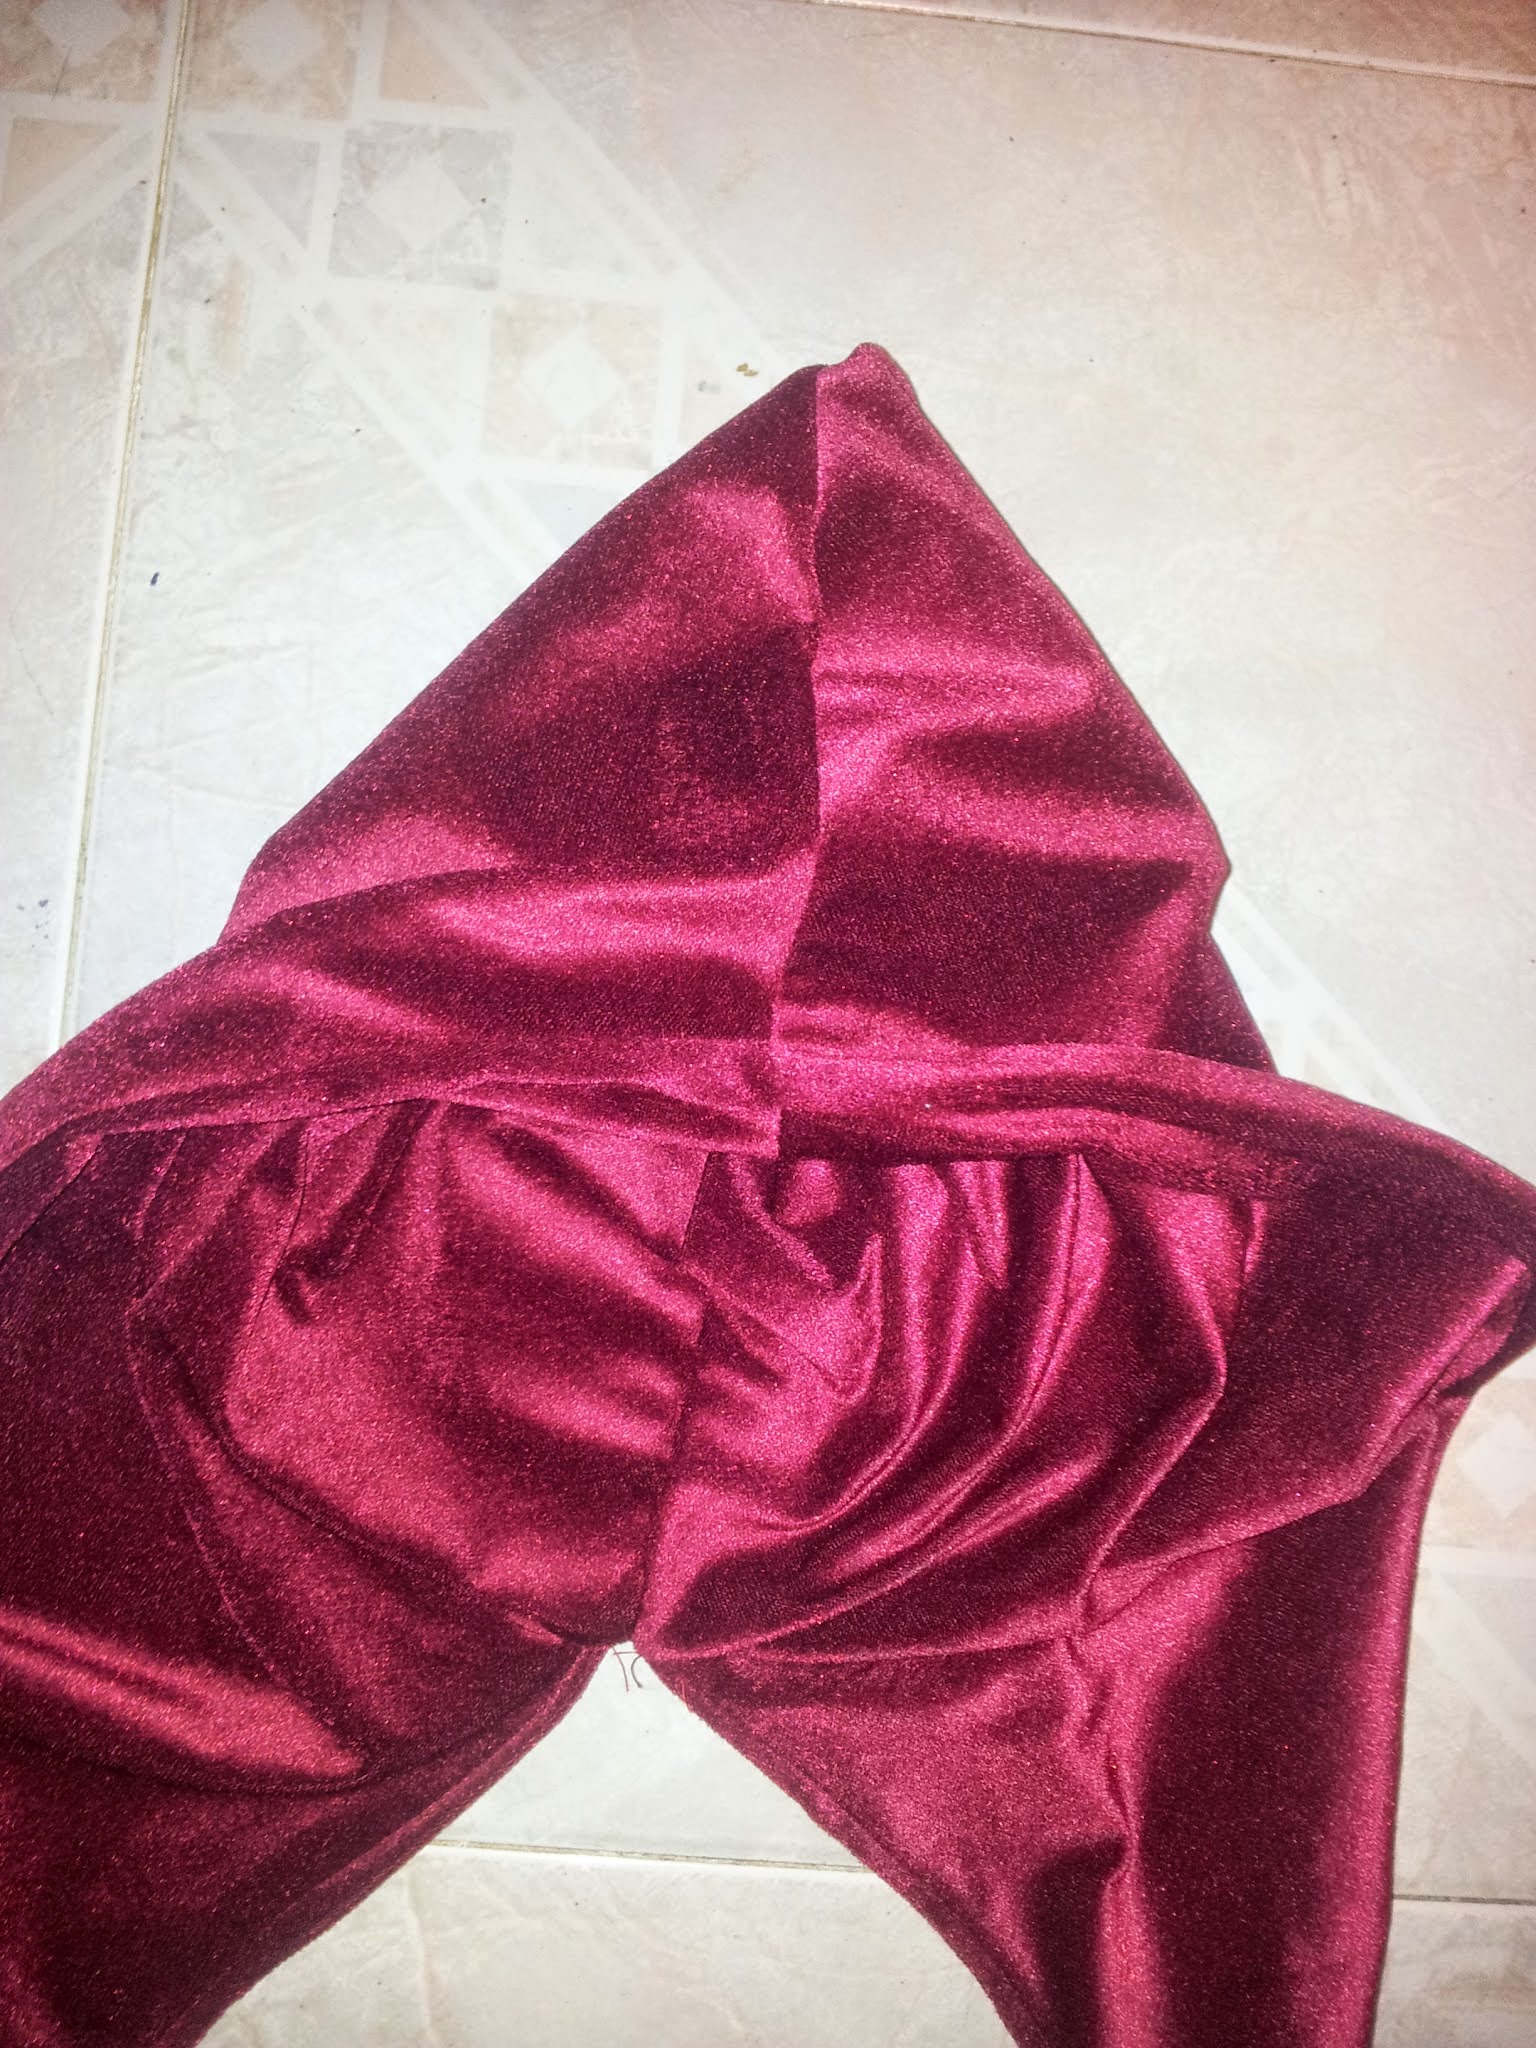 |
| Right. |
 |
| Very cute. |
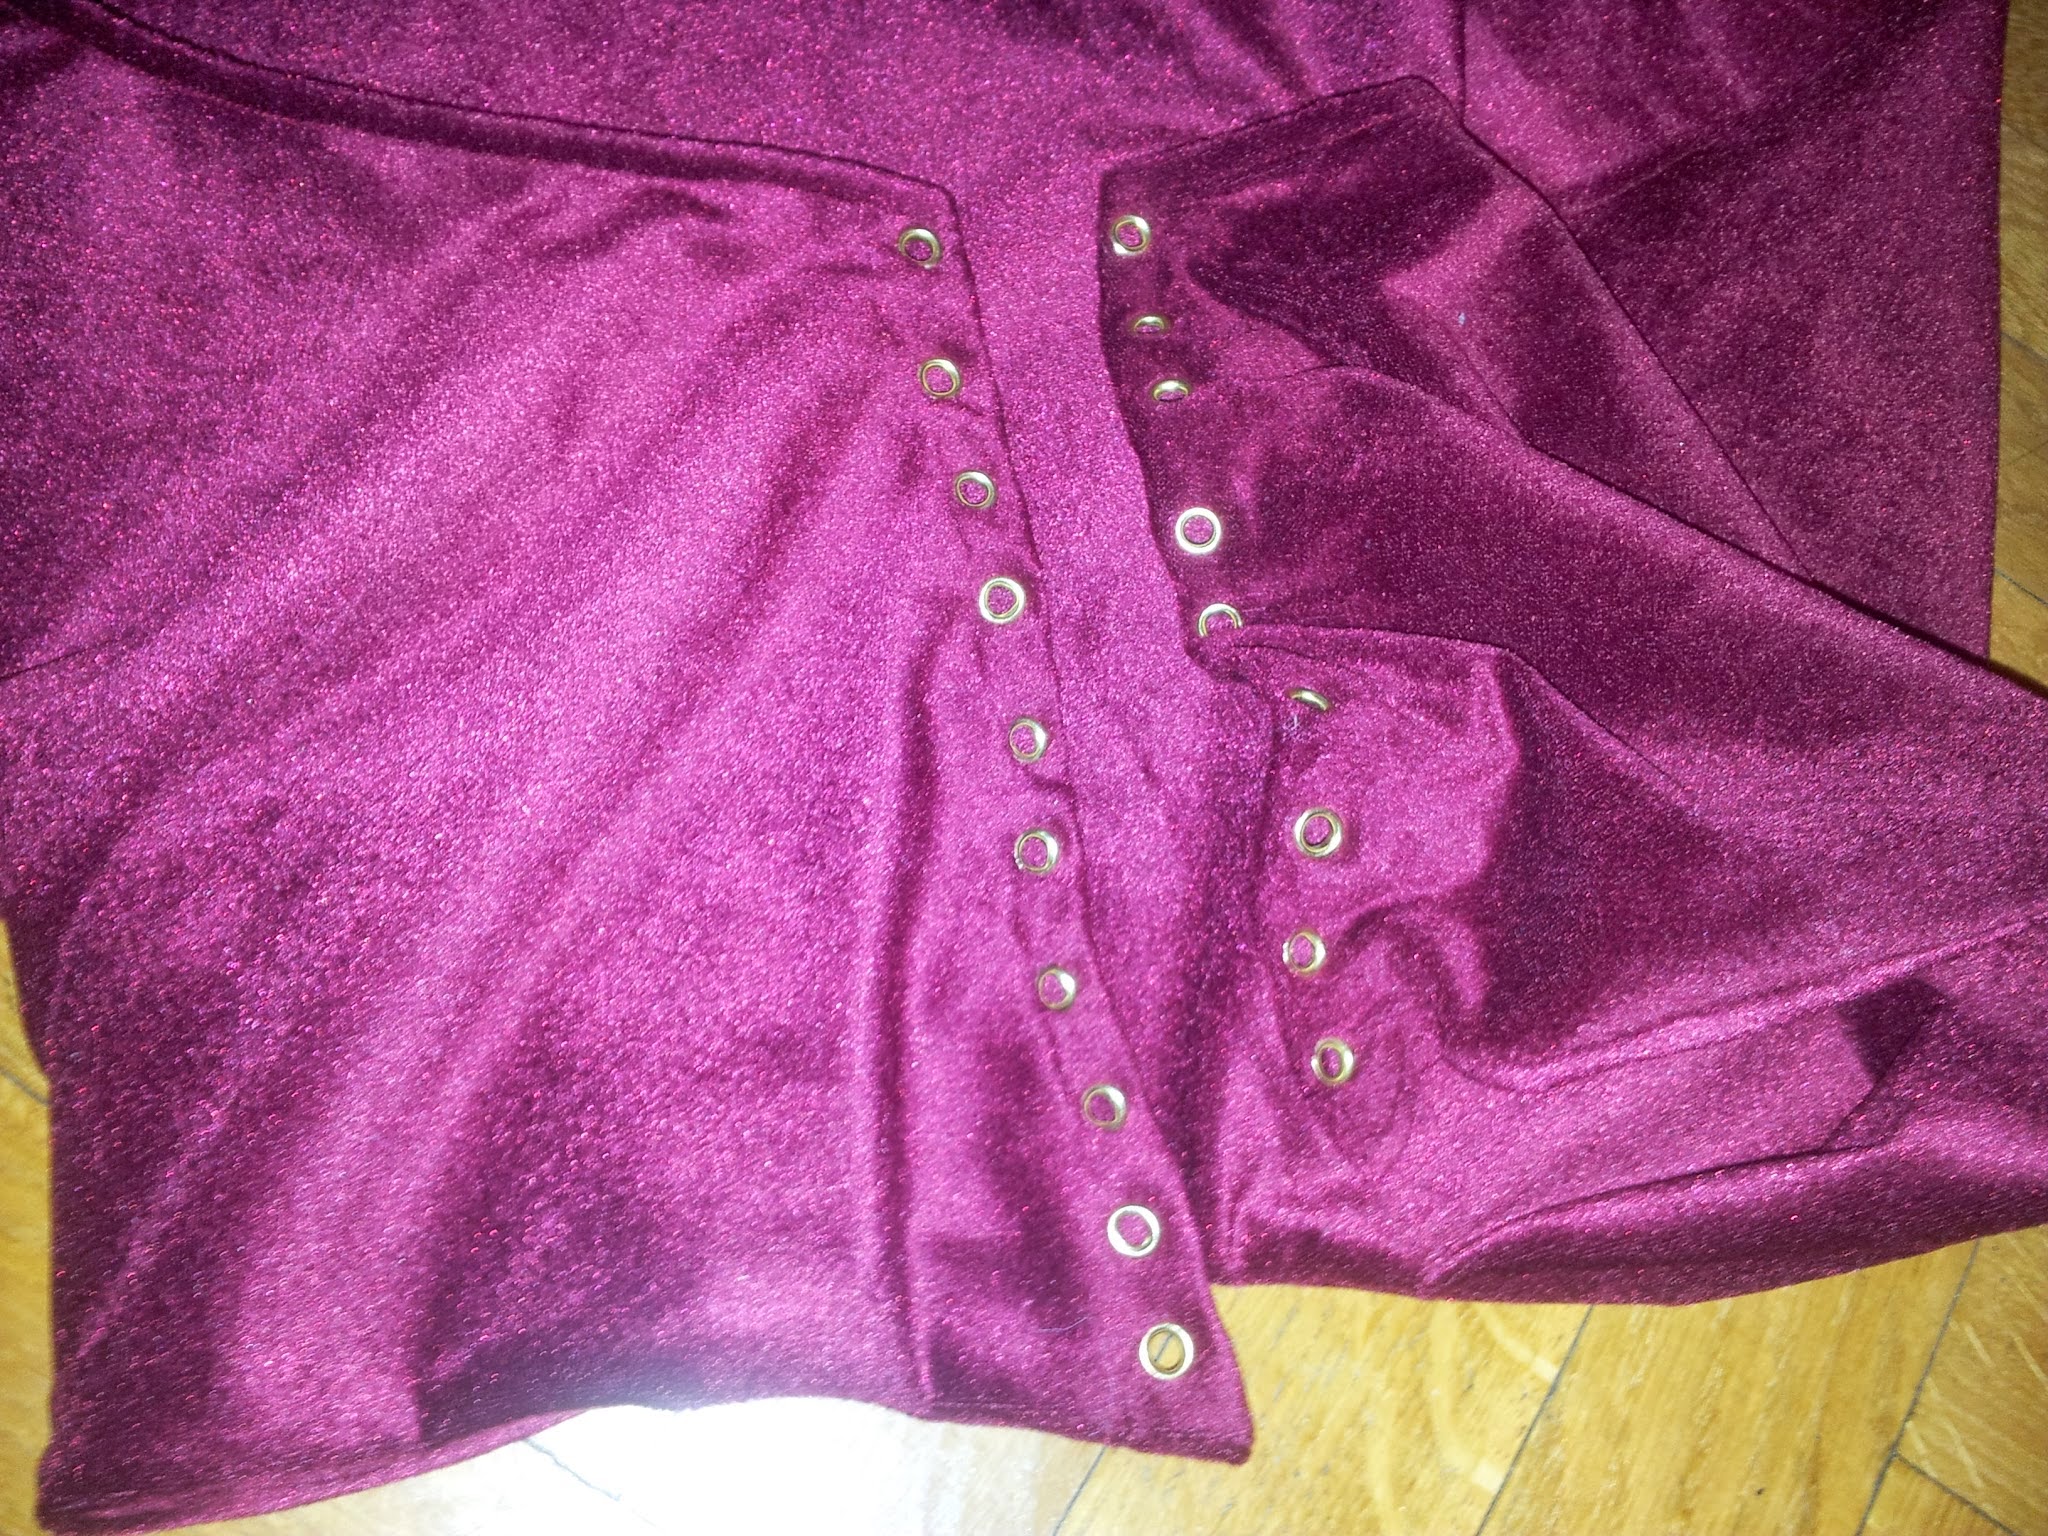
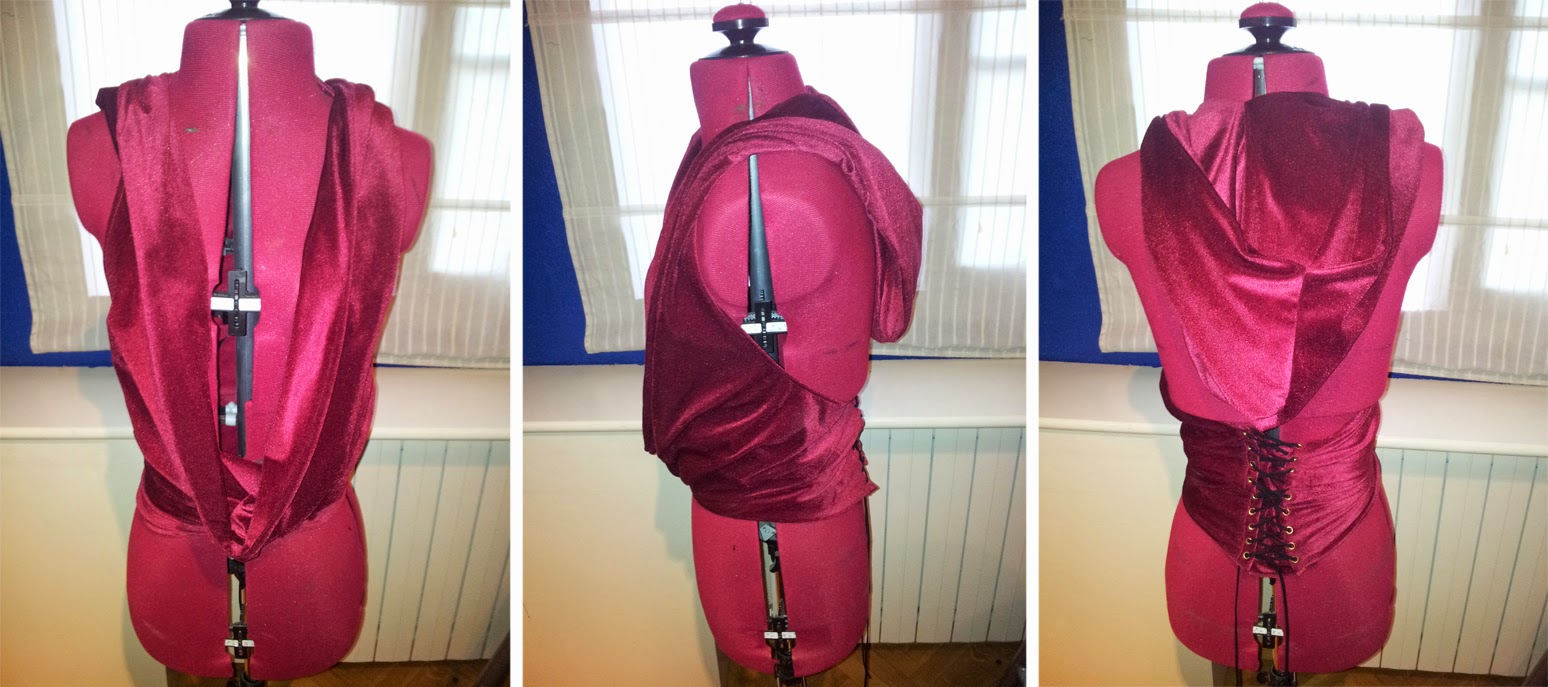
I closed the back and placed eyelets.
And that’s it!
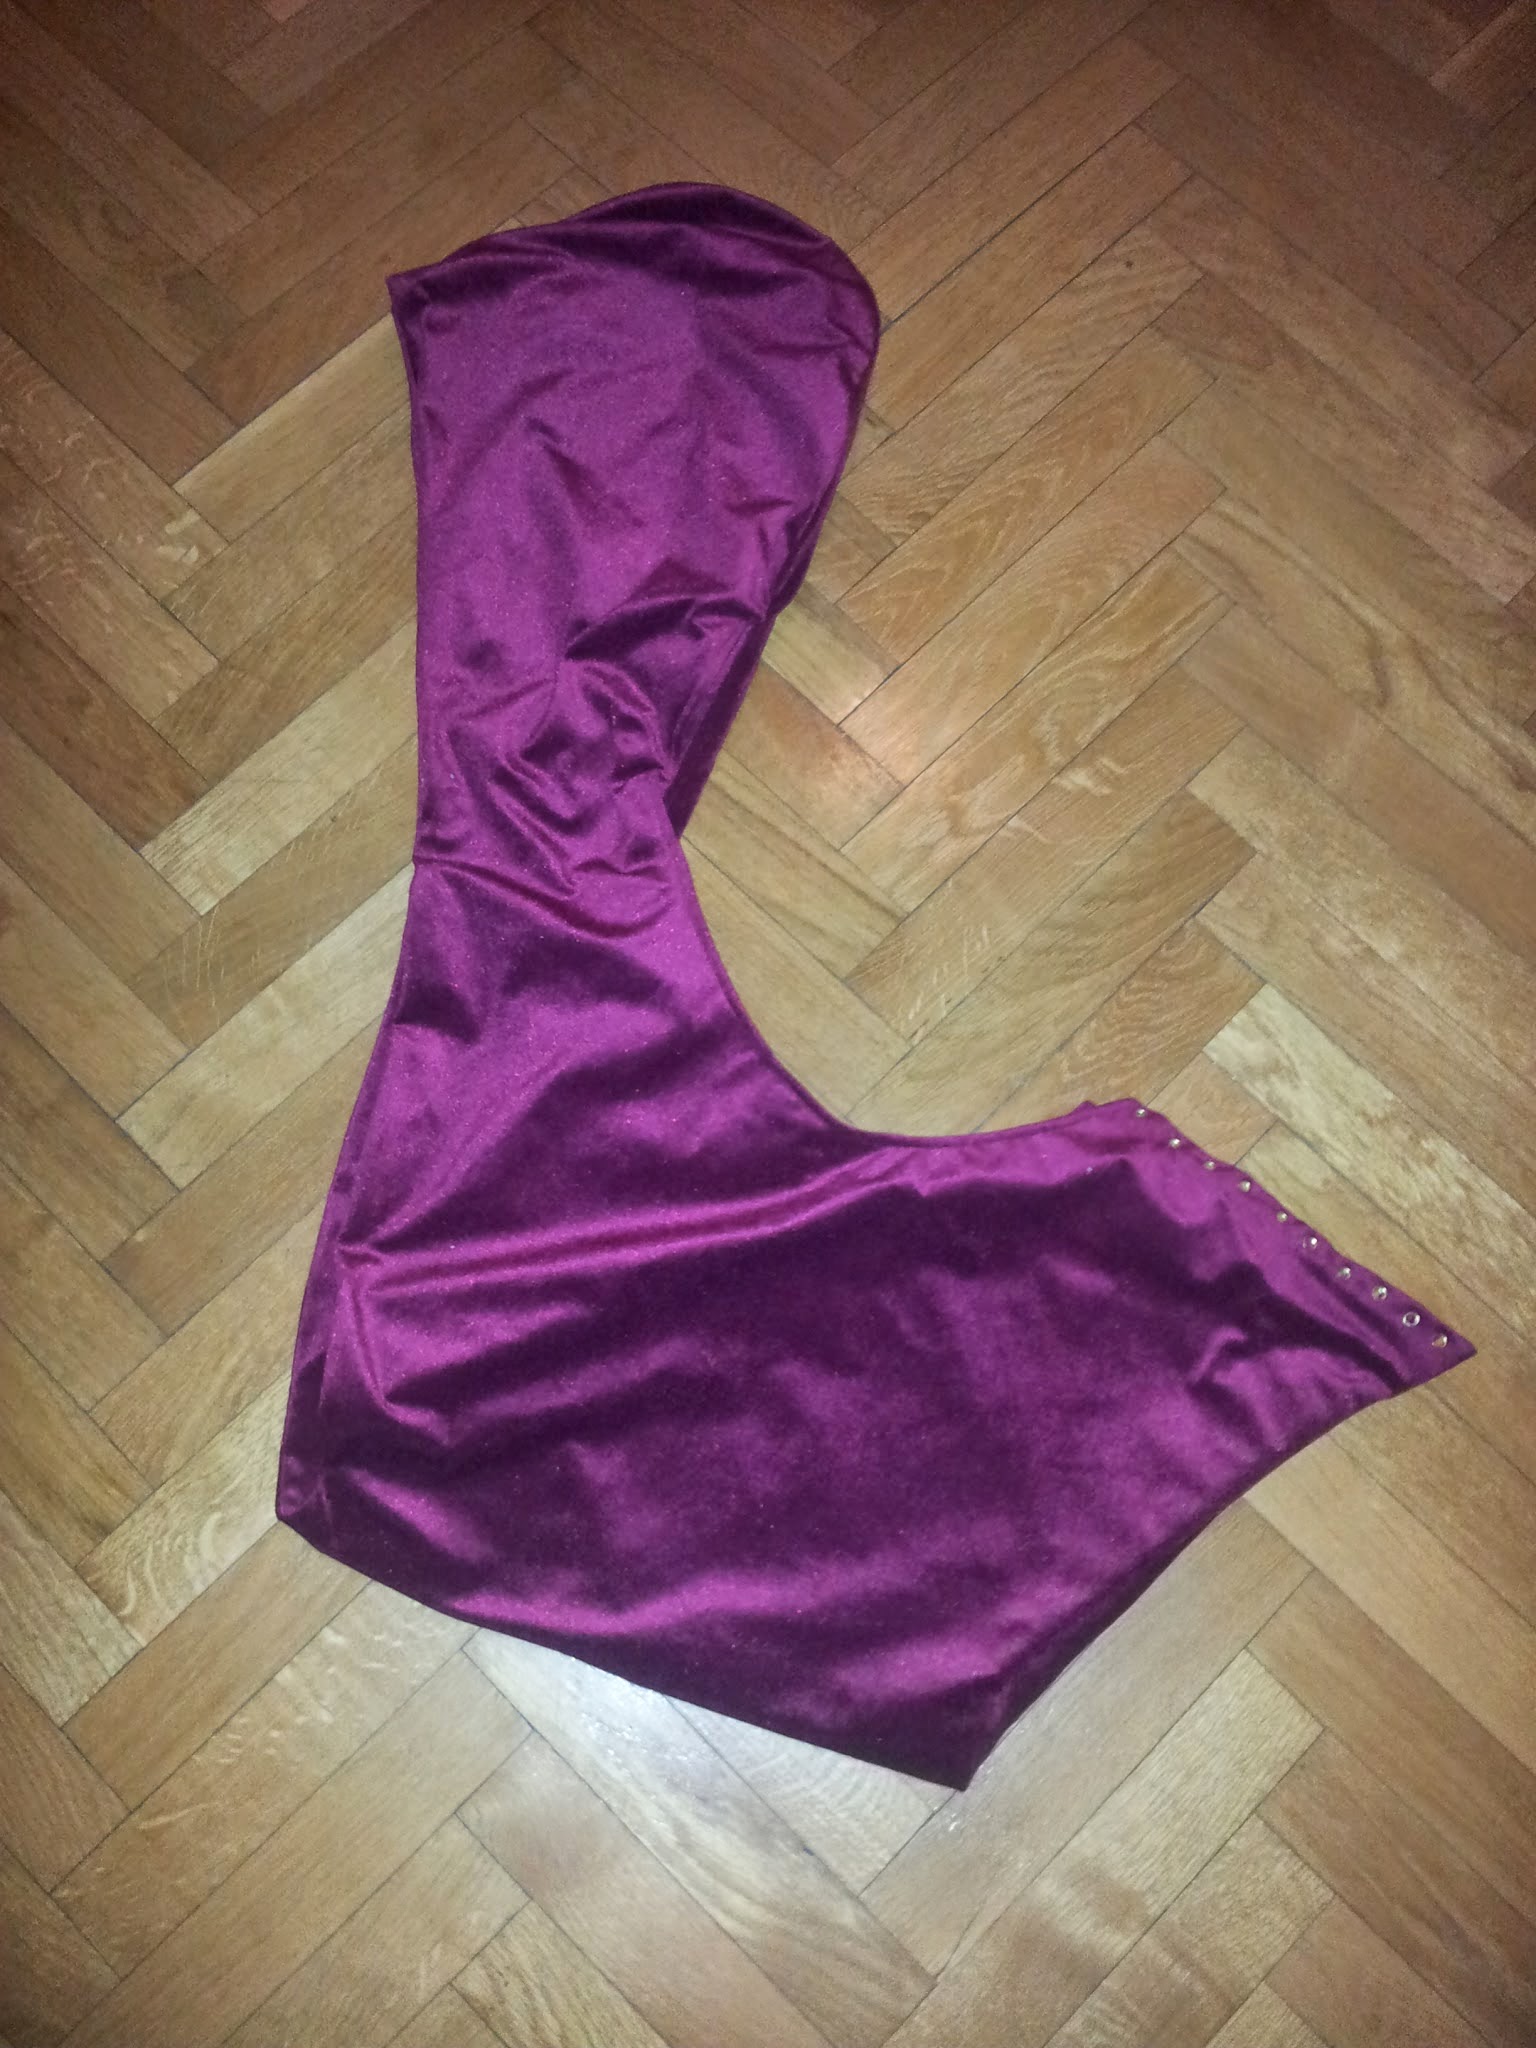
And seen like this, the shape of the pattern is more intuitive.

I hope this tutorial has been useful as well as illustrative for you
If you have any questions, you can ask me in the comments, Facebook , Twitter , etc.


