Hi everybody! Today I’ going to show you how I painted and weathered my Destiny armor.

Before starting, I’d like to recommend you a couple books full of painting and weathering wisdom: “Painting and weathering for Props and Replicas” by Volpin Props and you can also find a section about this subject on Punished Prop’s “Foamsmith: How to Create Armor Costumes“. I’ve learnt a lot with these amazing books.
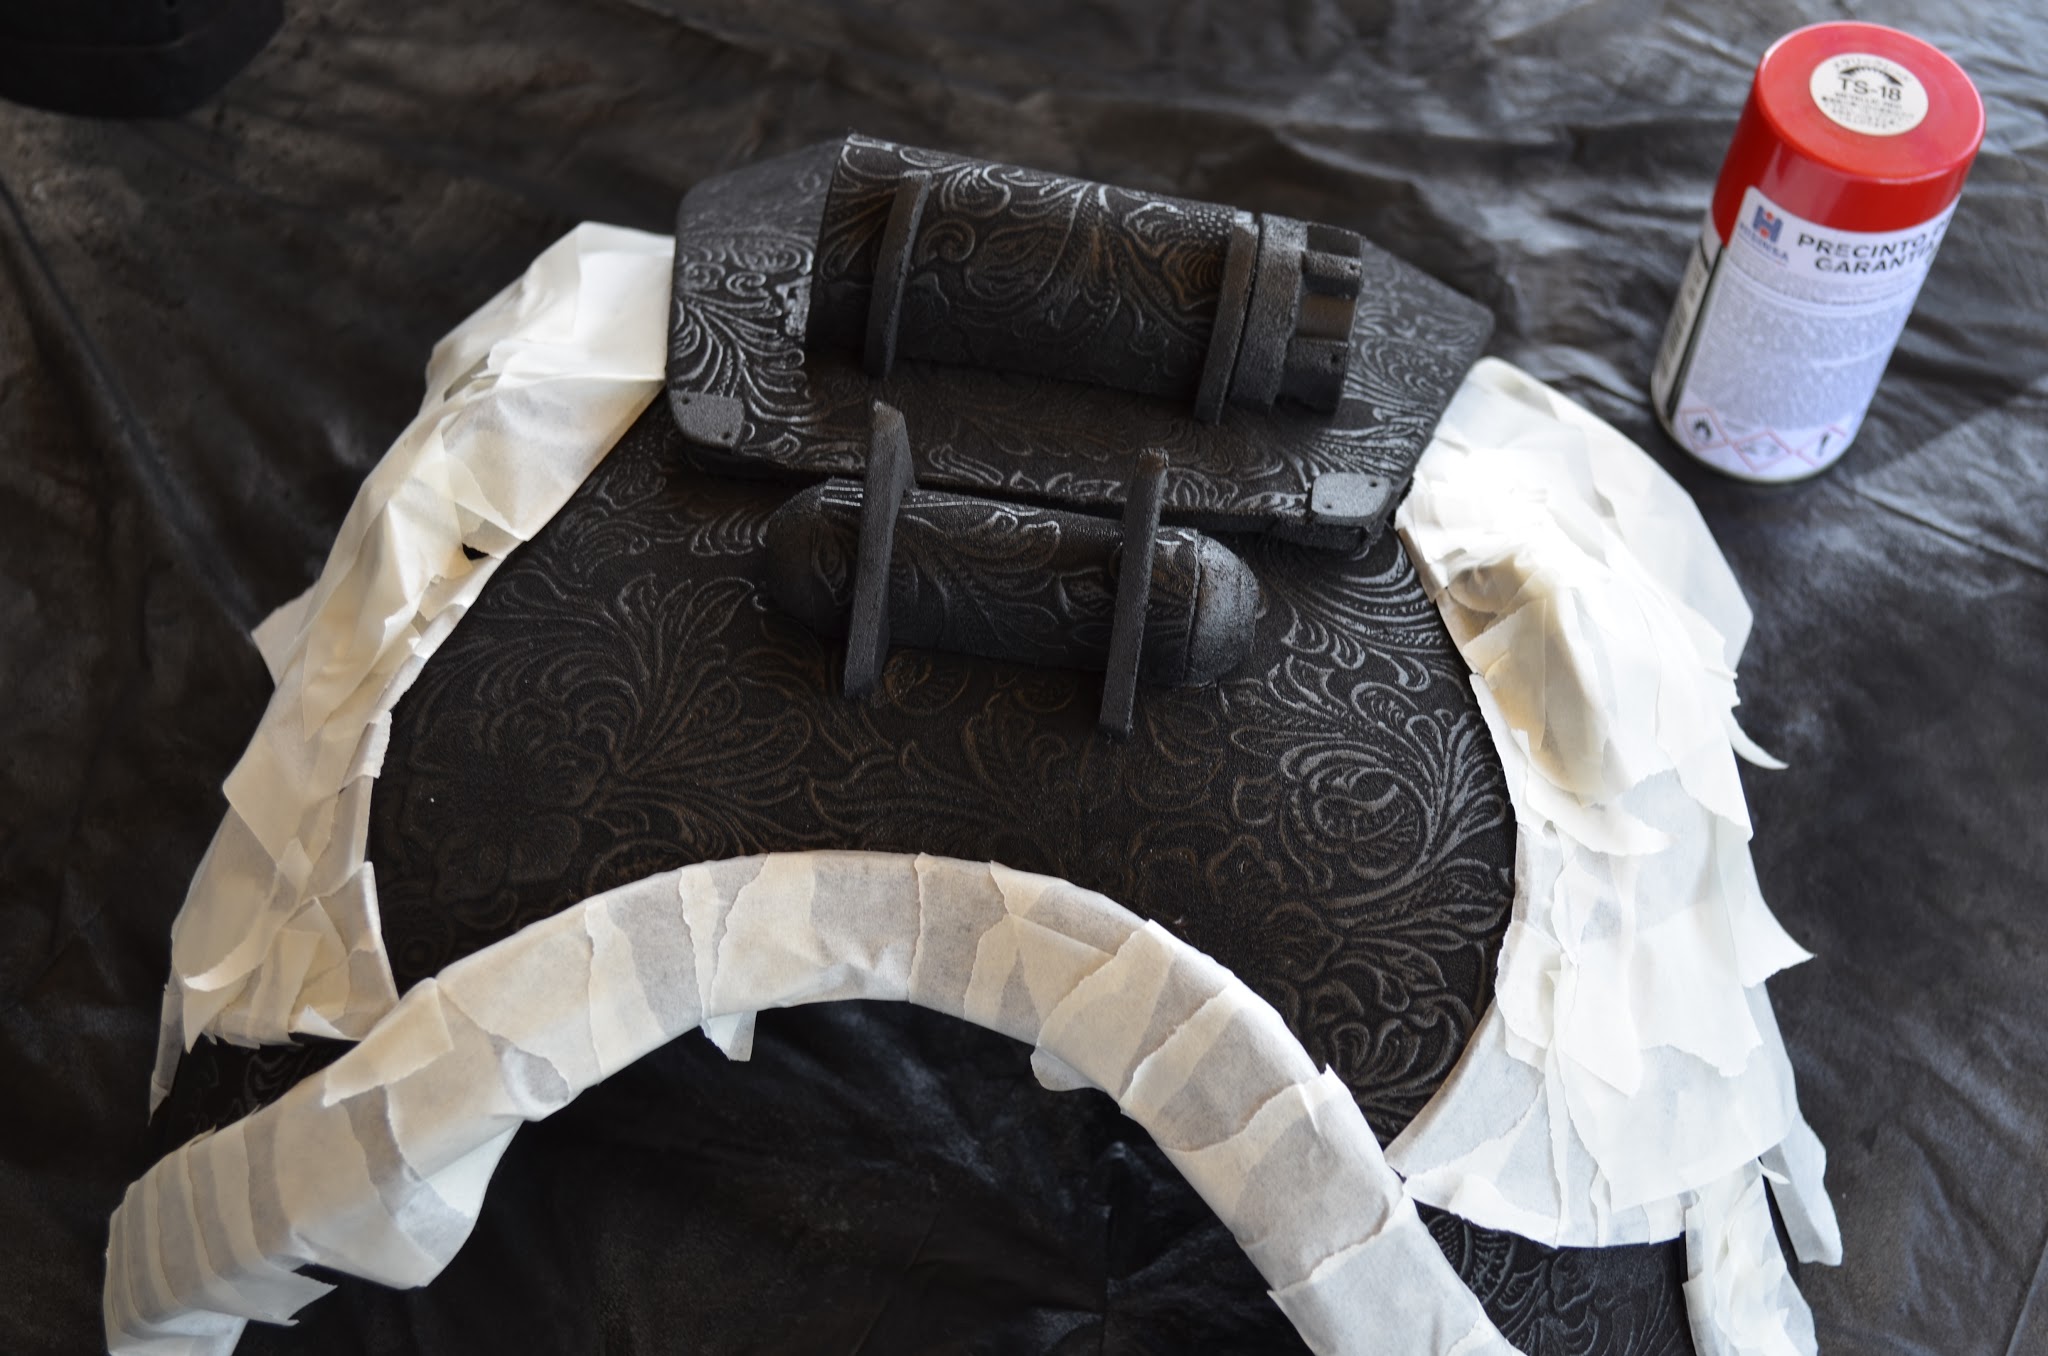
To begin with, I used Plasti Dip to prime my armors. I was eager to try this product! I’ve seen a lot of Plasti Dip tutorials and, at last, it’s available in Spain so I bought a couple cans.
Plasti Dip is a multi-purpose rubber coating that creates a flexible, anti-moiusture protection. It’s aso abrasion and corrosion resistant. It’s widely used in auto repairing.
Once applied, it dries fast and it becomes a resistant cover that is easily removable without ruining the base material.
It doesn’t provide hardness to the foam but, as my armors were made of 1cm thickness sheet, I didn’t need that so this product was perfect for them.
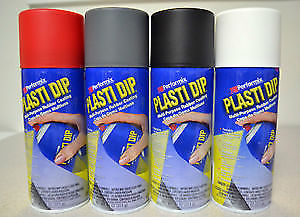
There are plenty of Plasti Dip colors and even super cool effect paints, but I only needed the regular black one. And I loved it. 3 or 4 layers were enough to cover all the pieces and it looked amazing. I didn’t lost my textures, that was something I was afraid of.
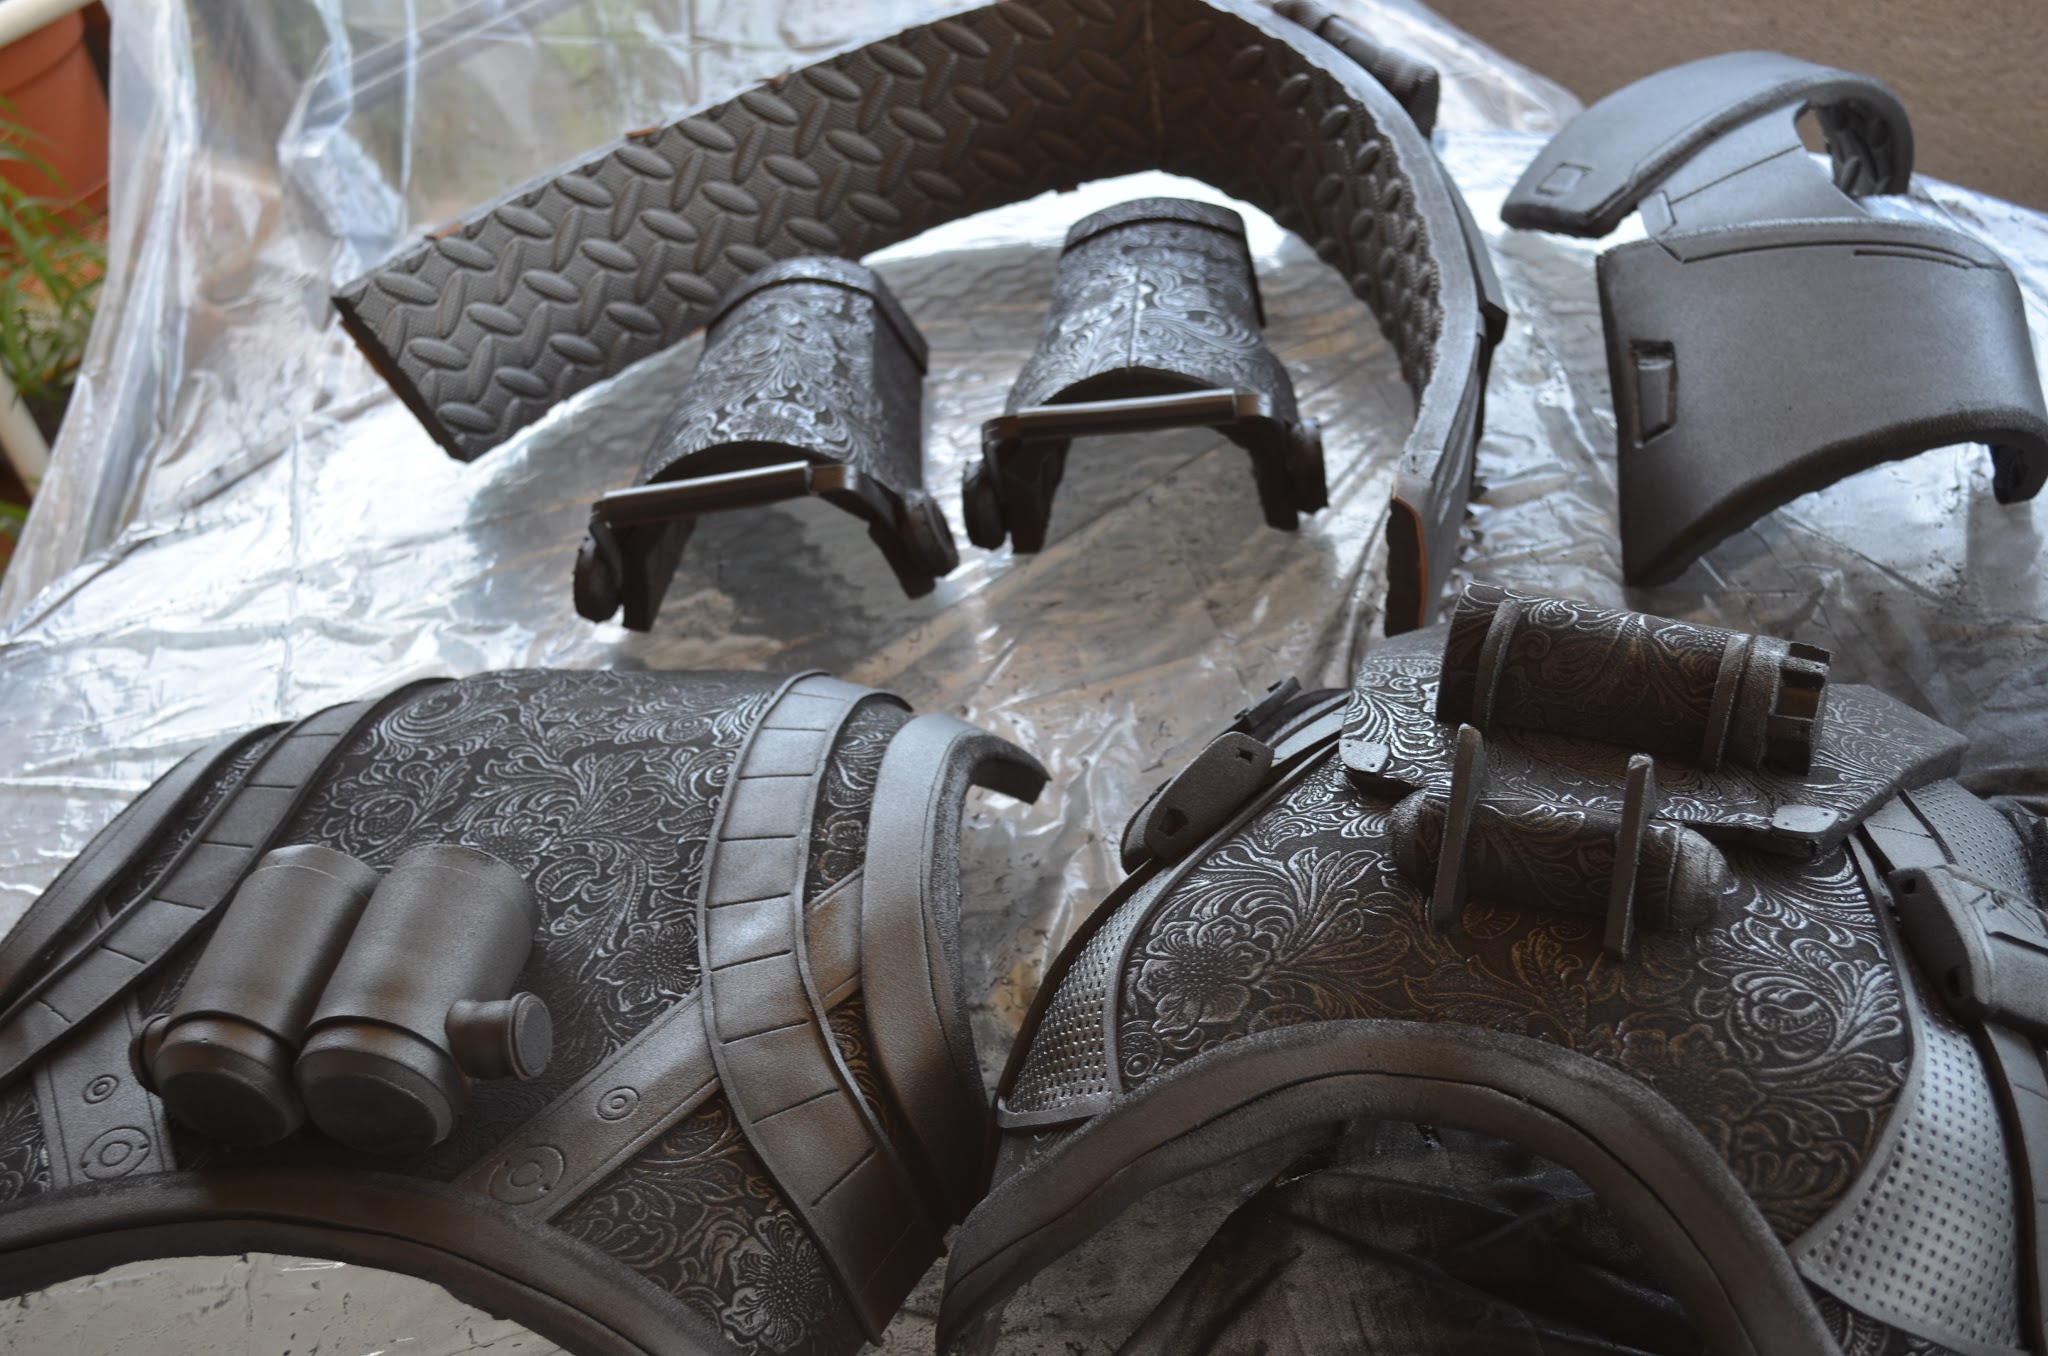
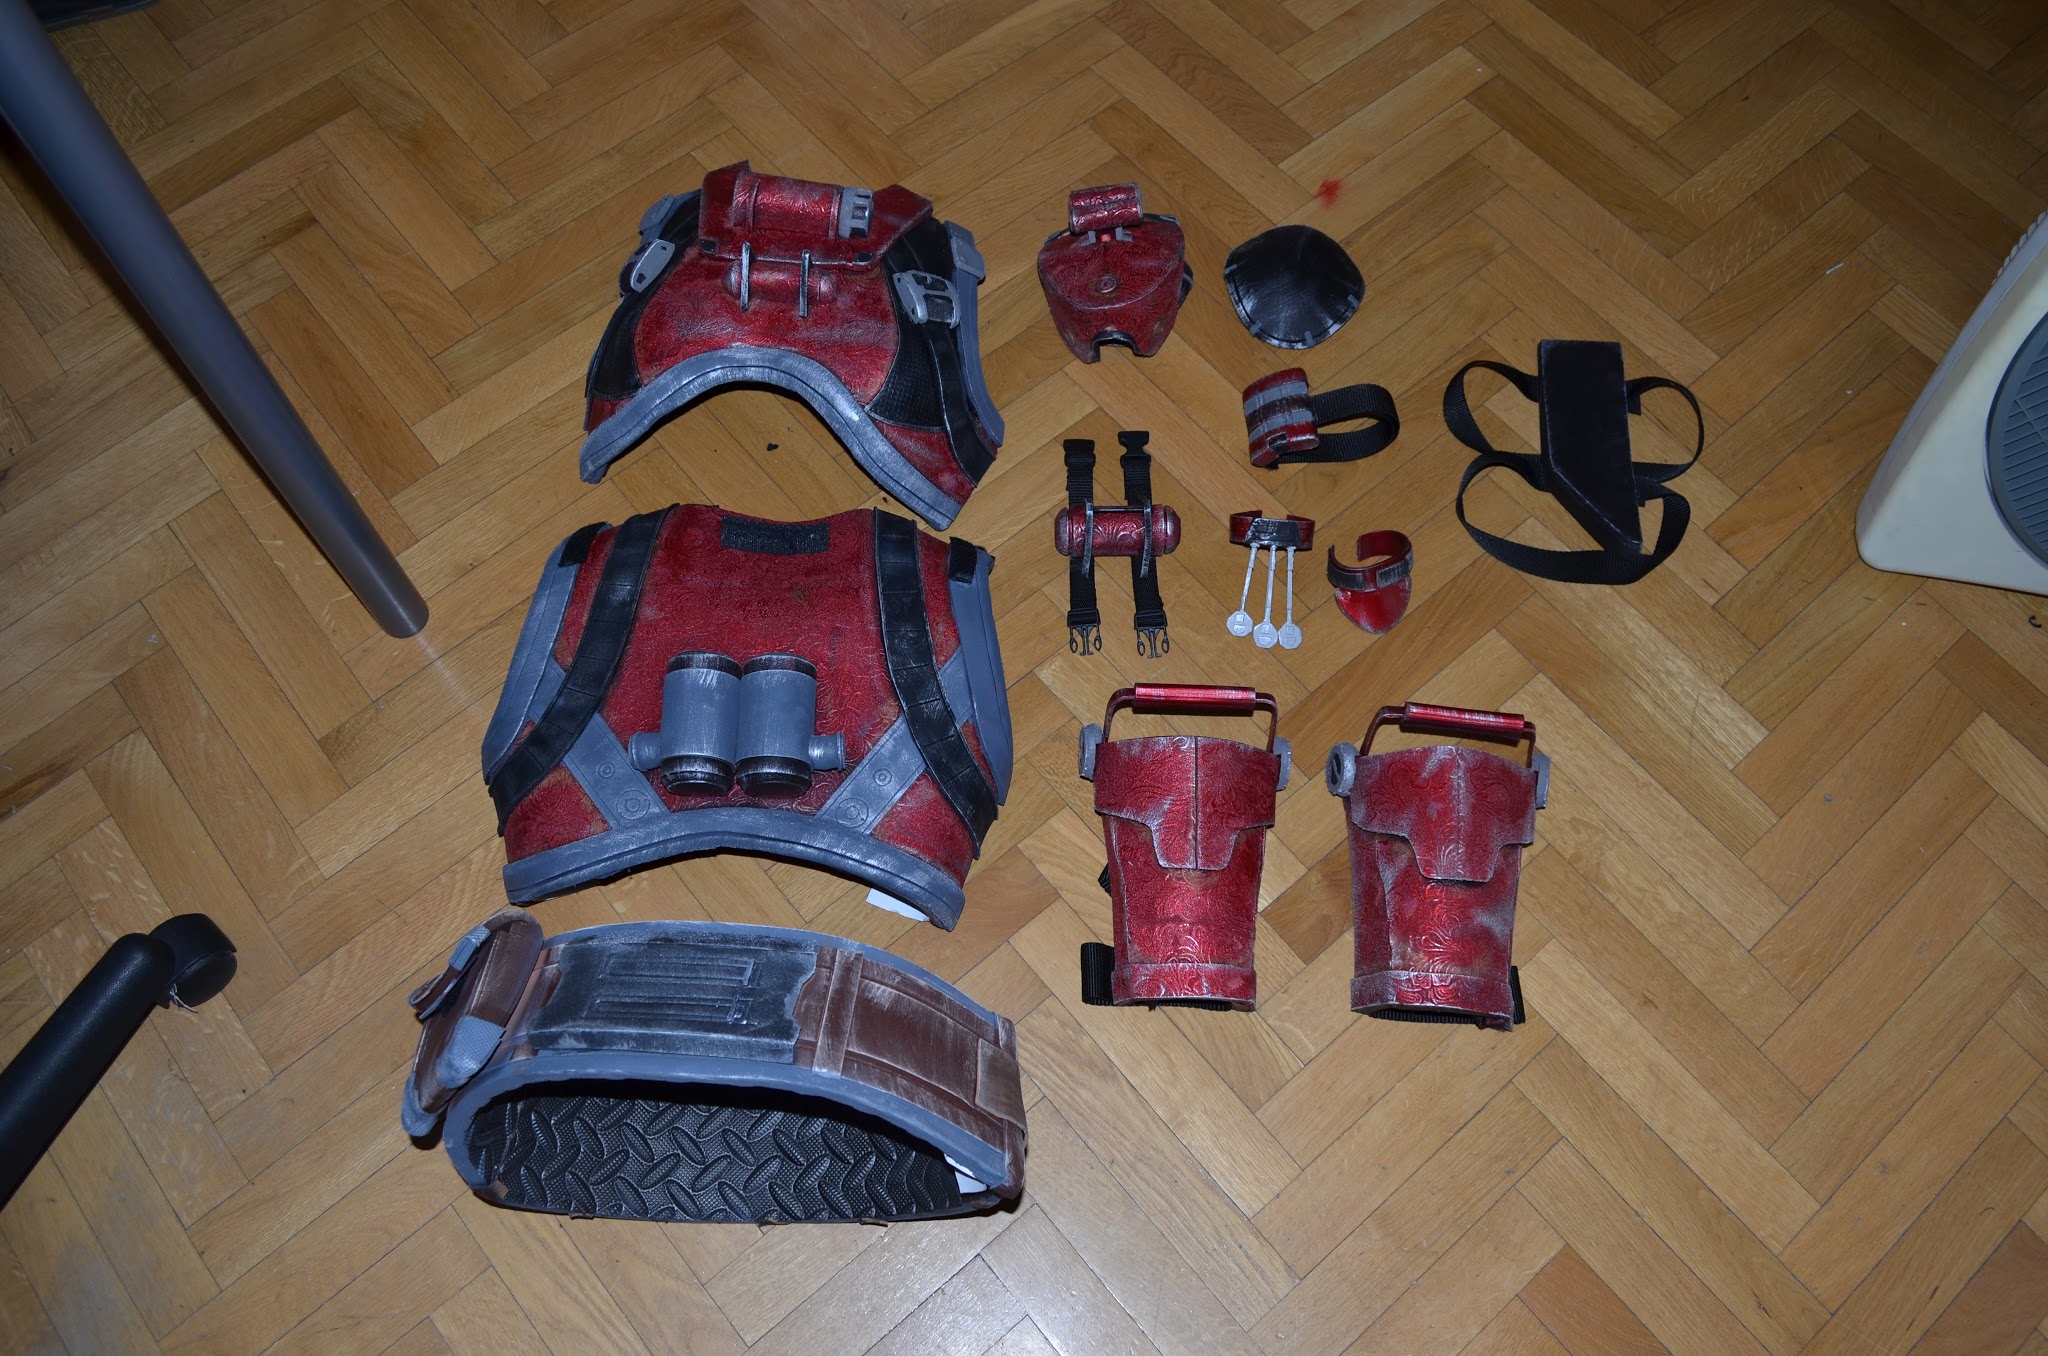
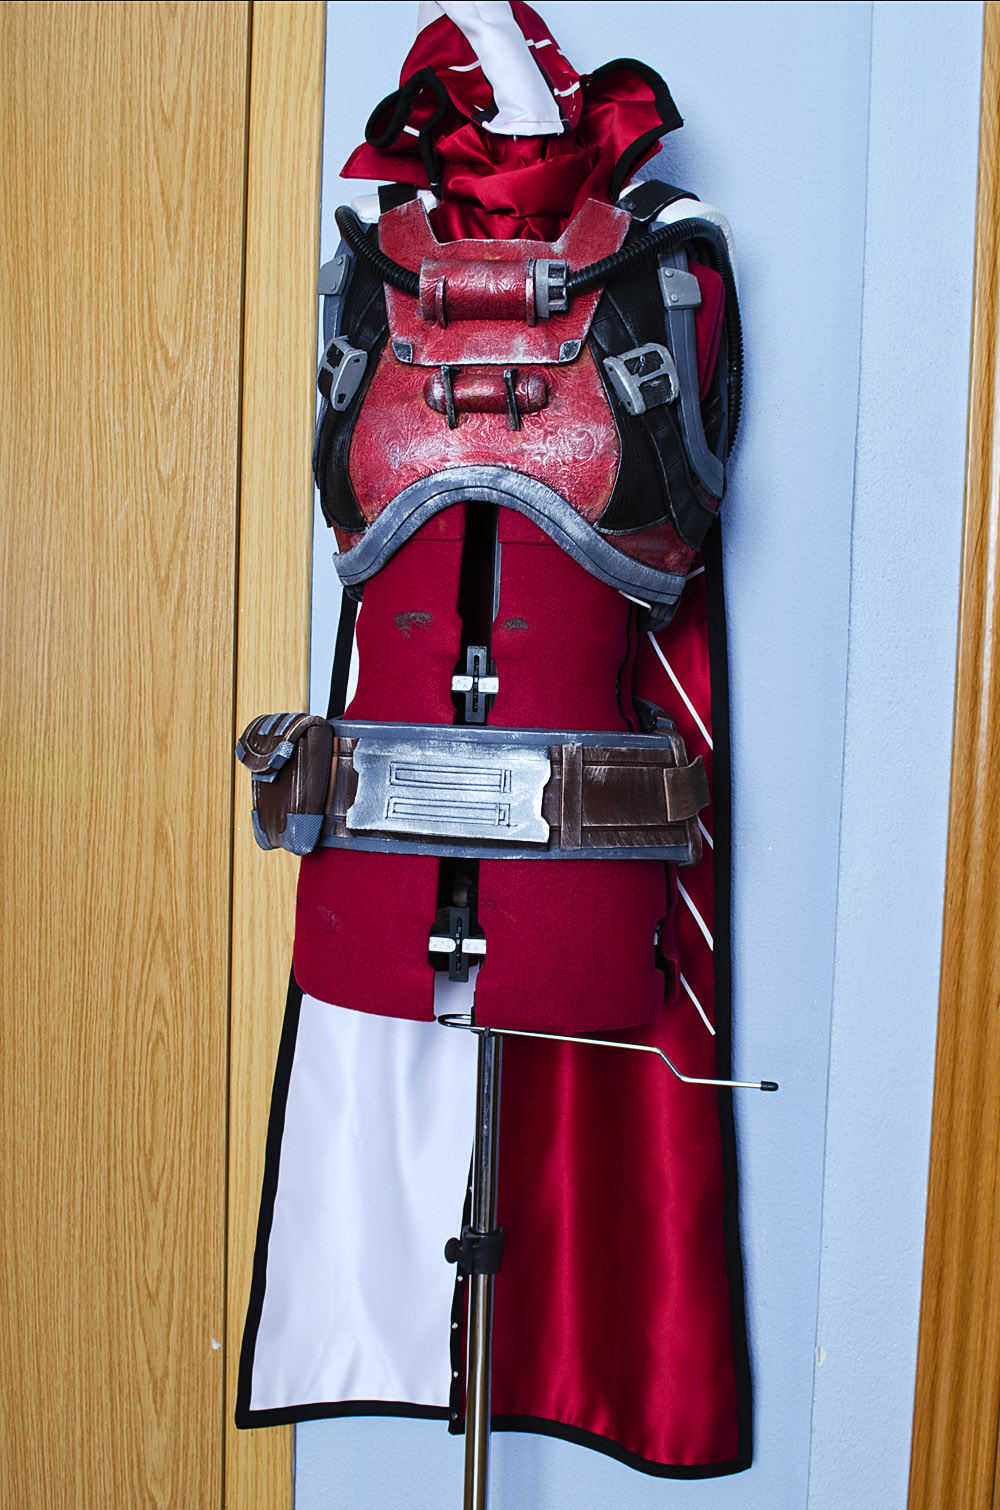
Once dried, I painted everything. I chose the Devilswep** shader, that has red, grey, Brown and black tones. I wanted a sober shader. Destiny has a lot of crazy color combinations but I didn’t like them for my costume. I actually chose this shader because I don’t quite like the red color, I prefer blues, purples… but I didn’t want it to look like my Tali or Shepard costumes, I wanted to make it look totally different and new. Stupid or brilliant? I don’t know.
Well, I masked with tape the parts I didn’t want to paint red.
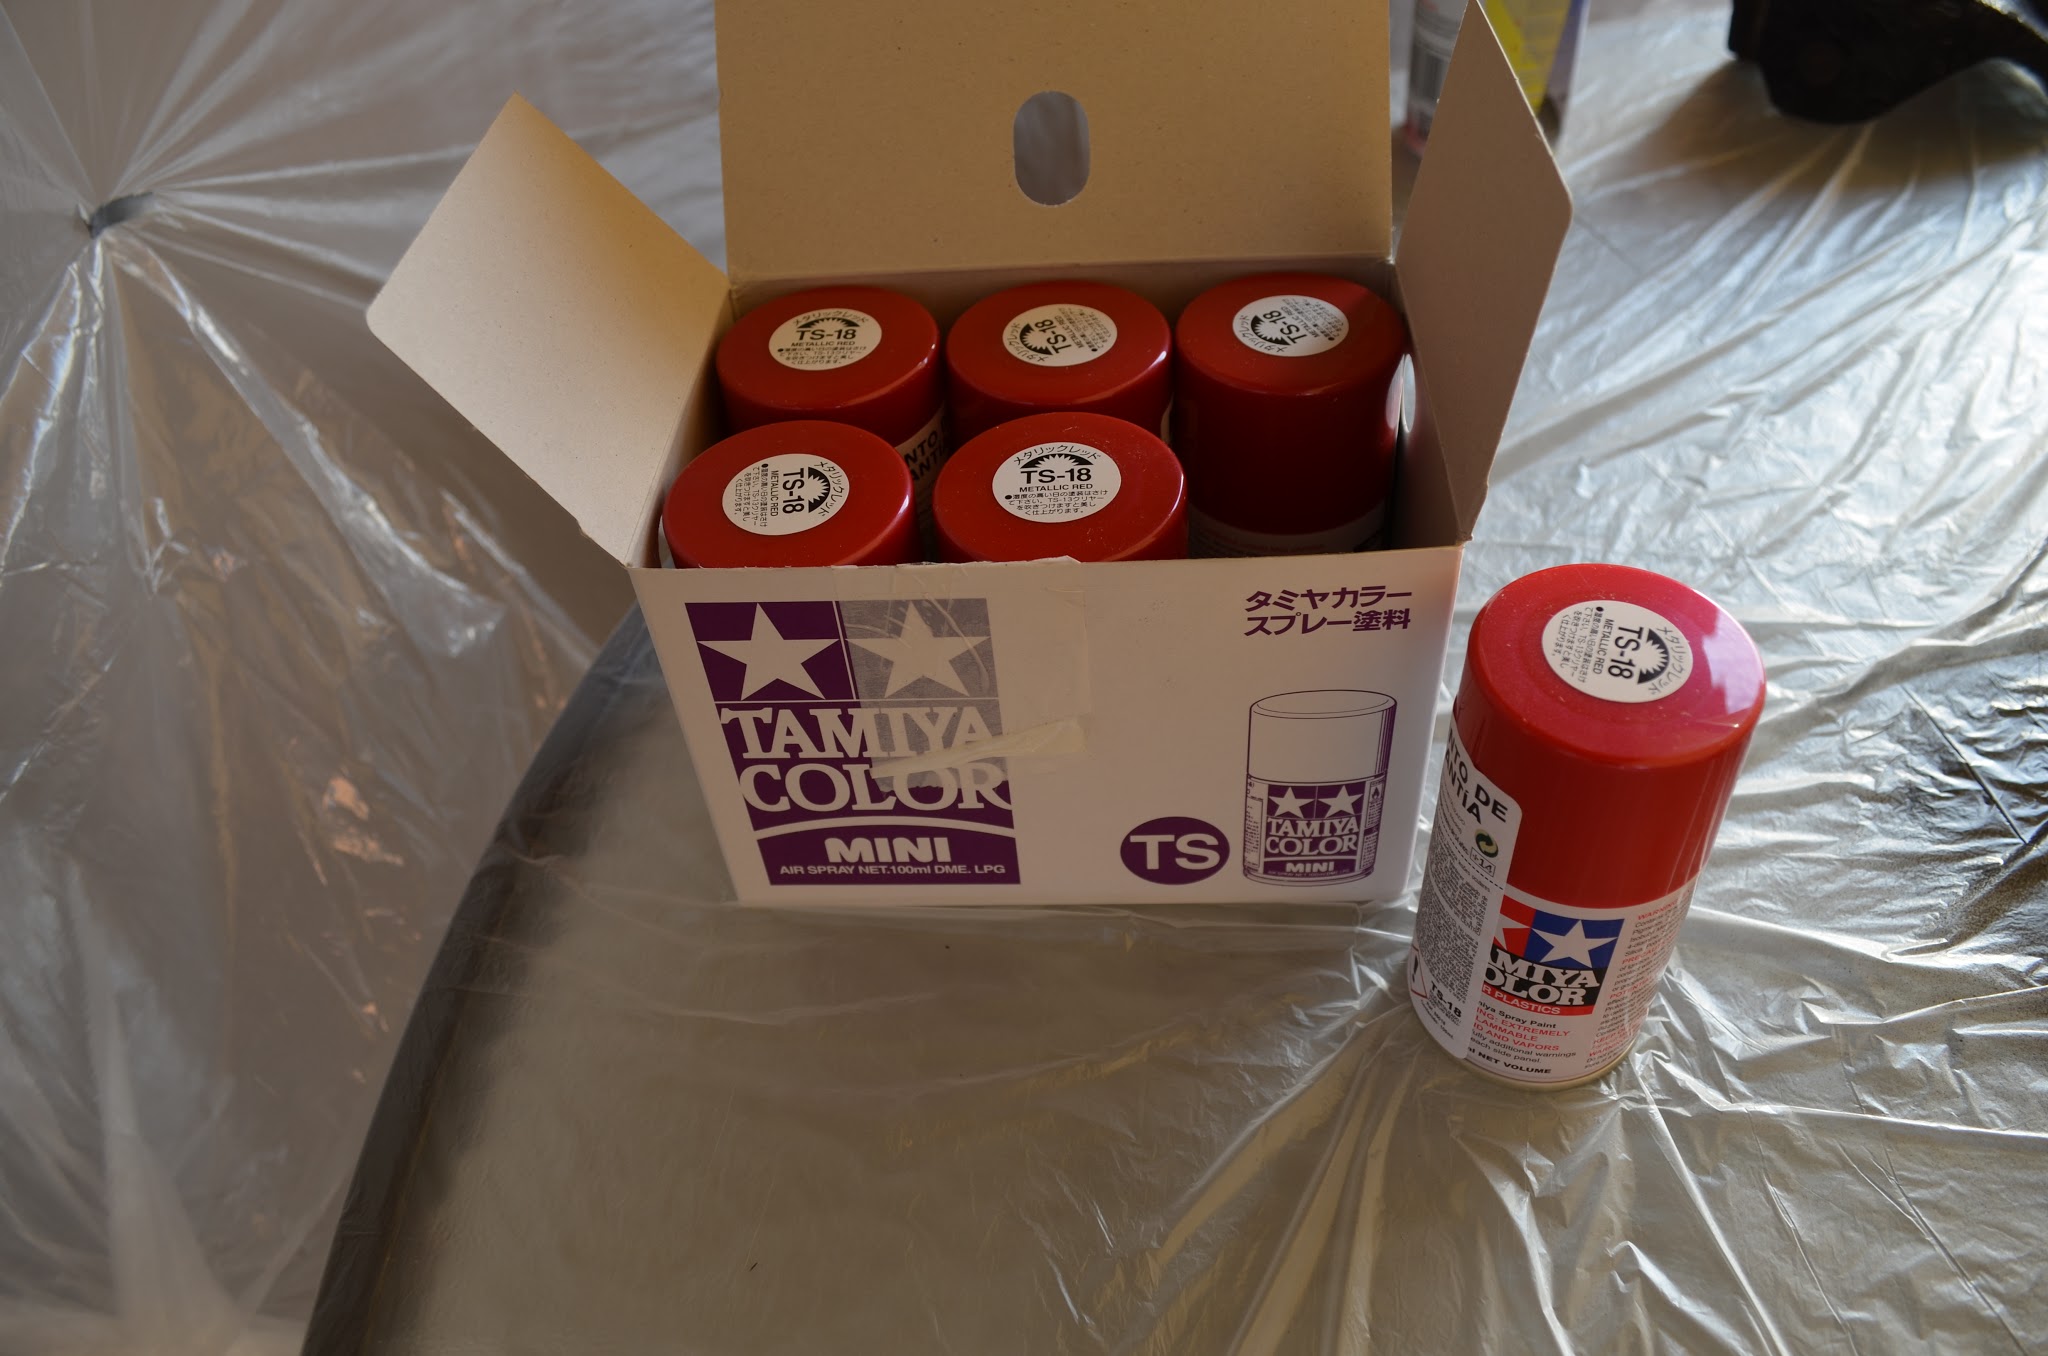
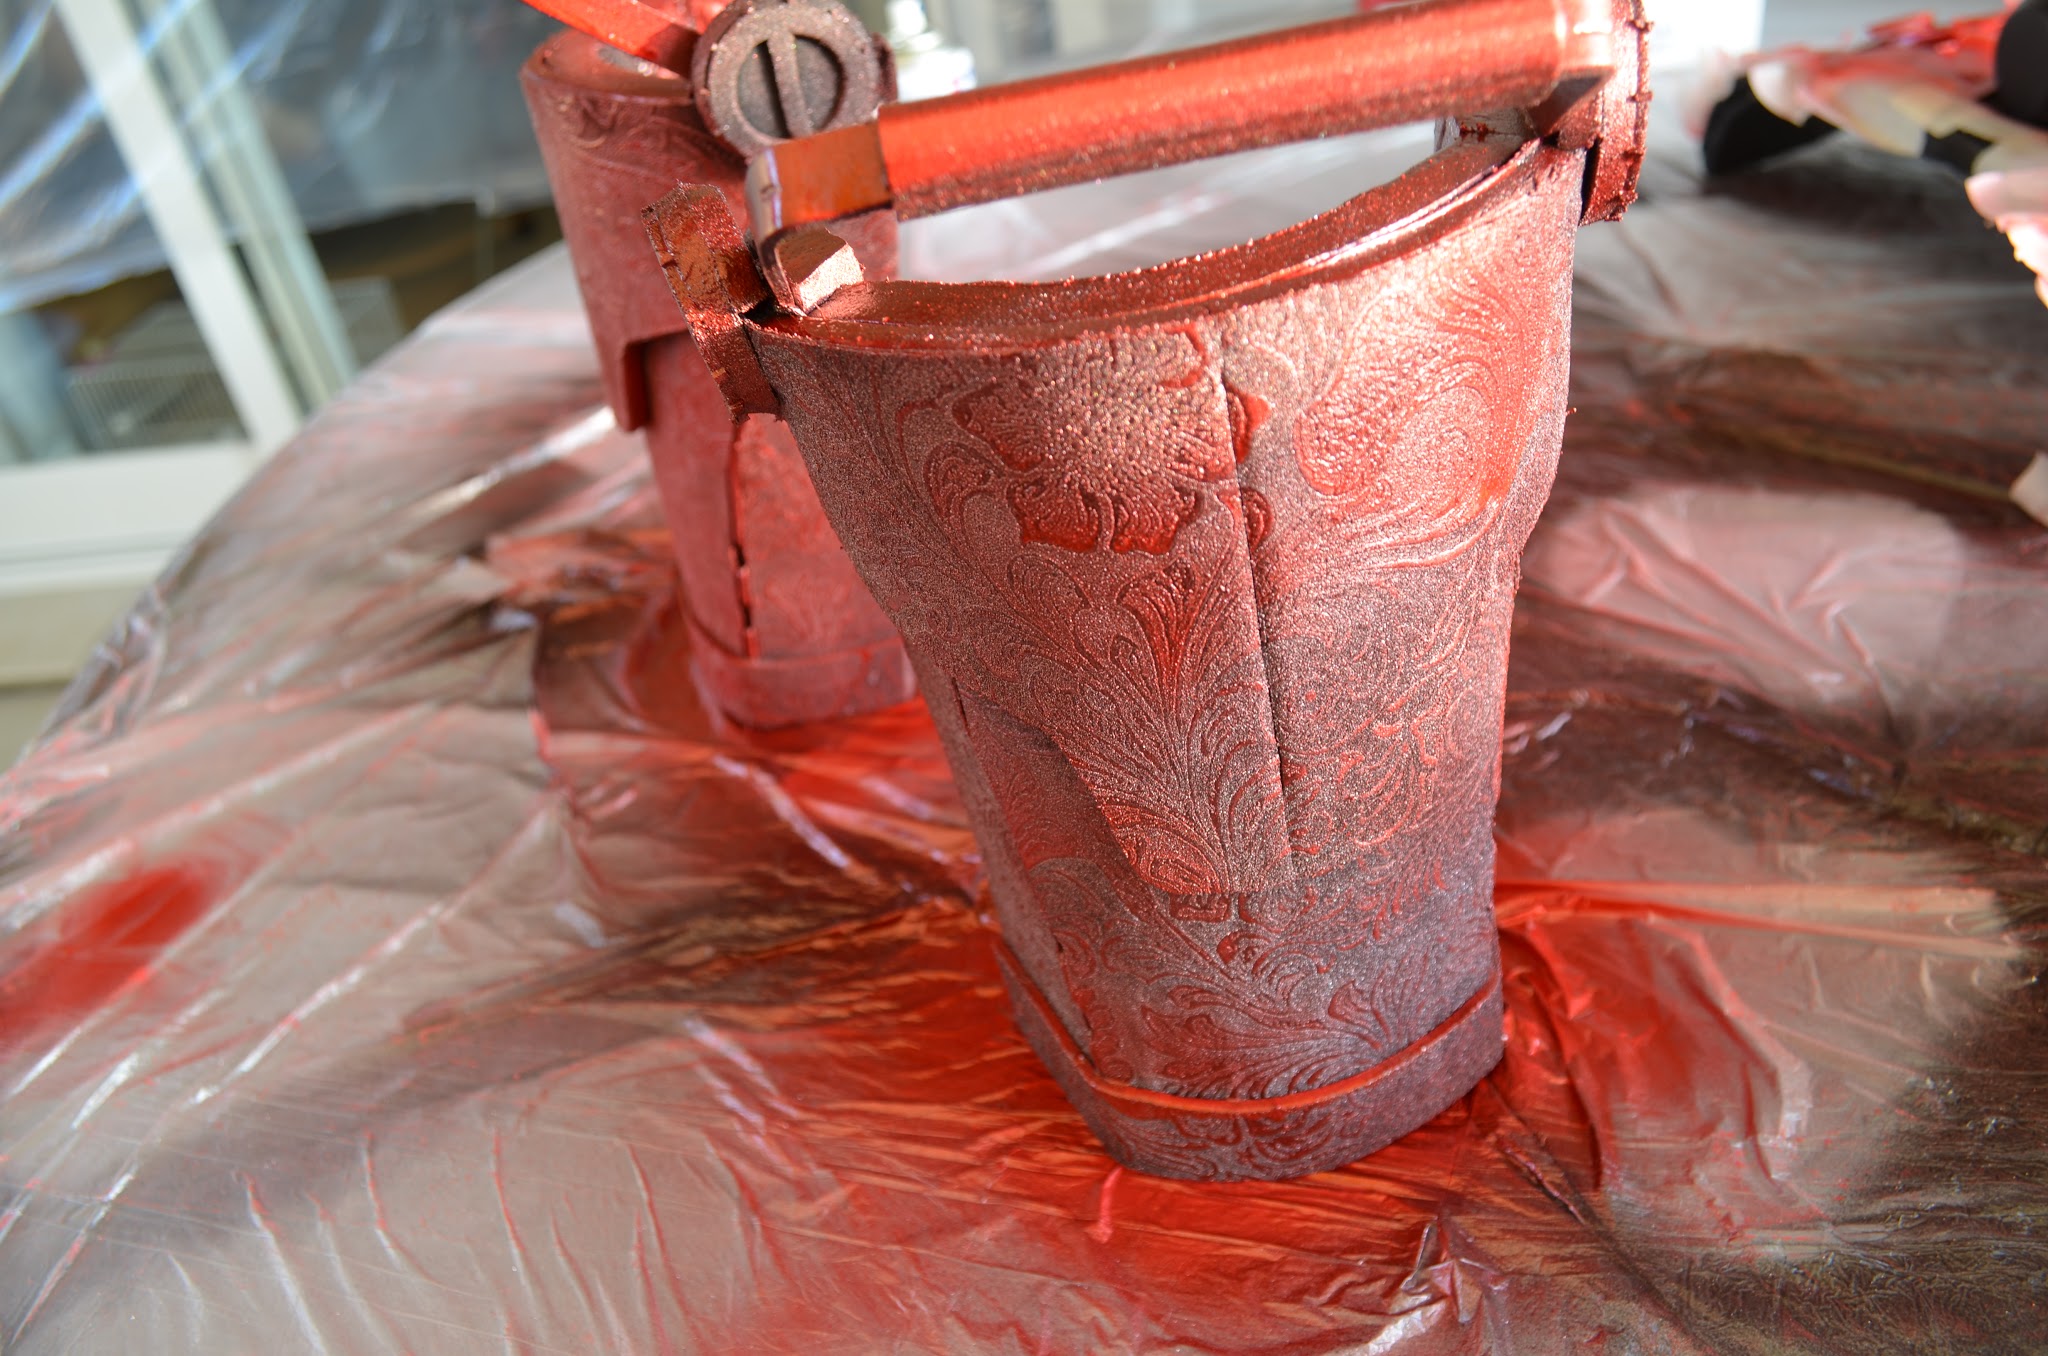
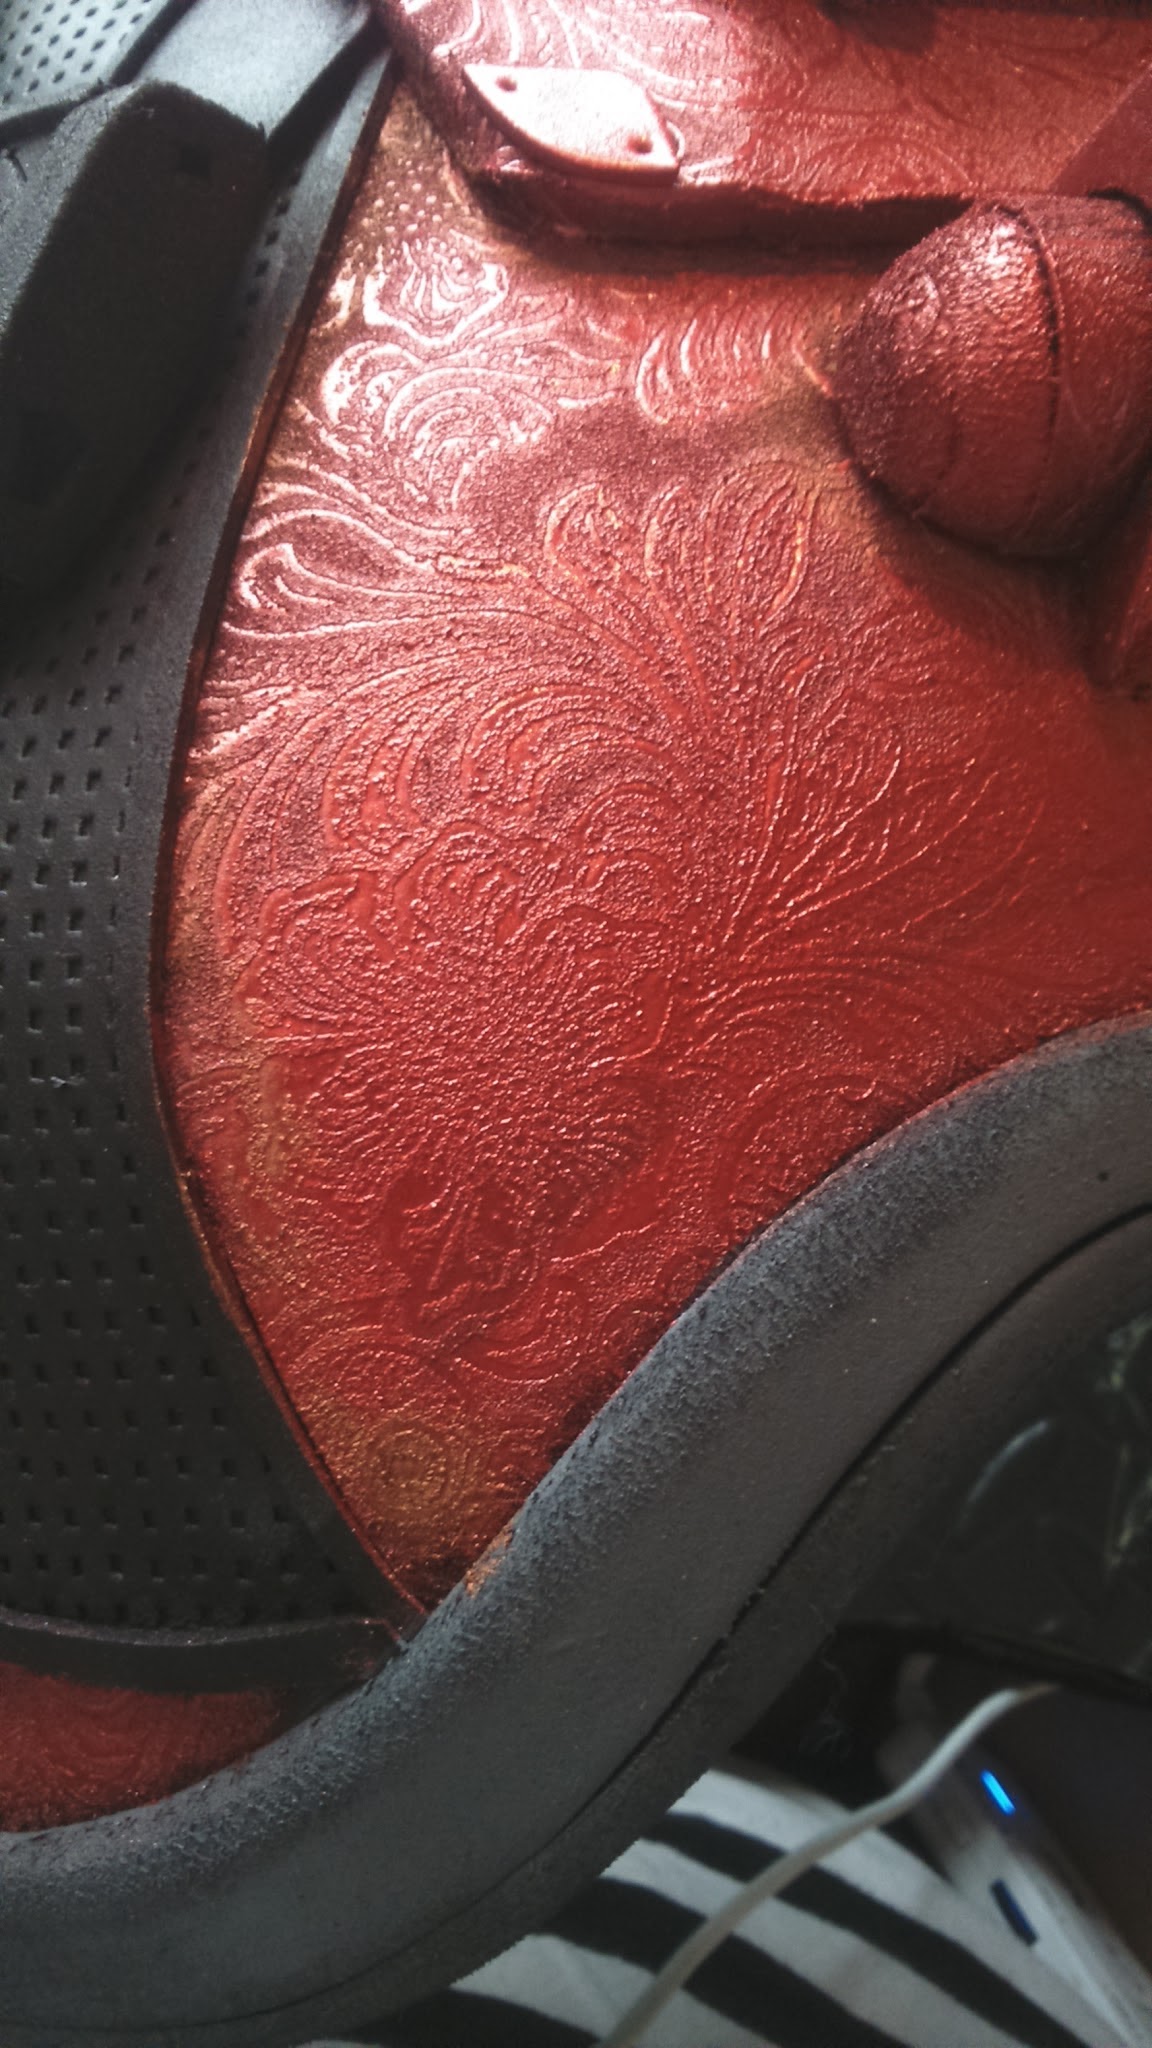
I bought some Tamiya TS-18 metallic red cans. I was looking forward to trying this spray paint because its results are flawless. It’s used for car models and that kind of stuff, so the finish is really good. Maybe I shouldn’t have used it on this embossed armor as it looks way better on flat surfaces, but I’m ok with the result.
I had to apply several layers until it looked good.
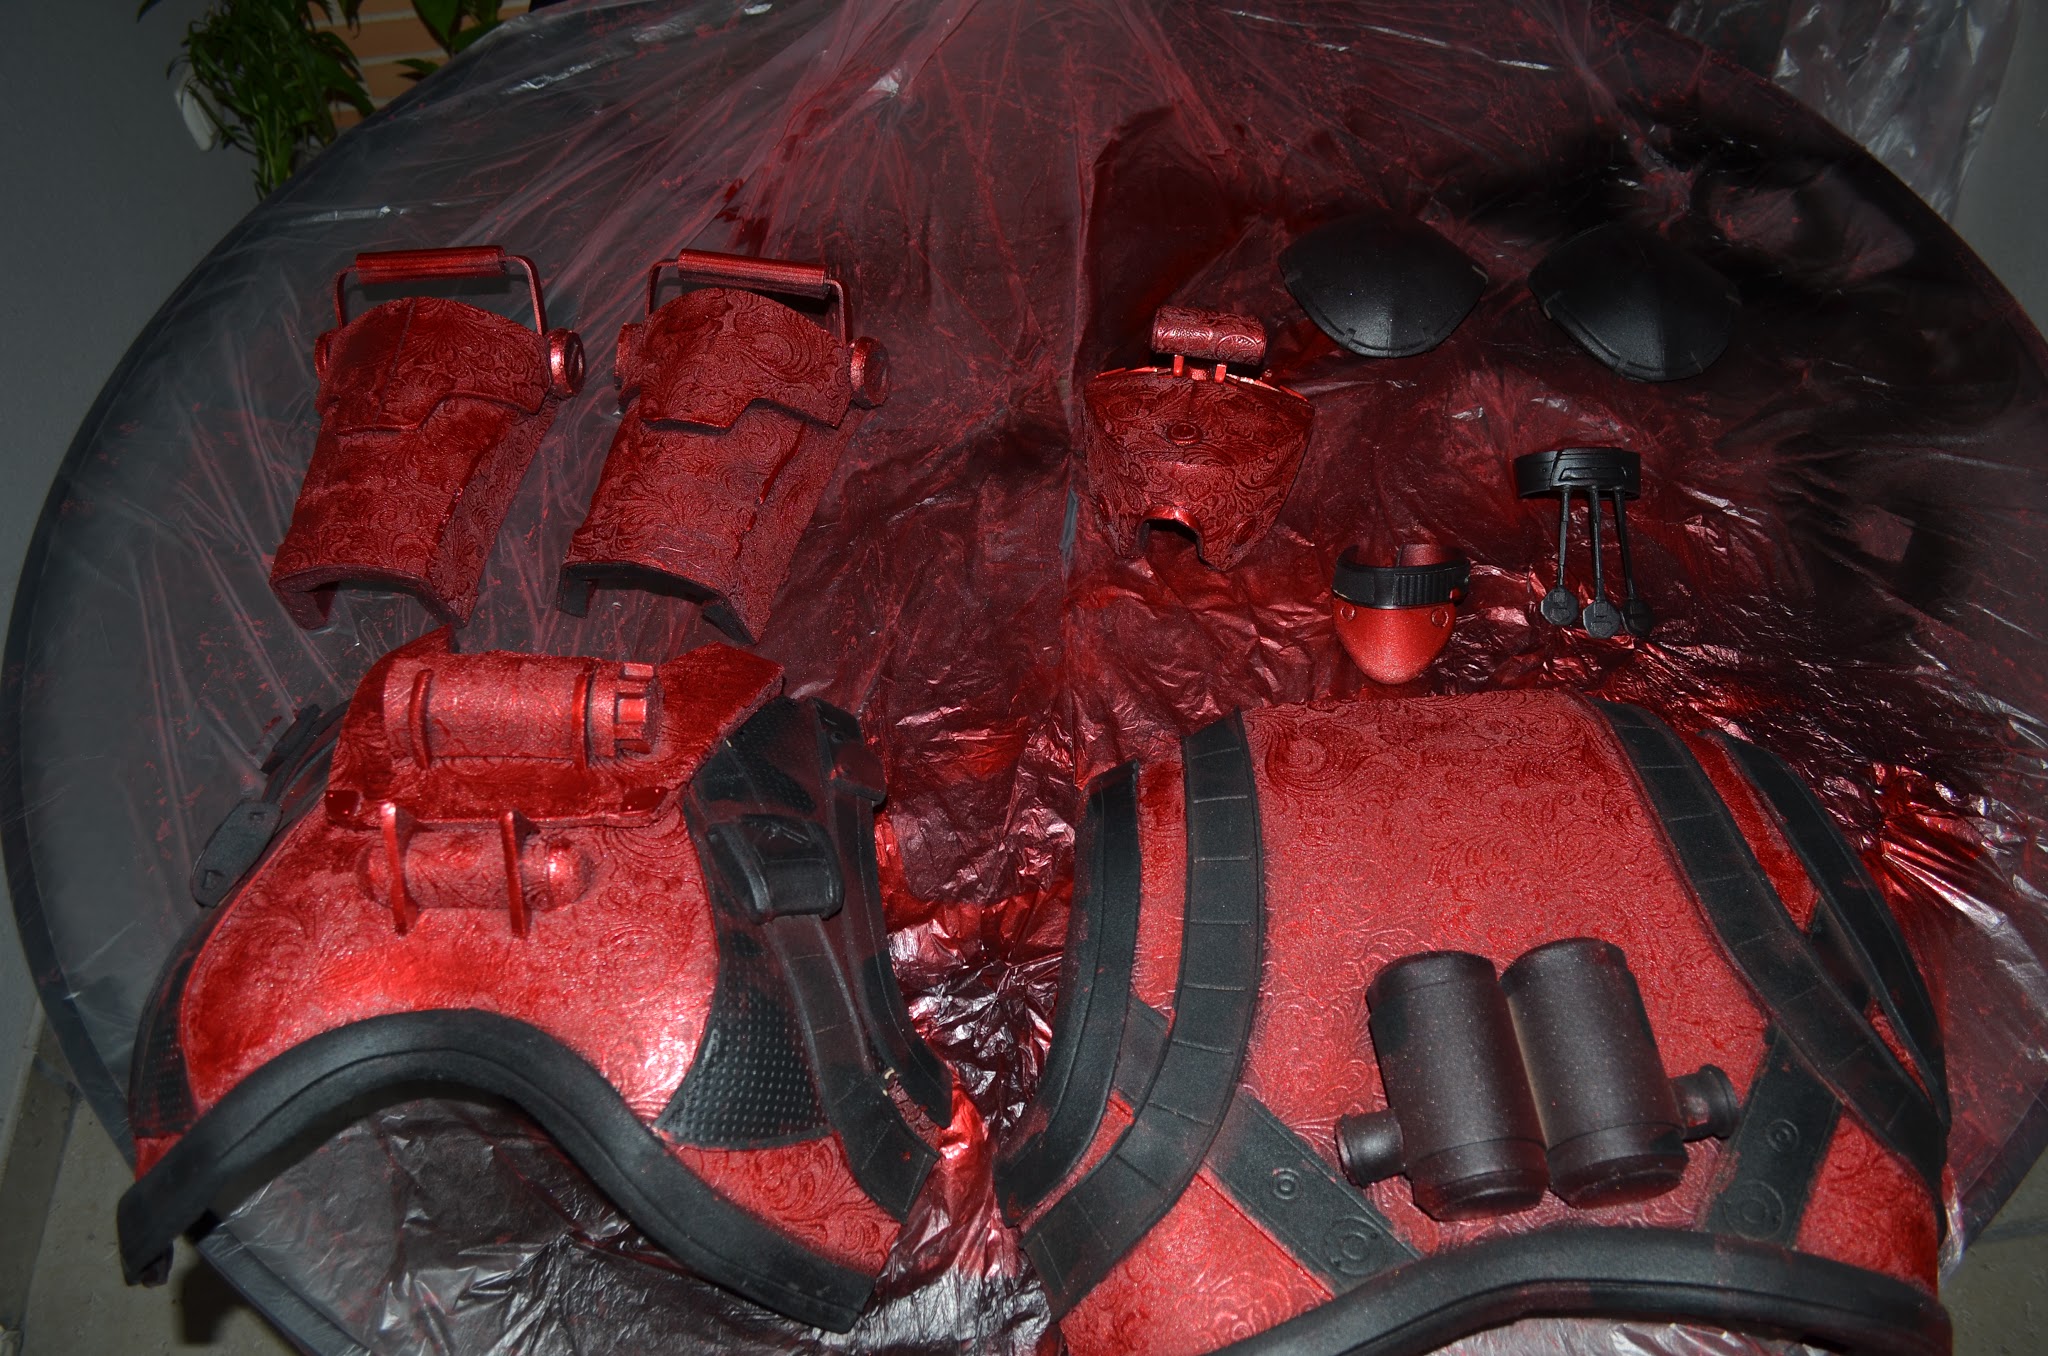
For the black, grey and Brown parts I used my new and amazing airbrush. Painting with it is soo cool: it needs less amount of paint tan when using brushes, the brush streaks are no longer a problema and, in long term, is cheaper.
I painted the smaller details with a brush, of course. Masking little parts is a waste of time.
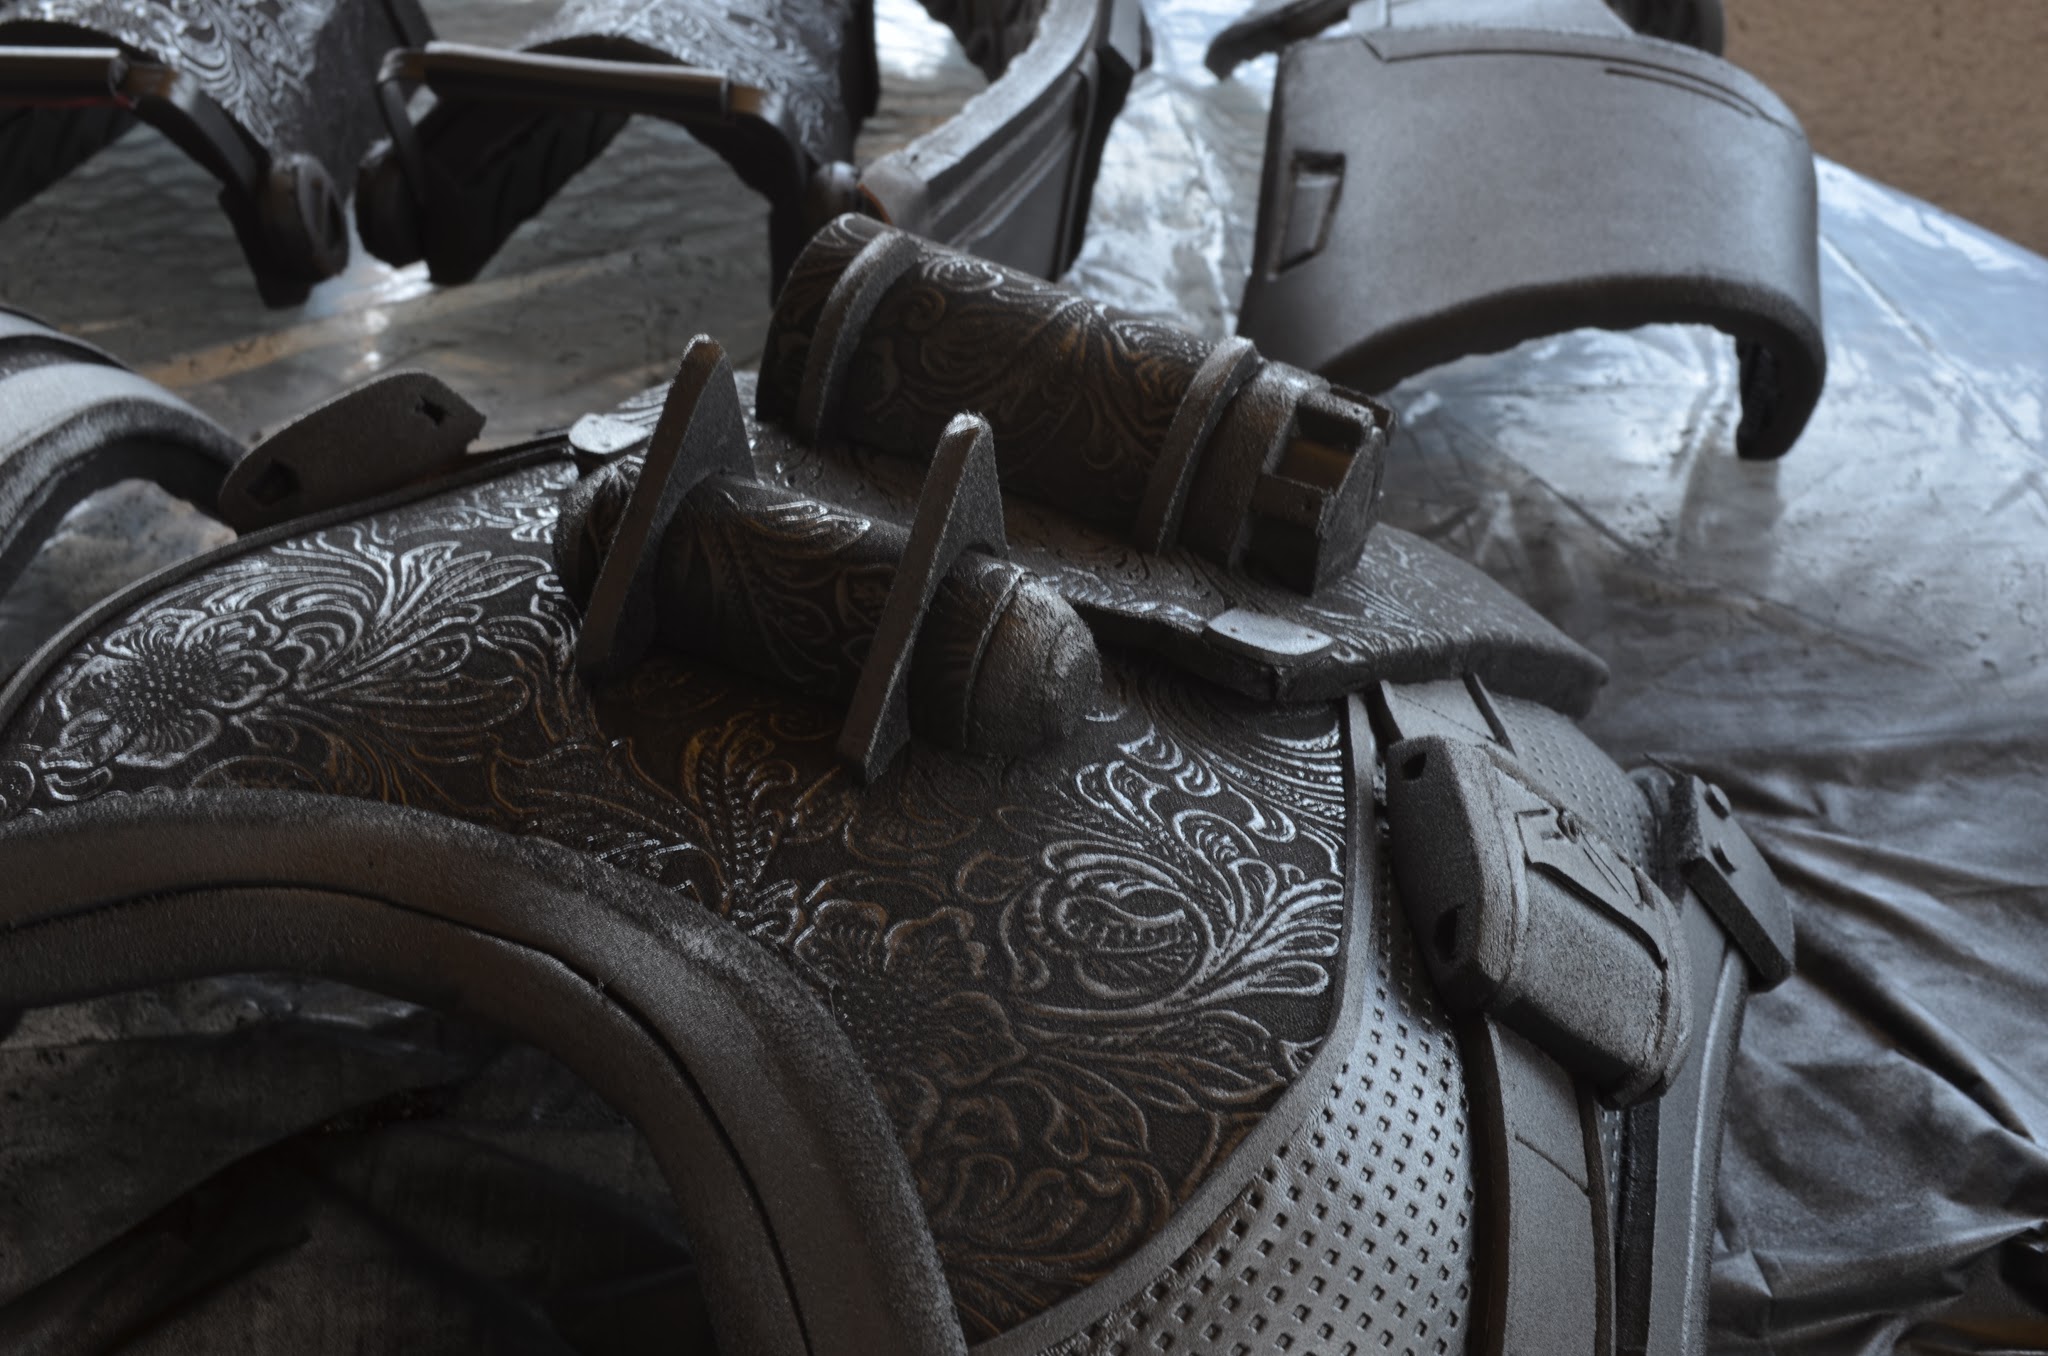
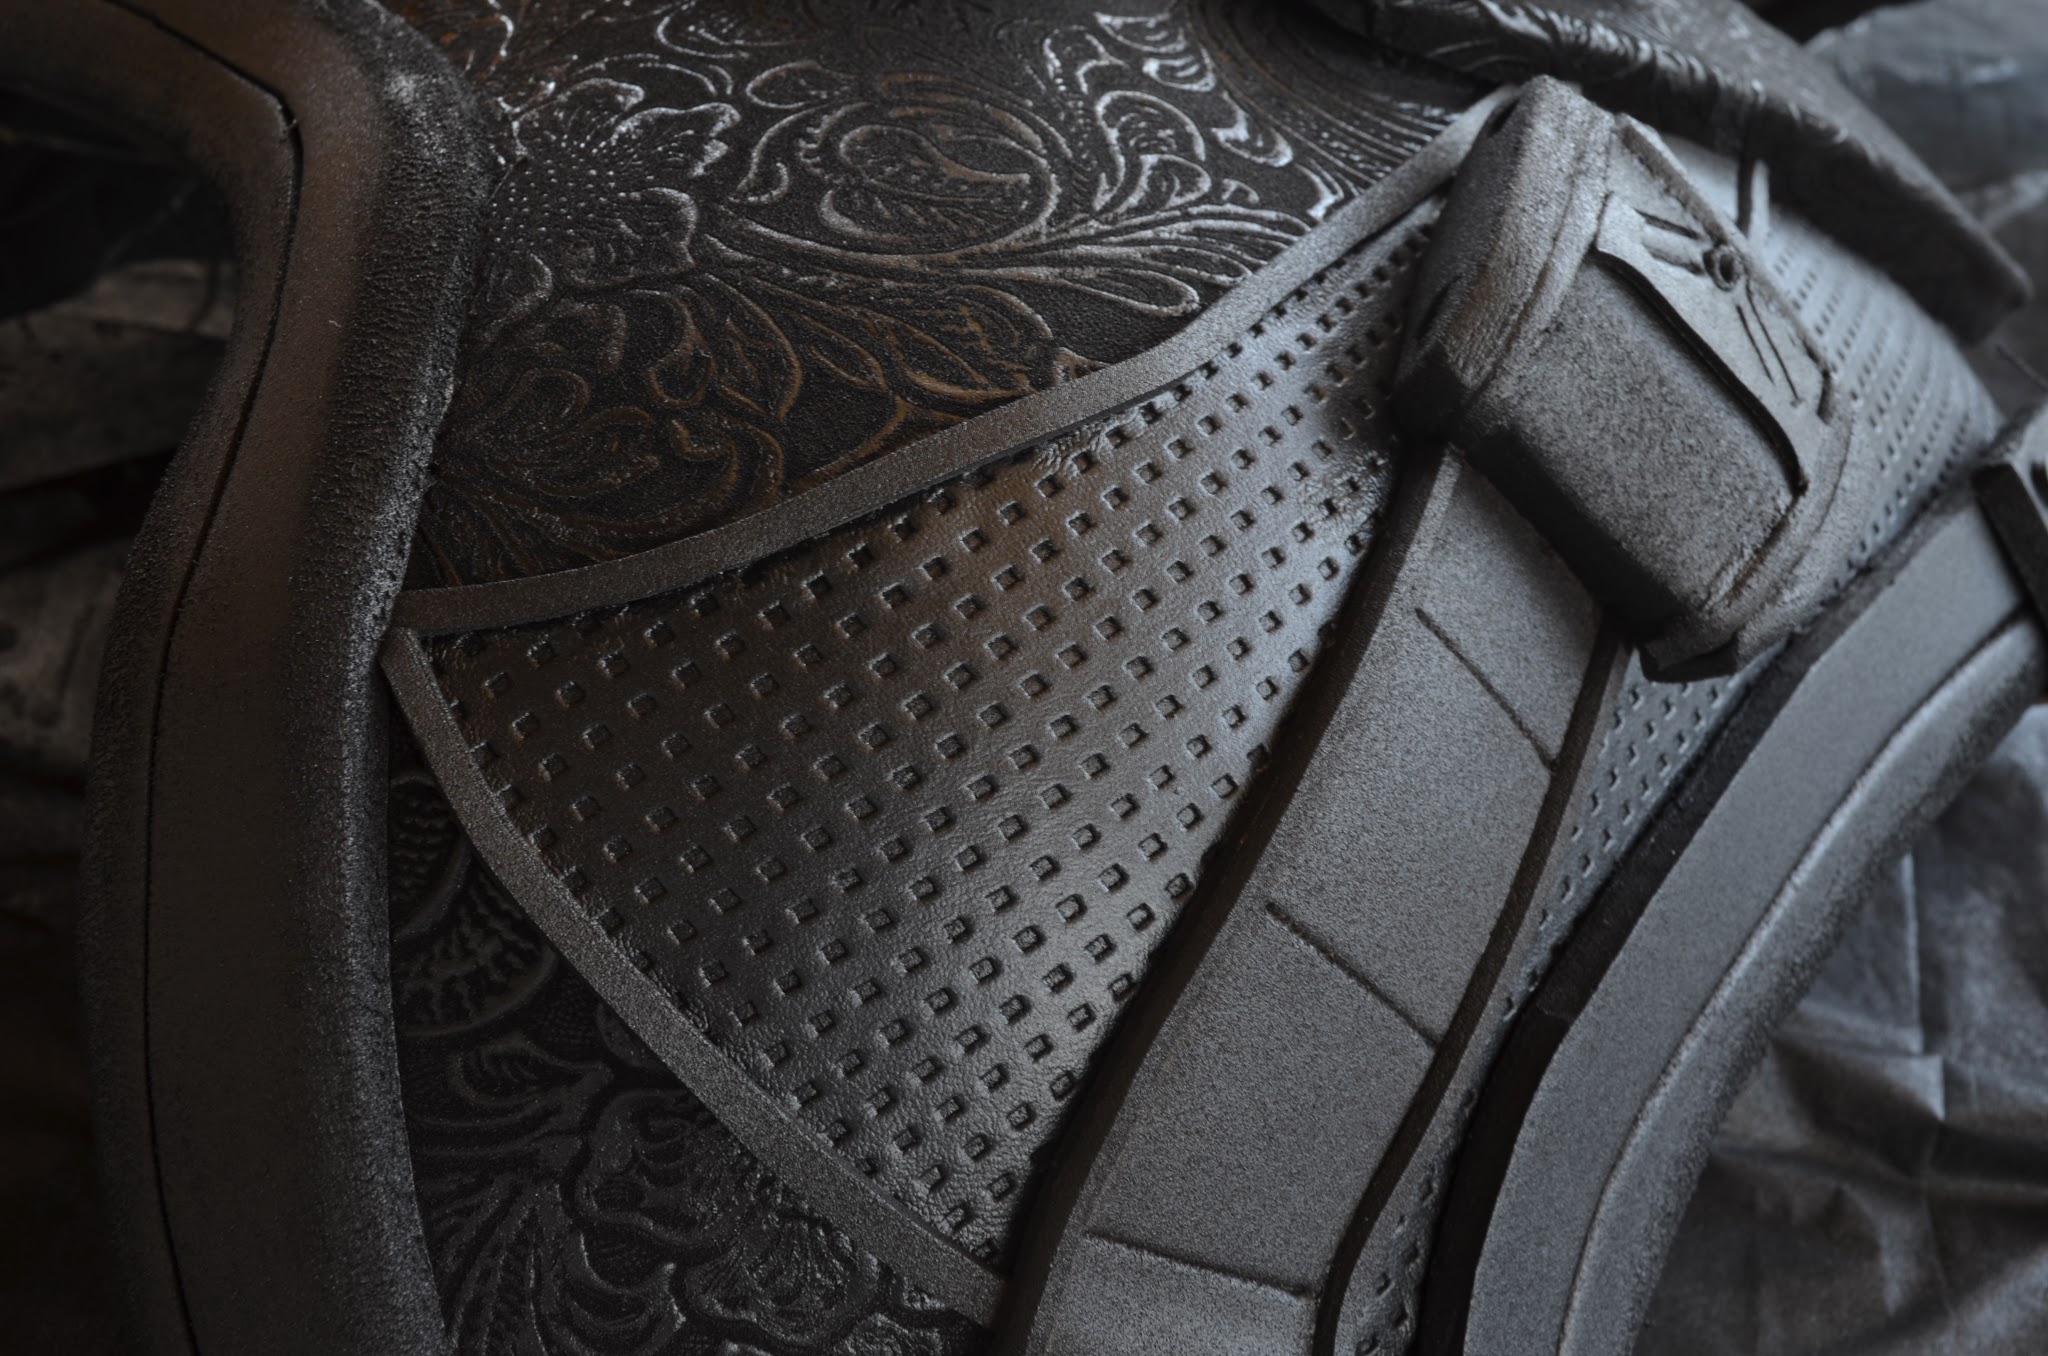
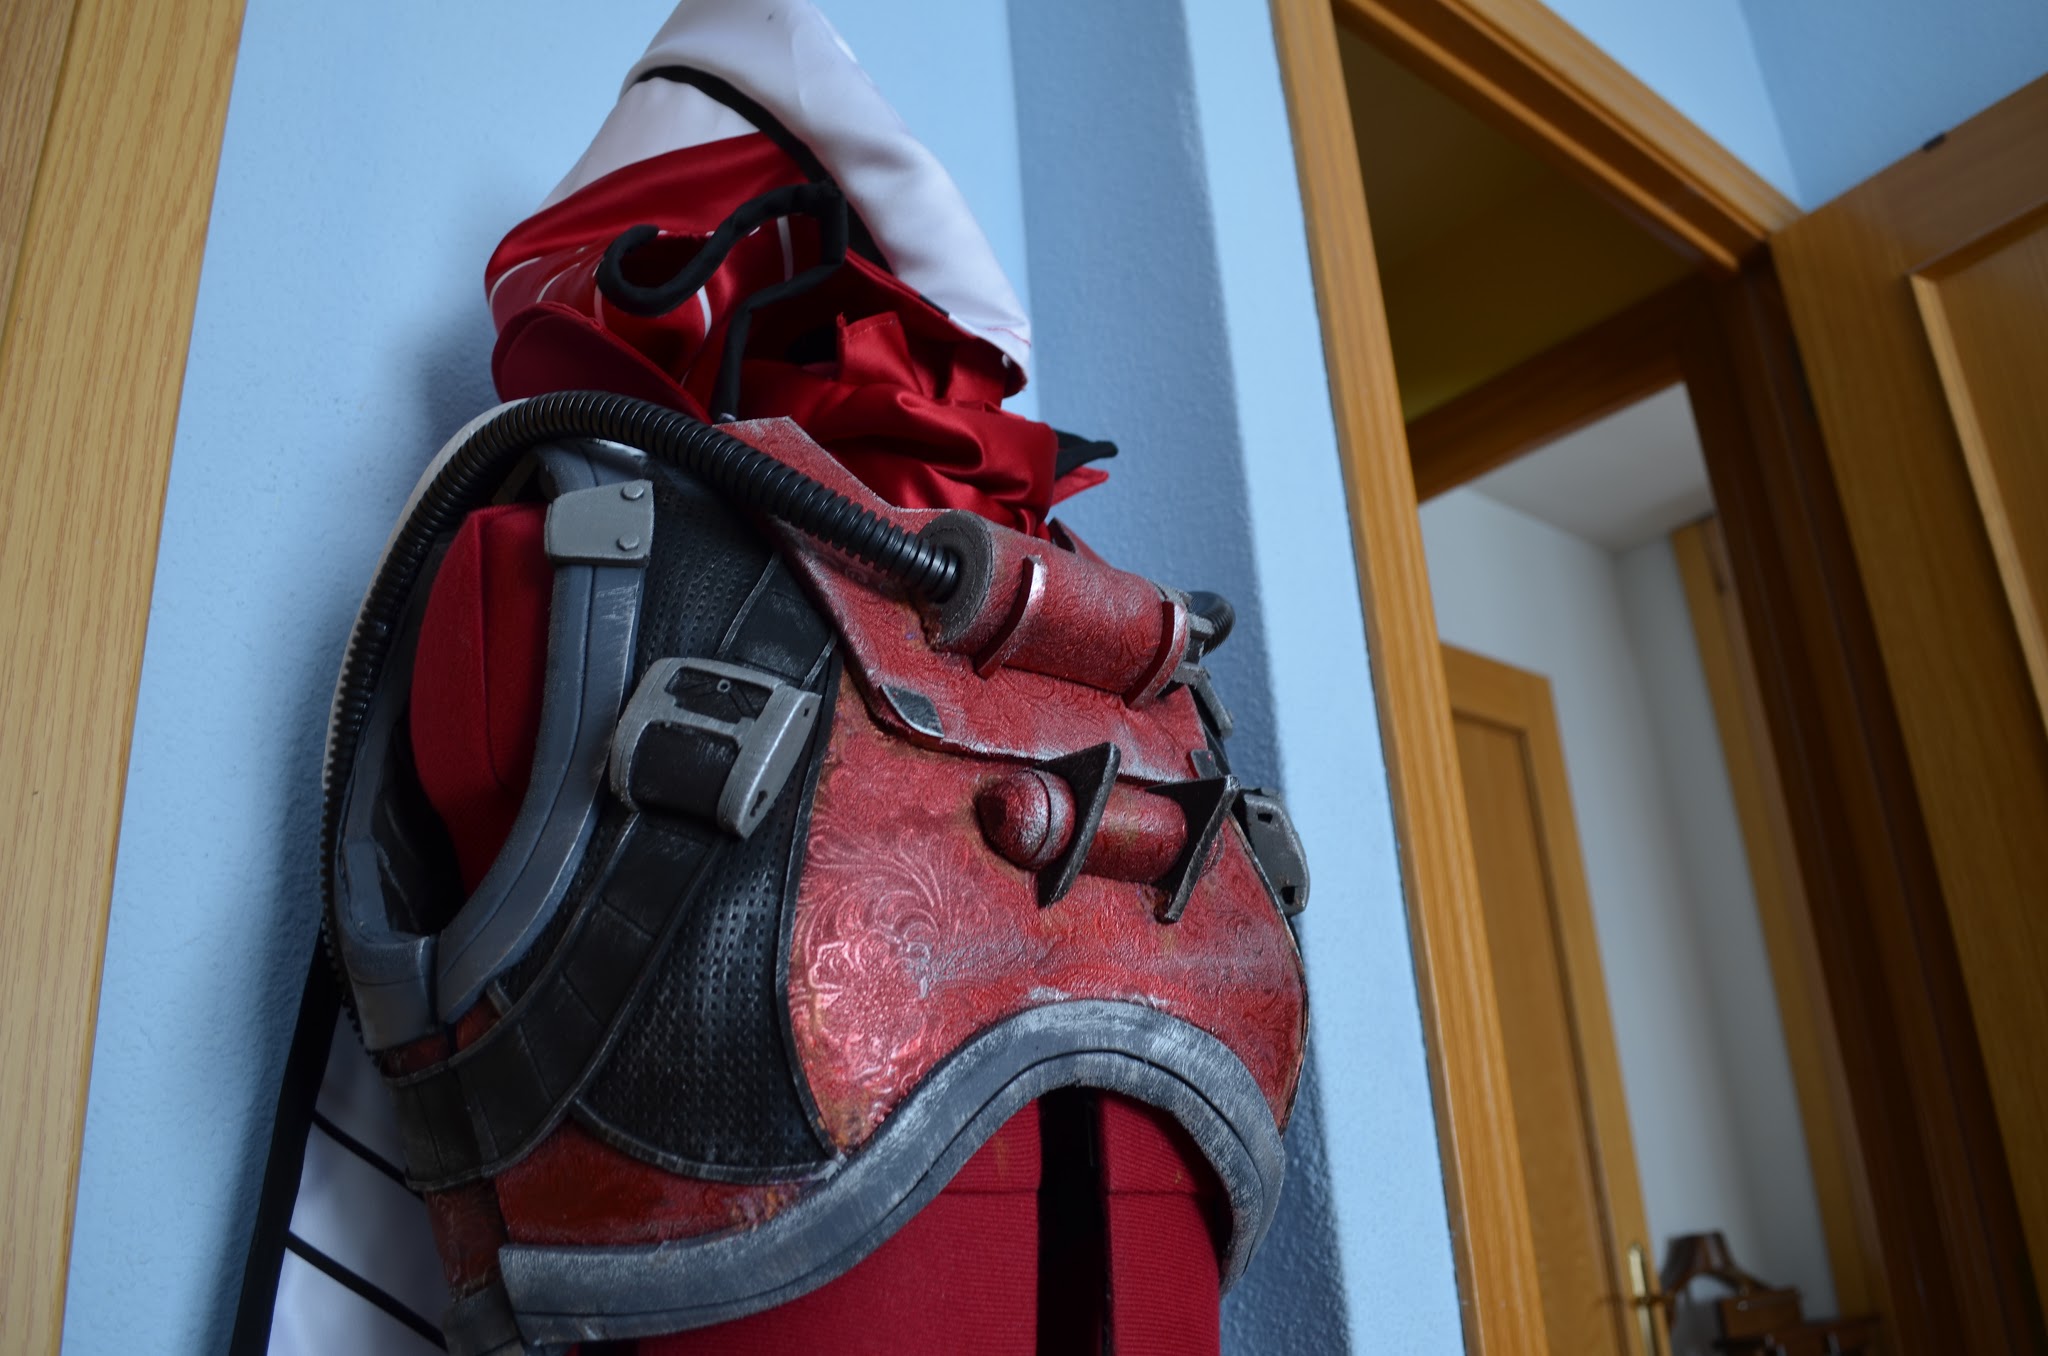
Once the base colors were painted, it was time to make my favouruite thing: weathering! I first used a copper color paste with a brush in some parts to emulate rust/ decoloration. As you can see, I did this in the inner corners and relieves, where dirt tends to accumulate.
Then I dry brushed the edges with silver acrylic paint to give it that chipped look. It’s amazing how the overall look changes with these little details.
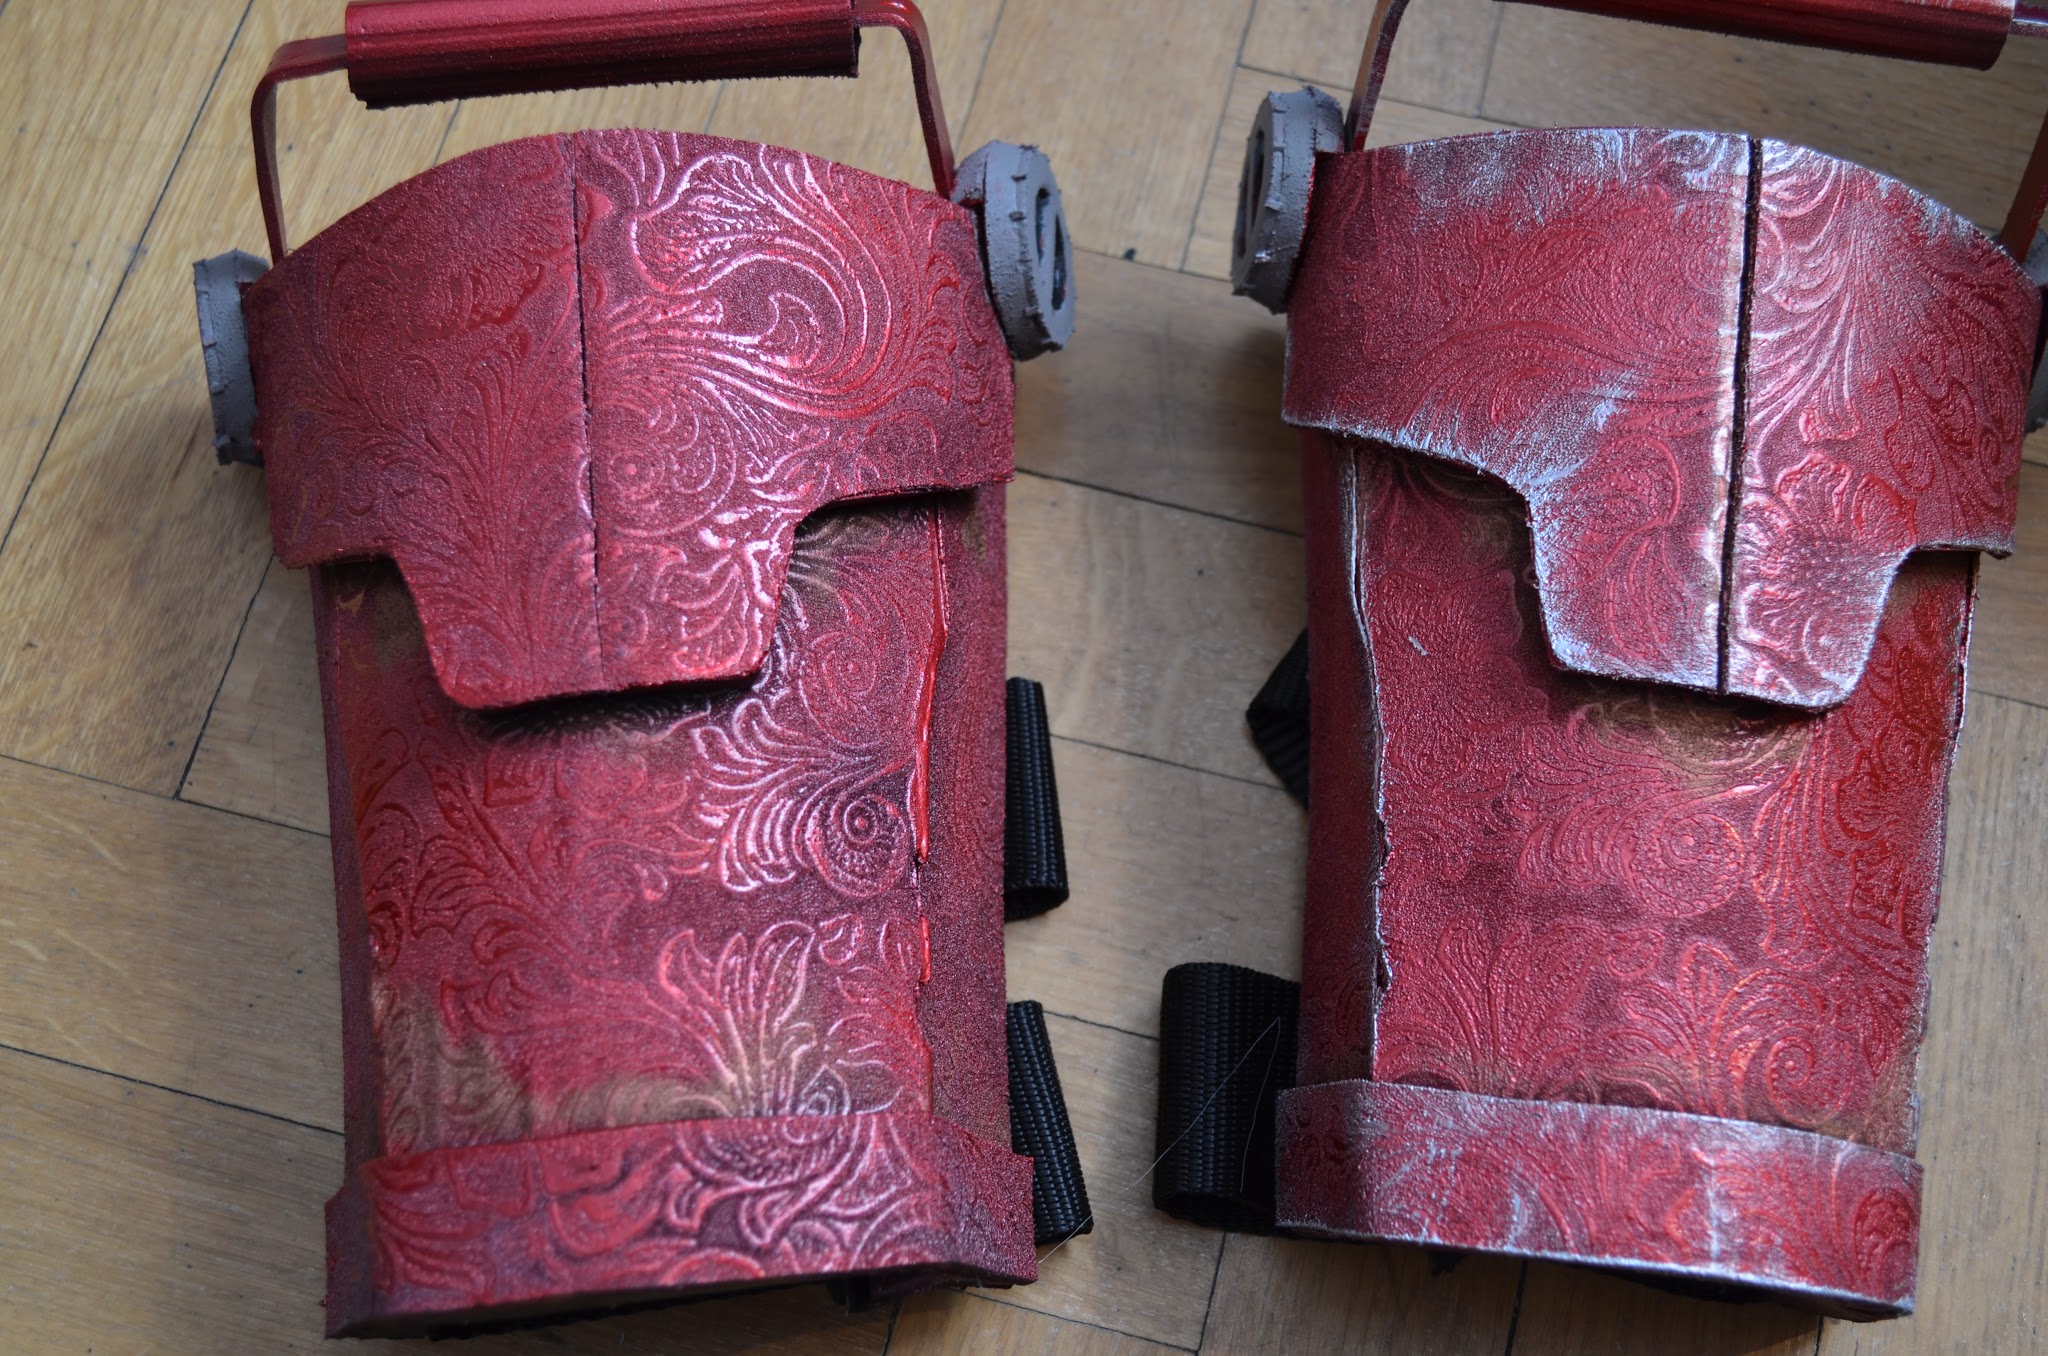
Also, in some places, I tried to make a more dramatic rust effet by glueing a mix of wood glue and sand. Once it was dry, I painted that sticky mess using al the colors of the rainbow basing myself in some rust pictures I found on google.
If you enlarge the picture below you’ll see it in some little corners. I don’t know if it looks like real rust but, anyway, I like that effect.
I used a mix of lighter brown colors on the edges of the belt to emulate age-worn leather.
And it’s done! All dirty and weathered after a journey across the Solar System.
And that’s all for today. As always, you can find me on Facebook, Twitter and that stuff. If you have any doubts, critiques or advice, feel free to comment below.
Thanks for reading!


