Hello! Today I’m finally going to tell you how I made Zer0’s jacket for Erik, which, after making Maya’s, seemed easy peasy.
I’ll start by offering you some screenshots.
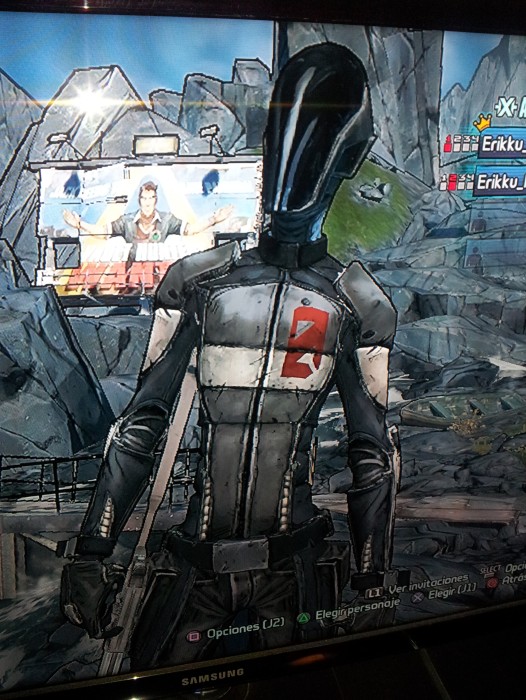
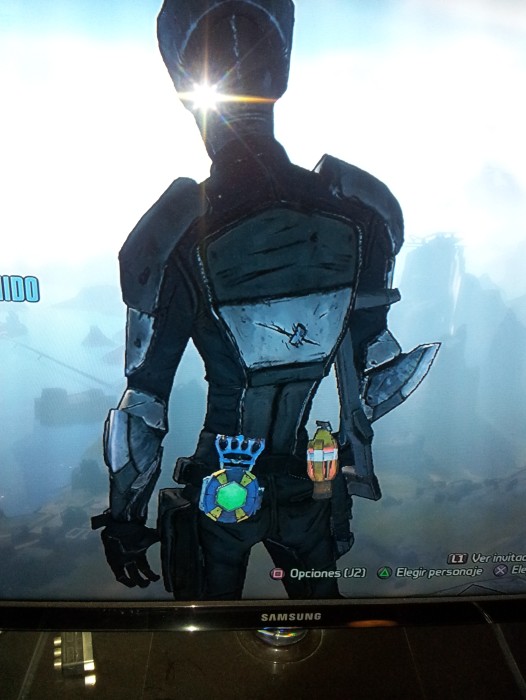

I made a small outline and took out the patterns. Zer0’s body is very stylized, very skinny and tall, so it took me a while to adapt it to Erik’s measurements and I didn’t know if it would look as good as I wanted.
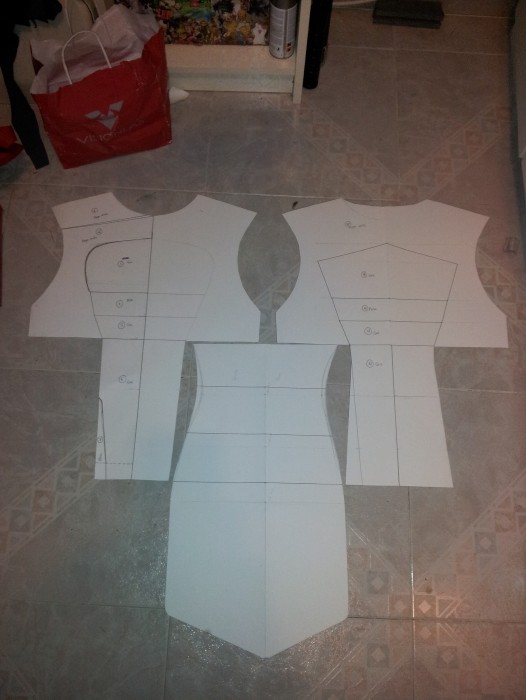
The side part is made in such a way that, without losing the straight lines of the parts with which it joins the front and back, it compensates and darts are made so that it is as fitted to the body as possible. That’s why they have a curvature at the joints.
For this jacket I used black vinyl, black fake leather, gray fake leather, white vinyl and silver vinyl. I made it entirely with scraps that I had at home, which filled me with joy.


To give it that armor-like touch, but without losing that tight look, I lined all the pieces with foam fabric. This way, we gained rigidity, we got the jacket to have a “biker” look and we didn’t fill it up with any volume either.
I lined piece by piece and joined everything together with the lining placed beforehand so that the seams were more noticeable and gave a less flat effect.

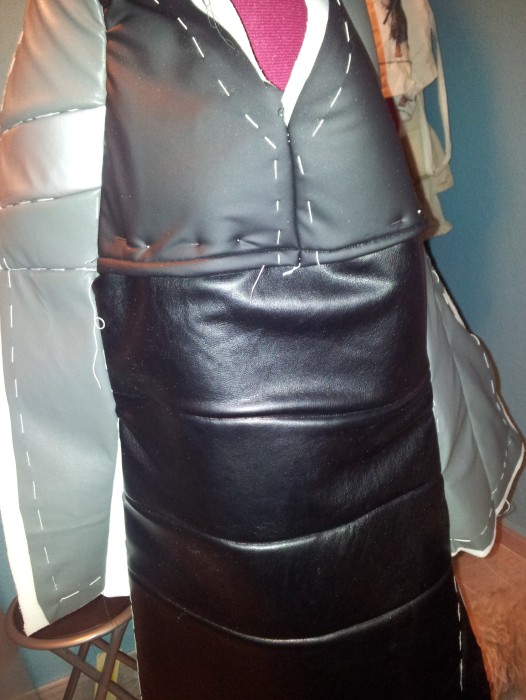

On the sides I did not make several pieces. I did it all at once and machine sewn the horizontal lines so they were quilted.
I joined the sides with the front and the back. I made the upper part of the side pieces to be below the fabric of the others so that the kind of jacket he wears could be seen. I didn’t want to merge those two pieces. Also, to emphasize that effect, I use different kind fo fabrics to make them, but when we painted them, it stopped being noticeable.
After trying it on Erik, I had to add a shoulder piece because it was too small for him. I didn’t care because Zer0 also has some seams there.
That’s how it looked.


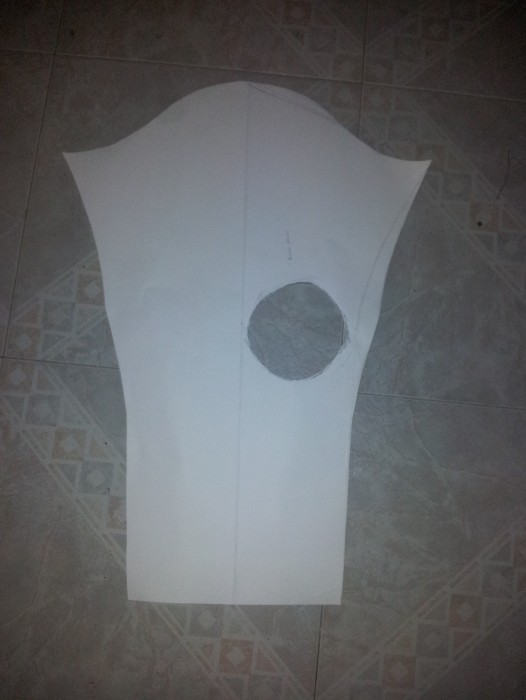
I put the jacket aside and continued with the sleeves. I took out a normal sleeve pattern and made the hole in the front for the elbow.
We spray painted the hex texture it using a hexagon that I made for this purpose (with a cutter. It took many hours and a pain in my hands that lasted for days).


As you can see, the painting was anything but even, but once the sleeve was done with the decorations and armor, it was not noticeable. We thought about trying it again, but since everything in Borderlands is a mess, we kept going and in the end it worked out.
I sewed some details so that the relief remained, since I had also lined the sleeves with foam. I added the white vinyl trim and finished off the elbow holes.

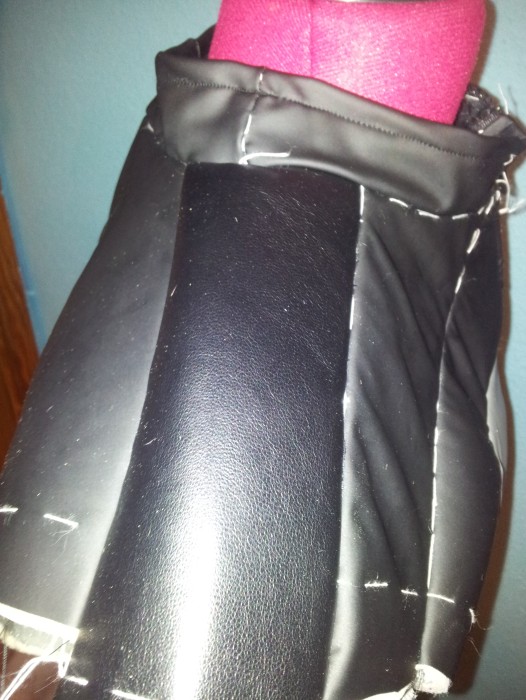
The neck gave me some headaches. First I made one with a straight pattern and it looked horrible and wrinkled. Luckily, Erik was researching and came up with a very curious method to do it.
He made two cardboard circles: one with the diameter of his neck and another with the diameter of his jacket collar, and joined them with a small tube that separated them from each other to the vertical measurement we wanted.
We rolled it on the fabric, impregnating the edges of the circles with talcum powder and the pattern came out on its own.
And I don’t have any photos of all this because my dear Imageshack has lost them and I don’t have them on my PC. Very sorry.
To finish, I painted the clothes to give it a touch of cell shading.

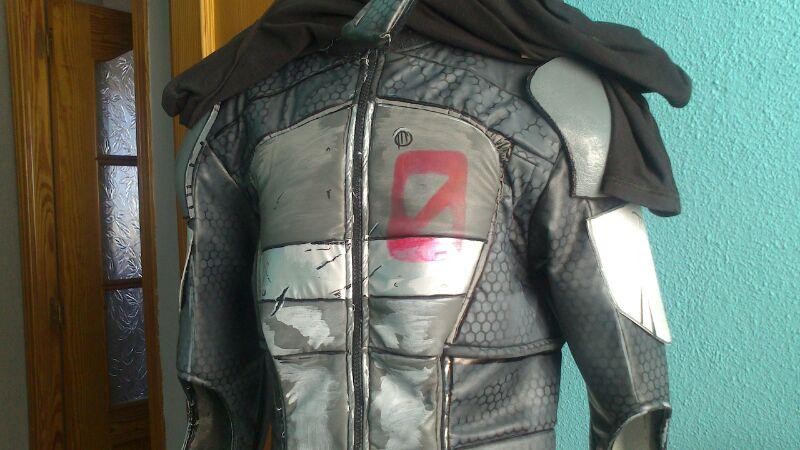
Erik made the helmet, the sword and the armor.
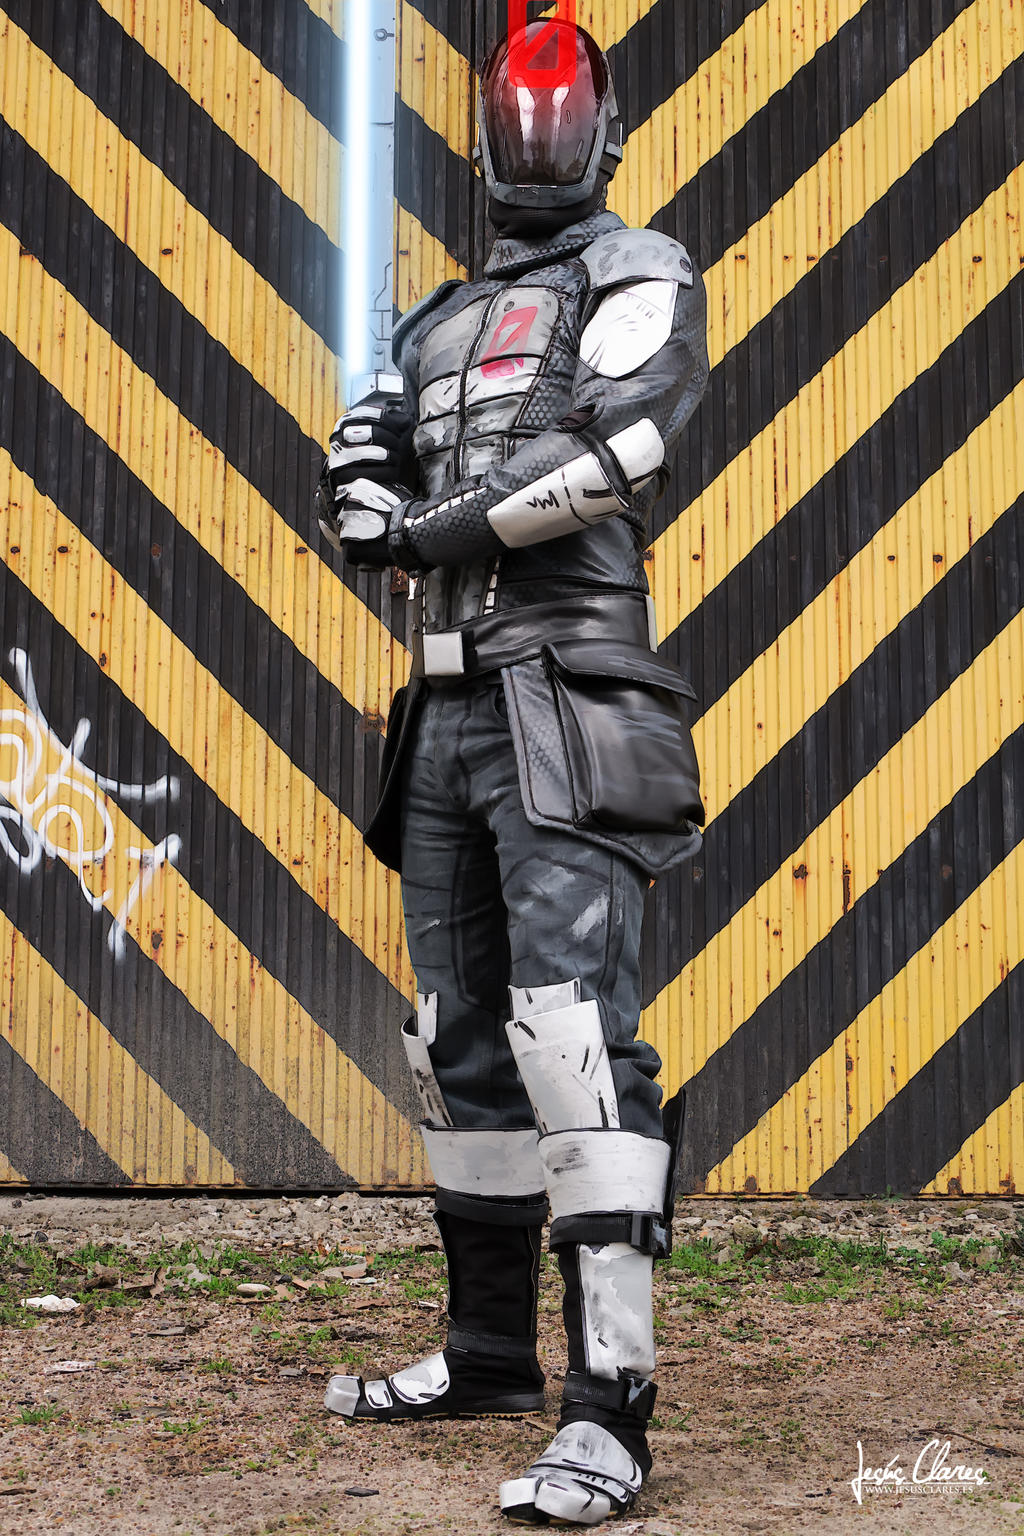
I leave you a couple of photos so you can see the final result:
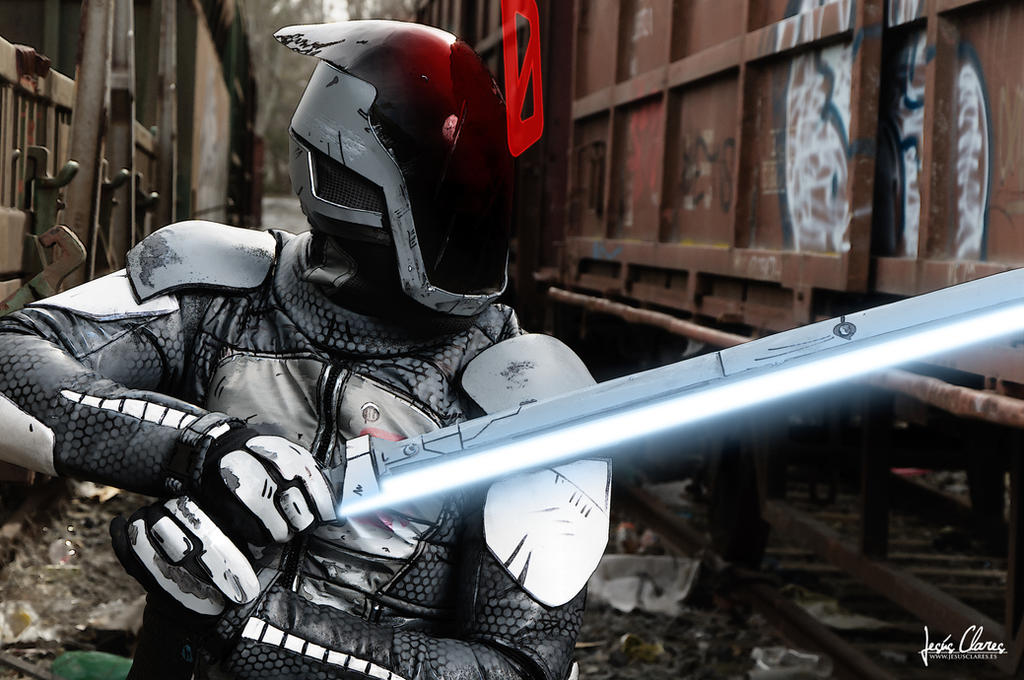
One curious thing about this cosplay is that many people have told me that the textures, including the hexagons, were put in with Photoshop. On the one hand it flatters me and on the other it outrages me.
Lately I’m seeing a lot of comments like this on very good photos in which people believe that just because it’s a good photo, the cosplay is automatically modified to the hilt. I’m so tired of it and I’m even more tired of making tutorials like this and still having to read all that shit.
And, be careful, when others fix their suits and bodies with Photoshop, it’s upu to them, I don’t mind. I just want to say that in our photos, what you see in terms of outfits, makeup and physical shape is what it is.
Anyway, thank you very much for reading. I hope that everything we write here is useful to you.


