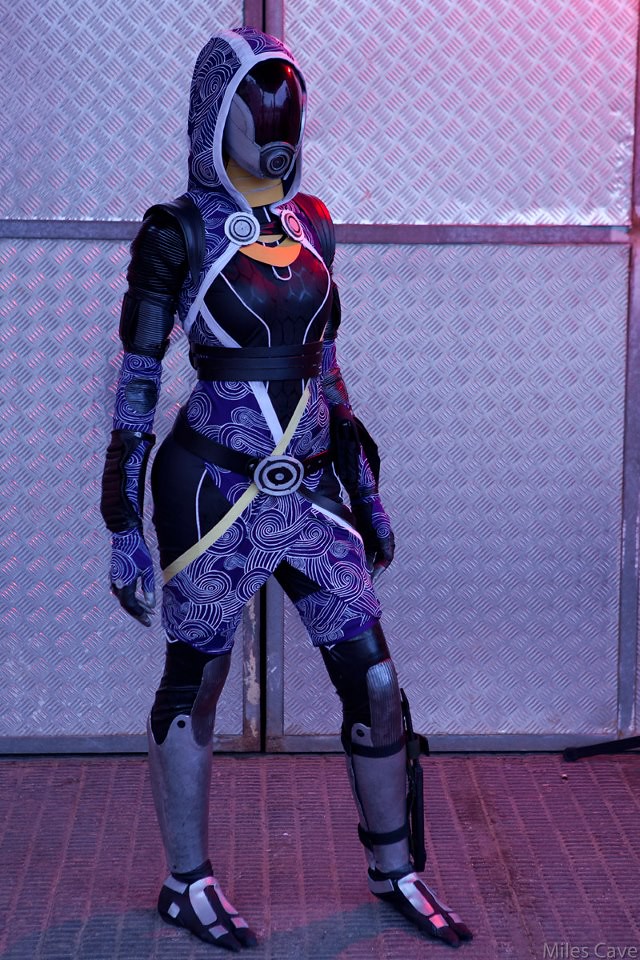
When I decided to try to improve Tali’s cosplay, I thought I could make the bodysuit properly and change a couple of details. And it’s very funny because they are things that make this garment look almost exactly the same as the old one, only I know that they are better made, which makes me feel infinite pride.
Here you can see how I made the first suit. I took out the suit patterns a little wildly, put unnecessary darts and seams, make it all with the same type of fabric, paint it on top of myself and glued the white cord and sewed everything very poorly. Shameful; But it was good for me to make that “protosuit”, since it helped me mke the most difficult thing in a garment as tight and with so many pieces as this one. The “protosuit” became patterns for the definitive suit.
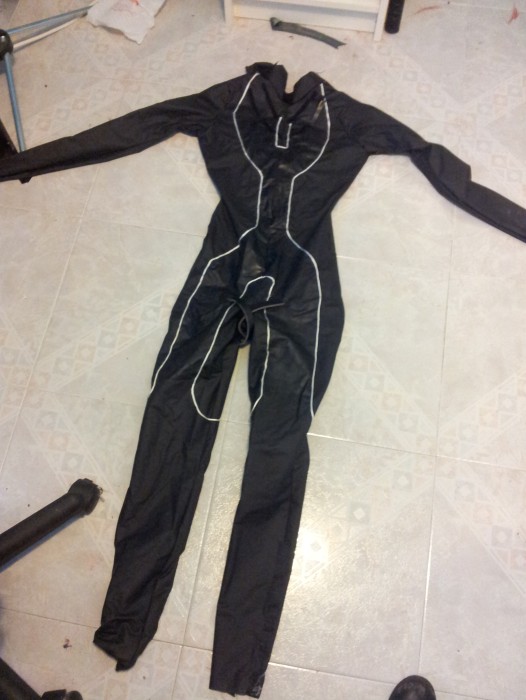
Here is the first garment, on the ground, fearful, ready to be dissected. I was scared.
If you want to make a catsuit with different pieces like this one from scratch, you can wrap yourself in duct tape, make someone draw the pieces on you and then cut it out to obtain your pattern. There are plenty of tutorials in youtube!
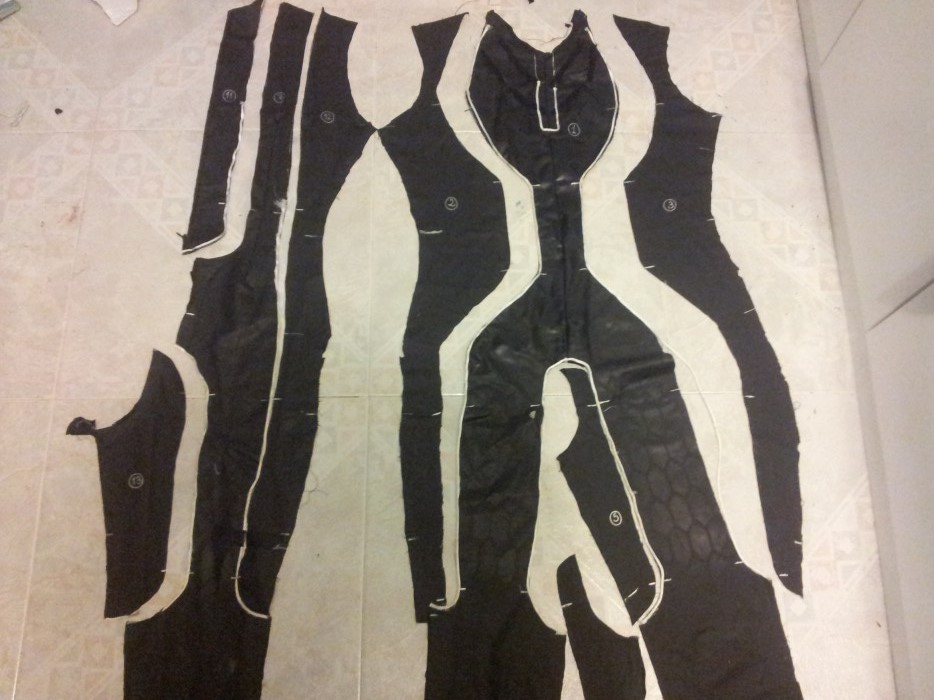
I cut it removed the zipper, left the back divided and numbered the pieces so I wouldn’t get lost in the process.


I separated all the pieces very carefully trying to make the shapes as clean as possible so that, when I passed it and put it back together, it would be as little deformed as possible.
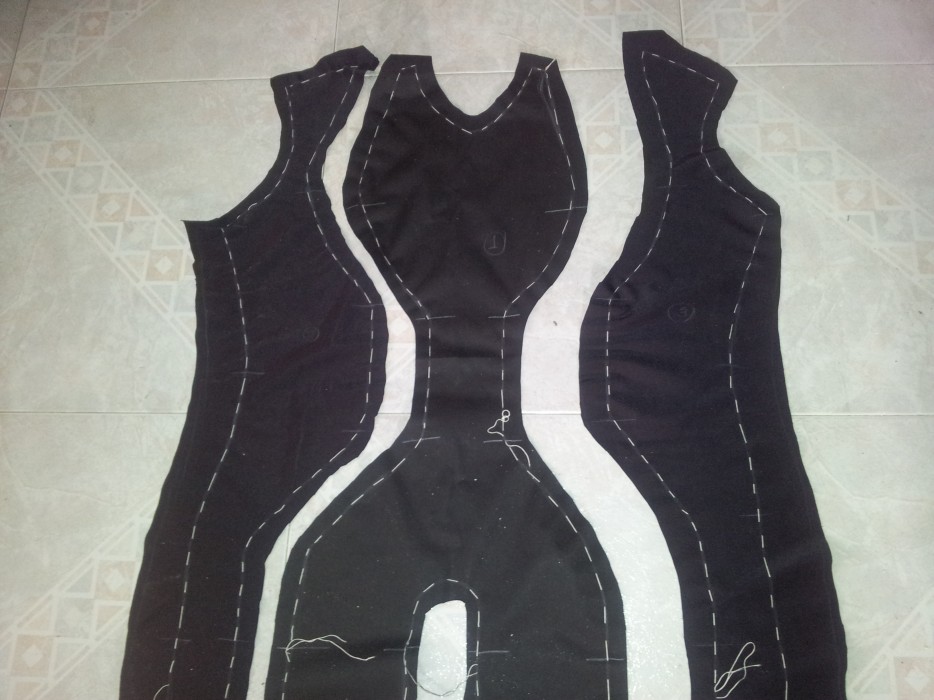
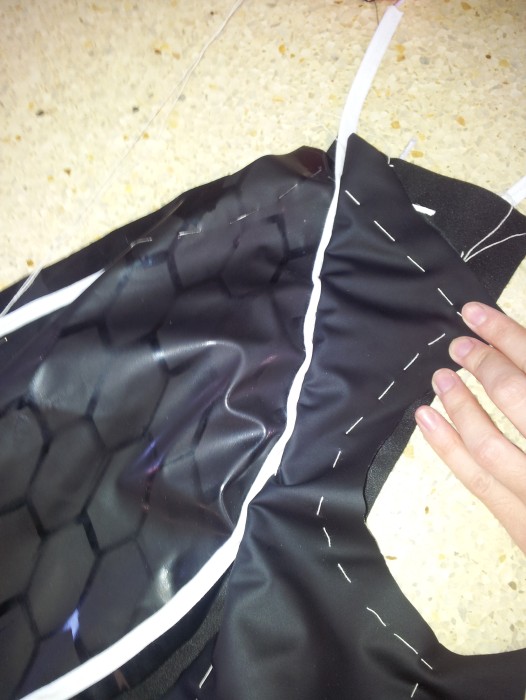
I transferred the resulting patterns to the new fabrics: shiny black vinyl for the parts with hexagons and matte black vinyl for the rest . Since the white marking pencil usually fades and I was going to rub the fabrics a lot, I passed basting thread along all the contours so that the shape of each piece could be clearly seen and even touched.


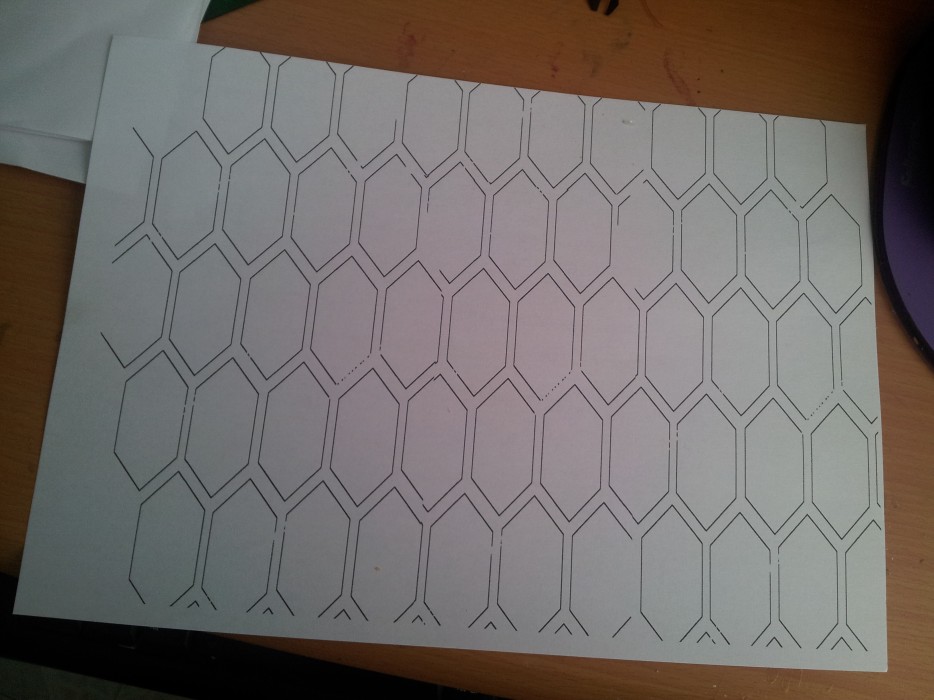
I printed a hex template and transferred it to a crappy plastic to paint over the glossy vinyl with matte black spray as well. The truth is that I’m a bit shitty when it comes to these things. I could have used a dark gray color to make it more noticeable. Then I was grateful because the first hexagons I made came out messy; but I think it would have gained “coolness” with a tone that was a little more differentiated from the background.

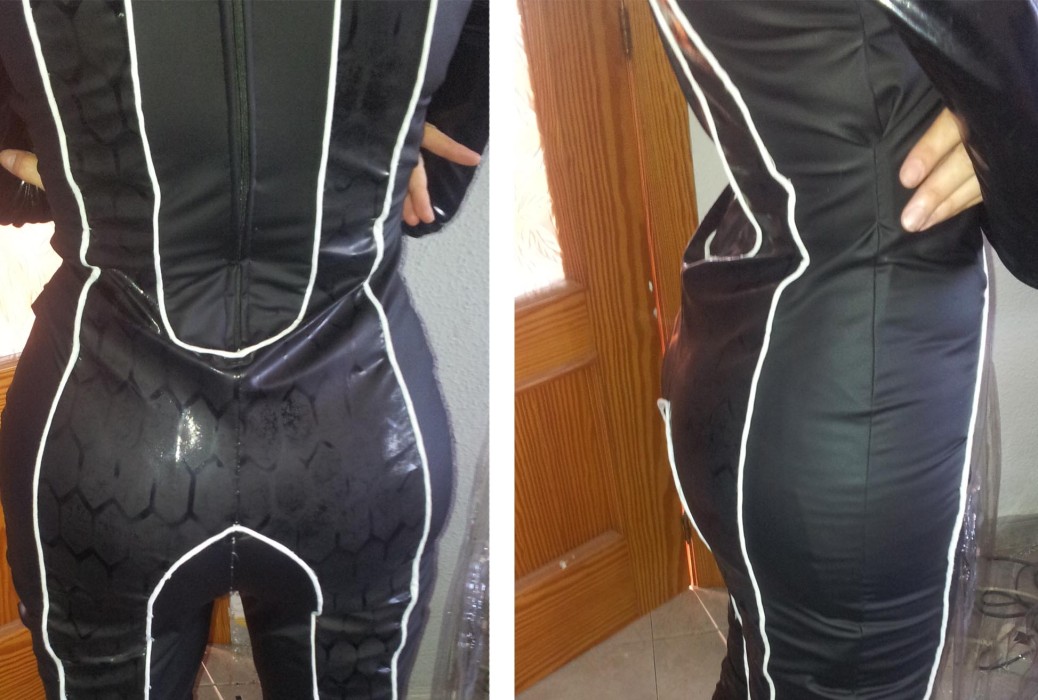
After making the hexagons, the really good part began: putting everything together. And not only that, but I wanted to put it together by including the wonderful and novel (for me at least) piping. Ta-daaaa!!! What the heck is a piping? It’s a bias-covered cord. Well look, I was sure that I wanted to remake this jumpsuit by adding the drawstring integrated between the seams, so typical in sportswear, and so elegant at the same time. I think that the previous month they had talked about a similar technique in “La vida en cosplay” (A Spanish cosplay magazine), I searched for it on Google and I found this magnificent yet simple tutorial in which they explain how to do it and put it on . And I was encouraged to do so.
Bias with cord, cord with bias, bias cord with cord, cord with bias. How dizzy! I went to the haberdashery, bought white bias tape and white mouse tail (the cord) too (although the color of the latter doesn’t matter because you can’t see it) and I tried to integrate everything into a single and wonderful sewing structure.

I started by basting it to some pieces and then I basted it together with the remaining pieces and, finally, machine sewed it all. Joining with pins and then basting two layers of vinyl with the bias cotton in the middle and trying to get the cord to come out just along the length between the two seams was hard work, the result of which, since it was my first time doing this, I cannot complain.


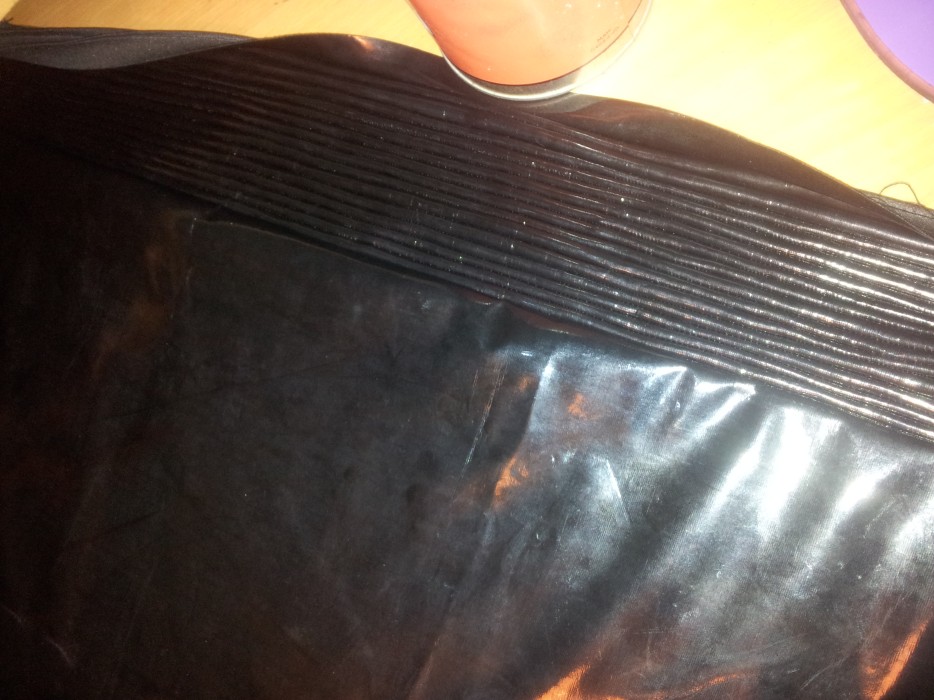
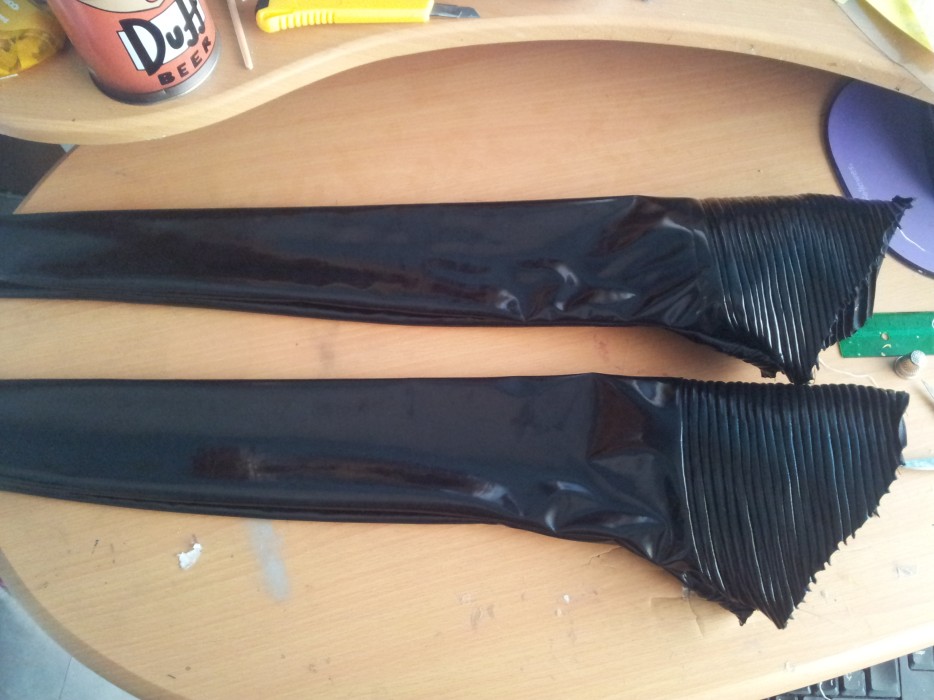
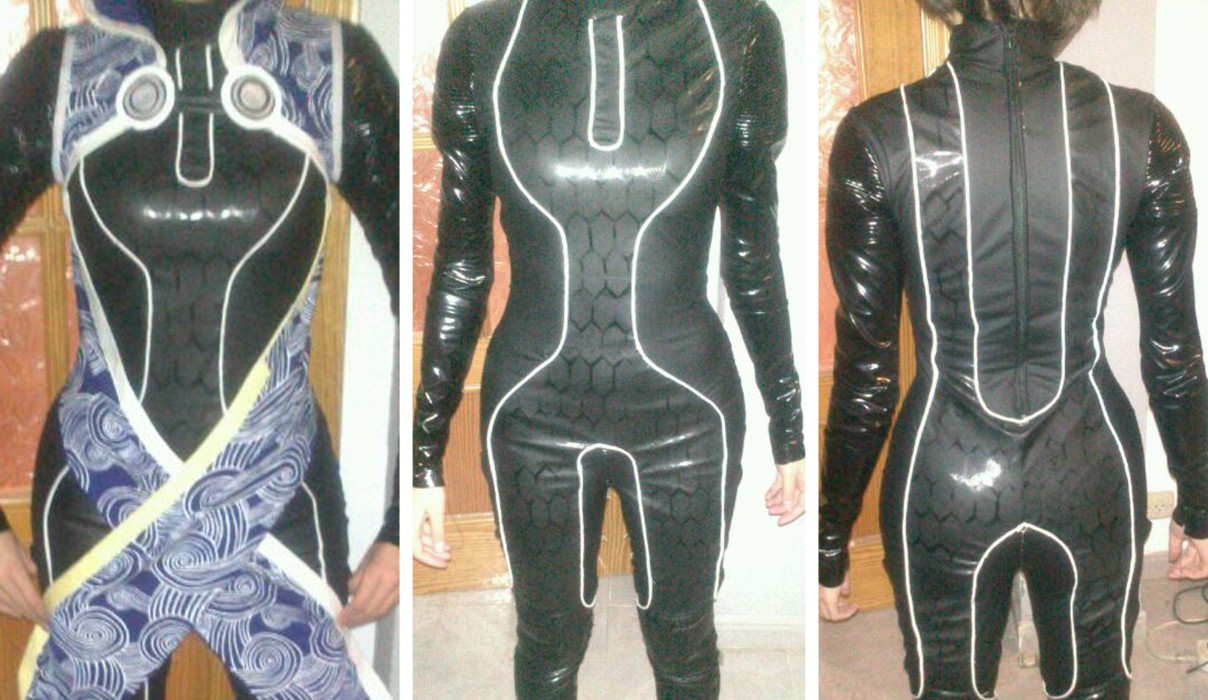
Once the jumpsuit was assembled, I added the sleeves. Another thing that bothered me about the old jumpsuit is that the sleeves were smooth on top and nooooooo, they are not smooth, they are ribbed!!! (man, for God’s sake!). I took a piece of shiny vinyl, marked a bunch of parallel lines at a distance of half a centimeter and joined them together with the sewing machine (I started basting, but I got bored, so I started using the machine directly). I attached the grooved pieces to the rest of the sleeves. As with the jumpsuit, I made the patterns for the sleeves, copying the old ones so that they would fit just as tight.
I joined the sleeves, added the collar and added the zipper in the back.
But that is not all; As many of you will know (from my many enthusiastic tweets ), I bought an ass at Pornochino® (A very slutty costume and accessories shop in Madrid) and made some foam hips because I felt (after reading several comments about it on my photos) that to get Tali’s shape I needed a little extra help. And the truth is that for other characters I don’t care a little about that, but the quarian hips are on the one hand very identifying and, on the other, easy to emulate. So I decided to listen to the trolls/kind critics and it seemed like a good idea.
I wanted to do the same with the legs and put some padding in the calves, but I overstitched the legs of the jumpsuit and left it so tight that I couldn’t put any padding in anymore.
And this is how it looked as a whole and with the printed fabric on top:
And with this I finished the suit. In total it took me about two weeks to do it. Above all, it gave me a lot of work basting and joining everything by hand, trying it on and closing the seams between pieces that had piping. Then the machine work was much more bearable and, luckily, it turned out well the first time because I was very afraid of destroying one overall so that the next one would look bad, but everything turned out as I expected.
Soon I will tell you how we modified the legs and with that we would finish the explanations about Tali.
Thank you for reading!


