Good afternoon/evening, libidinous levorotators on this side of the local group! (What I just called you).
Today I’m going to show you how we made the armor of Garrus Vakarian, our favorite turian, with sexy results.
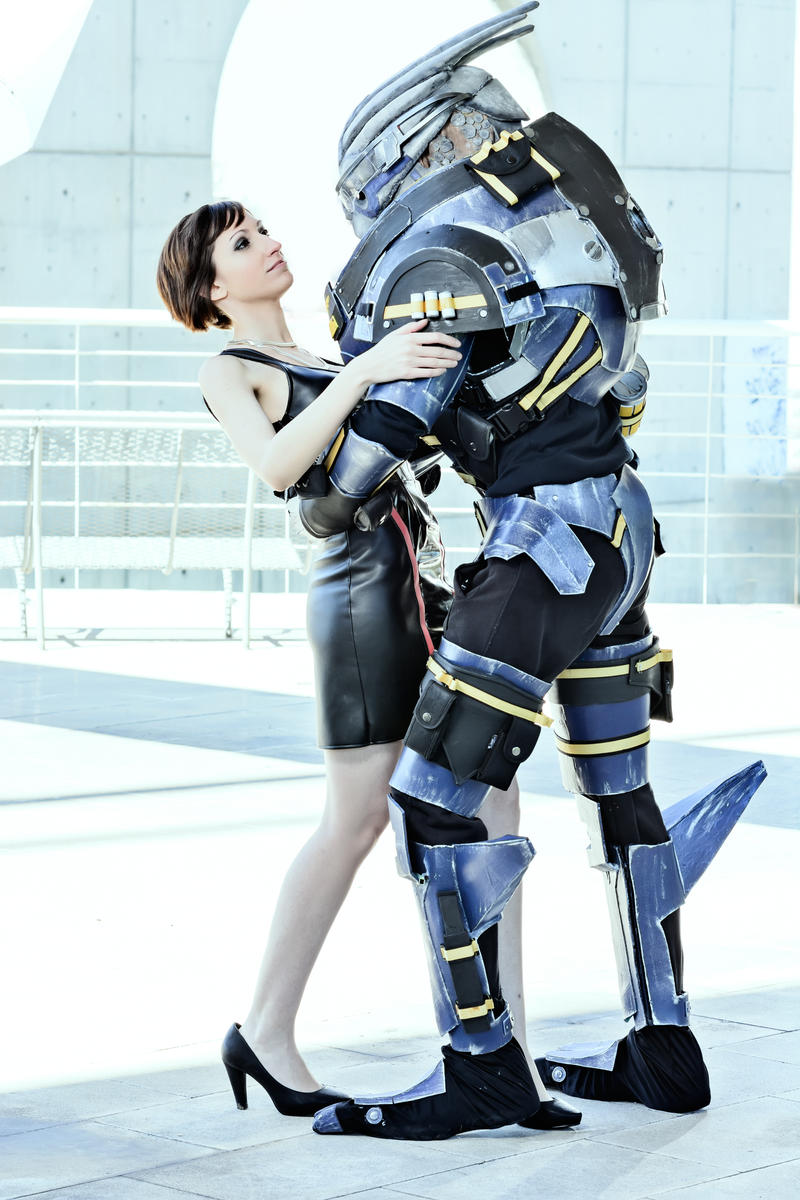 |
| Now you are expecting my child. Photo by Jesús Clares . |
First of all, I would like to mention two tutorials that served as a guide and companion for this task:
– Red Nebula Studios: step-by-step explanation of how he made his Garrus cosplay.
– XRobots: Priming and plastic coating techniques for EVA rubber parts and other materials. A tutorial discovered by my sponsor, .
Secondly, I have to tell you that I did not take photos of the entire process step by step; but, luckily, with those two tutorials you have a more than complete guide on how to make this cosplay.
Let’s start!
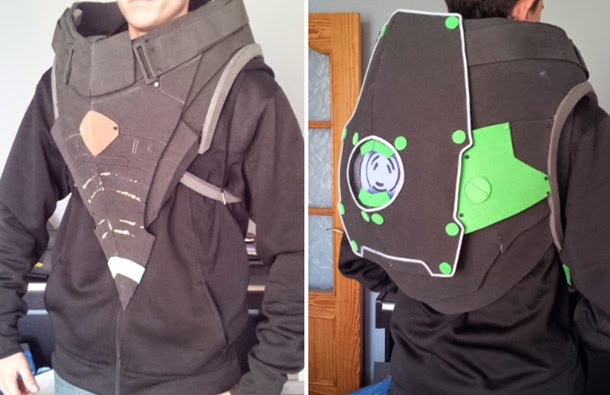
We chose to reproduce the alternative armor form Mass Effect 3.
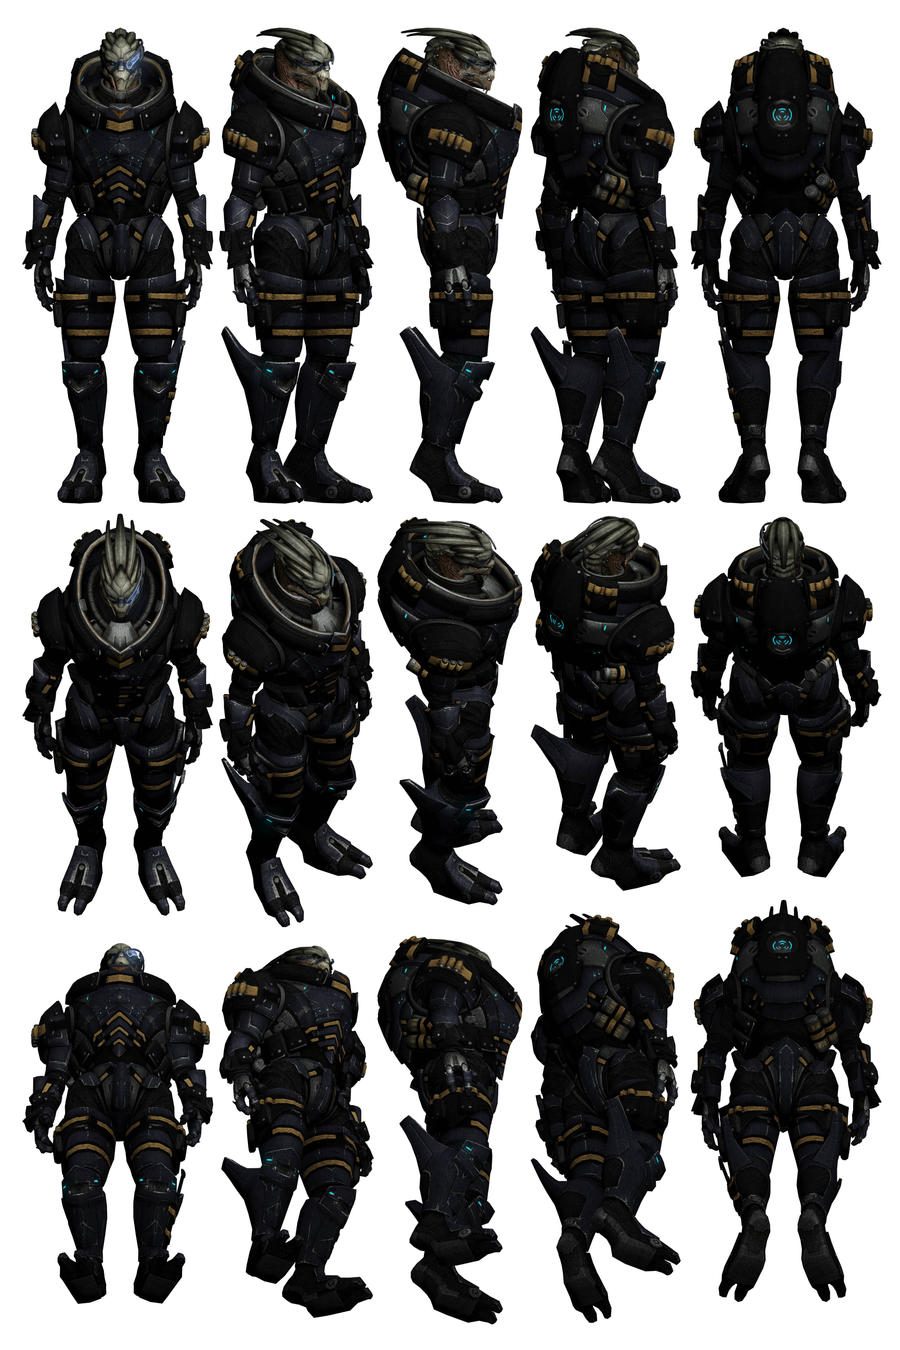 |
| Troodon80 reference |
It seems incredible, but the first time I talked to Winters about doing a Garrus cosplay was about three years ago and that was when we started it (of course, we had the design of Mass Effect 2 in mind). At that time we were experiencing the fiberglass fever and we thought it would be a good idea to make the torso armor with this material.
Came out pretty handy because the first thing we made was a wire structure to later cover it with fiberglass.
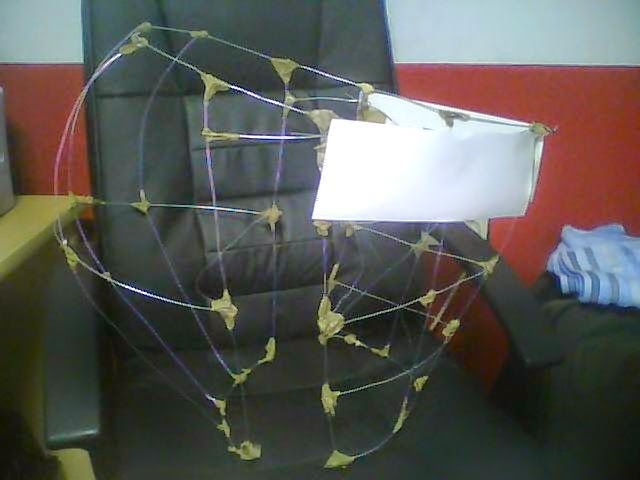 |
| We only have this photo from those times. |
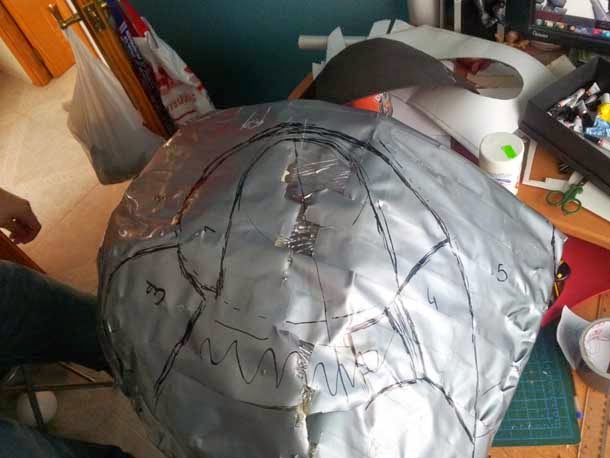
What we did in the end, years later and thanks to greater experience in this type of work, was to use the resulting fiberglass piece as a base to draw patterns. All of Garrus’s cosplay is made with 2 and 5mm thick EVA foam sheets held together with huge and addictive amounts of super glue and its patterns are the product of the ancient technique of wrapping oneself and other things in masking tape (( Here you can see a magnificent tutorial by Kamui ,an expert on the subject).
First we wrapped tape around the fiberglass base and drew the armor pieces on the tape
 |
Then we cut out the pieces and put them on paper. As always, we only take out one half to replicate the other symmetrically with the same patterns (but turned upside down, don’t mess around with me).

We take out the pieces in EVA foam and glue them with dollar store super glue. Cyanoacrylate is our friend!
In this way we obtained the eva foam base.

To finish, we added a lot of details and silly ornaments with craft foam of different thicknesses. In this photo I think it can be clearly seen due to the variety of colors used.
From now on, this tutorial is a kind of very awkward flash forward because I don’t have images of the patterning or the assembly of the rest of the armor components. But hey, the breastplate is actually the least intuitive part to make because it’s not human-shaped. With that we have already covered the topic.
We made both the arm and leg armor by wrapping Winters in duct tape, taking the patterns directly from his anatomy and adding very simple structures on top.
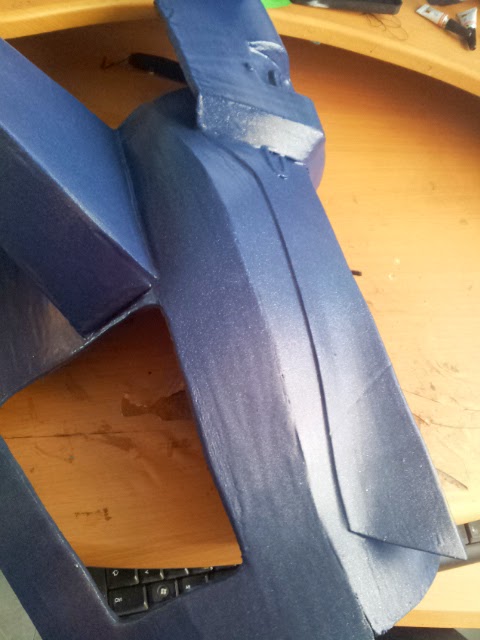
Once all the pieces were finished, we proceeded to coat and prime them. As the Xrobots tutorial dictates , we apply three layers of glue and one of Smooth-Cast 65D polyurethane resin. In Spain it can be purchased here . It is an expensive material, but the finish and durability that it provides to the EVA foam are totally worth it. It goes from being a soft and porous armor to a work of nuclear engineering.
This resin has a very short working time, in two minutes it begins to harden, so you have to make small mixtures and apply it dividing the work into small areas as well. We prepared the mixture, set the timer and got busy brushing like there was no tomorrow.
Tip: When the time comes when it starts to dry, it is best to stop applying it because, although it may seem like it can still be spread, there comes a time when it acquires a chewy texture that leaves horrible marks.
You can invite two or three friends to make the most of it and race to see who can cover the most in the least time. Try it at home!
 |
| Freshly primed parts. |
When we had everything primed, we got to work on the paint. We gave everything a first coat of blue spray.


Then we sprayed it lightly with silver spray to give it the dirty metallic effect it has.
We painted the silver and black parts with acrylic paint and finished with the finishes using the dry brush technique. Applying silver paint especially on the edges to achieve a worn look. In the following images I think it can be seen quite well.
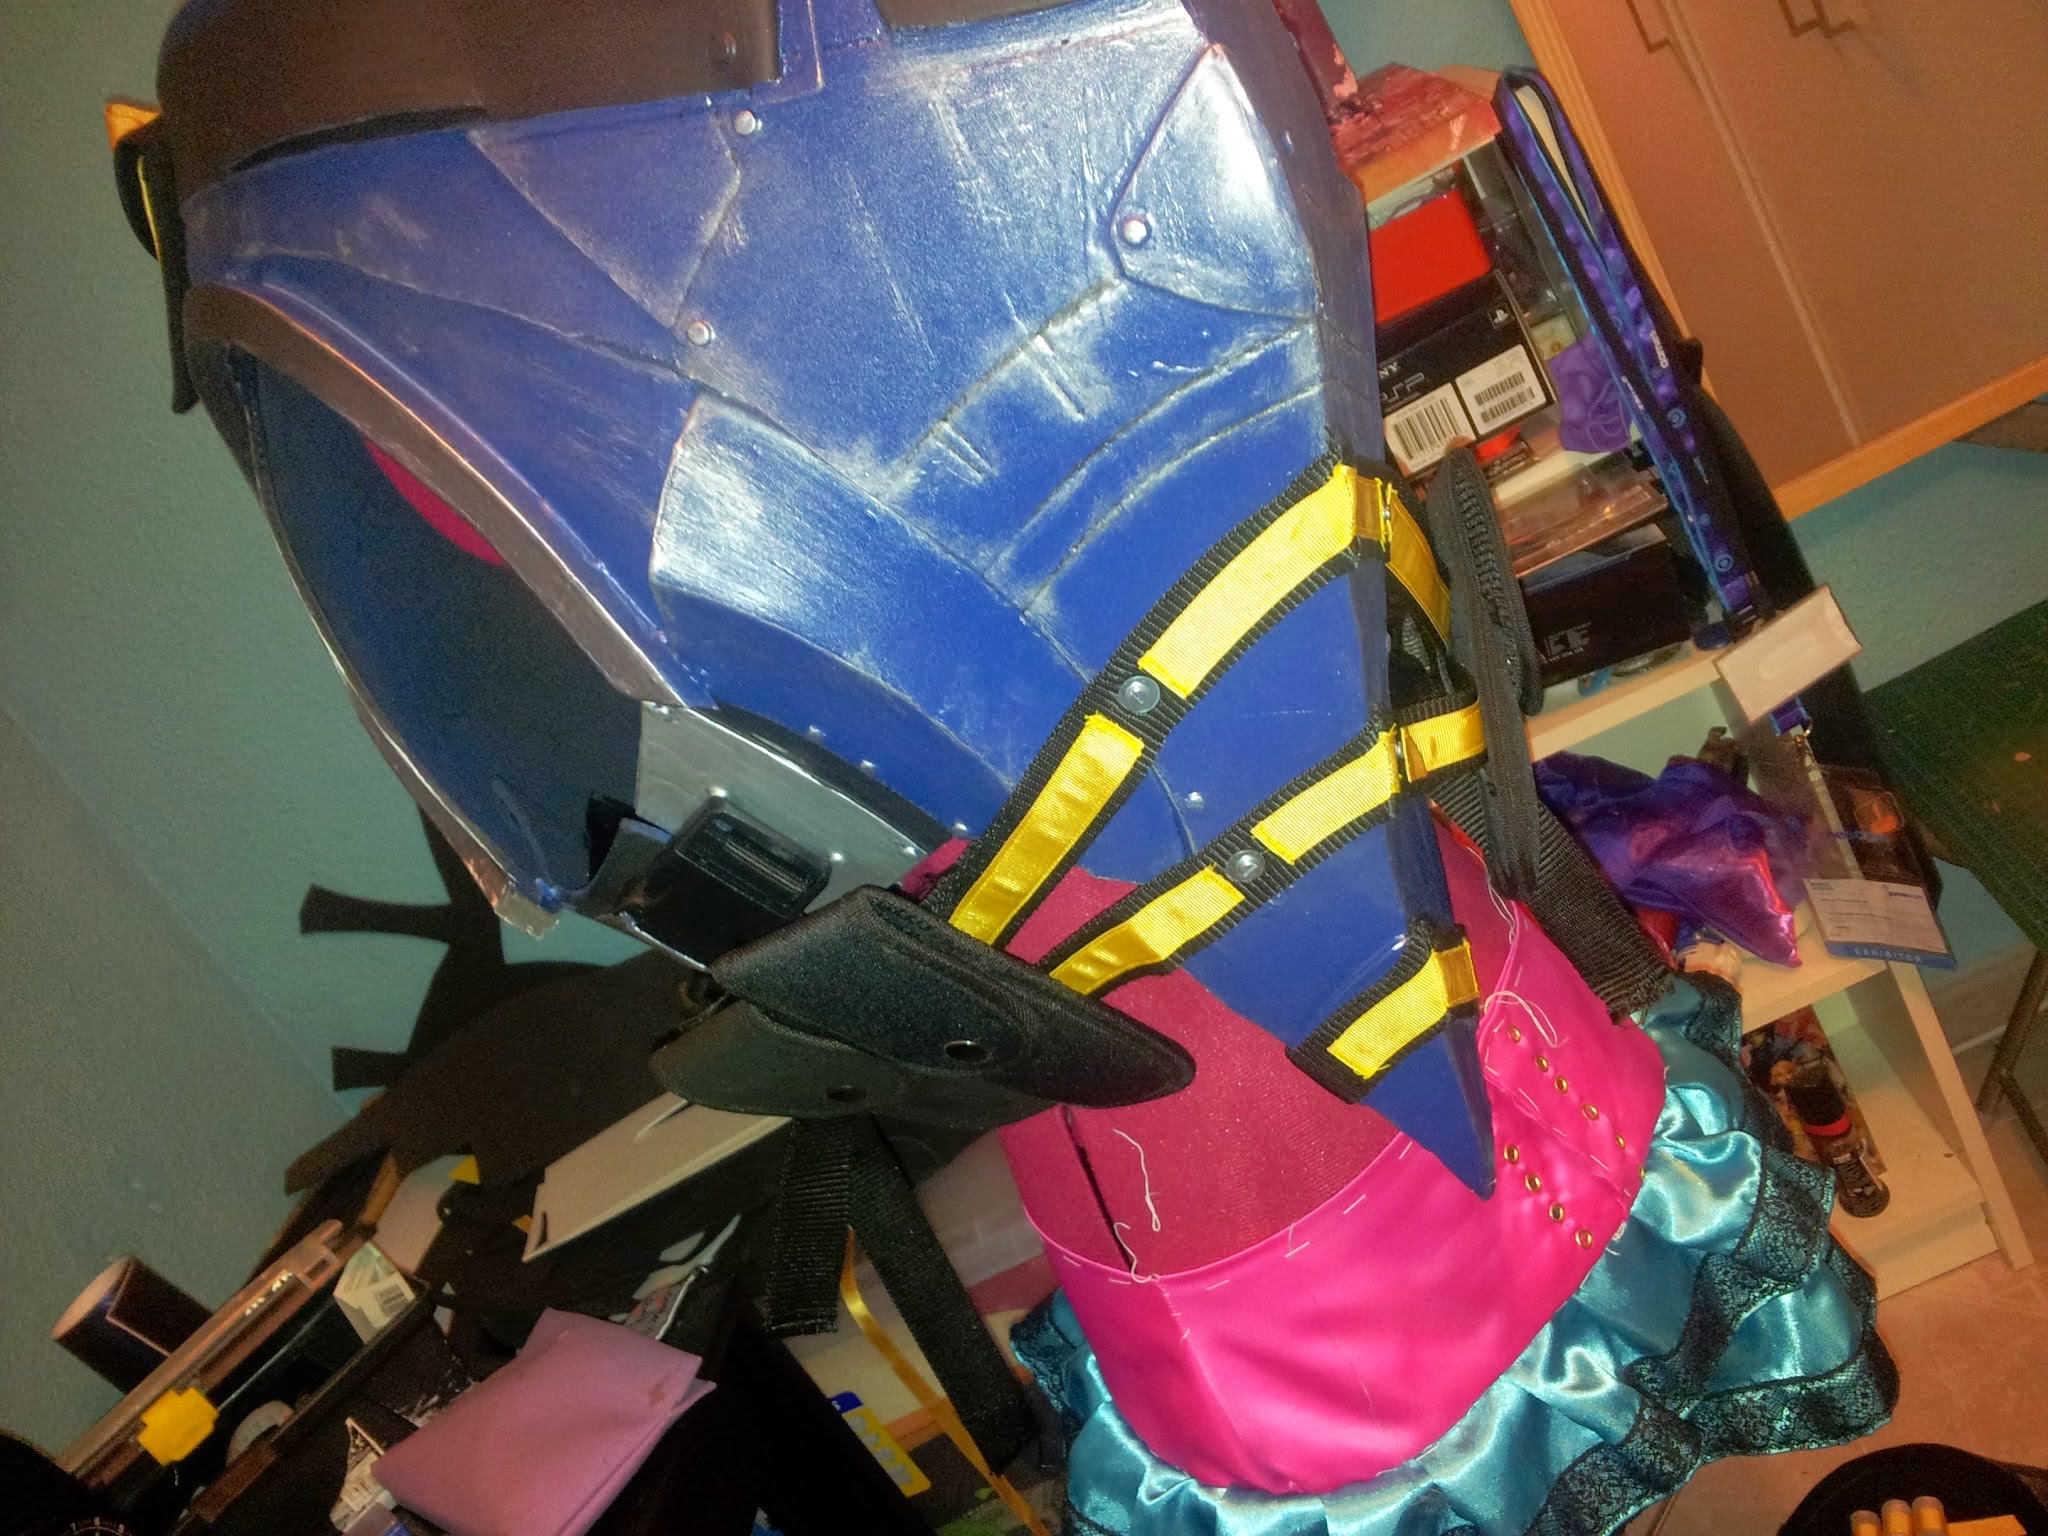
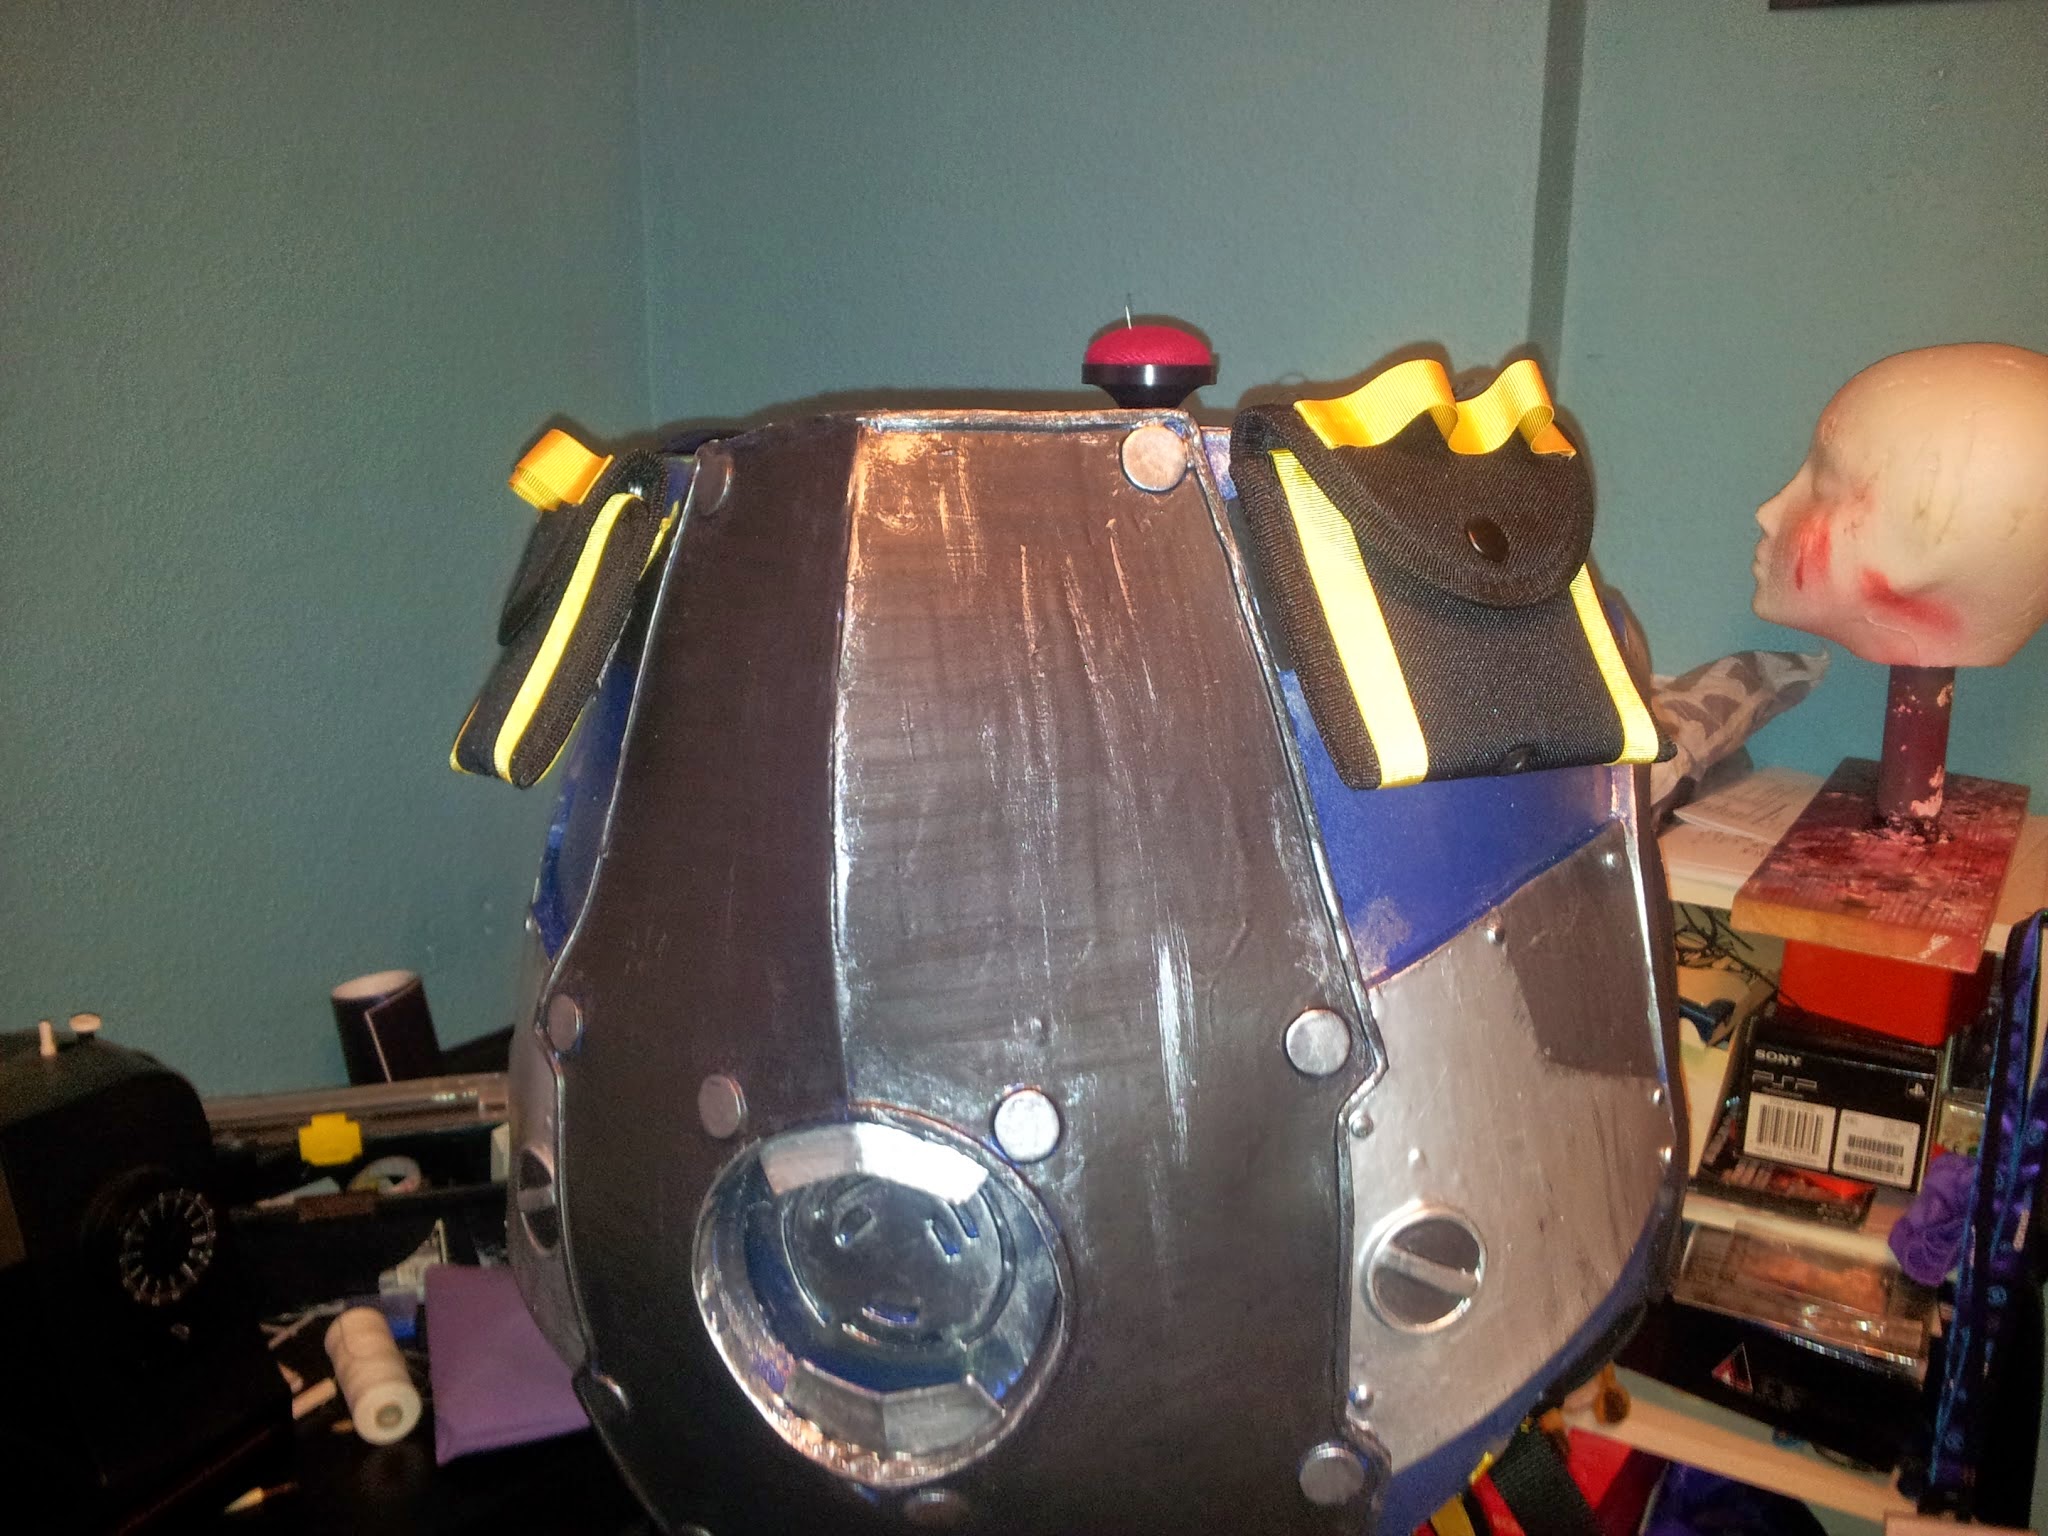


As you can see, this cosplay has a lot of pockets and straps. We bought the pockets at Ranger (the airsoft store), the black and yellow strips are straps and strips bought at the haberdashery sewn on top of each other. It’s my favorite part of this armor.

We also use zip ties, straps and plastic buckles (the classic black backpack ones) to join the different parts. The shin guards have a zipper on the inner side so they can be put on and taken off easily. We attached all these fabric elements to the armor using two-component epoxy adhesive and, in some areas, we even screwed them to secure them.
 |
| Full armor unfolding. |
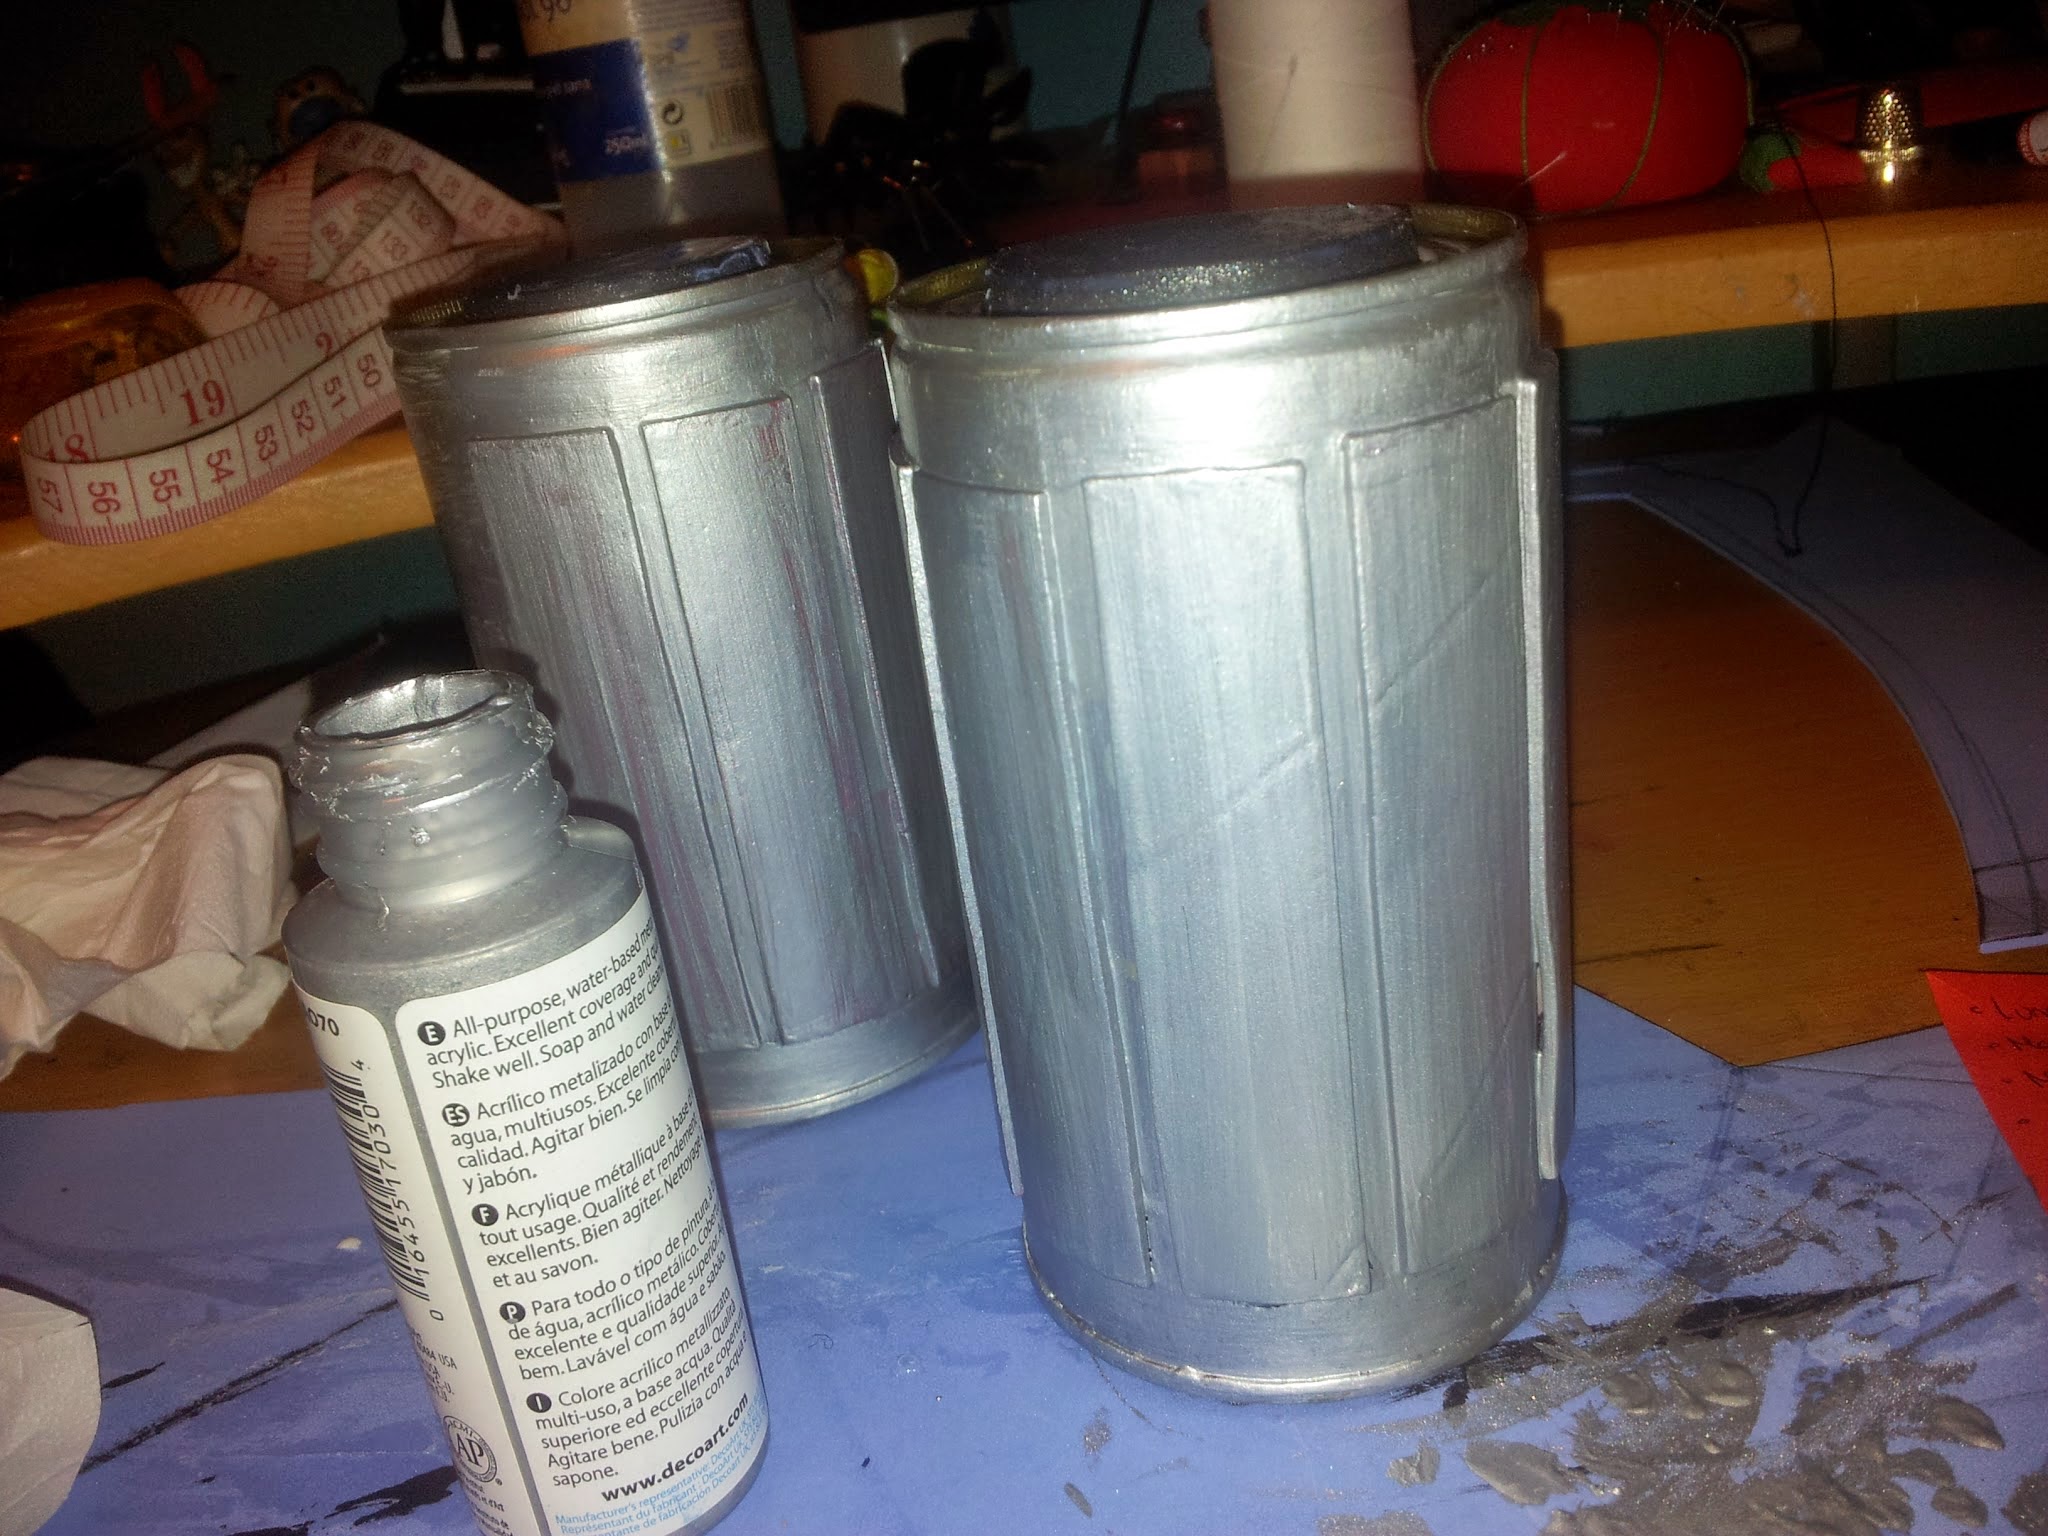
As a silly fact, I made the grenades that he carries on his back using cans of olives from Mercadona.


And I think that’s enough for today, because this has taken me too long. The next day I will explain how I made the visor, the mask and some other accessories that I left behind.
I hope that, although it is not a particularly complete tutorial, it will help you get ideas!
Any questions, complaints or bomb packages, in the comments, Twitter , Facebook and so on.
You can see more photos of this finished cosplay in my gallery .
*Explanatory note: There is one thing that seems to have not been made sufficiently clear even though there are seven hundred thousand process photos on my profiles. It seems that making guy armor is a task only reserved for brave male cosmakers, that us girls only sew and make booby armors with Worbla.
This armor has been planned, patterned, assembled and crafted by me to a very high percentage. Made with the help of Winters (who runs it), who came home every weekend for four months to help me and learn (to stand me).
It continues to surprise me, after spending my life uploading images and explanations everywhere, to see comments out there saying that I don’t do these things and stupid things like that.


