
Hi there! comes out I have few old cosplay tutorials left to do and I’ve been keping my WIP images for that so, as it’s never too late, it’s time to share my wisdom with you.
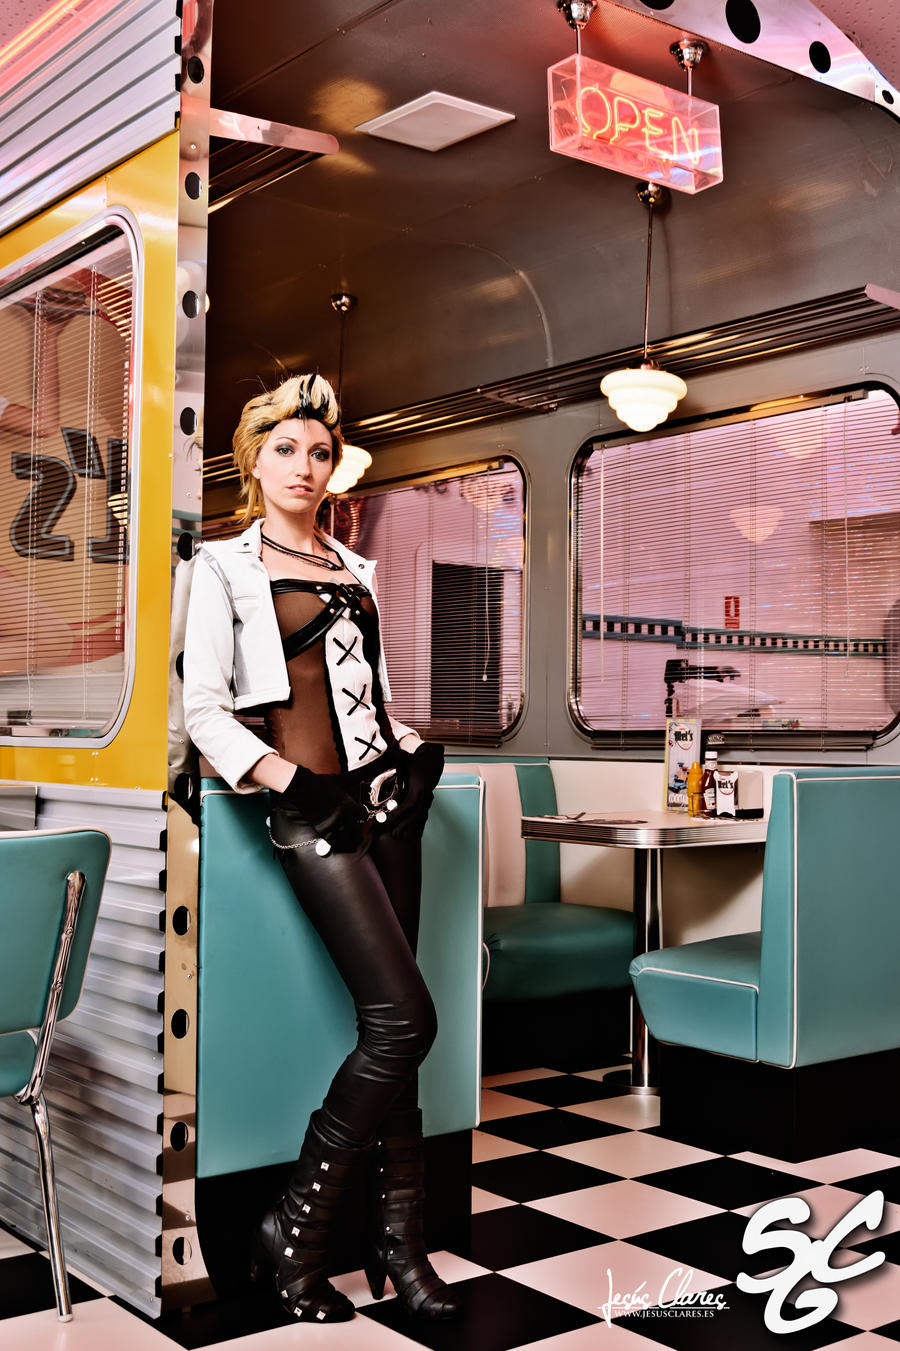 |
| Picture by Jesús Clares. |
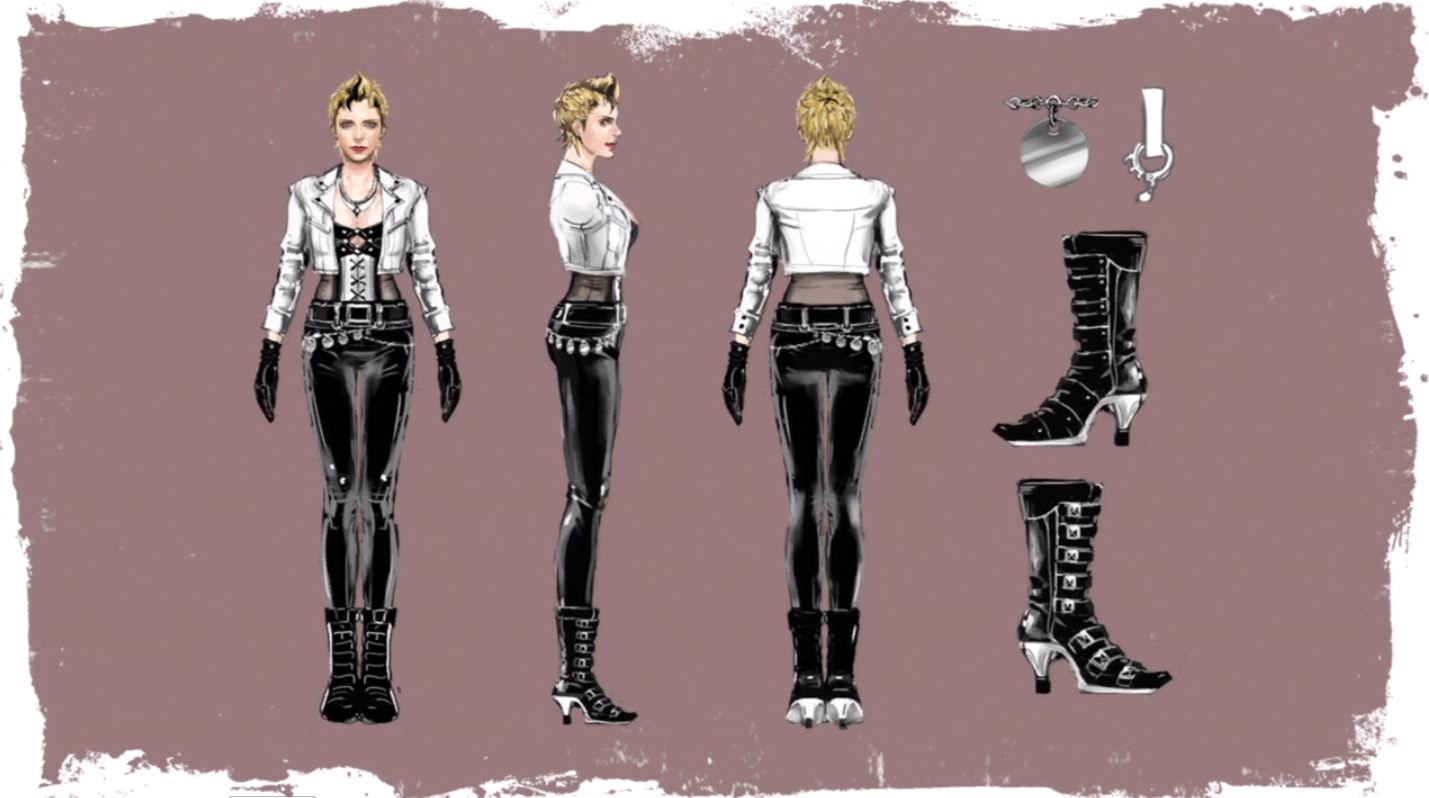
Lollipop Chanisaw is a game I enjoyed sooo very much, Juliet Starling is a really cool character, but I fell in love with her sister Cordelia (I wish I had a nice Juliet to take pictures with) and her tendency to perch on flying viking ships. She’s so crazy but, well, who’s not crazy in this game? Each Starling sister is so funny! But Cordelia is my favourite one.
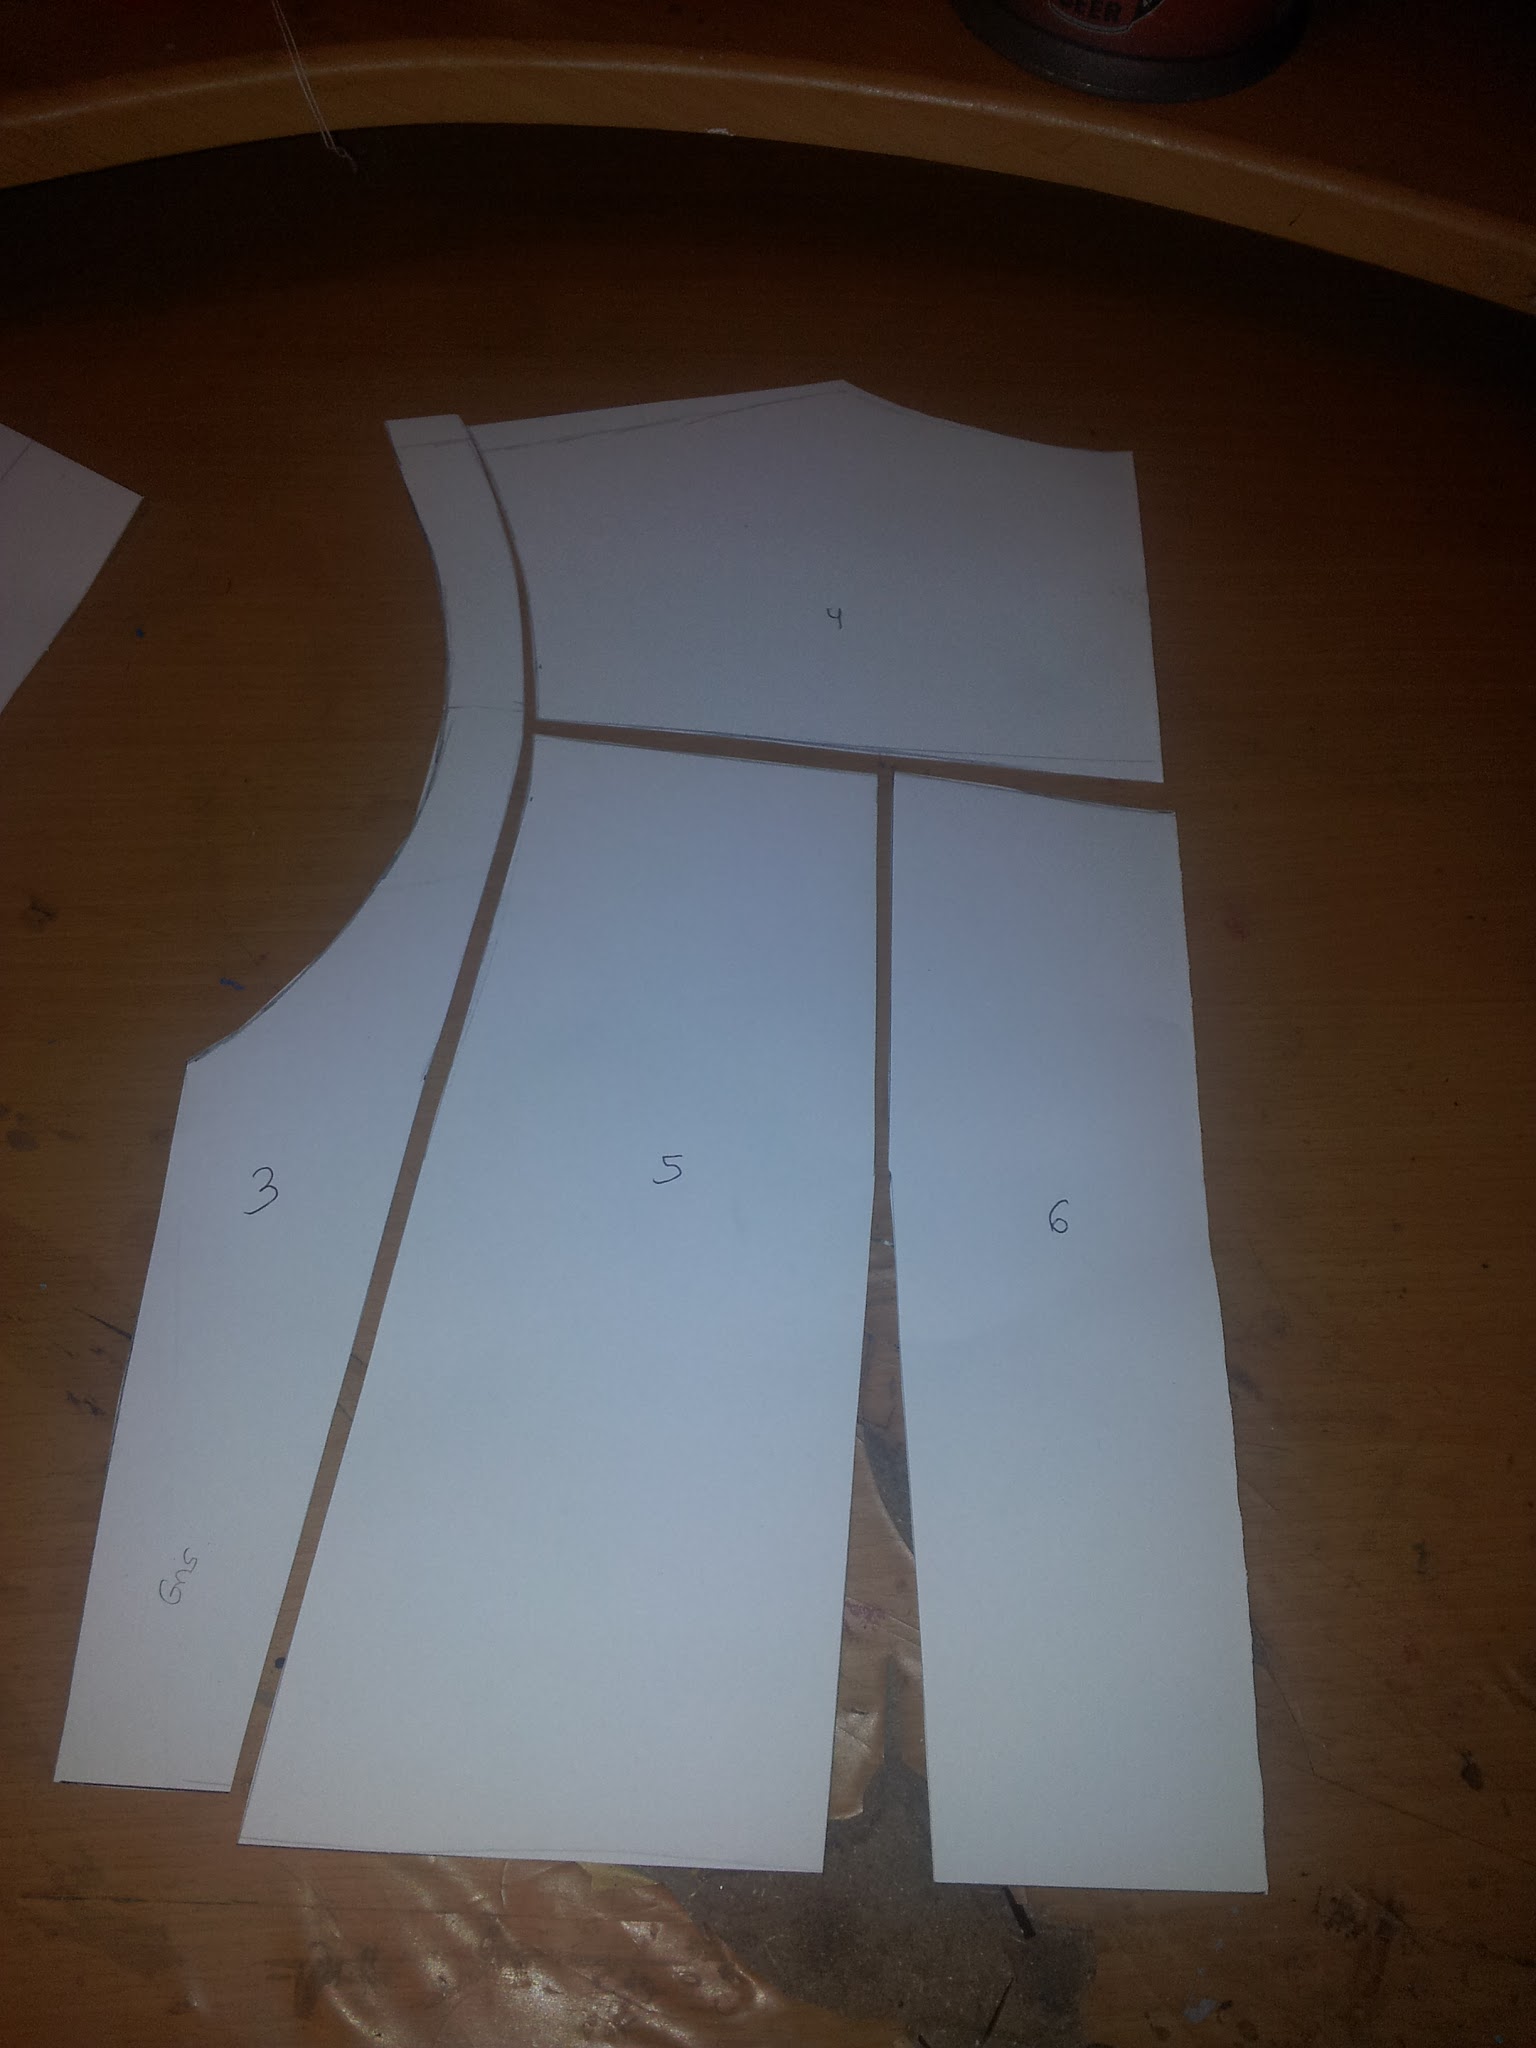
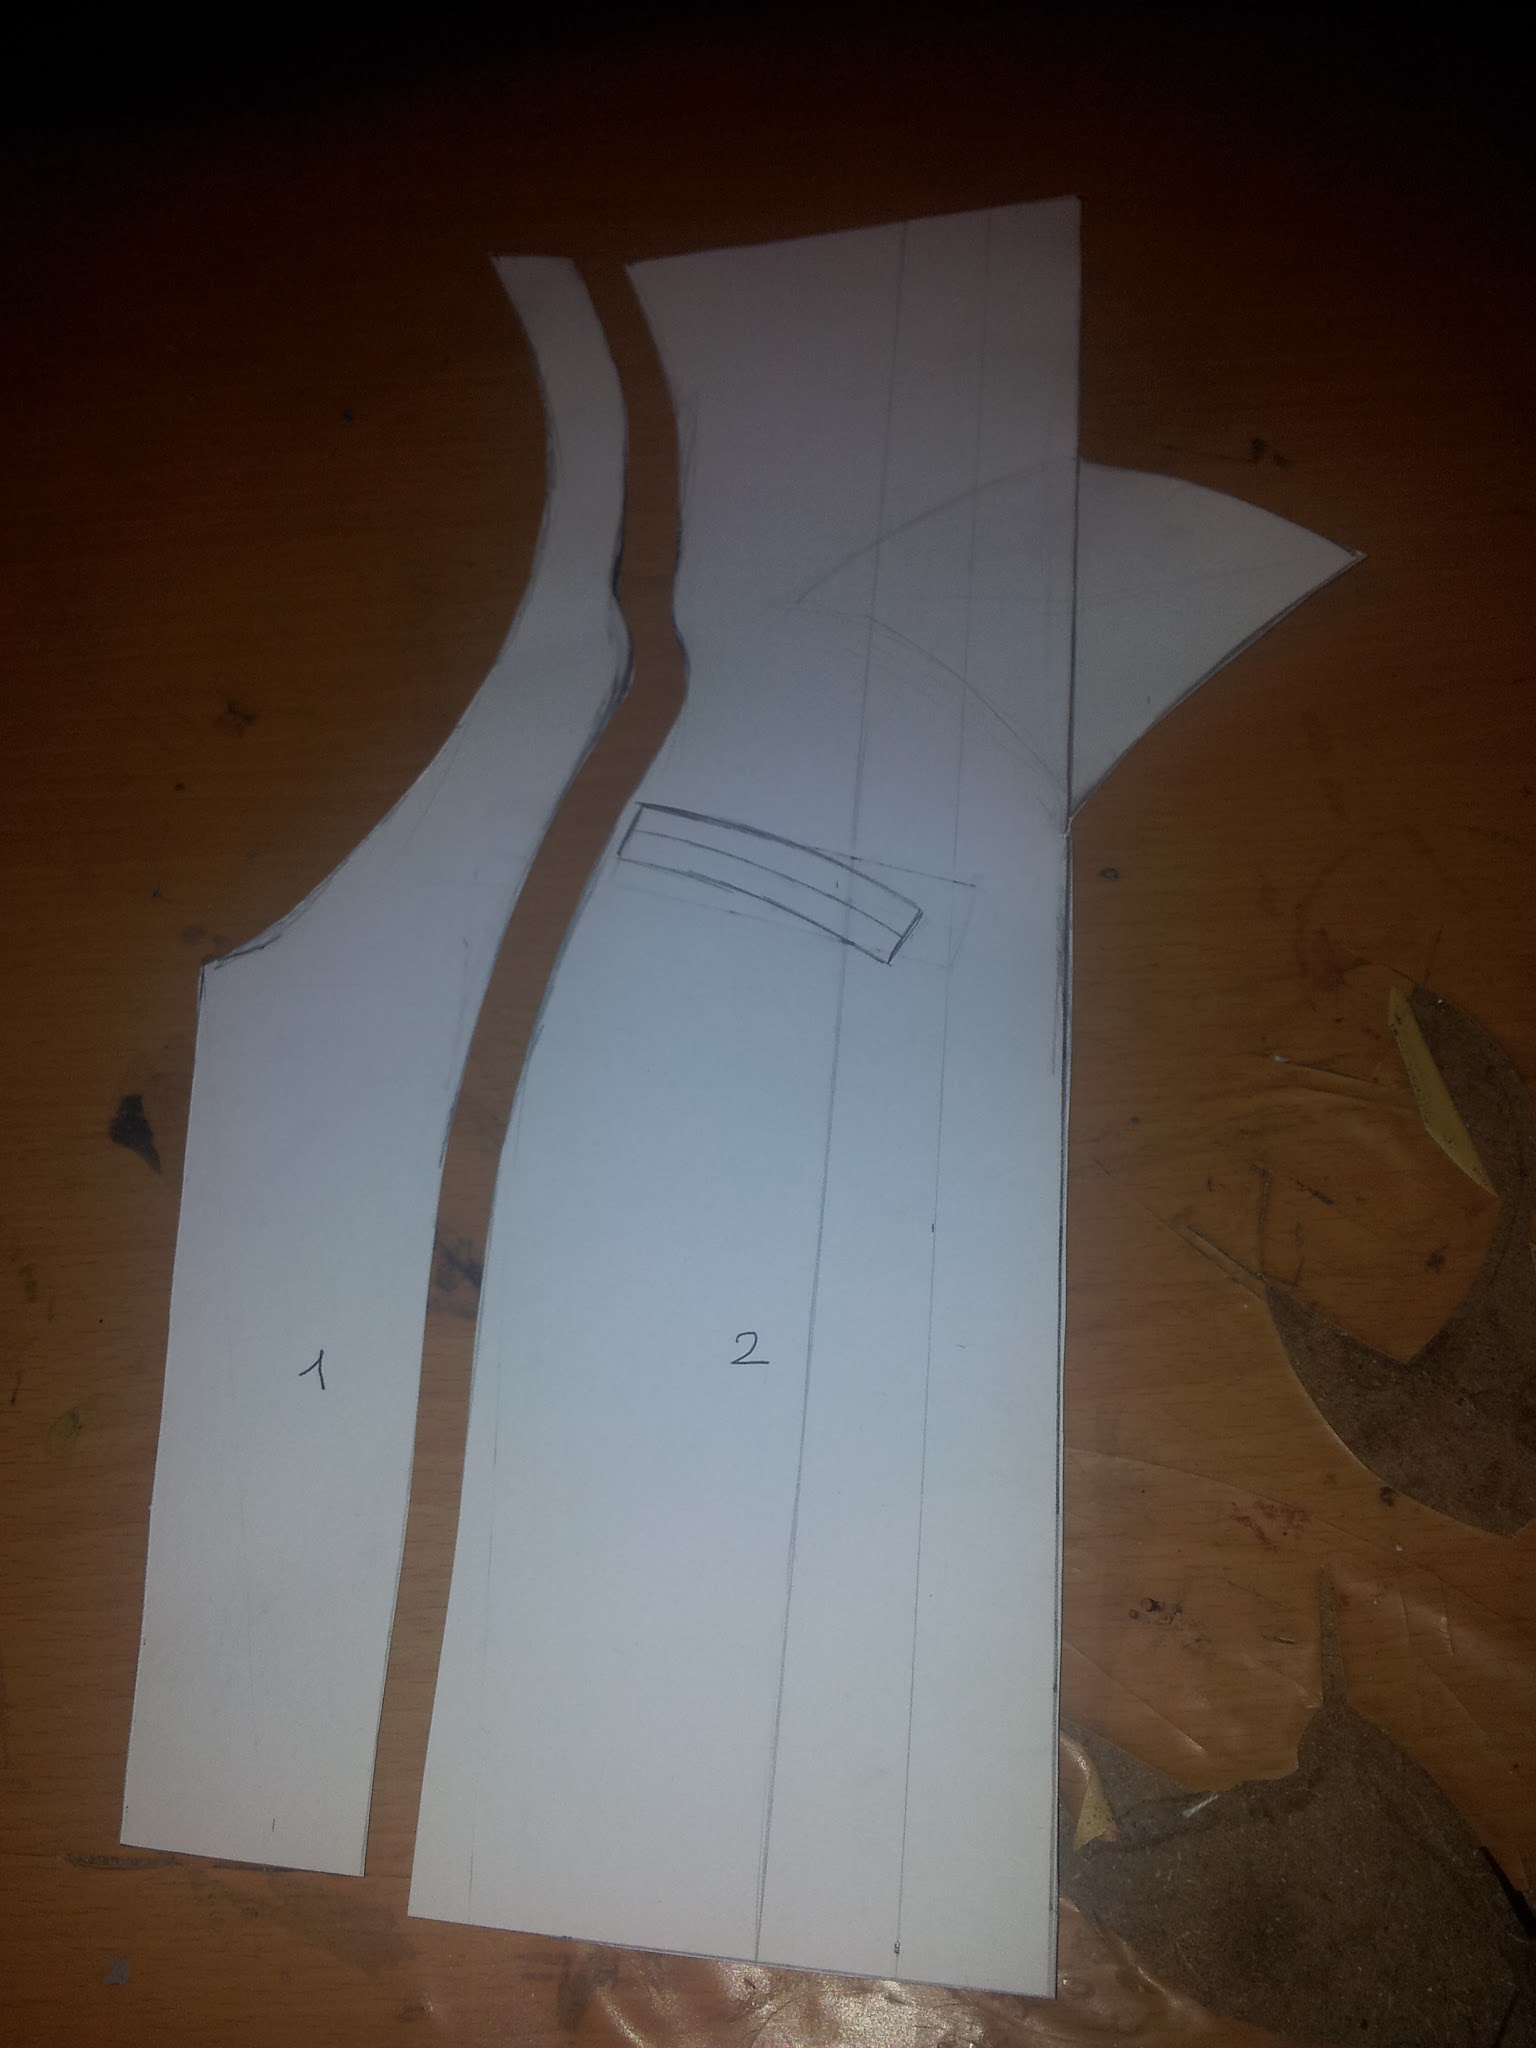
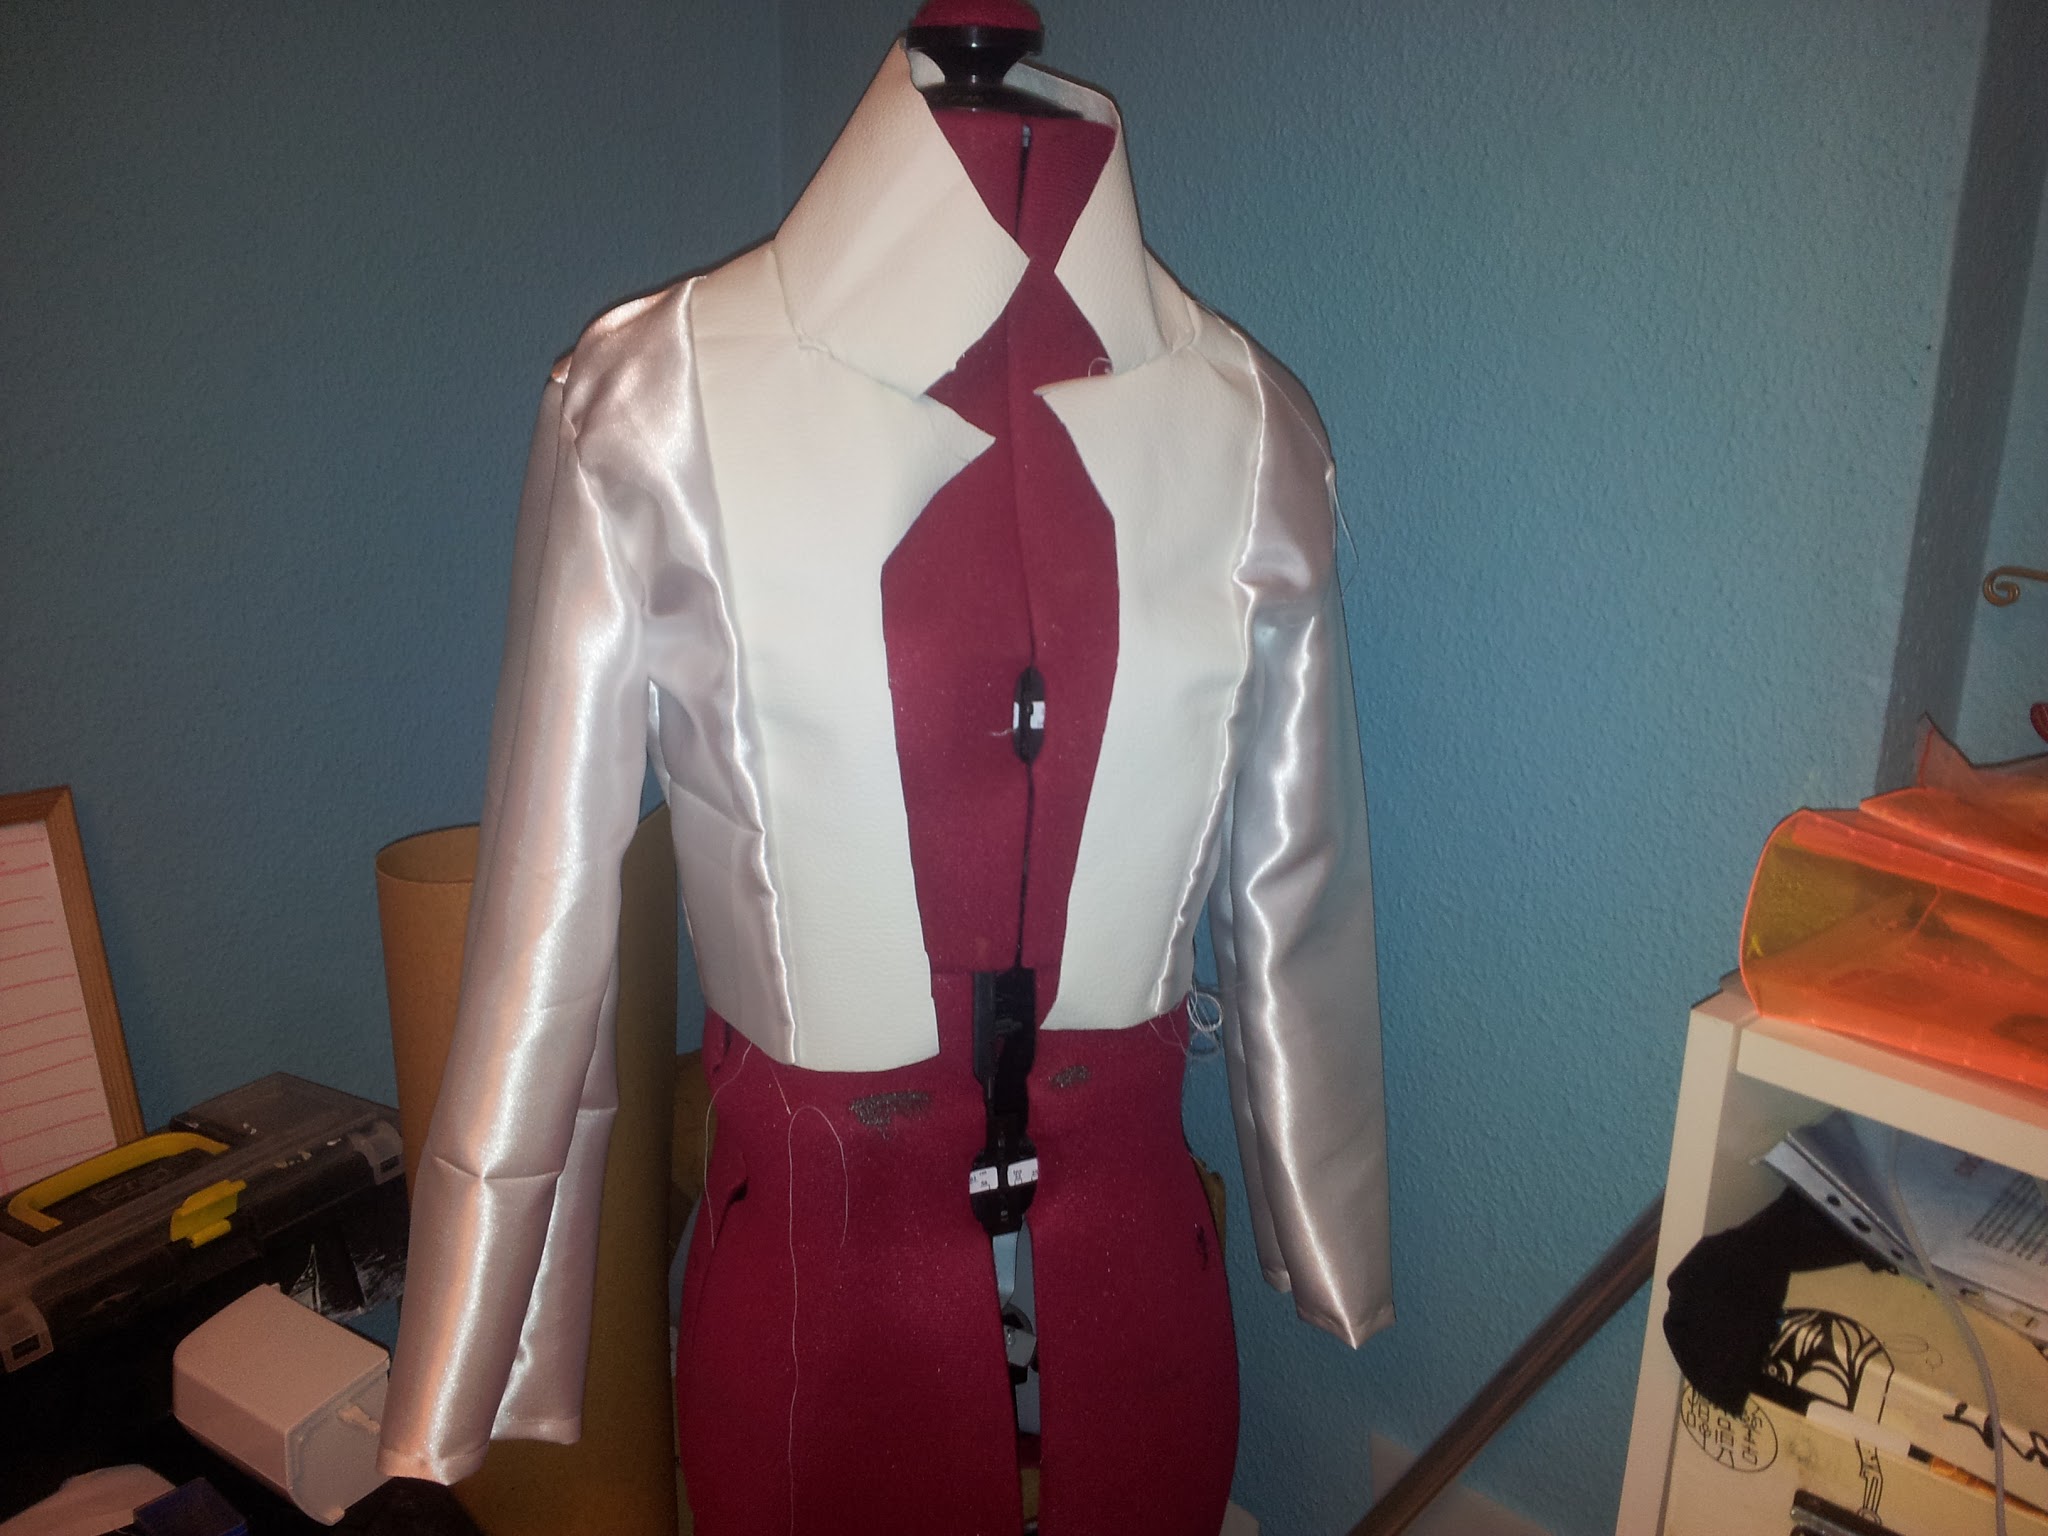
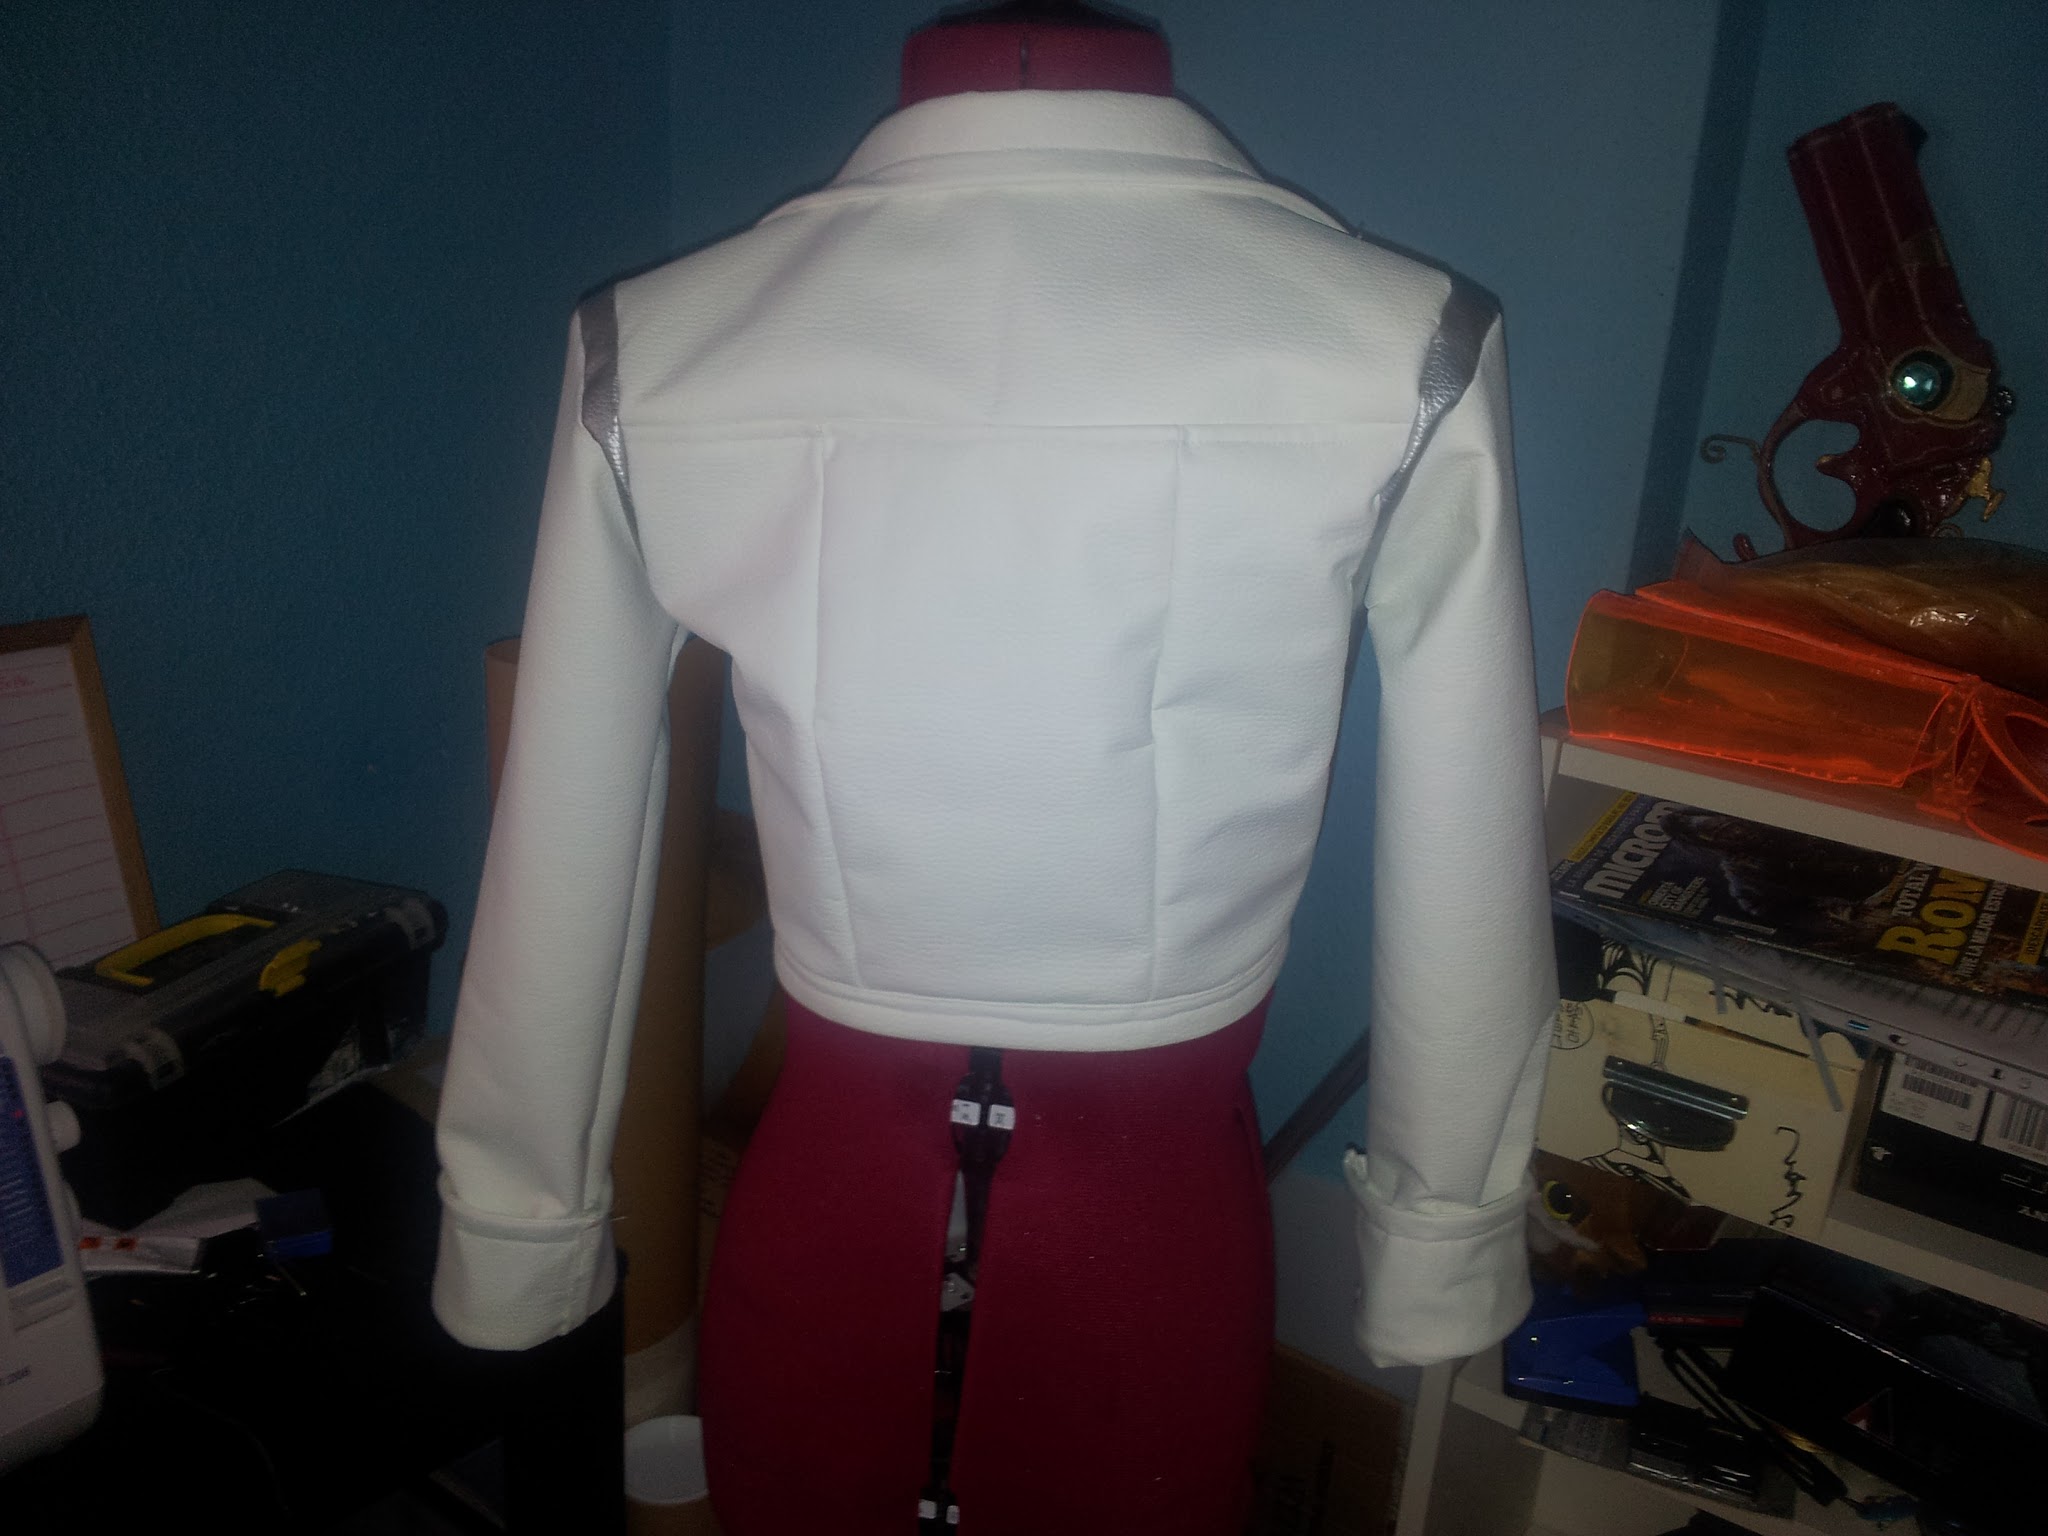
To make the jacket, I made a basic jacket pattern and I divided it in several pieces. I used a white pleather and a silver pleather. Both of them with a nice texture.

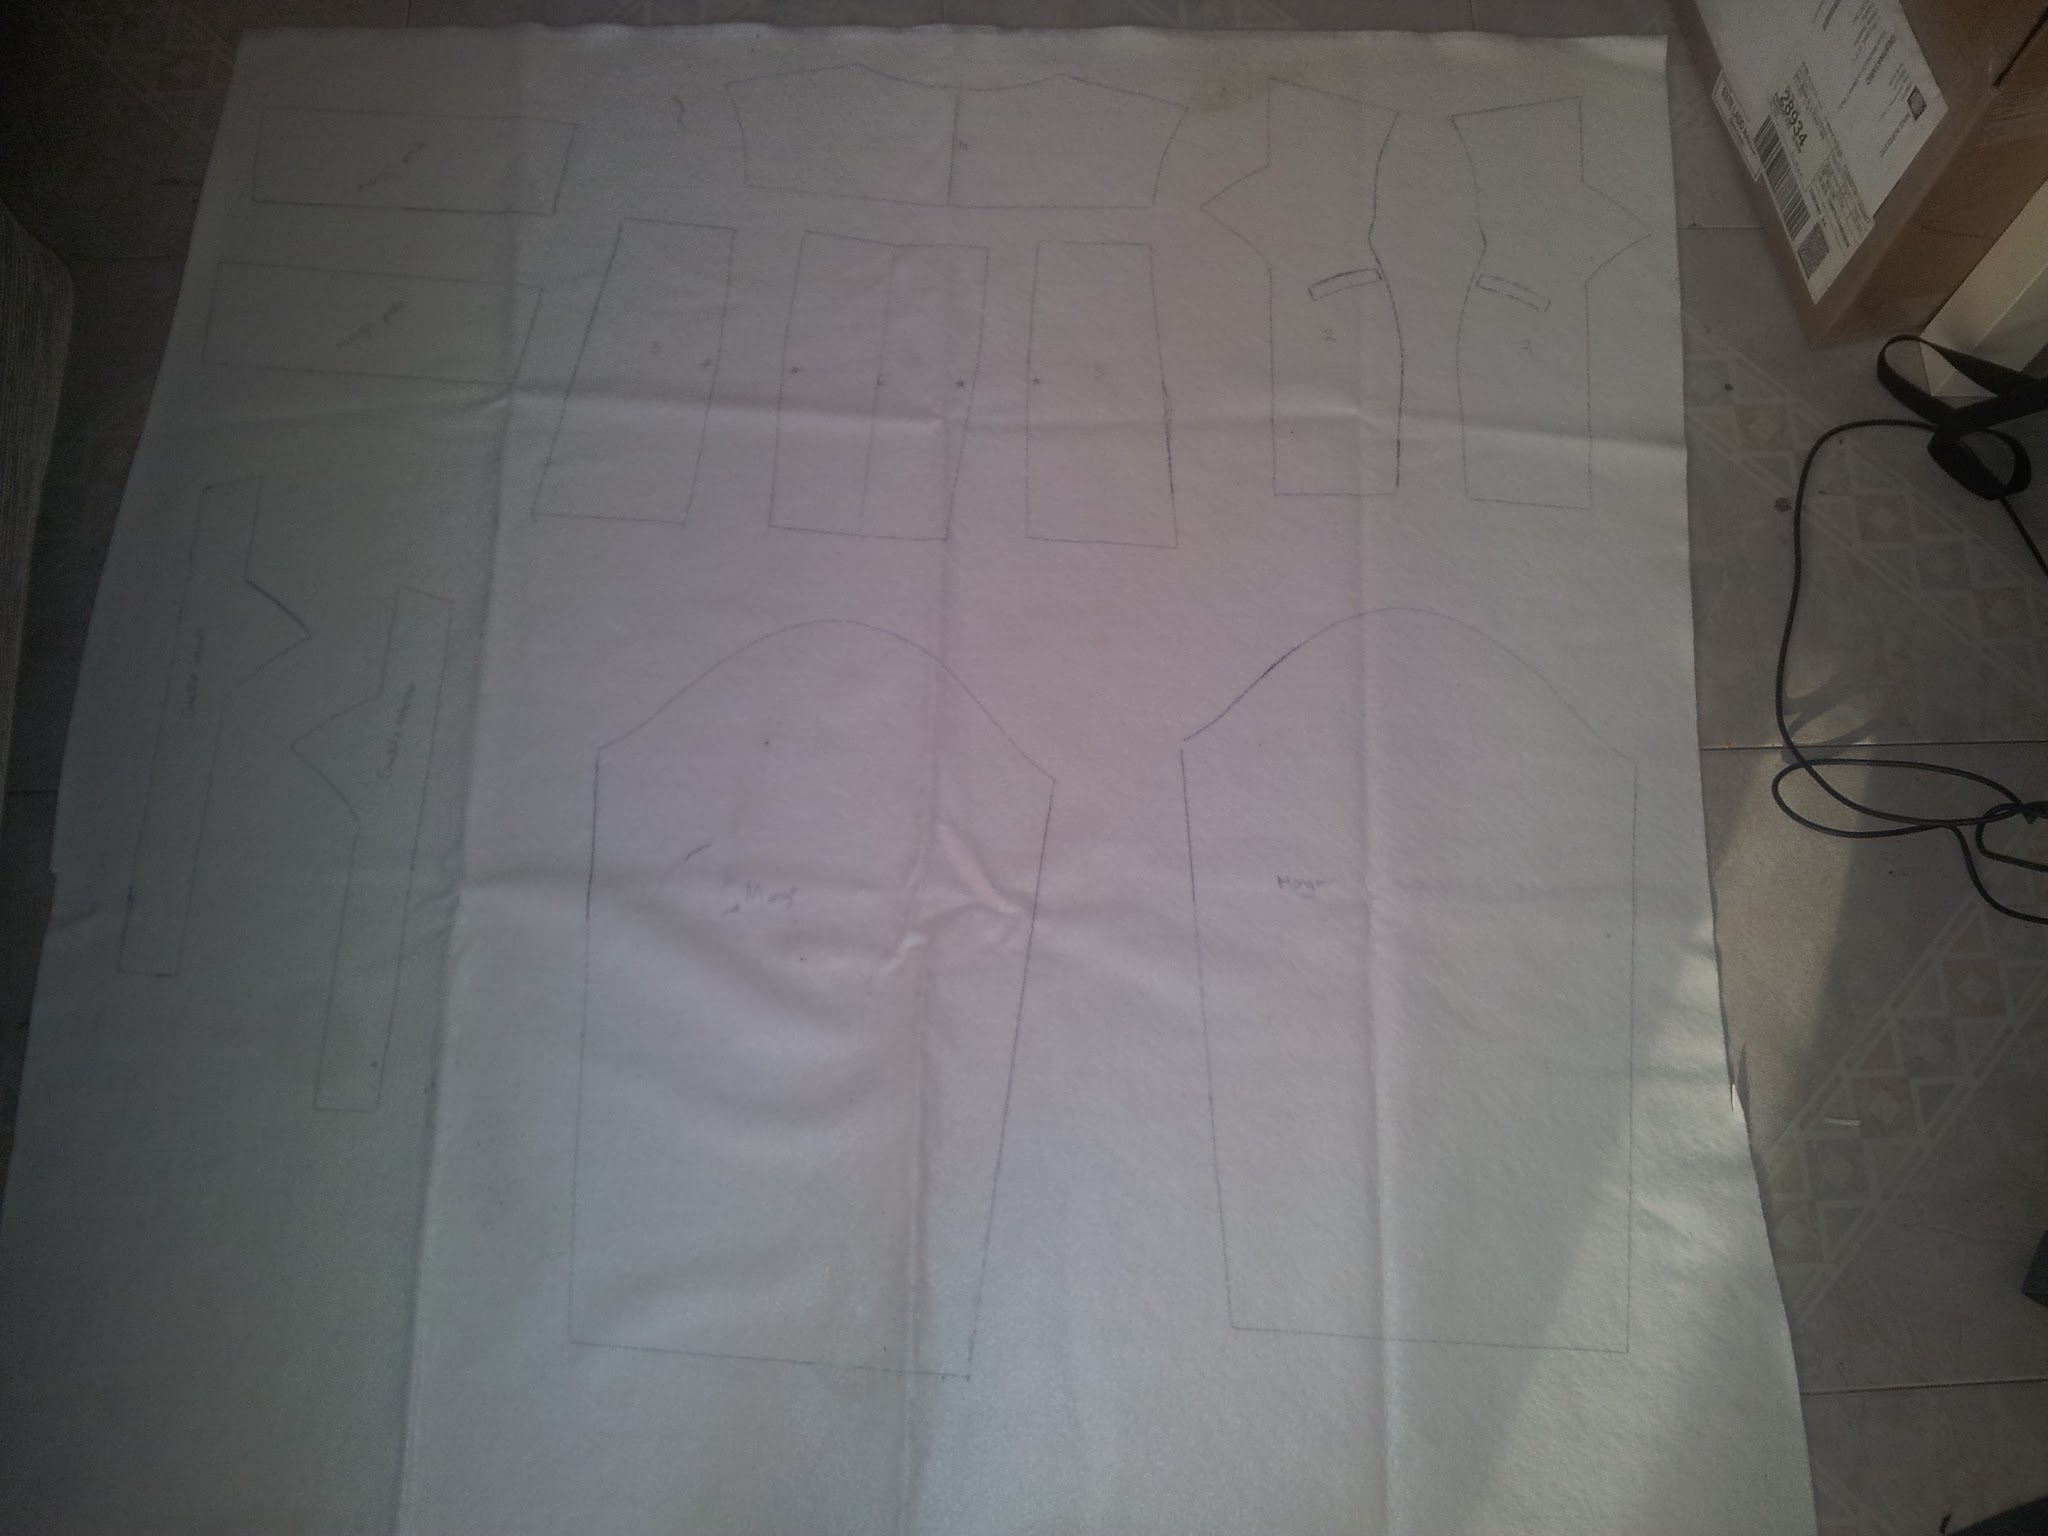 |
| All the white pleather pieces drawn on the fabric. |
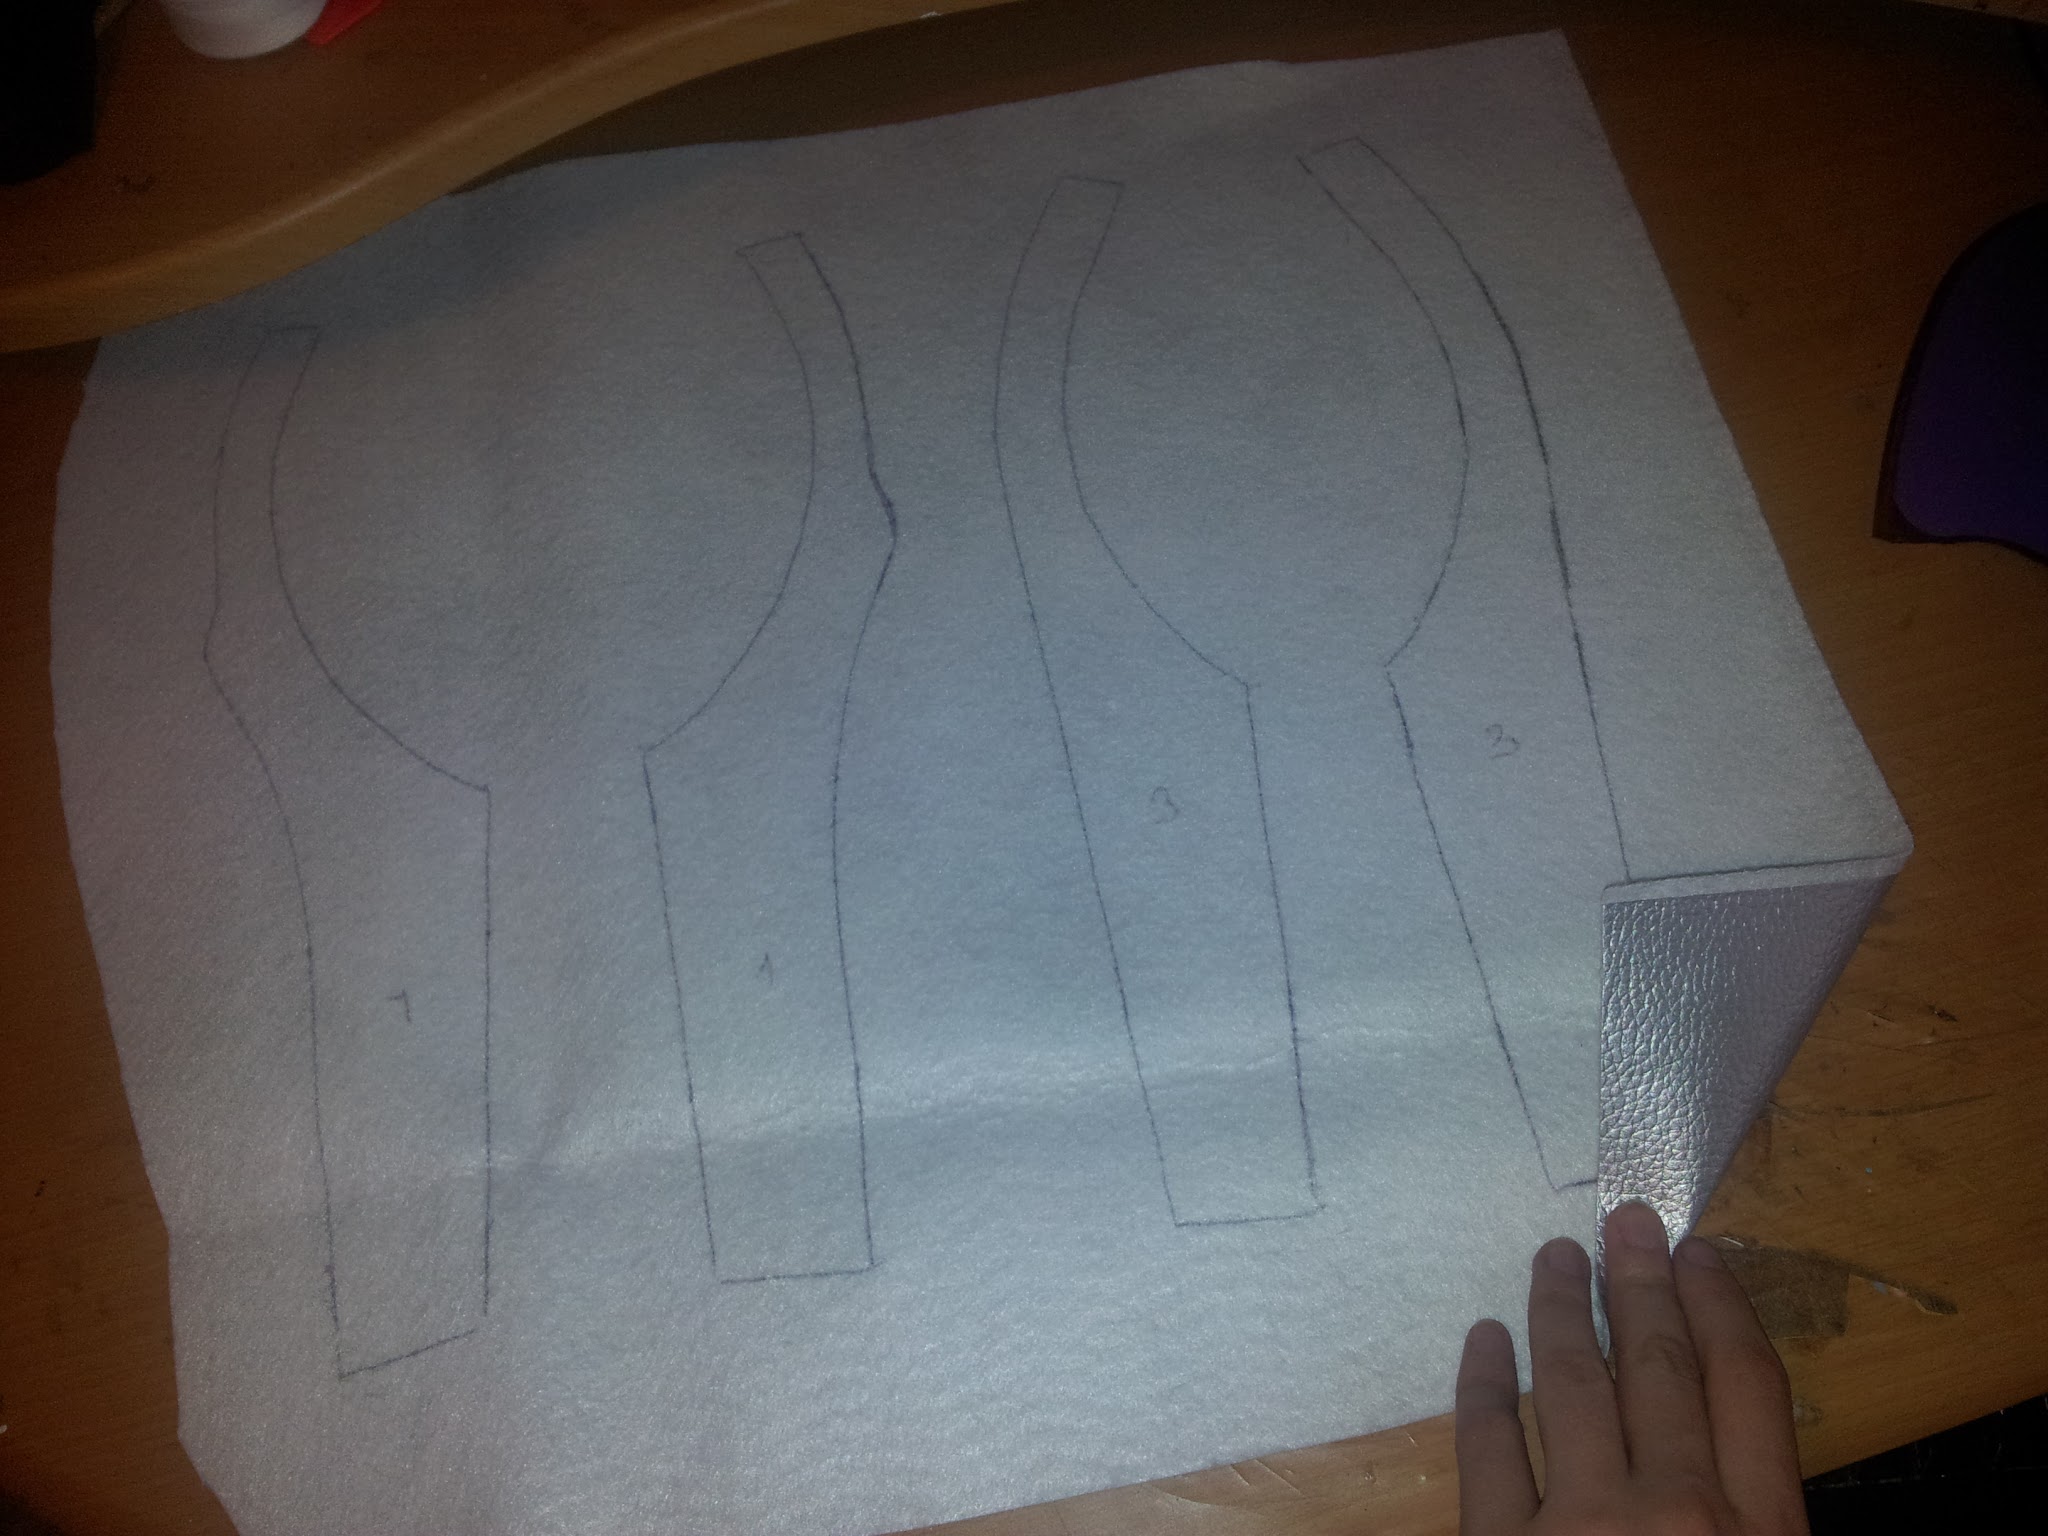 |
| Silver pleather pieces. |
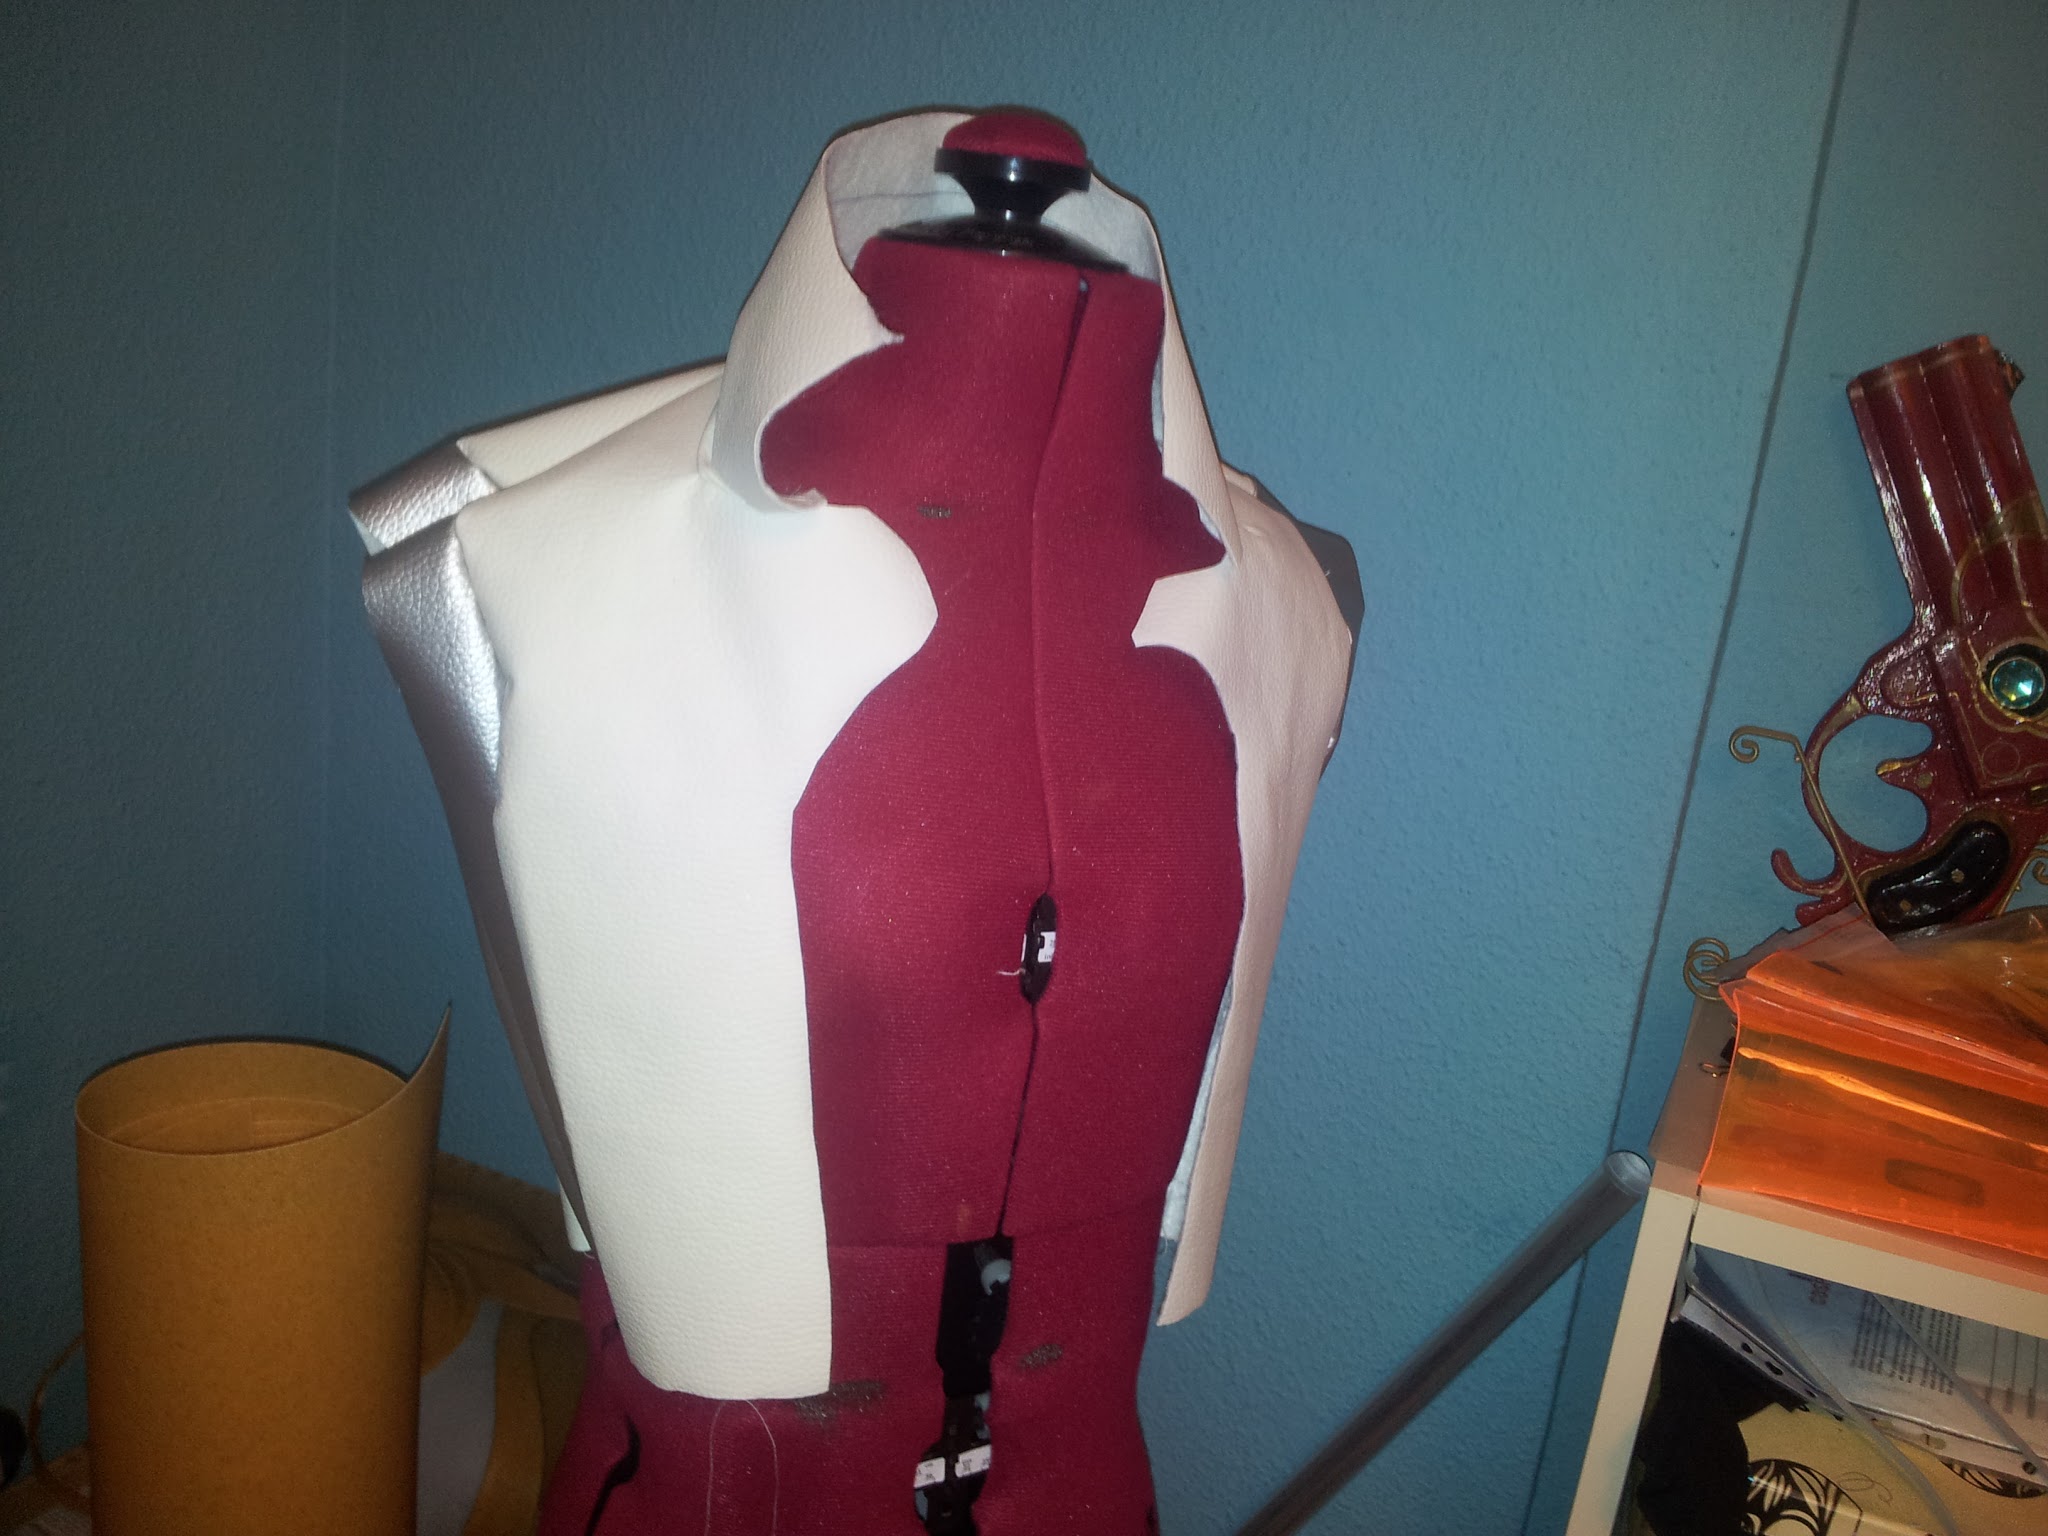
 |
| Collar. |
It’s been a long time since I didn’t line a cloth. I love lining everyting. It makes the cloths look more professional. There are two things that make a hobyist seamstress look like a pro: lining and top stitching. Do you think it’s ok if you leave the pleather edge without sewing because it doesn’t fray??? WORNG! Sew and top stitch it, you lazy!! Do you think it will be the same if you don’t line you clothes because the inner part is not going to be visible?? WRONG!! line them!! Put a tag on it, this way, you can take it off and it will look as if you bought it. Let them think you purchased it in Wall Mart. Put the doubt in everyone’s minds.
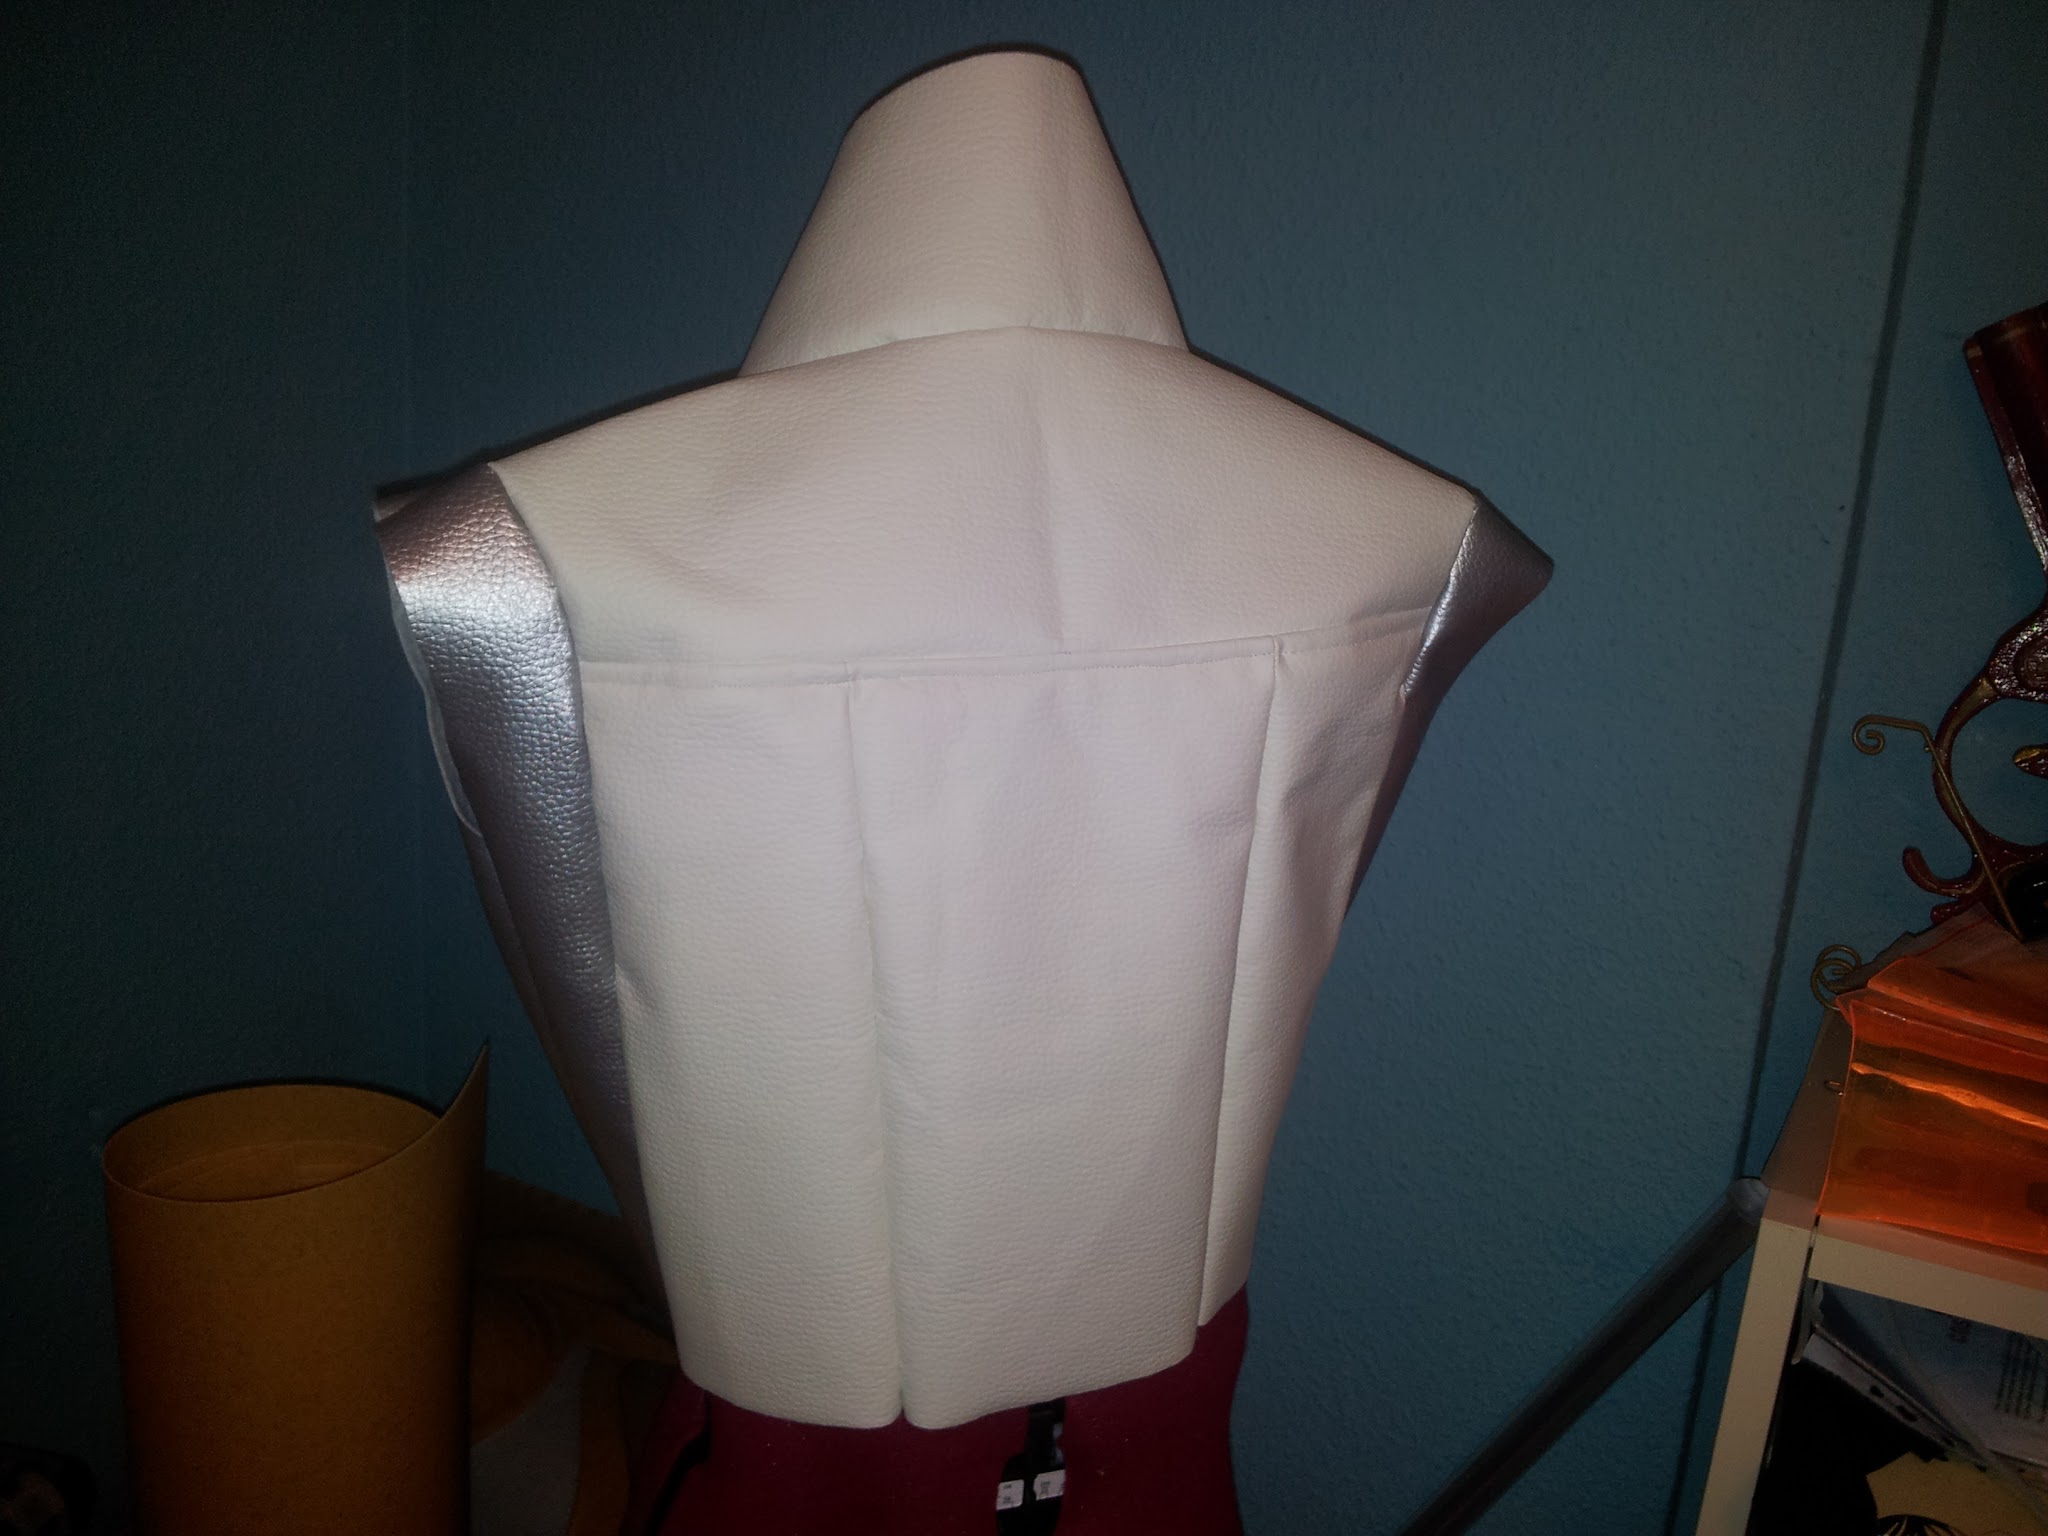
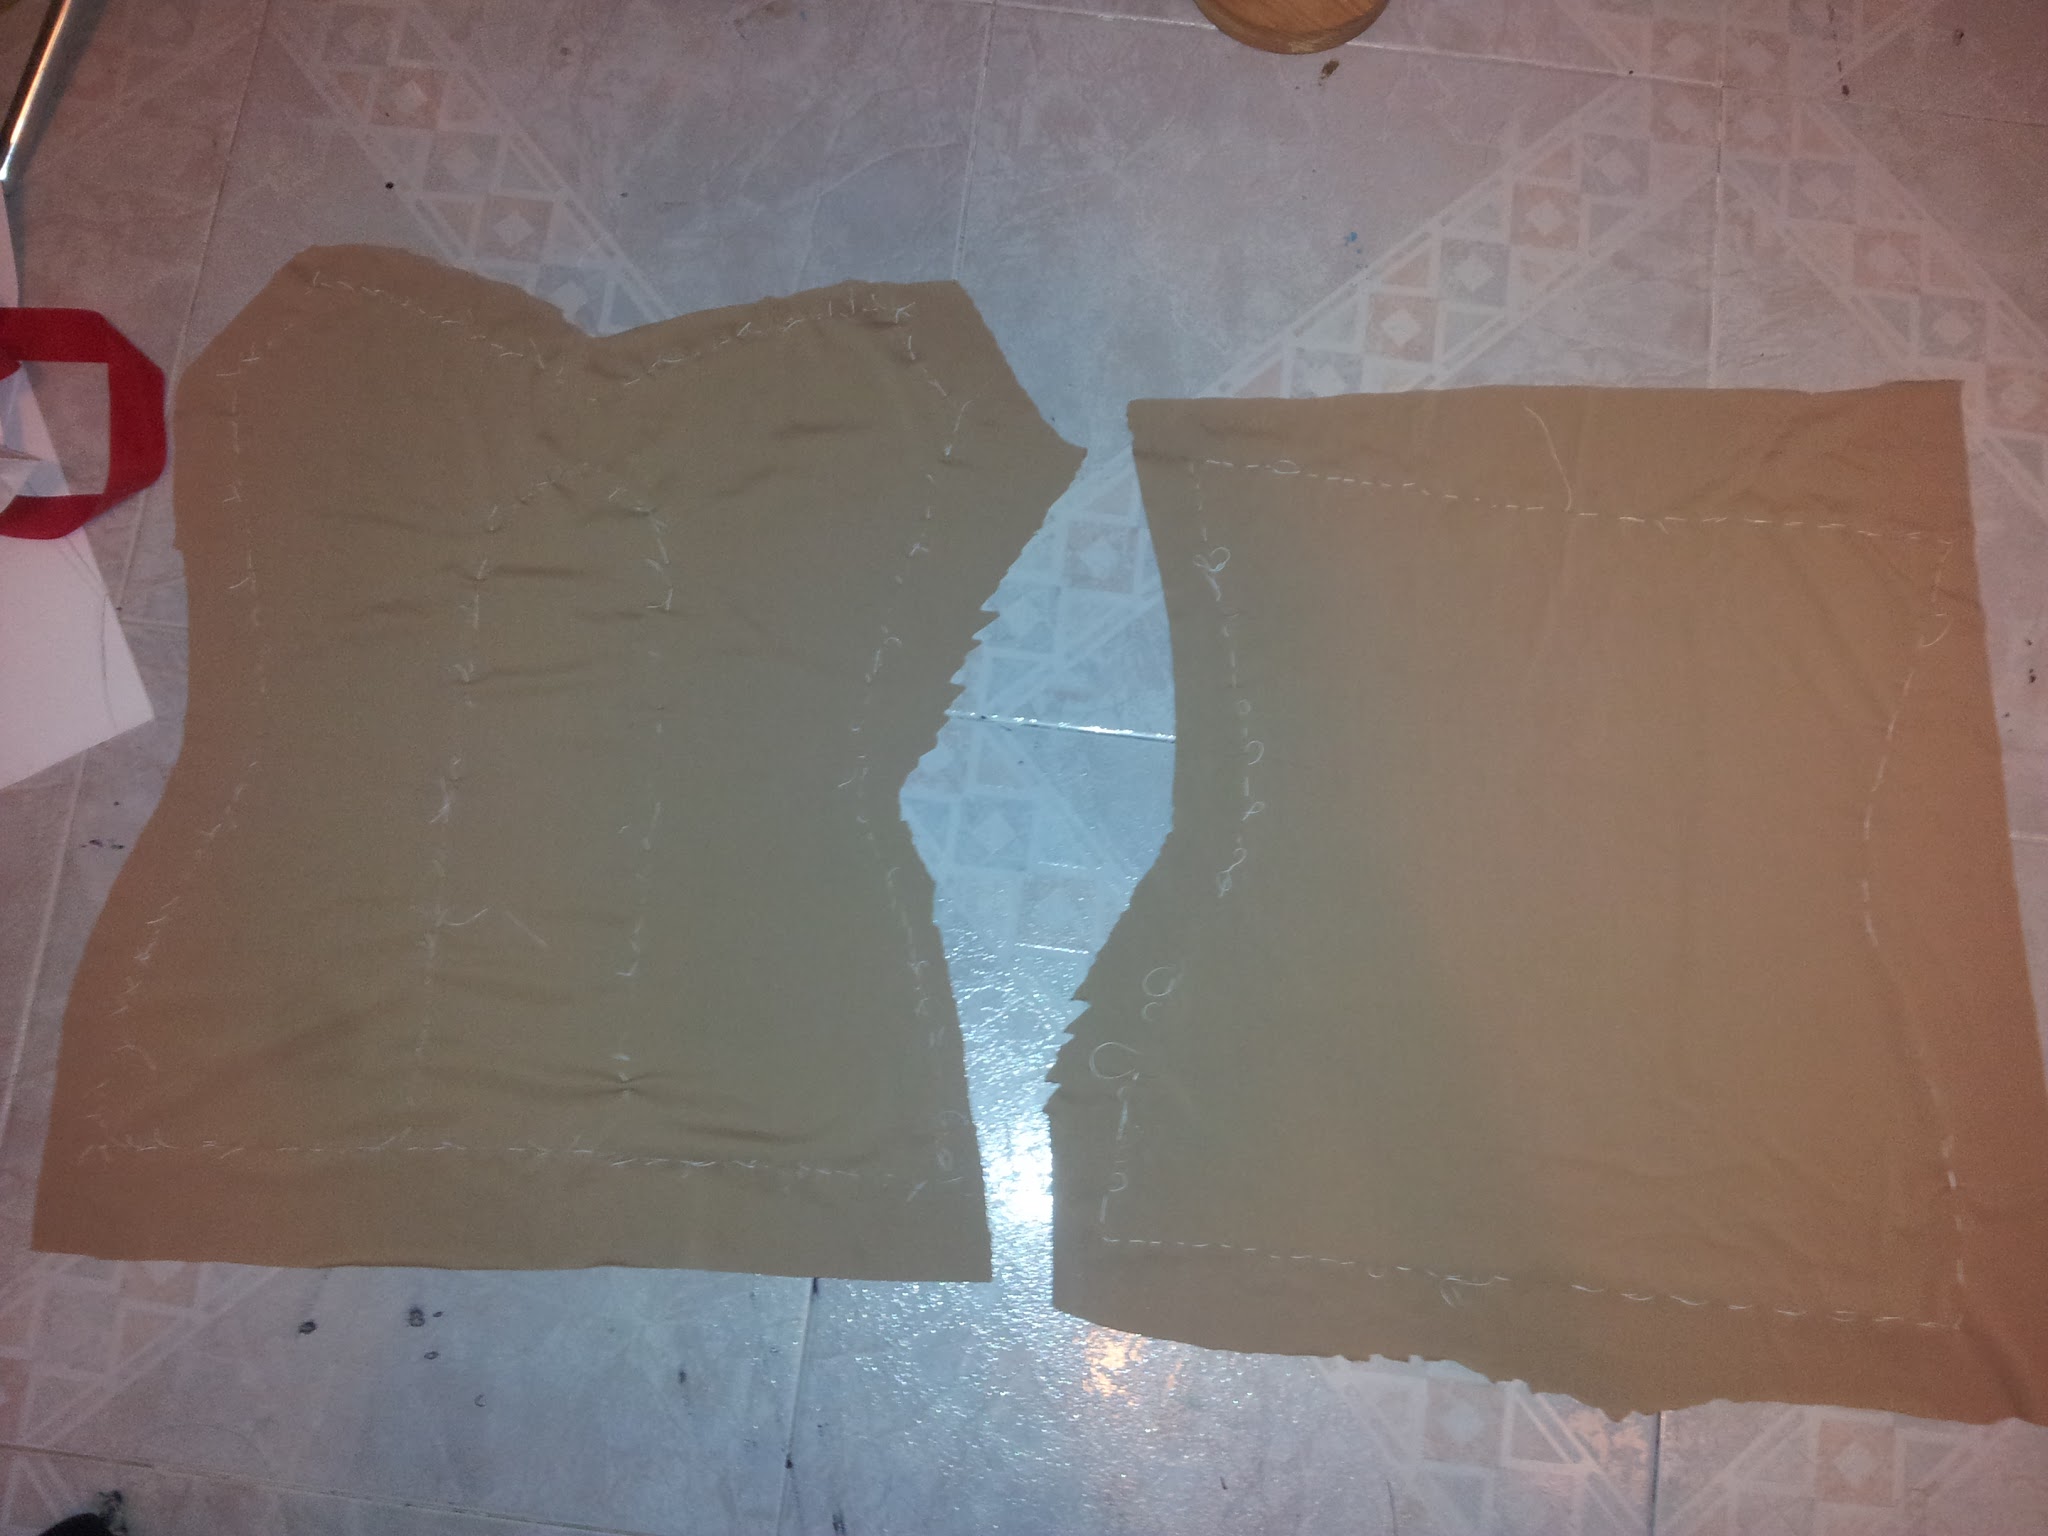
I made the lining patterns. The lining is just the same cloth than the visible part, but made of other kind of fabric that will be sewn together with it, then turned inside out.
I included a pleather collar and the flaps in the lining patterns because this parts, once they’re bent, are visible.
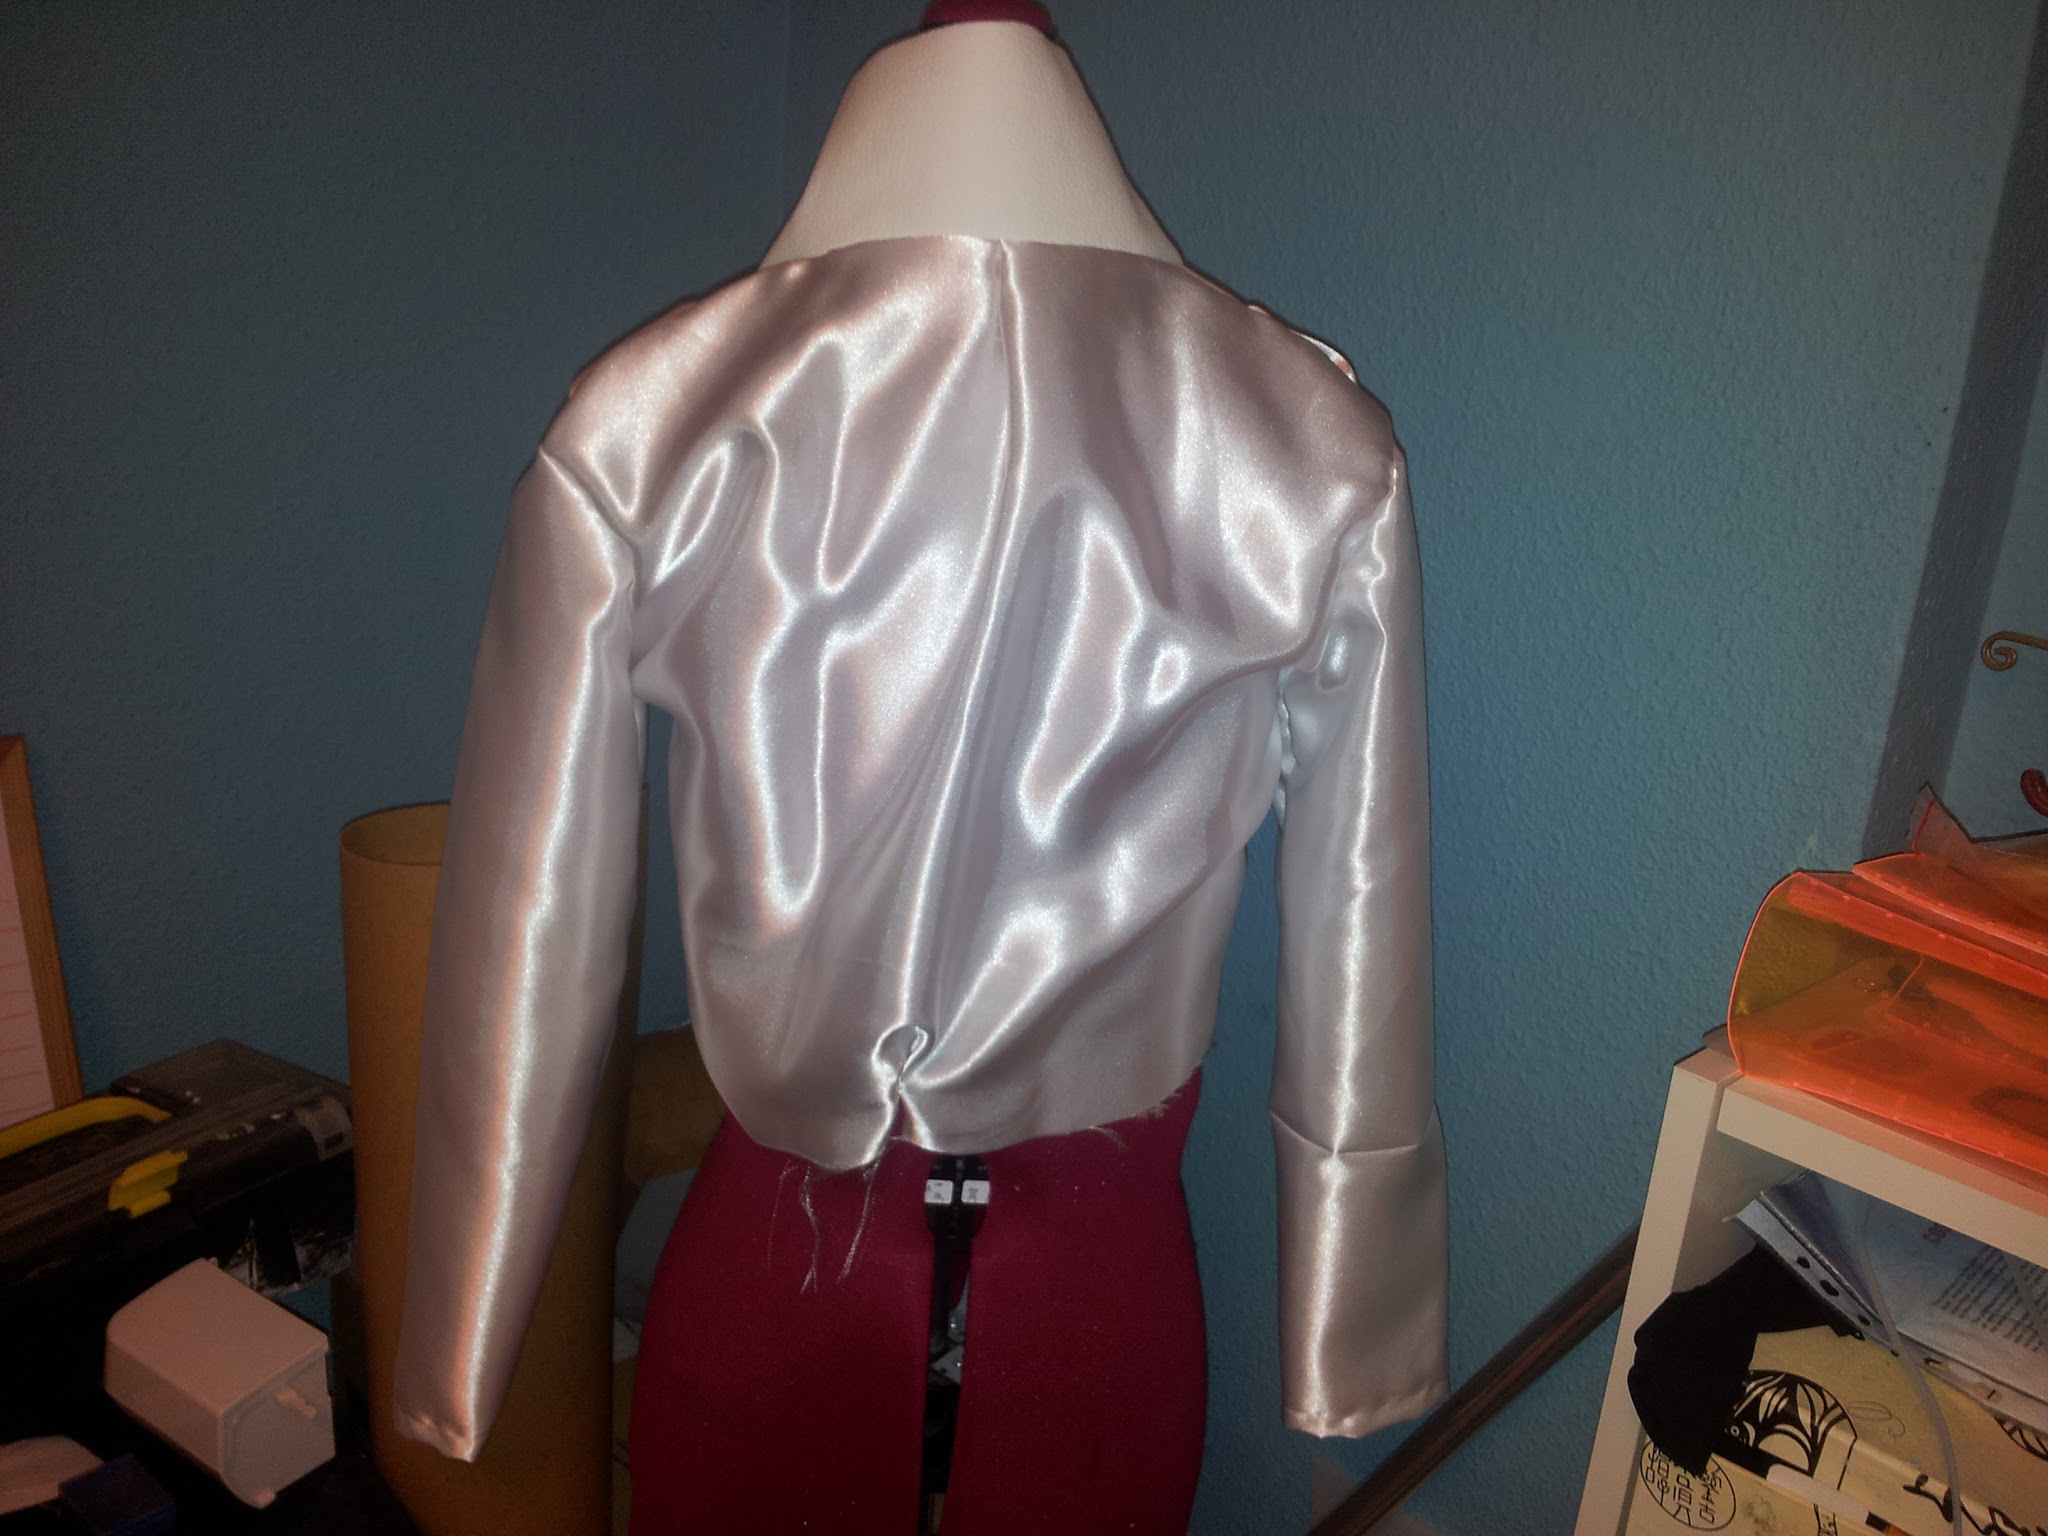
I sewed together the jacket and its lining.
One thing I don’t quite understand yet is how to line the sleeves properly. I mean, I get to line the body decently, but the sleeves remain hanging, I can’t integrate them the right way. I usually close their seams before putting the lining and the visible part together. I don’t know if I express myself correctly. Anyway, if you have any advice, I’ll gladly take it.
Well, this is the finished jacket:

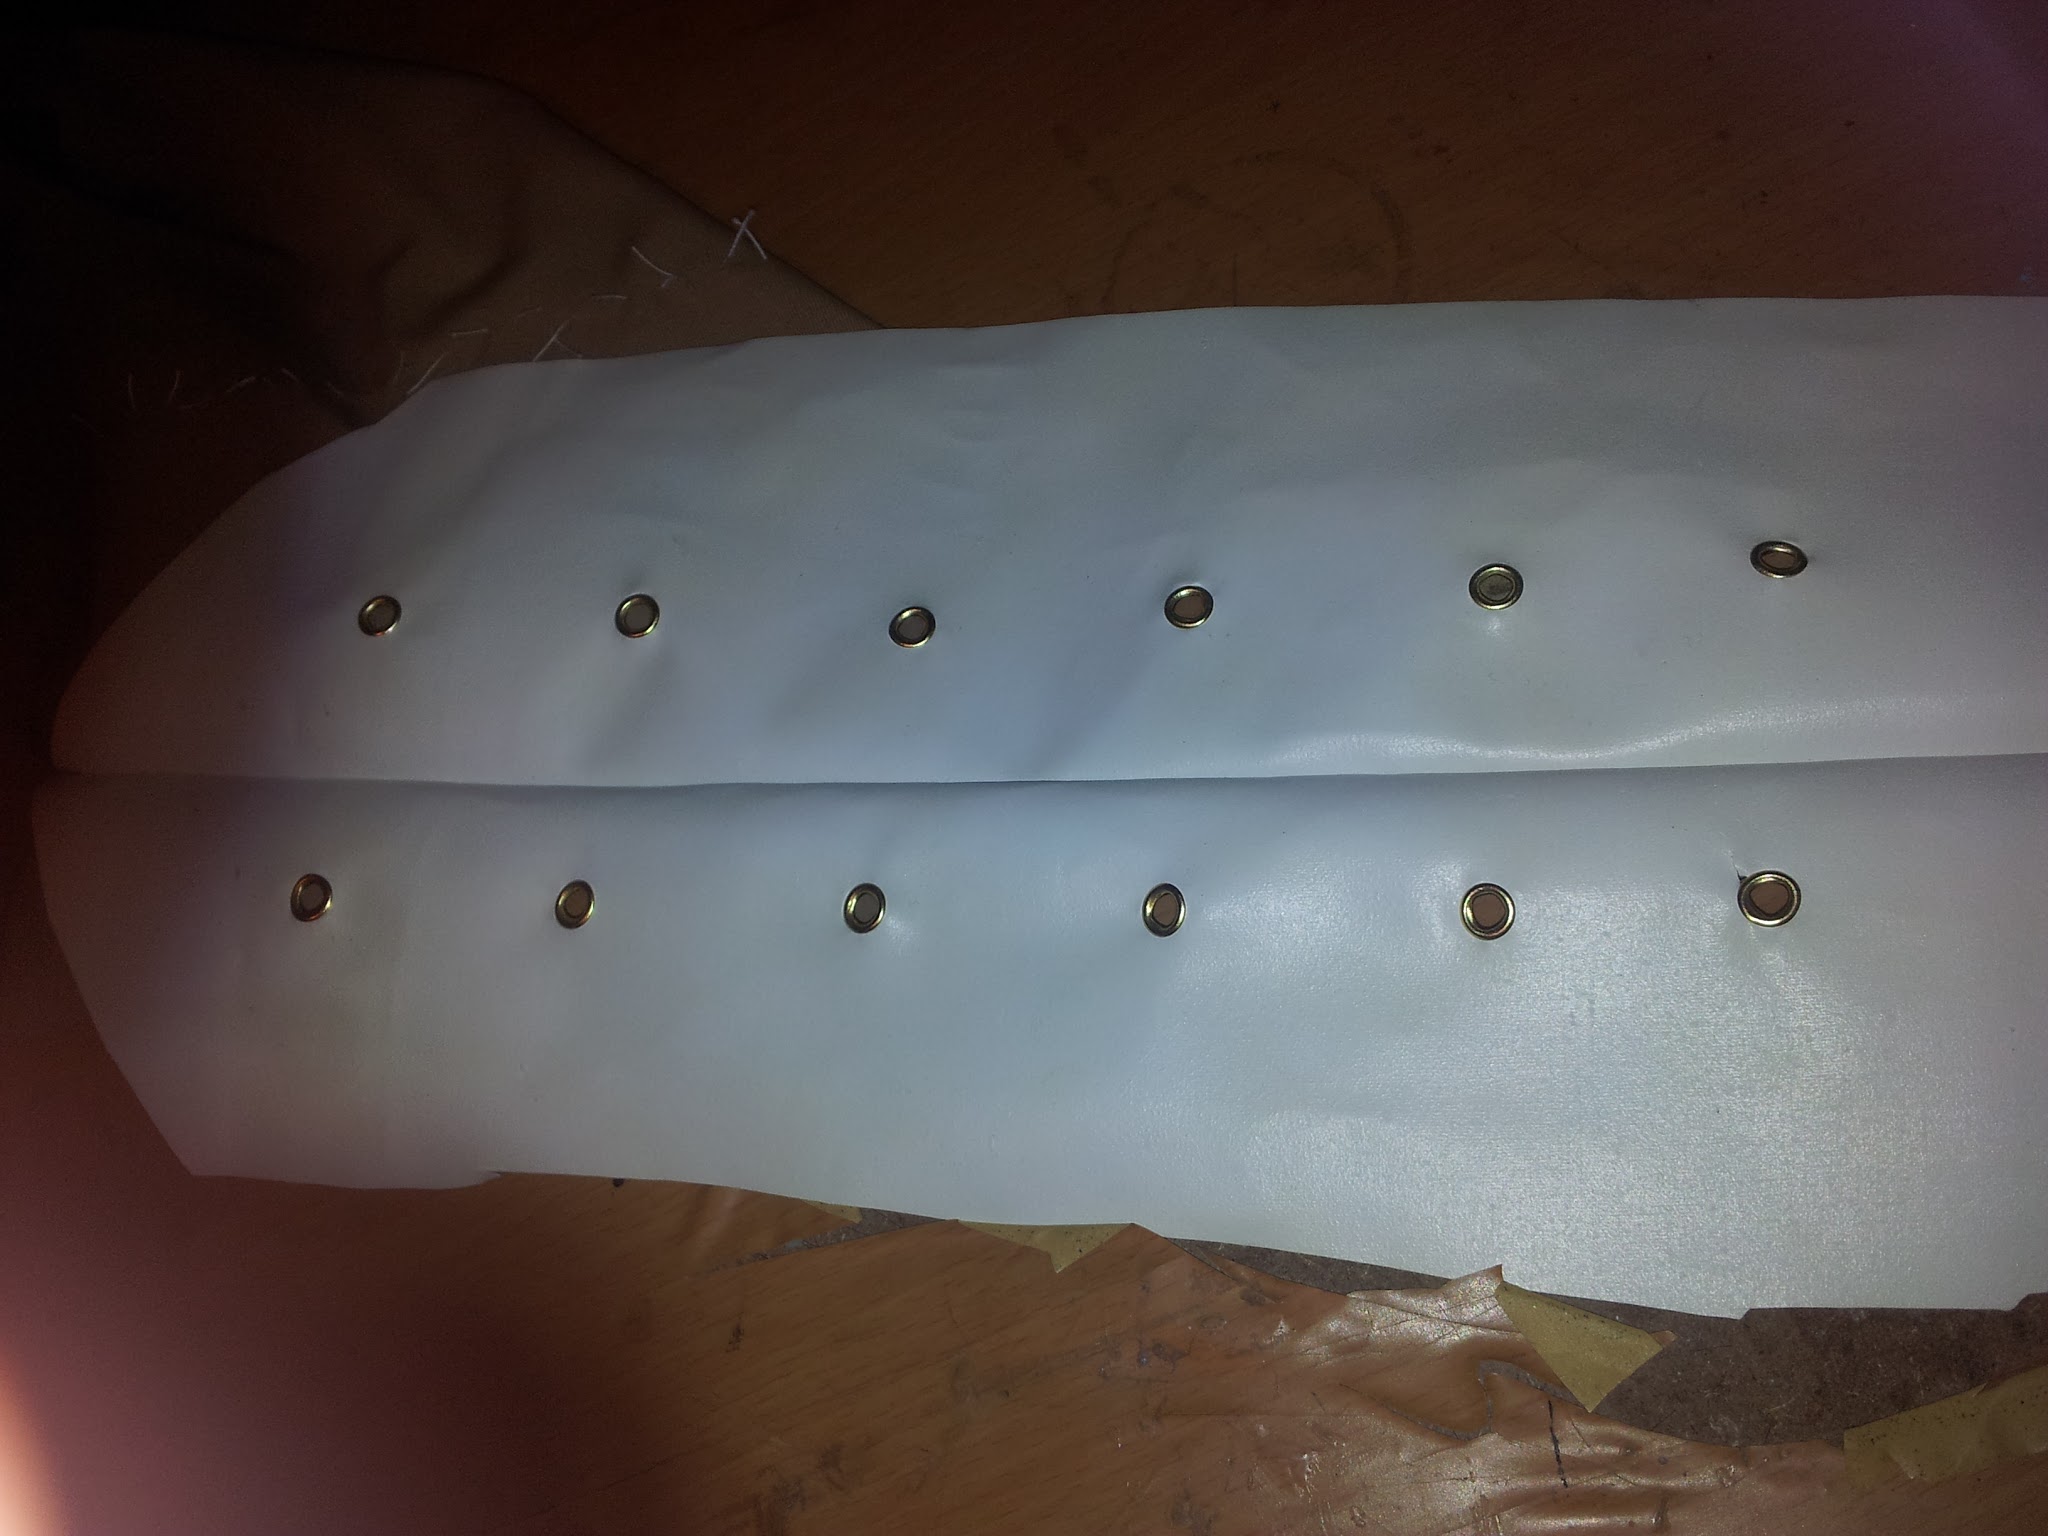
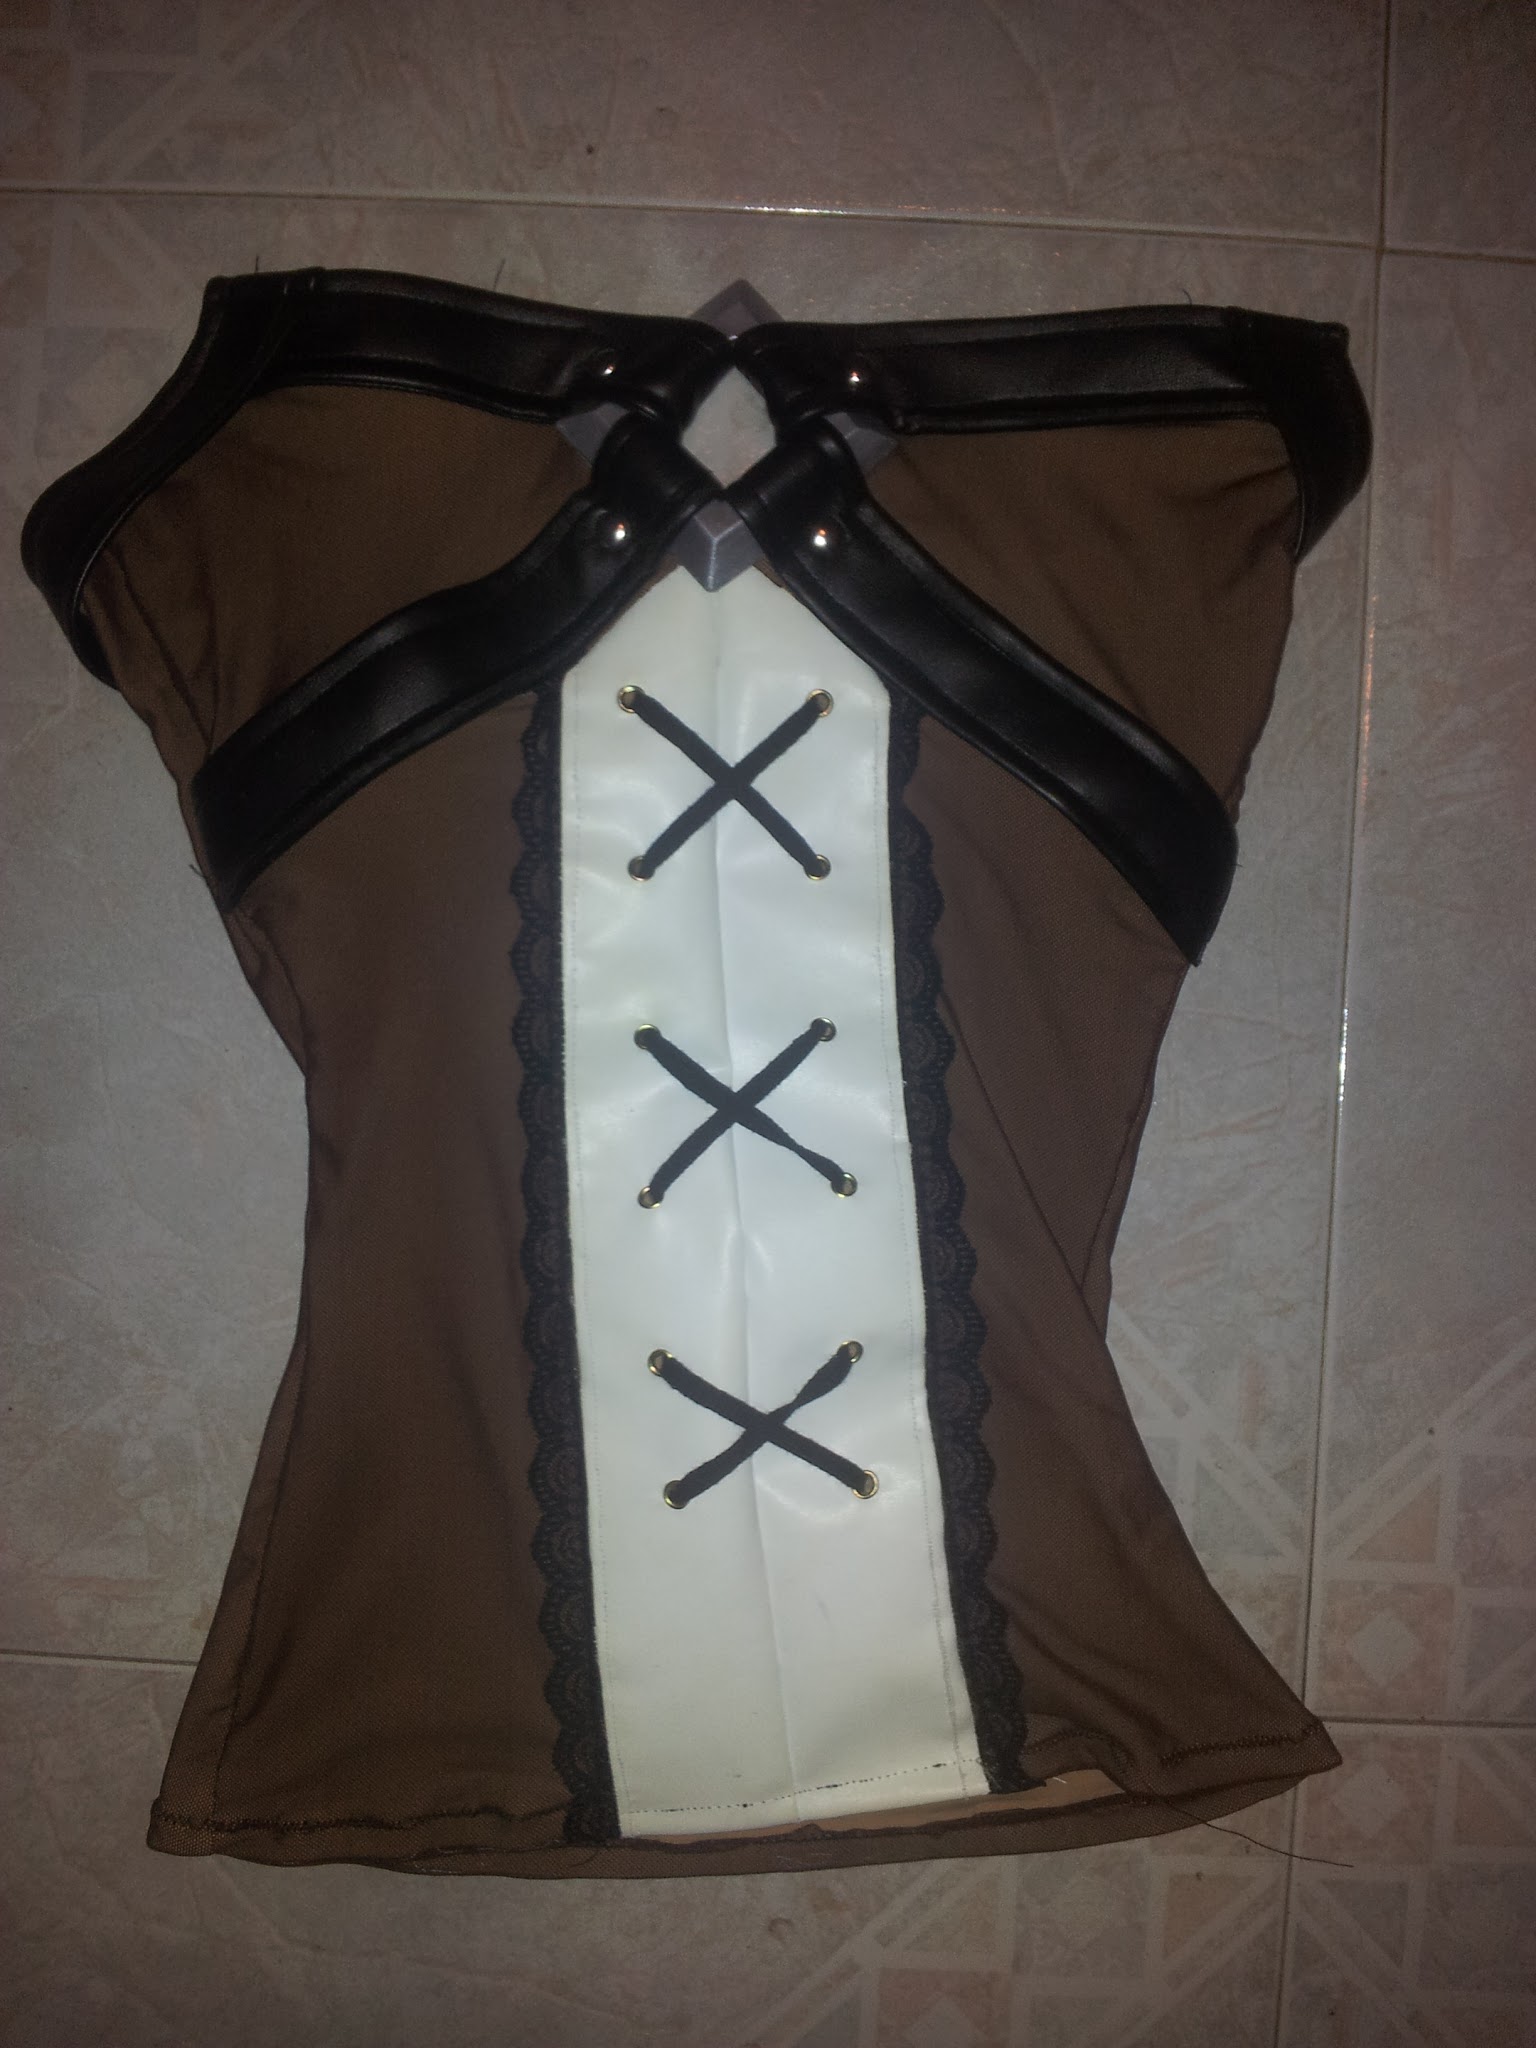
The top was made using flesh-coloured spandex and a thin brown mesh over it. In the middle of the top I included a white pleather piece with eyelets to give it that corset effect. I sewed a black lace between the pleather and the spandex fabrics.
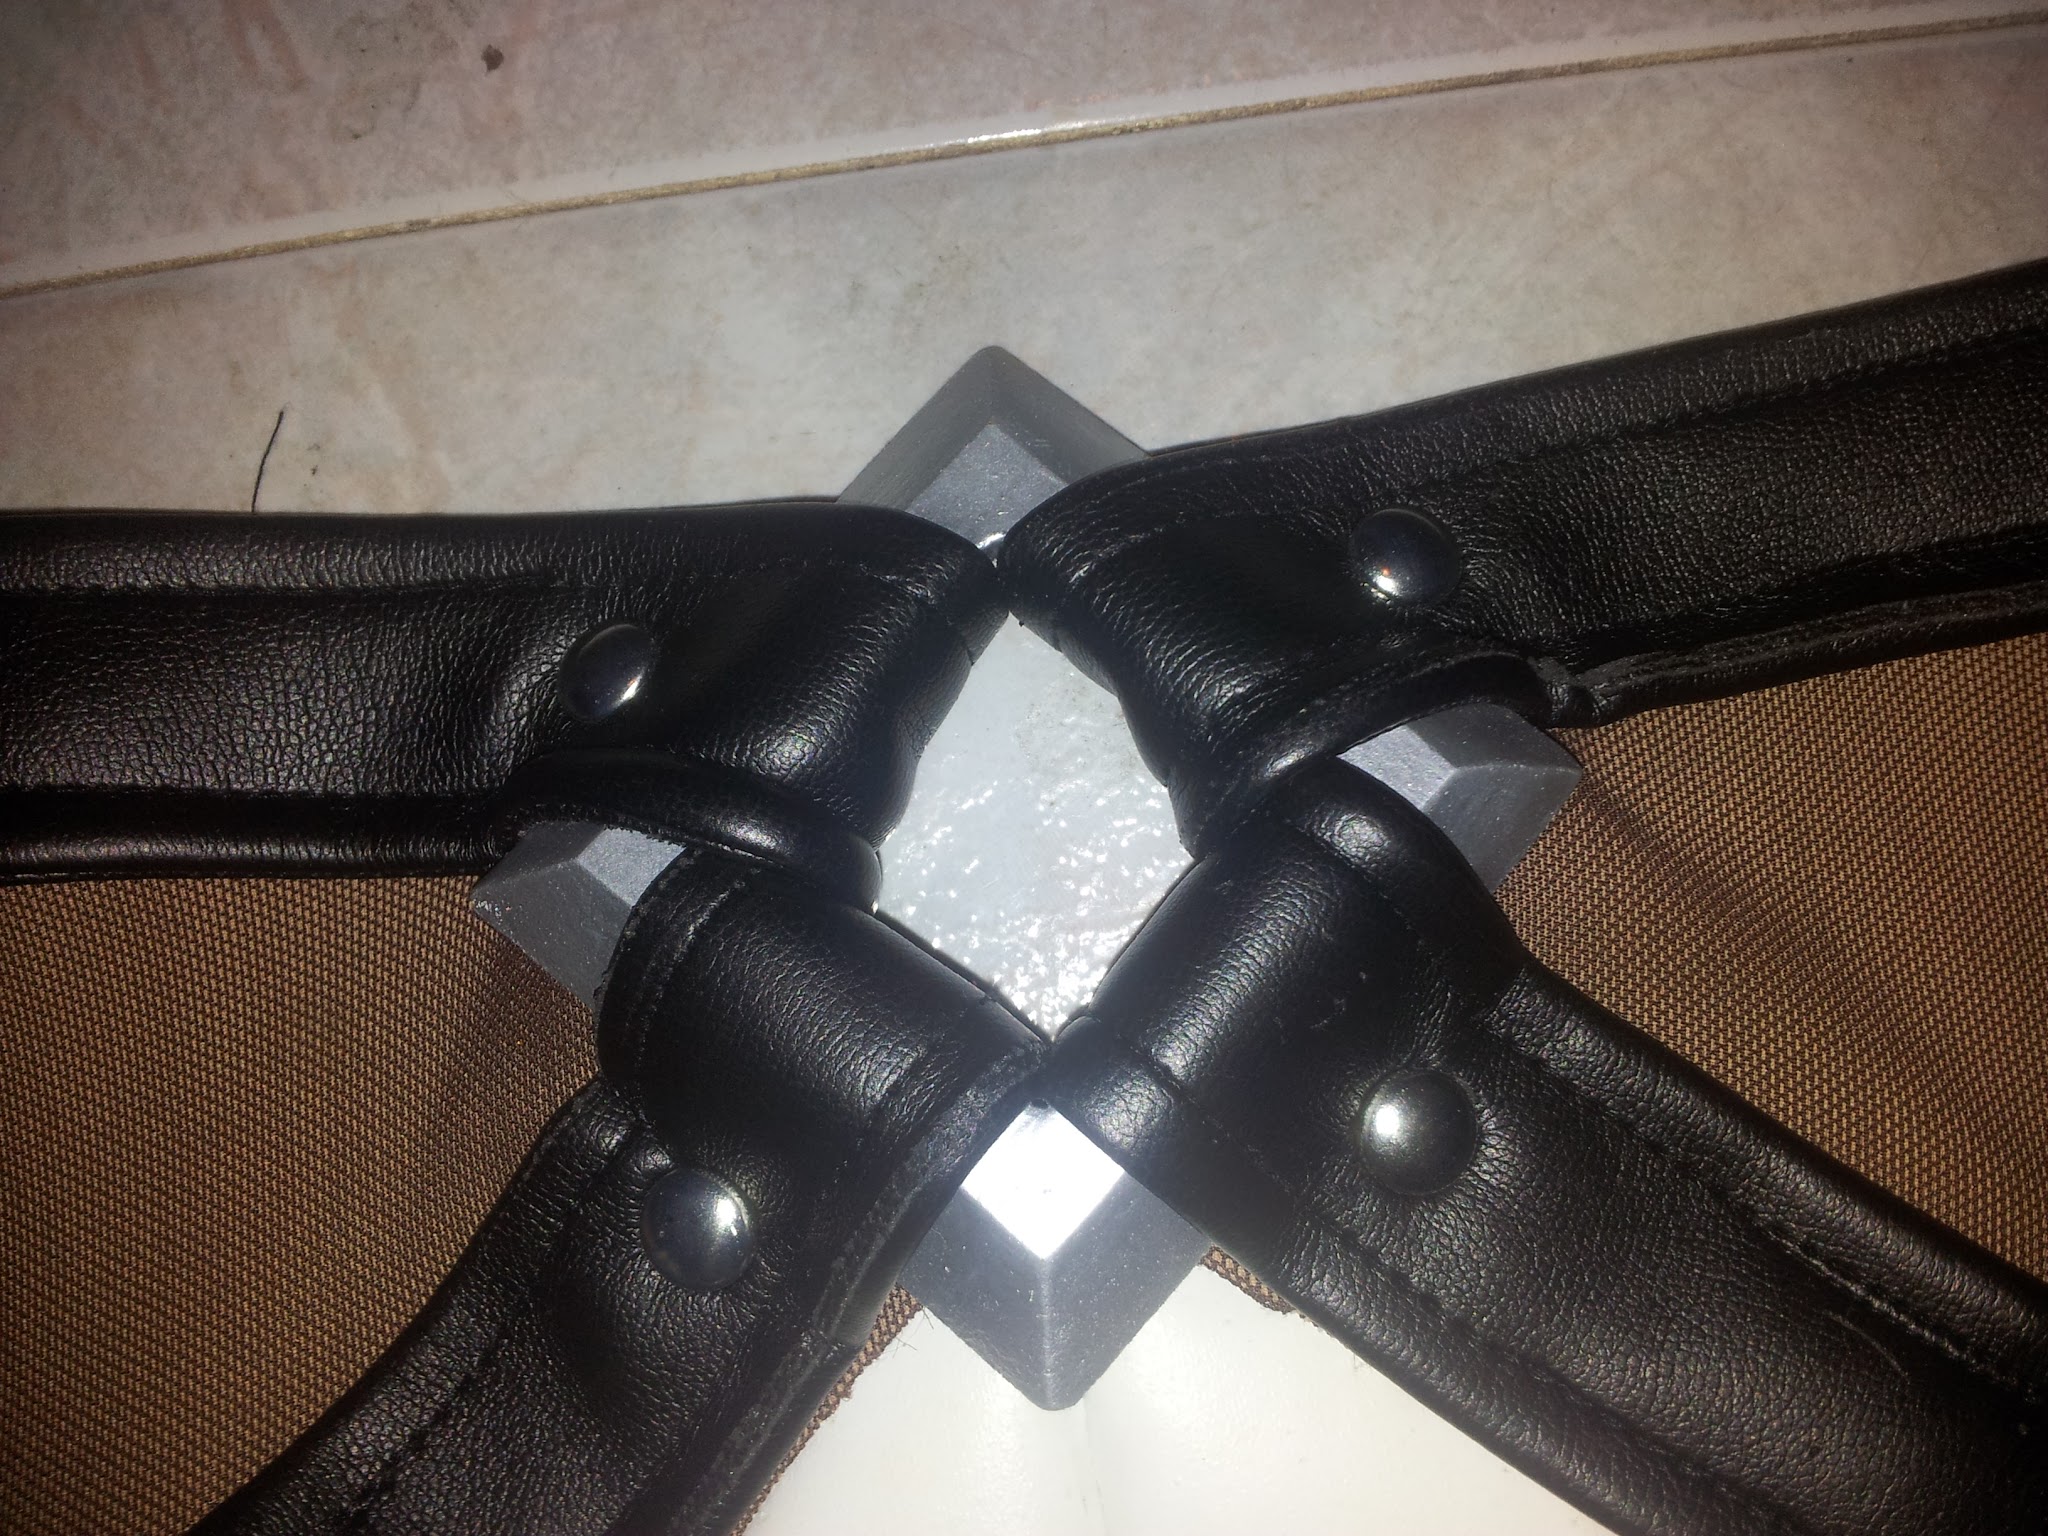
I made the black pleather belts and I sewed them on the central square piece. That piece is made out of MDF wood, primed ad painted with silver spray paint. Once I sewed everything together, I added transparent suspenders (not visible under the jacket) because I wasn’t confident it wasn’t going to fall.
I’m sorry I don’t have a lot of WIP pictures of this.

I already had those black leggings at home. In fact, I use them for several costumes (Satele Shan, Morrigan, Darksteel armor) and I love them. I also bought the belt. I just had to add the chains and the big sequins.
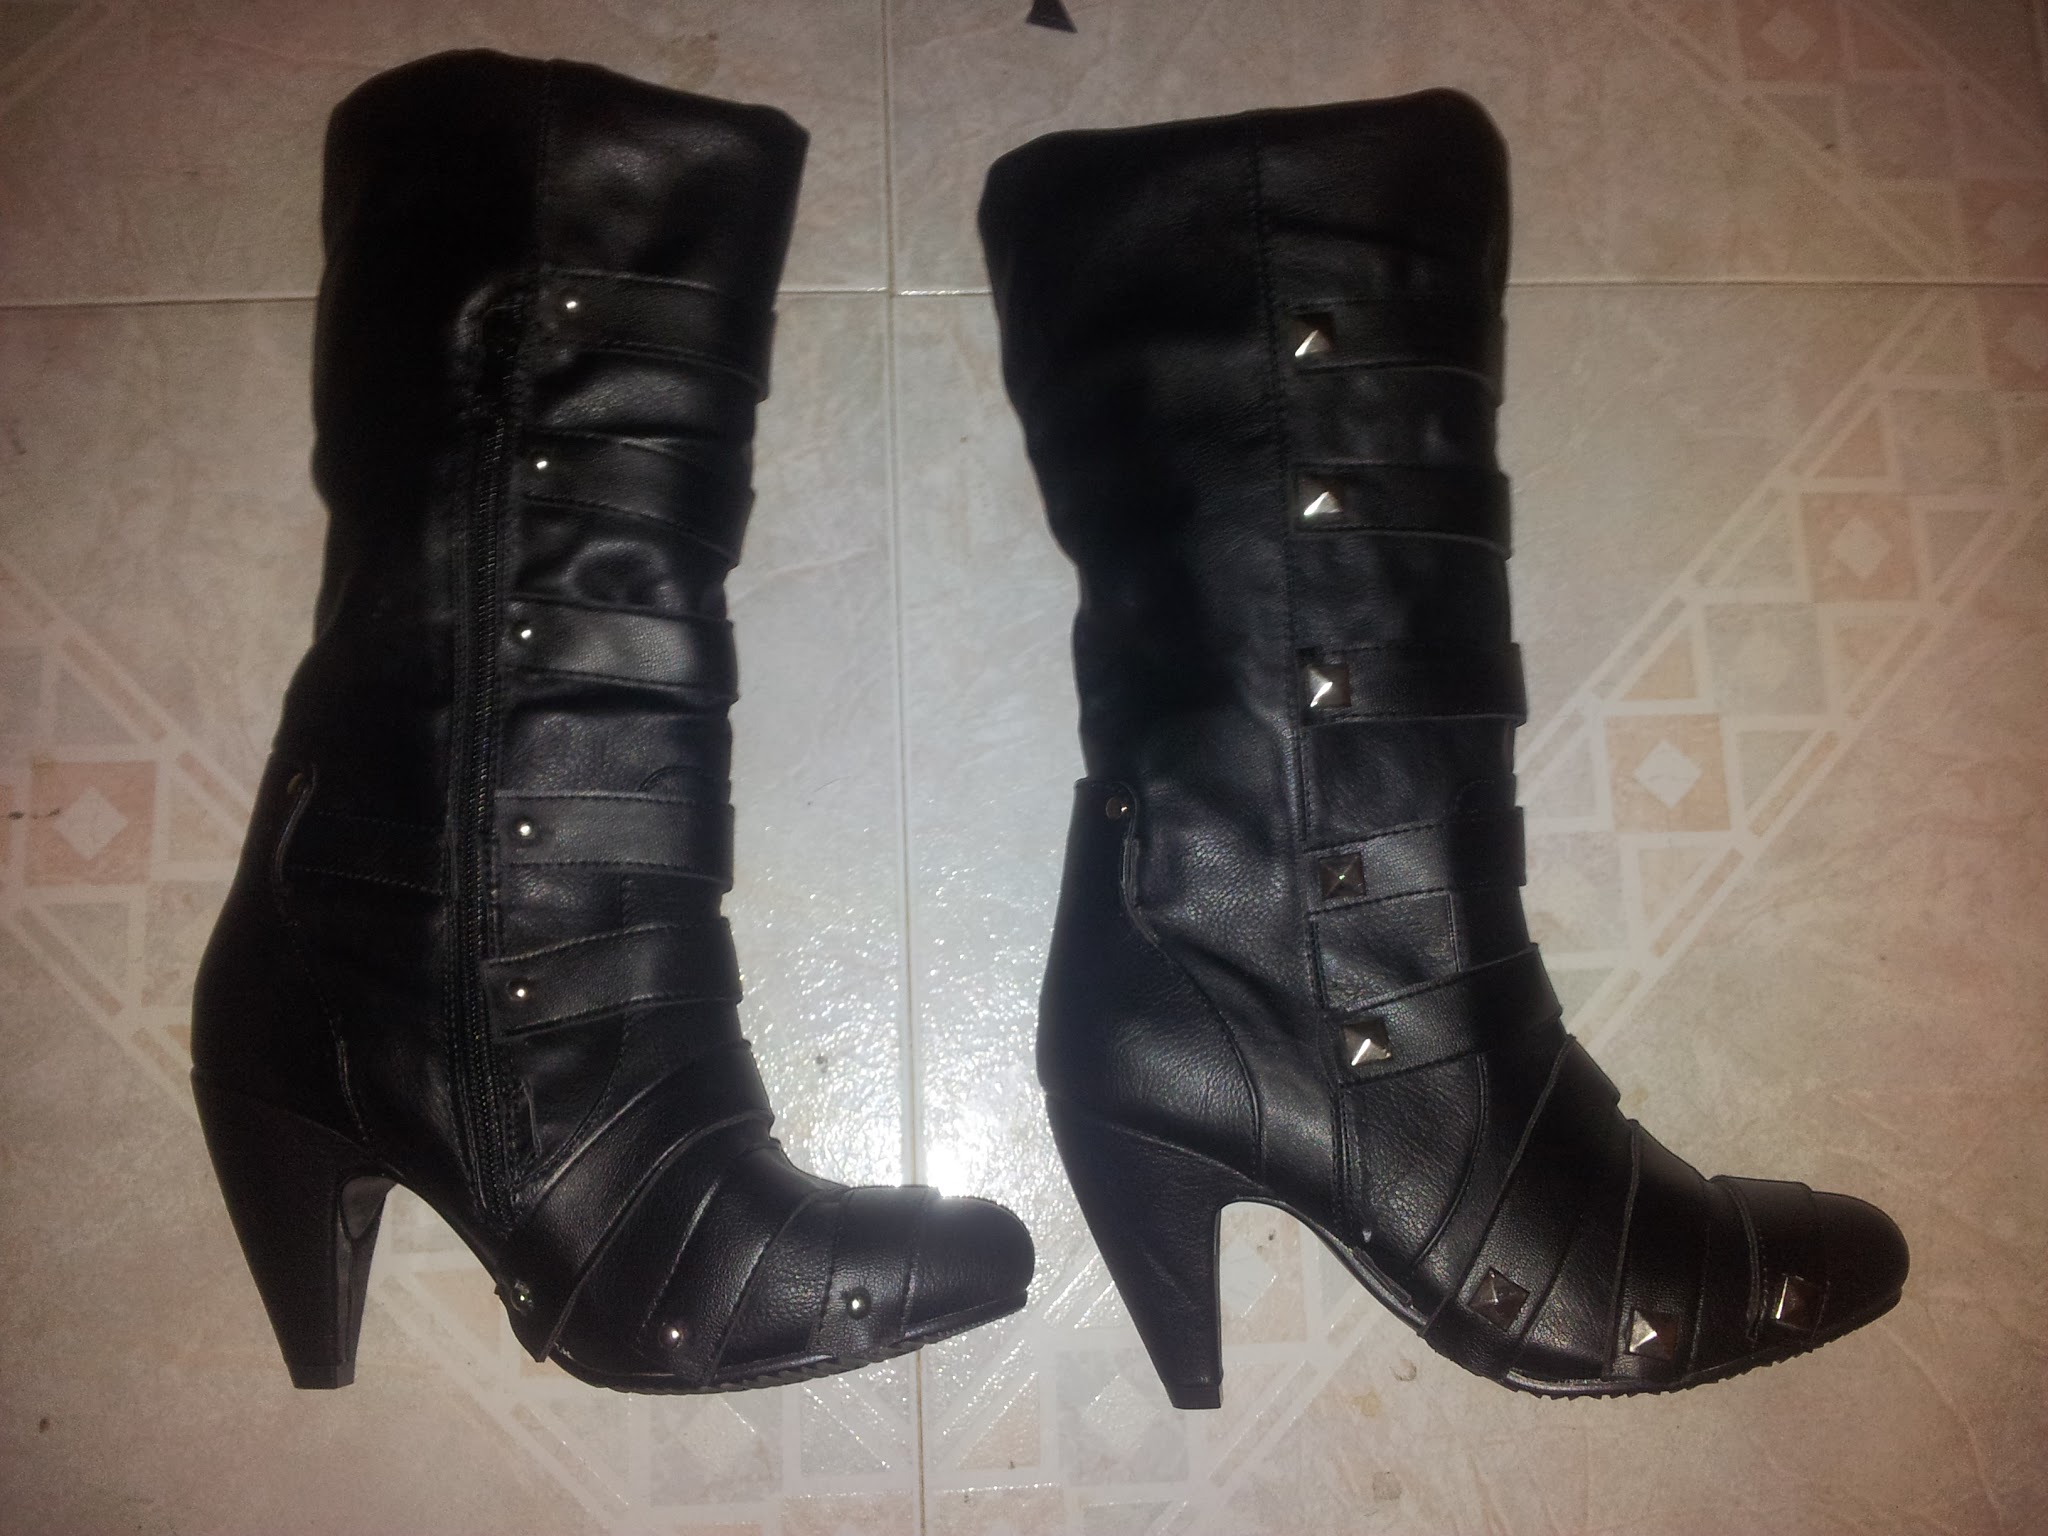
I bought the boots and I added the black pleather stripes with tacks. Pyramidal in one side and rounded in the other.
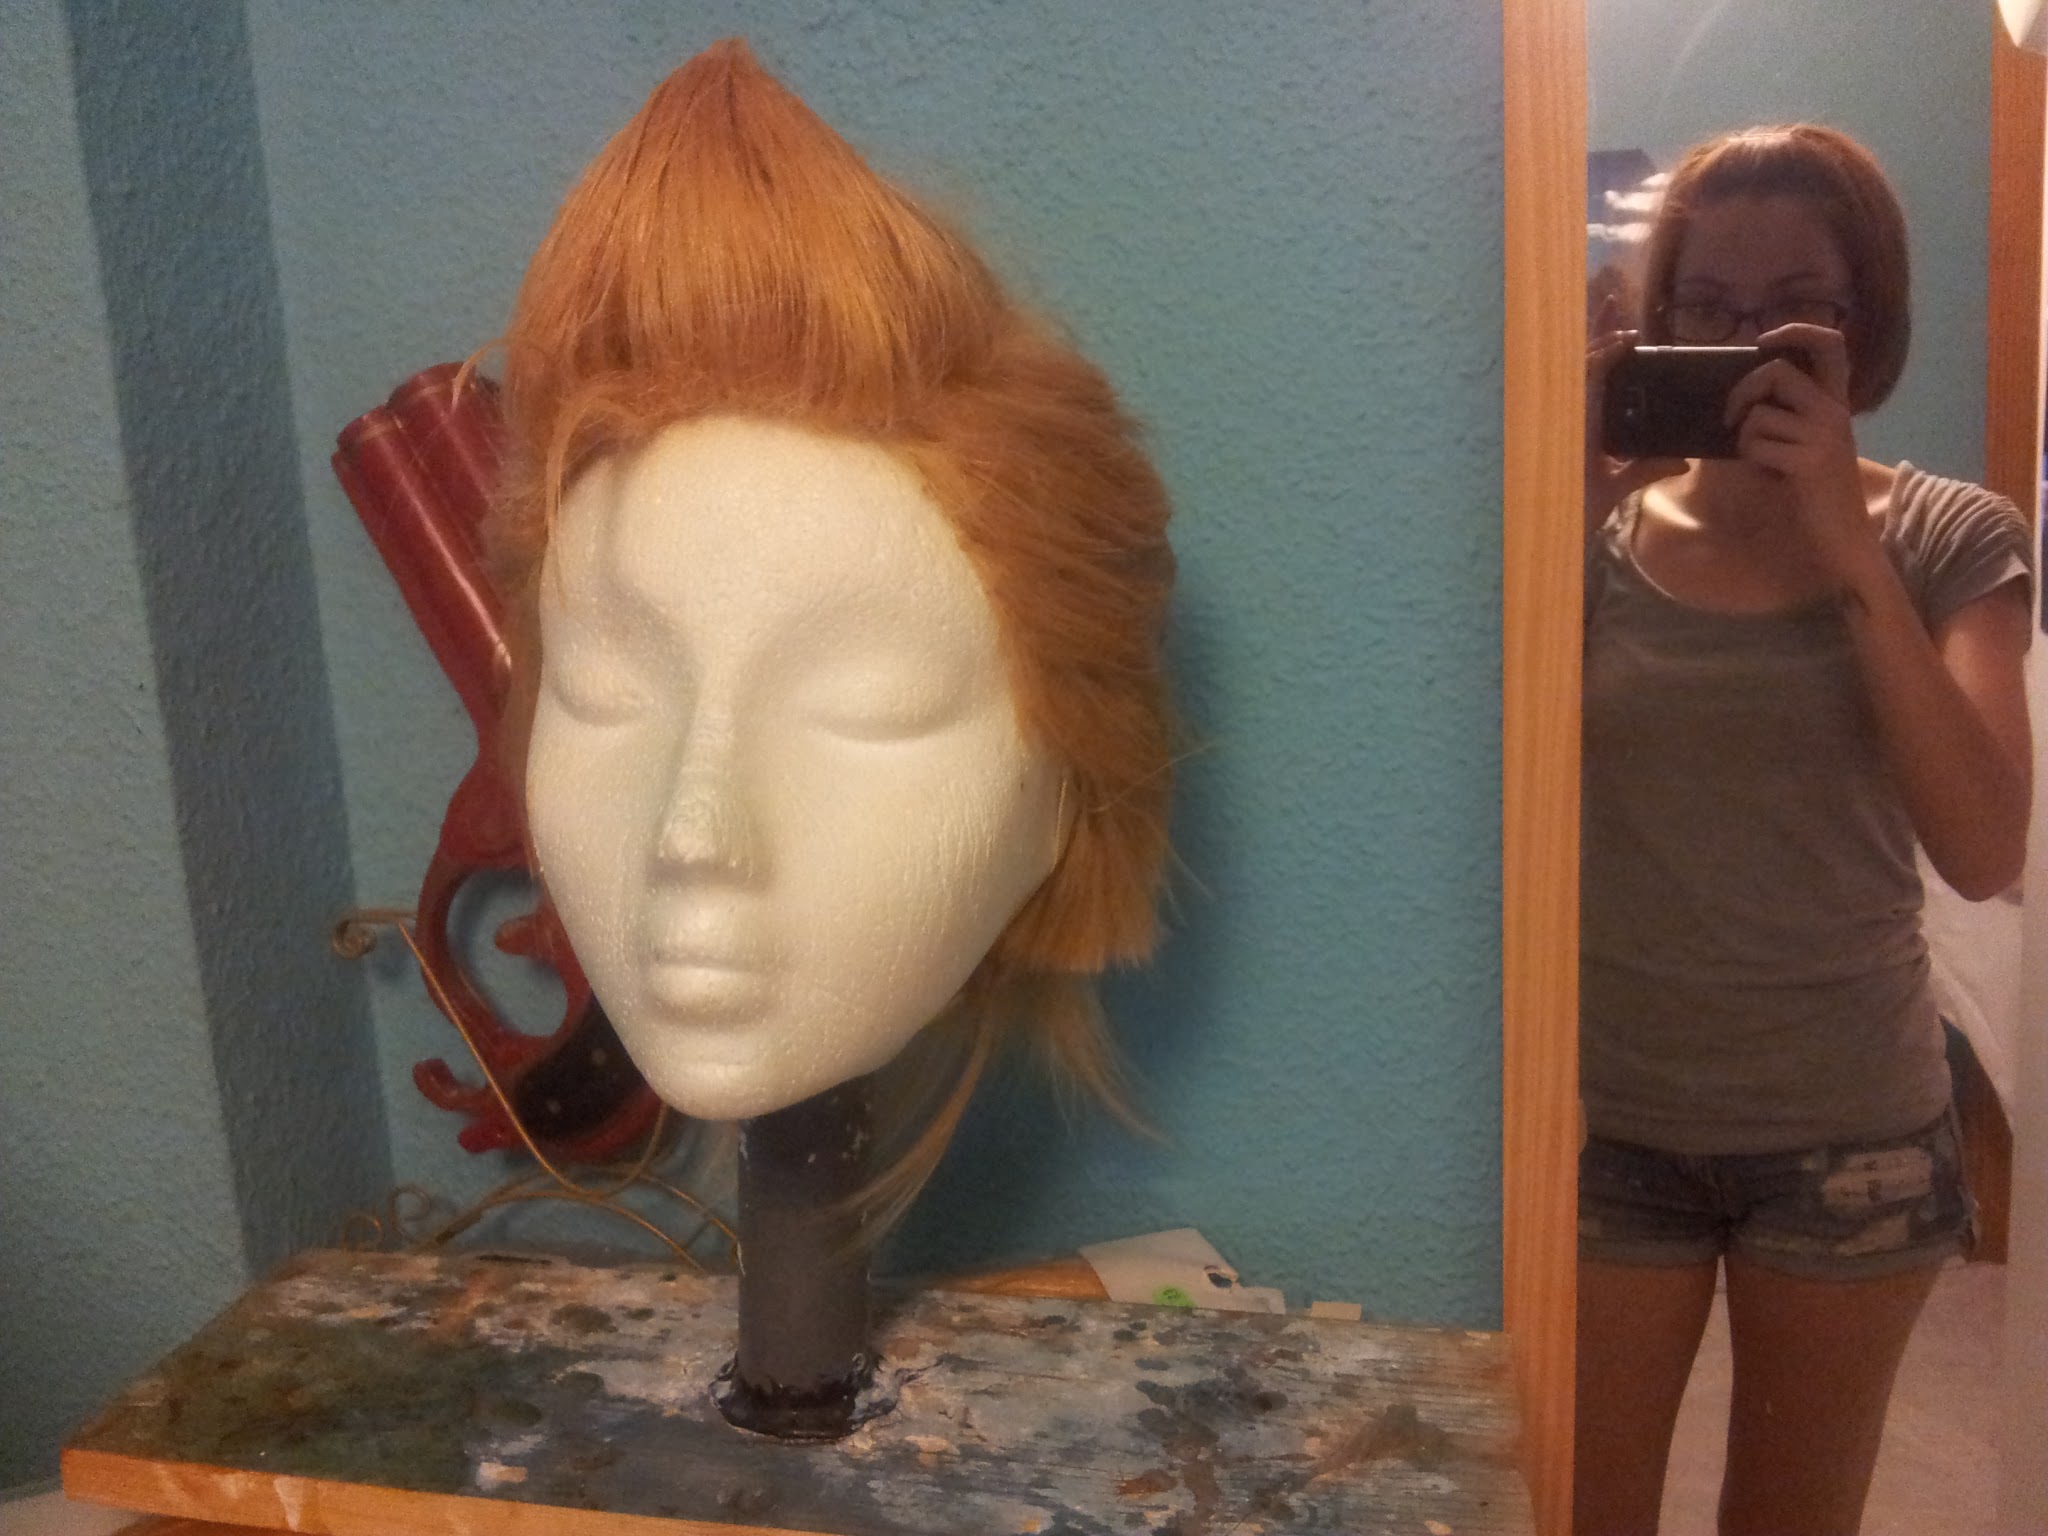
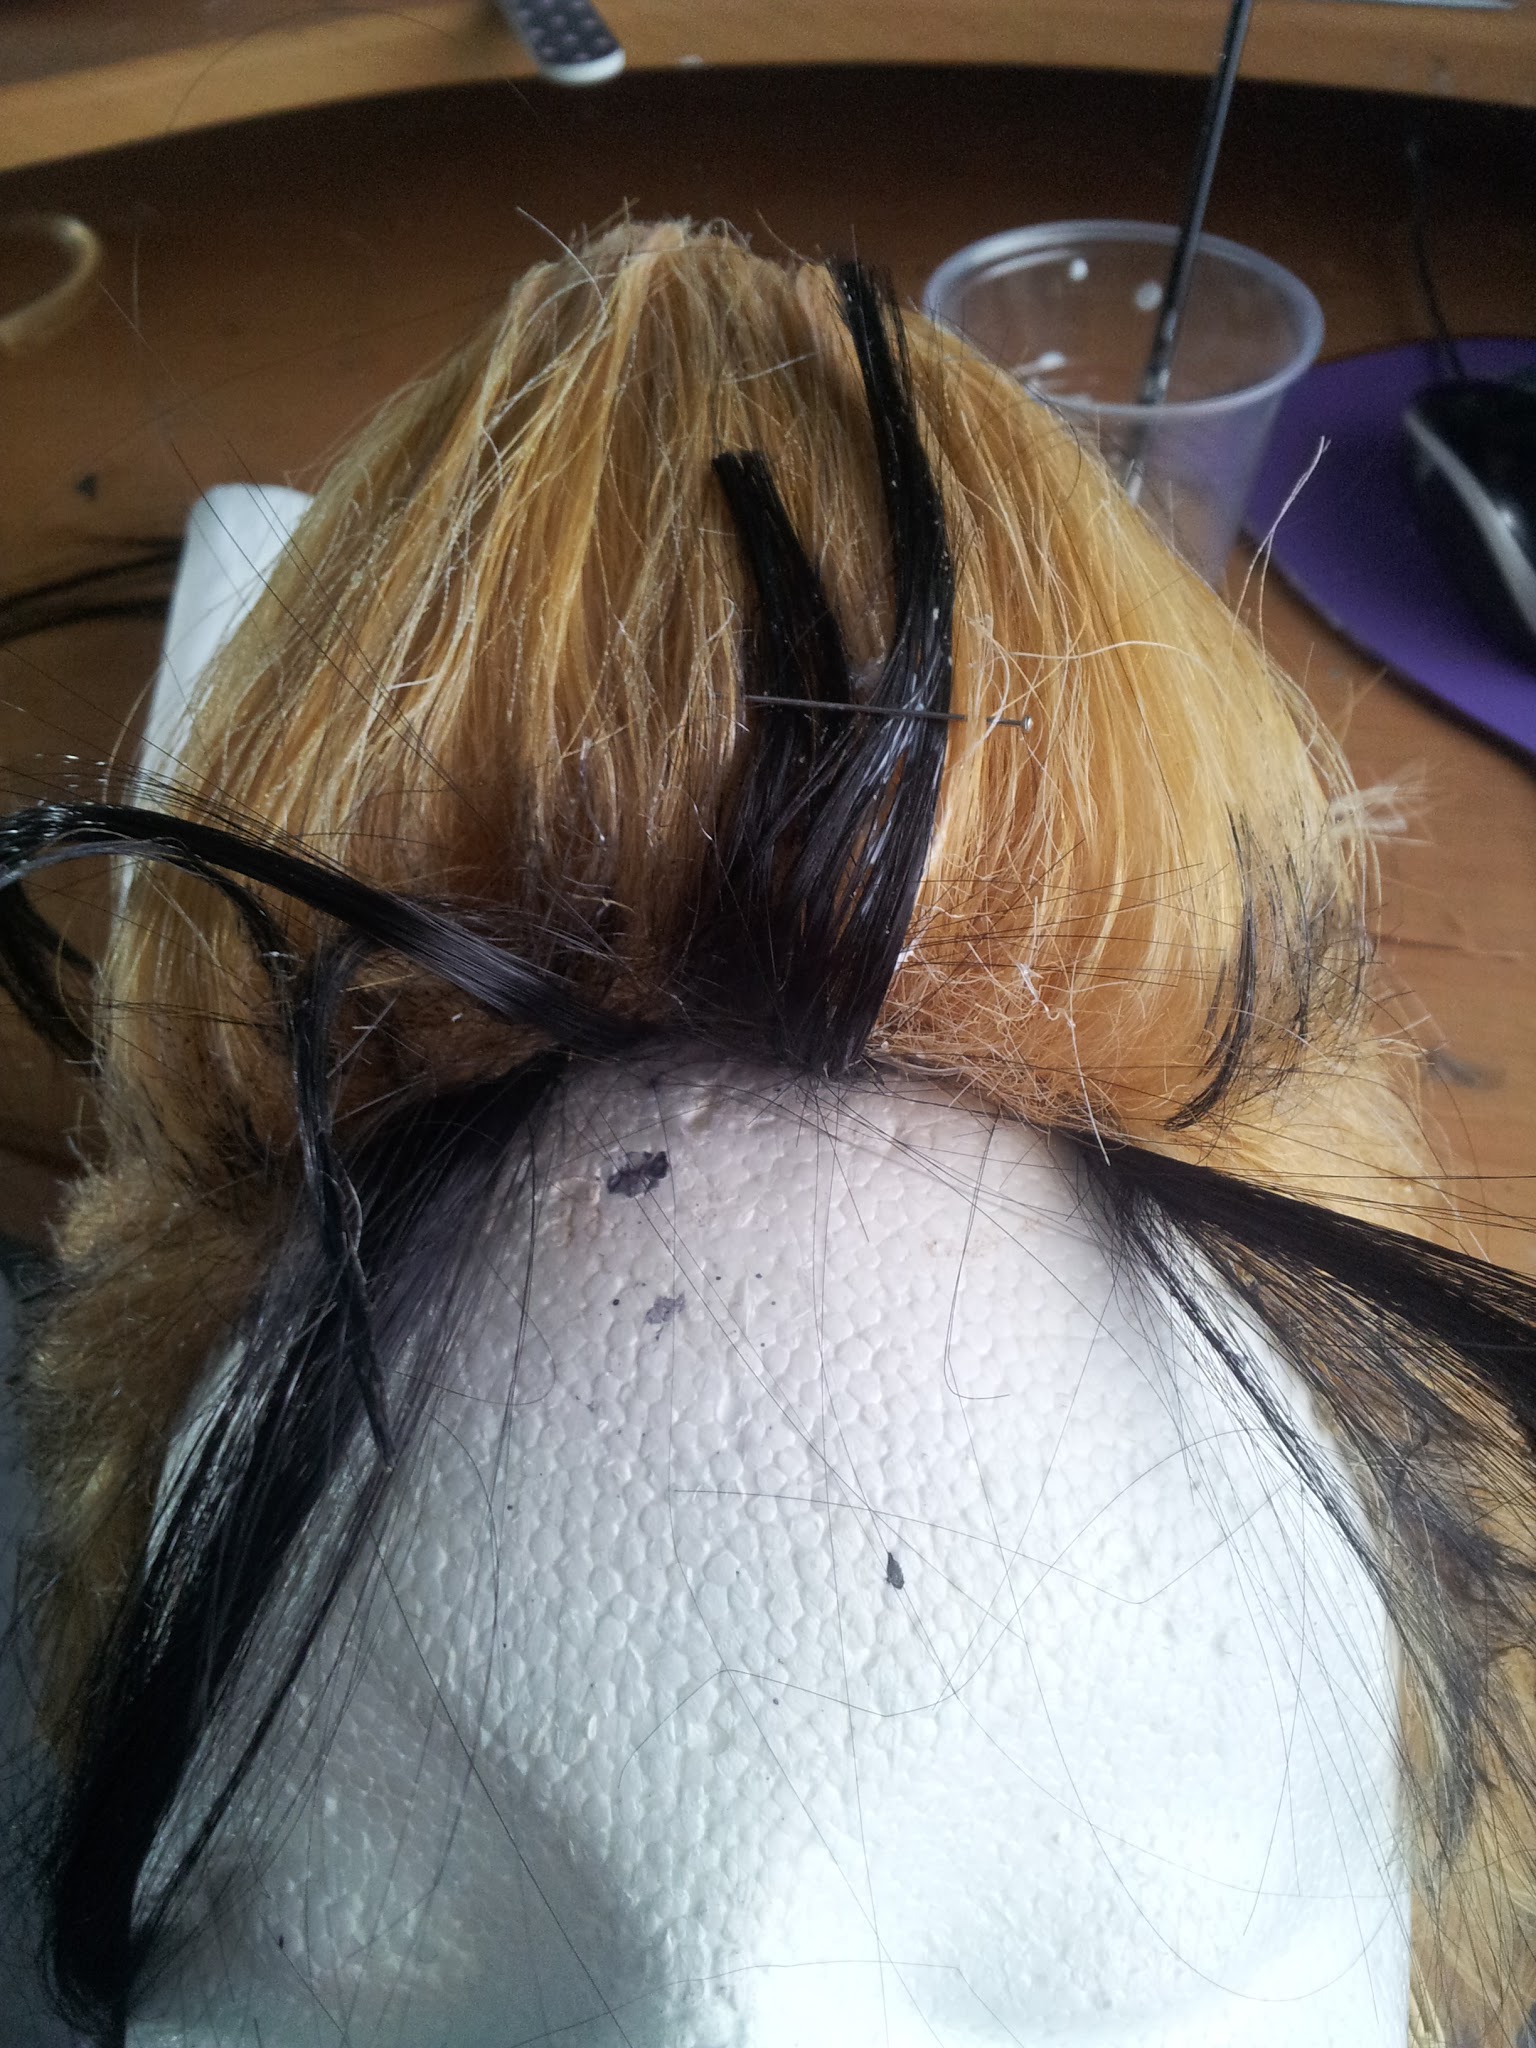
The wig was some serious business to make. This rocker style girl have a dyed blonde hair and I guess she wears lots of hair gel. I bought a blonde wig on Ebay and I cut it. Then I styled it using extra strong hairspray and a hairdryer. I added the black wefts glueing them using hot glue inside the wig, after that I glued them over the blond toupee with wood glue. I also painted the roots using black permanent marker to make it look more realistic. Anddd done!!!!


Hope you liked this tutorial. Feel free to ask me anything in the comments below. As always, you can find me on twitter, facebook and that stuff.
Thanks for reading!!


