
Heyyyy!! Today I’m starting my Destiny cosplay tutorials. At last! You have no idea how much I wanted to make a Destiny cosplay. I didn’t make it before because I wanted to play the game first (on PC) and make my own guardian. The thing is Activision and Bungie came and asked me to make a costume for them and here I am! I had to make the costume before playing and right now I’m playing on Xbox360, haha. Well, from the very first moment I saw the Destiny designs I knew I would make something from this game. It’s been really funny making this costume secretly because you guys have asked me like a million times “when are you going to make a Destiny cosplay?”, “it’s totally your style” and so on and I couldn’t say anything. I’m really happy that you think these designs suit me as I love them so much and I’m a Bungie fan. I’m so glad I had this opportunity!
 |
| Picture by JLMfotografo. |
Well, let’s start! Today I’m going to show you how I made my armors. I’m very proud of them as I’ve learnt a lot and I’ve used some cool techniques I wanted to try. I feel like I leveled up in foam smithing. I must say all the new stuff I’ve made has been possible thanks to this book by Punished Props. I recommend you to check it out.
To make this armor, I used 1cm thickness craft foam as a base for the first time. I was afraid it would look clunky on me as I’m a skinny girl, but I think everything came out nicely. I used this foam because this thickness gives the armor consistency and the pieces keep their shape after heating them way better. Also, for the first time, I used a heat knife and, OMG, I don’t know how I’ve lived all my life without it. It has a cutting head and several other engraving ones and its finishes are really, really clean. I’ve also discovered the advantages of sanding craft foam and how it improves the overall look dramatically.
My choices for my Hunter armor was:
I don’t have a lot of images of the process because,as I was in a rush, I sometimes forgot to take them. I’ll try my best to explain myself.
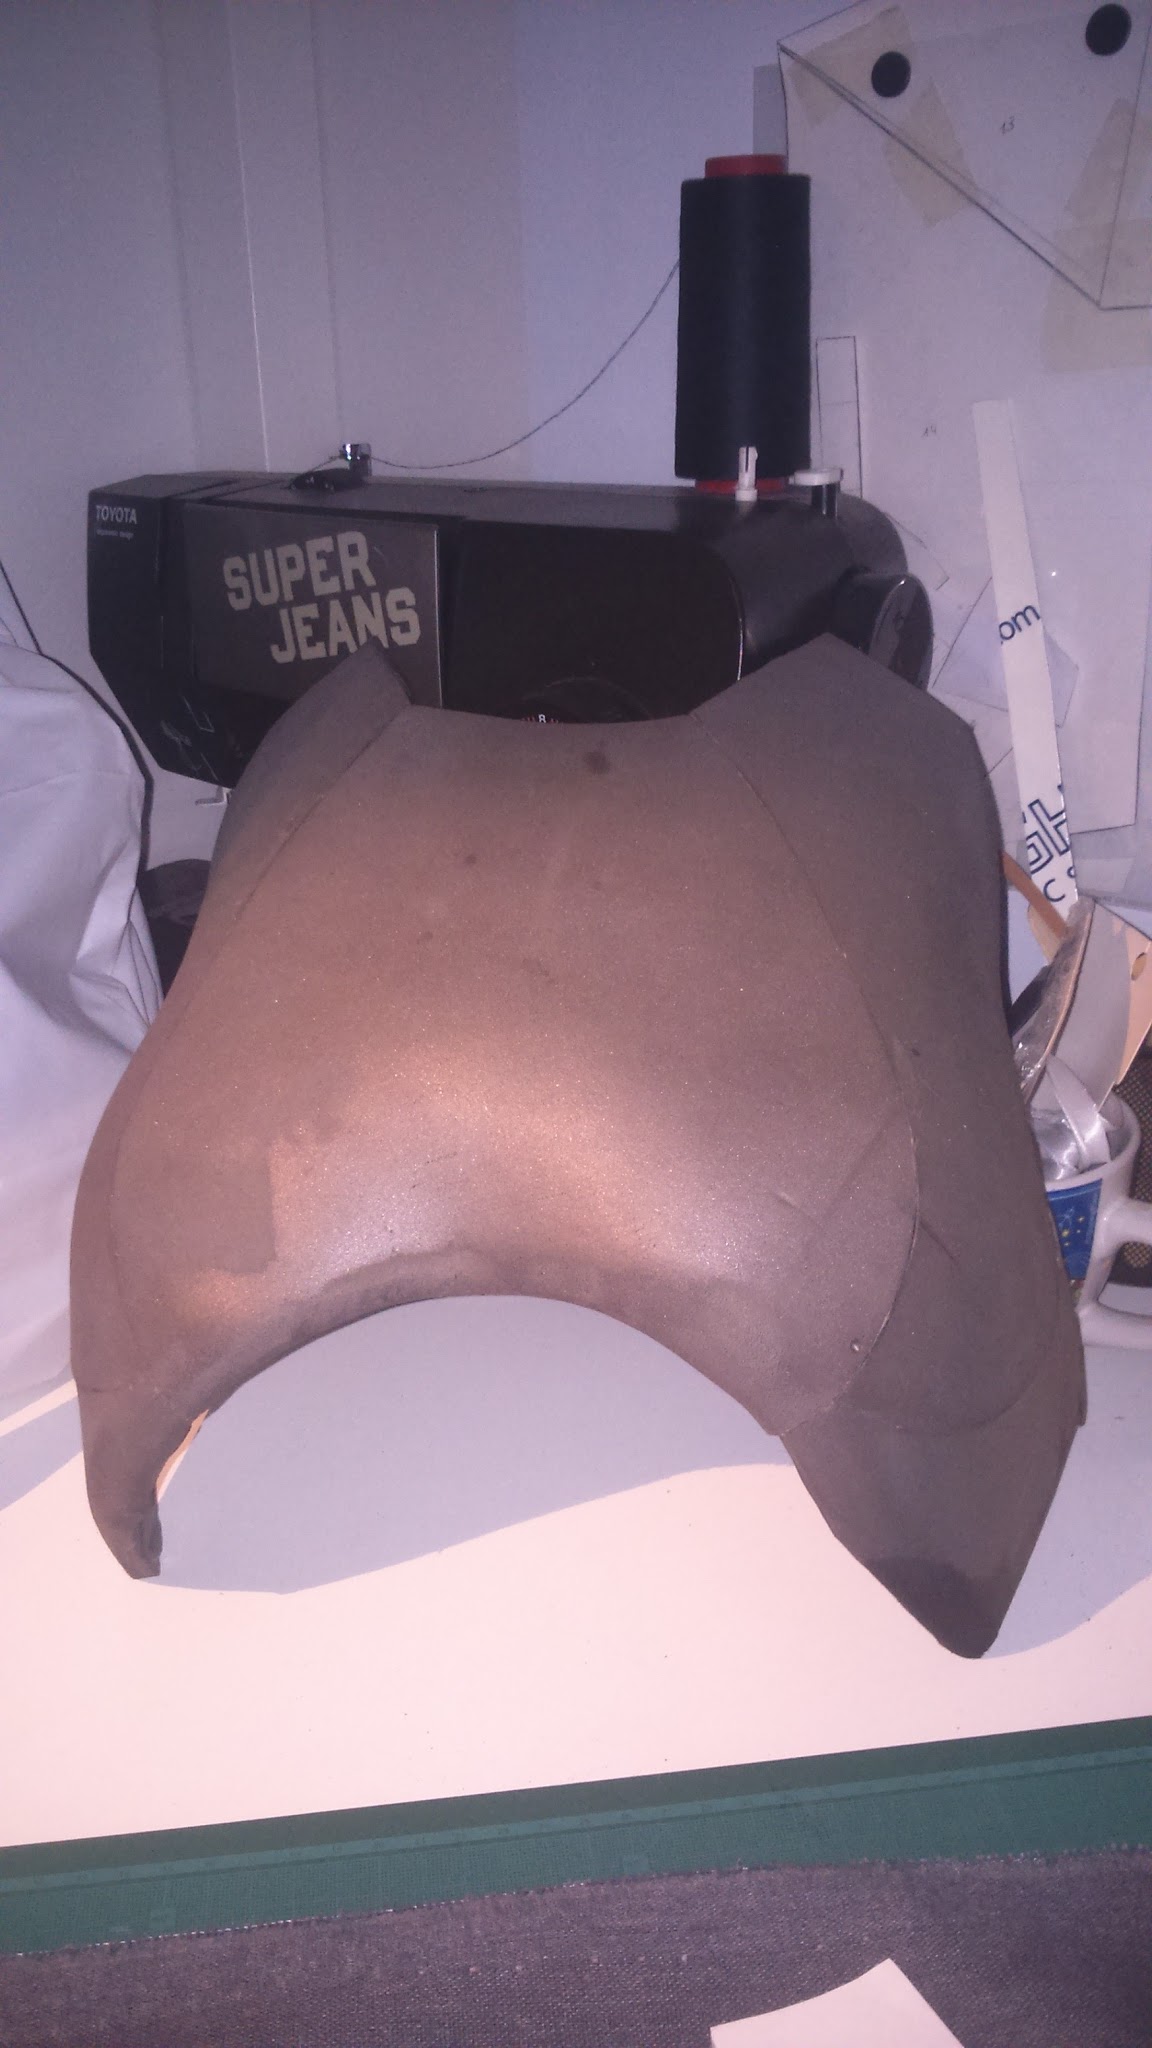
First of all, I made the chestpiece patterns. As you may know, a technique for this is wrapping yourself in plastic wrap and masking or duct tape to make your patterns. In this case I made them just like clothing patterns. I preferred it that way as I had to add bust darts to shape it.

I glued the pieces together using contact cement and I shaped it using the heat gun. I bent the shoulder and the waist area and I shaped the armhole and low chest to adapt it to to my shape. I also sanded the edges to make them look rounder.
After that, I wrapped some parts in masking tape to get the patterns for the ornamental pieces.


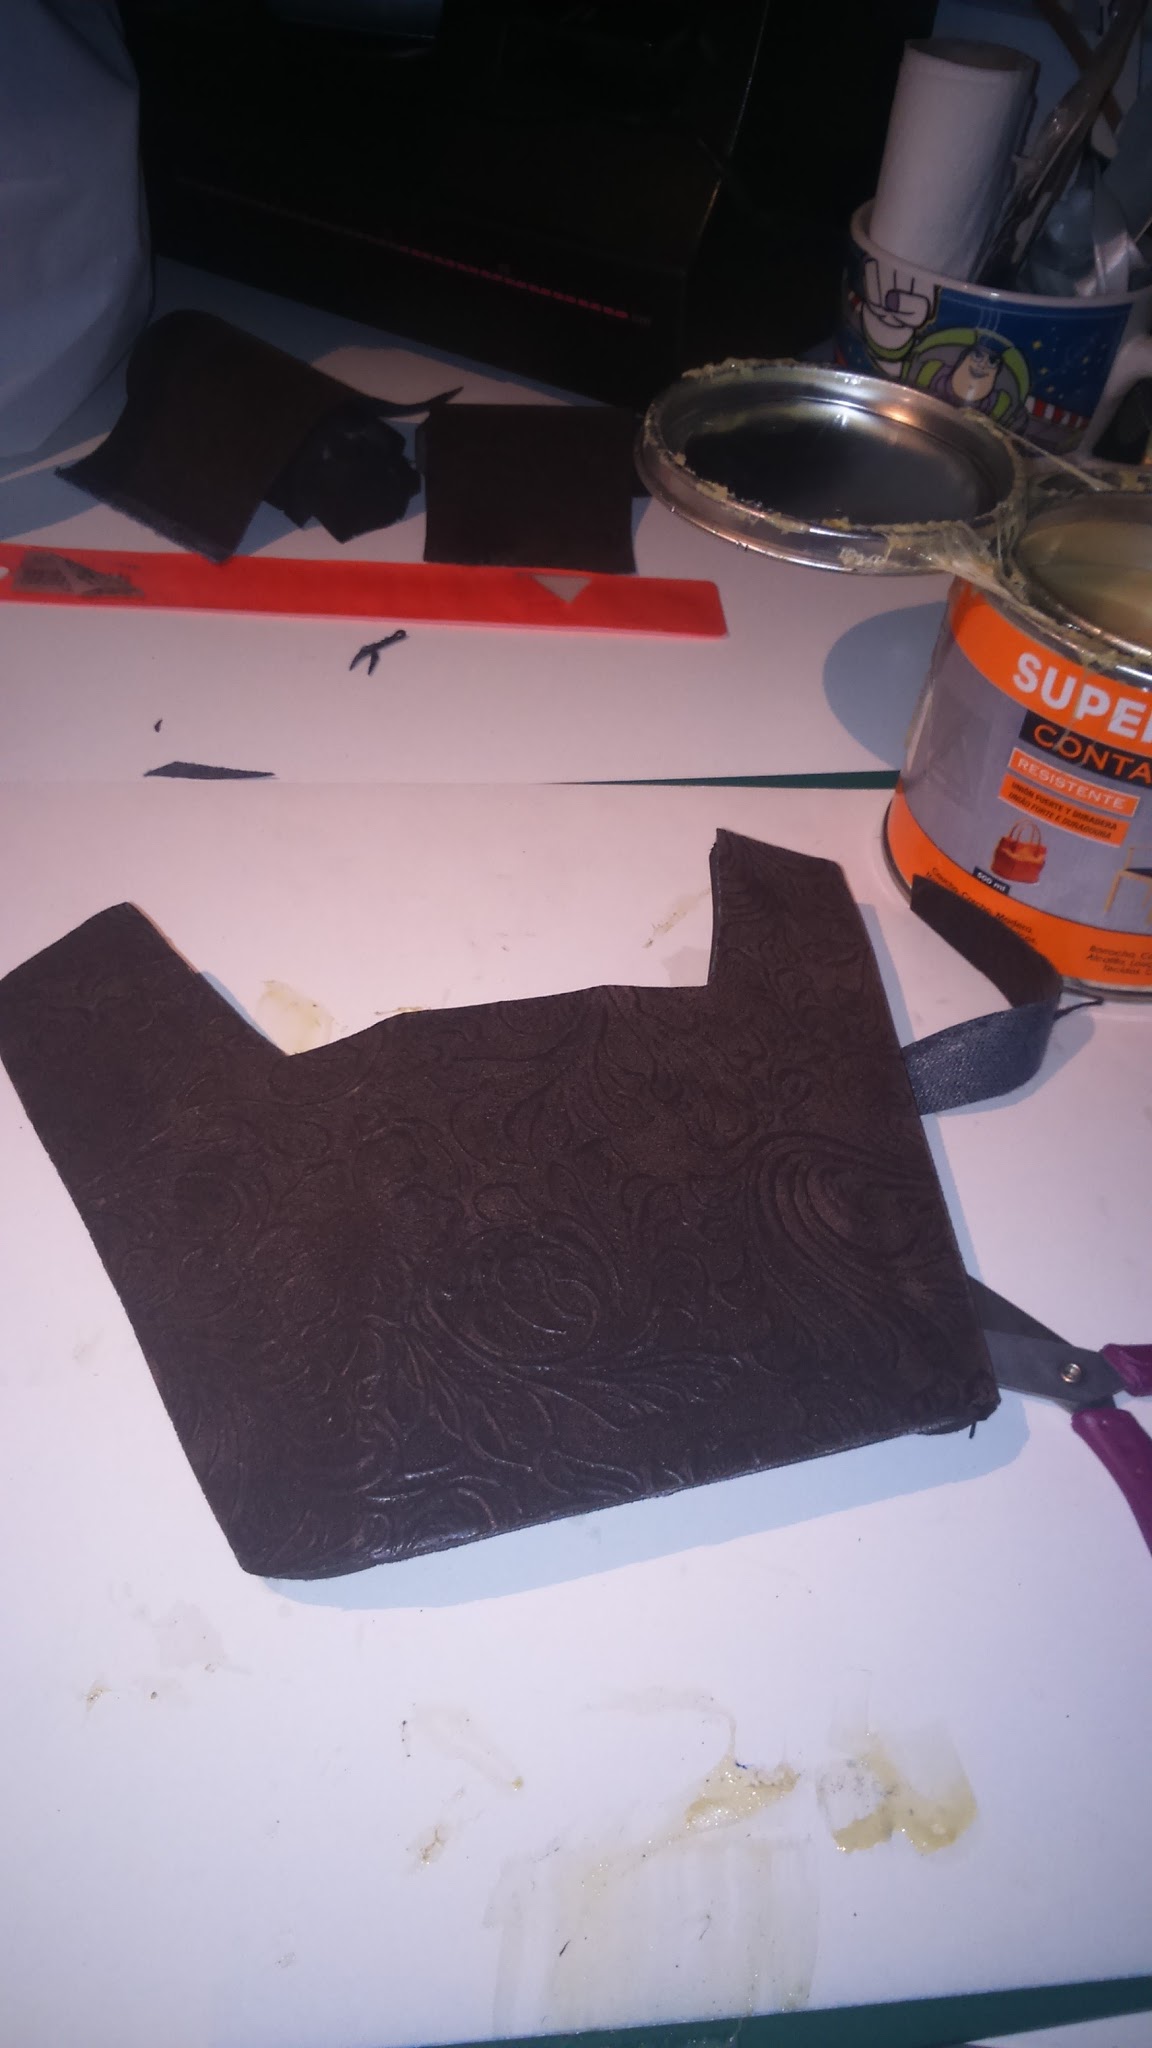
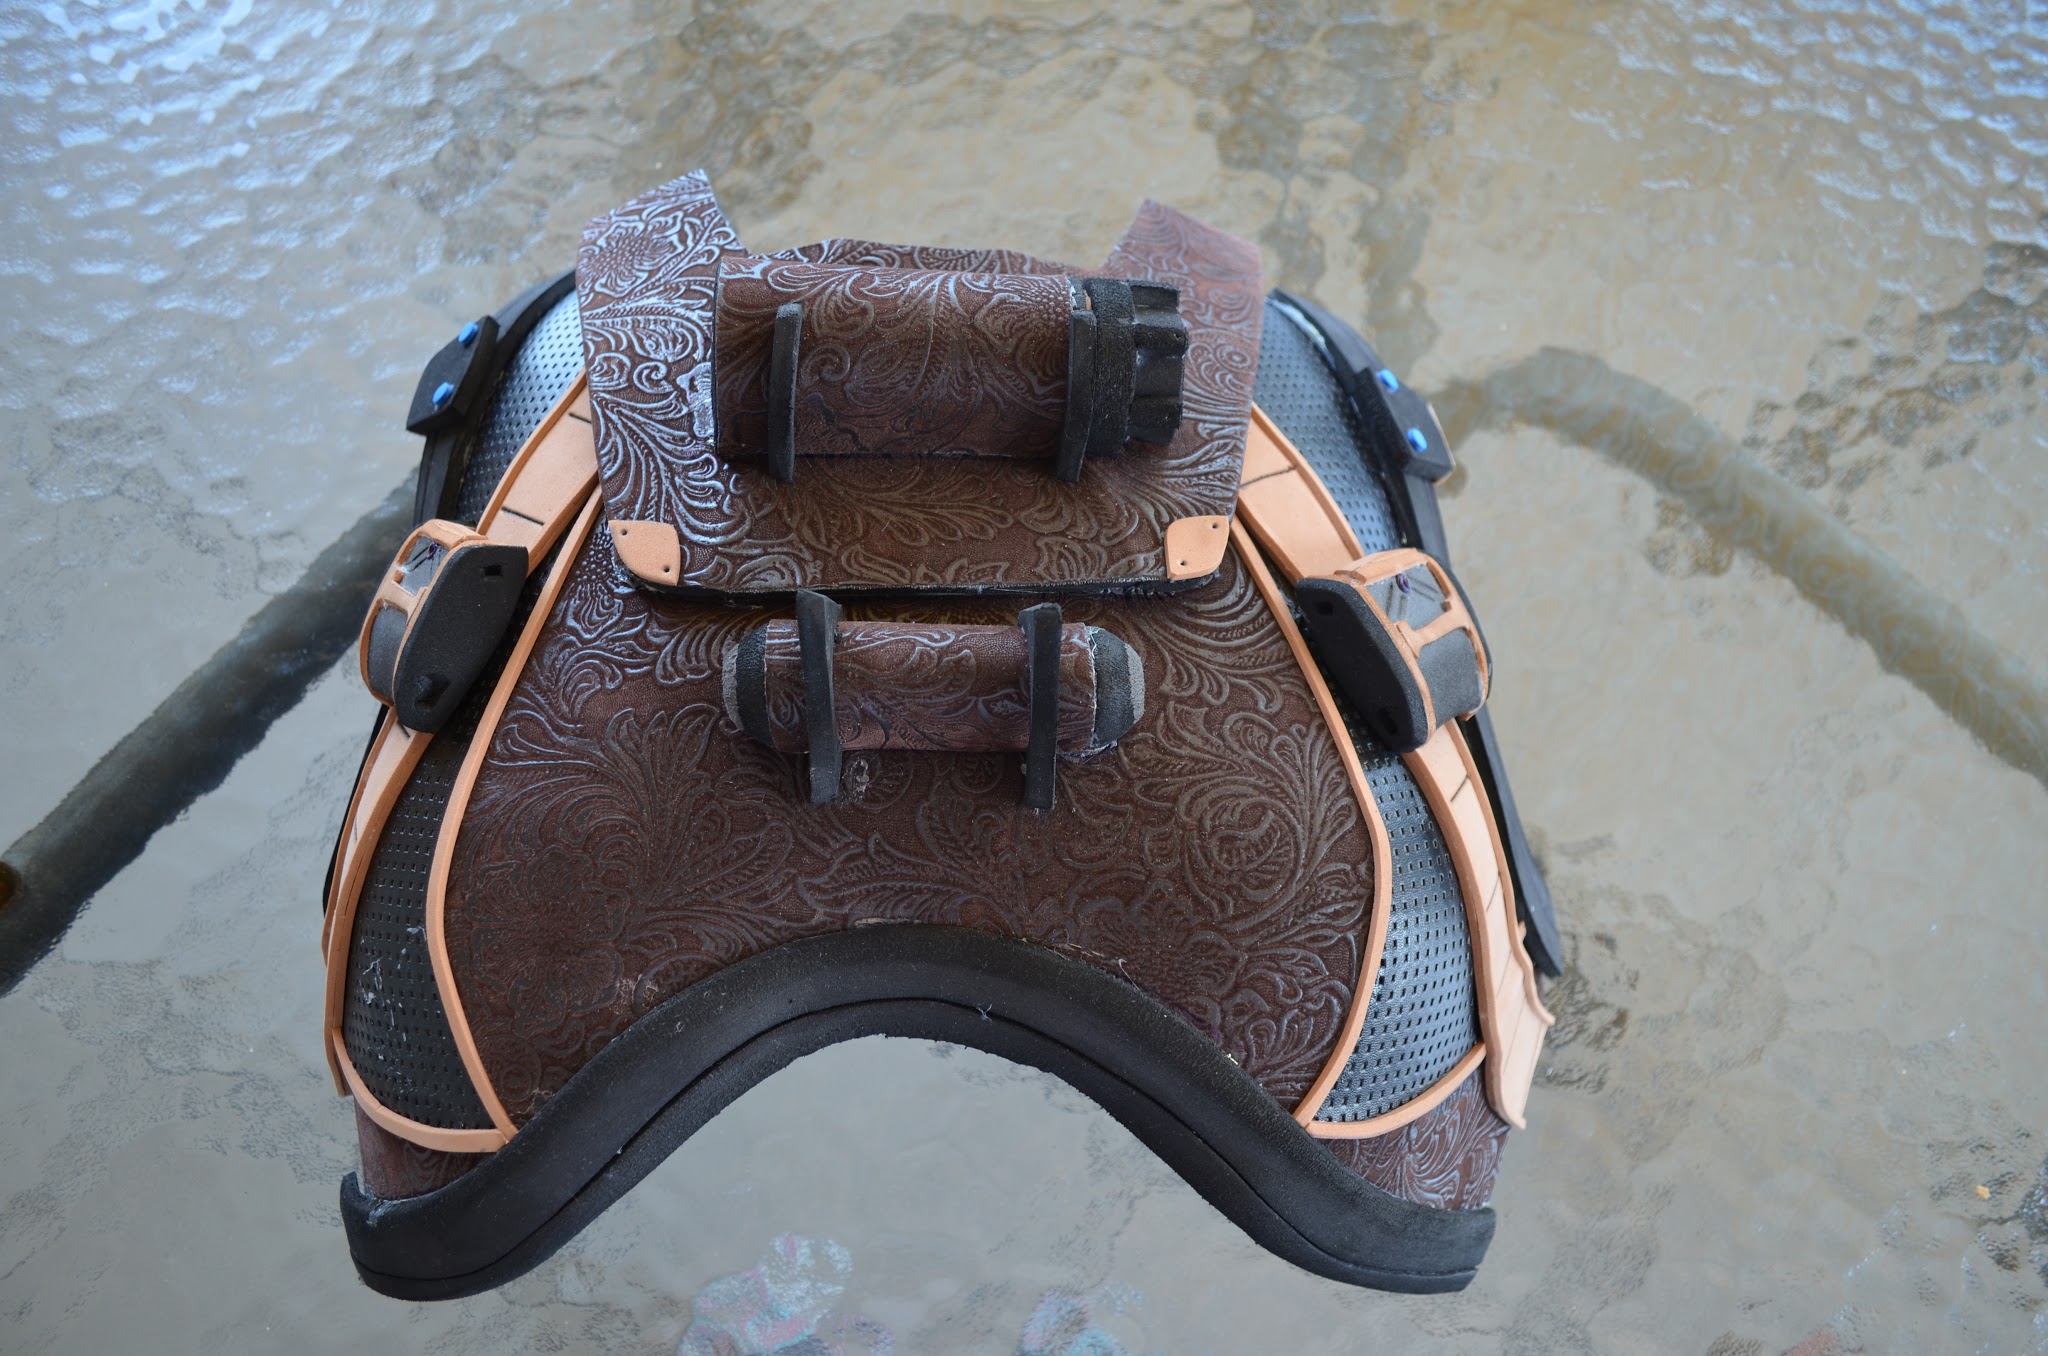
Before gluing the pieces together, I glued two textured fabrics on the armor surface. I bought a floral embossed vinyl and a holey faux leather. I glued the vinyl using contact cement and I used a thin layer of wood glue on the armor for the pleather to avoid the glue spilling trough its holes.
 |
| Texturitaaaaaas. Ñam. |


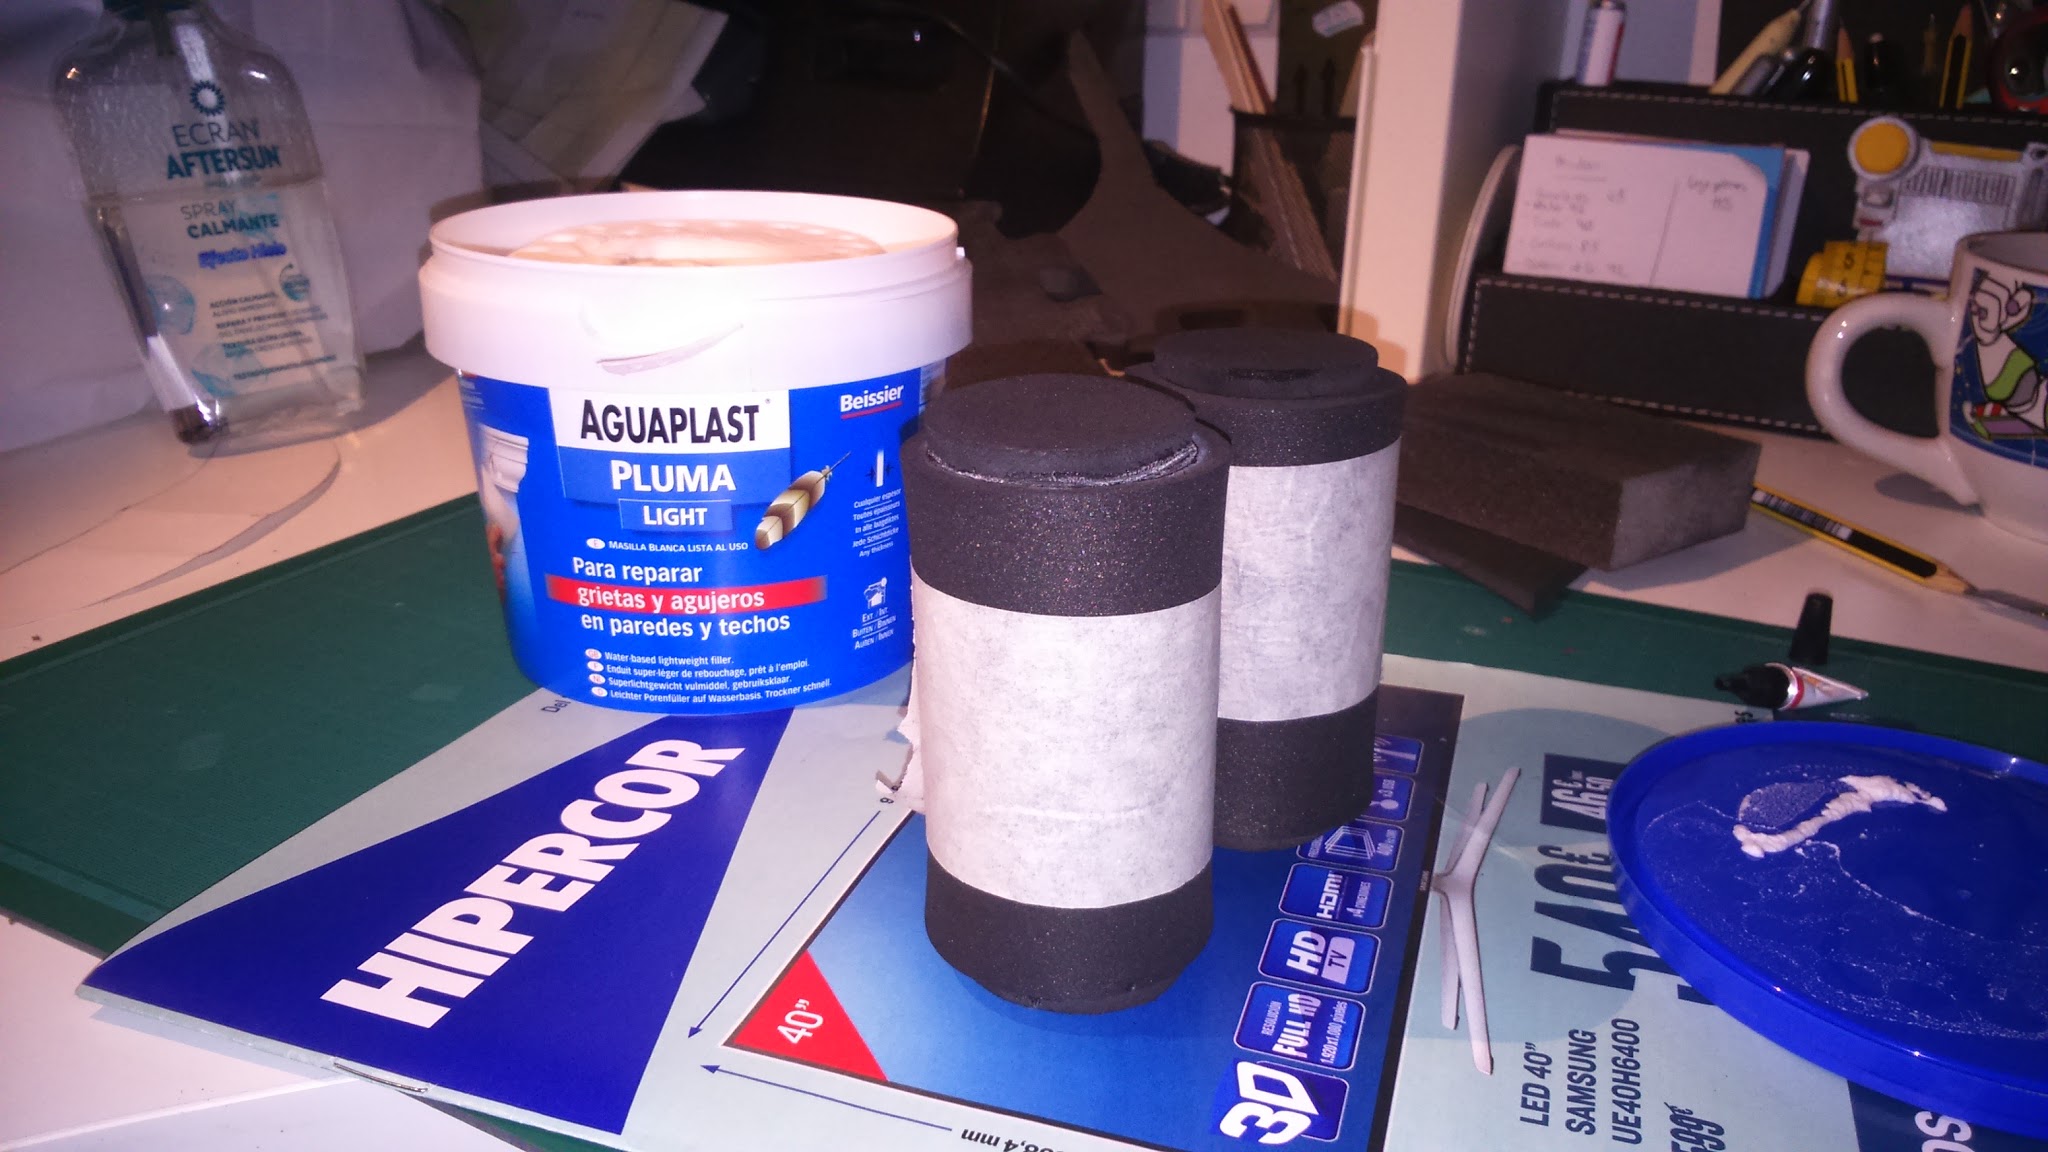
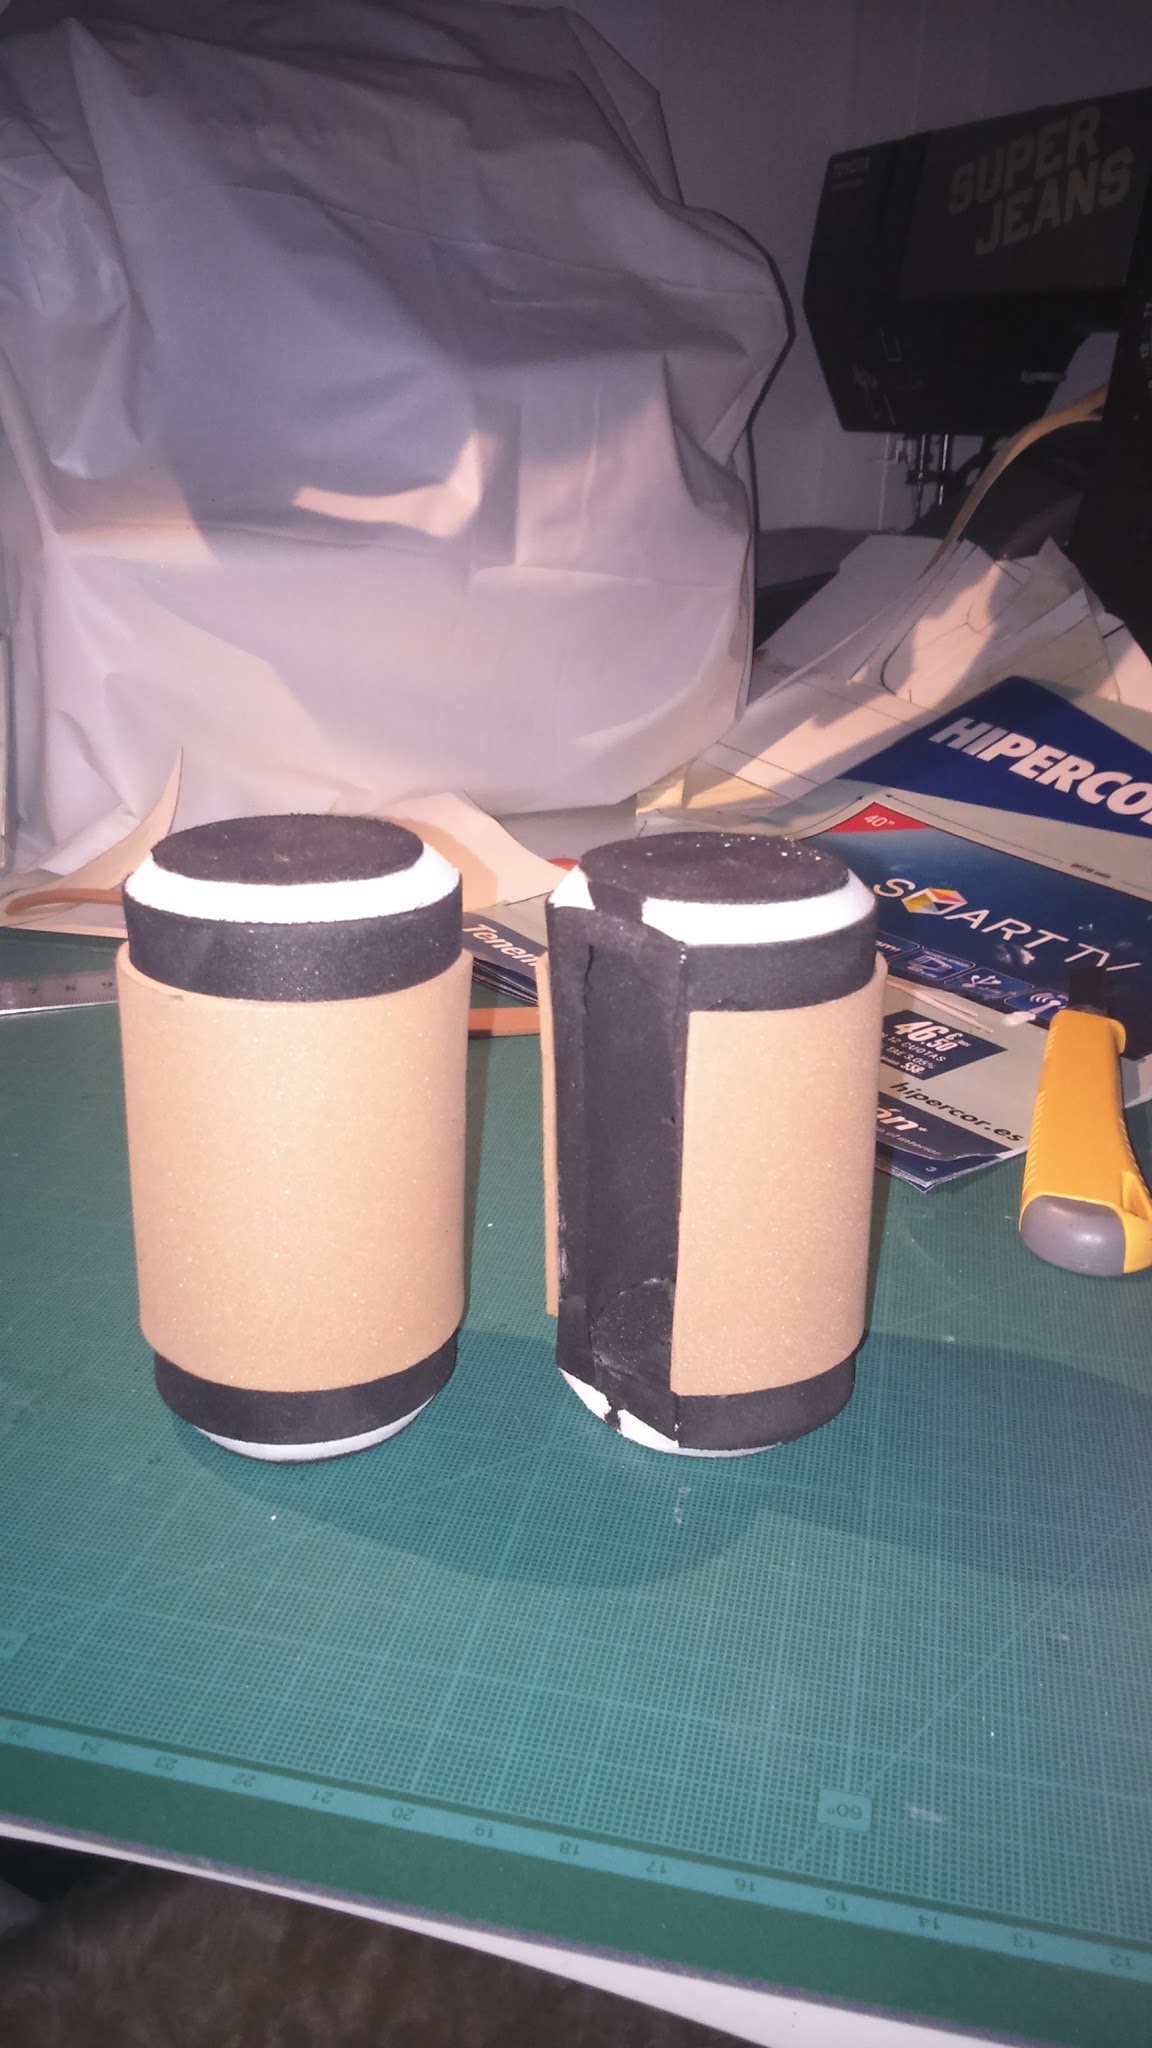
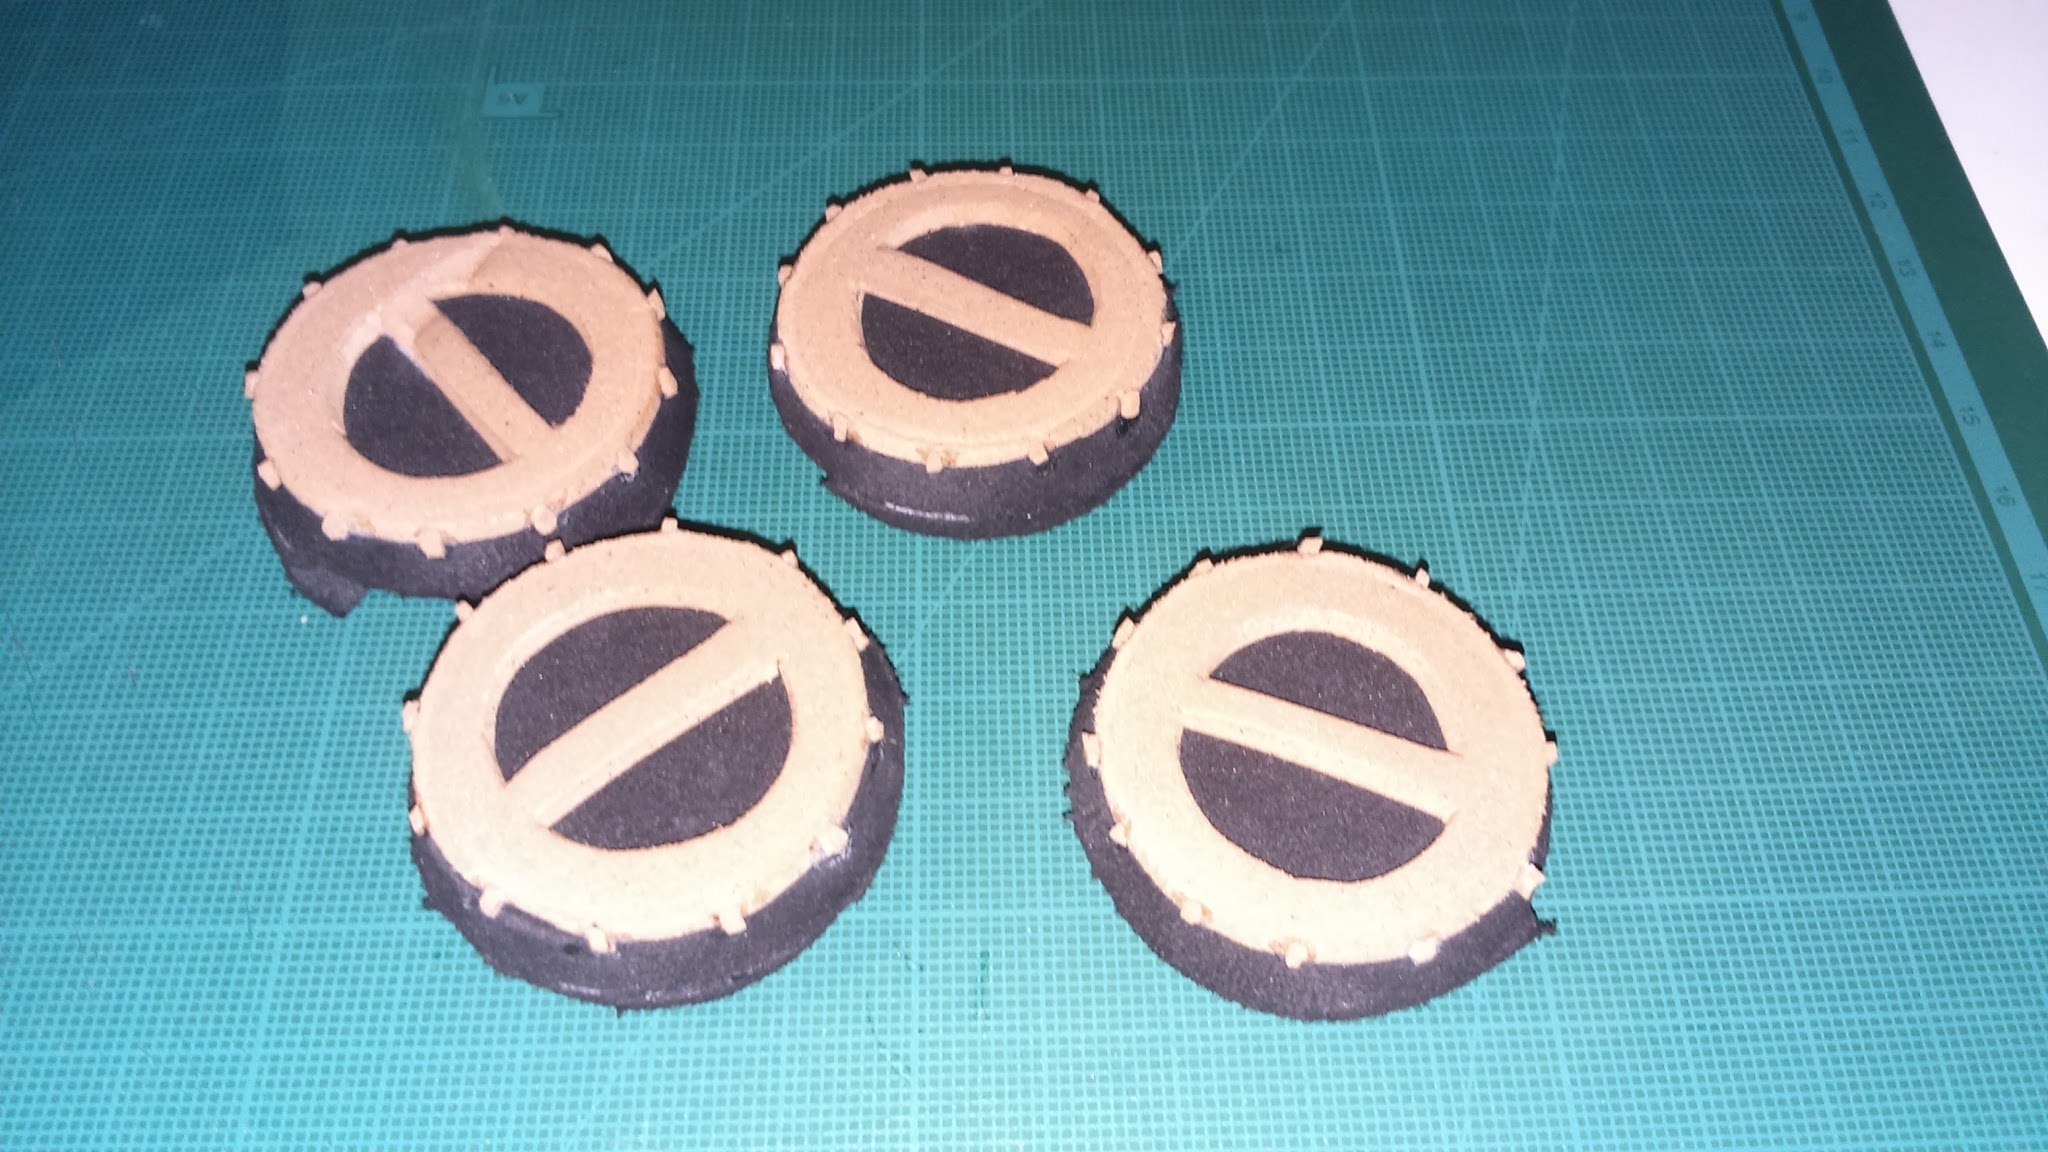
This chestpiece has a lot of ornaments and details that I made using different thicknesses sheets of foam. Maybe the most interesting elements are the cilinders I made by surrounding a couple foam circles with a 5mm sheet and cut lengtwise to adapt them to the armor shape. The cilinders in the back have a litle chamfer I made by glueing a little circle on the edges, adding filler and sanding it out. I glued the textured fabrics on this little pieces and then I glued everything together.


I first made the Dead Light grips pauldron, but lately I found I couldn’t wear more than one legendary ítem and it came out the cloack I chose was legendary (problems of not being a Destiny player in advance). As I love the cloak design I decided changing the shoulder pad. Though I’m not using it in my costume I want to explain how I made it because I think it’s interesting.
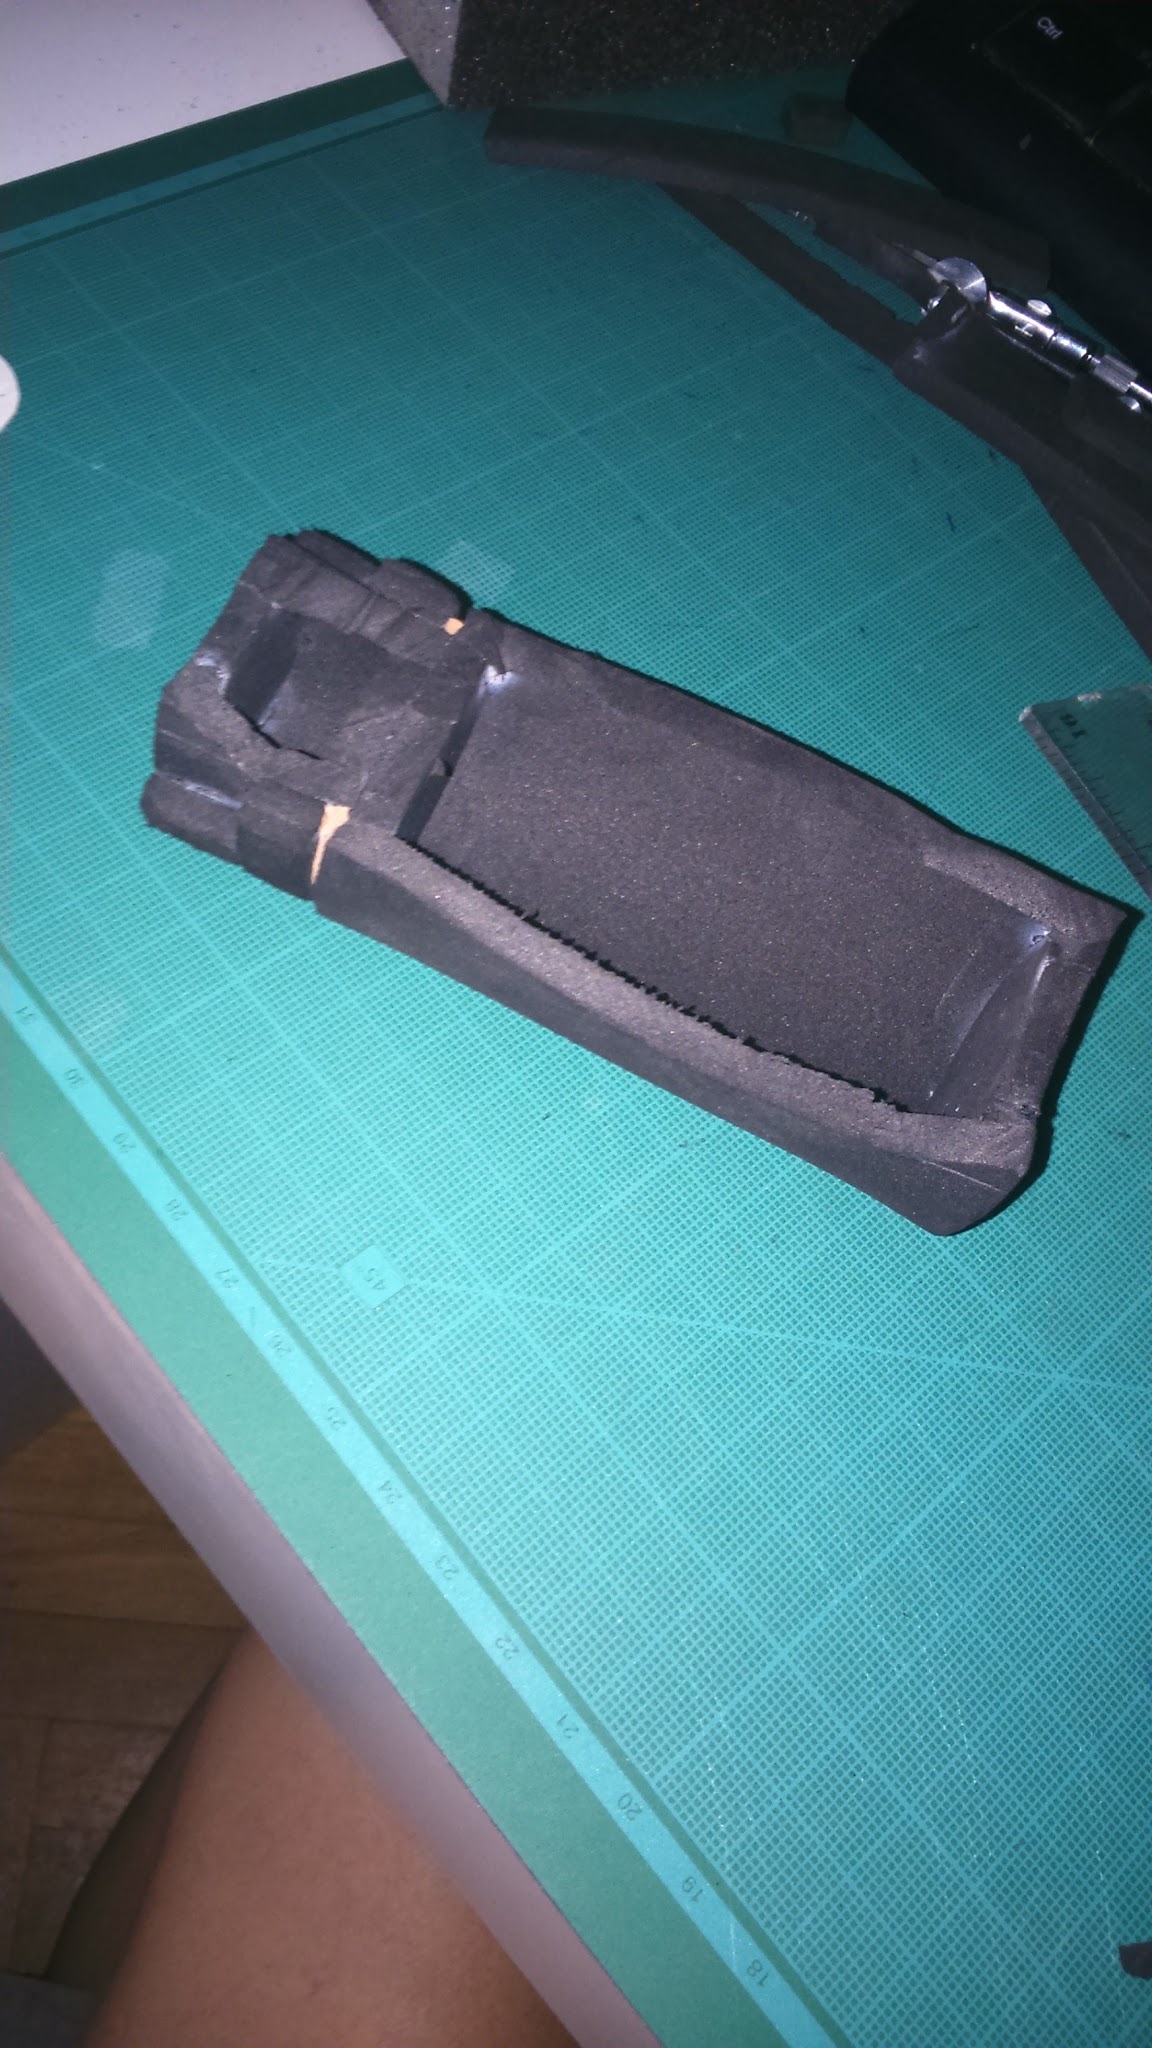
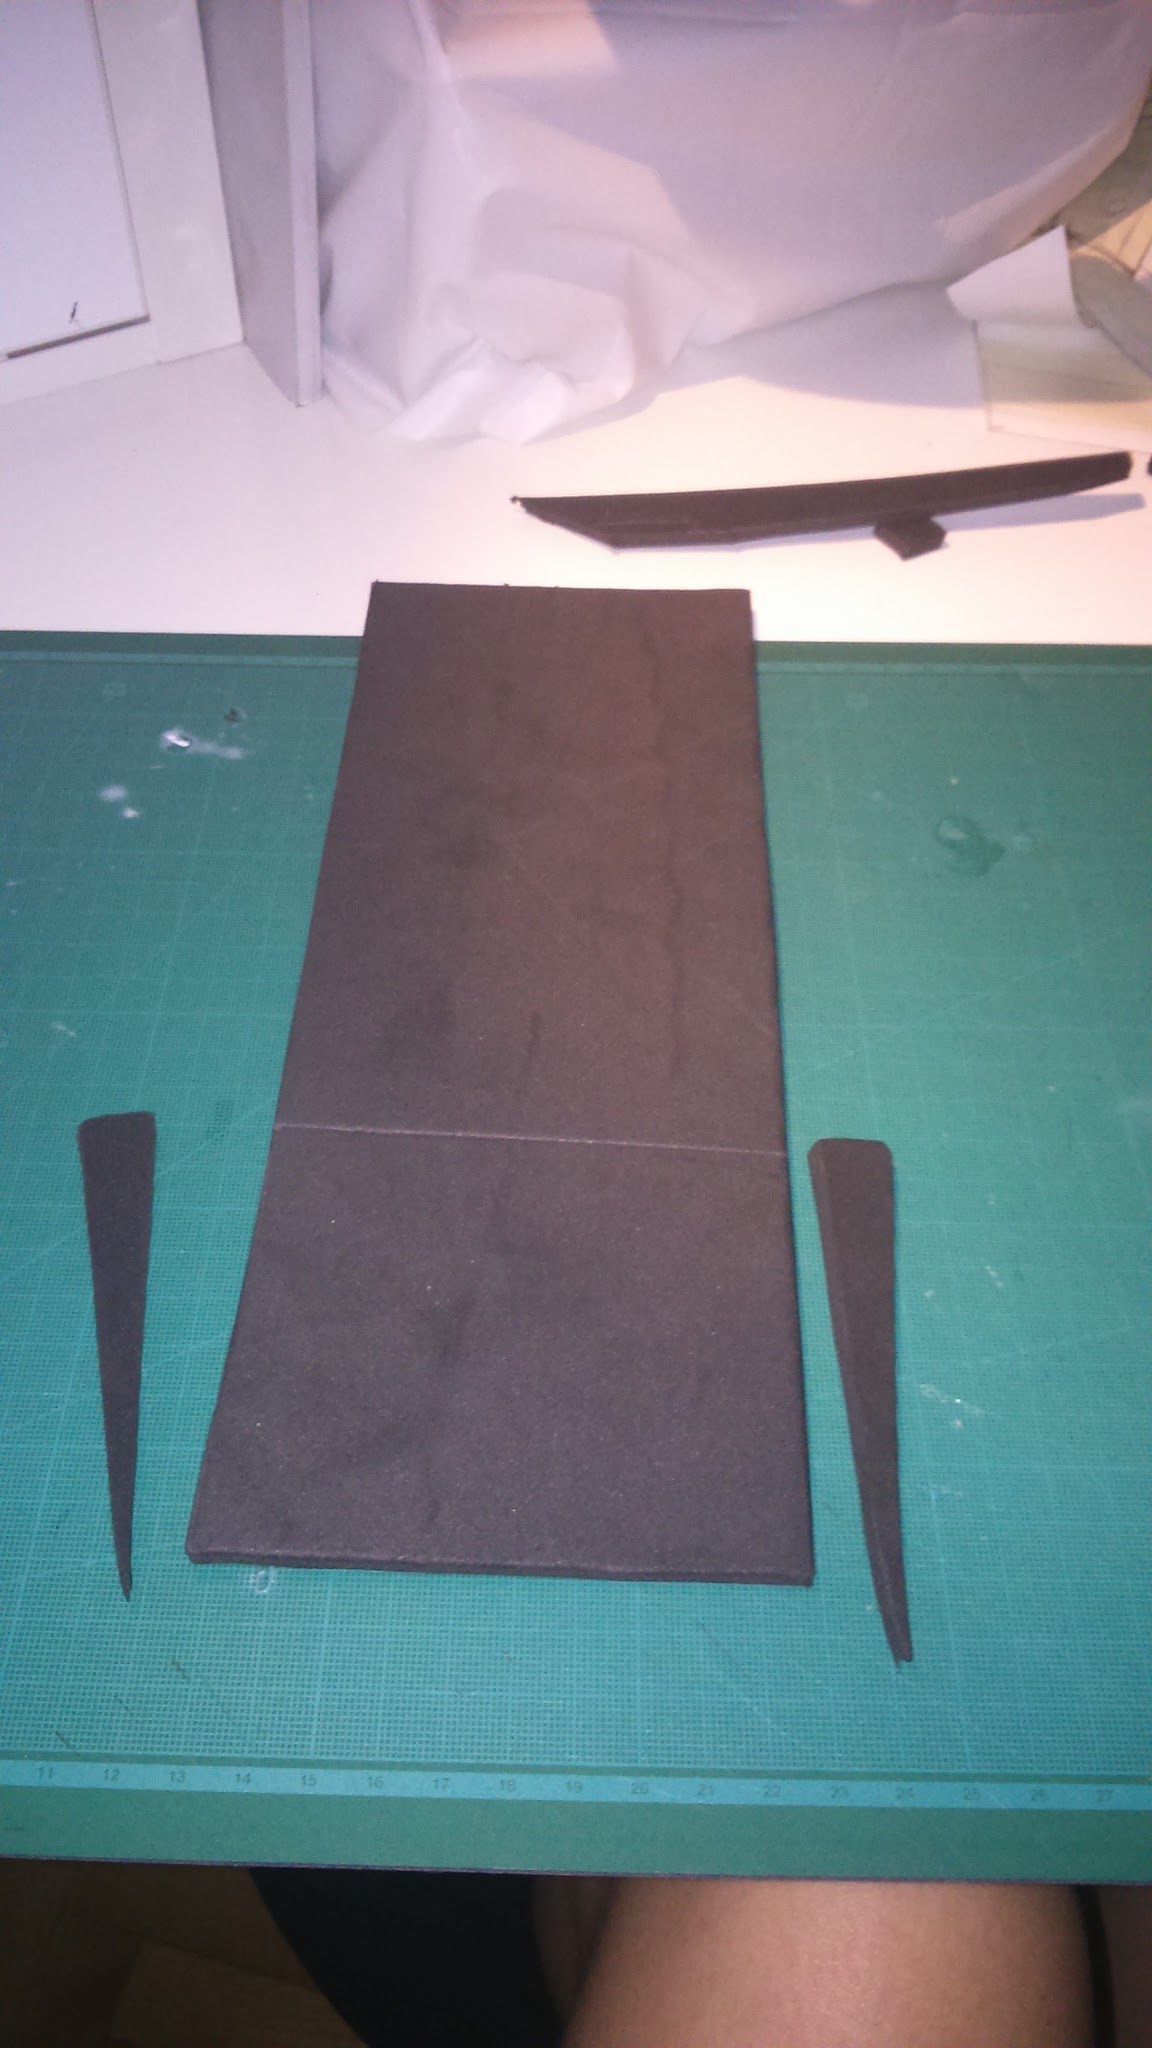
When cutting craft foam is important to take in account how we want the pieces to match together and what kind of relief we want. We can cut them in different angles to shape them in different ways.
With the Dead Light soulder pad I made this to get its relieves.


The final gauntlets I made are the Cryptid 4.6c. I made them because the cryptid gear looks awesome and because it matches the Dead Light sleeve design (I didn’t want to change my sleeves).
This item has two flat shoulder pads (that cover my dear exagonal patterned sleeve part I did for nothing) and, in the left arm, it has a bulky pad with ornaments and cool sttuff. In addition, it has a little case on the right arm and a super cool cilyndrical piece joined to the pad with a tube. I love it. It’s funny because on the left hand it’s got a regular kind of pad, but on the right one “includes a kinematically charged joint massager – on every finger!” Sold!
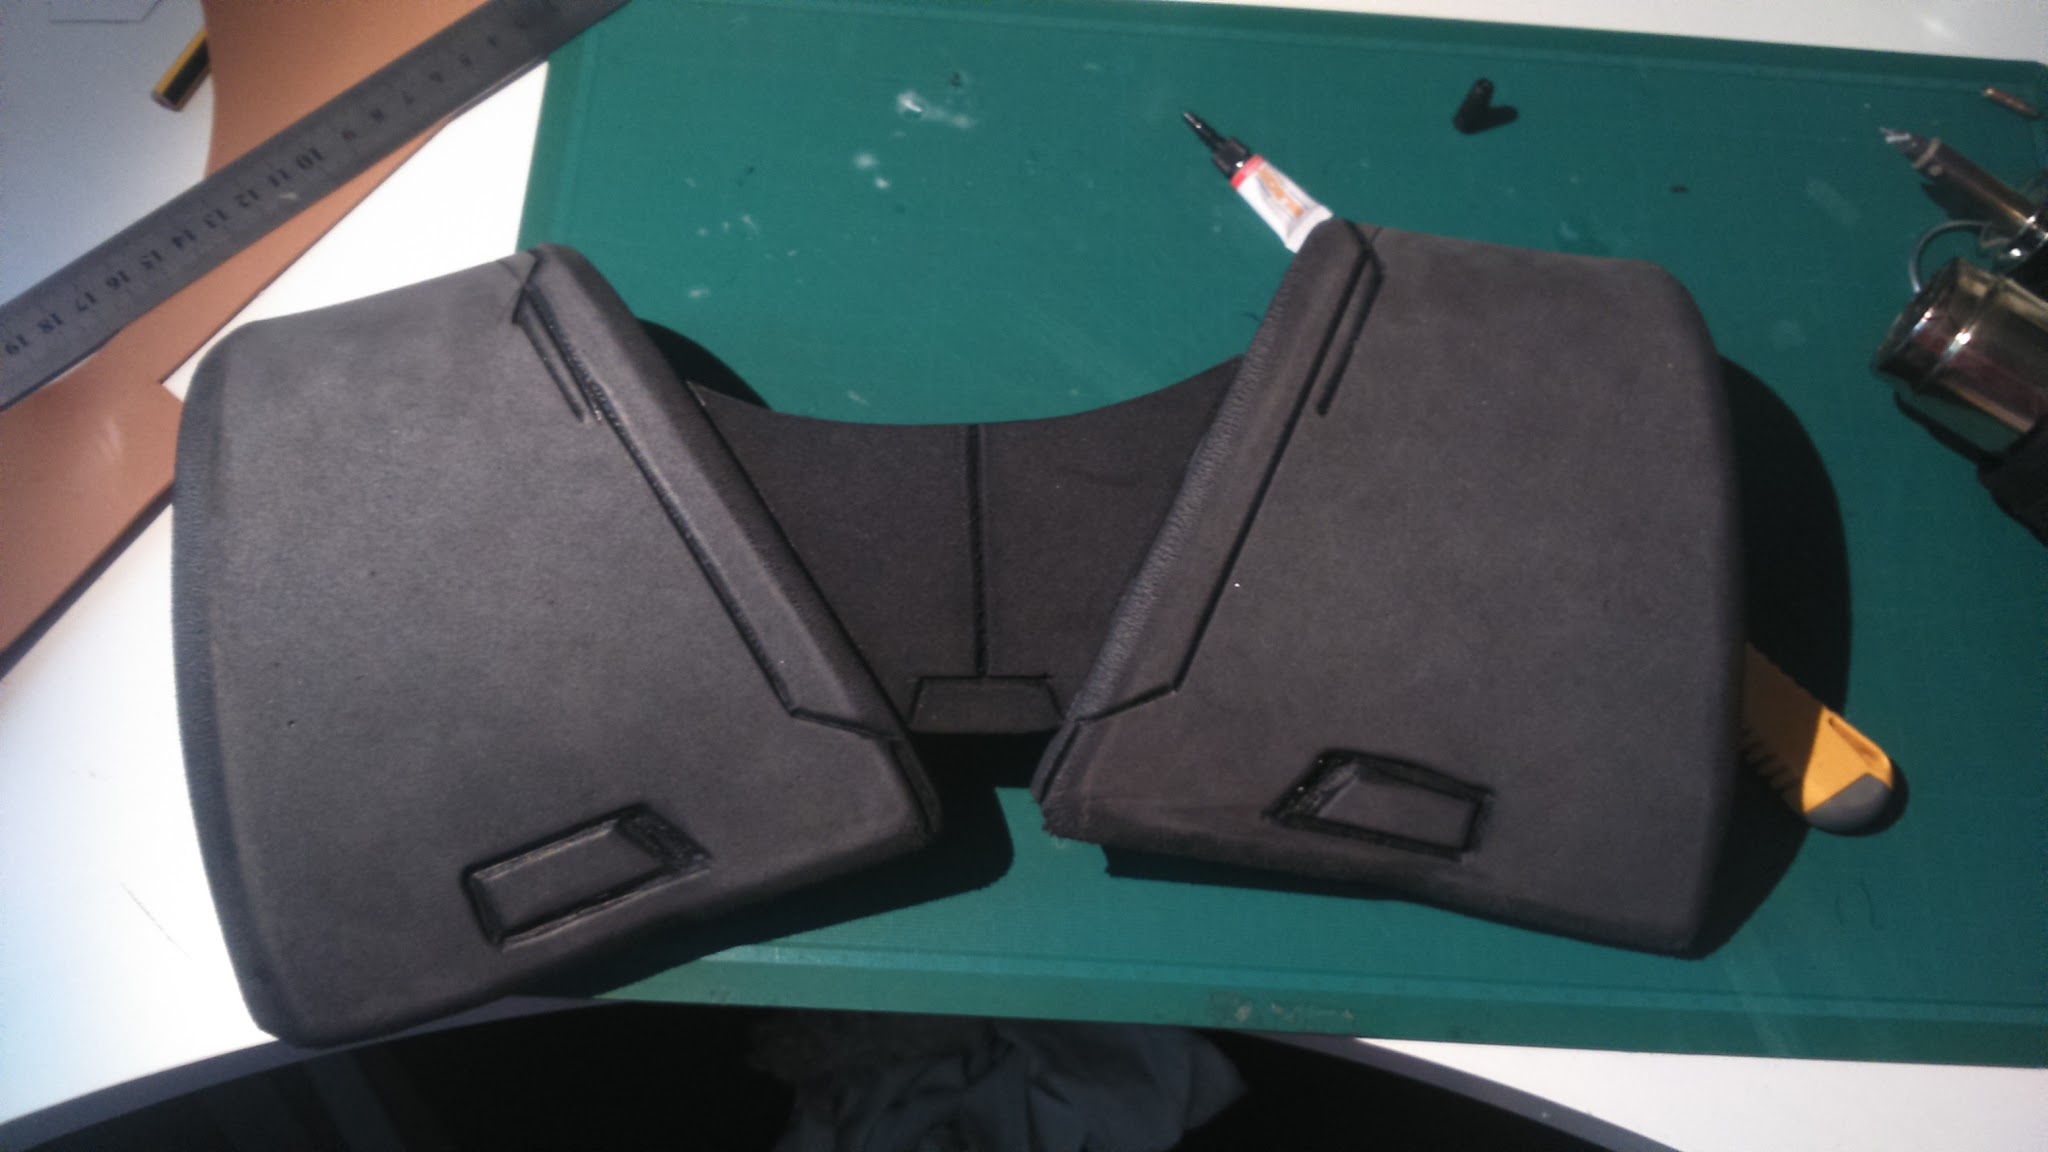
I made the base shoulder pad patterns and I used it both for the lower ones and the bulky upper one. They’re two halves glued in the middle. I also made the lateral parts of the big left pad. I shaped every half with heat to give them shape and then I joined them using contact cement. After that, I added the big pad lateral piece. To cover the seams, I used filler and I sanded it conscientiously to smooth it out. As you can see, seams are almost not noticeable.


I have few pictures of the leg armor process, but it’s similar to the shoulder pad one. I used grooved craft foam for the upper parts and I used PVC foam for the thin protusion as this material is harder than foam.
I wrapped them and I carved some details using the heat knife.

I’m afraid I also have few pictures of the belt construction. It’s a long sheet of 1cm foam with 2mm details. I found how to make foam pockets in The Foam Cave and I though it was a good idea for my costume. So I made mine the same way.


I made the cloack support. It has two 1cm foam pieces on the sides with relieves carved with the heat knife and a central 5mm piece. Of course, it’s adjusted to my shoulders shape.

I finally made the bracers. I used PVC foam for some parts for them to keep their shape better and for being able to put them on and off easily.

And that’s all! Next post I’ll tell you how I painted all this crap.

Hope you find this useful. And, as always, you can comment down below if you have any questions or advice. You can also find me on social media (Facebook, Twitter, Tsu, etc).
Thanks for Reading!


